



To change a light fixture, turn off the power at the circuit breaker and confirm it's off with a voltage tester, remove the old fixture and disconnect its wires, install the new mounting bracket, connect the wires color to color (black to black, white to white, ground to ground), mount the new fixture, and restore power. Most fixture swaps at an existing ceiling box take about an hour with basic tools.
The 9 steps at a glance
- Shut off the power at the breaker and test the wires.
- Remove shades, bulbs, and decorative parts.
- Disconnect the old fixture's wires.
- Take down the old fixture.
- Inspect and prepare the house wires.
- Install the new mounting bracket.
- Reconnect the wires color to color.
- Mount and assemble the new fixture.
- Restore power and test.
Make an architectural statement. Discover the full range here.
Installing a pendant specifically? See our guide on how to install pendant lights, which covers hanging height and cord adjustment.
Materials and tools needed to replace a light fixture
Before you start, gather everything you'll need so the job goes quickly.

Make sure you have everything you need to replace your light fixture safely. Source: Freepik via https://www.freepik.com/author/freepik
Materials
- New light fixture (check that it suits your ceiling box and the room)
- Wire nuts (usually included, but extras are handy)
- Electrical tape
- Mounting bracket (usually included with the new fixture)
- Light bulbs at or below the fixture's maximum wattage
Tools
- Voltage tester (to confirm the power is off)
- Screwdrivers (flathead and Phillips)
- Wire strippers/cutters (to trim or strip wire ends if needed)
- Needle-nose pliers (for gripping and bending wires)
- Ladder or step stool
- Flashlight (since the room's power will be off)
Safety equipment
- Safety goggles (to protect your eyes from dust and debris)
- Work gloves (for handling glass and sharp edges)
Want to know when DIY makes sense? Our guide on how to change a light fixture without hiring an electrician covers the details.
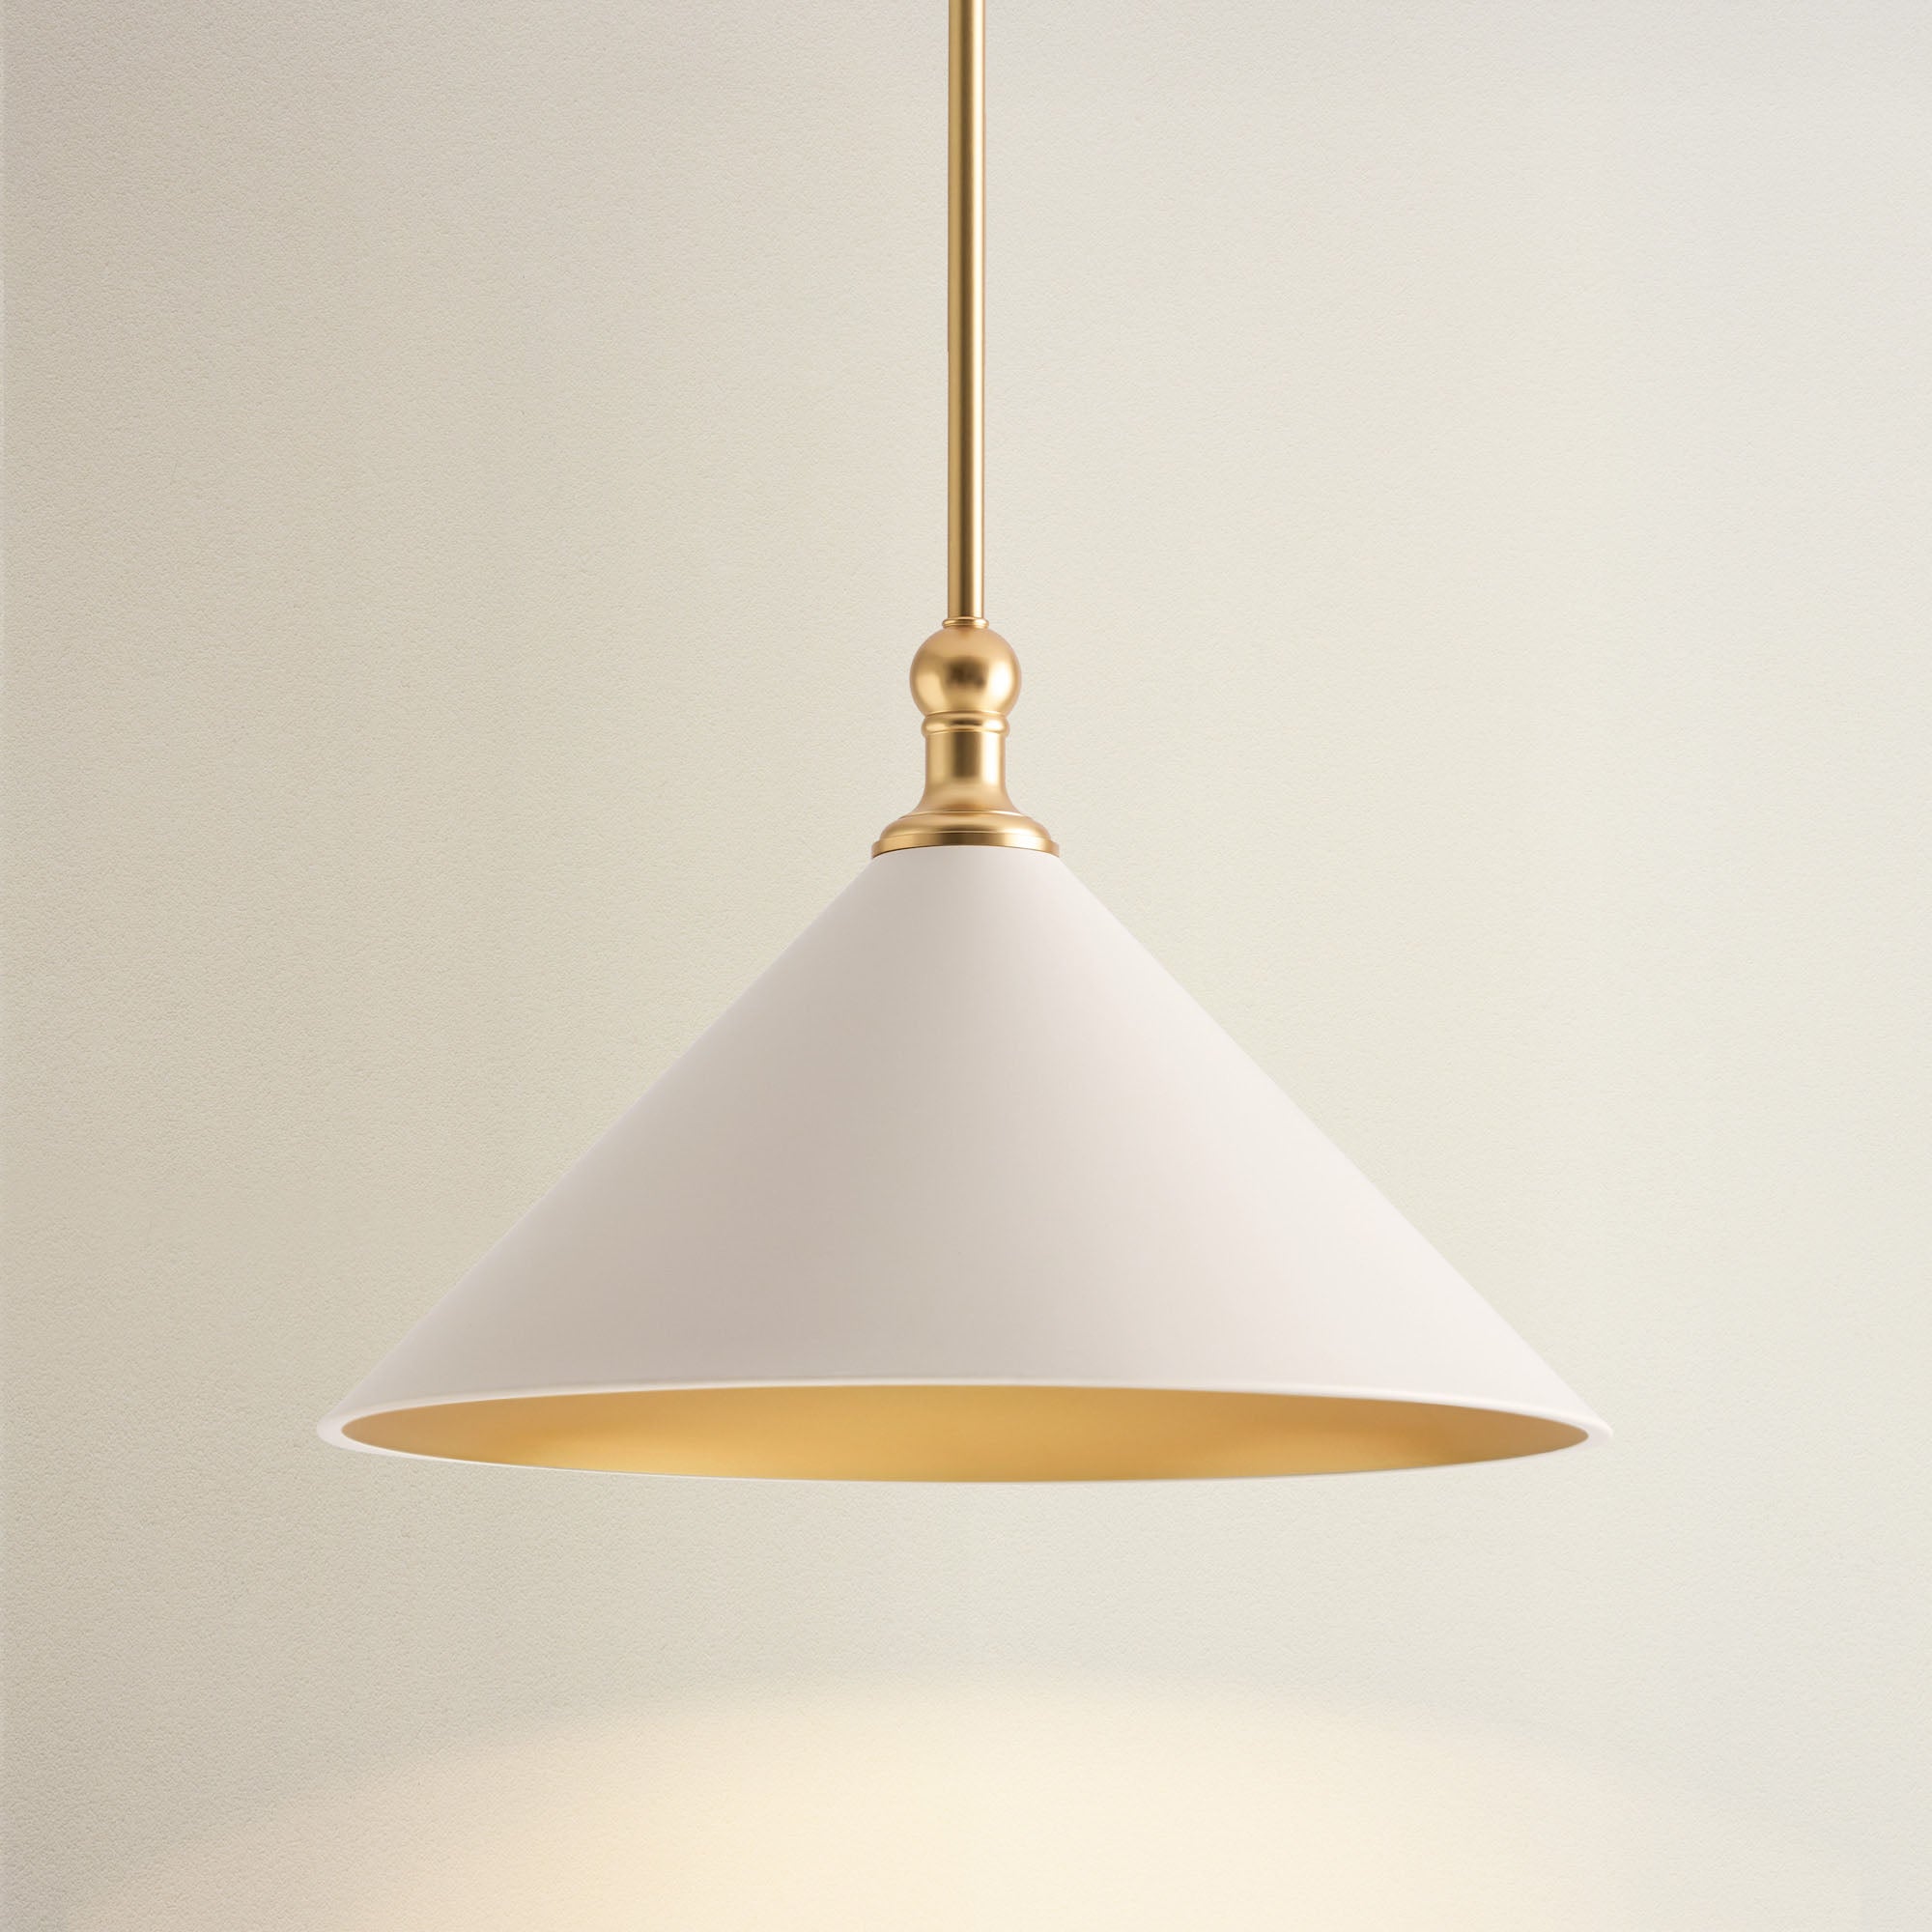

How to change a light fixture: step-by-step instructions
Step 1: Shut off the power
Go to your breaker panel and turn off the breaker that controls the fixture.
Don't rely on the wall switch alone. Once the wires are exposed, test them with a voltage tester to confirm no current is flowing.
Step 2: Remove shades, bulbs, and decorative parts
Carefully remove any glass shades, bulbs, or decorative parts of the old fixture. Keep screws and small parts together in one place. This makes the fixture lighter and easier to handle.
Step 3: Disconnect the wiring
Unscrew the canopy so you can reach the connections, supporting the fixture as you go. You'll typically see three wires:
It's time for an upgrade. Find your perfect focal point.


- Black (hot): Carries electricity from the circuit to the light.
- White (neutral): Completes the circuit back to the panel.
- Green or bare copper (ground): Connects the fixture to the grounding system for safety.
Test the wires again, then unscrew the wire nuts and separate the wires. Take a photo first so you know how everything was connected.
Step 4: Take down the old fixture
With the wires disconnected, remove the fixture from its mounting bracket and set it aside.
Step 5: Inspect and prepare the house wires
Check the wires coming from the ceiling box. If the ends are nicked or frayed, trim them and strip about 1/2 to 3/4 inch of insulation for a clean connection. Leave at least 6 inches of wire extending from the box so you have enough to work with.
If the insulation looks brittle, cracked, or scorched, stop and call a licensed electrician.
Step 6: Install the new mounting bracket
Remove the old bracket if it doesn't fit your new fixture, then screw the new one to the ceiling box. Make sure it's fastened tightly, since it will carry the fixture's weight.

Give your new light fixture a strong foundation. Source: @tonodiaz via Freepik: https://www.freepik.com/author/tonodiaz
Heavier fixtures, such as chandeliers or ceiling fans, need a ceiling box rated for their weight.
Step 7: Reconnect the wires
Match the fixture's wires to the house wires:
- Black to black (hot)
- White to white (neutral)
- Green or copper to green or copper (ground), also attached to the bracket's green ground screw
Twist each pair into a wire nut until it's snug, and check that no bare wire shows below the nut. Wrapping the nuts with electrical tape adds extra security.
Step 8: Mount and assemble the new fixture
Fold the wires neatly into the box and attach the fixture to the mounting bracket with the screws provided. Add any shades or covers and screw in the bulbs.
Step 9: Restore the power
Turn the breaker back on and flip the wall switch to test the new fixture.

Source: Rowabi.
Need a new fixture? Browse Rowabi's flush mount lights and pendant lights. For related projects, see our guides on removing a light fixture from the ceiling and grounding a light fixture.
Light fixture replacement checklist
- Breaker off, and wires confirmed dead with a voltage tester.
- Photo taken of the old wiring before disconnecting.
- New bracket tightly secured; box rated for the fixture's weight.
- Black to black, white to white, ground to ground and to the green screw.
- No bare copper showing below the wire nuts.
- Bulbs at or below the fixture's maximum wattage.
FAQs: How to change a light fixture
Can I change a light fixture myself?
- Yes, if you're replacing a fixture at an existing ceiling box and are comfortable working with the power off. If you're unsure, or the wiring looks damaged, hire a licensed electrician.
Can I change a light fixture with just the switch off?
- No. Always turn off the breaker and confirm with a voltage tester. Switches can be wired incorrectly, and some boxes carry power from more than one circuit.
Is replacing a light fixture hard?
- Swapping a fixture at an existing box is a beginner-to-intermediate DIY task. Adding a new box, running wire, or installing a heavy fixture is more involved and often worth hiring out.
What does an electrician charge to replace a light fixture?
- It depends on the fixture type, your location, and the wiring condition. See our guide to light fixture installation cost for typical ranges.
Do you need to be an electrician to change a light?
- In most places, homeowners can replace a light fixture in their own home, but local rules vary. Check with your local building department if you're unsure.
Can I still get shocked if the light switch is off?
- Yes. Turning off the switch doesn't always cut power to every wire in the box. Turn off the breaker and test before touching any wires.
How do I remove an old light fixture?
- Turn off the breaker, remove the bulbs and shades, unscrew the fixture from its bracket while supporting it, and disconnect the wire nuts. For larger fixtures, see how to remove a chandelier.
Conclusion
Changing a light fixture is a manageable DIY project when you turn off the breaker, test the wires, and connect everything color to color.
Take your time, follow the steps, and enjoy your updated space.



Leave a comment
This site is protected by hCaptcha and the hCaptcha Privacy Policy and Terms of Service apply.