

According to Rowabi's expert, Noah Miller, crafting this unique fixture is a hands-on project that celebrates the beauty of imperfection and natural materials. The method involves using a balloon mold and paper mâché (or textured clay), intentionally incorporating organic shapes and uneven textures, such as those created by pressing bubble wrap onto the surface.
Cost comparison between original and diy pendant lights
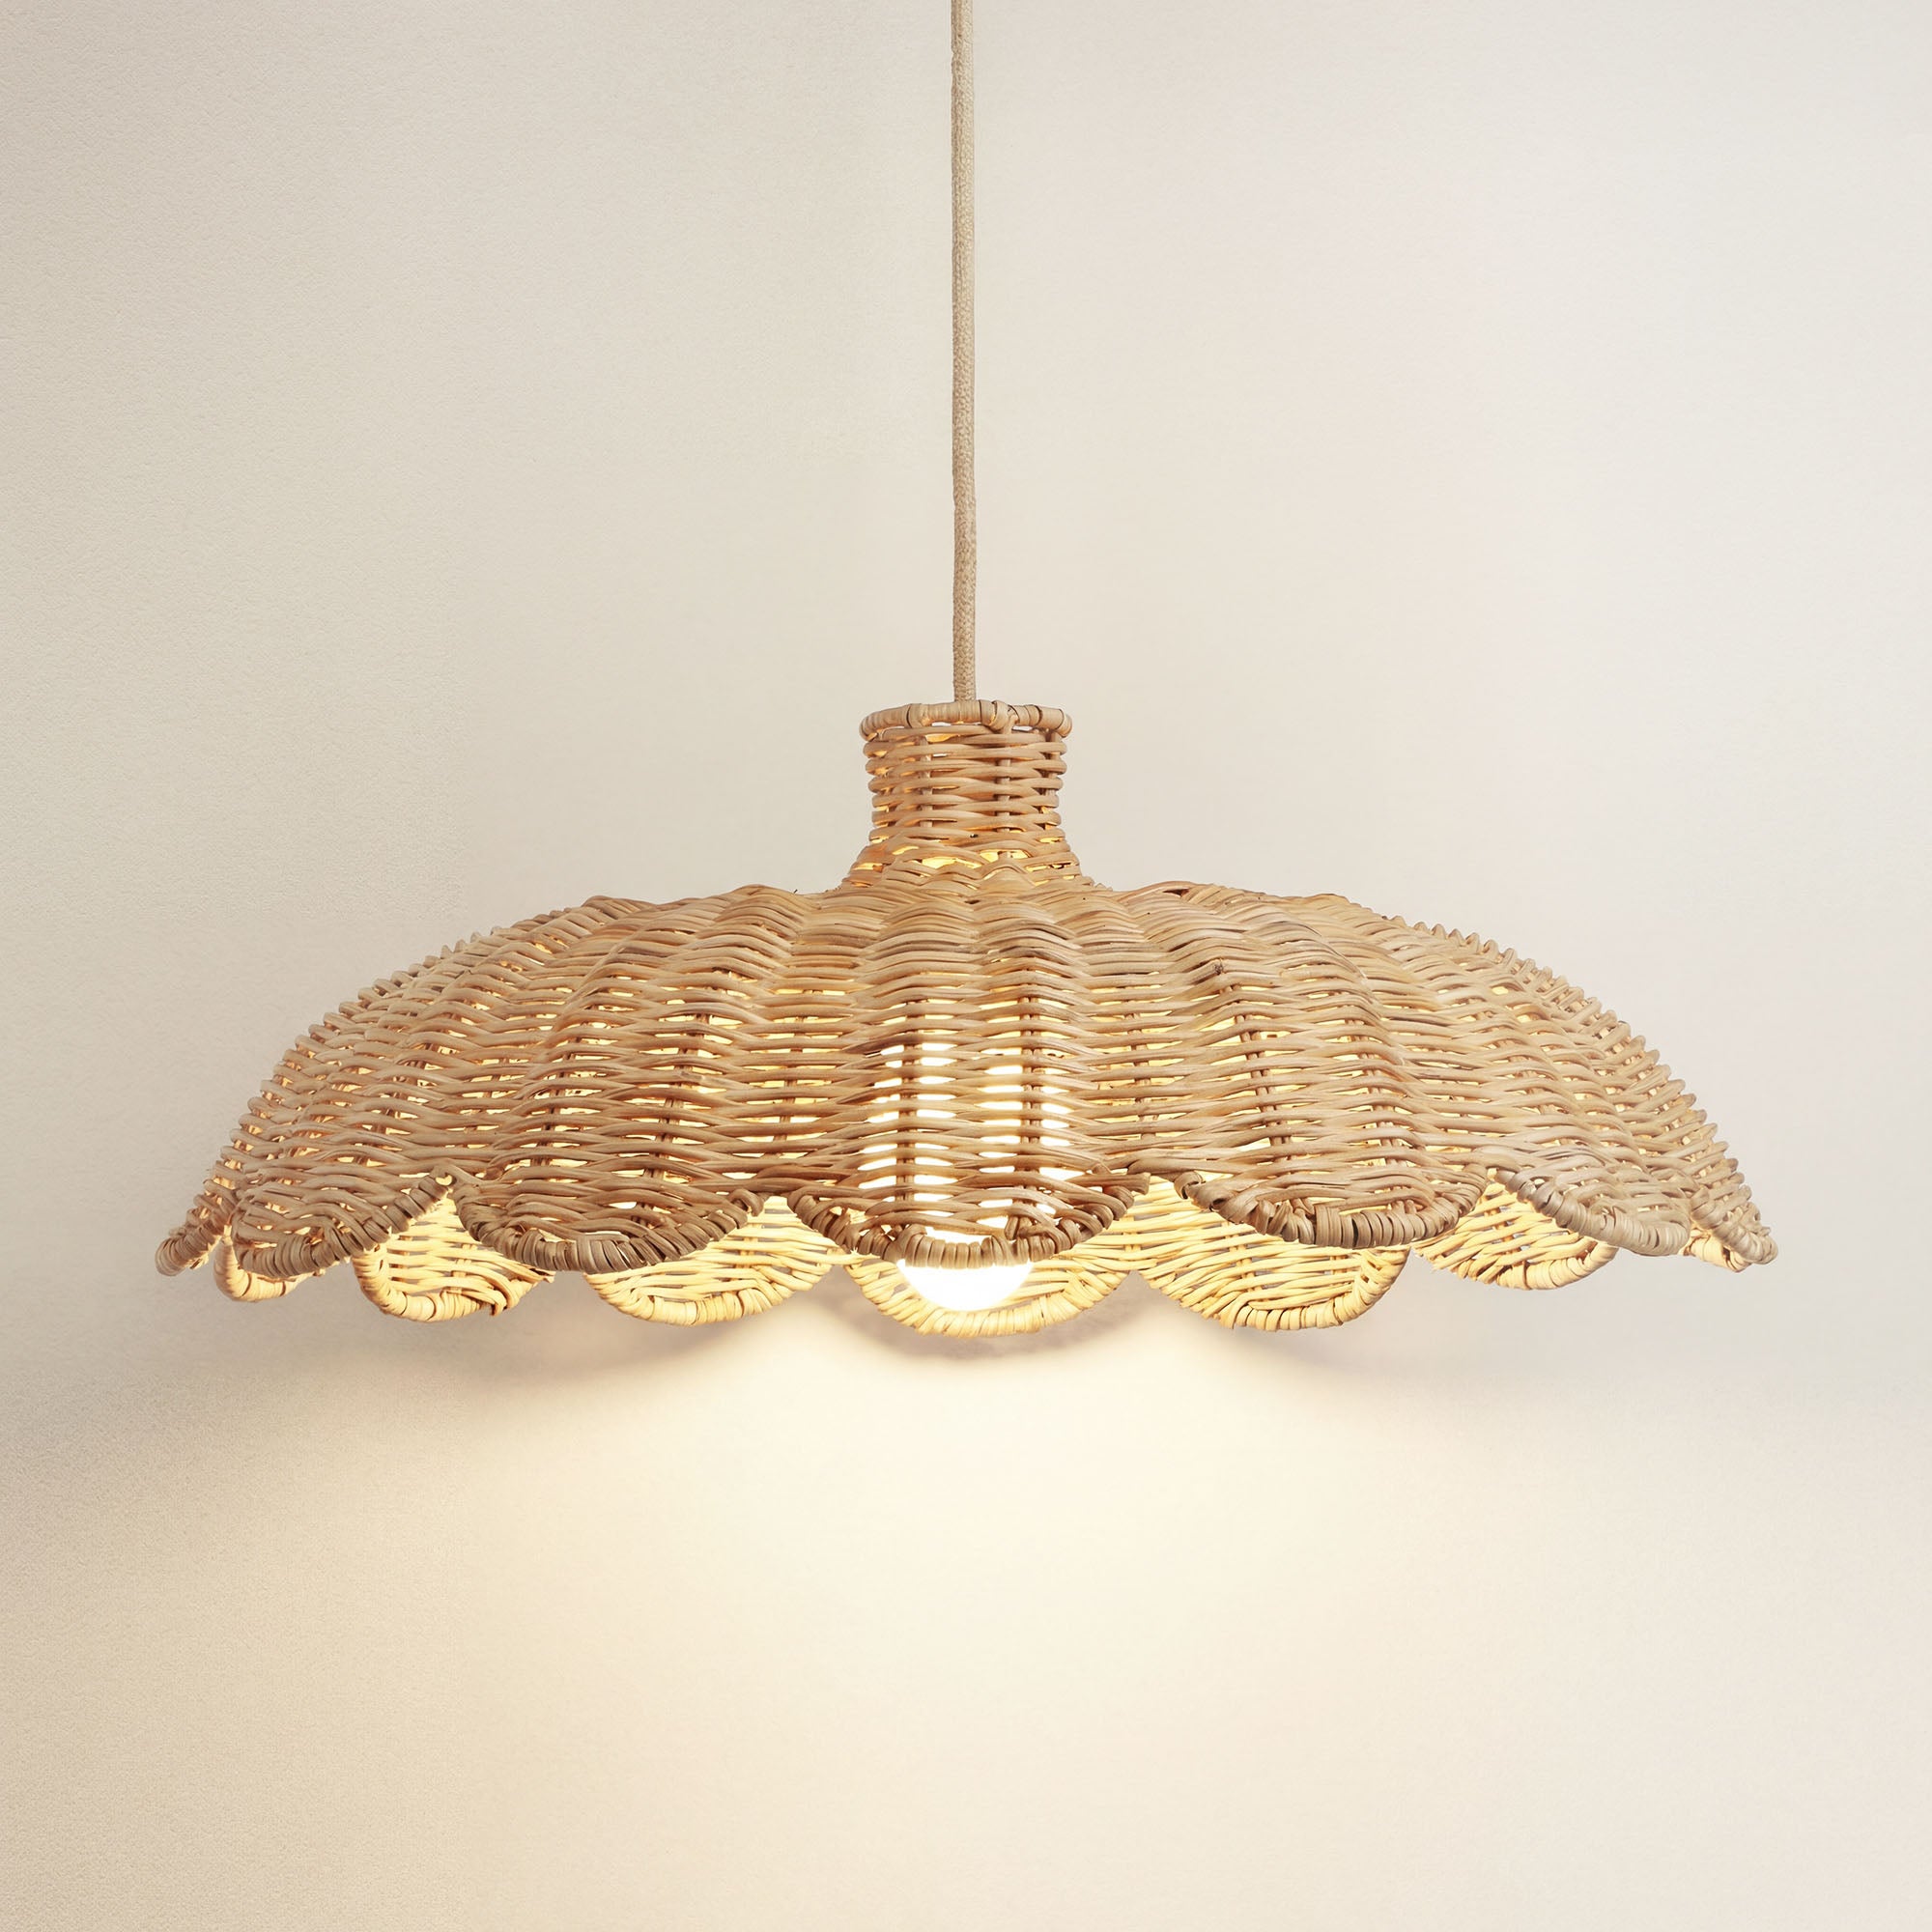
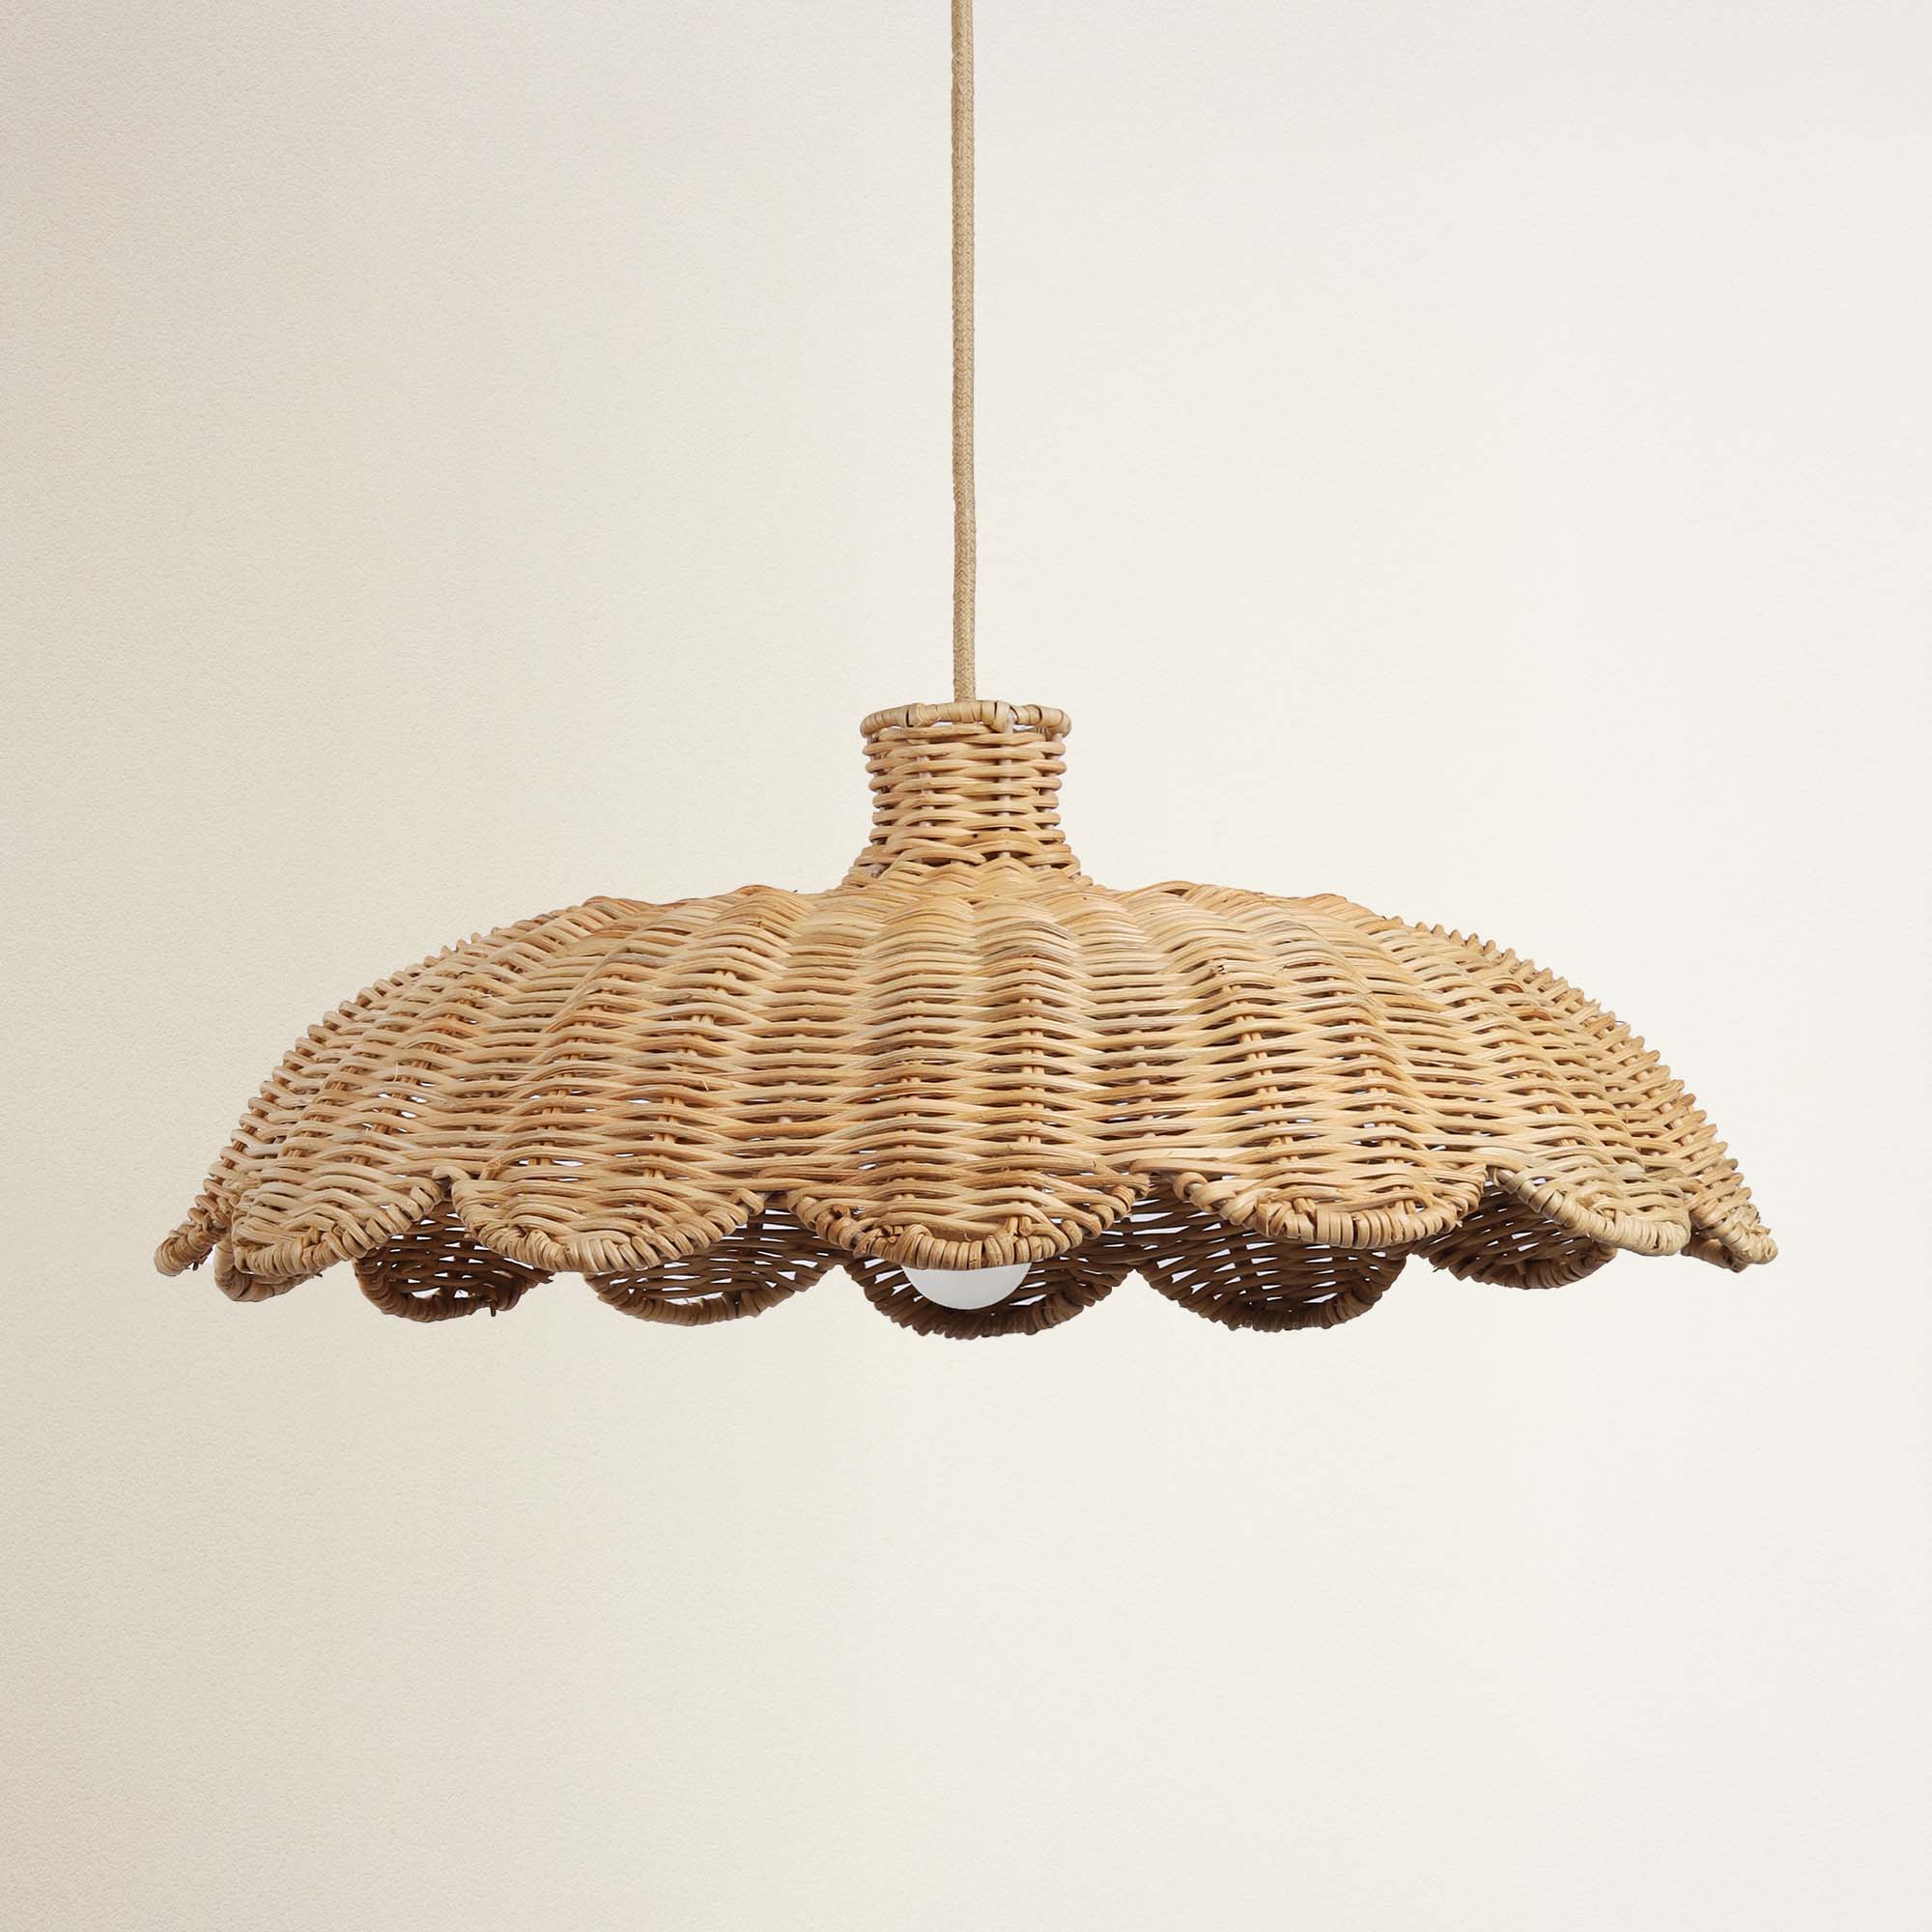
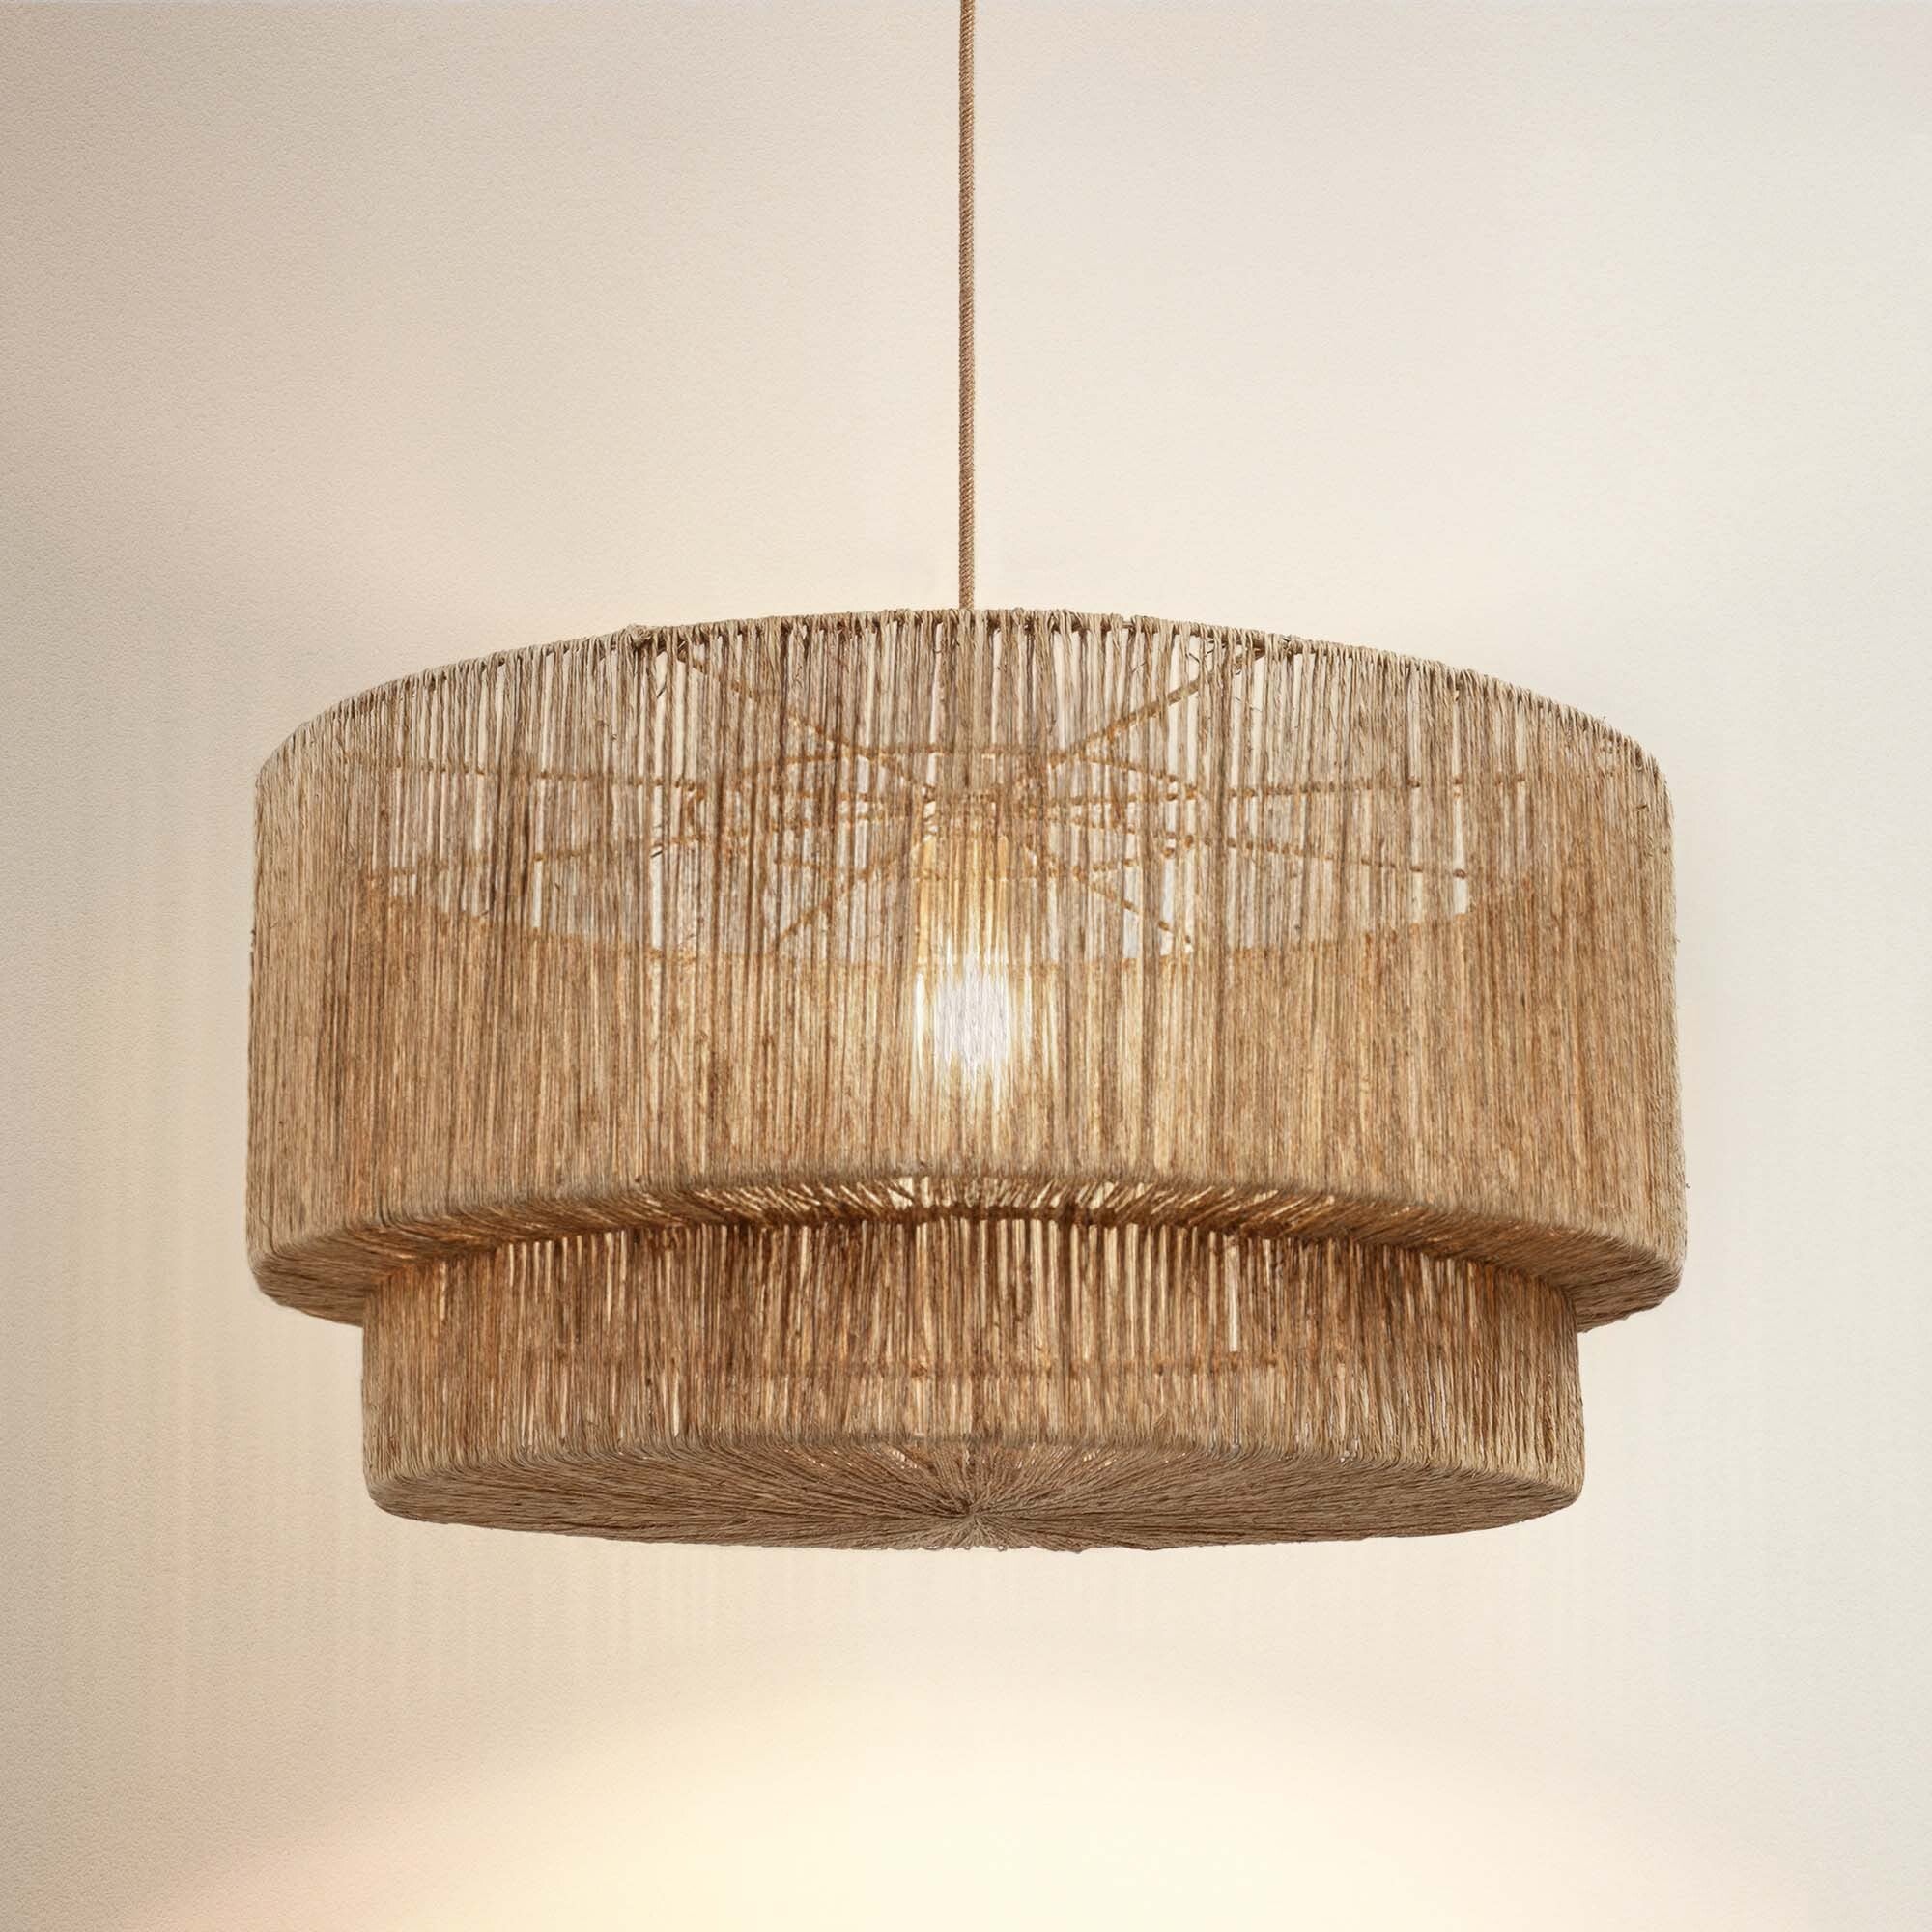
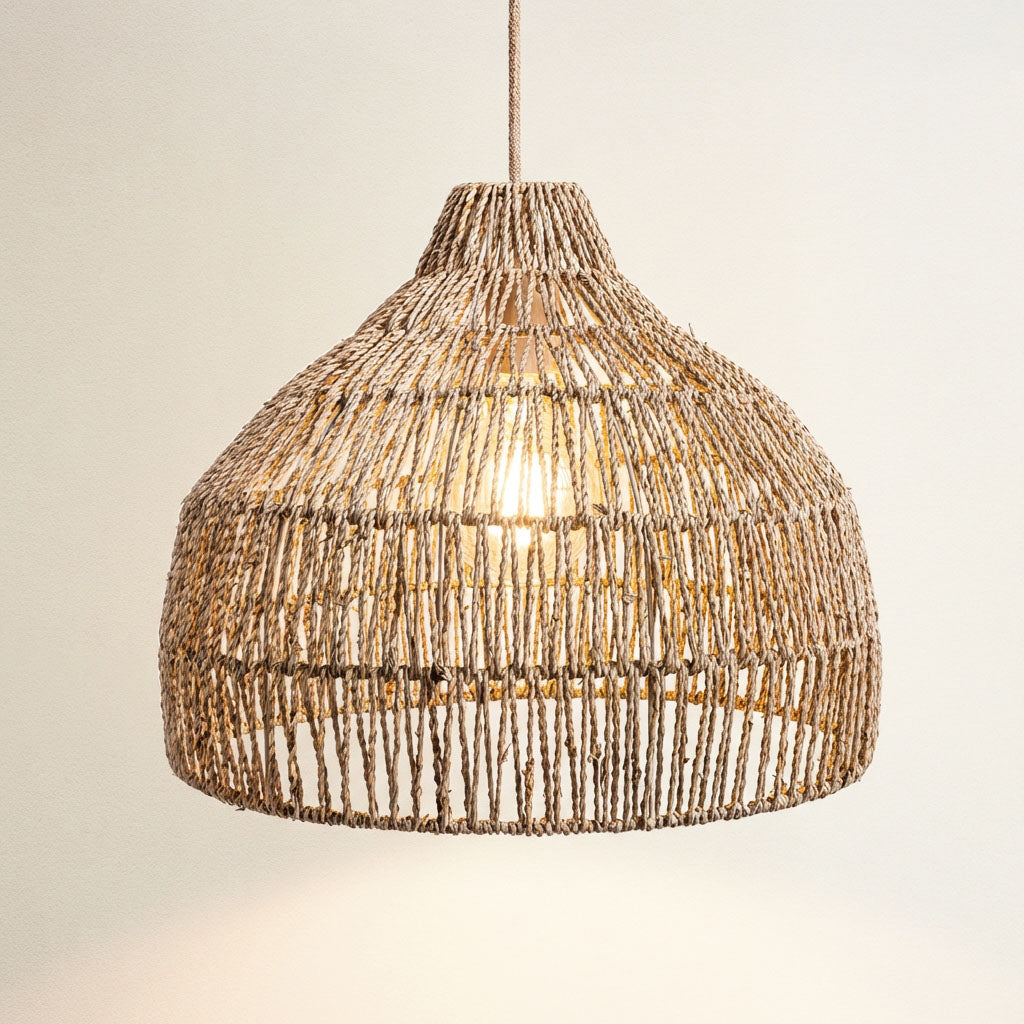
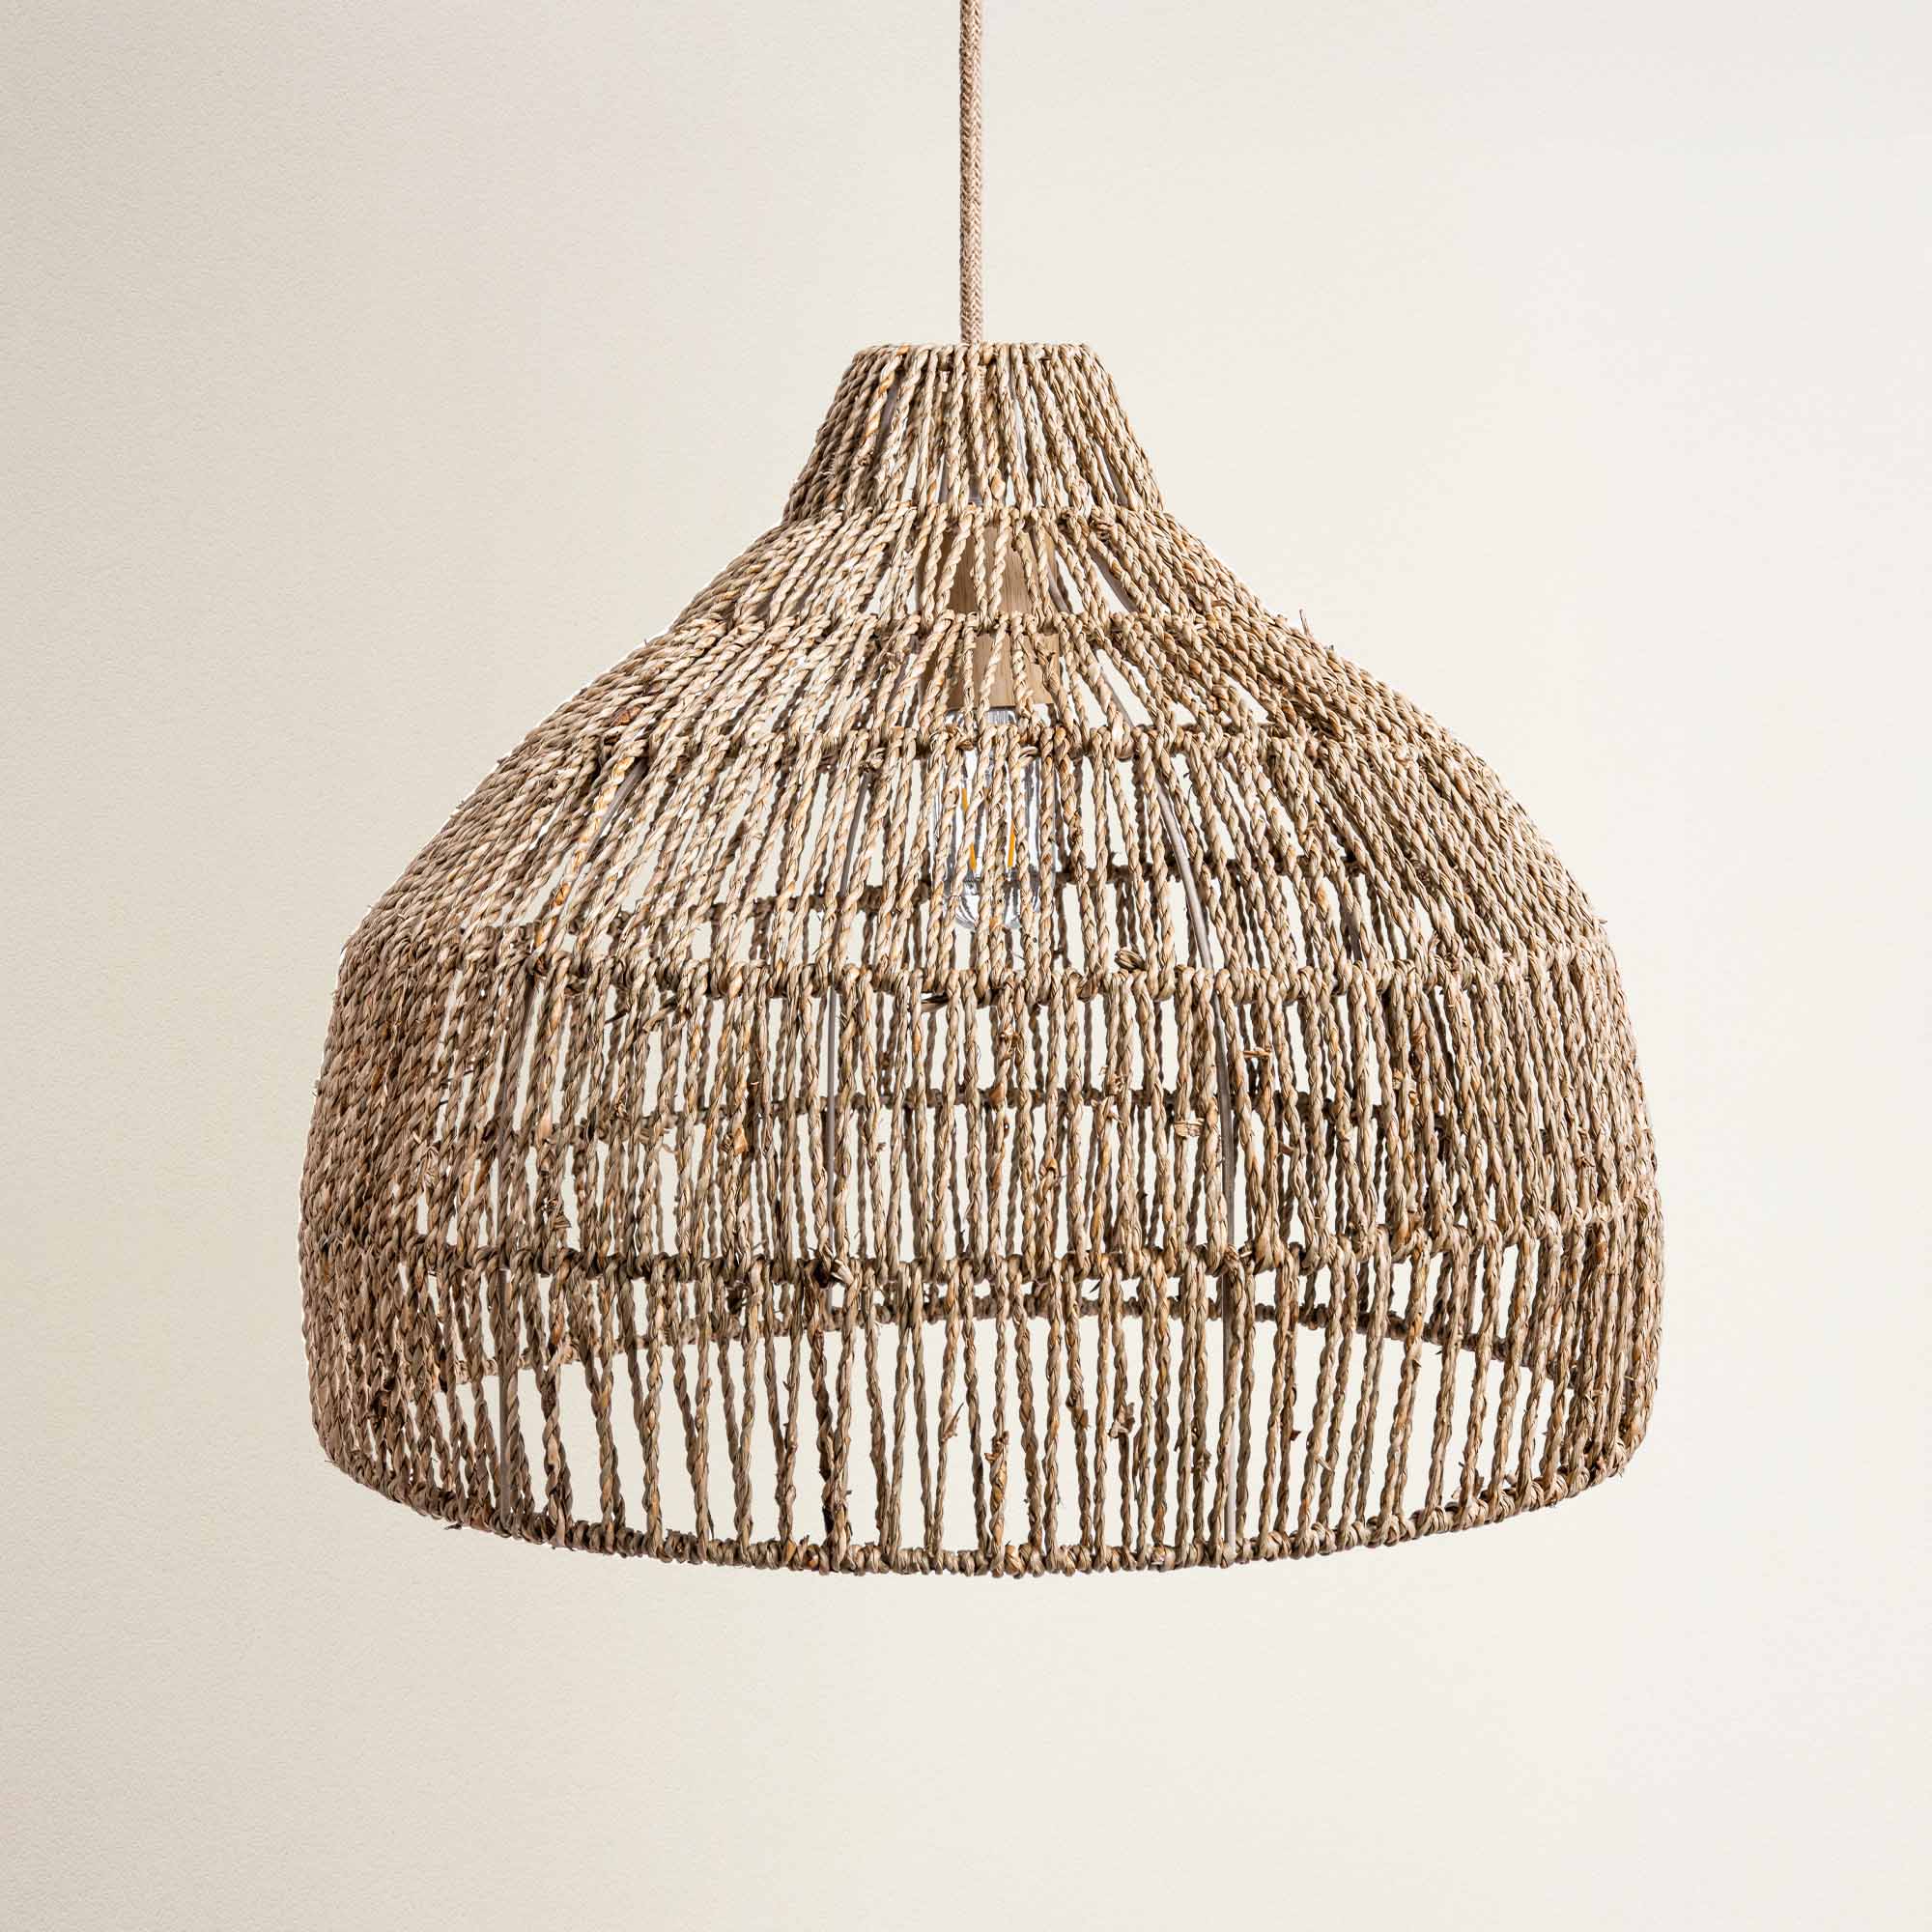
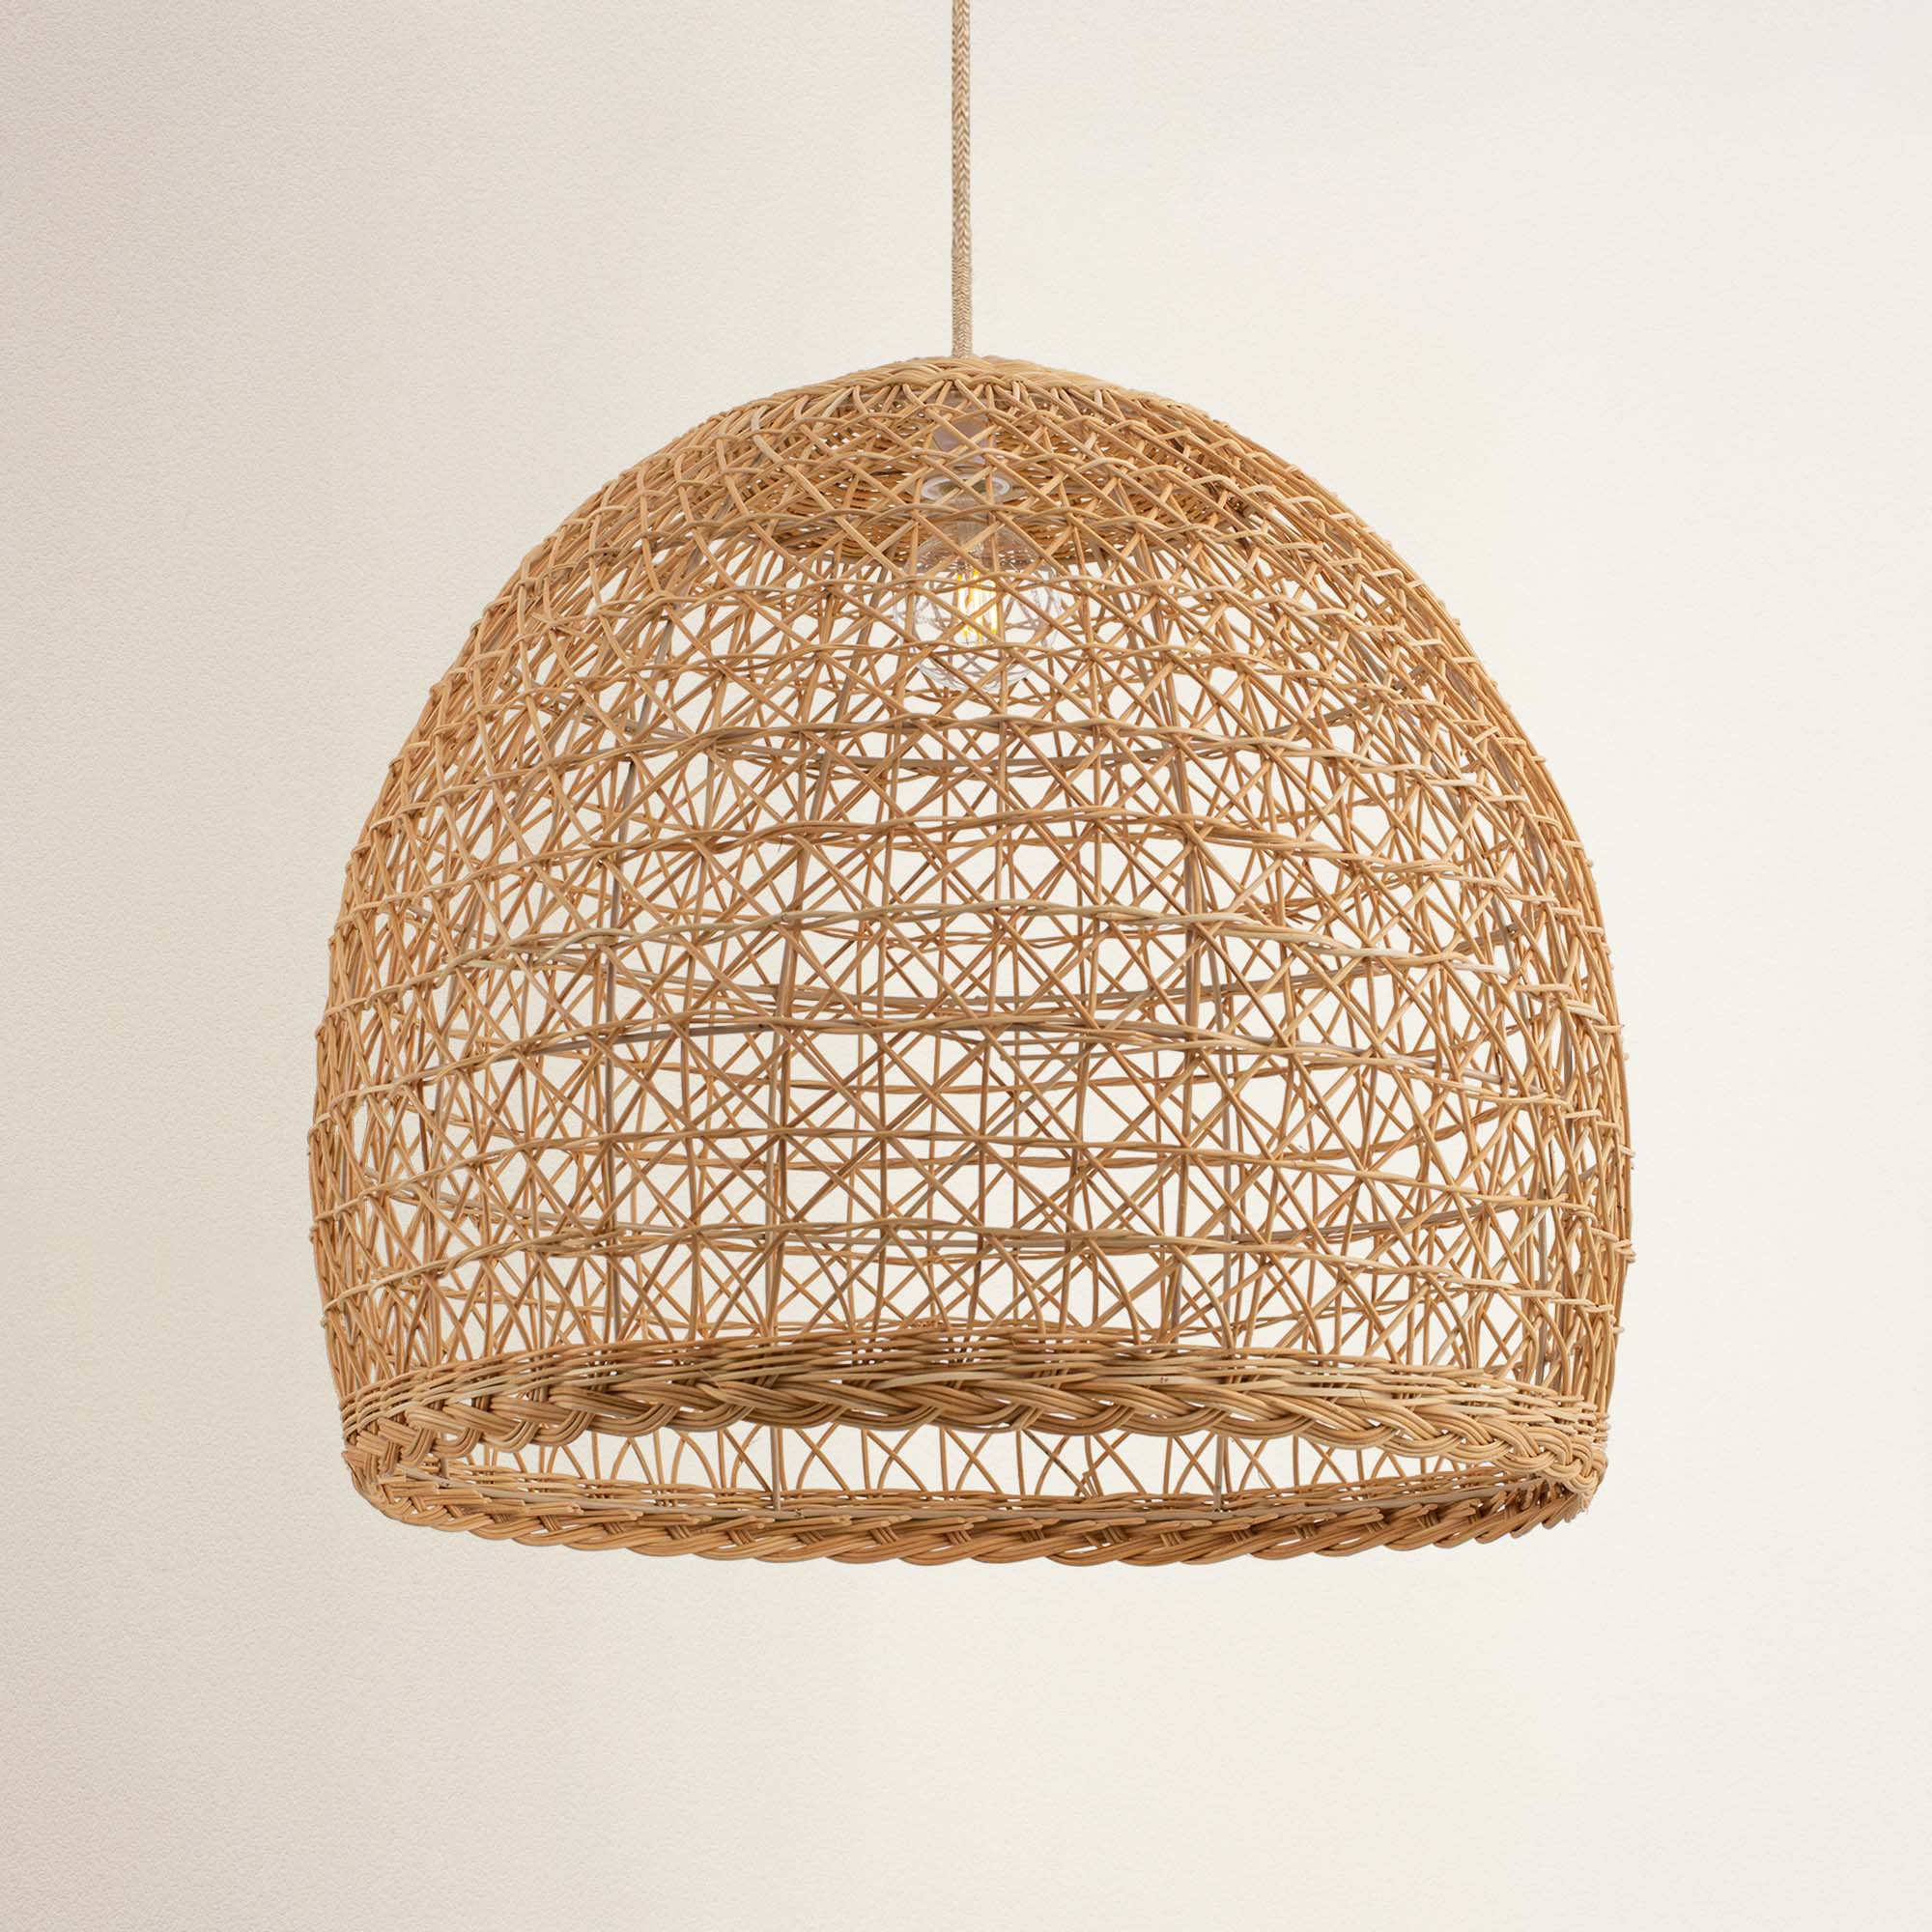
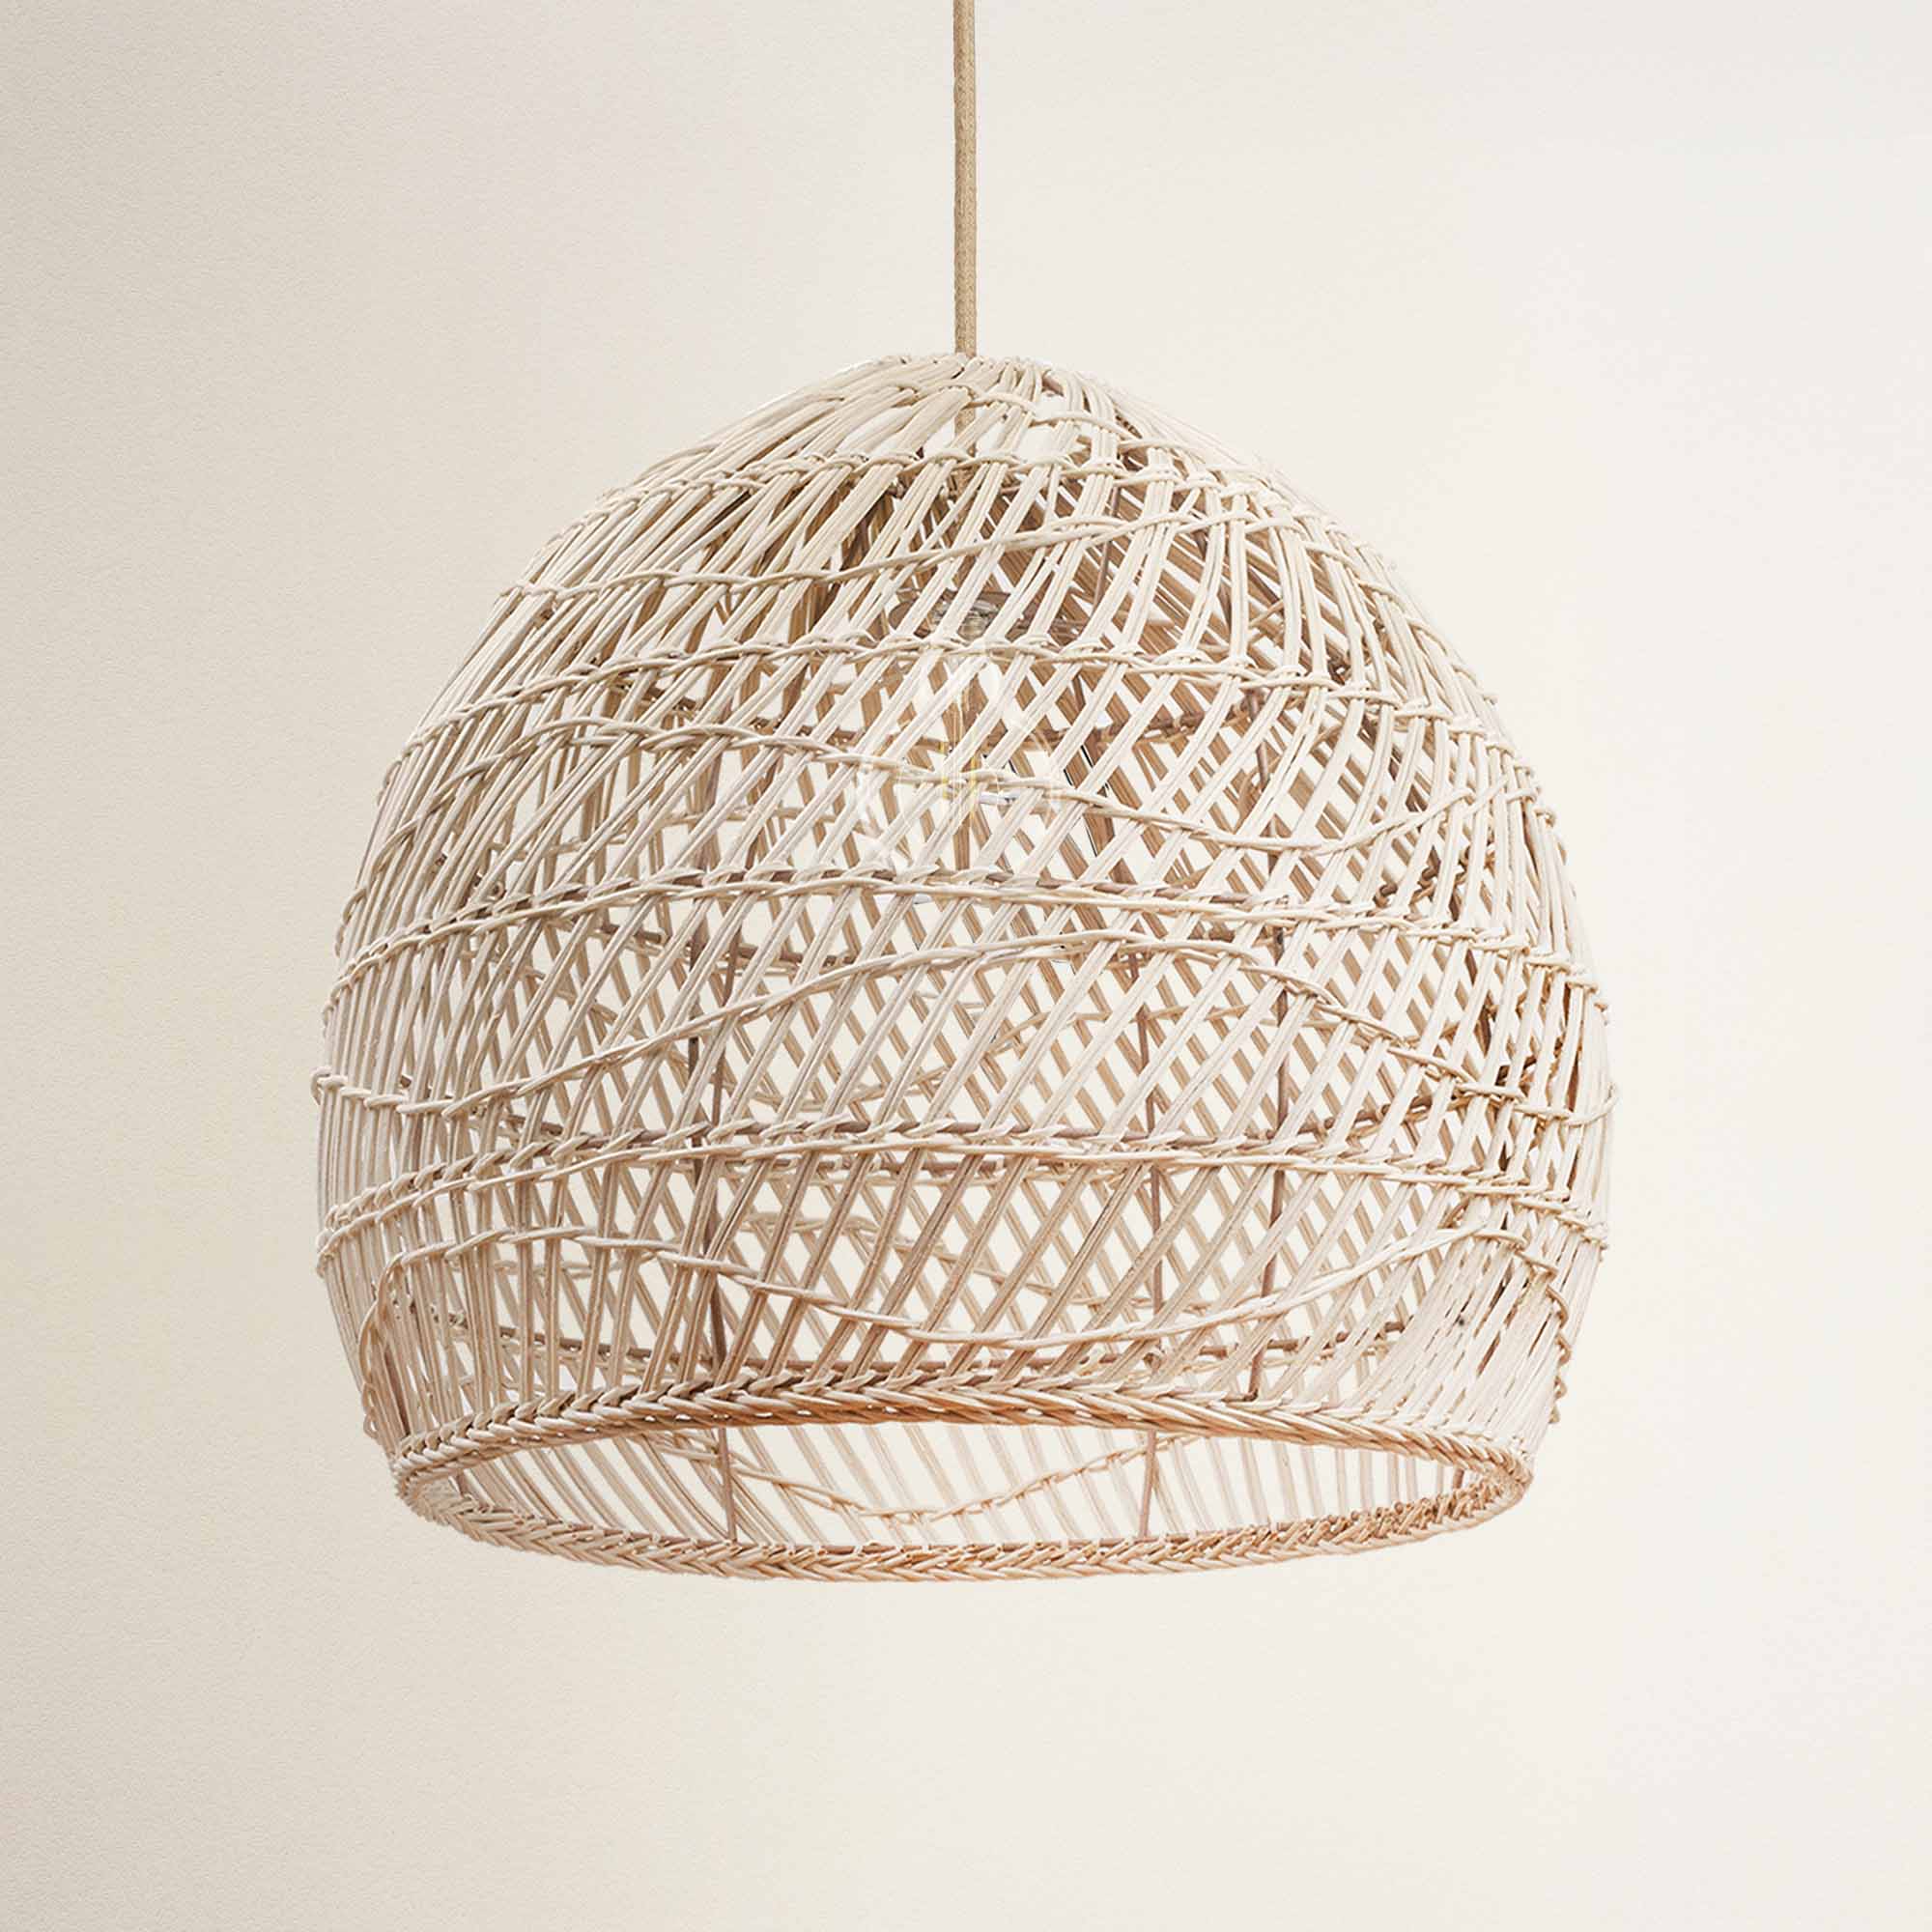
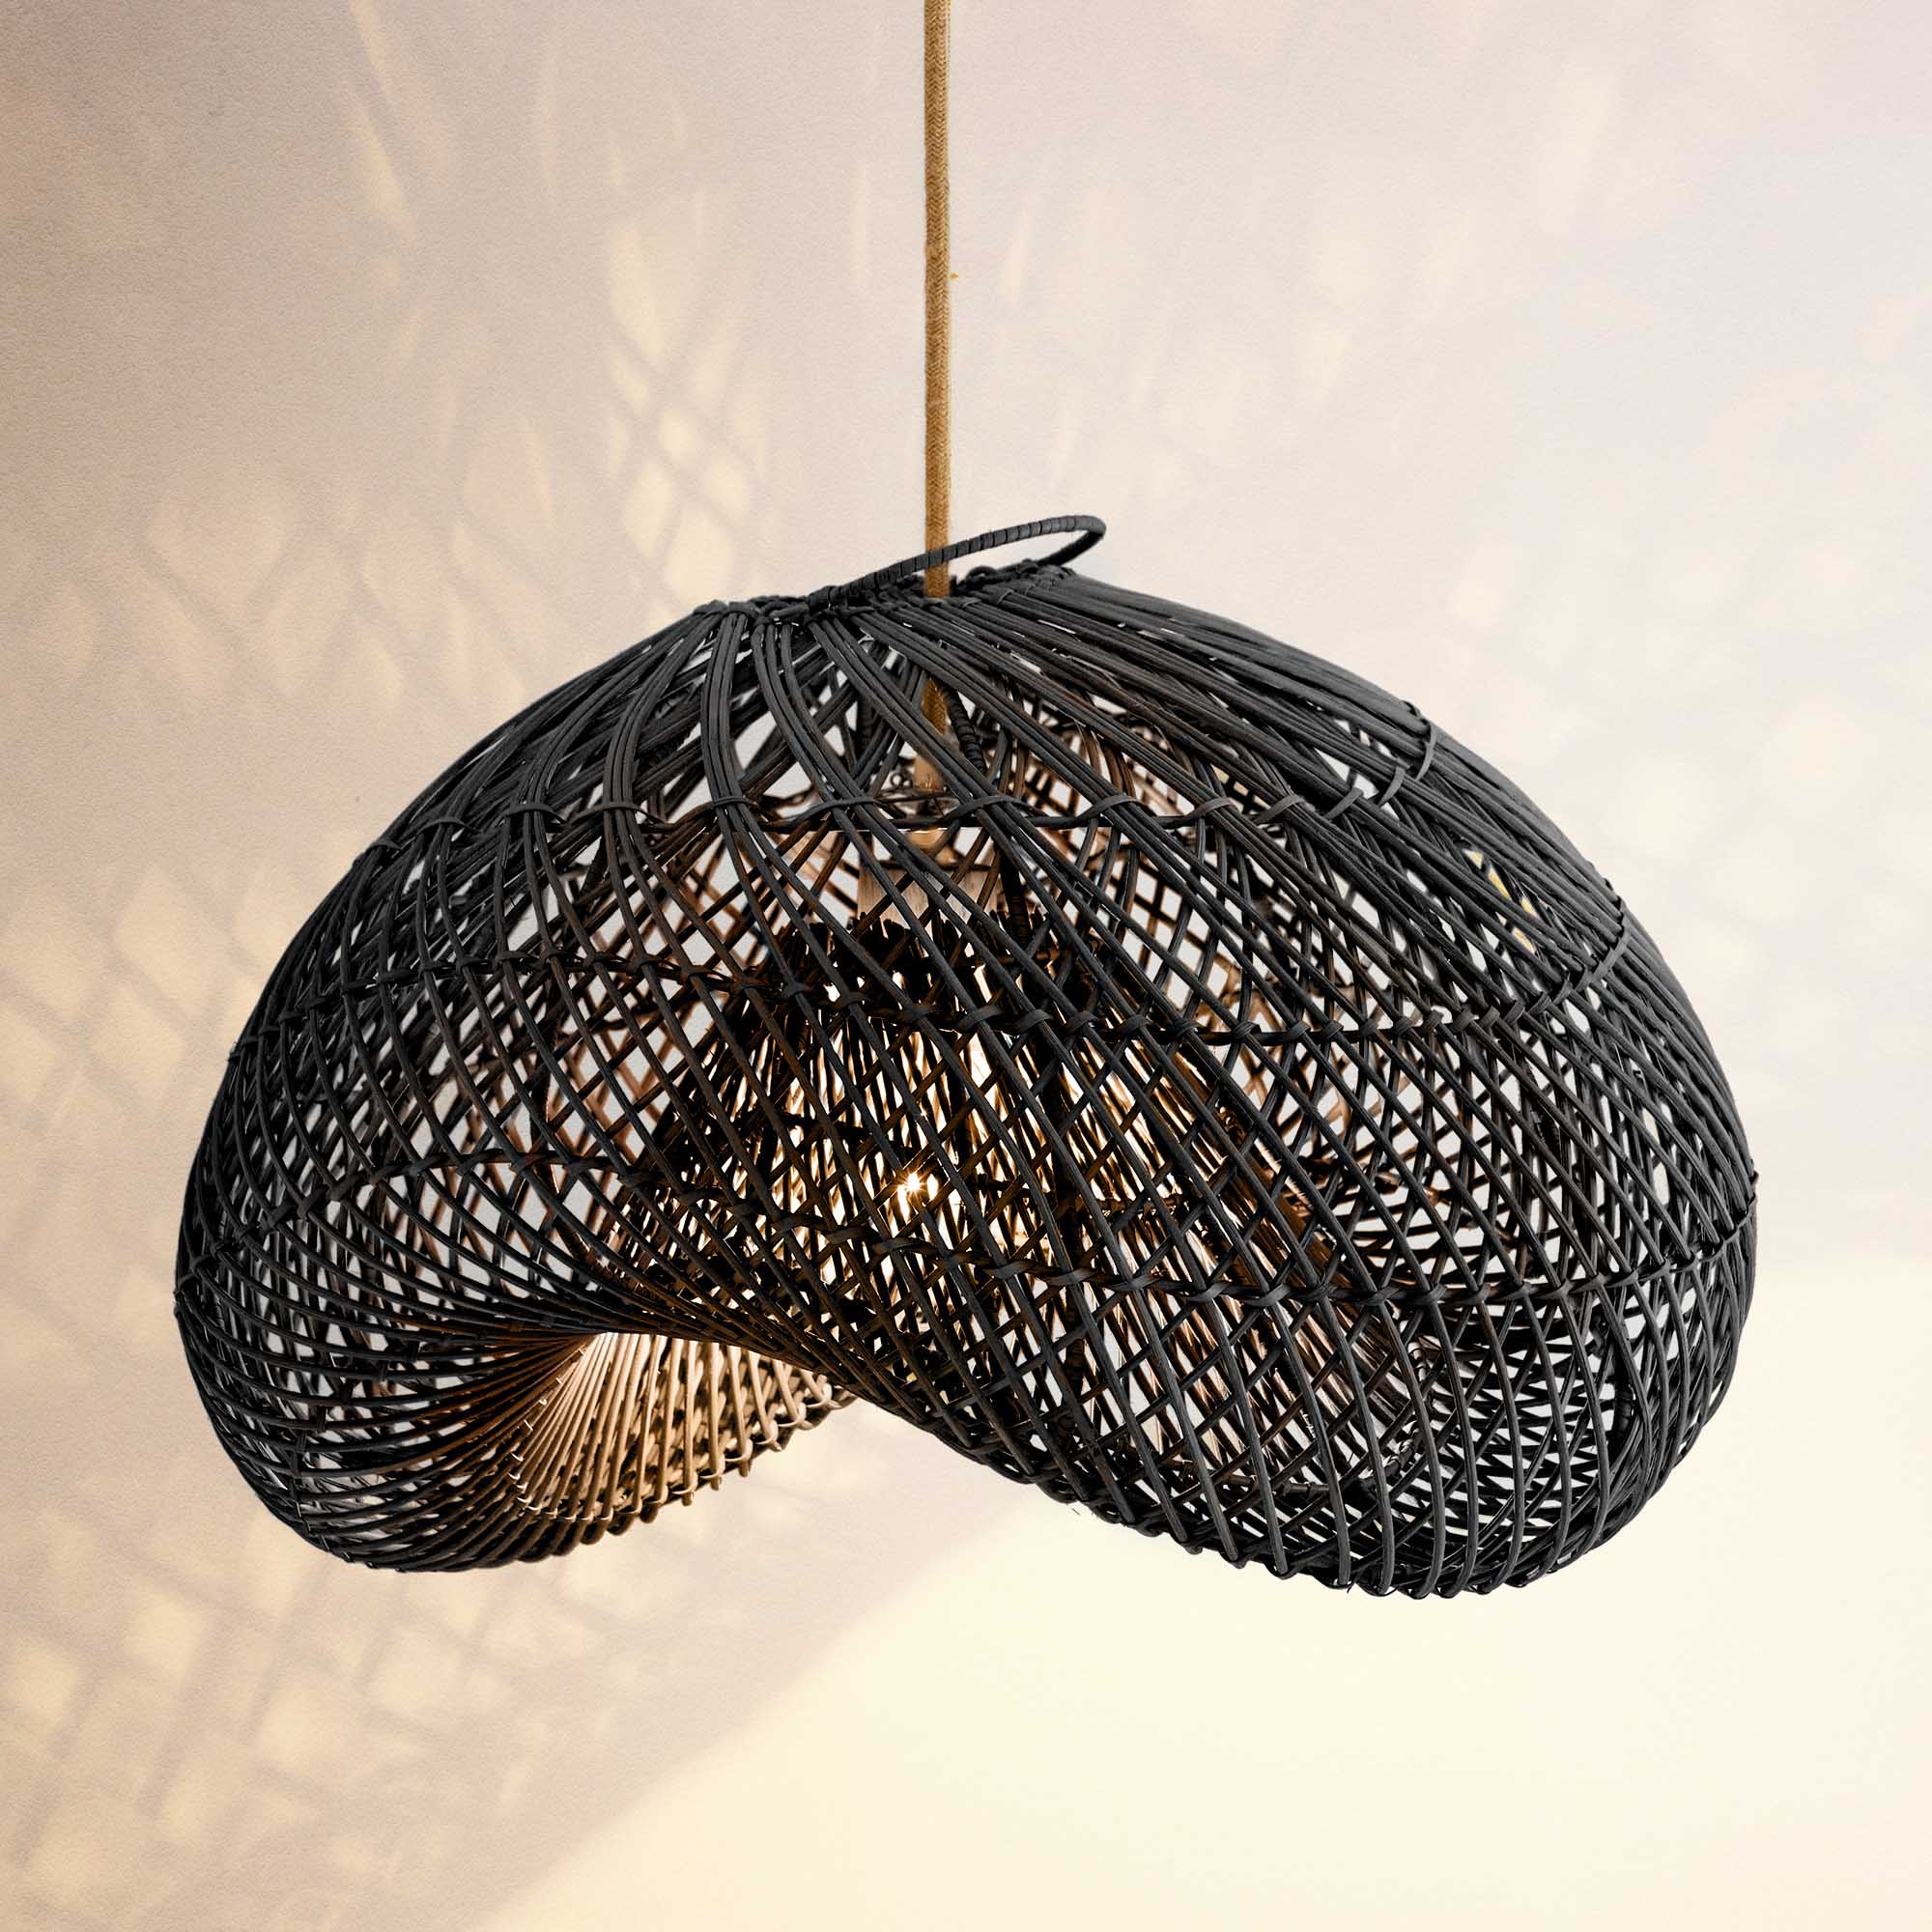
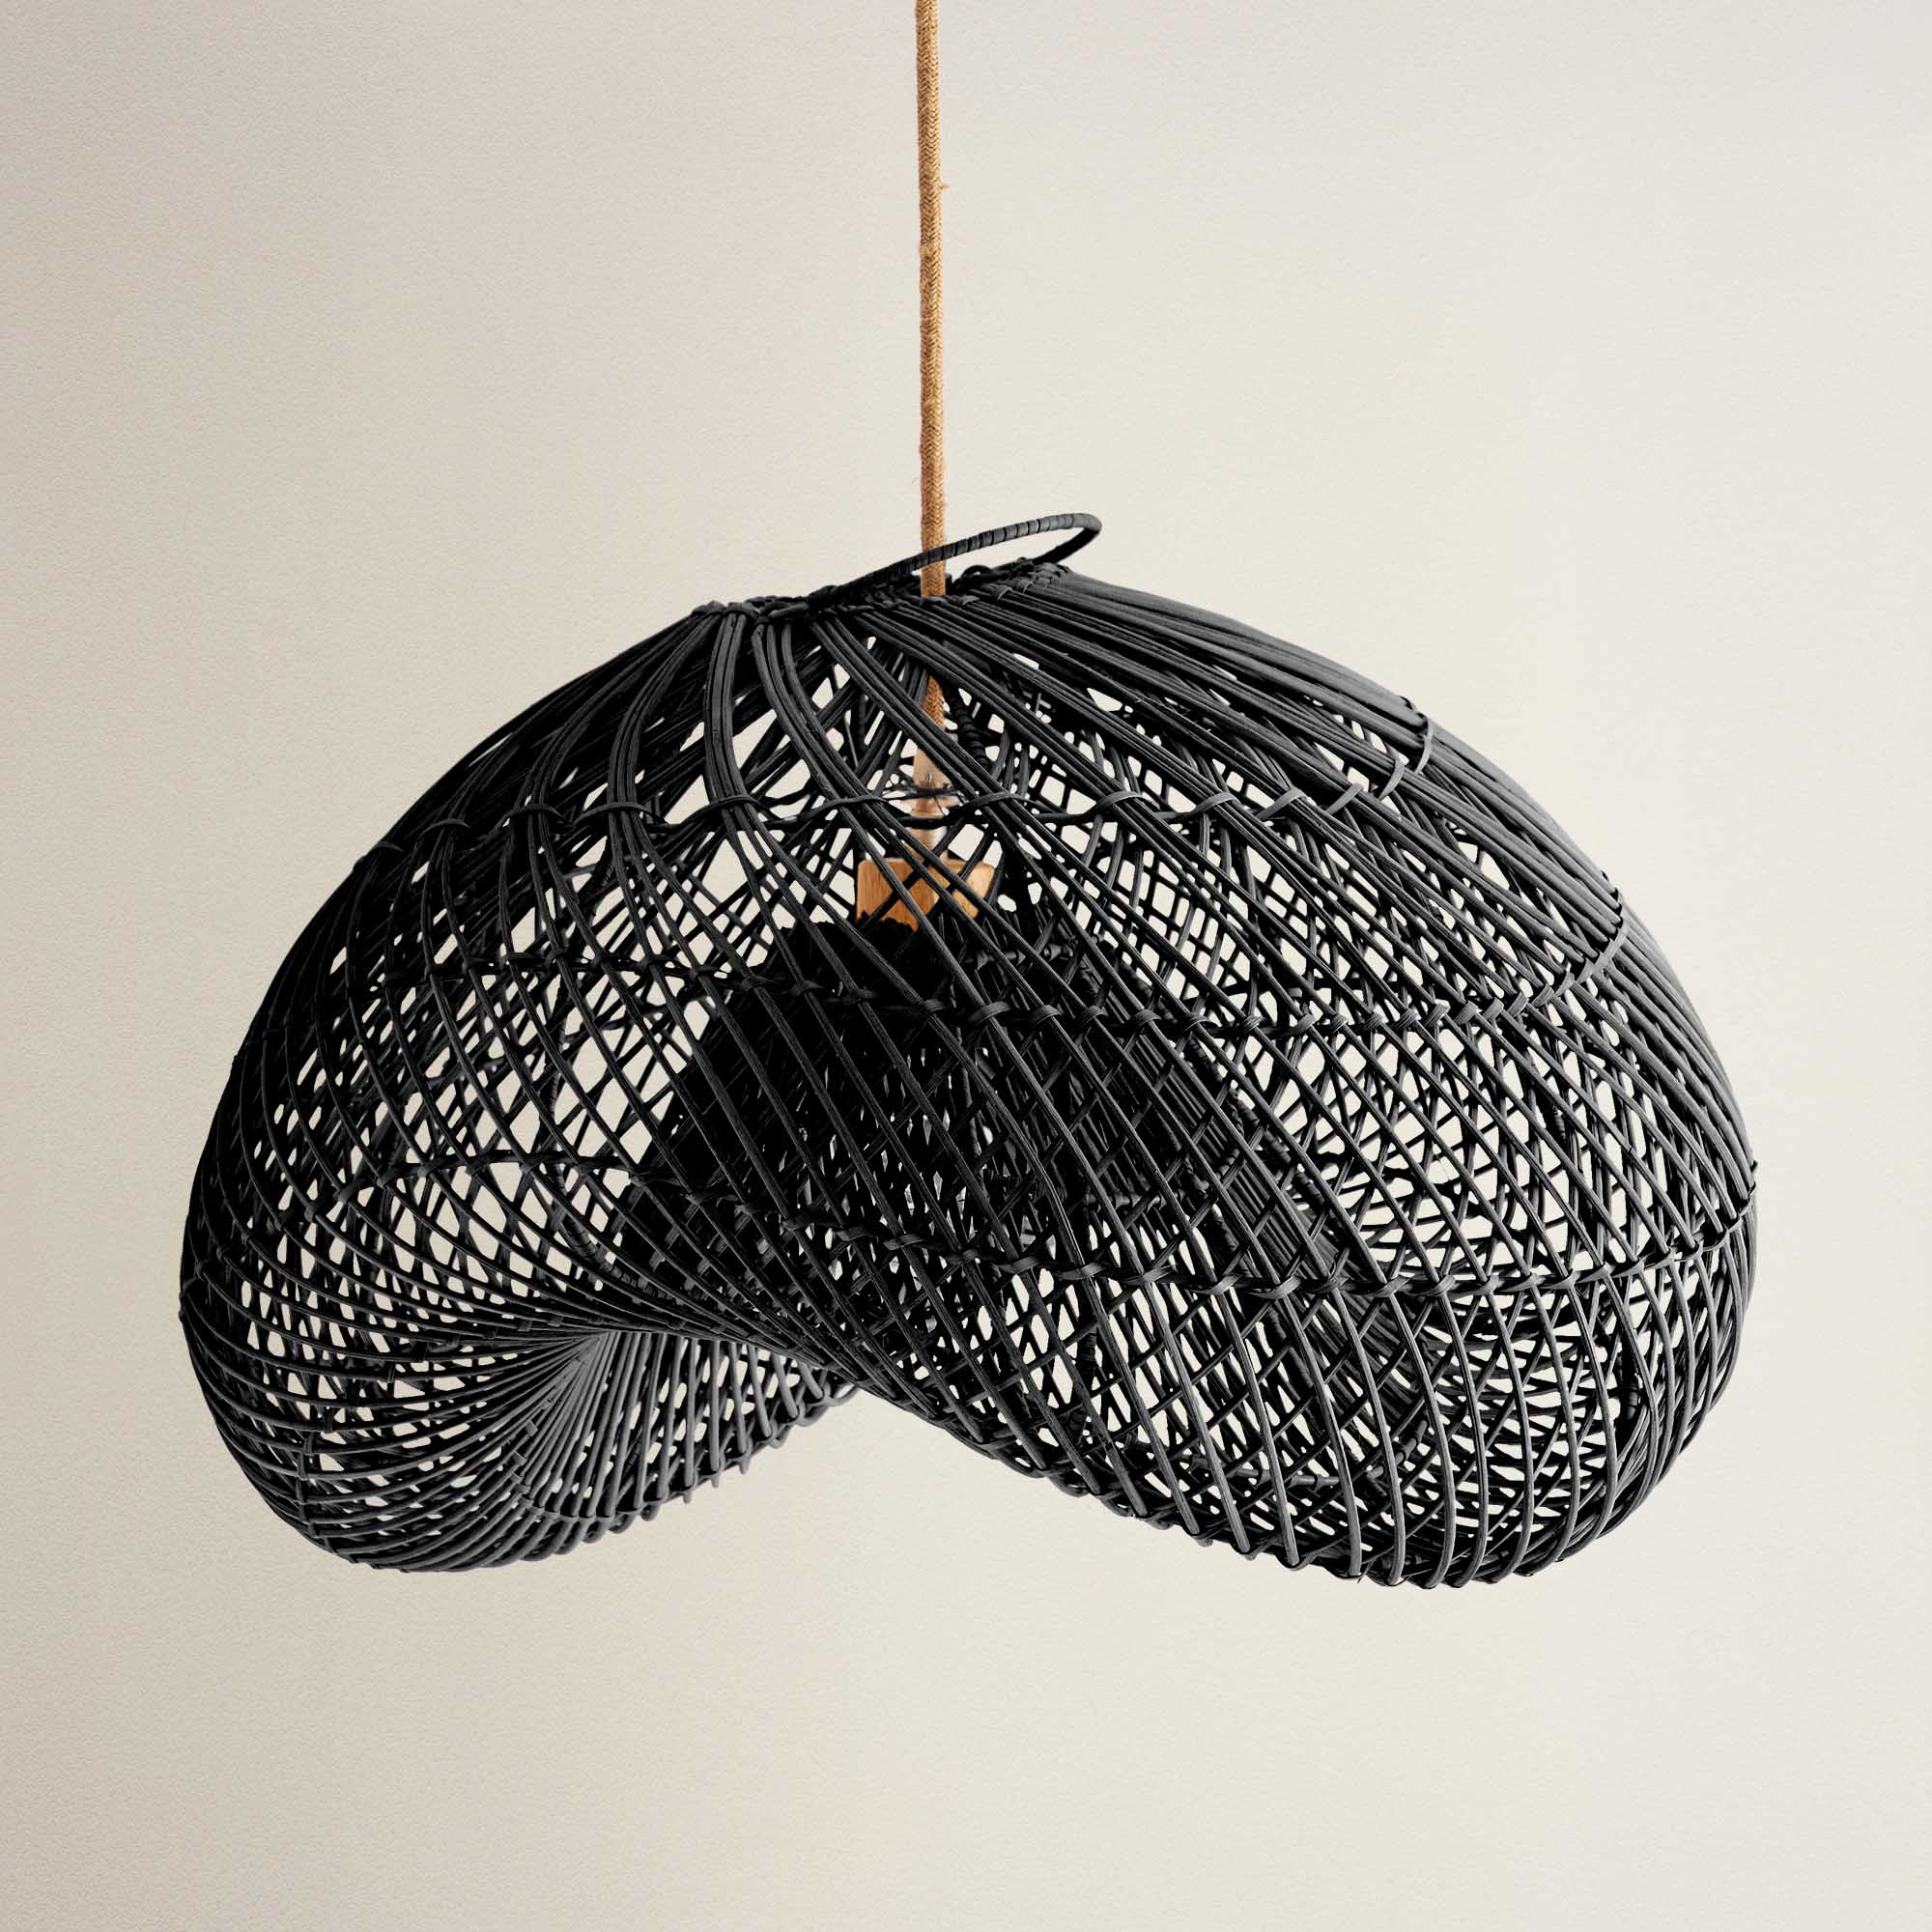
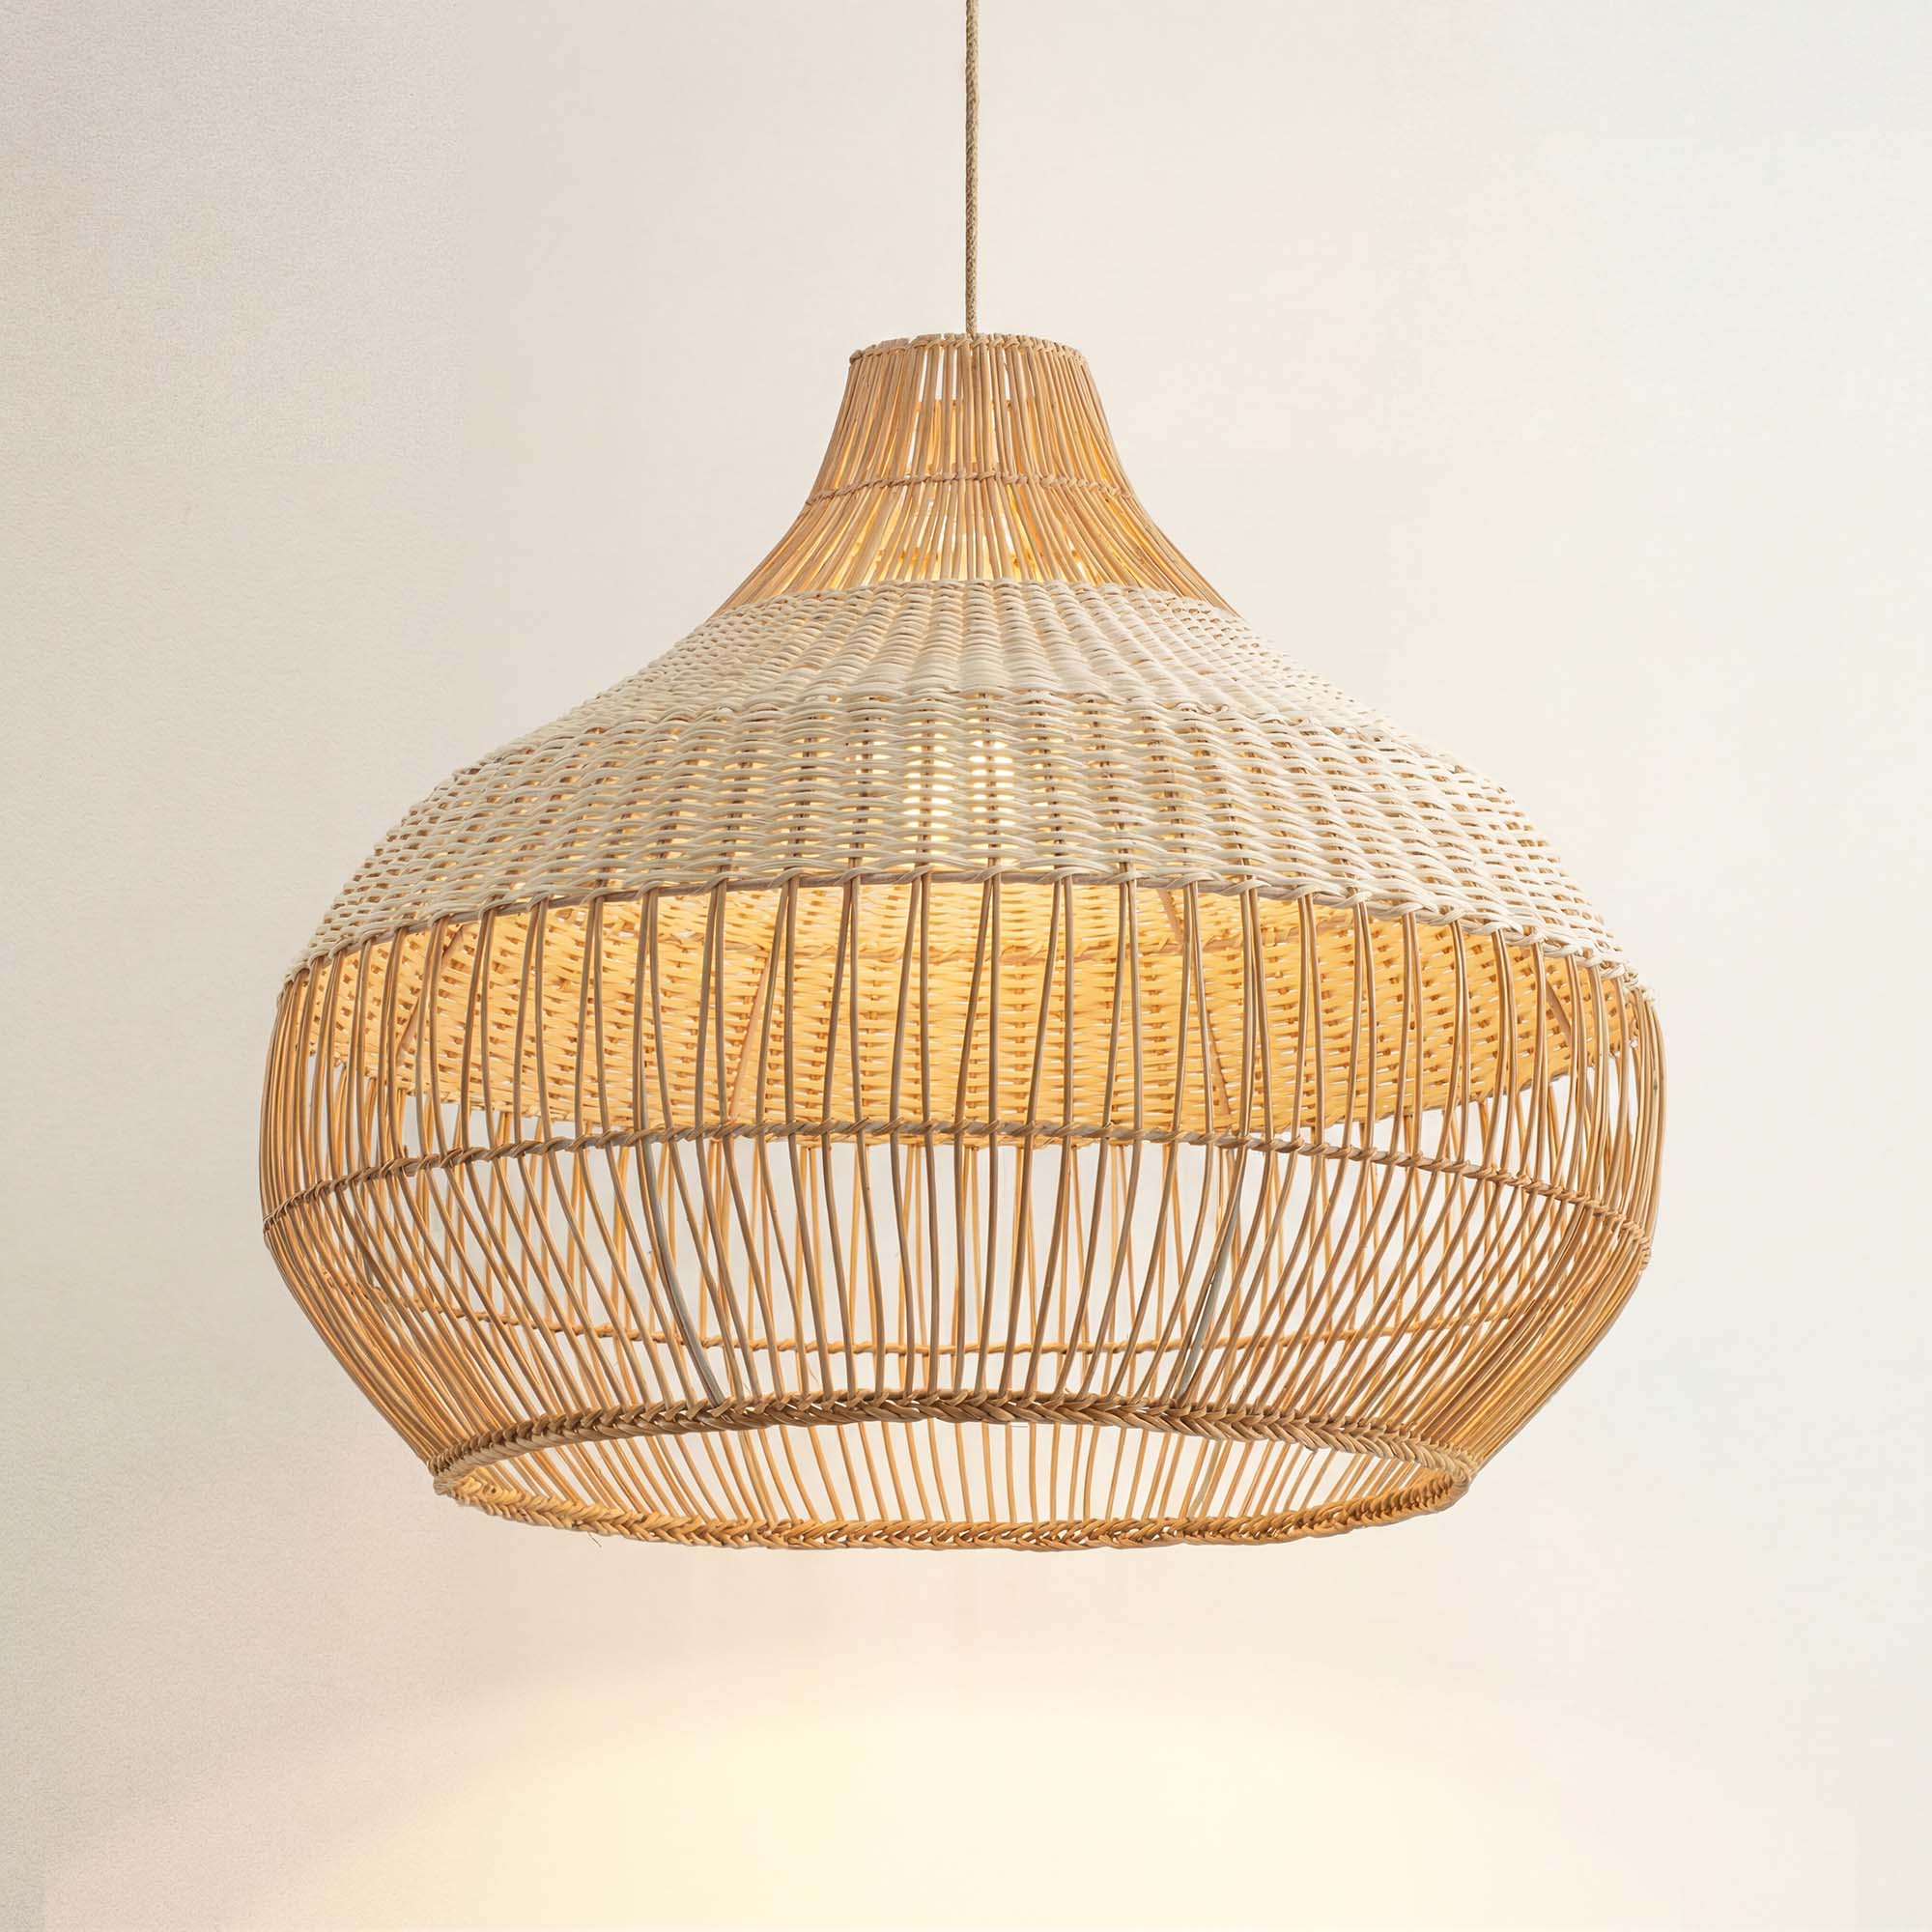
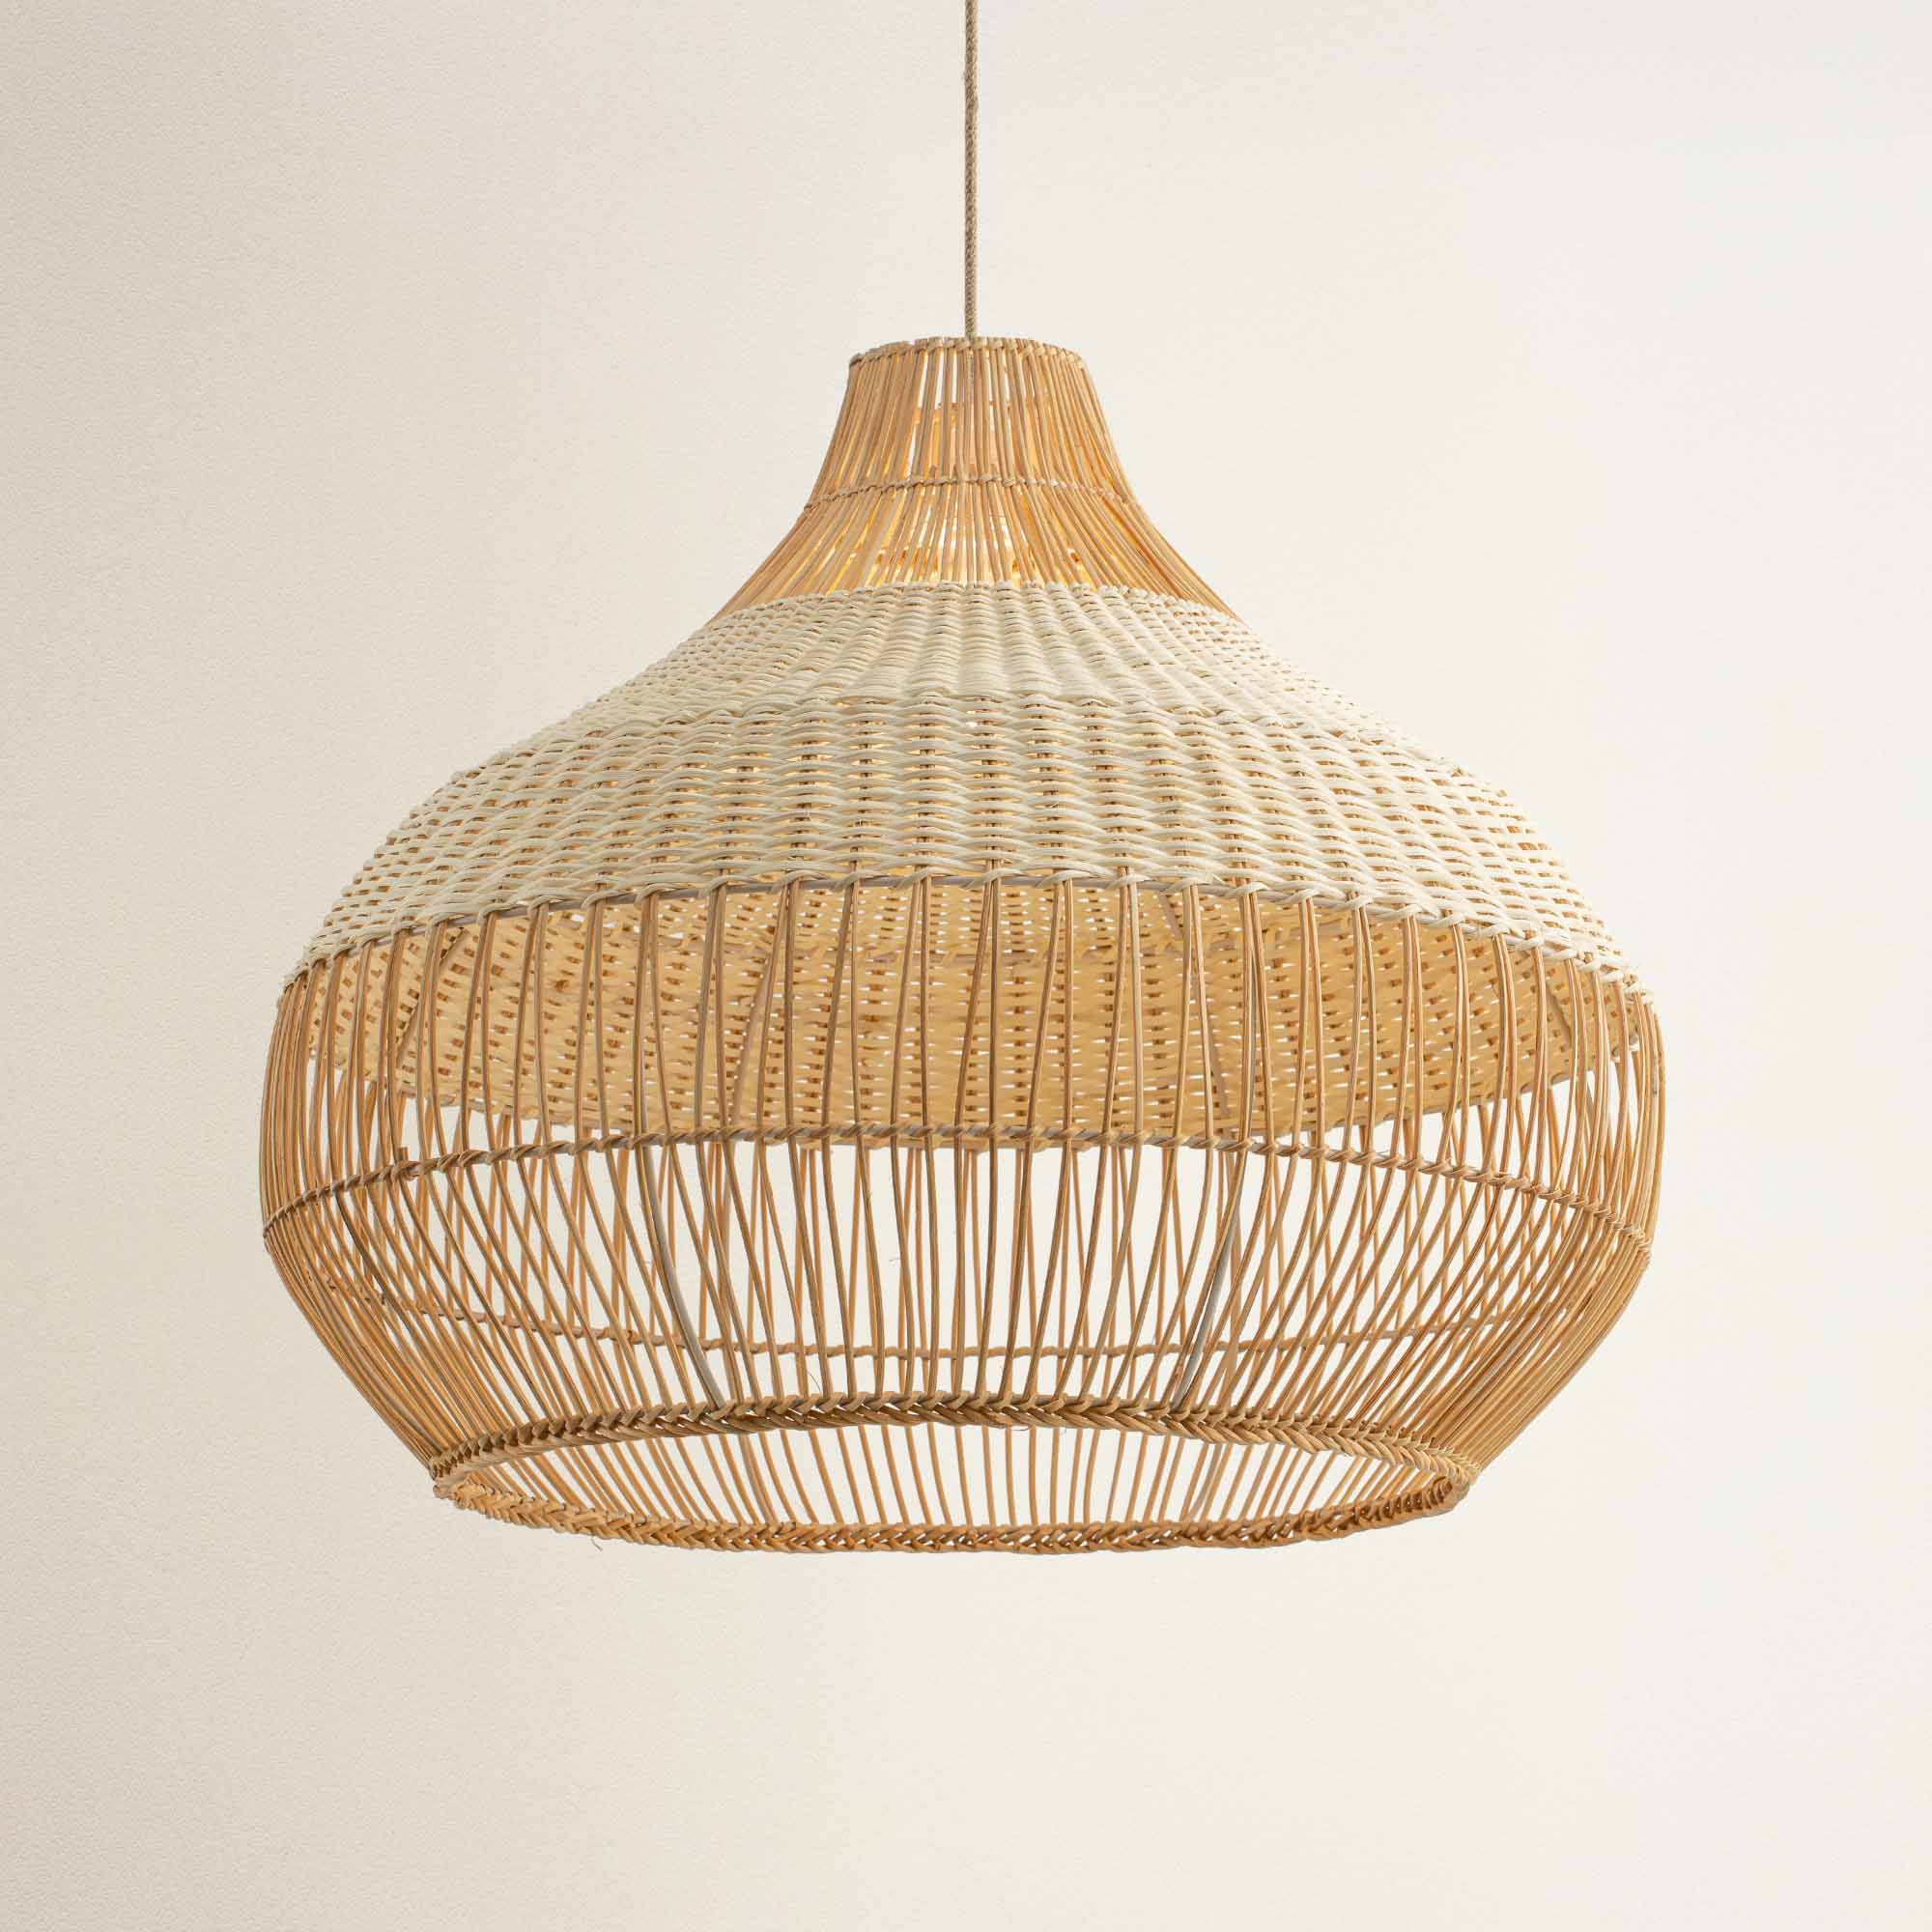
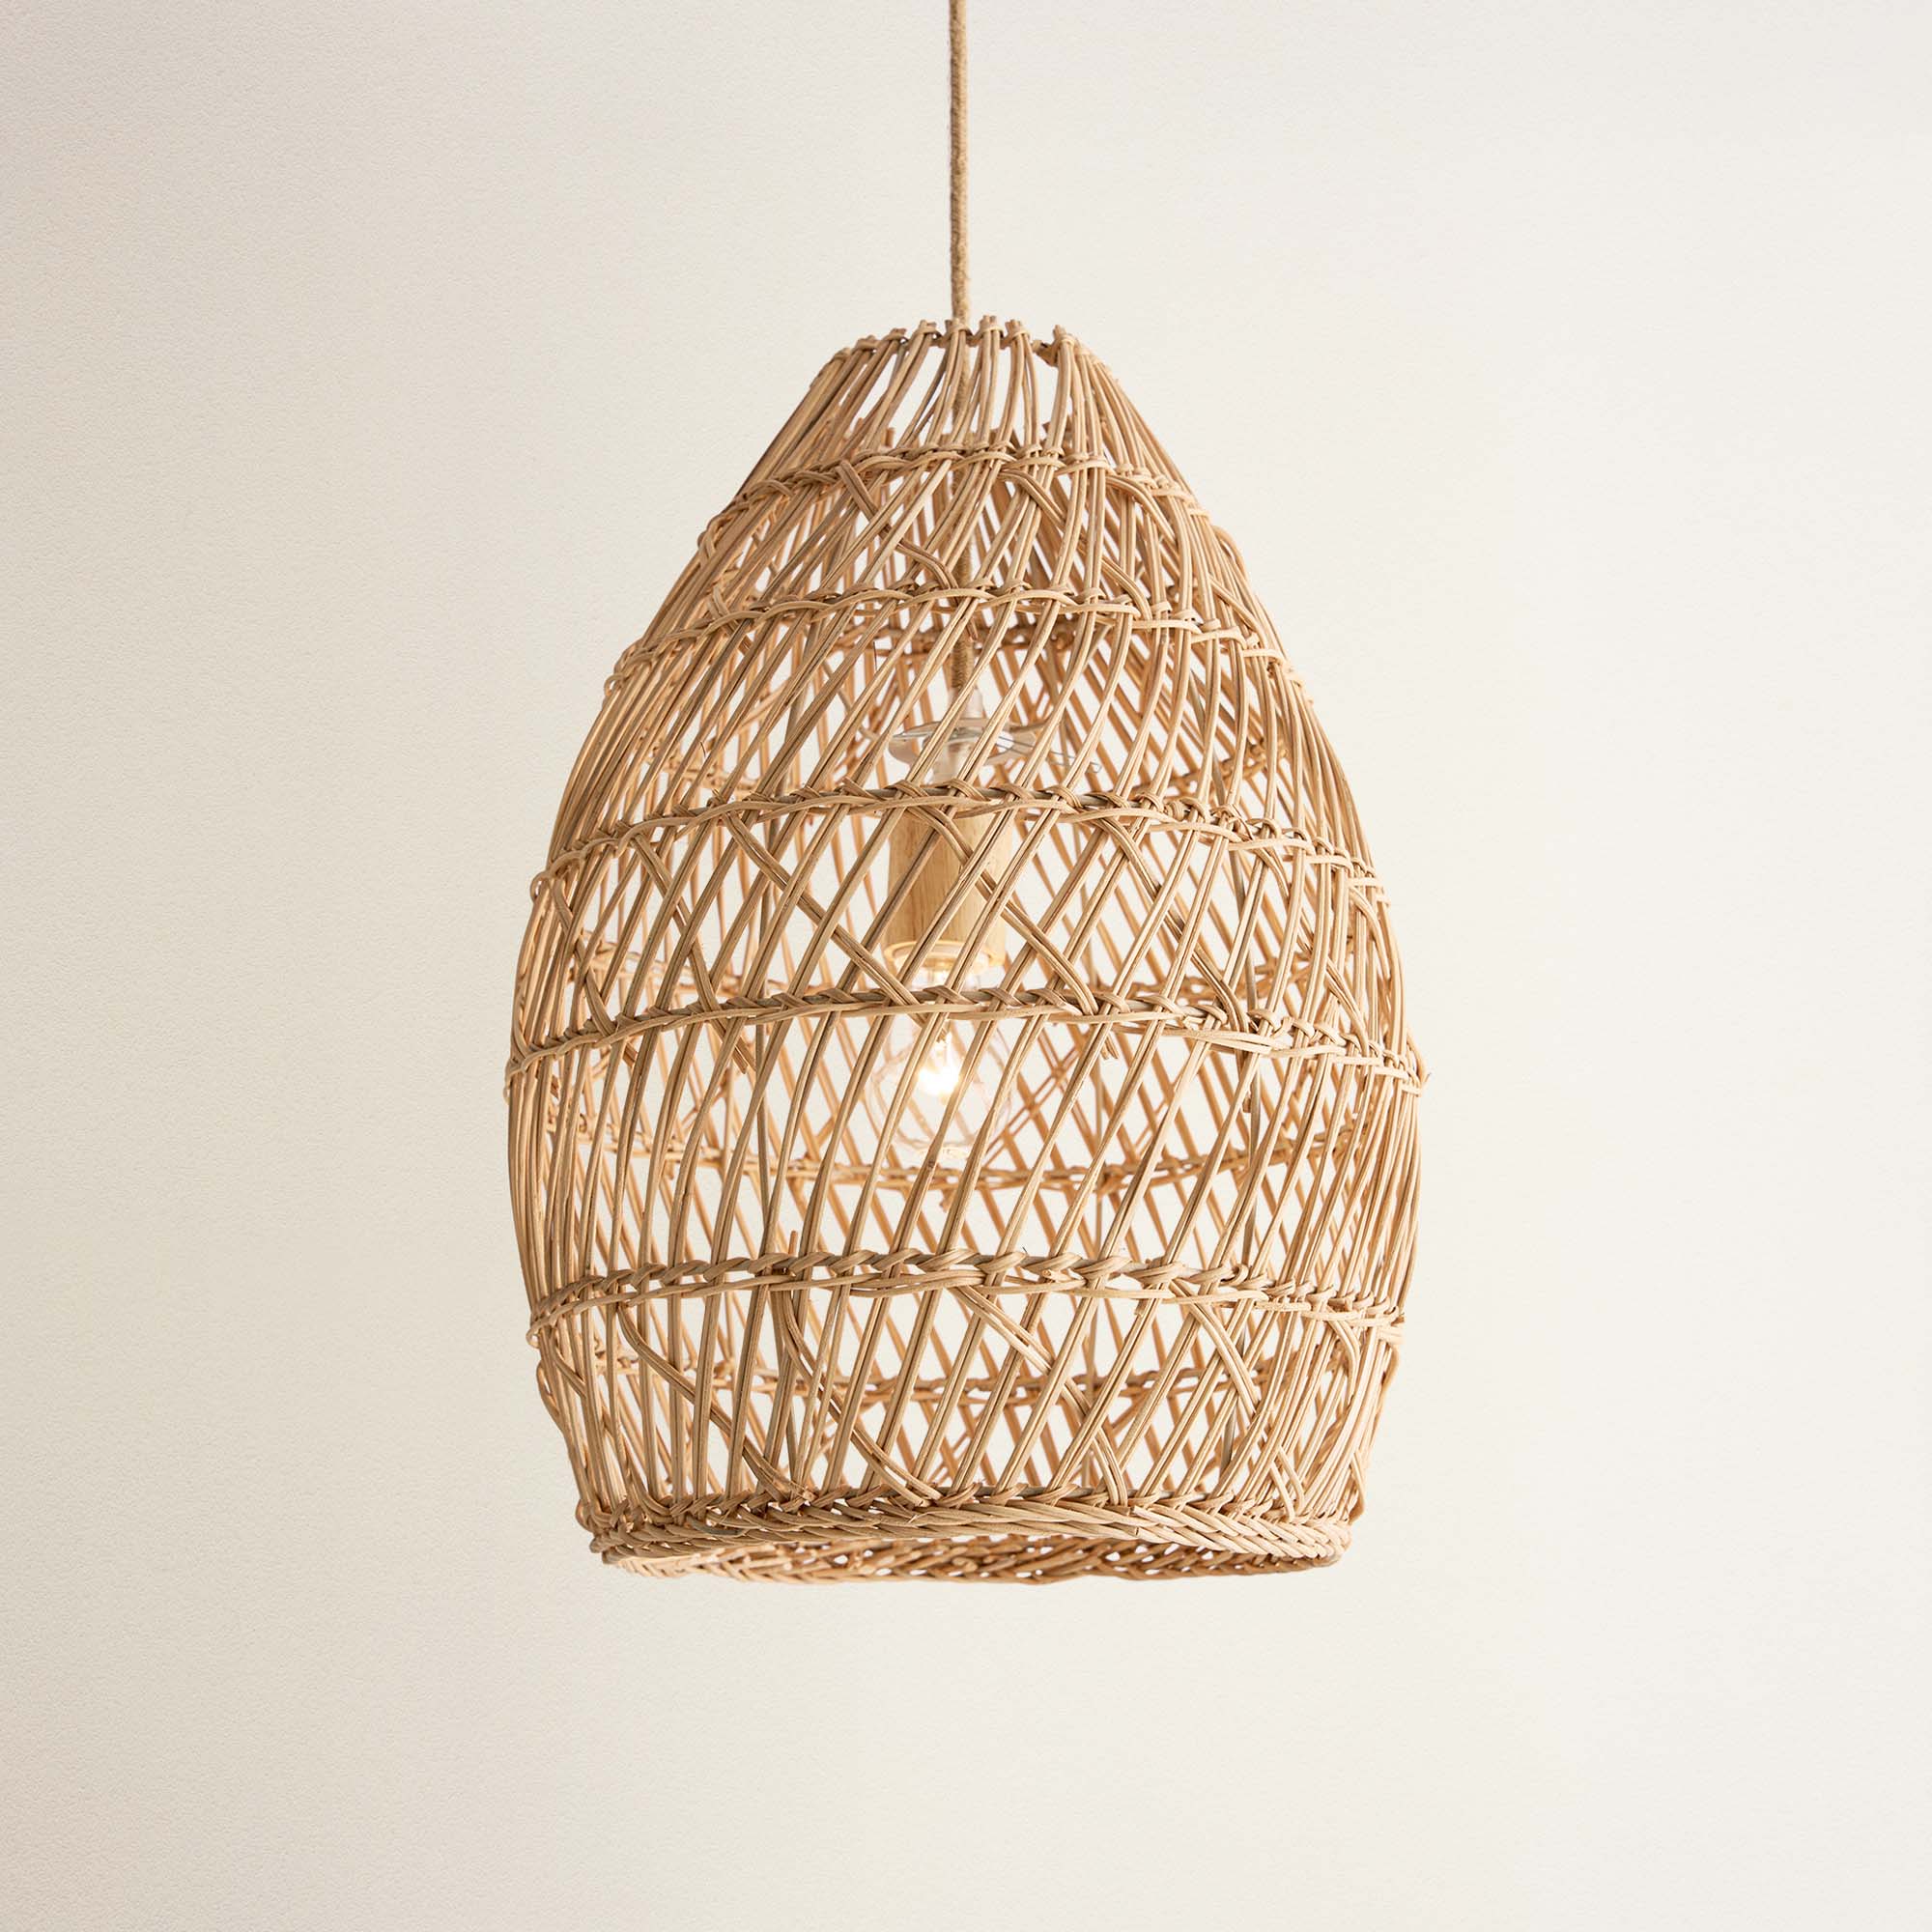
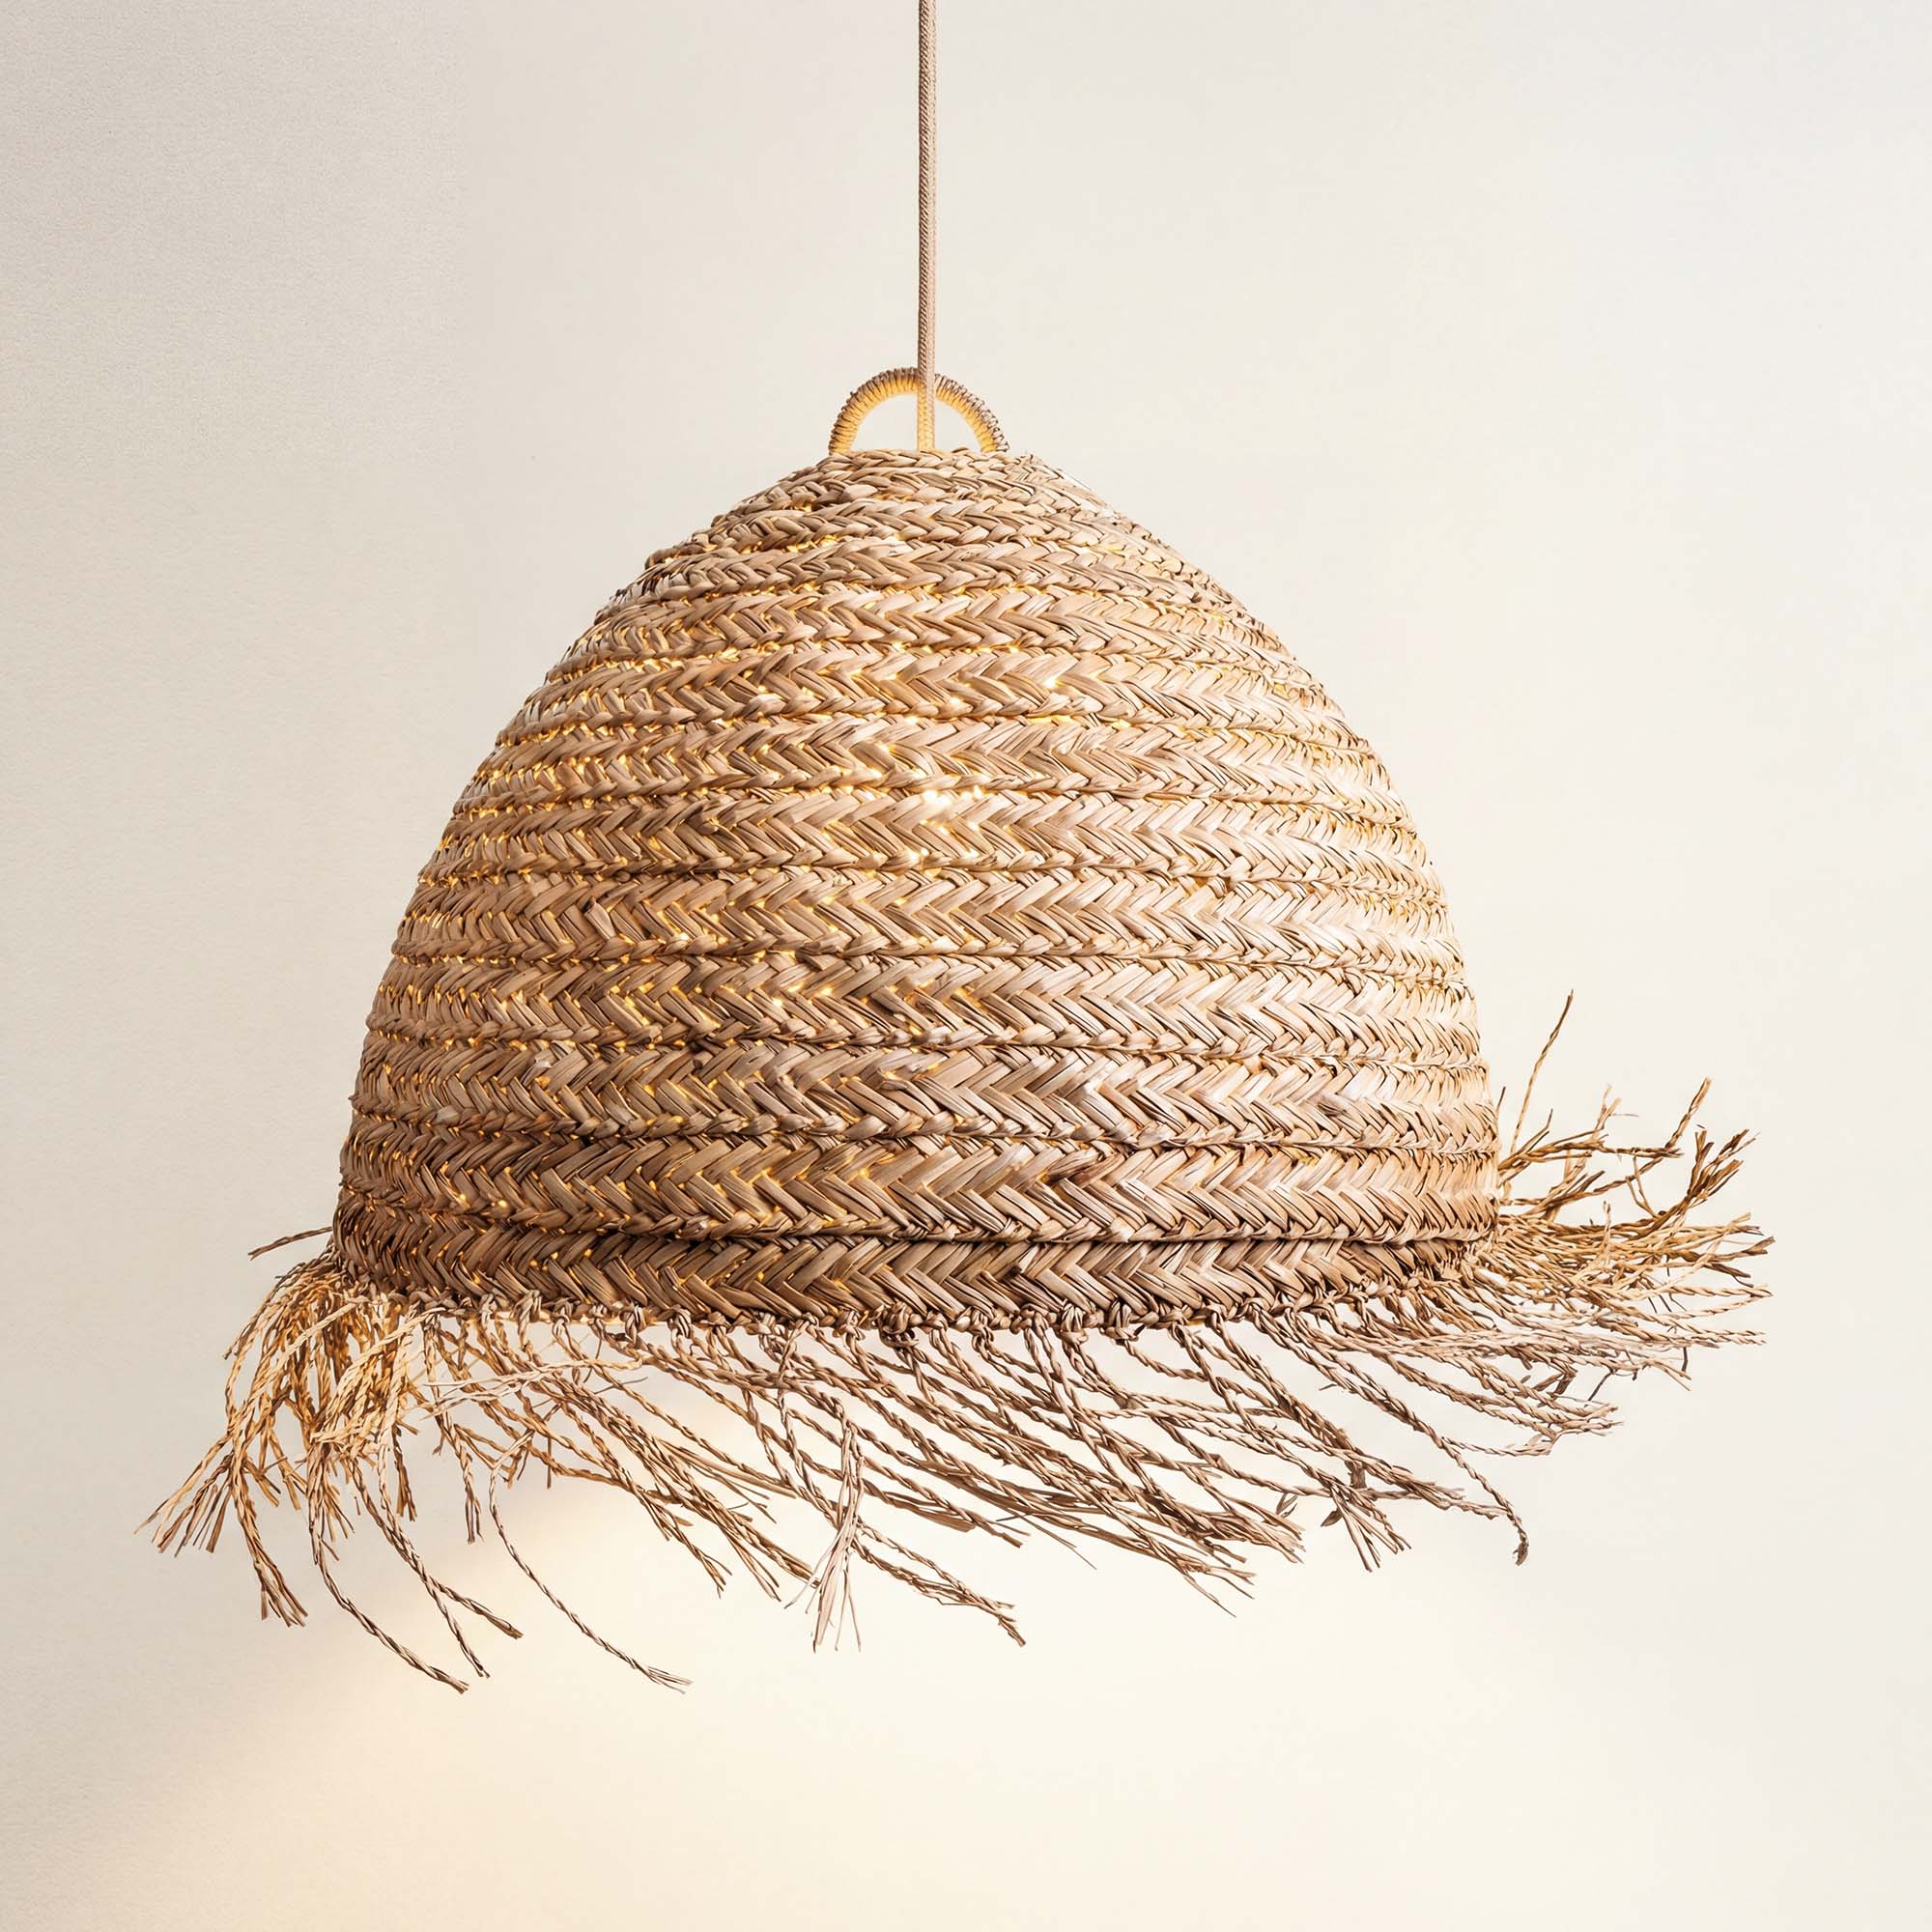
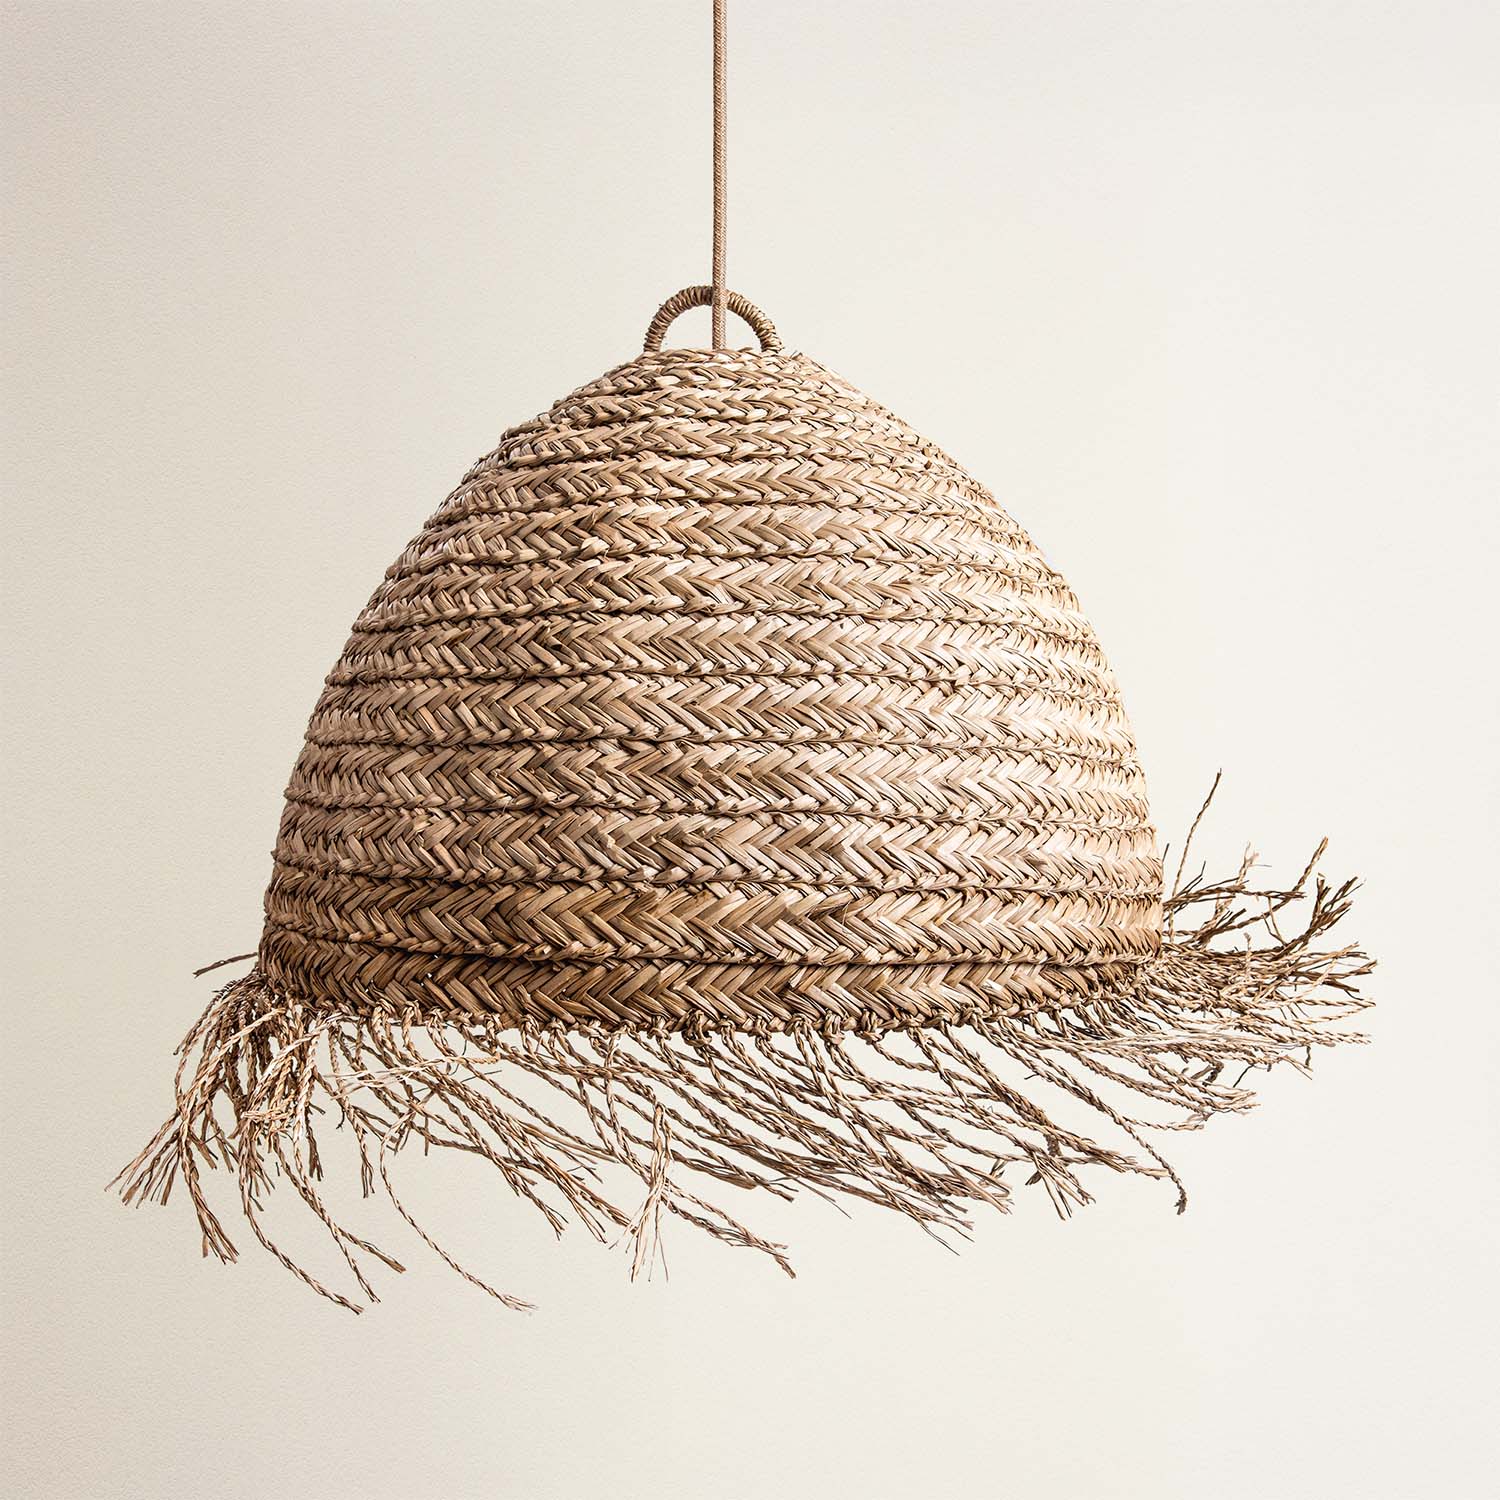
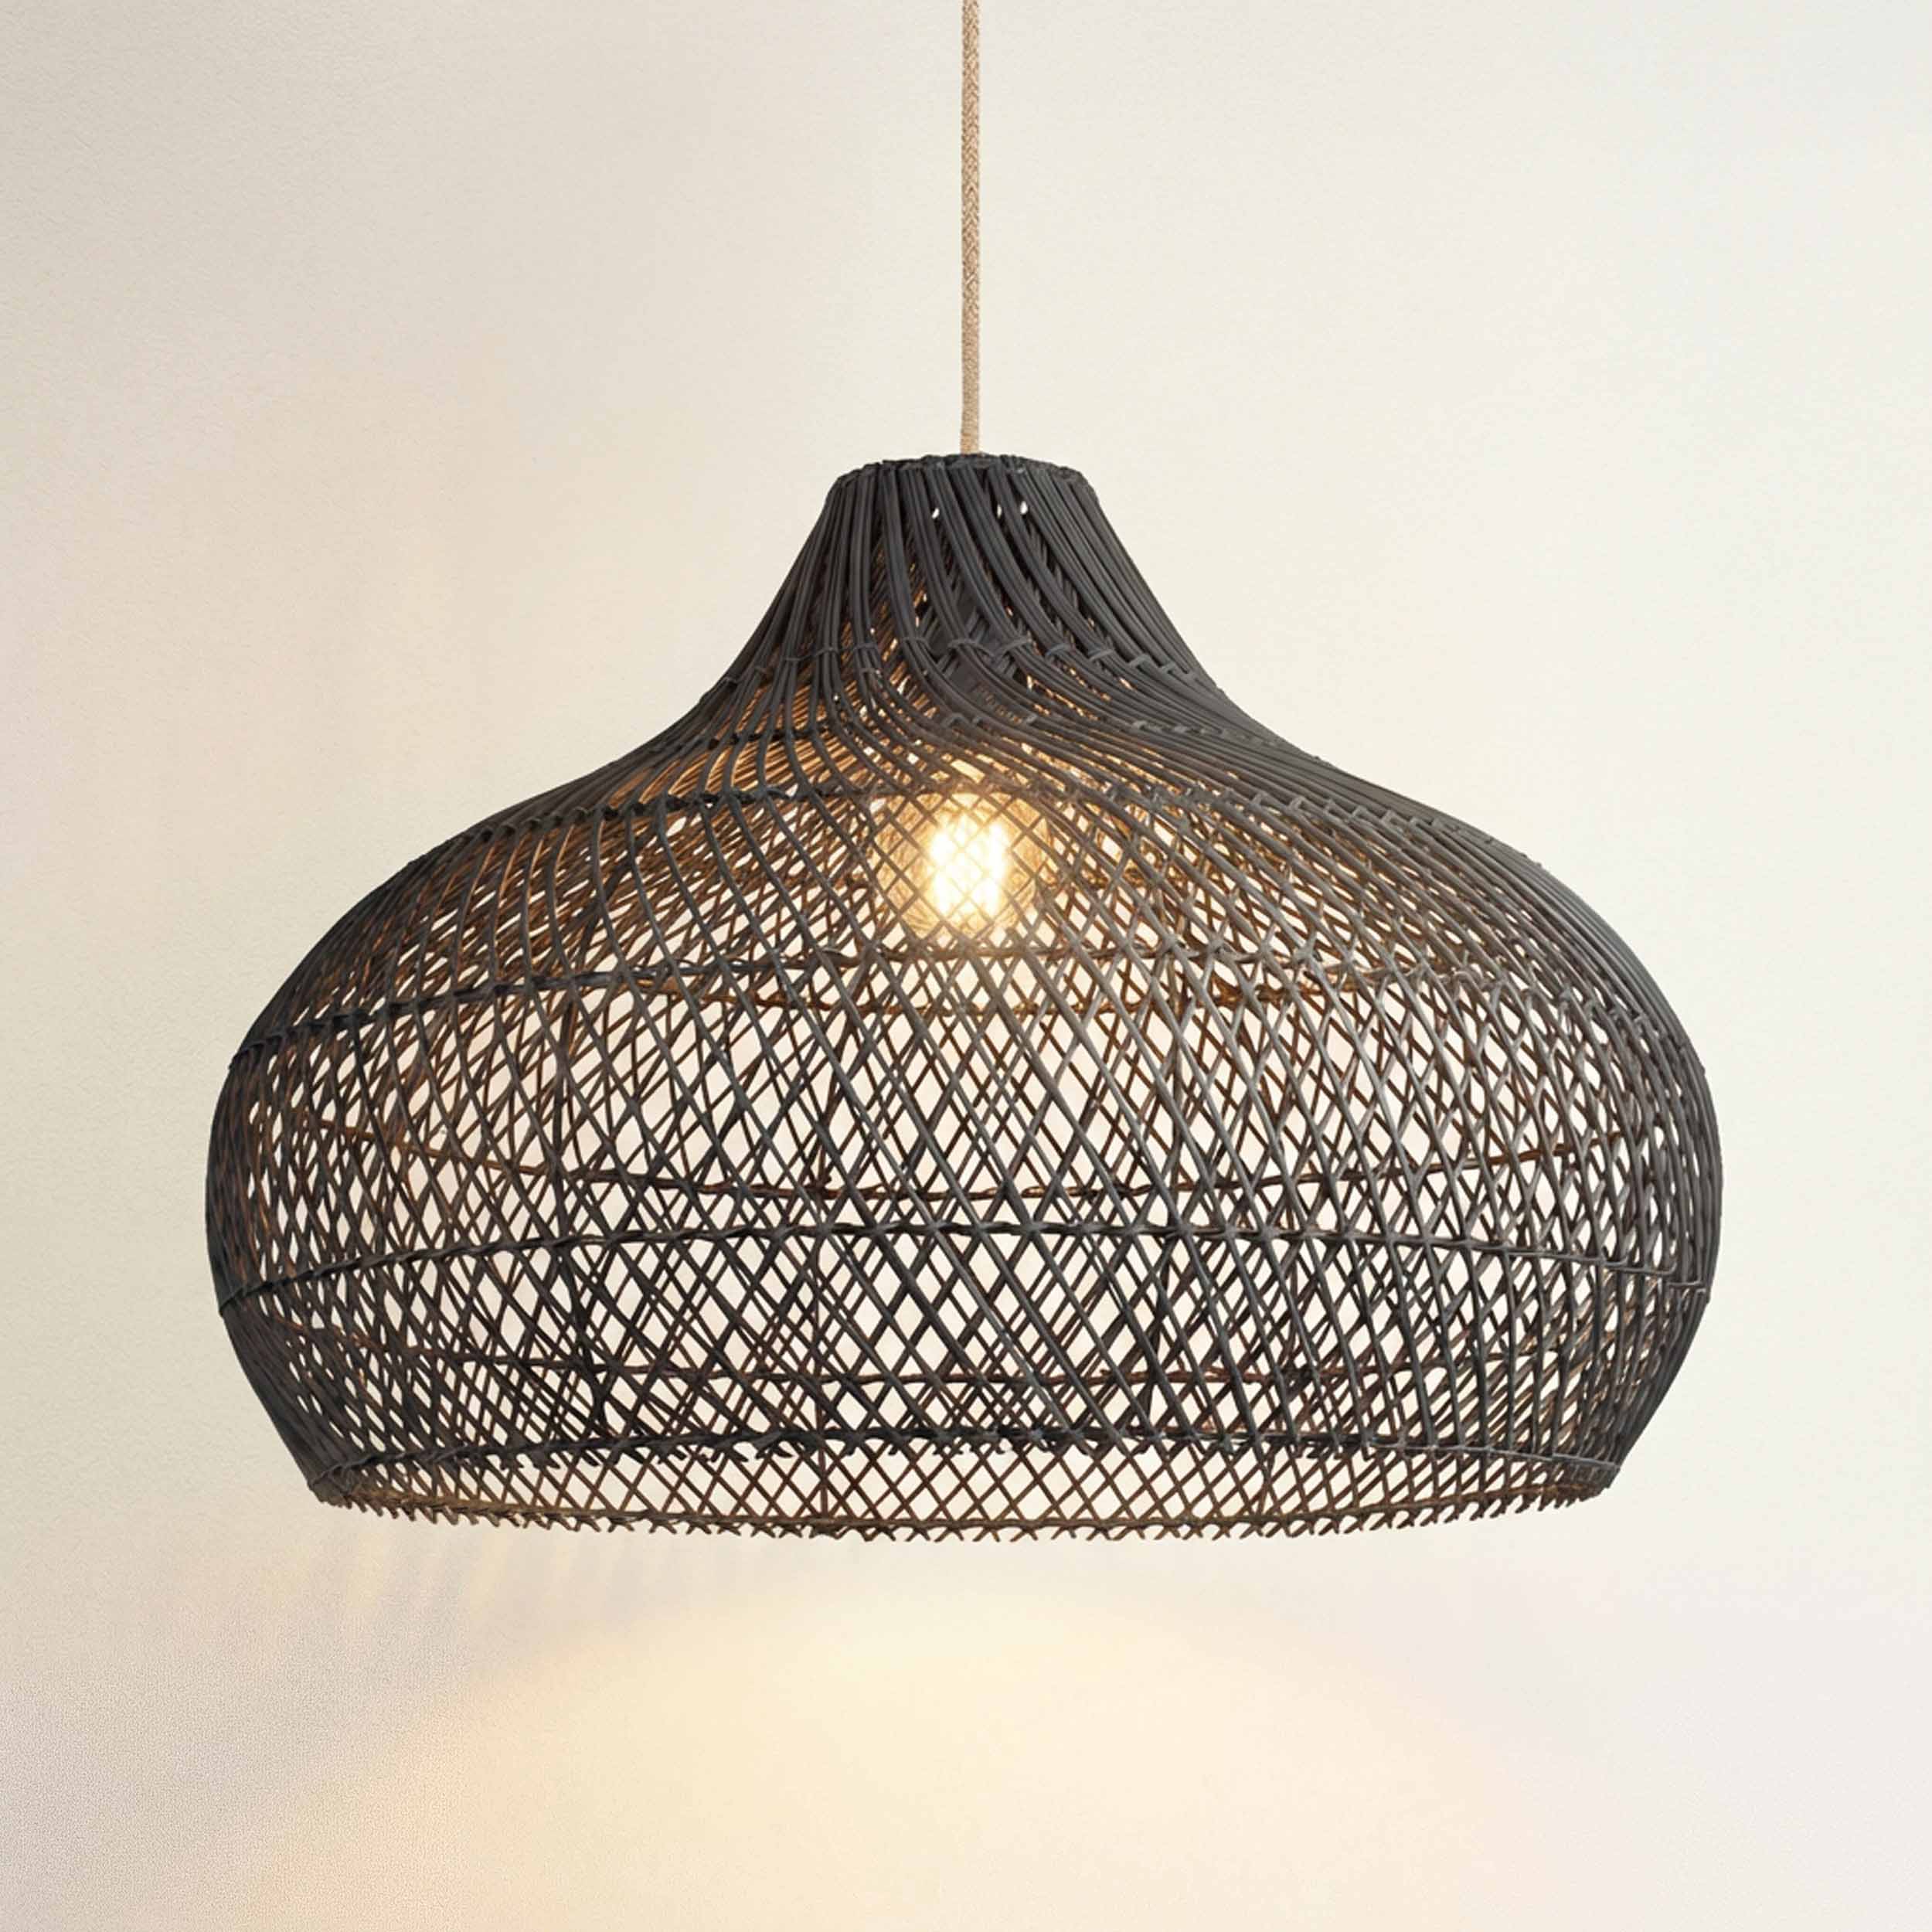
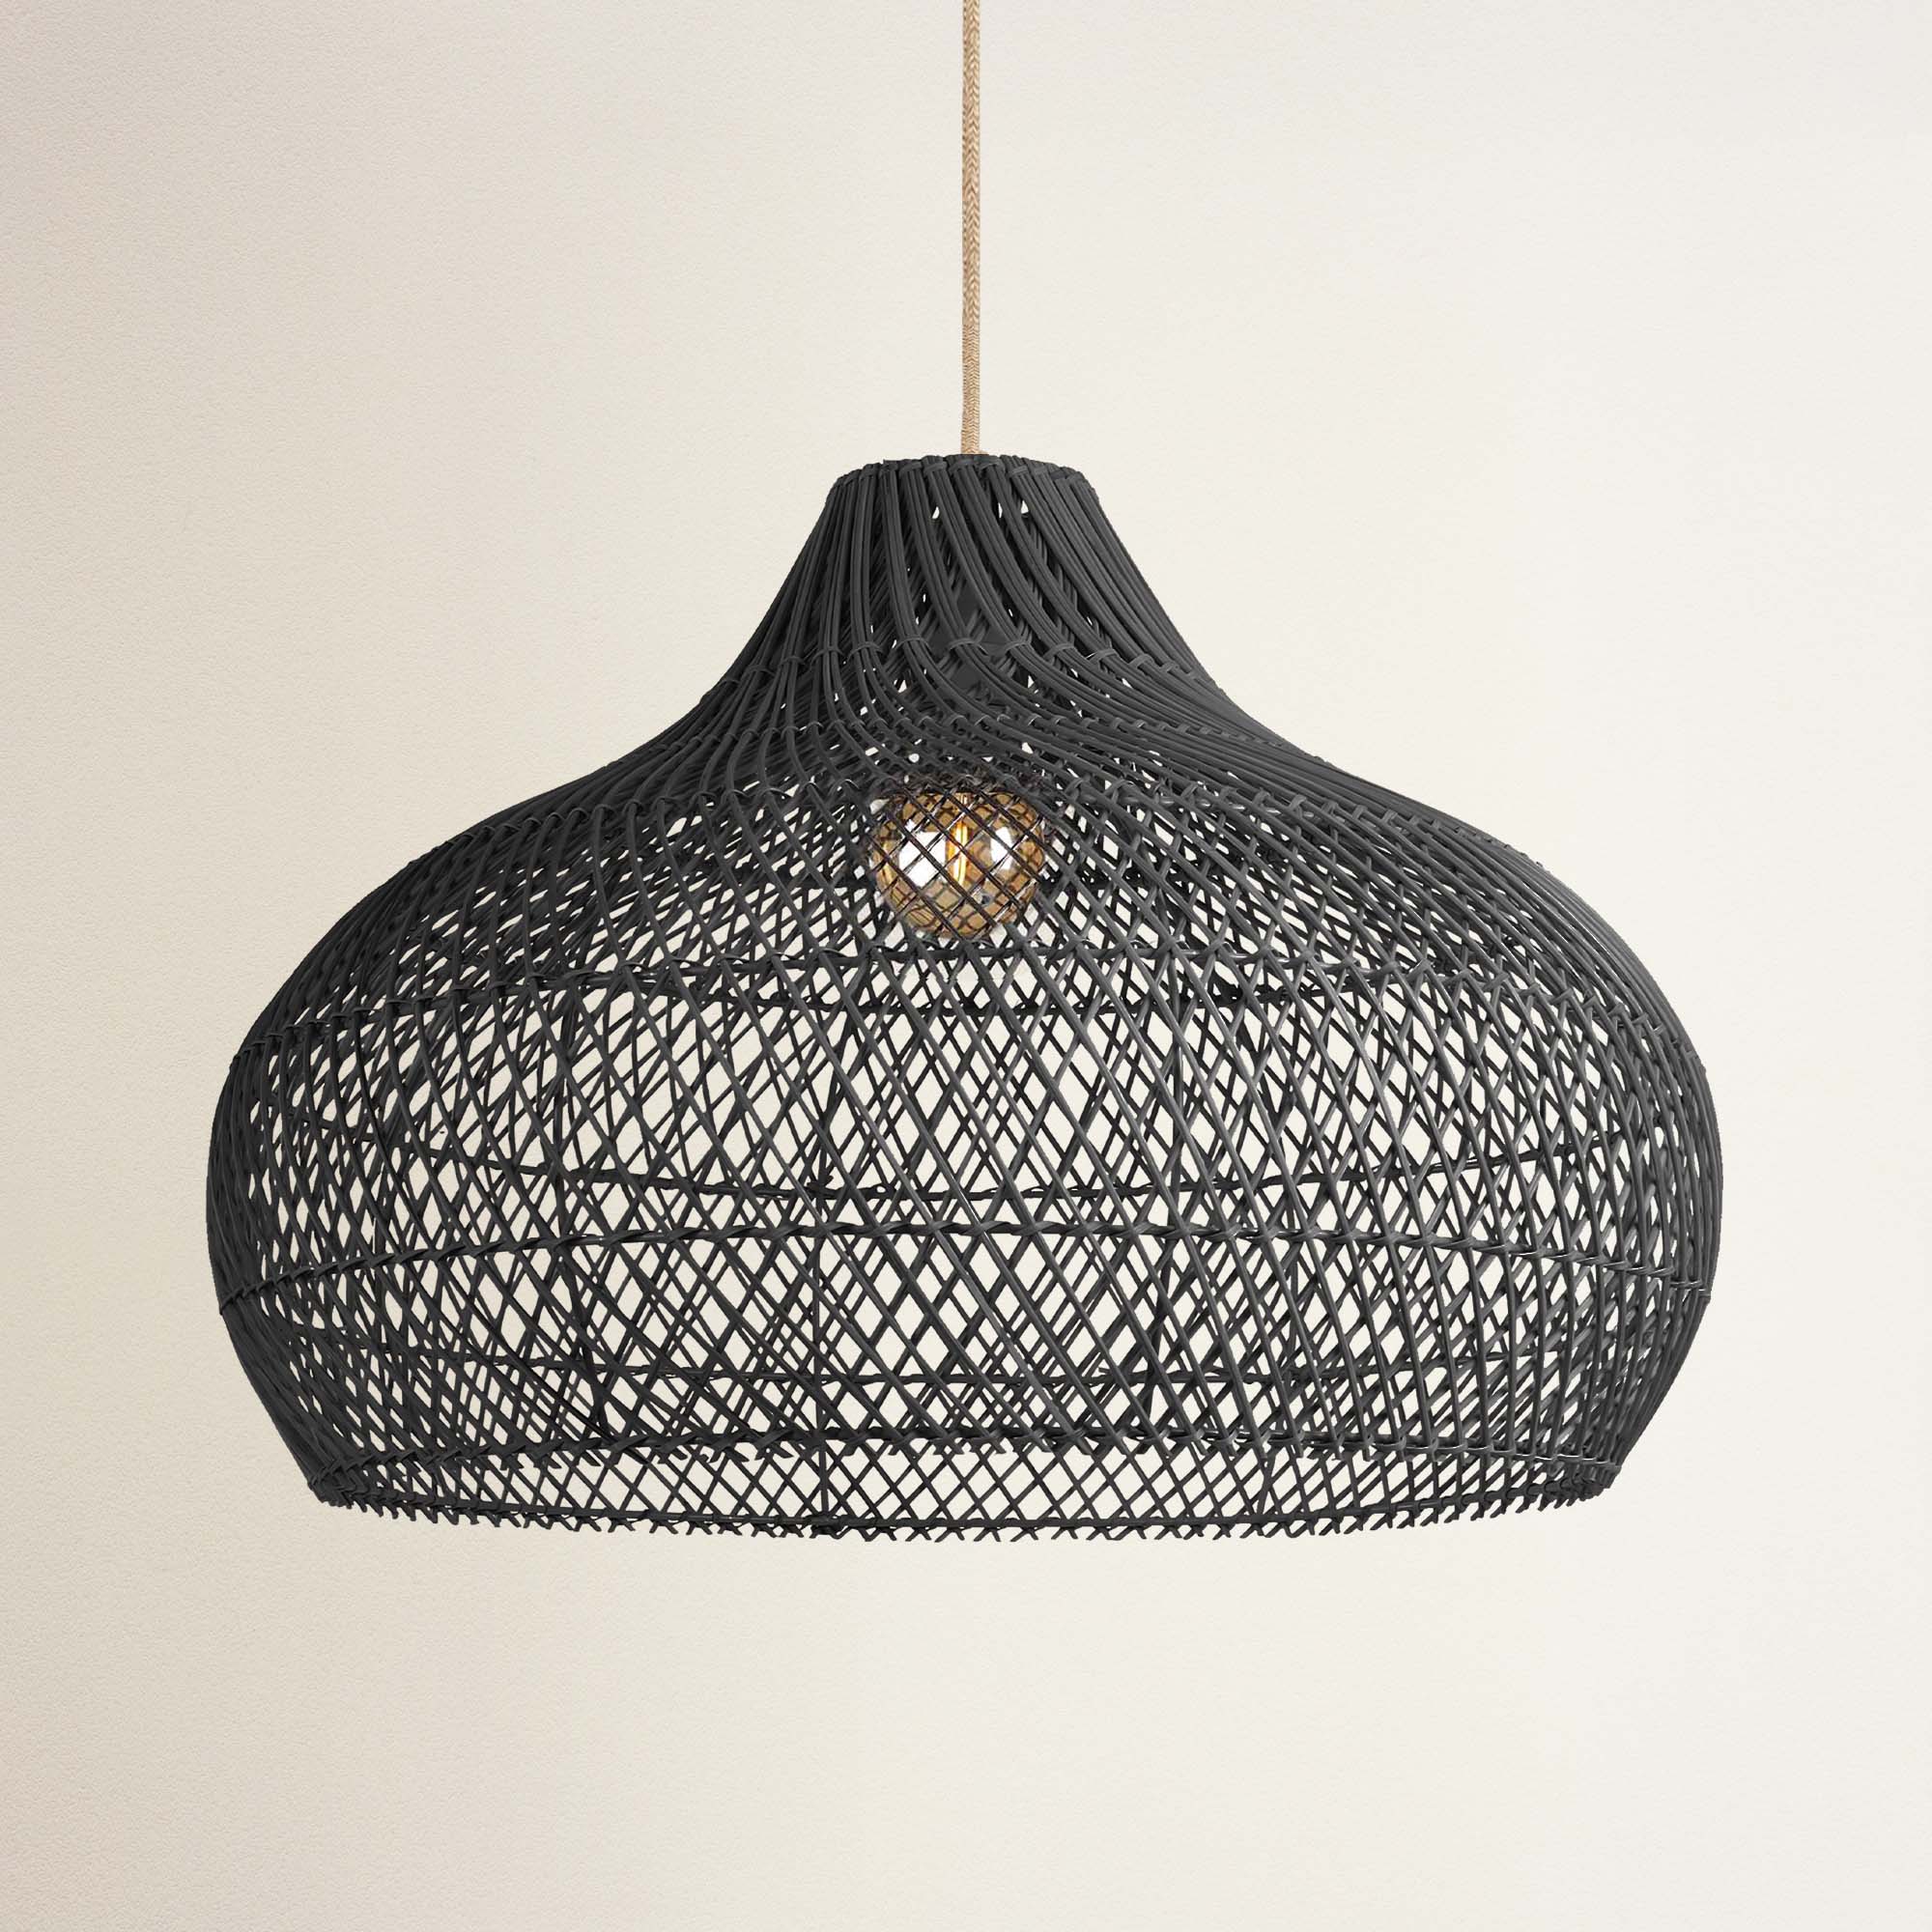
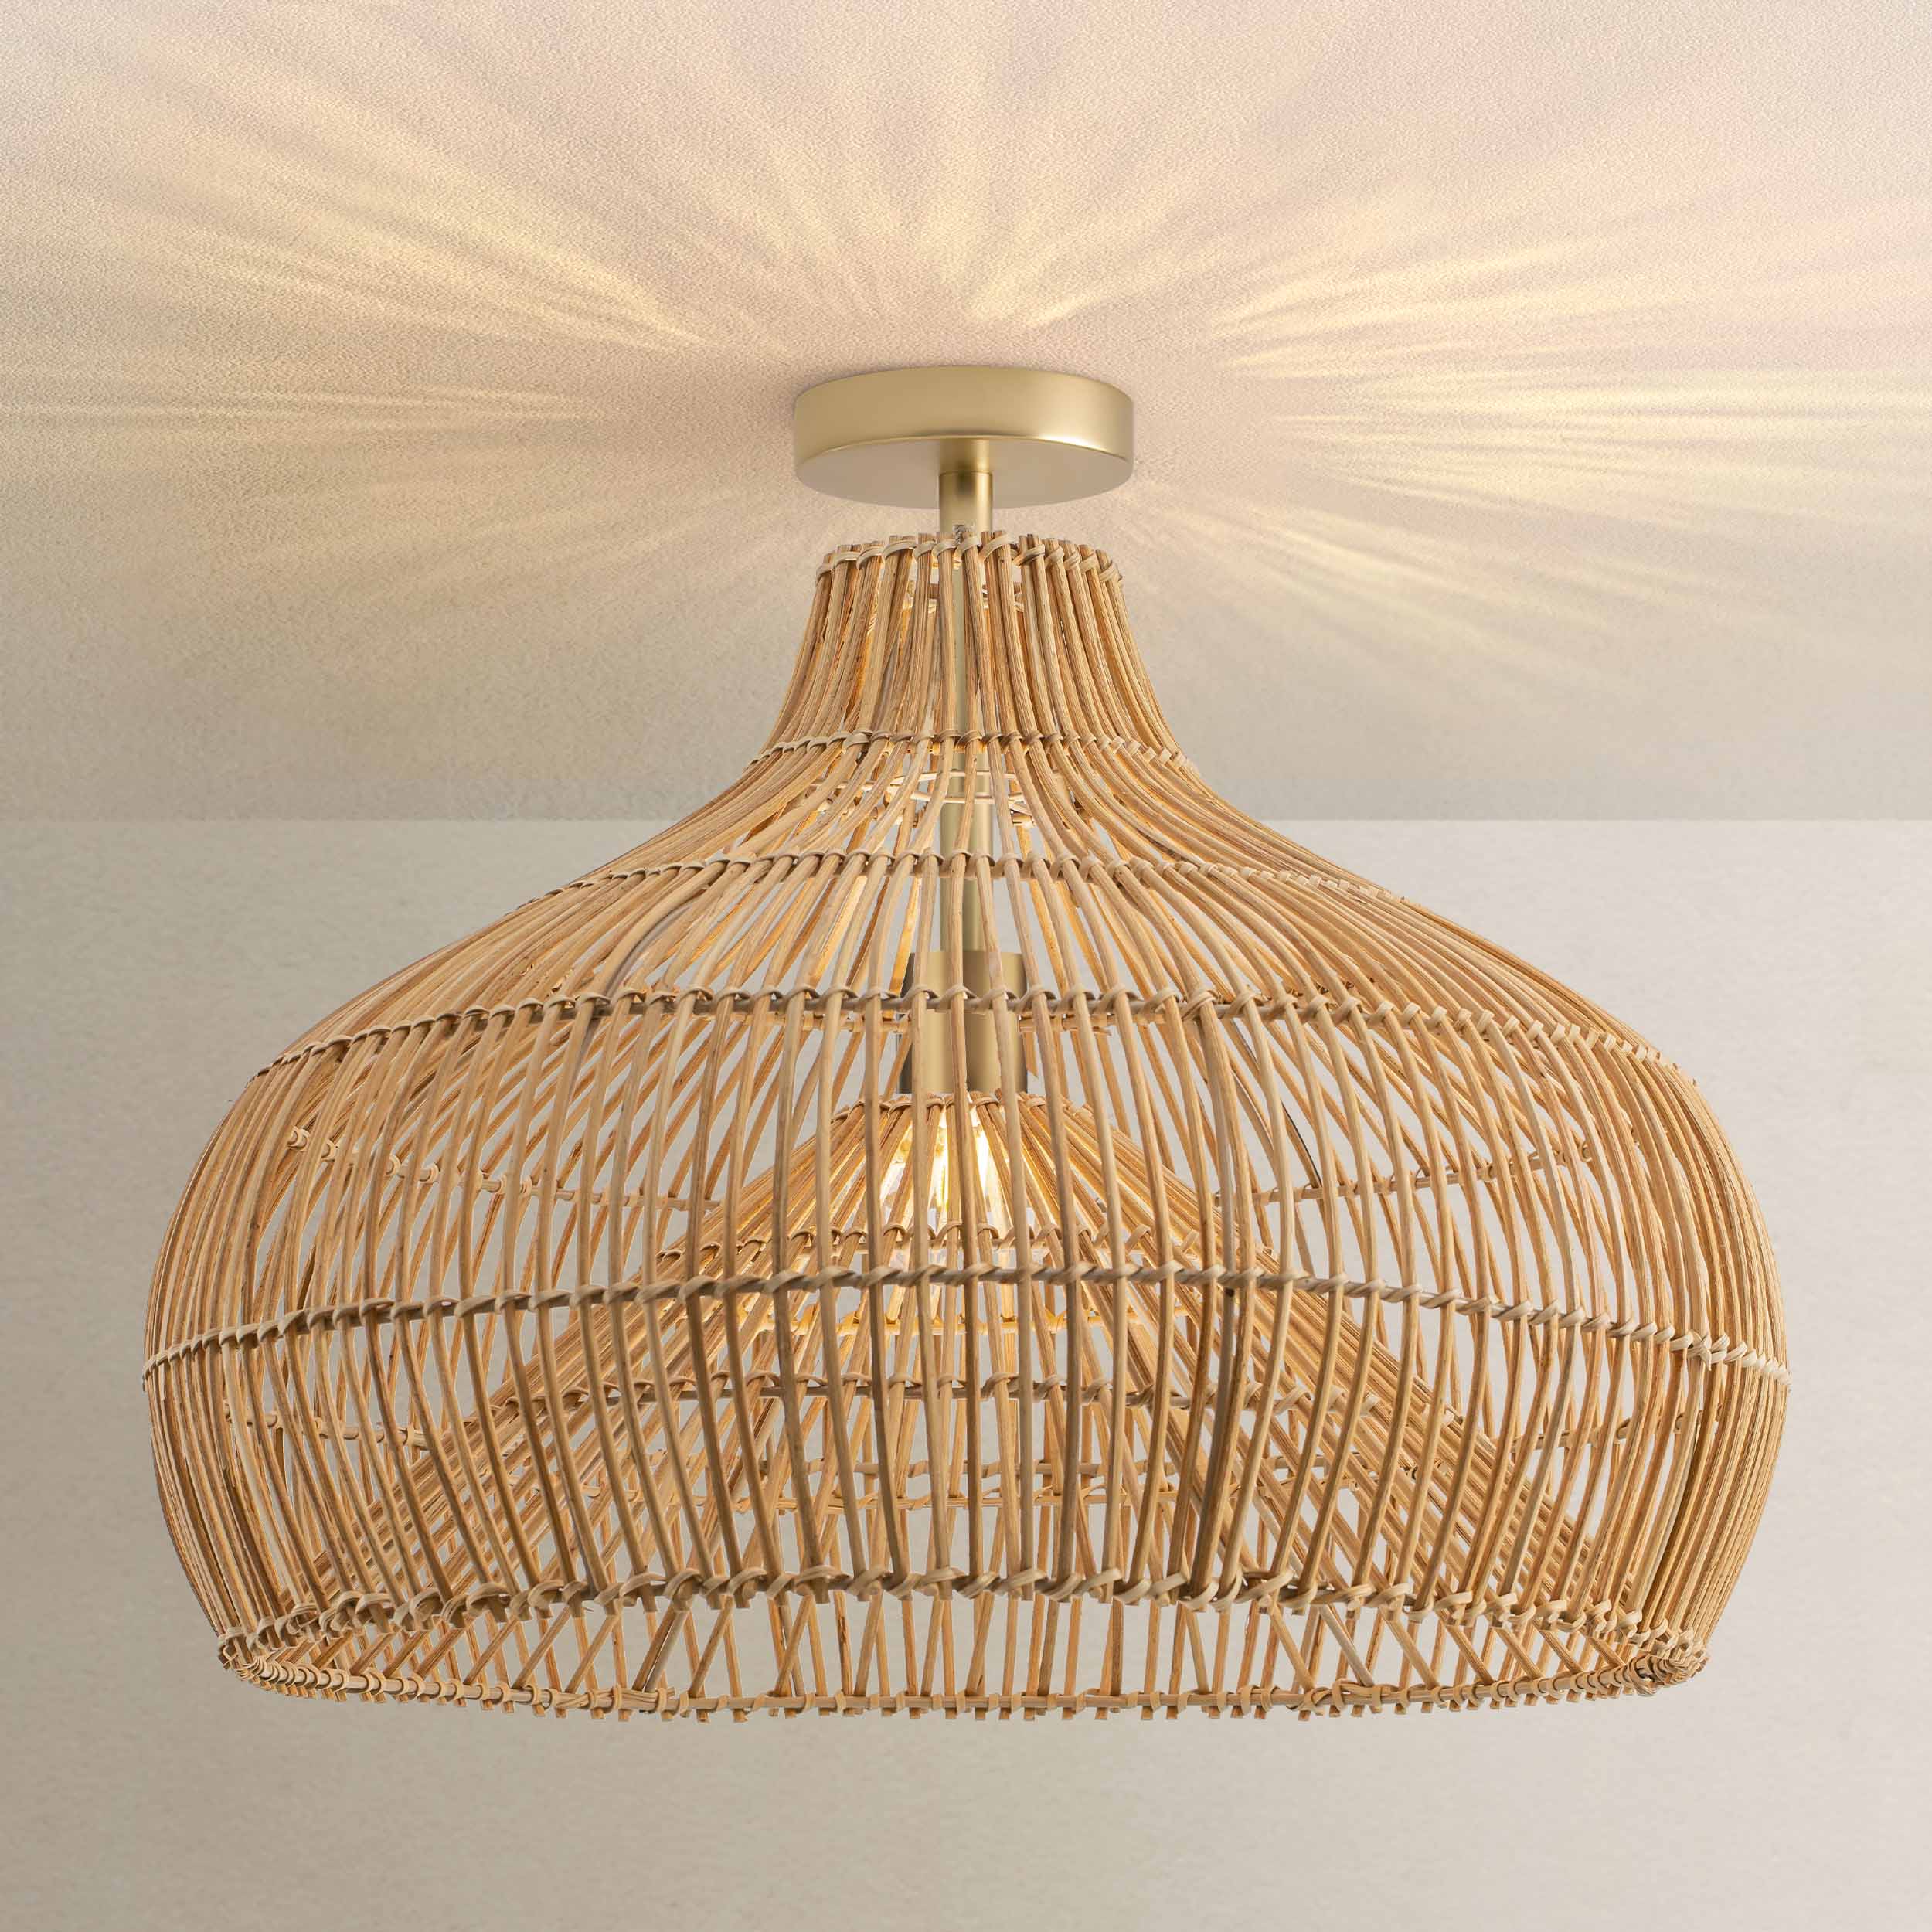
In the current market, there are countless Wabi-Sabi pendant light designs to choose from. However, each option comes with its own set of advantages and disadvantages when comparing premade versus DIY options.
Below is a detailed table we’ve put together to help you easily compare these two choices and make an informed decision.
| Aspect | Pre-Made Pendant Light | DIY Pendant Light |
| Average Cost | $150 - $400 | $55 - $180 |
| Materials | High-quality natural materials (e.g., reclaimed wood, handmade paper) | Basic materials (e.g., wood, paper mâché, clay) |
| Craftsmanship | Professional and refined | Varies by your own skill and effort |
| Design | Unique, handcrafted, and consistent | Customizable, unique to DIYer |
| Shipping/Handling | $20 - $50 (additional) | Not applicable |
| Tools | Not required | $10 - $80 (optional, depending on complexity) |
| Time & Effort | Minimal effort (purchase and install) | Time-consuming (assembly and crafting) |
| Total Estimated Cost | $170 - $450 | $55 - $180 |
Step-by-step guide to DIY wabi-sabi pendant light
In reality, Wabi-Sabi is a pendant light designed to highlight the unique personality of each homeowner. As such, there are many ways to DIY and create a shape that you truly love and desire. Below is a suggestion from us, guided by The Sorry Girls (1), that you can refer to for more ideas.
Materials needed
- Punching balloon: For shaping the pendant light.
- Bubble wrap: To create texture and bulk.
- Tape: For securing the bubble wrap and other materials.
- Newspaper: For the paper mache layers.
- Glue: School glue, mixed with water for paper mache.
- Water: To mix with glue for paper mache.
- Cellu-clay: For a stone-like finish.
- Spray paint: To add color to the finished pendant light (optional).
- Cord kit: Includes all necessary components to hang the light.
- Metal bracket cord grip: To adjust the height of the lightbulb.
- Lightbulb: Choose an appropriate bulb for your fixture.
Steps to follow
Here’s a streamlined guide to creating your own Wabi-Sabi pendant light, organized into 7 main steps. Feel free to customize each step to suit your personal style and preferences.
Step 1: Create the mold
Inflate the balloon: Begin by inflating a punching balloon to your desired size. This balloon will serve as the base mold for your pendant light. Inflate it to the diameter you want your pendant to be, but avoid overinflating to prevent popping.
Secure the balloon: Tie off the balloon securely to keep its shape steady throughout the crafting process.
It's time for an upgrade. Find your perfect focal point.
45-Day Return

45-Day Return
45-Day Return

45-Day Return
45-Day Return

45-Day Return

45-Day Return
45-Day Return
45-Day Return
45-Day Return
45-Day Return
45-Day Return
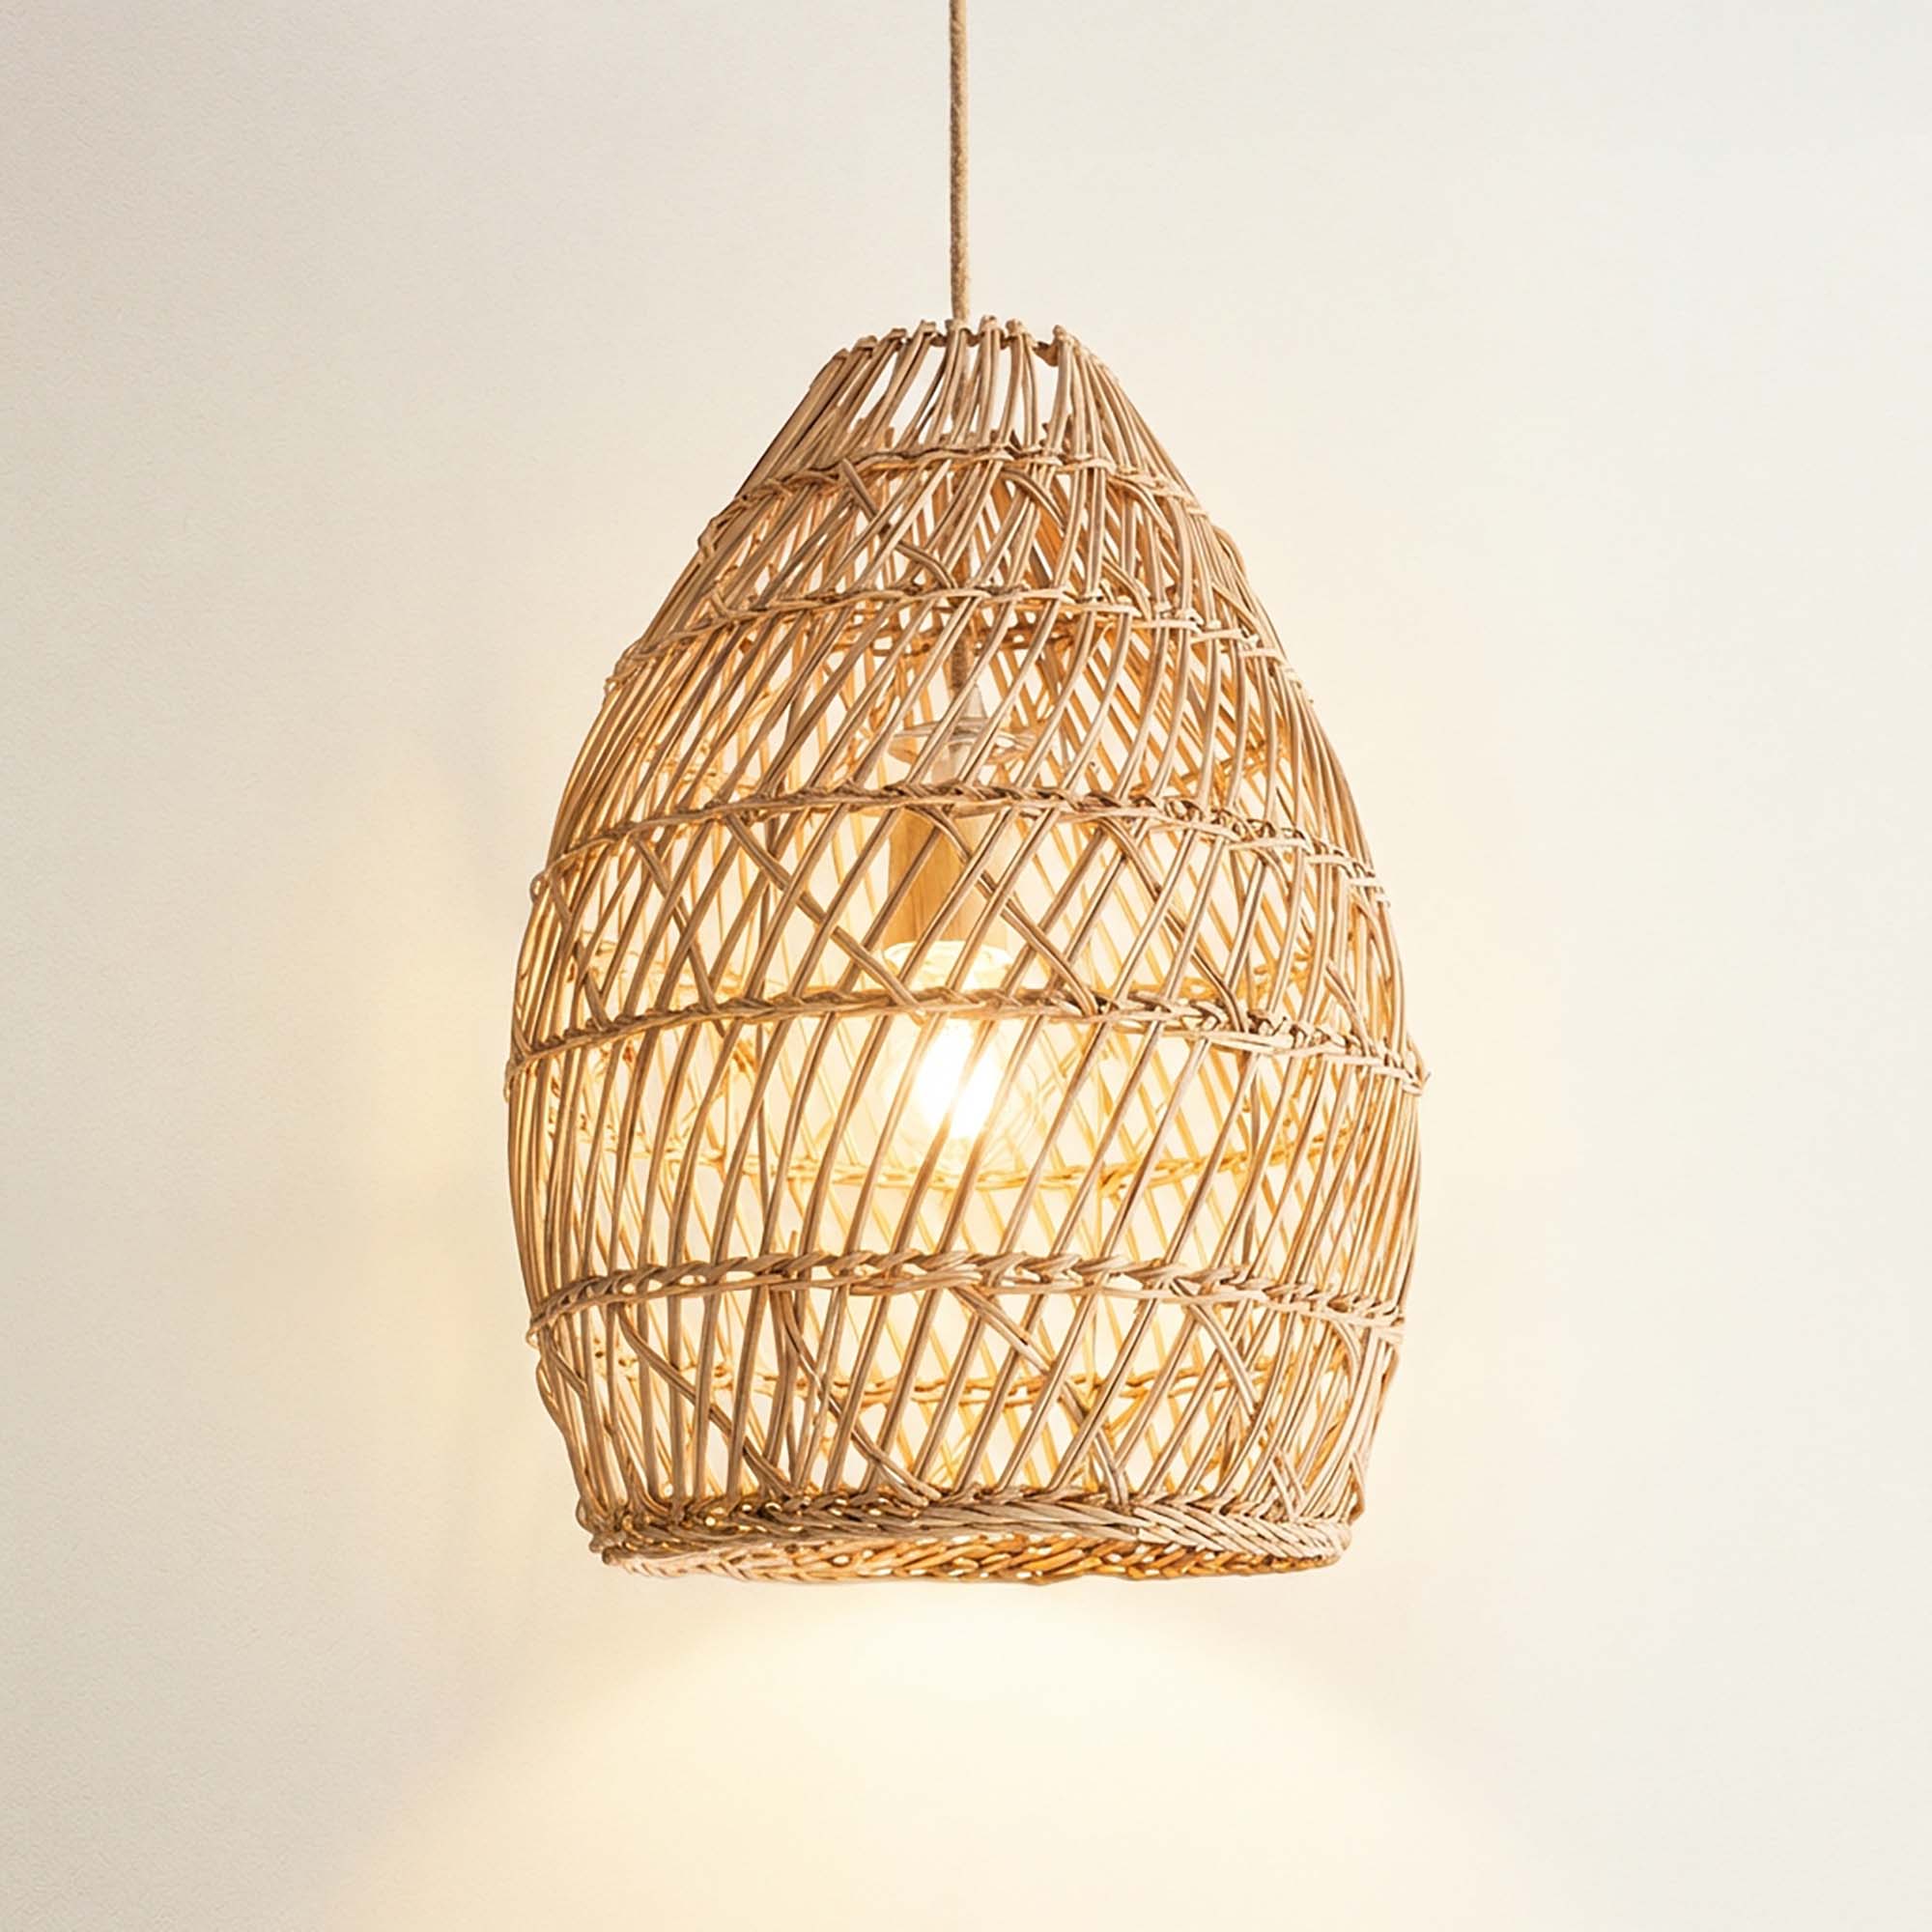
Step 2: Shape your pendant
Wrap with bubble wrap: Take bubble wrap and roll it into strips. Tape these strips around the inflated balloon. This step adds texture and dimension to your pendant light. Ensure the bubble wrap is snug but avoid pulling too tightly, as it might cause the balloon to burst.
If you want to create a unique shape or design at this stage, adjust the bubble wrap accordingly. This will ensure that the final shape is set, and you’ll only need to build up the layers in subsequent steps.
Step 3: Apply the first layer of paper mache
Prepare the paper mache mixture: Mix 2 parts water with 1 part school glue in a bowl.
Apply paper mache: Dip strips of newspaper into the glue mixture and apply them evenly over the bubble-wrapped balloon. Cover the entire surface with a smooth, even layer. Allow the paper mache to dry completely, which can take up to 24 hours.

Source: Rowabi.
Step 4: Assess and adjust shape
Check the shape: Once the first layer is dry, examine your pendant light’s shape. If there are areas that need adjustment, use crumpled newspaper and tape it to these areas to round out the shape.
Add additional paper mache: Apply another layer of paper mache over the adjusted areas and let it dry thoroughly.
Make an architectural statement now
Step 5: Apply cellu-clay for a stone-like finish
Prepare cellu-clay: Follow the instructions on the cellu-clay packaging.
Apply cellu-clay: Spread a solid coat of cellu-clay over your entire structure. This layer will give your pendant light a stone-like texture. Allow it to dry completely, which might take an additional 24 hours.
Remove balloon: Carefully pop the balloon and remove it from the paper mache structure. You may need to patch any small holes or imperfections with more cellu-clay.
Step 6: Spray paint (optional)
Prepare for painting: If desired, give your pendant light a coat of spray paint in your chosen color. Ensure the cellu-clay is completely dry before painting.
Apply paint: Use even strokes to apply the spray paint. Allow it to dry thoroughly according to the paint manufacturer’s instructions.
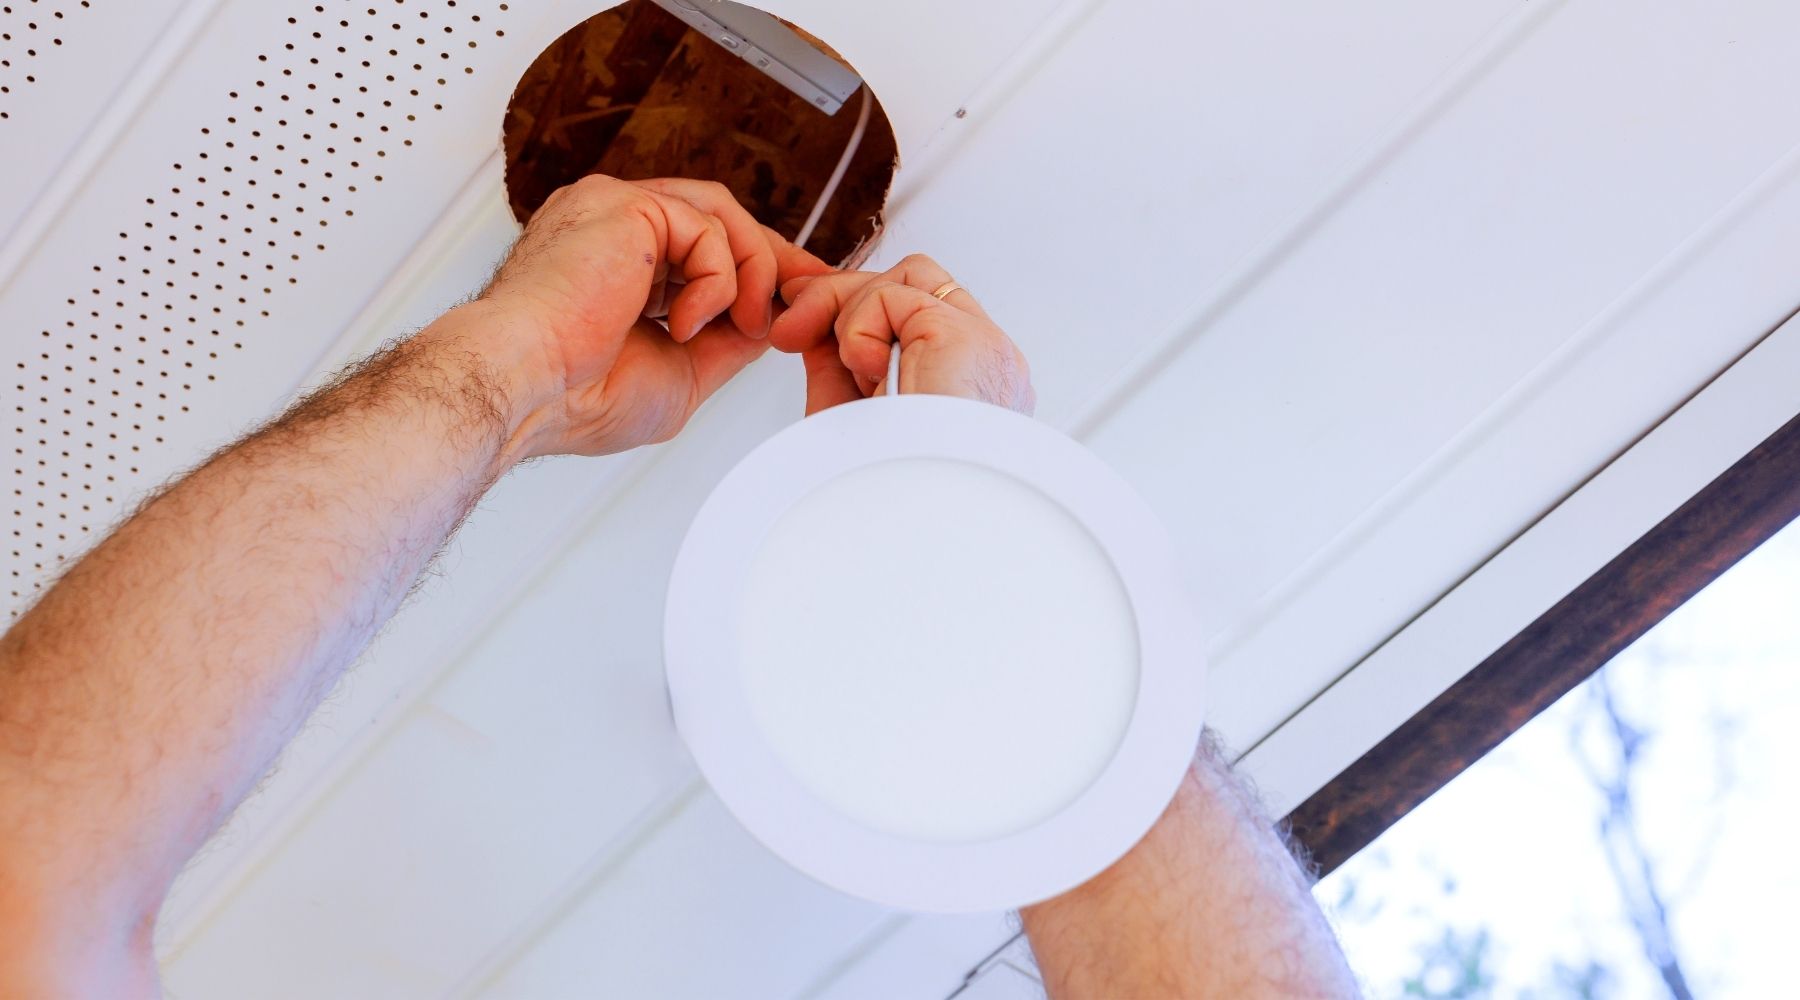
Step 7: Install the cord kit and metal bracket cord grip
Find the center: Use a measuring tape to locate the center of the pendant light.
Drill a hole: Drill a hole in the center, sized to fit the cord kit.
Install the cord kit: Feed the cord kit through the top of the pendant light, making sure it hangs evenly.
Add metal bracket cord grip (optional): Attach the metal bracket cord grip to adjust the height of the lightbulb inside the pendant.

Source: Rowabi;s customer.
Conclusion
So roll up those sleeves, grab your materials, and let your imagination run wild. Embrace the beauty of imperfection, and don’t be afraid to experiment. Rowabi guarantees that the end result will not only light up your room but also shine with your personal touch.
You can also explore other DIY projects, like rattan furniture, to turn your home into a collection of unique, handcrafted items.


Leave a comment
This site is protected by hCaptcha and the hCaptcha Privacy Policy and Terms of Service apply.