

How To Remove Light Fixture From Ceiling
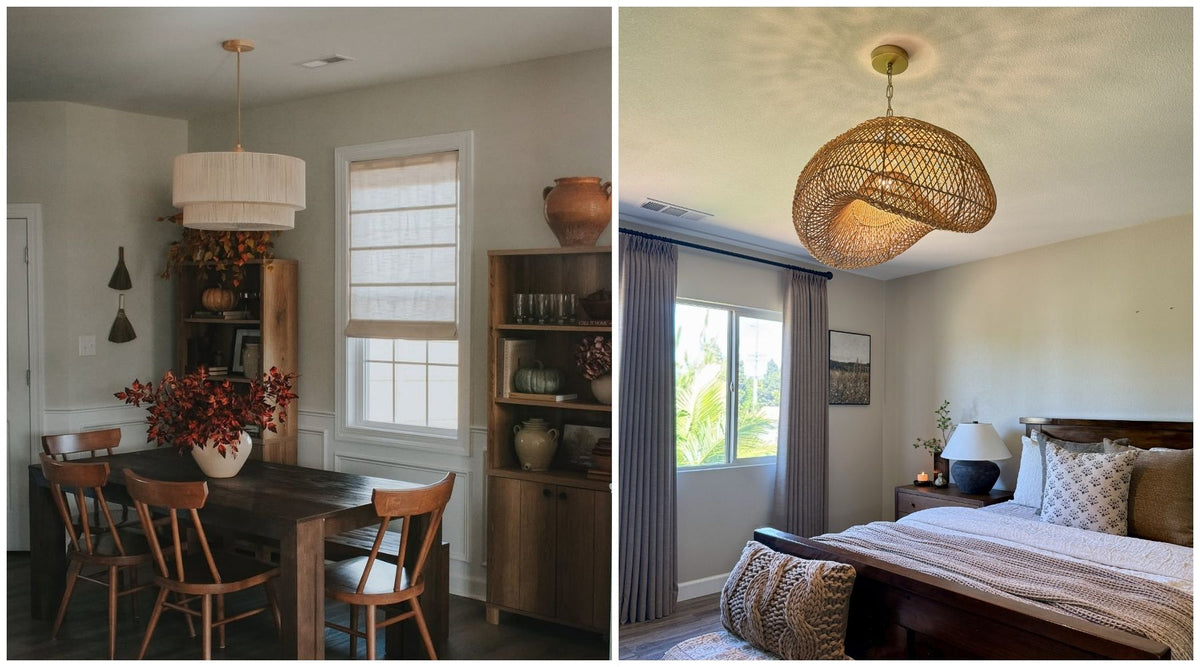
To remove a light fixture from the ceiling, turn off the circuit breaker and confirm the power is off with a voltage tester, remove the shade and bulbs, unscrew the canopy from the mounting bracket while supporting the fixture, then untwist the wire nuts to disconnect the wires. Cap each exposed house wire with a wire nut, and close the ceiling box with a blank cover plate if you're not installing a new light right away.
Key takeaways
1. Safety first:
- Shut off power: Flip the circuit breaker for the fixture to "OFF", not just the wall switch.
- Test: Use a non-contact voltage tester on the fixture's wires to confirm the power is completely off.
2. Step-by-step removal:
- Preparation: Remove the shade or globe and all light bulbs.
- Access screws: Loosen the decorative nuts or screws that hold the fixture's canopy to the ceiling box.
- Disconnect wires: Lower the fixture while supporting its weight, then untwist the wire nuts connecting the fixture's wires to the house wires.
- Cap the wires: Put a wire nut on each exposed hot and neutral house wire, and fold the ground wire neatly into the box.
3. Tips for tricky fixtures:
- Hidden screws: Look for decorative caps or rings covering the mounting screws.
- Stuck fixtures: If the canopy is painted to the ceiling, score the paint seal with a utility knife before pulling it loose.
- Recessed lights: Gently pull the trim down to expose the spring clips that hold it in place.
What you’ll need
Before starting, gather these tools:
- Eye protection: To shield your eyes from dust and debris.
- Screwdriver or drill: A Phillips or flathead screwdriver, depending on the fixture.
- Non-contact voltage tester: To confirm the power is off before handling any wires.
- Wire nuts: To cap the house wires after removal.
- Step stool or ladder: A stable platform to reach the ceiling comfortably.
No more searching. The perfect lights for your space are all in one place.
Prepping to remove a light fixture
As with any light fixture or chandelier removal, safety comes first. Go to your breaker panel and turn off the breaker that controls the fixture.
Turn the wall switch on and confirm the light doesn't come on, then use your non-contact voltage tester on the wires once they're exposed. If you can't identify the right breaker, turn off the main breaker.
A step-by-step guide to removing a light fixture from the ceiling
Before you start eyeing new ceiling lights, make sure the old one comes down safely with these steps.
1. Determine the fixture type
Is it a flush mount, pendant, or chandelier? Different fixtures have different parts, but the basic removal steps are similar.

Knowing the fixture type helps you spot the right mounting screws and canopy setup. Source: Rowabi.
If you have the original manual, use it as a guide. Otherwise, look up the model number online for disassembly details.
2. Detach the globe, bowl, or cover
Most ceiling fixtures have a globe, bowl, or cover over the bulbs. Unscrew the knob or small screws holding it, or carefully twist off the glass. Hold the glass securely so it doesn't drop.
3. Take out the light bulbs
Let the bulbs cool, then unscrew them carefully. If they still work, keep them for another fixture.
4. Detach the fixture from the mounting bracket
Most ceiling lights attach to a mounting bracket with a couple of screws or decorative nuts. Remove them while supporting the fixture with your other hand, so its weight doesn't hang from the wires.

Support the fixture as you loosen the canopy to protect the wiring connections. Source: Rowabi's customer | Ariel Rattan Pendant Light.
Some fixtures also have medallions or trim rings that need to come off before you can reach the wires.
5. Disconnect the wires
Most fixtures connect with three wires: hot (black), neutral (white), and ground (bare copper or green). Test the wires again with your voltage tester, then untwist the wire nuts and separate the wires.
If you're installing a new fixture, take a photo or label the wires so they're easy to reconnect. If not, cap each hot and neutral house wire with a wire nut.
6. Cover the ceiling box
If you're not replacing the fixture right away, tuck the capped wires into the box and close it with a blank ceiling box cover plate. Electrical boxes must stay accessible, so don't drywall or plaster over them.
See the difference quality makes. View the Rowabi bestsellers.
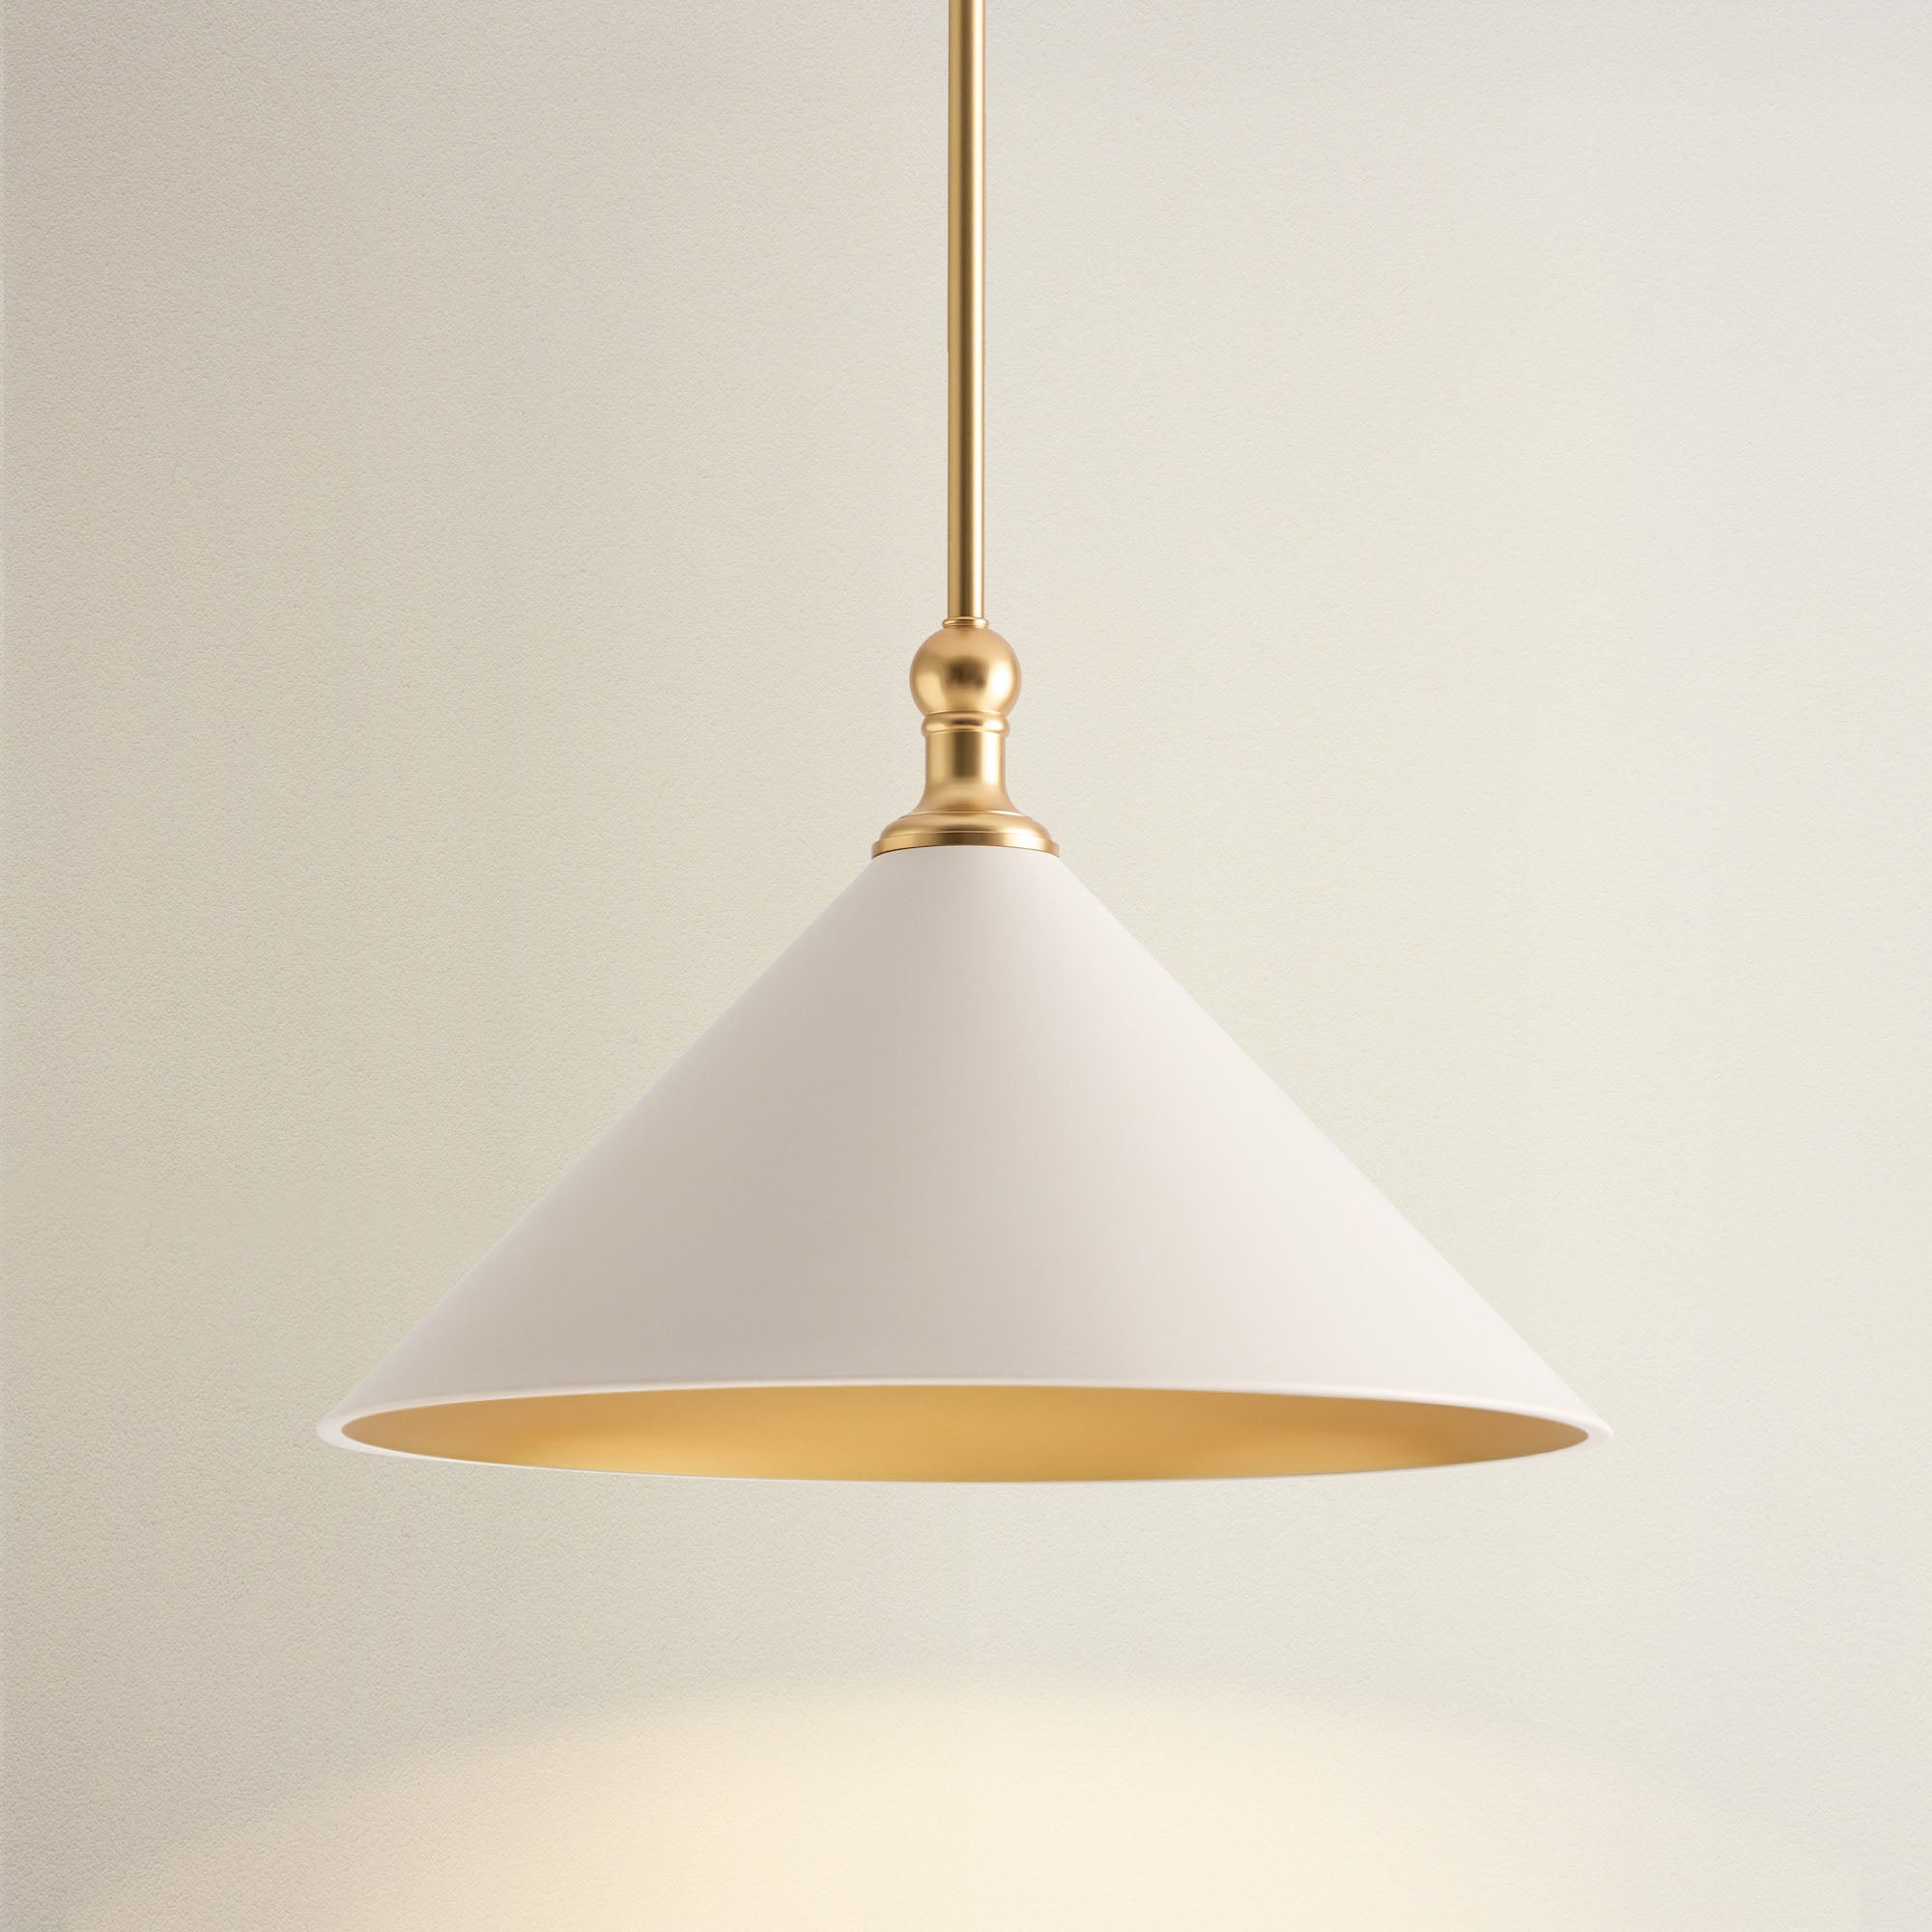

Touch up any paint or small chips around the old canopy before installing your new light.
Additional tips for fixture removal
Consider upgrading your fixture: If you're replacing your old light, it's a good time to switch to LED bulbs or dimmable lighting. Modern pendant lights or a flush mount can refresh the whole room.
Be aware of fixture weight: Chandeliers and ceiling fans can be heavy. Ask someone to hold the fixture while you work.
Check the wiring and box: Look for brittle insulation, scorch marks, or a loose box. If anything looks worn or outdated, consult an electrician before installing a new fixture.
Check for damage: Inspect the ceiling for signs of water damage, cracks, or sagging that could affect the next installation.
DIY vs. hiring a pro: which option is best?
Removing a standard light fixture is a manageable DIY project for most homeowners with basic tools.
- DIY is a good fit when: The fixture is light, the wiring is in good condition, and you're comfortable working with the power off.
- Hire a pro when: You're removing a heavy chandelier or ceiling fan, the wiring looks old or damaged, there's no ground wire, or you're unsure about local code.
- Cost: Costs vary by fixture type and wiring conditions. See our guide to light fixture installation cost for typical price ranges.

Turn off the power, support the fixture, and cap the exposed house wires before completing the removal. Source: Rowabi.
Light fixture removal checklist
- Breaker is off, and the wires test dead with a voltage tester.
- Shade, globe, and bulbs are removed.
- The fixture is supported while the canopy screws come out.
- Wires are photographed or labeled before disconnecting.
- Hot and neutral house wires are capped with wire nuts.
- The box is closed with a blank cover plate if no new light is going up yet.
FAQs
How to remove a lighting fixture from a ceiling?
- Turn off the power at the circuit breaker. Use a voltage tester to ensure safety. Remove the light bulbs, then detach the fixture cover. Unscrew the fixture plate from the ceiling mounting bracket, and disconnect the wiring using wire nuts.
How to remove the flush mount ceiling light cover?
- Turn off the power, then check for a center knob or screws. If there’s a knob, twist it off; if not, gently twist the glass cover to loosen and remove it.
How do you pop out ceiling lights?
- Turn off the power and carefully pry off the trim or cover. Pull down the fixture to access any clips or screws, then unclip or unscrew to remove it.
How do you cap off a light fixture?
- After removing the fixture, twist wire nuts onto the exposed wire ends and wrap them with electrical tape. Tuck the wires into the electrical box and install a blank cover plate.
How do you remove a ceiling light cover without screws or clips?
- Gently twist the cover counterclockwise to loosen it. If stuck, use a flat tool to pry it loose without damaging the cover.
How do you remove an old ceiling light cover without screws?
- Check for a center knob and twist it off, or gently twist the cover itself to loosen. Use a flat tool if necessary to pry it off carefully.
Conclusion
Removing a light fixture from the ceiling is straightforward when you work safely: turn off the breaker, confirm the power is off, support the fixture, and cap the wires.
Once the old light is down, you're ready to choose a new fixture that suits your space.




Leave a comment
This site is protected by hCaptcha and the hCaptcha Privacy Policy and Terms of Service apply.