


The new fixture is connected by matching wires color-to-color (black to black, white to white, and ground to ground) using wire nuts, and then the fixture is mounted. To ensure safety and ease, it's recommended to have an assistant or use easy-connectors like lever-locks.
Key takeaways
1. Safety First (The Most Critical Step):
- Kill Power: Always turn off the power to the fixture at the main circuit breaker.
- Verify: Use a non-contact voltage tester directly on the exposed wires after flipping the breaker to ensure no electricity remains.
2. Step-by-Step Replacement Guide:
- Remove Old Fixture: Take off the old shade/canopy and untwist the wire nuts to disconnect the existing fixture.
- Connect New Fixture: Match the wires color-to-color: Black (Hot) to Black, White (Neutral) to White, and Ground to Ground (bare copper or green).
- Secure: Use wire nuts to securely fasten the corresponding wire pairs.
- Mount: Tuck the wires back into the junction box and mount the new fixture according to the manufacturer's instructions.
- Restore Power: Flip the breaker back on to test the new light.
3. Tips for Success:
- Assistance: It is often easier and safer to have a friend or assistant hold the fixture while you make the final wiring connections.
- Easy Connectors: Consider using lever-lock connectors instead of traditional wire nuts for simpler and more secure connections.
4. Know When to Call a Pro:
- Avoid Complexity: Do not attempt to add new junction boxes or run complex new wiring. These tasks require an electrician and often a permit.
- Weight Check: Ensure the new fixture is not too heavy for the existing ceiling junction box.
Can you change a light fixture without an electrician?
Changing a light fixture can be a straightforward DIY project that saves you money and gives your space a fresh look. With the right tools and a little guidance, you can tackle this task safely and effectively. Here's how to do it.
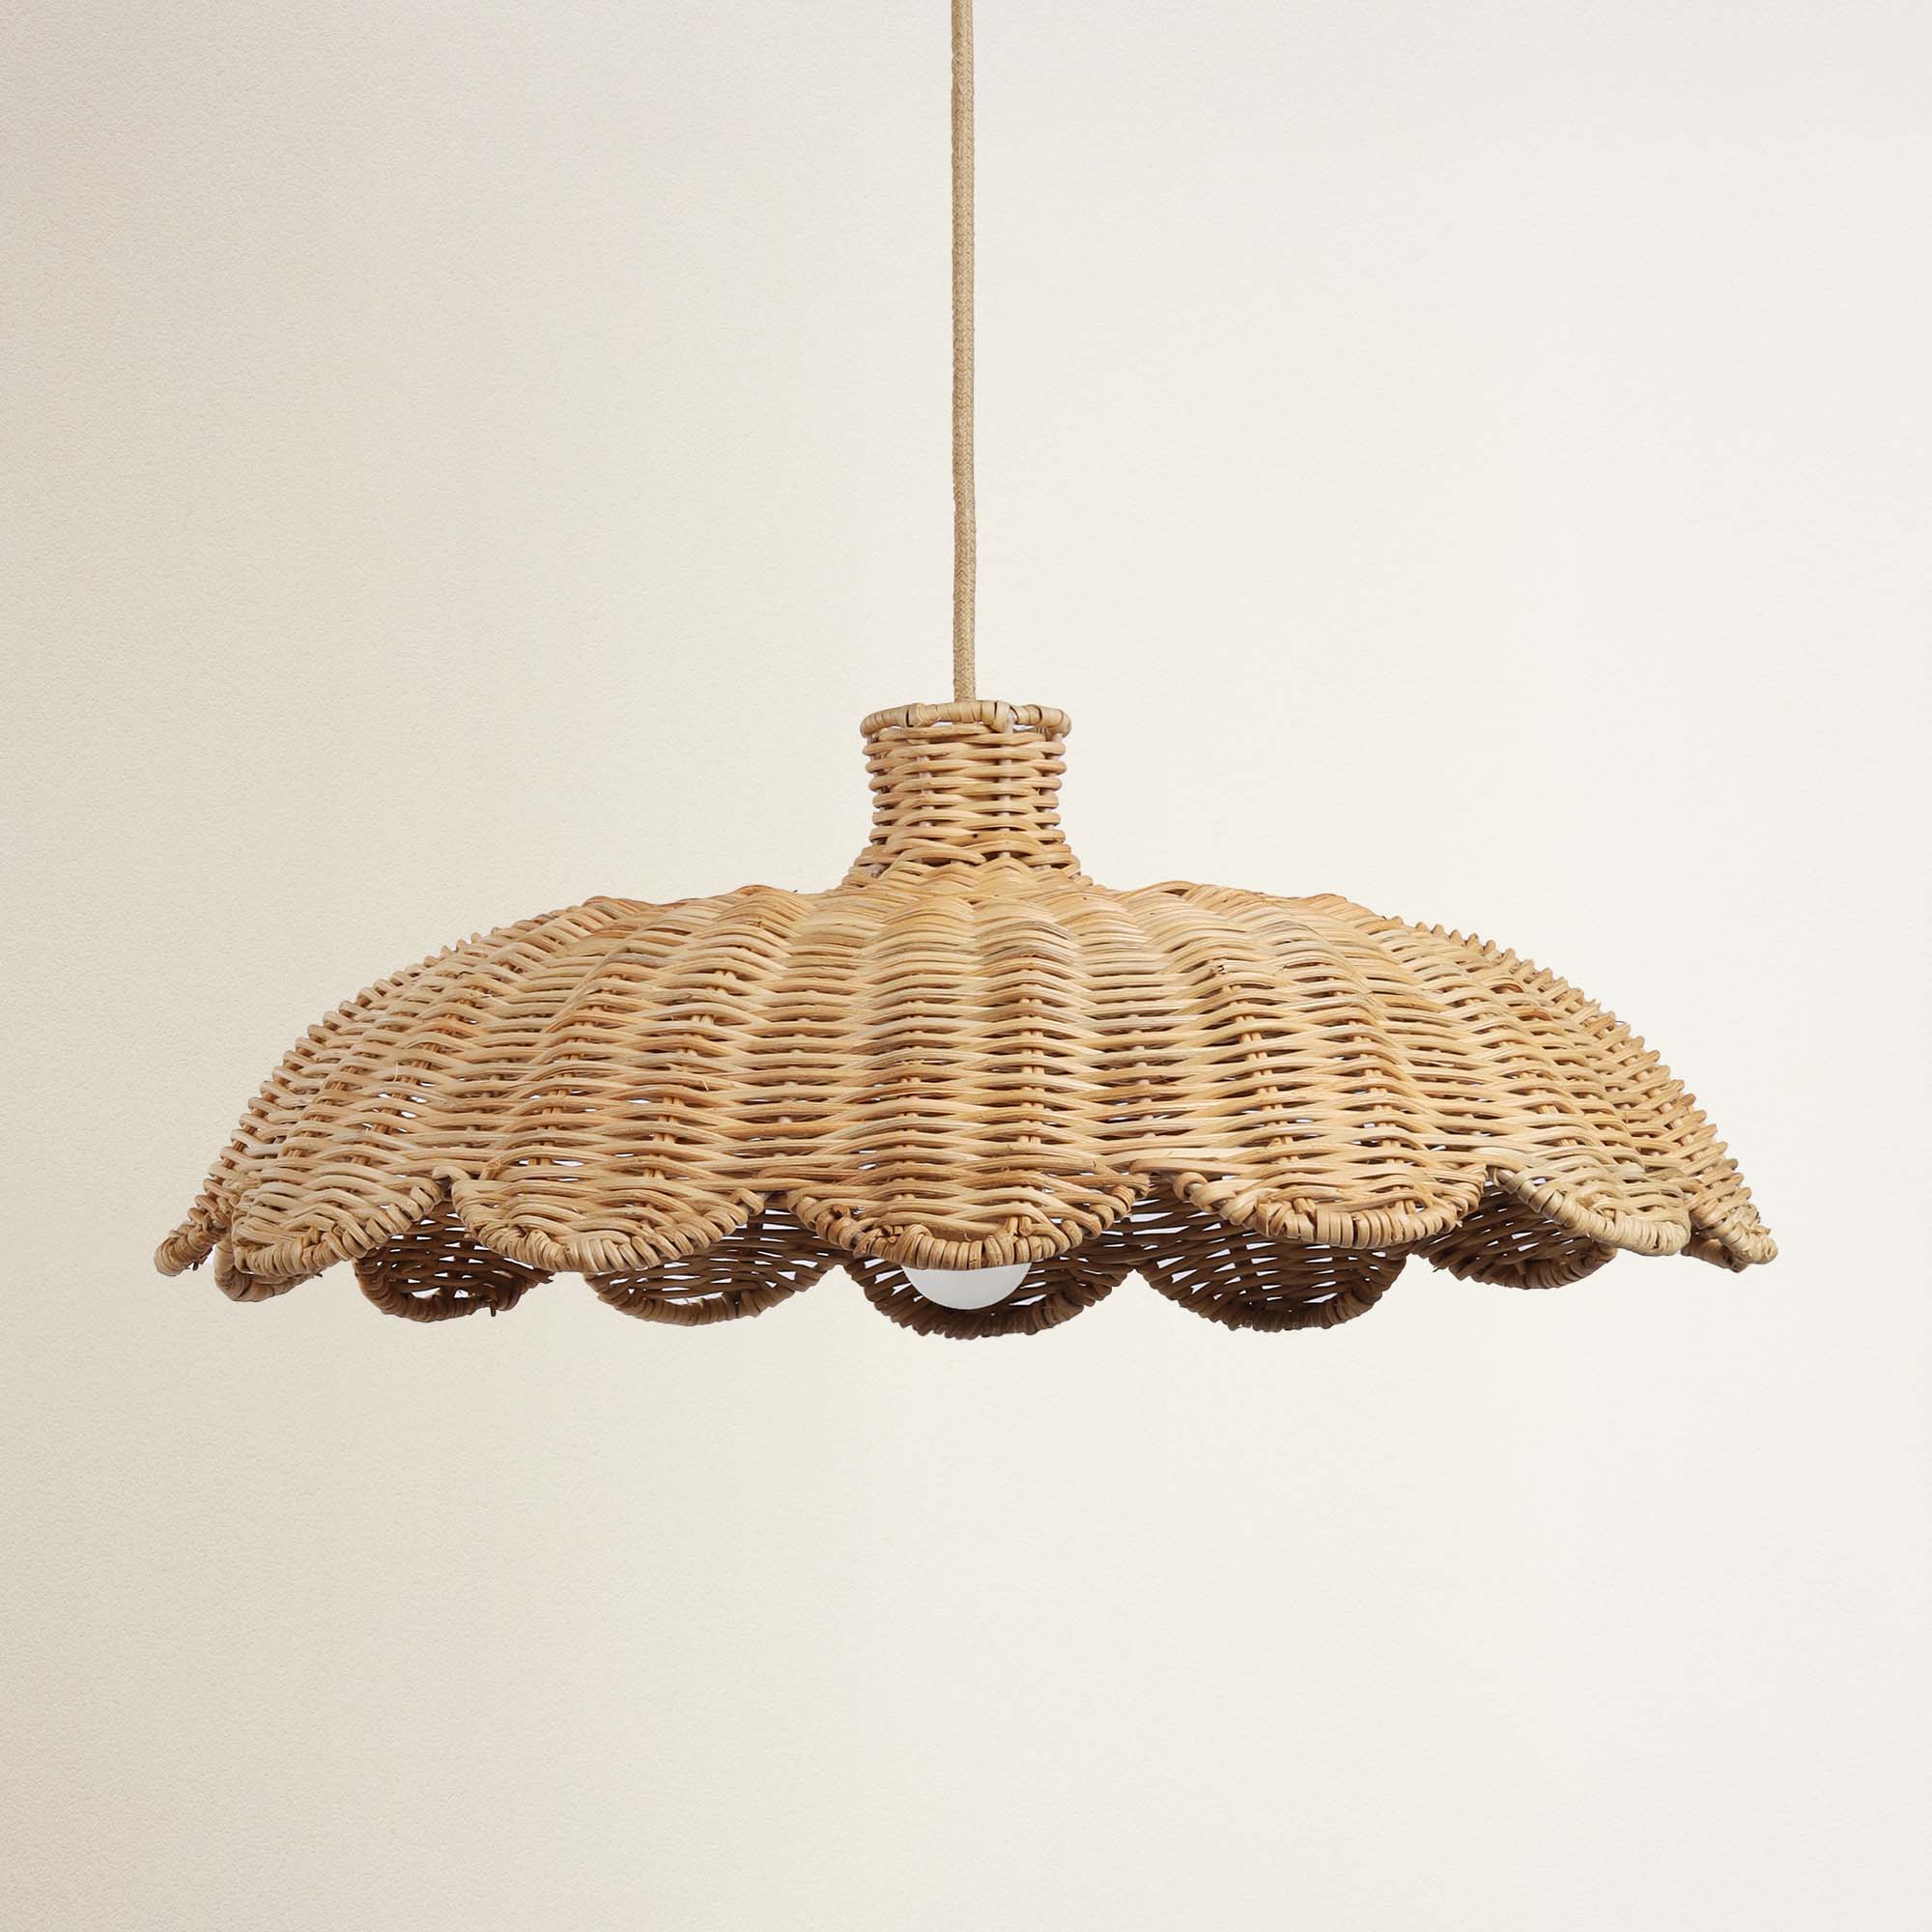
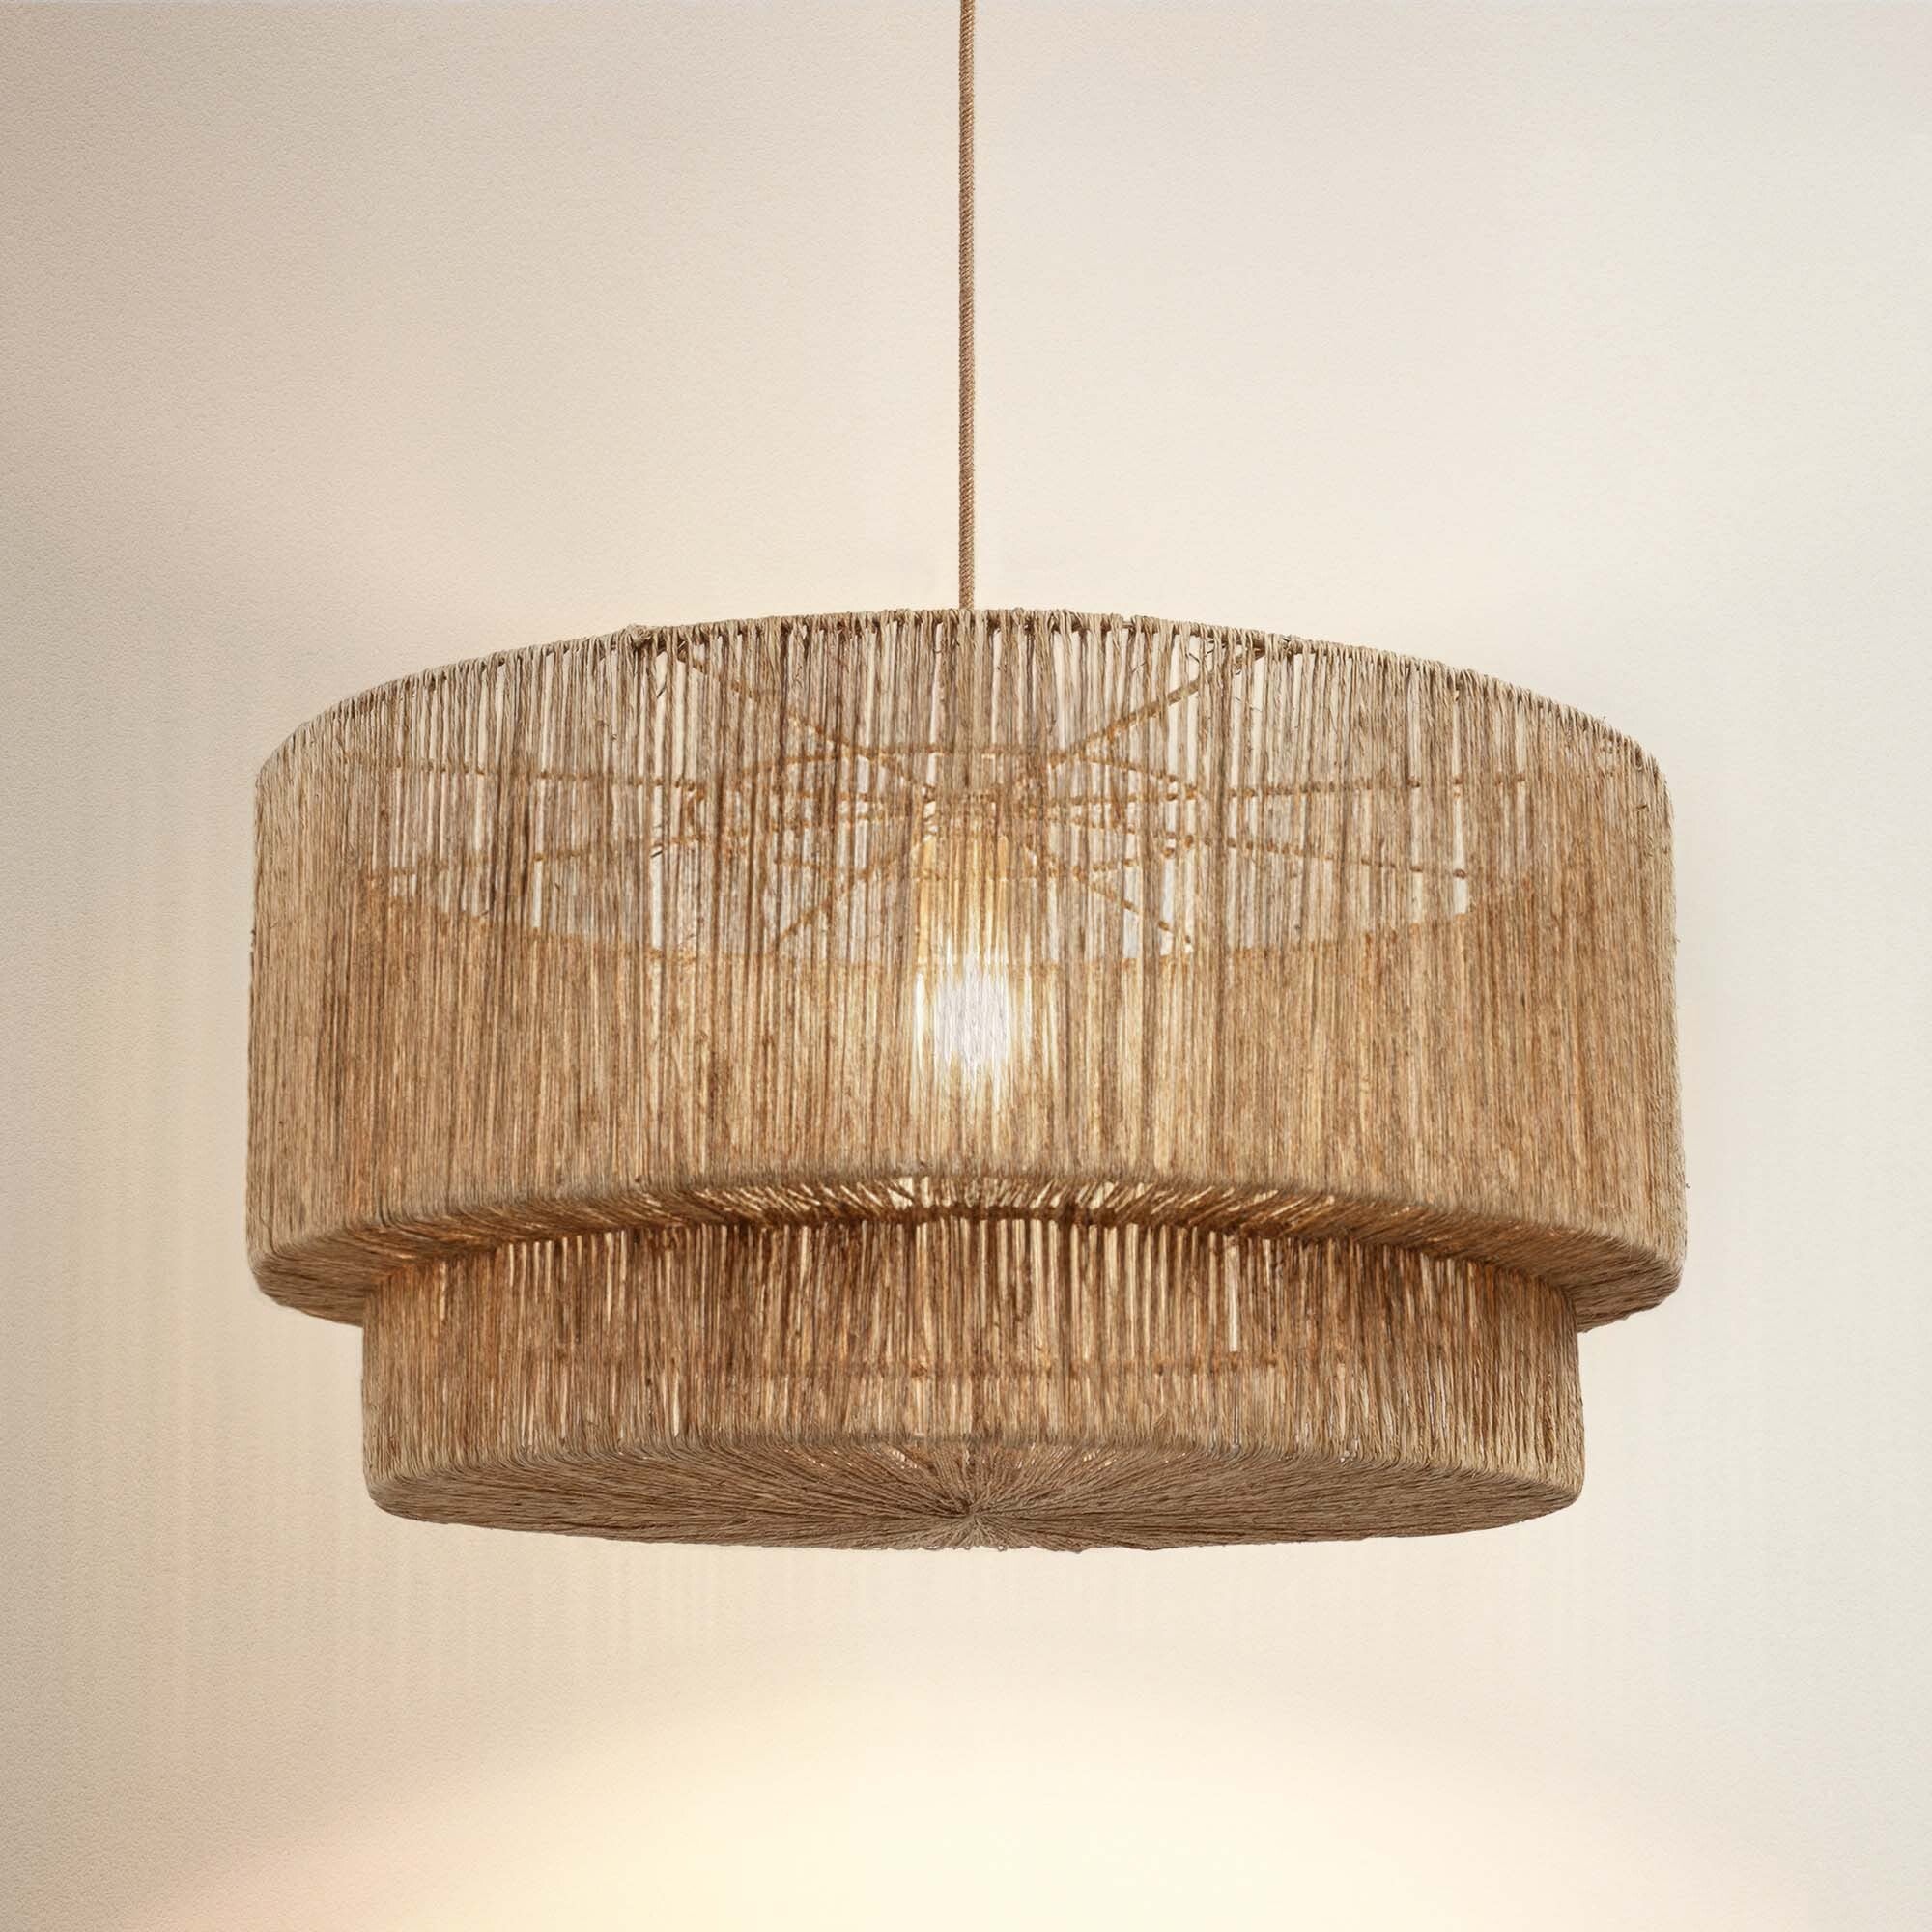
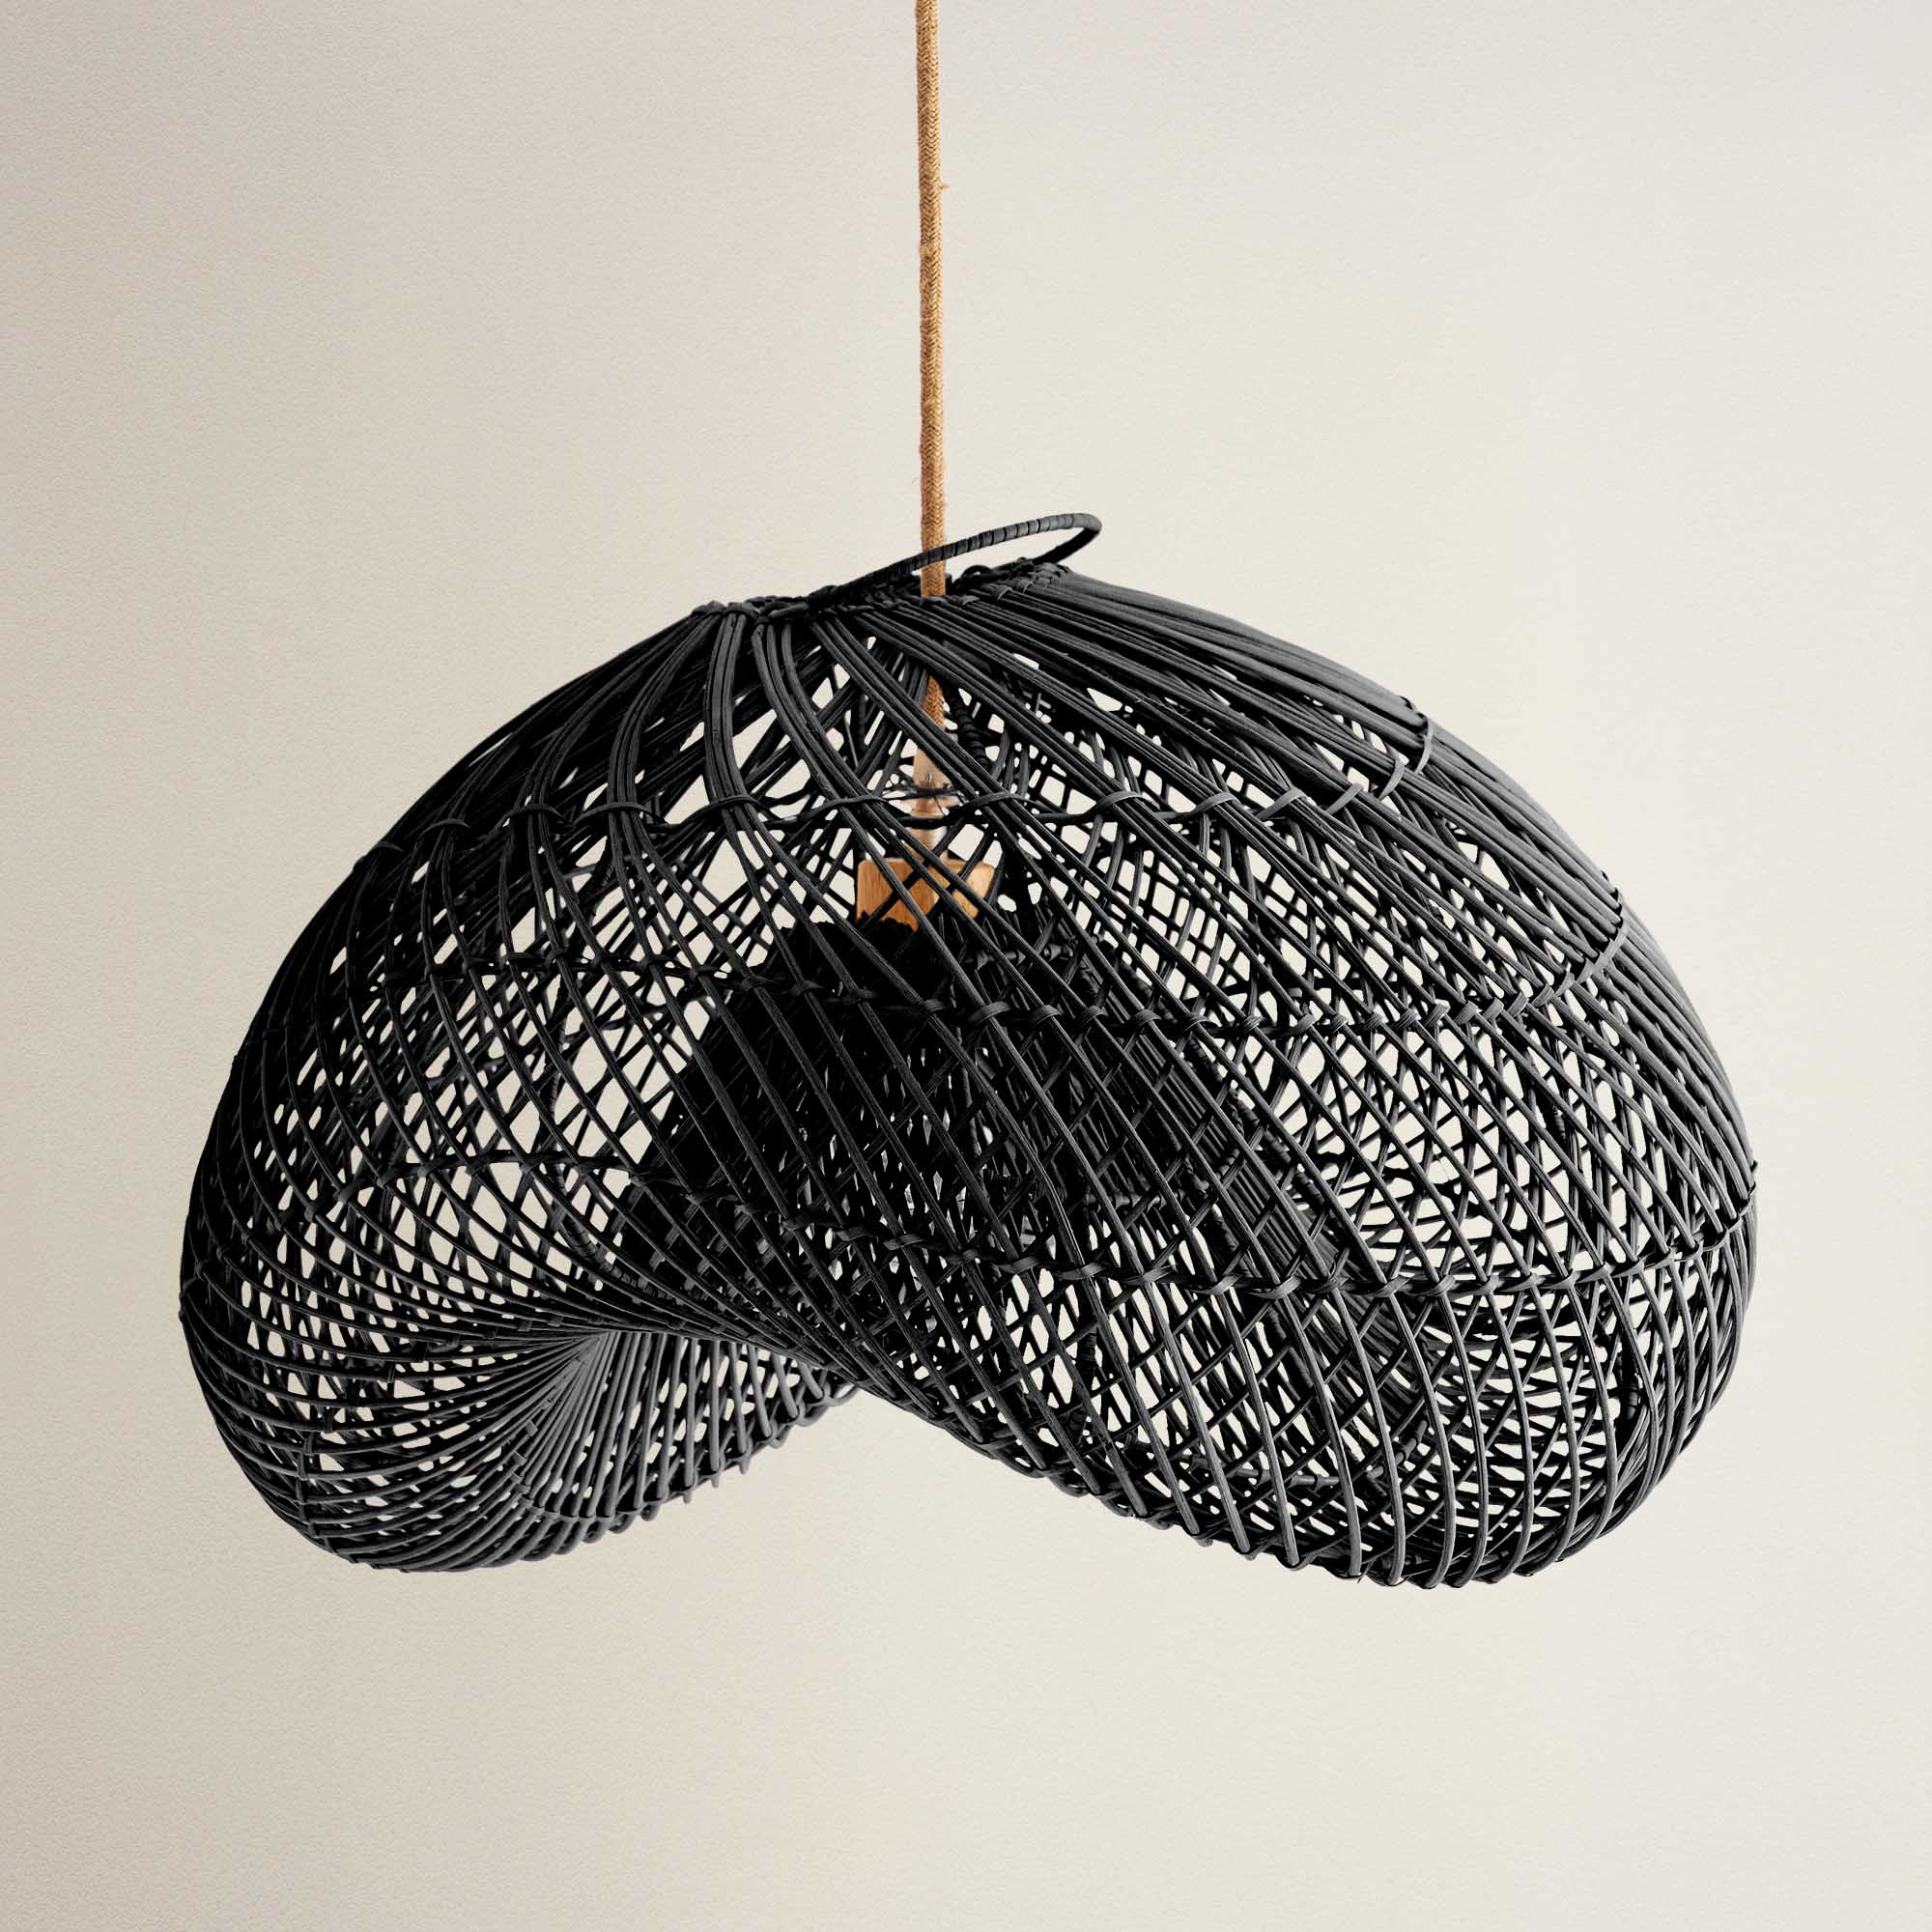
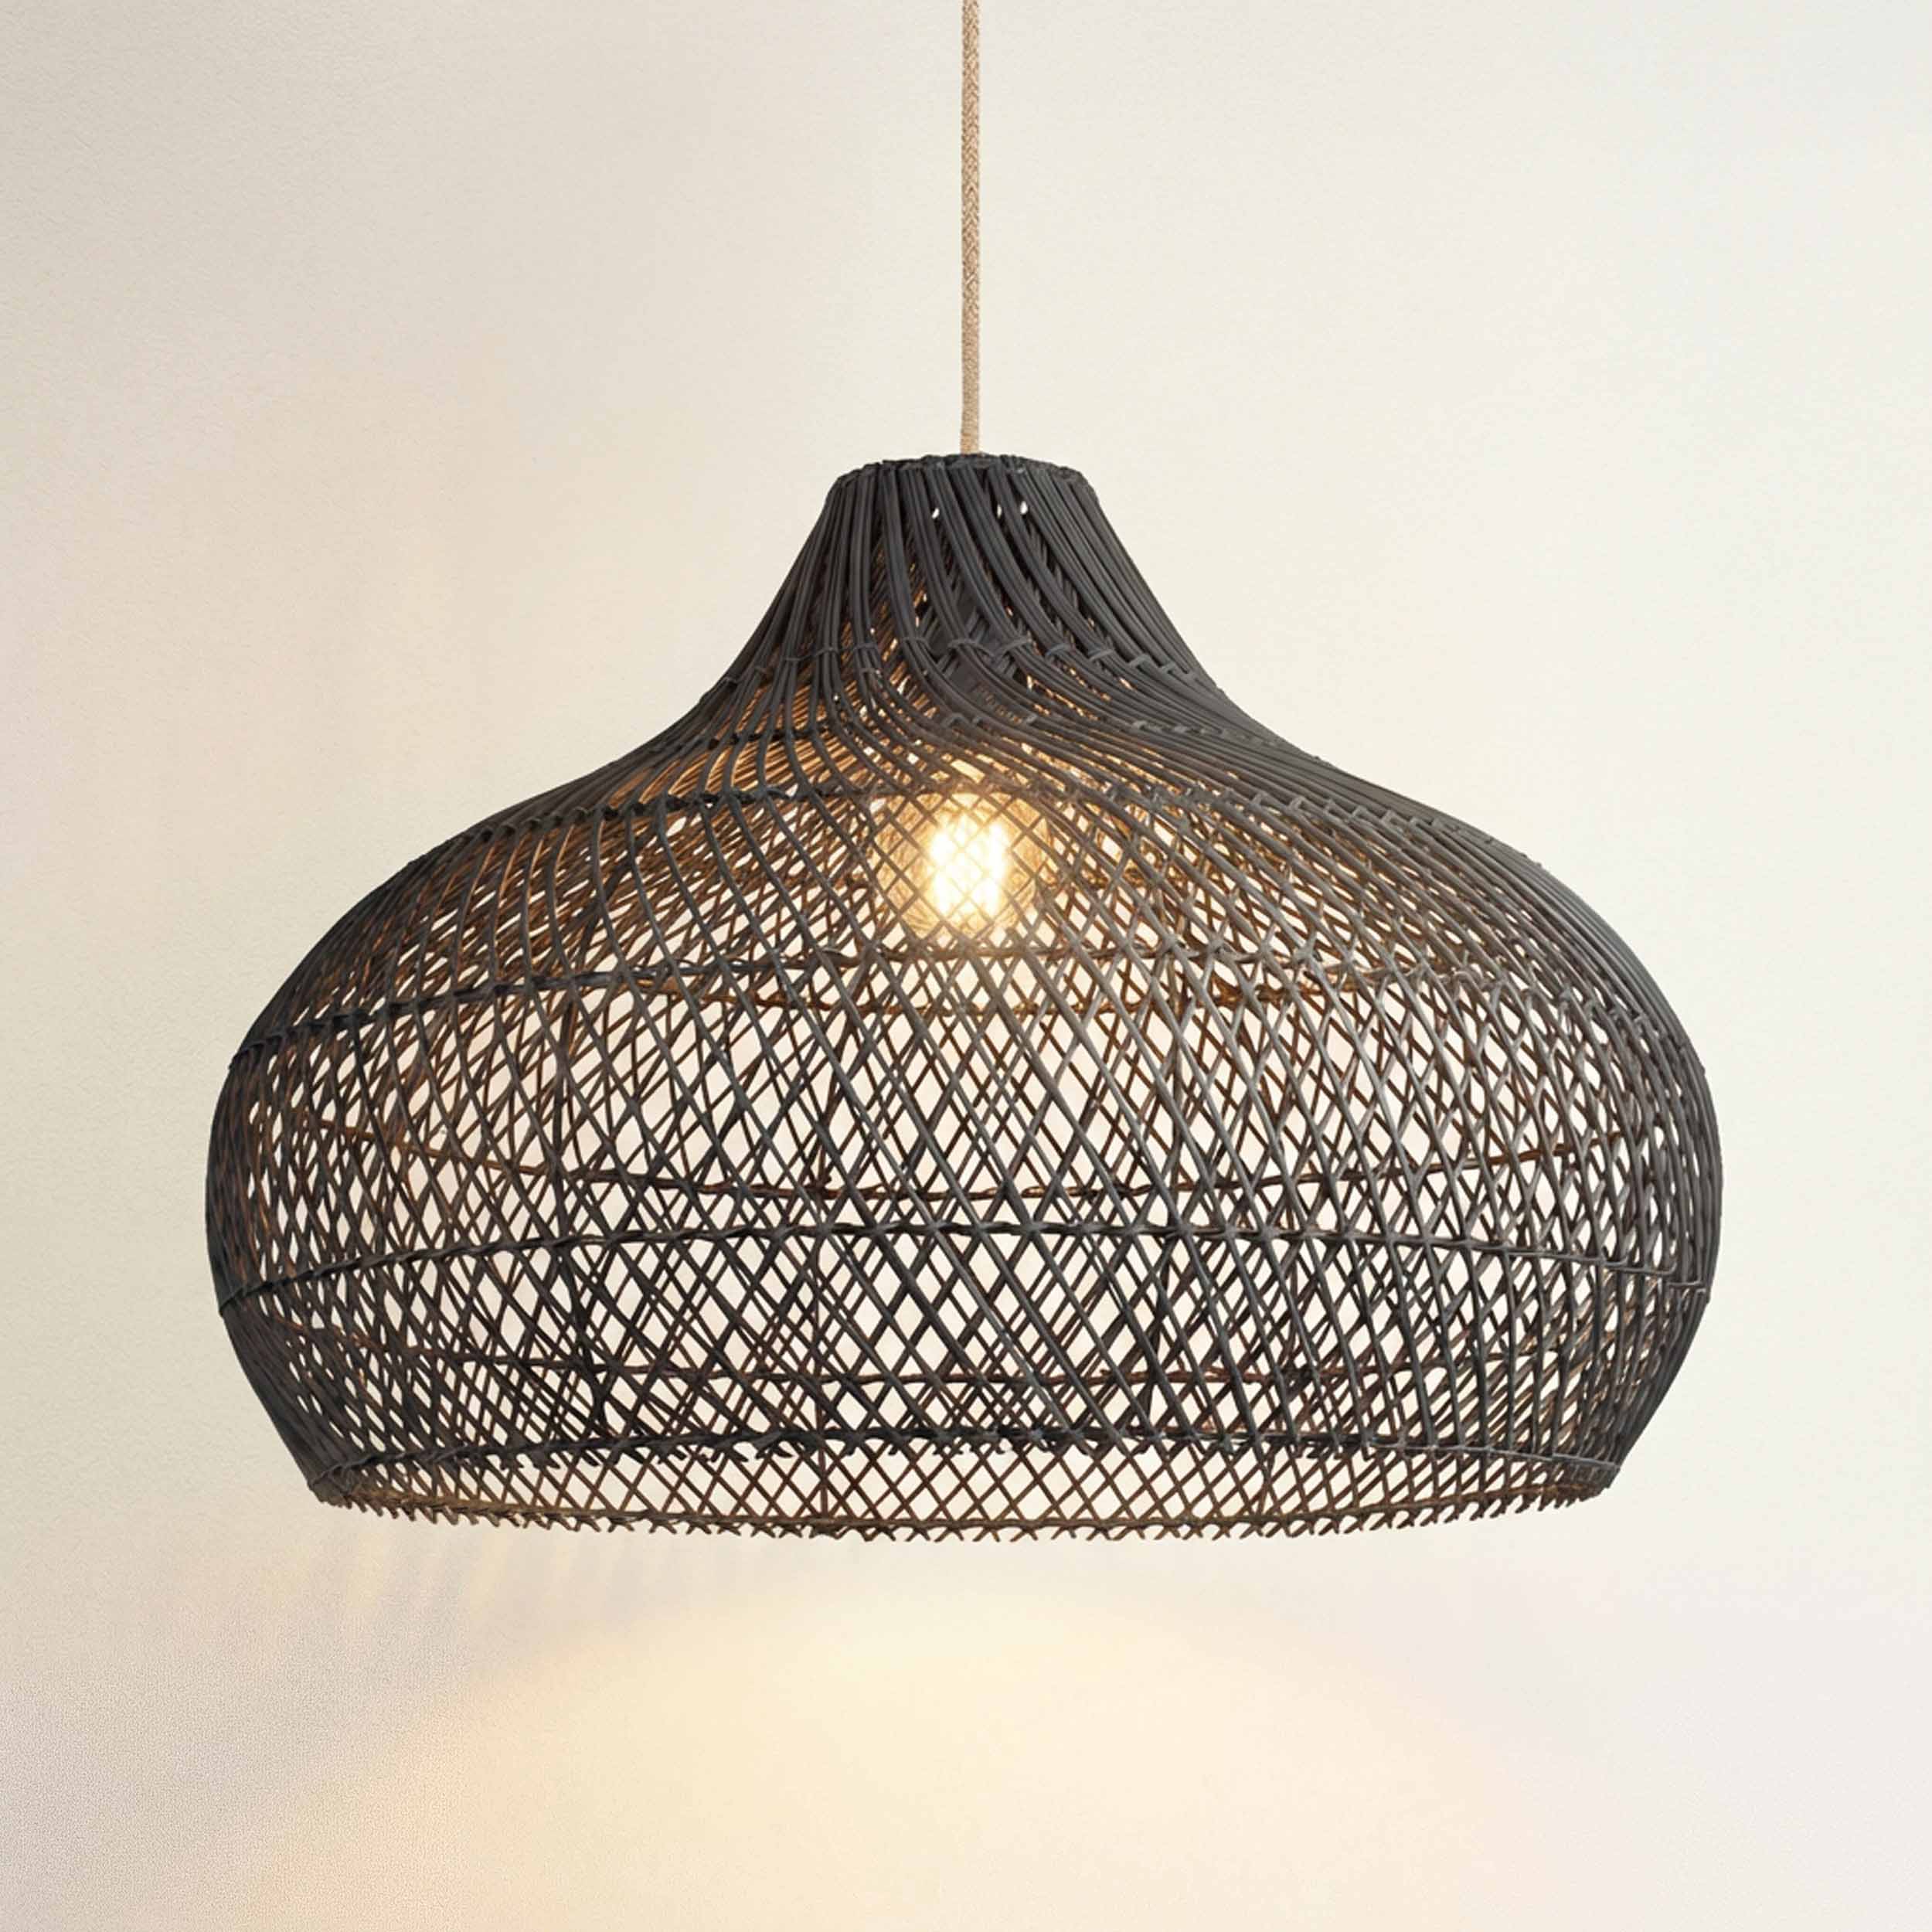
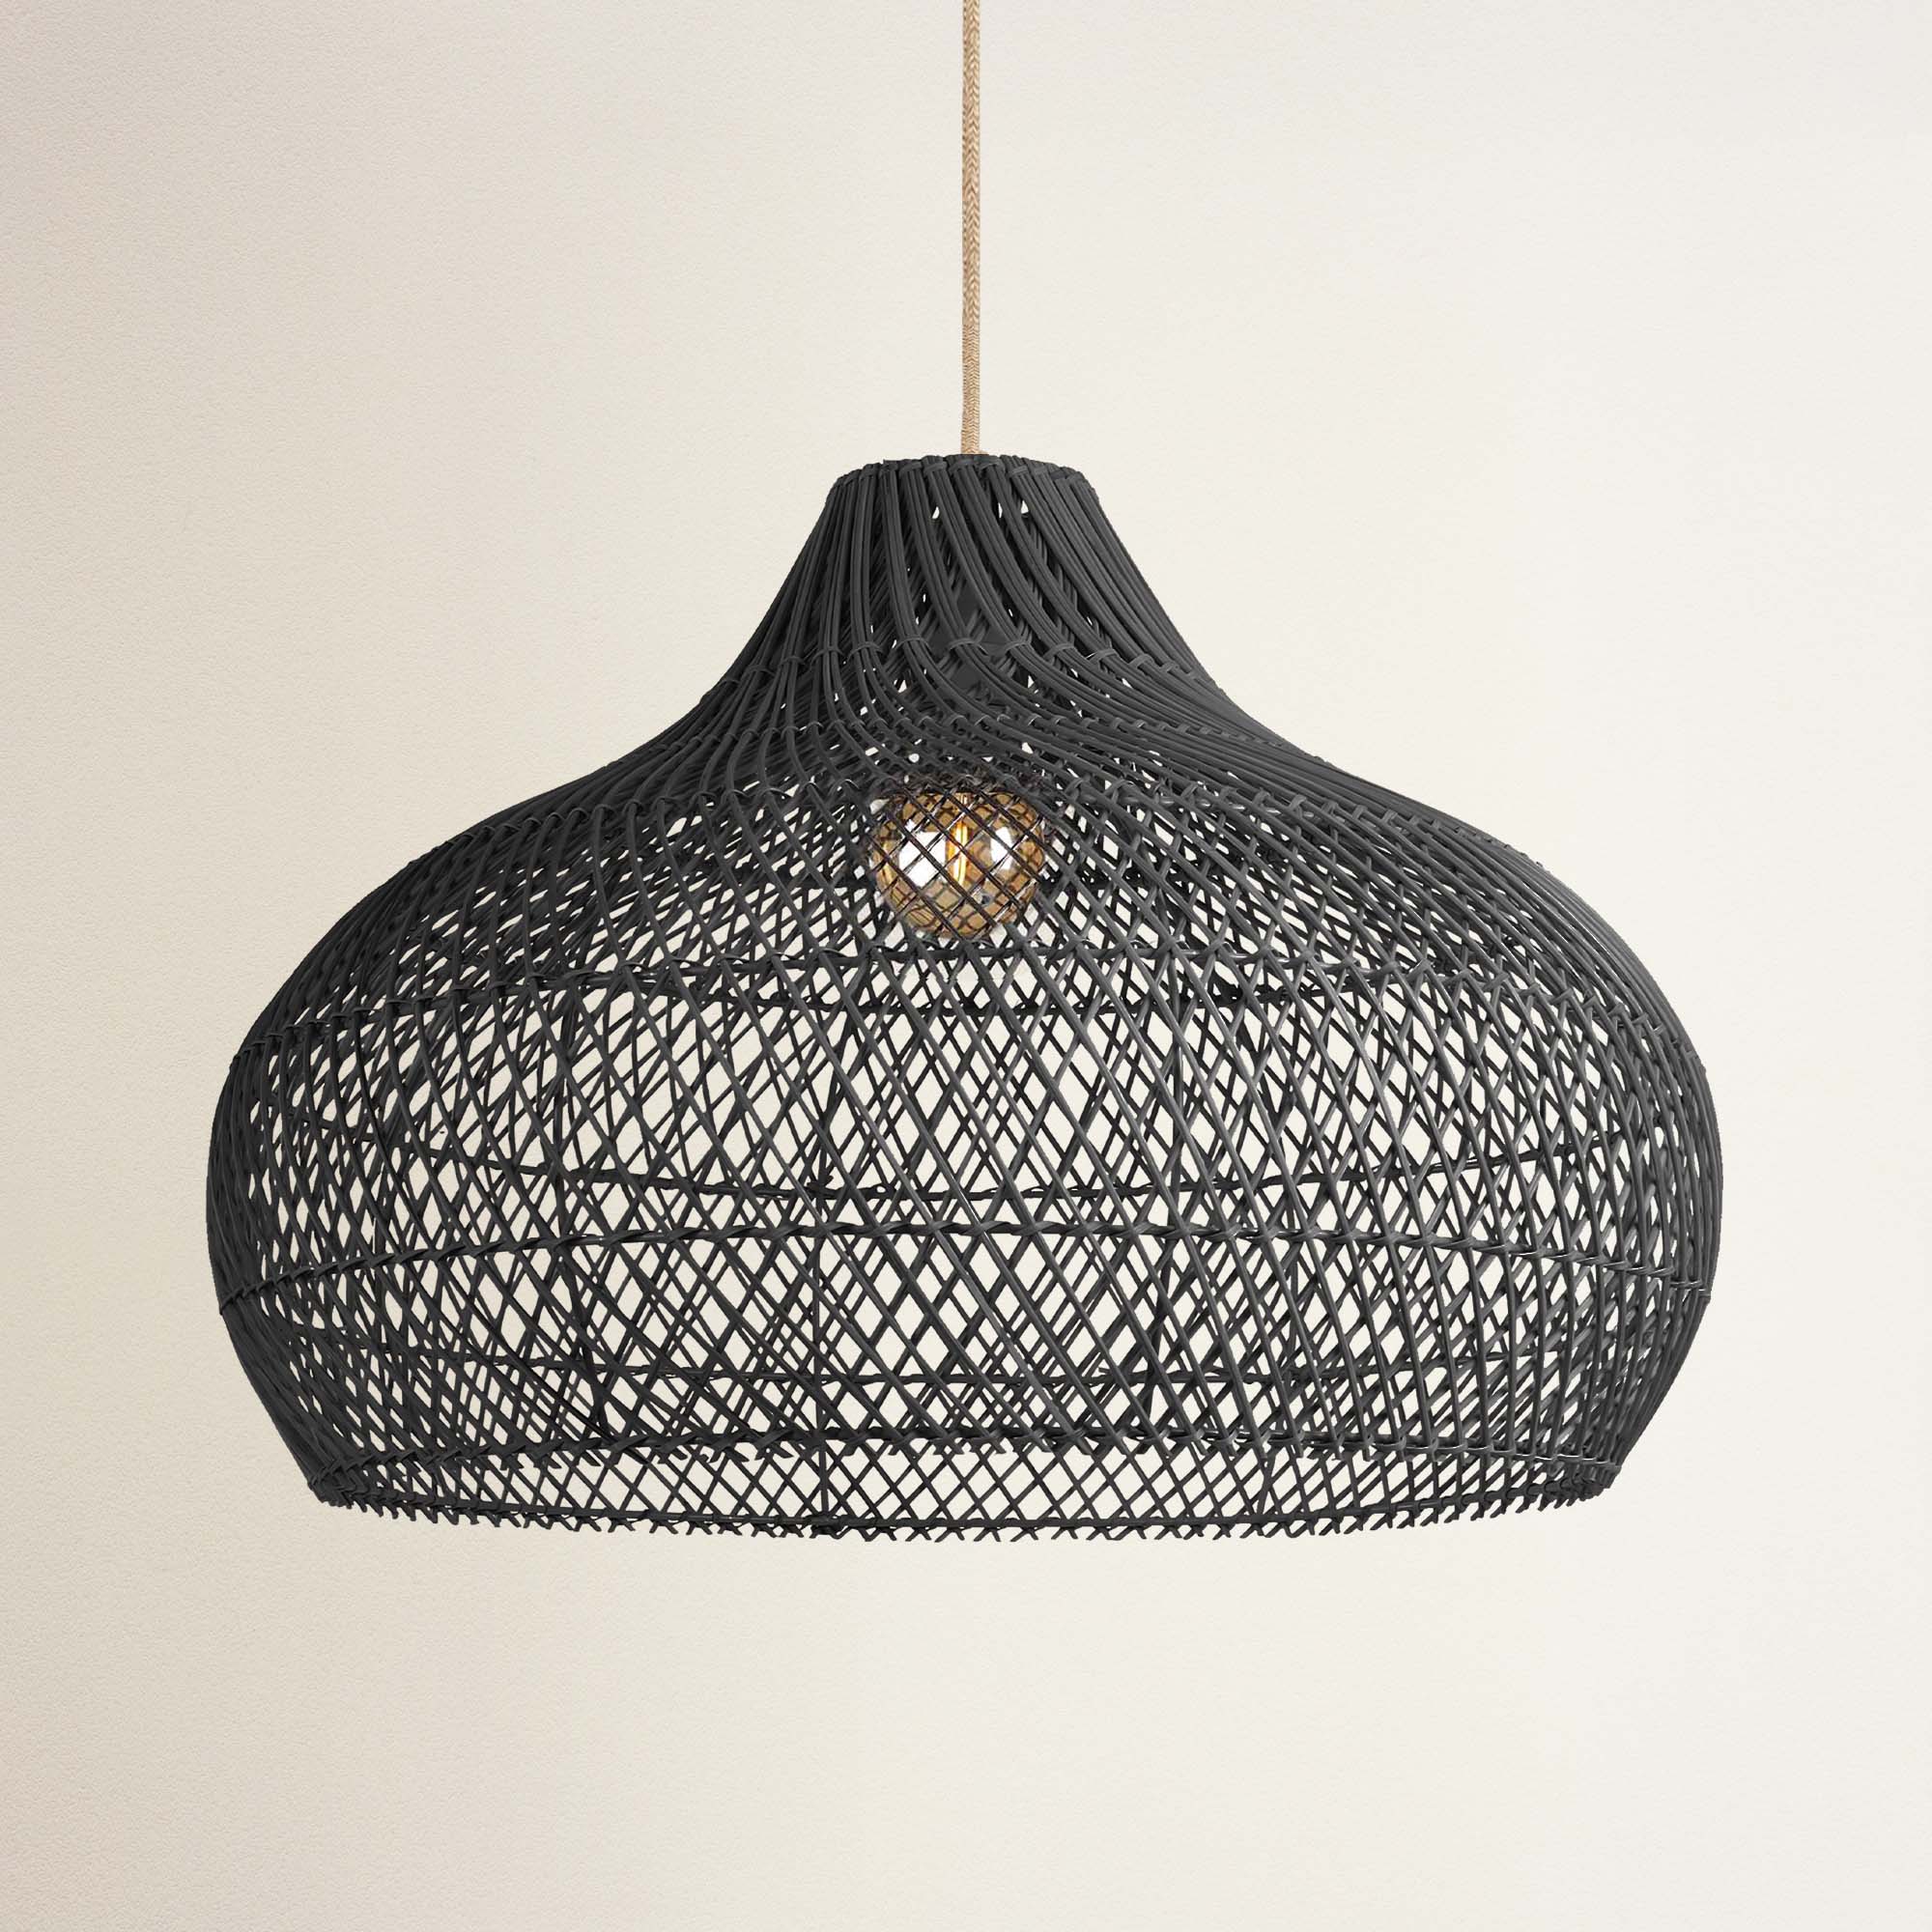
It's time for an upgrade. Find your perfect focal point.


45-Day Return


45-Day Return

45-Day Return

45-Day Return


45-Day Return


45-Day Return


45-Day Return

45-Day Return


45-Day Return


45-Day Return
45-Day Return


45-Day Return
What you’ll need
Gather these tools and materials to ensure the entire process goes smoothly and quickly:
Tools
- Voltage tester: To ensure the power is off.
- Screwdrivers: Phillips and flathead, or a cordless drill with attachments.
- Wire strippers: For preparing the wires.
- Wire connectors: To secure wire connections.
- Needle nose pliers: Optional, but helpful for tight spaces.
- Ladder: Essential if the fixture is high up.
Materials
- New light fixture: Choose one that suits your style and space.
- Replacement hardware plate: Usually included with your new fixture.

Make sure you have all the necessary tools and materials ready during the process. Source: Rowabi's customer.
Instructions
There are a total of 9 steps that you need to remember, including the order and the method for each task.
Step 1: Shut off the power
Start by locating your home’s electrical panel. Switch off the circuit breaker that controls the light fixture you’ll be working on. If you’re unsure which circuit to turn off, you may need to test a few. Use a voltage tester to confirm that the power is off before proceeding.
Step 2: Detach the fixture
Remove any detachable components from the fixture, such as light bulbs or decorative covers. Look for a canopy or decorative plate concealing the mounting hardware. Unscrew this to access the wiring.
Step 3: Disconnect the wiring
With the decorative parts removed, you should see the wiring connected to the fixture. If you’re uncertain at this stage, it’s safer to consult a professional. Carefully unscrew the wire caps and use the voltage tester on the exposed wires to ensure there’s no power. Take a picture or make a note of how the wires are connected.
Step 4: Take down the chandelier
Ensure the chandelier is supported by a ladder and a helper. Unscrew the mounting bracket from the ceiling fixture box and lower the chandelier carefully. Take a moment to celebrate your progress!
View the Rowabi bestsellers.


Step 5: Take measurements
If you’re installing a new hanging fixture, measure how low you want it to hang. A chandelier over a dining table should ideally be 30 to 34 inches above the surface. Adjust the length of the wires accordingly, adding an extra 8-10 inches, and strip about an inch of insulation from each wire.
Step 6: Replace the plates
Attach the new mounting plate included with your new fixture. Make sure to thread the wires through the plate so they are ready for reconnection.
Step 7: Attach the wires
Connect the fixture wires to the ceiling wires, matching colors: white to white, black to black, and ground wire to ground wire. Use wire connectors to secure the connections.
Step 8: Put everything together
Carefully push the wires back into the electrical box and assemble your new light fixture according to the manufacturer’s instructions. Don’t forget to install the light bulbs!
Step 9: Restore the power
Once everything is securely in place, return to the electrical panel and switch the circuit breaker back on. Test your new fixture to ensure it’s working properly.
 Source: Rowabi's customer.
Reasons to avoid DIY light fixture replacement
While replacing a light fixture can seem like a straightforward DIY task, there are several compelling reasons to consider hiring a professional instead. Here’s a breakdown of the key factors that may lead you to avoid tackling this project on your own.
Rewiring challenges
One of the most significant hurdles in replacing a light fixture is the need to rewire it properly. This involves understanding the existing wiring system and ensuring that the new fixture is compatible.
Improper wiring can lead to malfunctions or even electrical fires, making having the right knowledge and tools crucial. Professionals are trained to handle these tasks safely and efficiently.
Risk of damage
Attempting a DIY installation can often result in unintentional damage to the fixture or surrounding areas. Accidental scratches, dents, or even damage to the electrical components can occur if proper care isn't taken. Professionals have the experience to navigate these risks and minimize the potential for damage, preserving the integrity of your home and new fixtures.

There can be many unforeseen accidents that are difficult to anticipate. Source: Rowabi's customer.
Electrocution and safety hazards
Working with electricity poses inherent dangers, including the risk of electrocution. If you're not experienced in electrical work, it can be easy to make a mistake that puts you in harm’s way. A licensed electrician is trained to handle these risks, ensuring that all safety protocols are followed to protect you and your home.
Structural and safety considerations
Certain light fixtures, especially heavy chandeliers, require proper structural support to ensure they hang safely. DIY enthusiasts may not assess the structural integrity of the mounting point accurately, potentially leading to hazards if the fixture were to fall. Professionals understand how to evaluate these factors and can install fixtures securely.
Ensuring proper hanging distance
The height at which a fixture hangs is crucial for both functionality and aesthetics. Incorrect installation can lead to lights that are too high or too low, impacting their effectiveness and appearance. An electrician will know the standard heights for different types of fixtures and can ensure that your new installation meets those standards.
Ensure that the spacing between the lights is precise and accurate. Source: Rowabi's customer.
Outdoor lighting setup
Installing outdoor lighting comes with additional challenges, such as weatherproofing and wiring considerations. Outdoor fixtures often require special attention to prevent moisture intrusion and other environmental factors.
Professionals are equipped with the knowledge to install outdoor lights correctly and safely, ensuring they withstand the elements.
Warranty and compliance
Many light fixtures come with warranties that may be voided if not installed by a licensed electrician. Additionally, the National Electrical Code (NEC) sets regulations for electrical installations to ensure safety.
Professionals are familiar with these codes. They can ensure that your installation complies, safeguarding both your investment and your home.
Faqs: How to change a light fixture without an electrician
Do I need an electrician to change a light fitting?
- While you can change a light fitting yourself if you have basic electrical knowledge, hiring an electrician is recommended for safety and compliance, especially for complex fixtures.
Is it difficult to change a light fixture?
- Changing a light fixture can vary in difficulty. Basic fixtures are usually straightforward, but heavier or more complex installations may require more skill and assistance.
Do I need to turn off the breaker to change the light fixture?
- Yes, always turn off the breaker for the circuit you are working on to ensure your safety while replacing a light fixture.
Is it safe to replace a light fixture yourself?
- It can be safe if you follow proper procedures and have the necessary knowledge. However, if you're unsure, it's best to hire a professional.
Is it illegal to change a light fitting?
- It is not illegal to change a light fitting in most areas, but local regulations may require permits or inspections for certain types of electrical work.
How much does an electrician charge to change light fittings?
- Electricians typically charge between $75 and $150 per hour, plus any materials needed. The total cost will depend on the complexity of the job.
How much will an electrician charge to change a light switch?
- The cost to change a light switch usually ranges from $50 to $150, depending on the type of switch and local labor rates.
Is changing a light fixture considered electrical work?
- Yes, changing a light fixture is considered electrical work, which must be done safely and according to local codes.
How long does it take an electrician to change a light switch?
- An electrician typically takes about 15 to 30 minutes to change a light switch, depending on the complexity of the installation.
Conclusion
By following the outlined steps from Rowabi turning off the power, carefully detaching the old fixture, and properly connecting the new one you can successfully update your lighting and enhance your space.
Remember, while DIY projects can save money, prioritizing safety is crucial. If you encounter any complexities or uncertainties during the process, don’t hesitate to consult a professional.


%20using%20wire%20nuts,%20and%20then%20the%20fixture%20is%20mounted.%20To%20ensure%20safety%20and%20ease,%20it'...)
Leave a comment
This site is protected by hCaptcha and the hCaptcha Privacy Policy and Terms of Service apply.