


| Skill Level | Cost | Estimated time |
| Easy - Medium Moderate, requires some electrical experience | $65 to $400, varying with style and make of fixtures | 2 to 4 hours |
With the right guidance, achieving a professional-looking result is well within your grasp. If you're ready to enhance your space with a stylish and luminous touch, Rowabi’s guide is your go-to resource for achieving a seamless and hassle-free installation. Let's illuminate your space together with confidence and precision.
Preparation before installing a pendant light
Preparation holds utmost significance in this task, as you need to ensure you have all the necessary materials, tools, and a grasp of the basics. Allow us to guide you on how to seamlessly navigate through these crucial things:
Materials
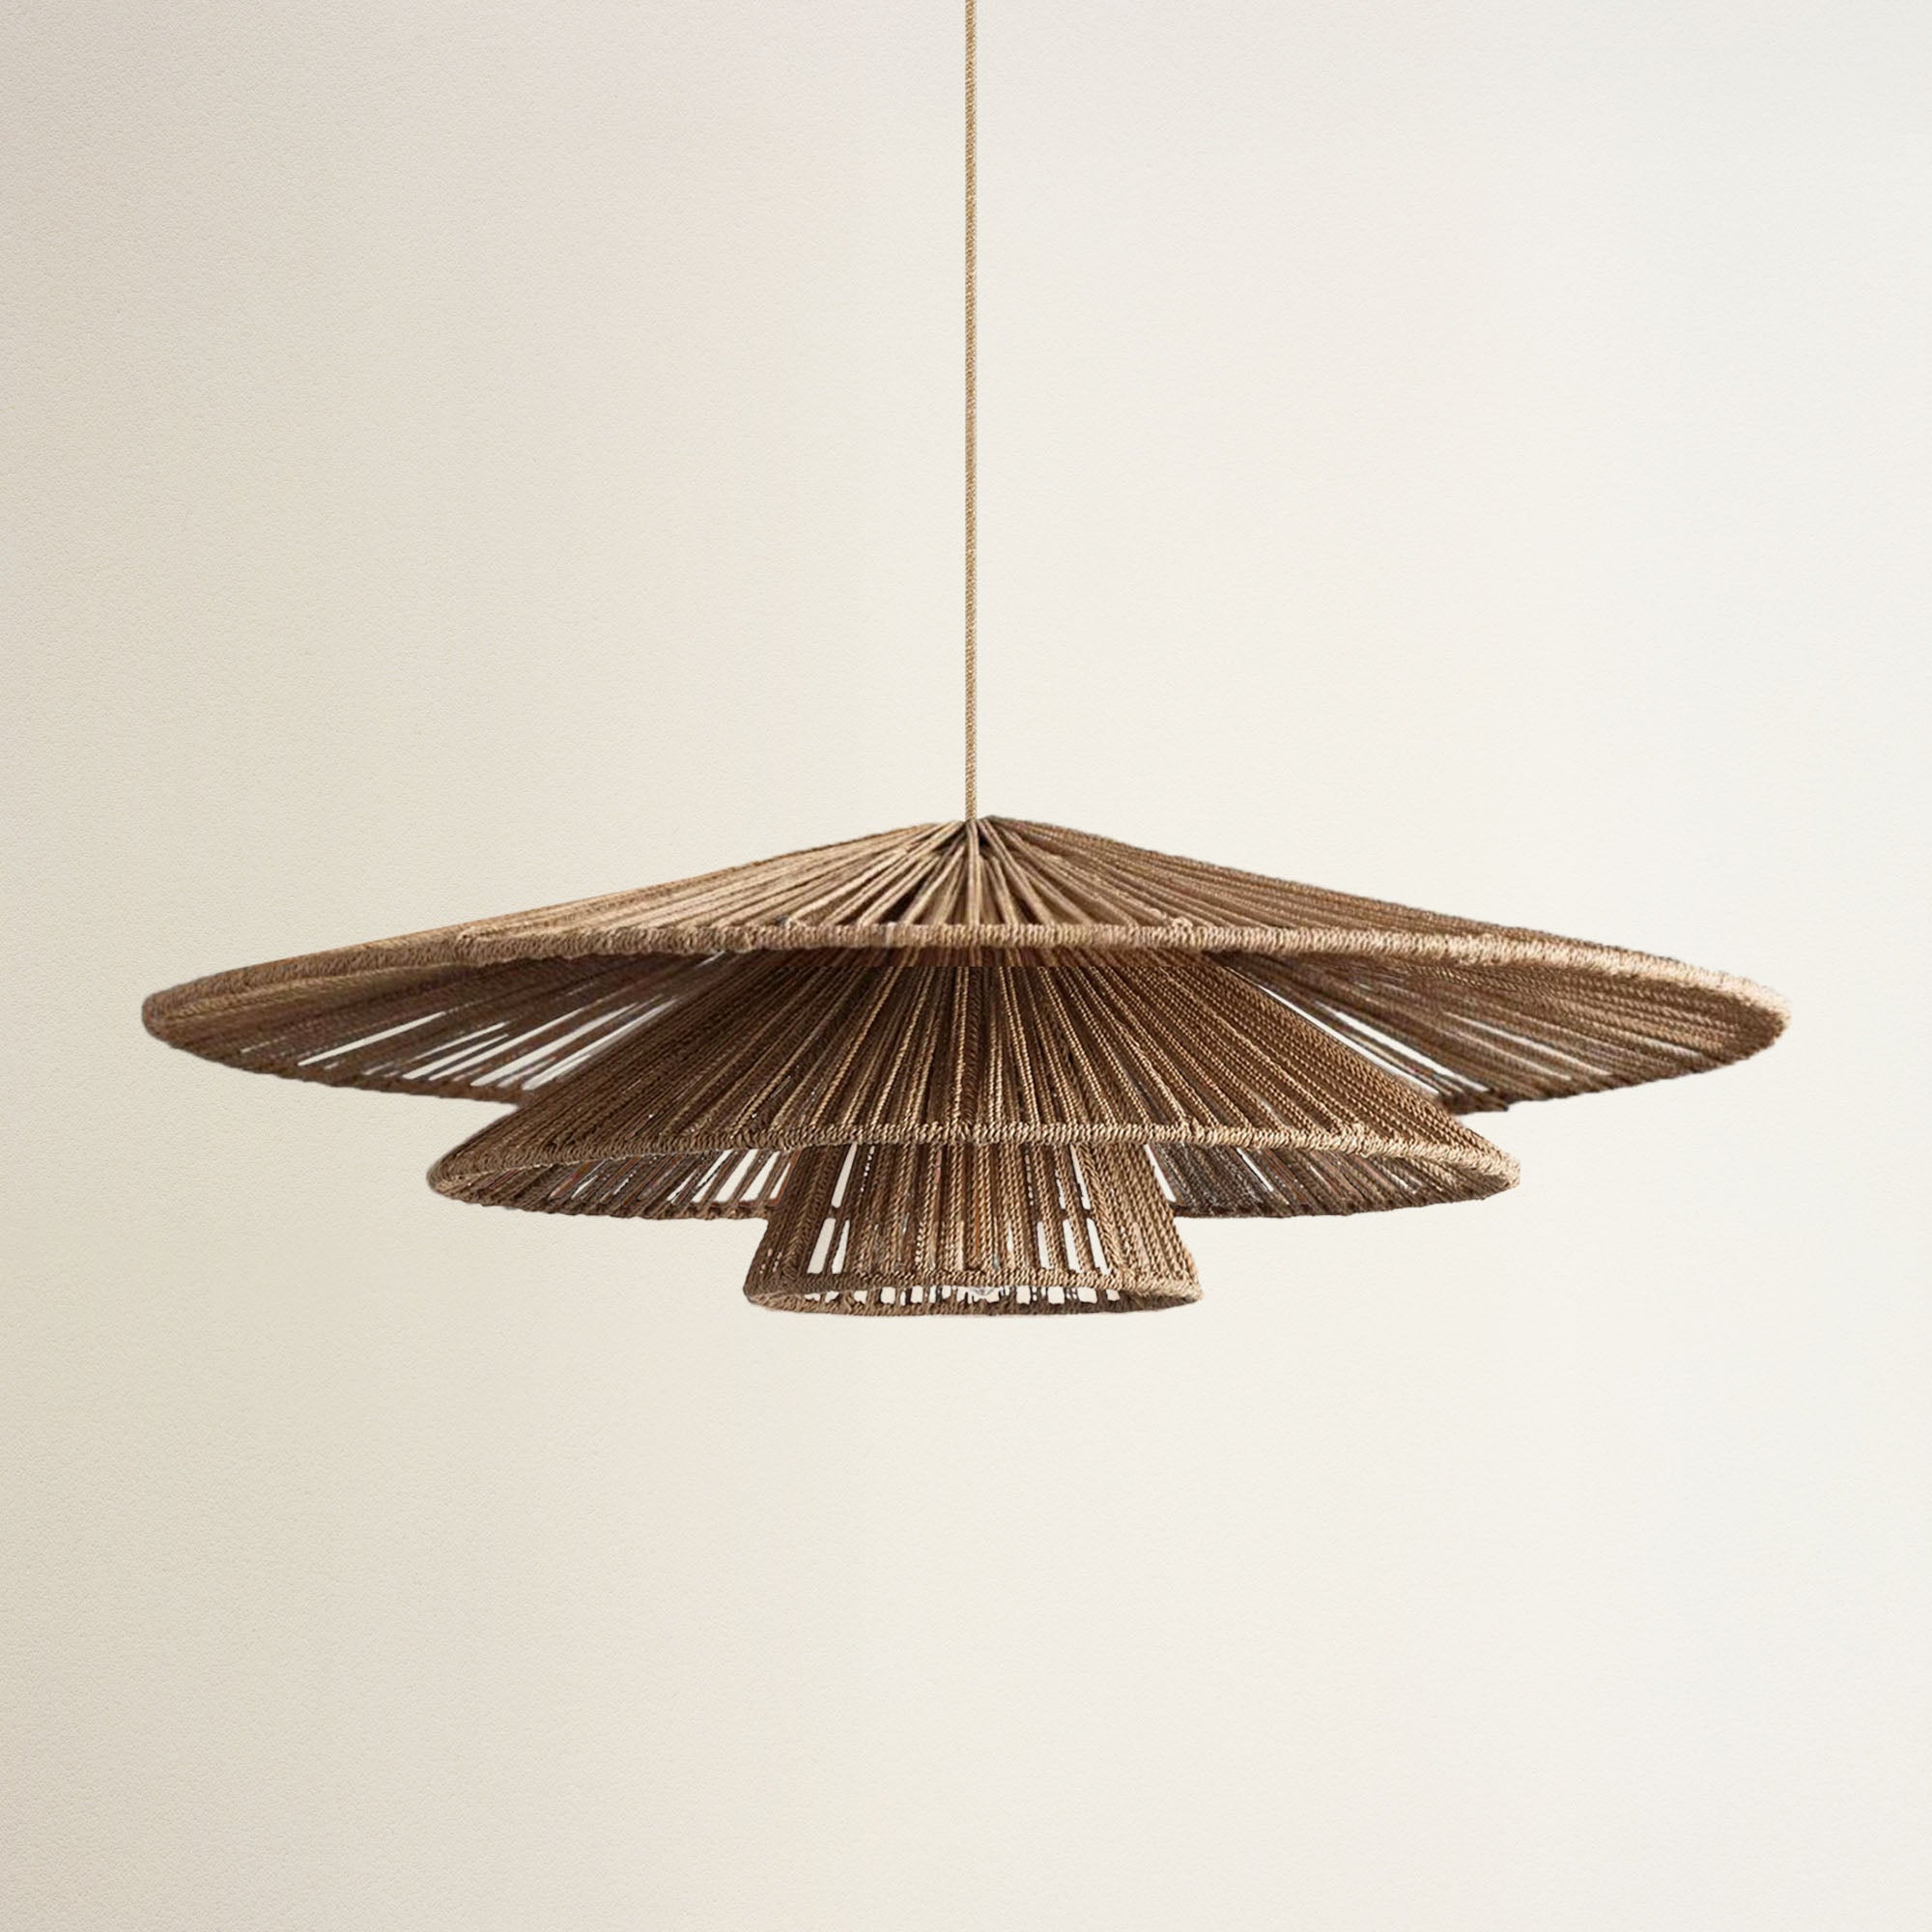
Pendant light: Ensure you have the pendant fixture, a key element in illuminating your space with style.
Wire nuts: Include wire nuts in your toolkit, as these small but crucial connectors play a vital role in establishing secure and reliable electrical connections.
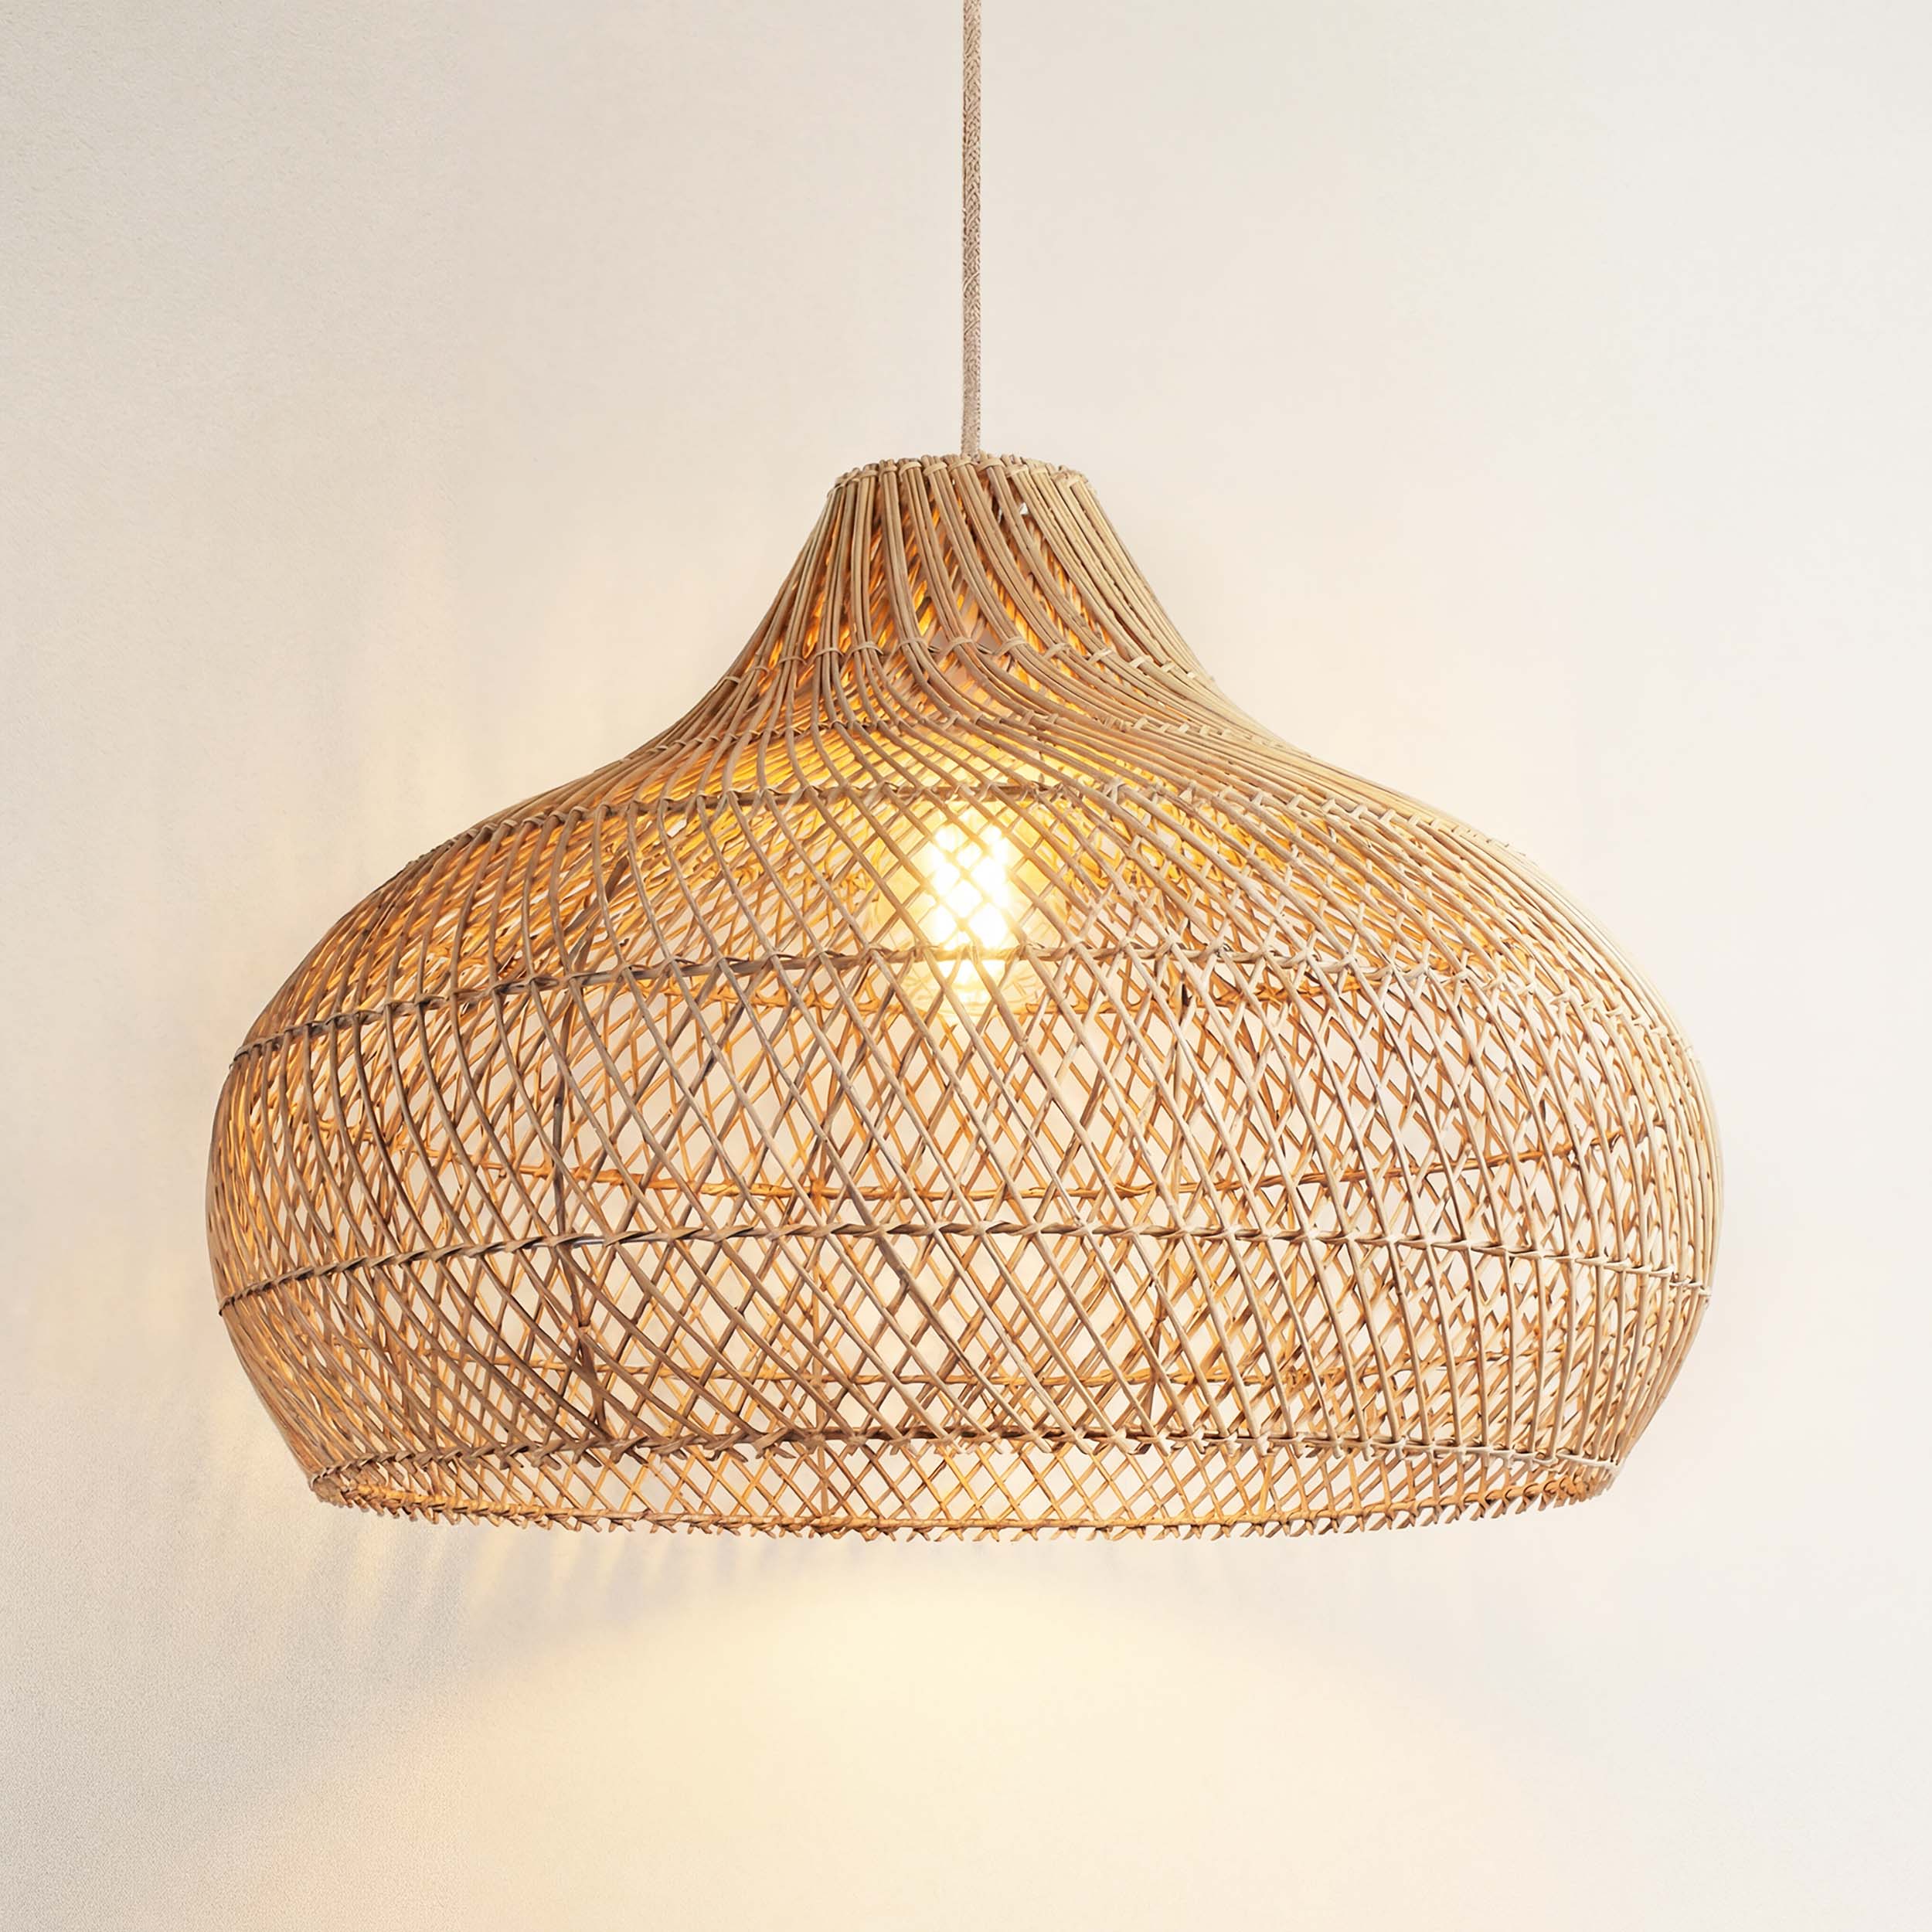
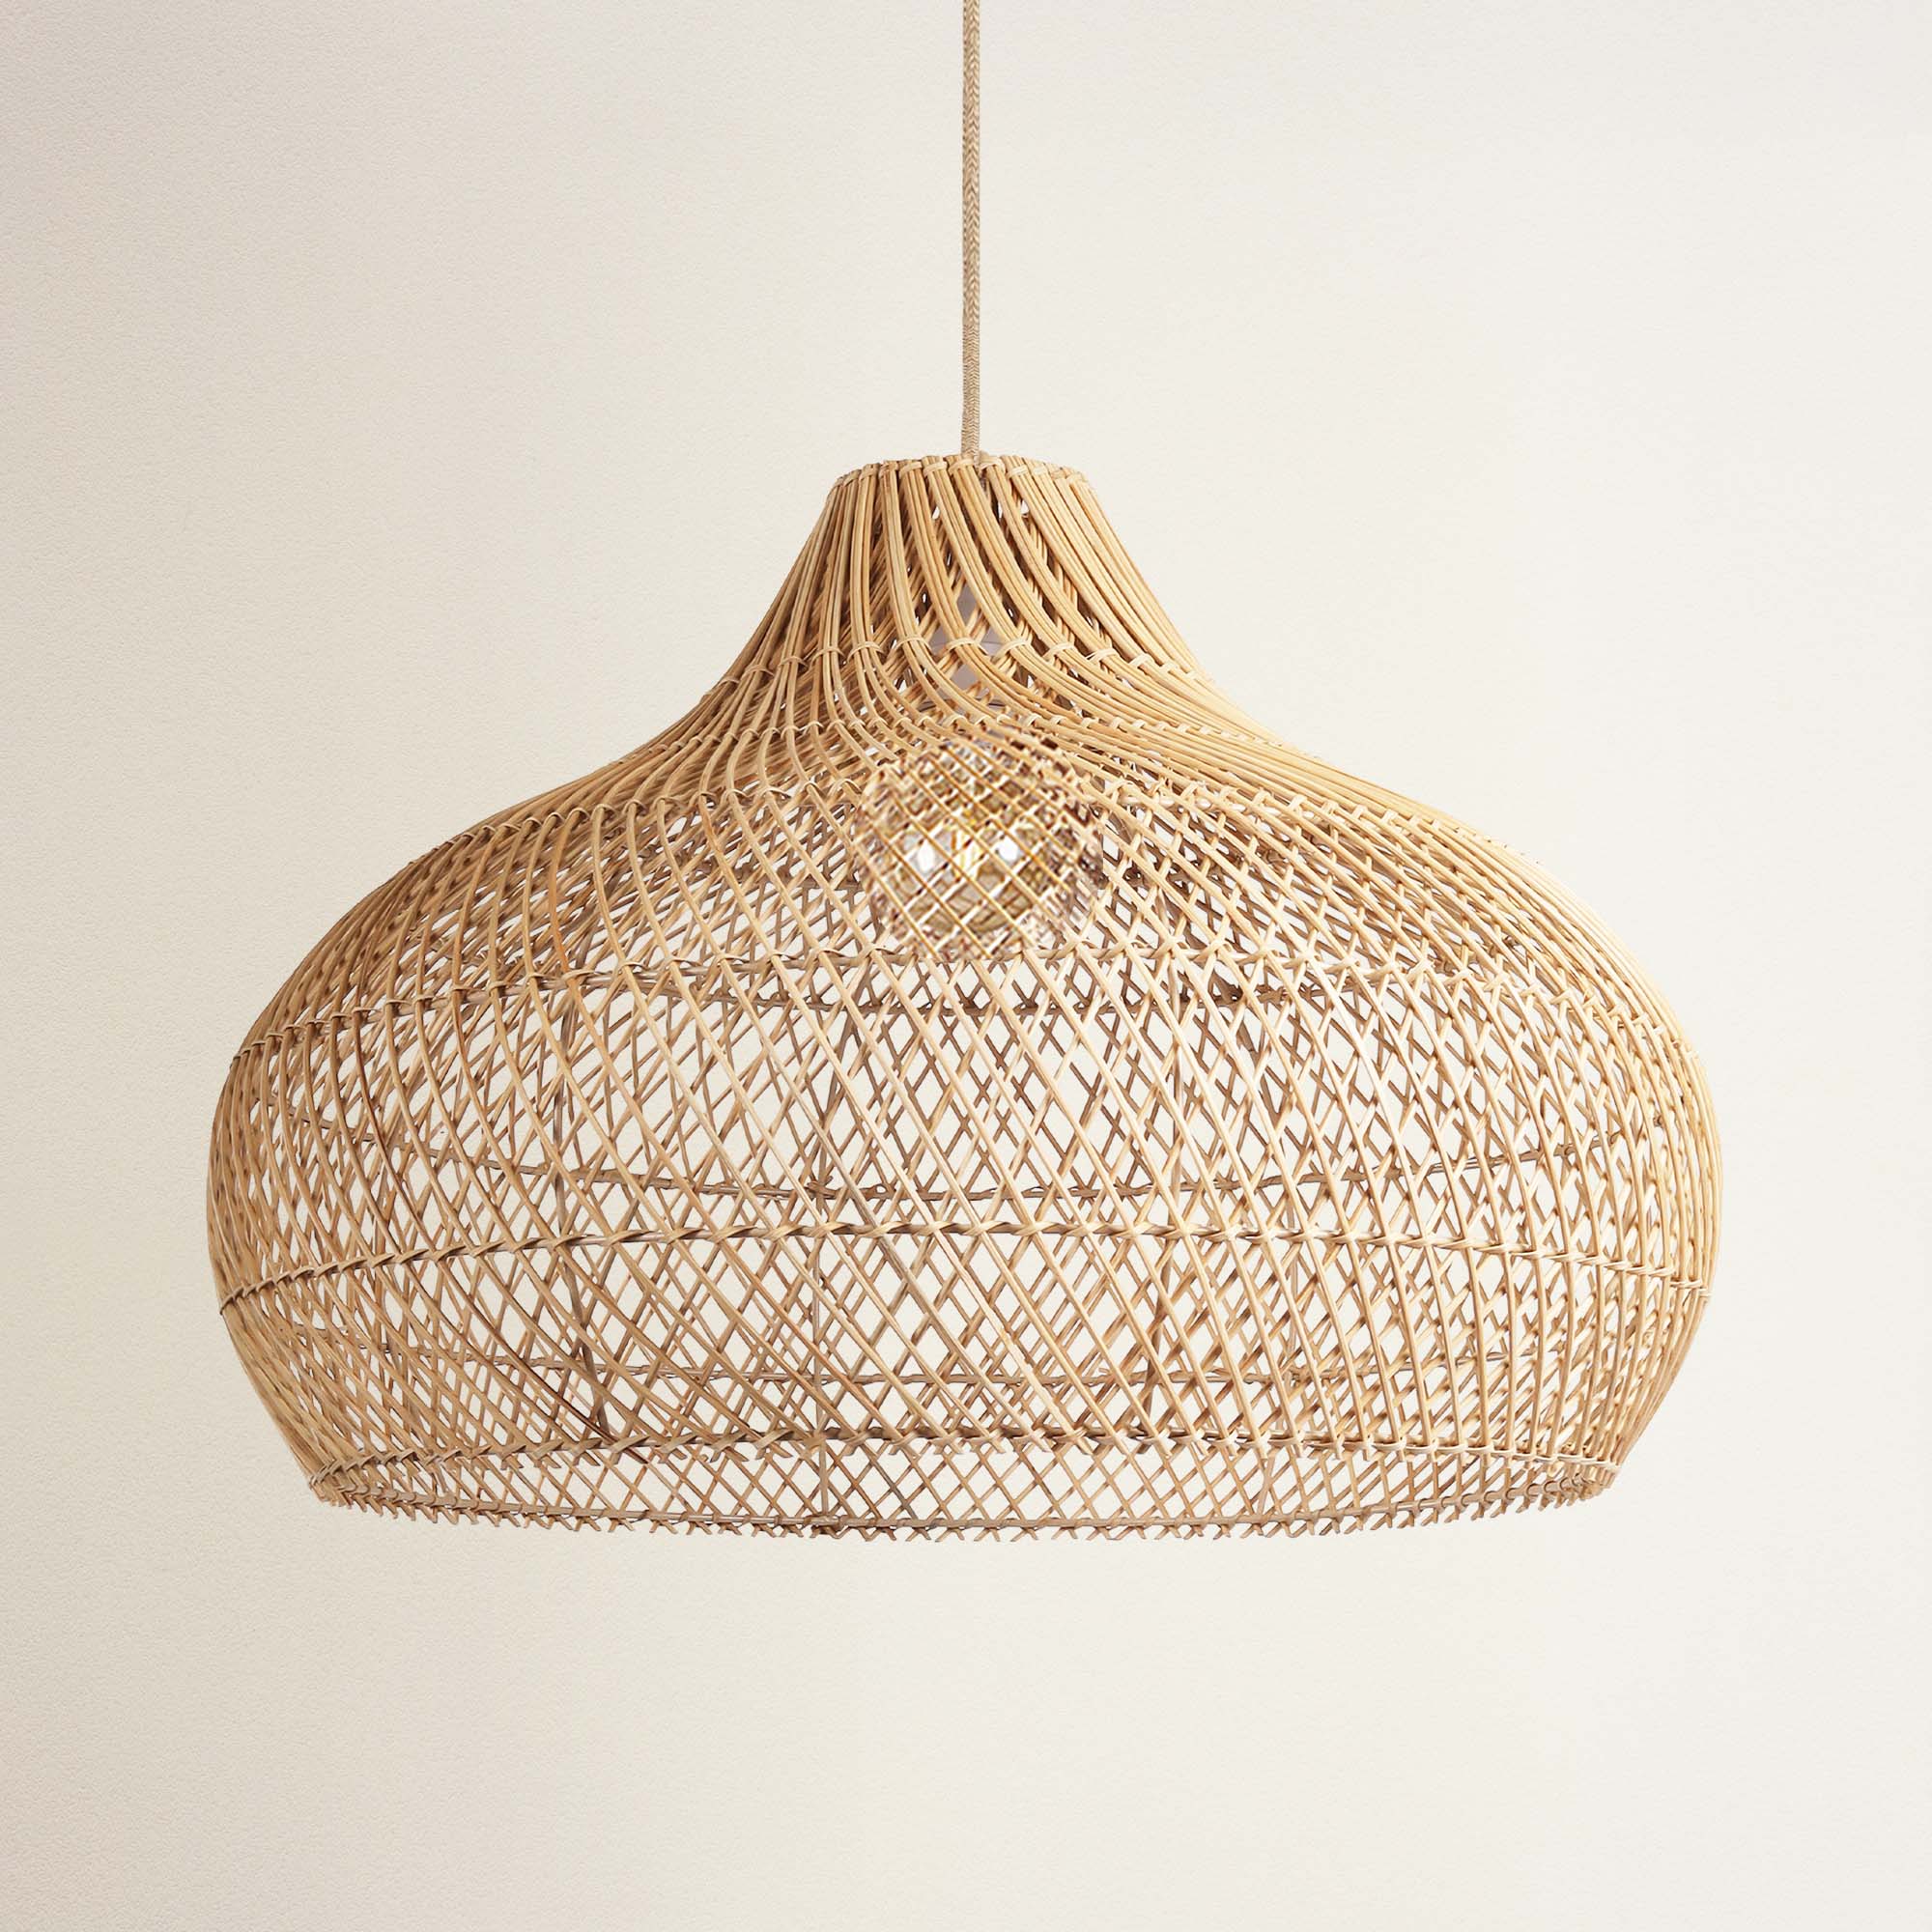
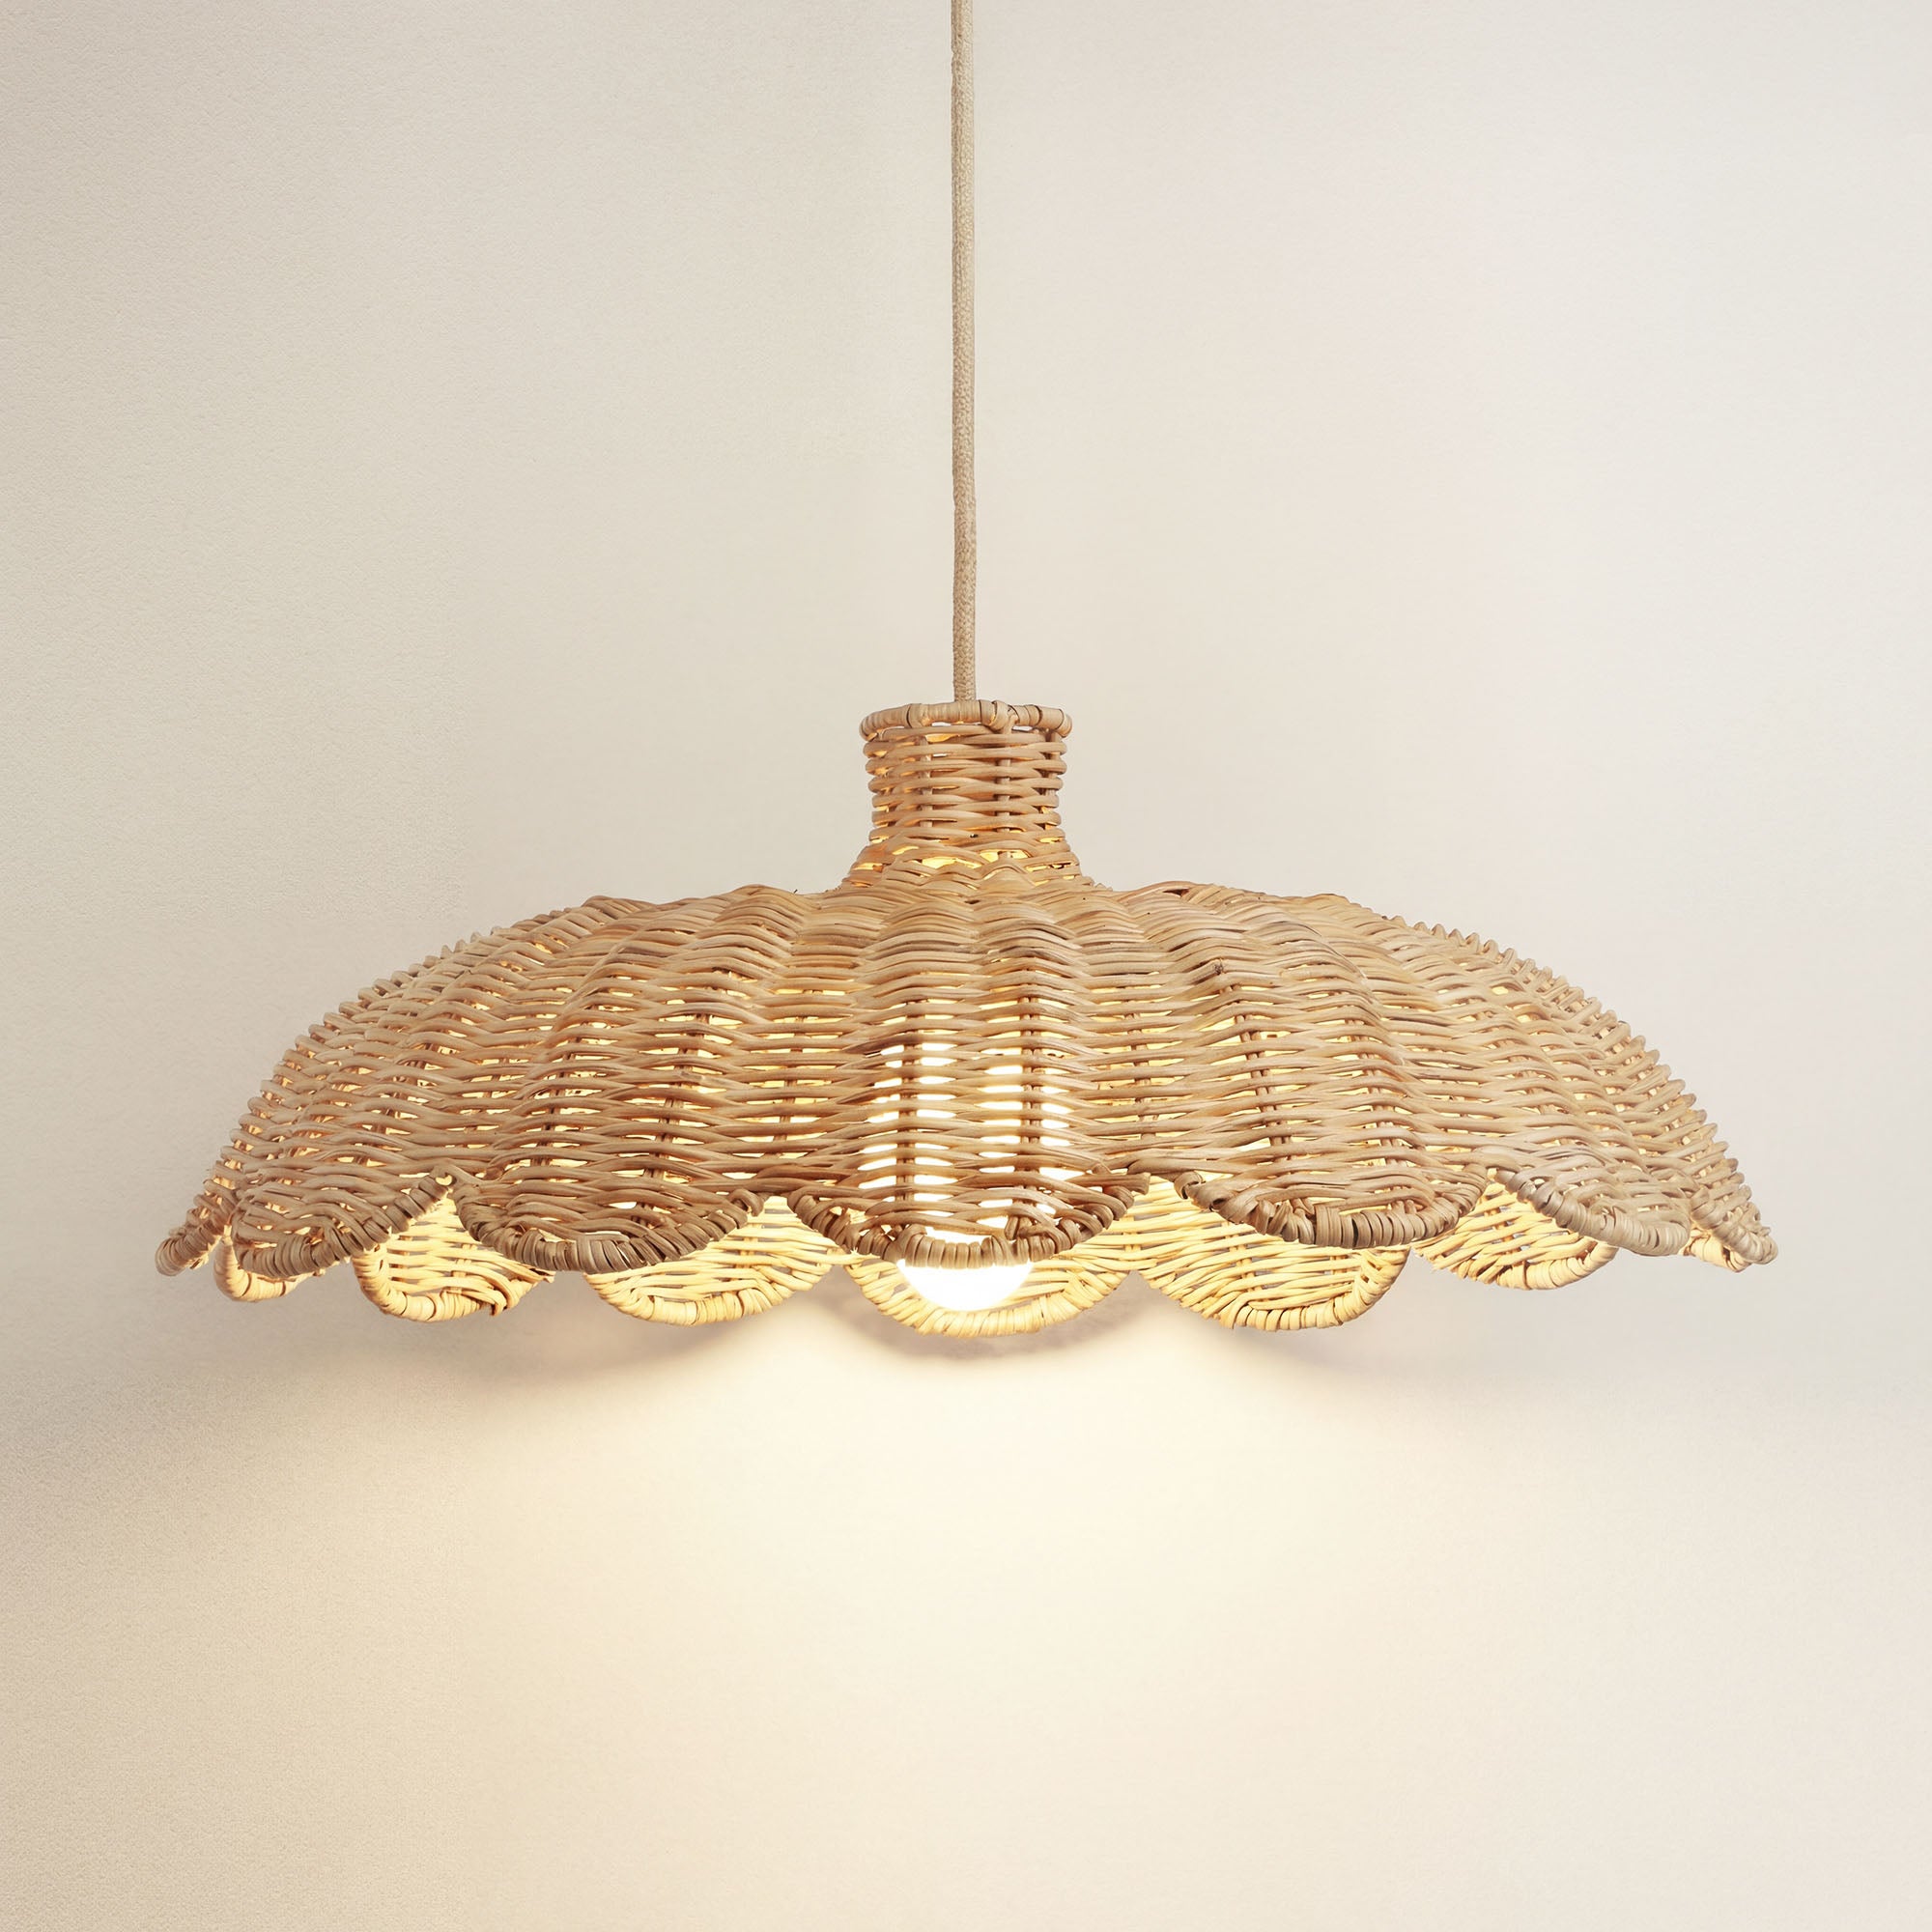
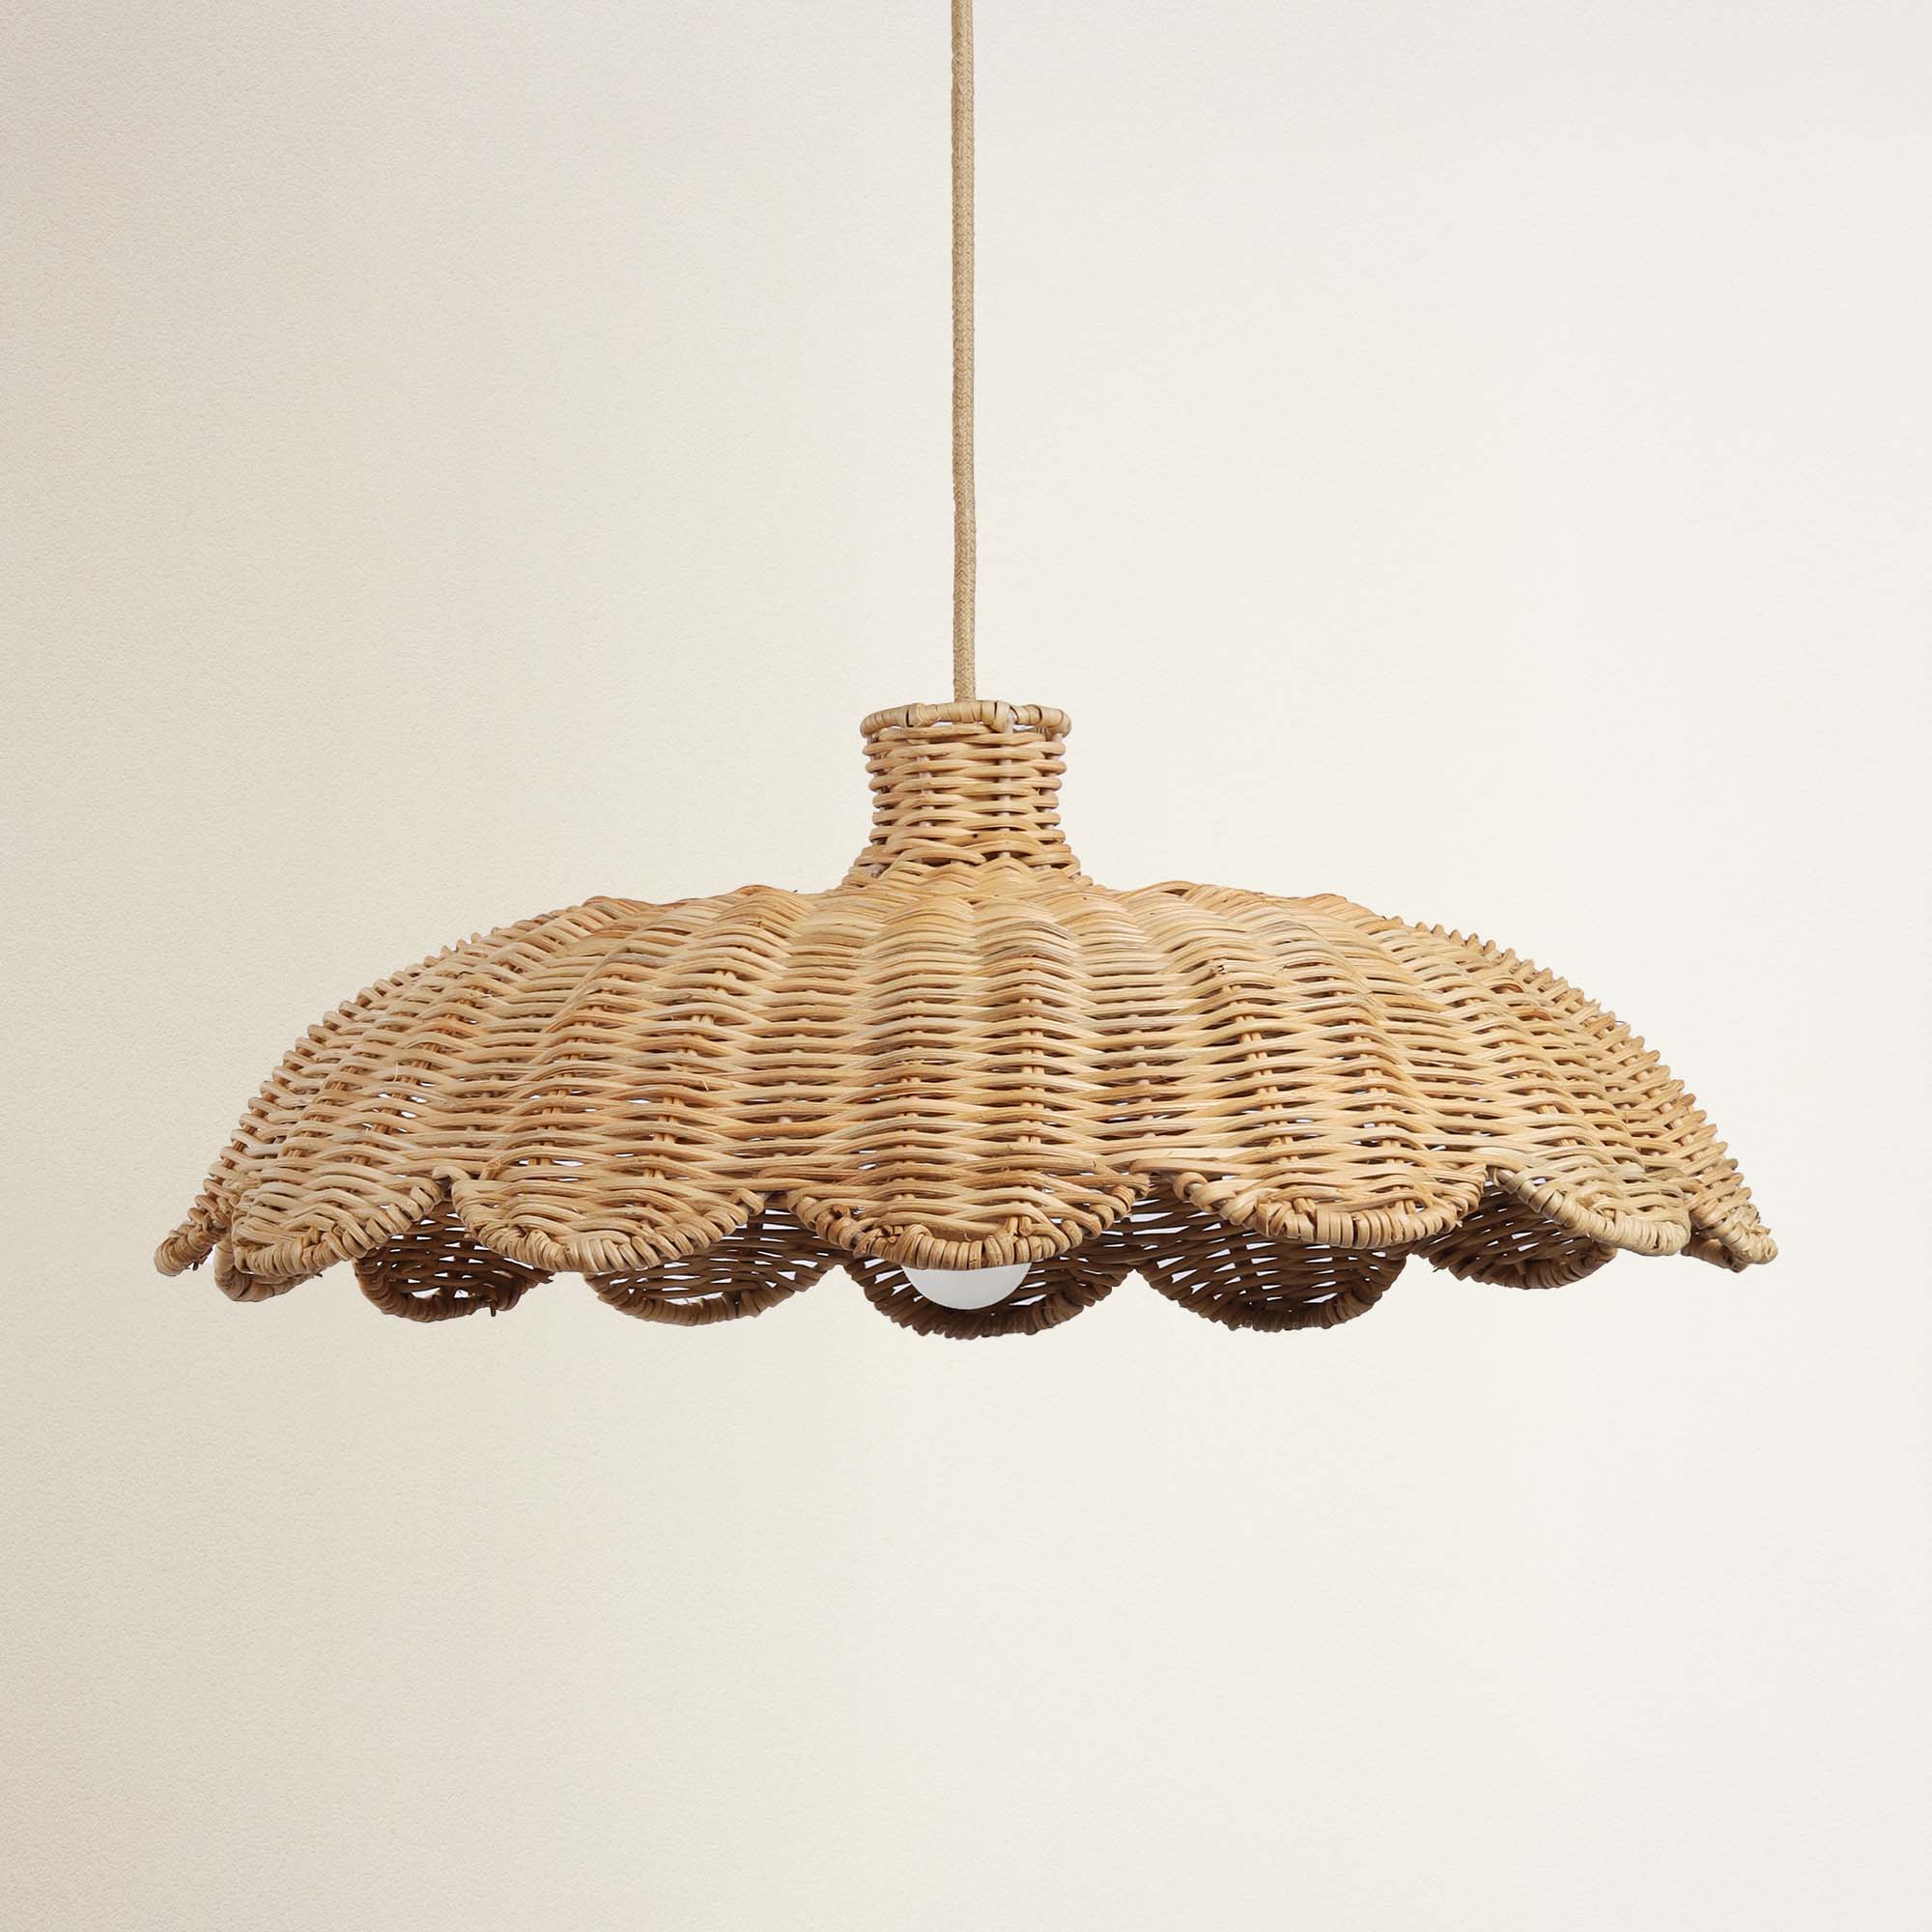
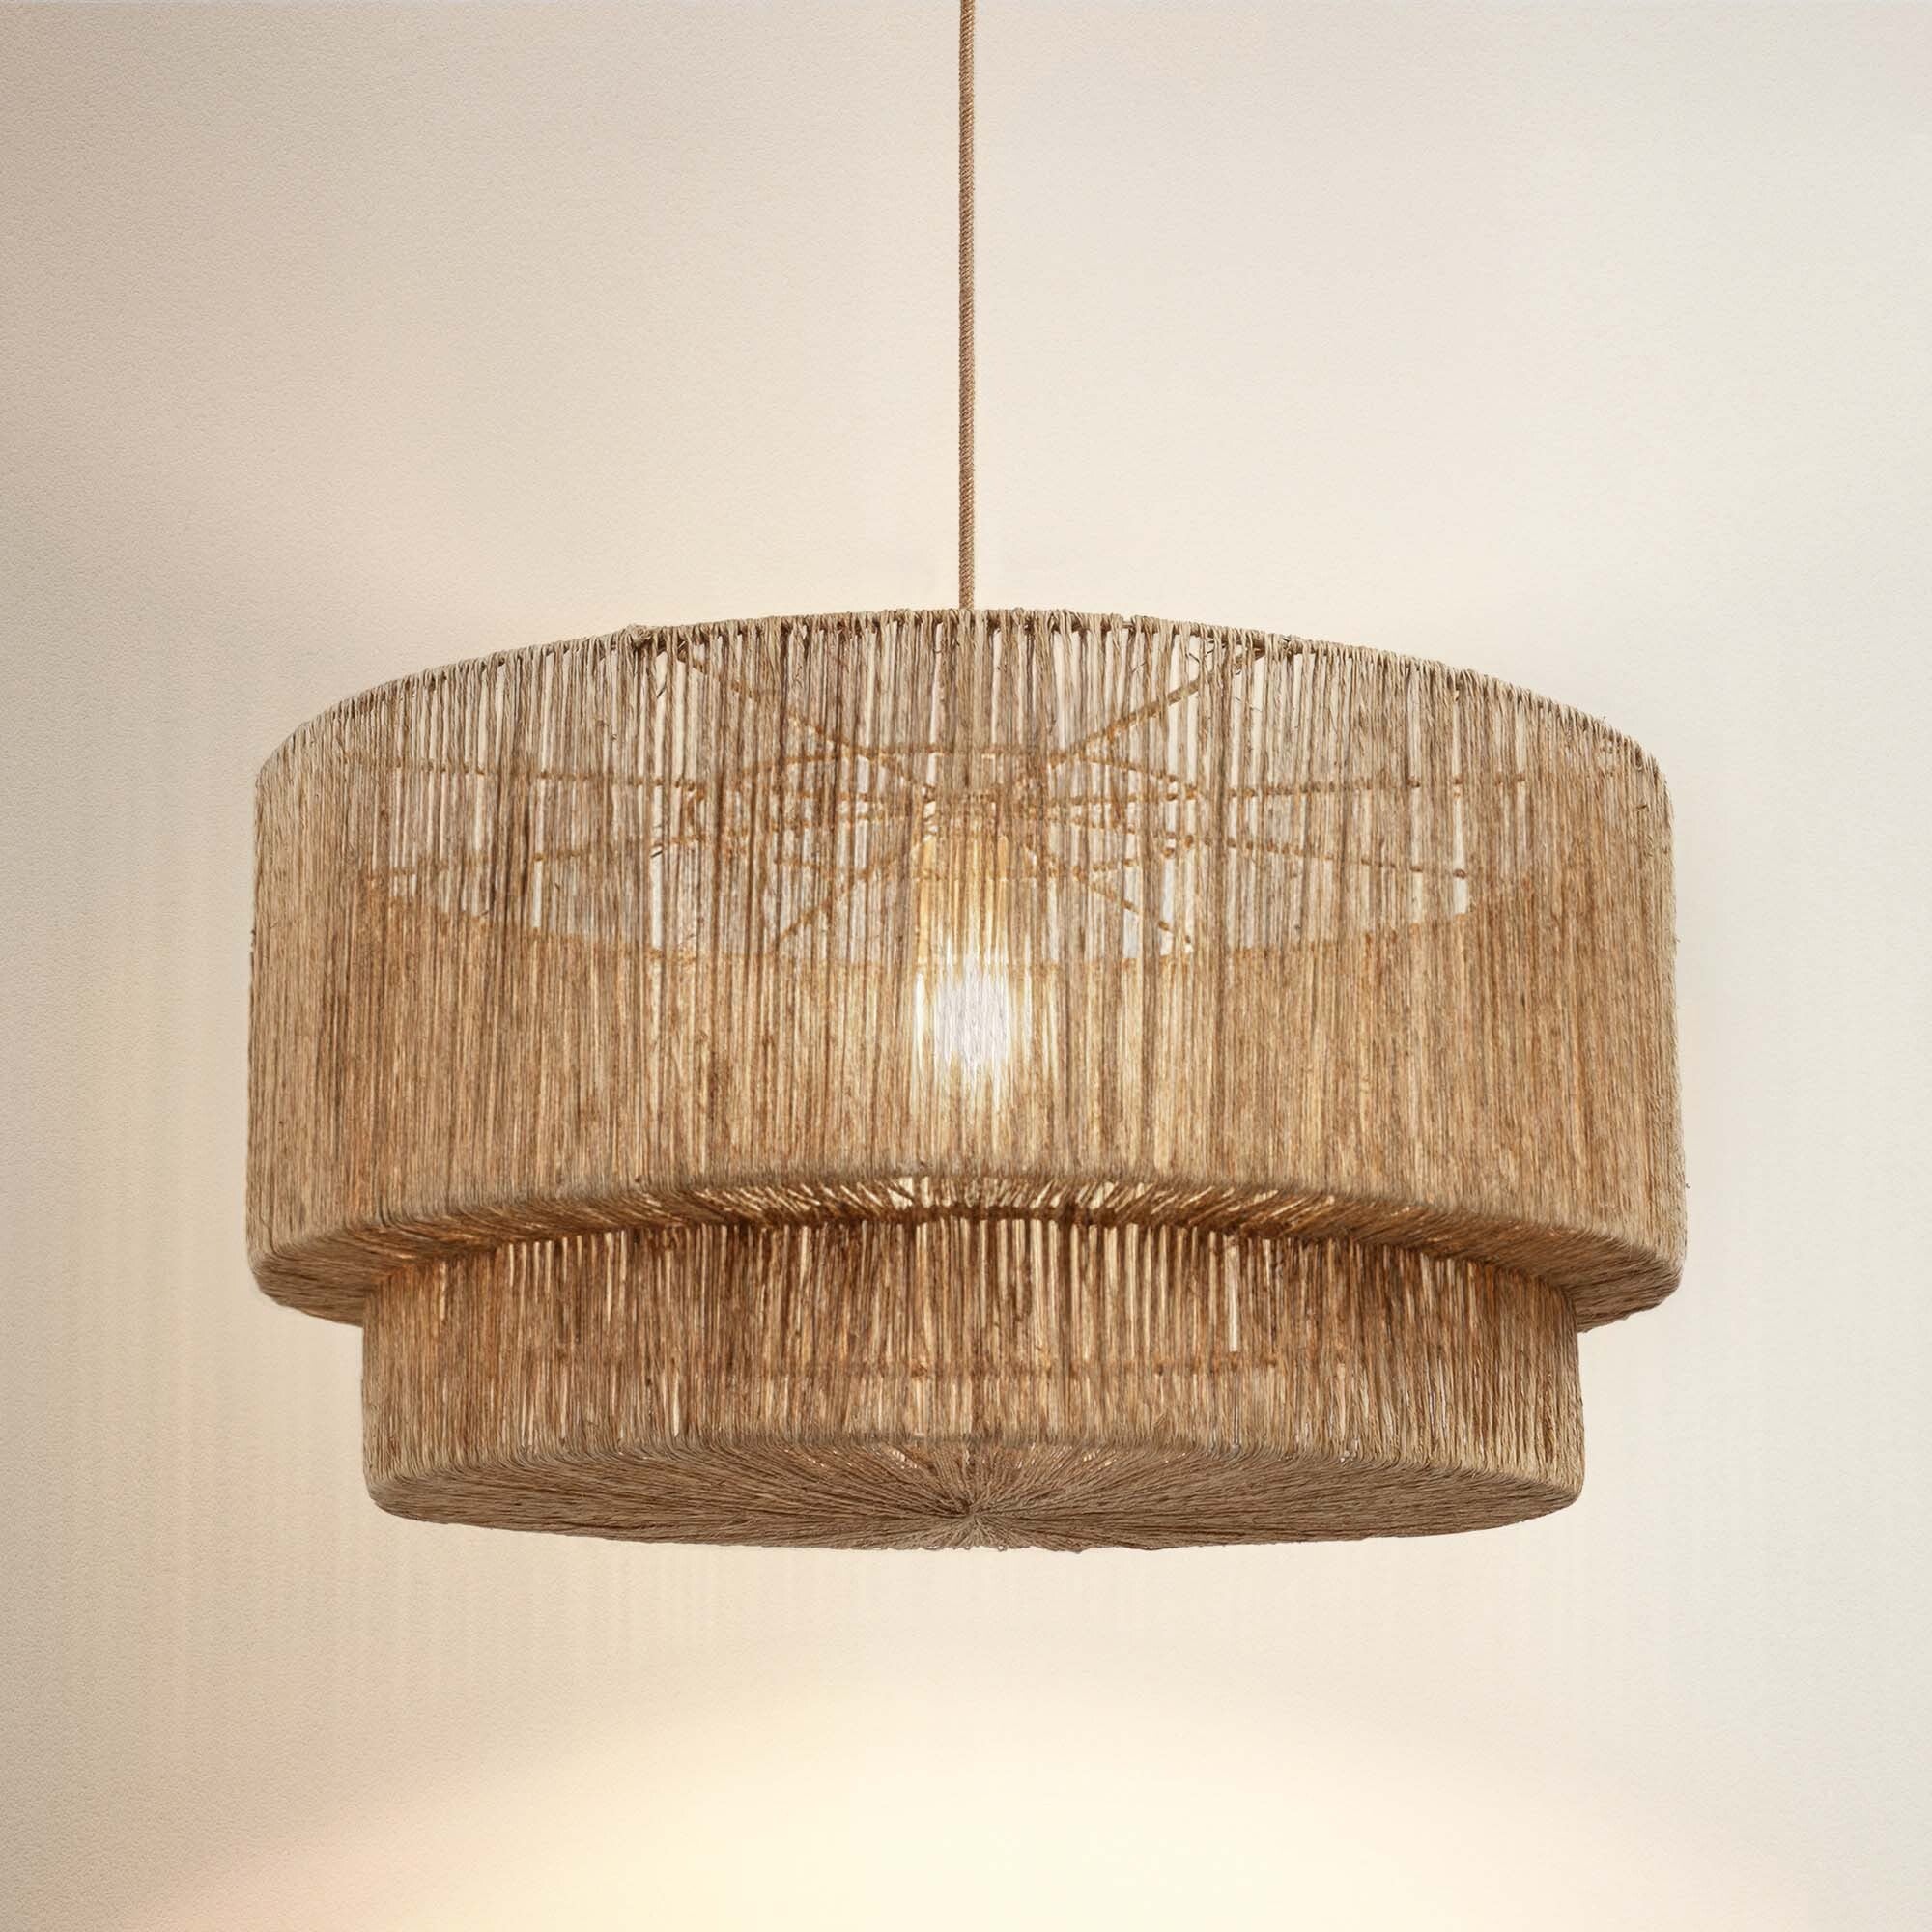
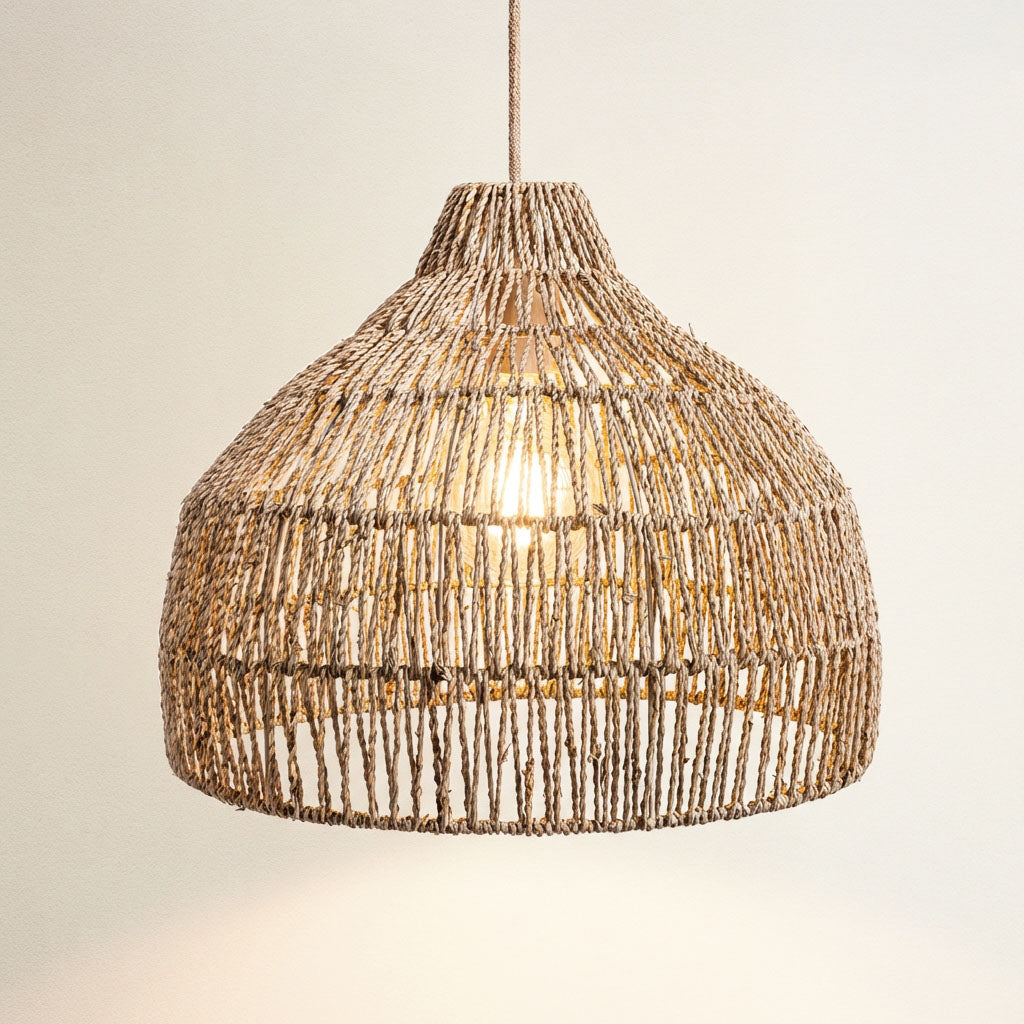
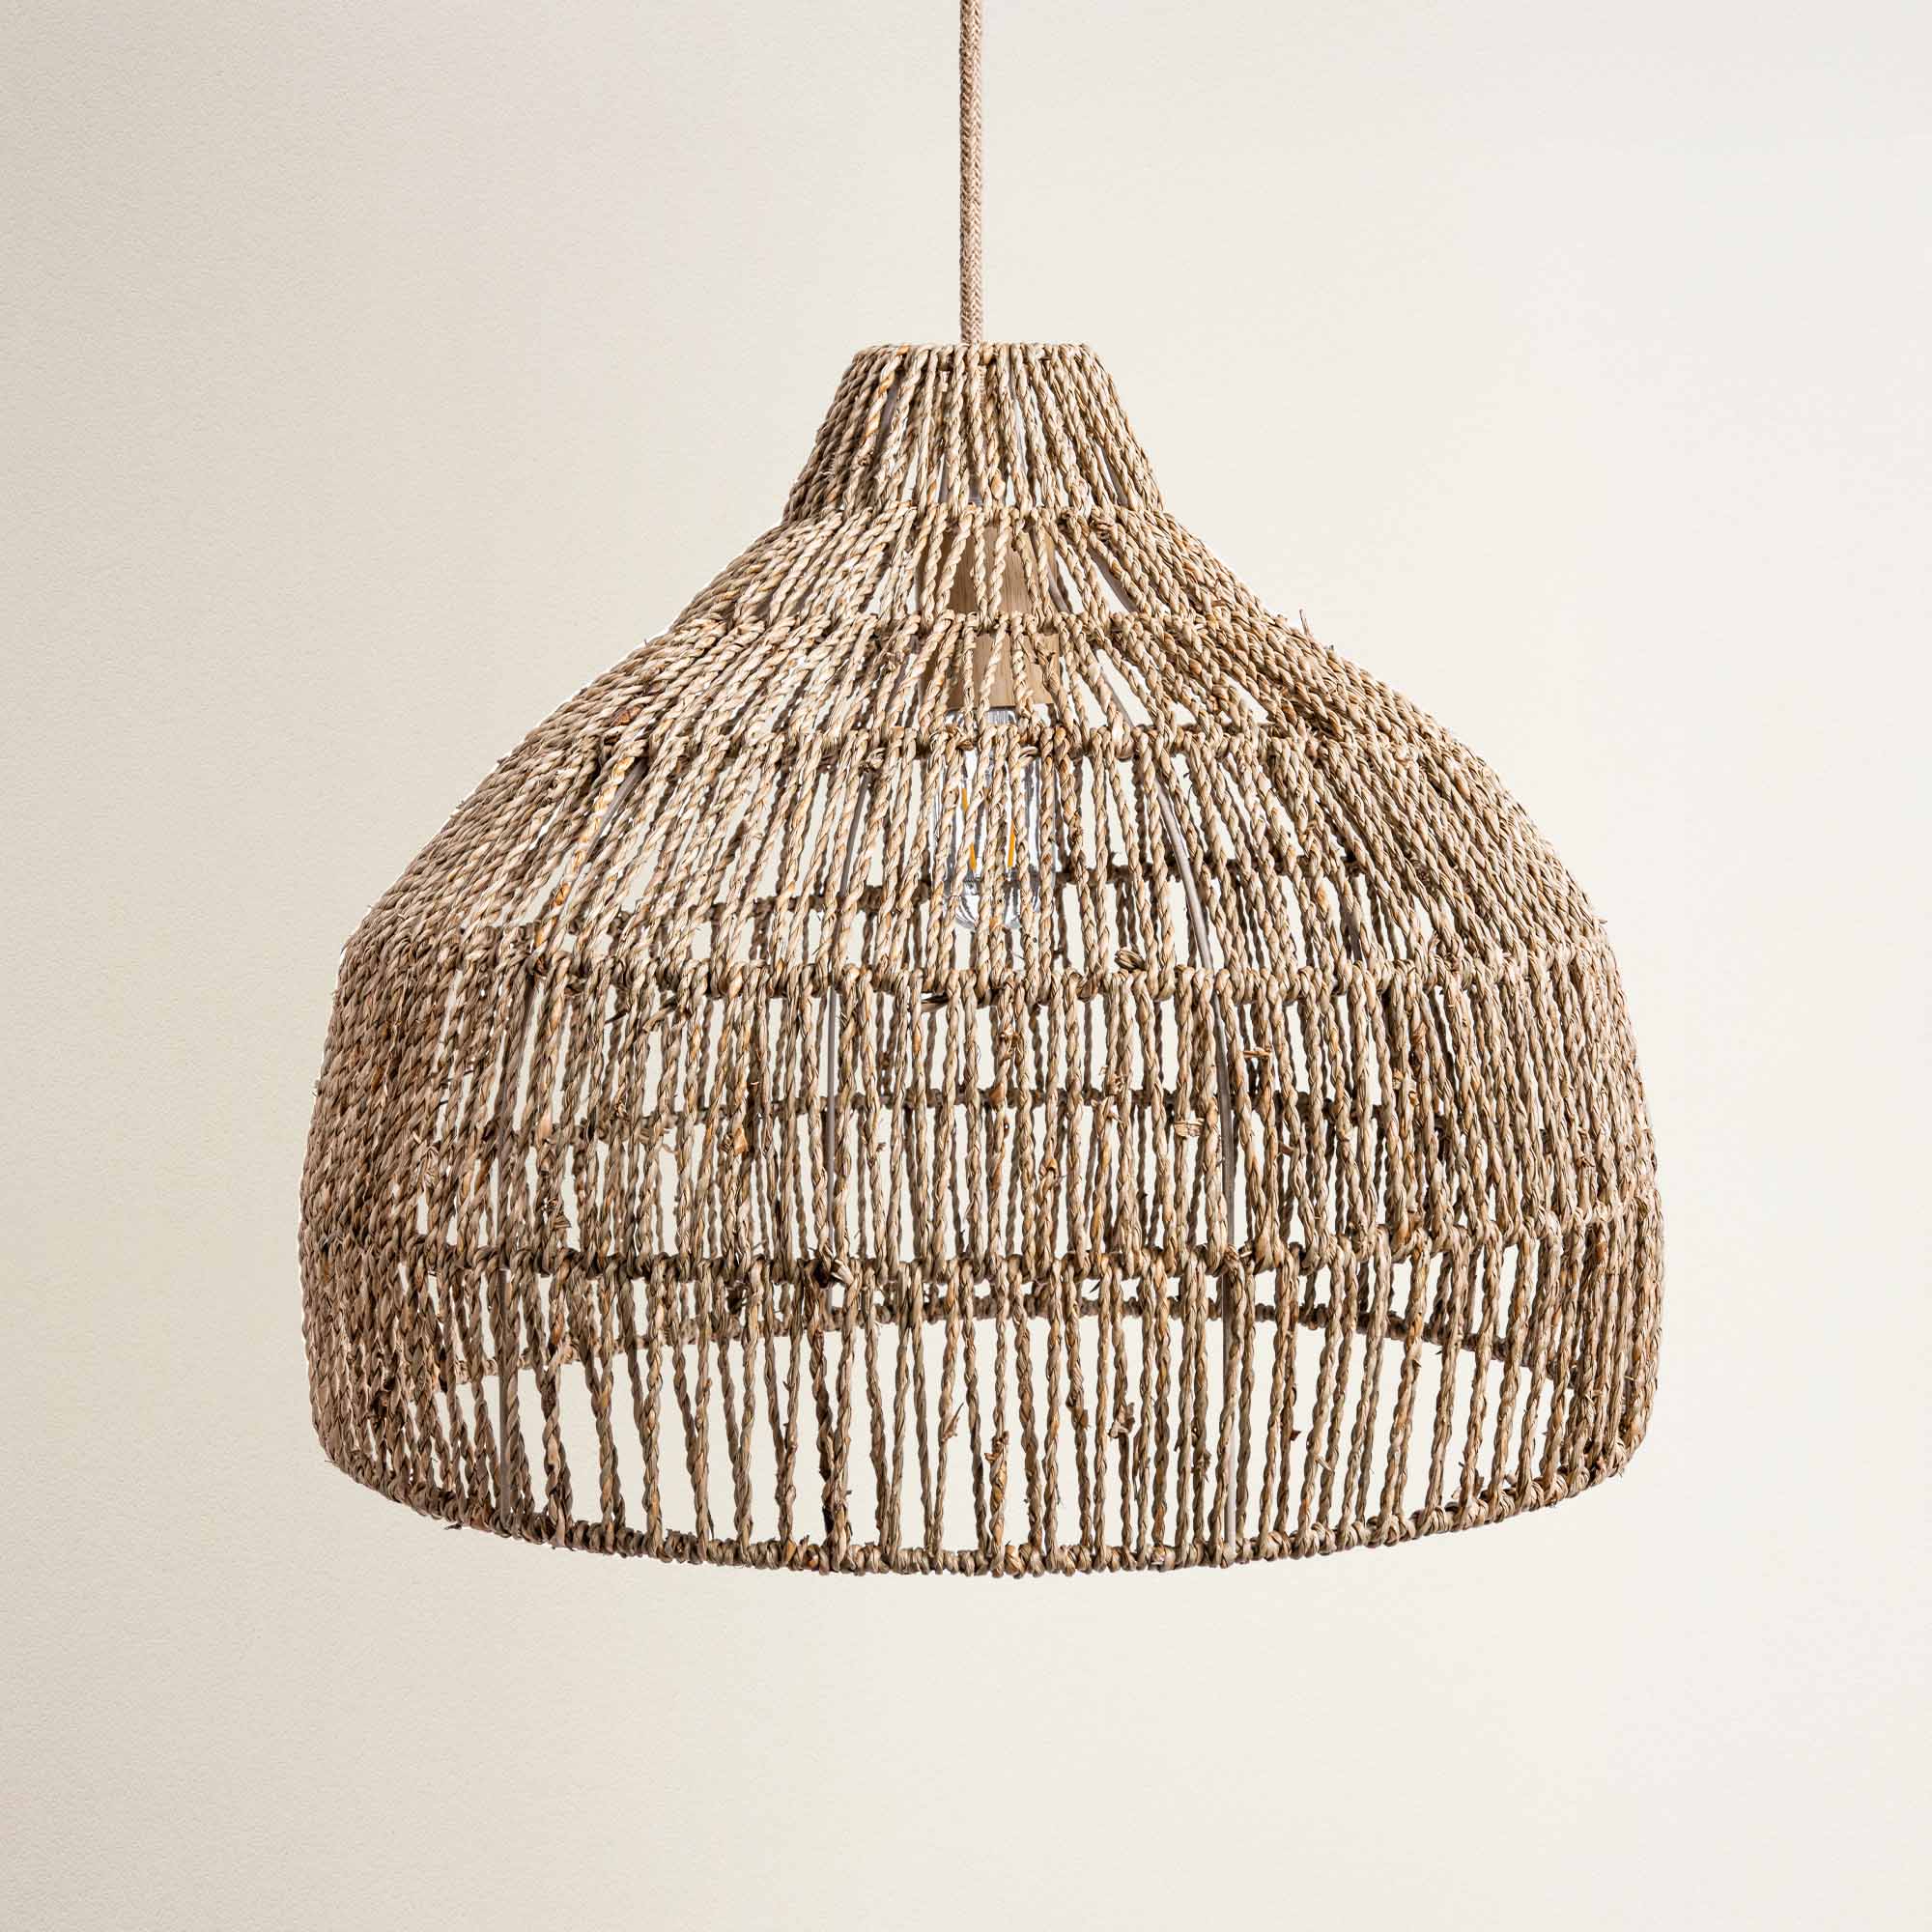
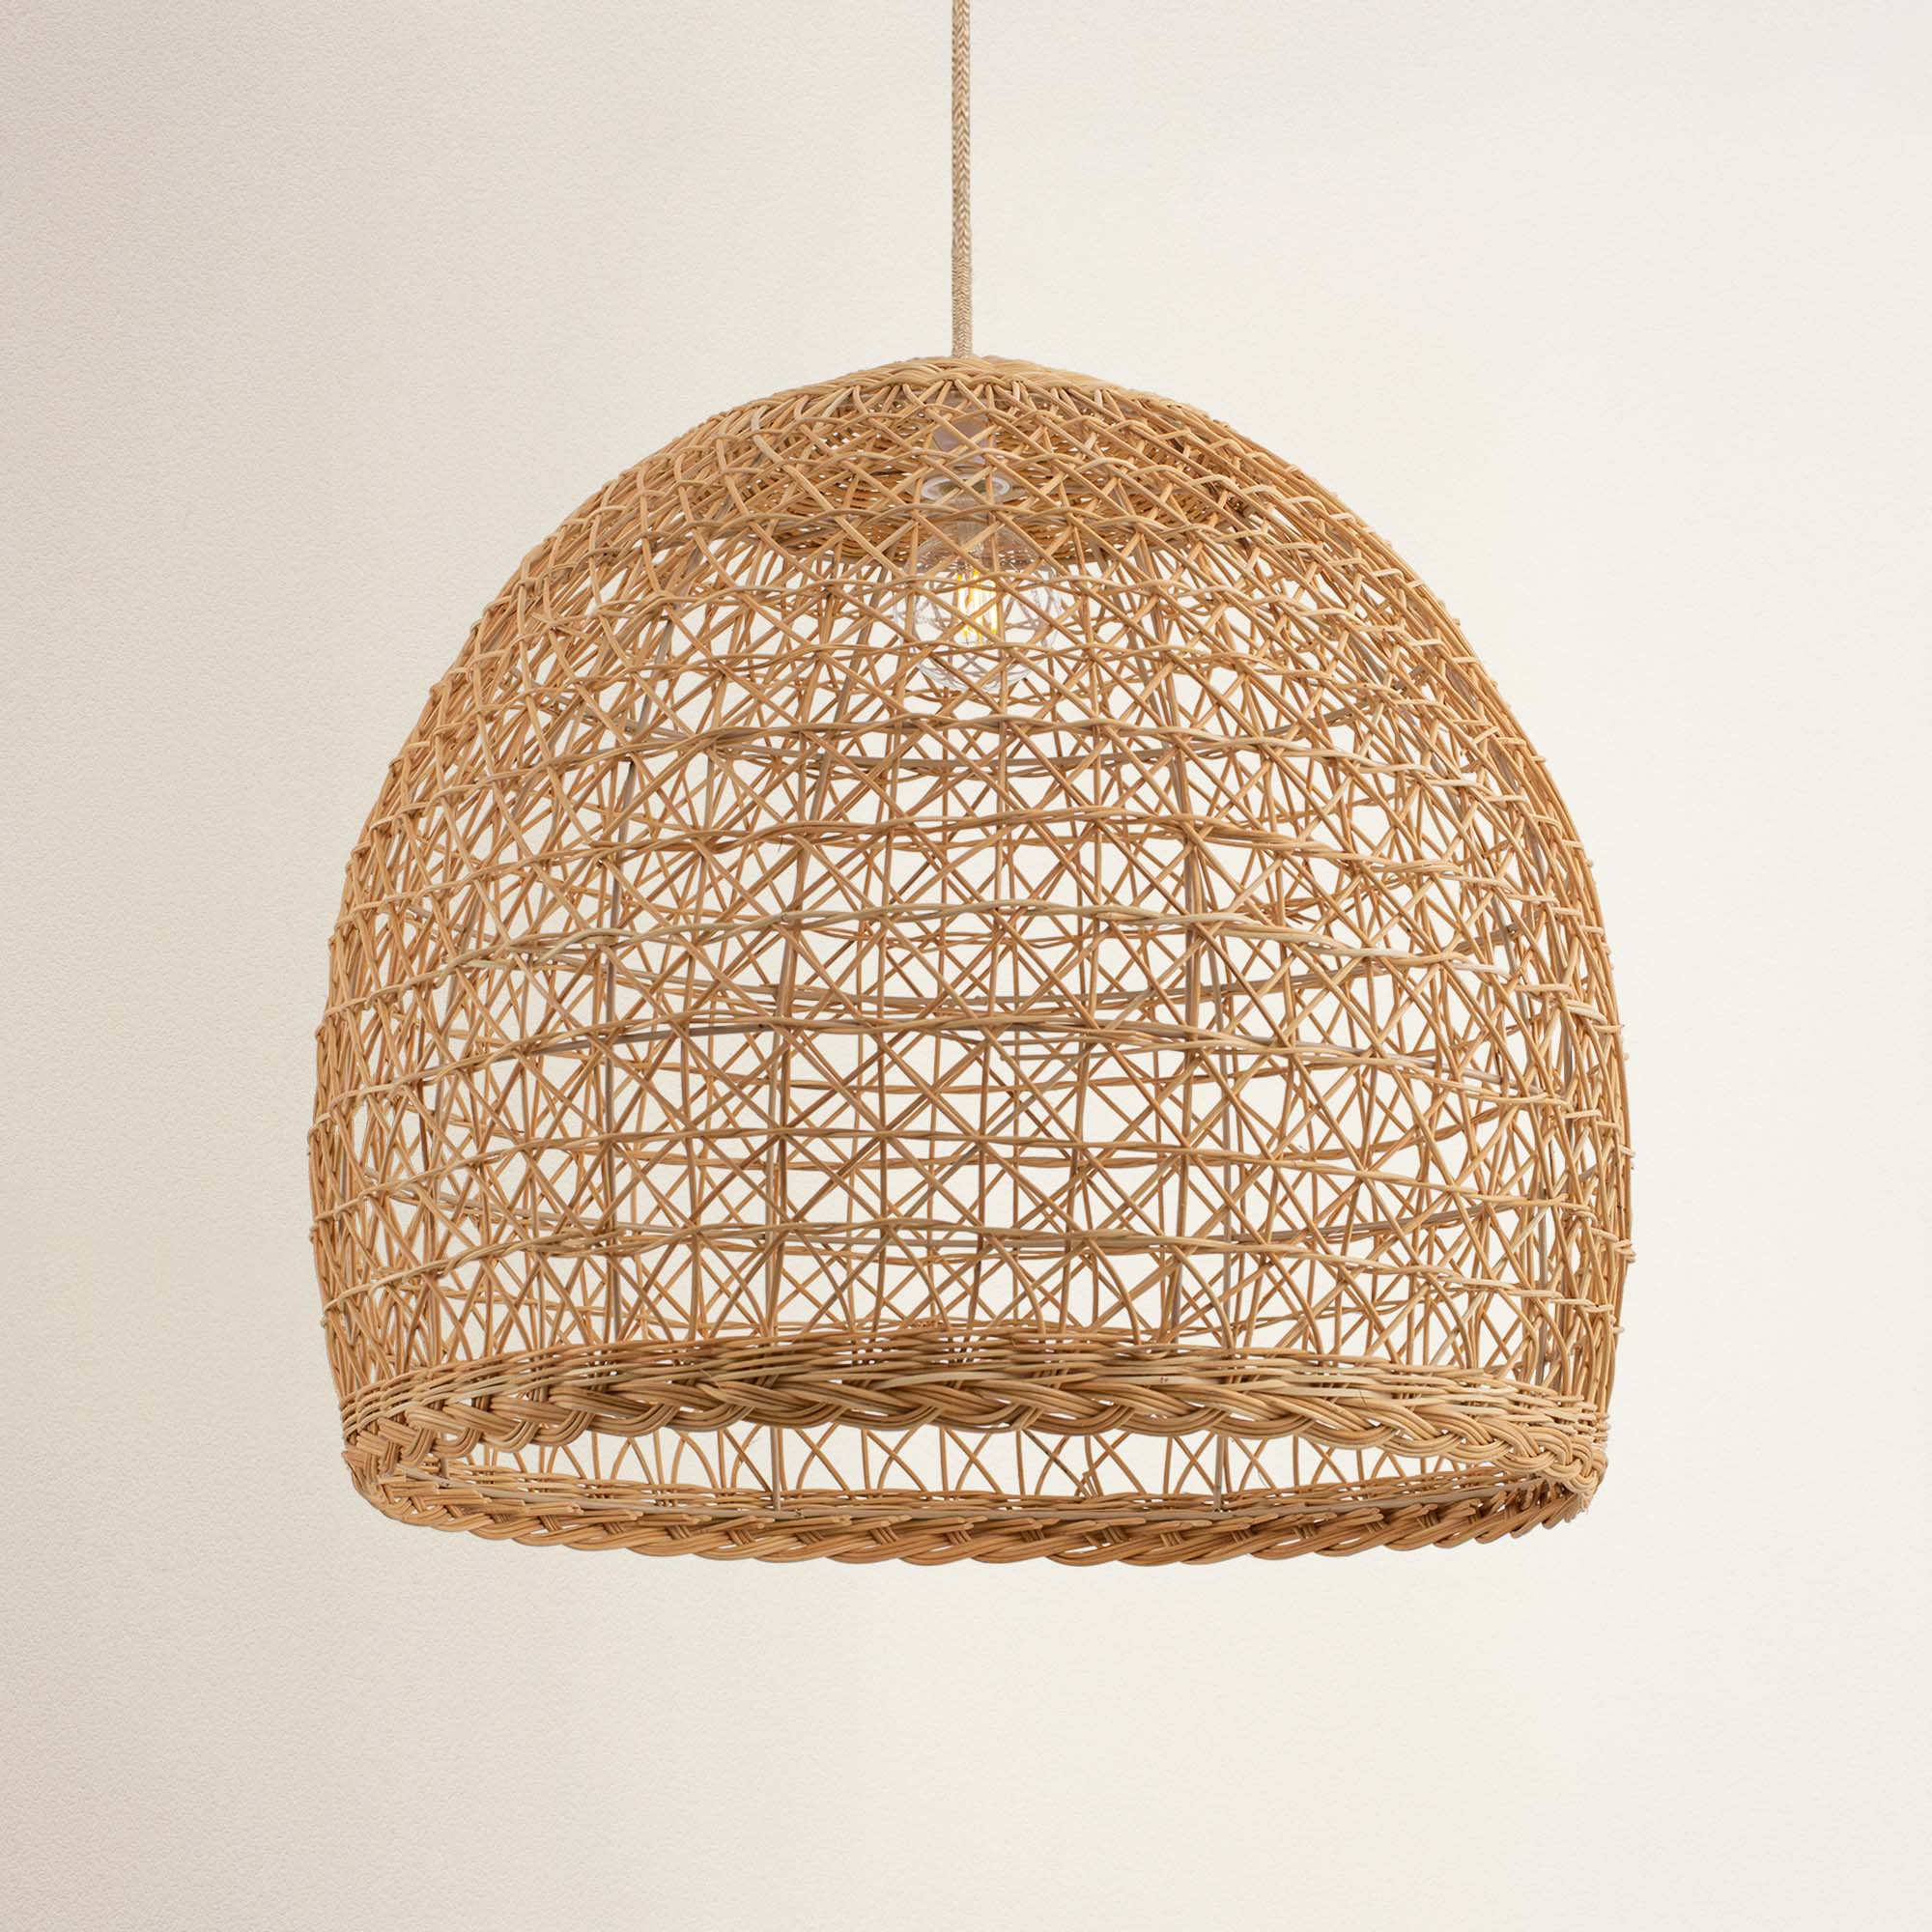
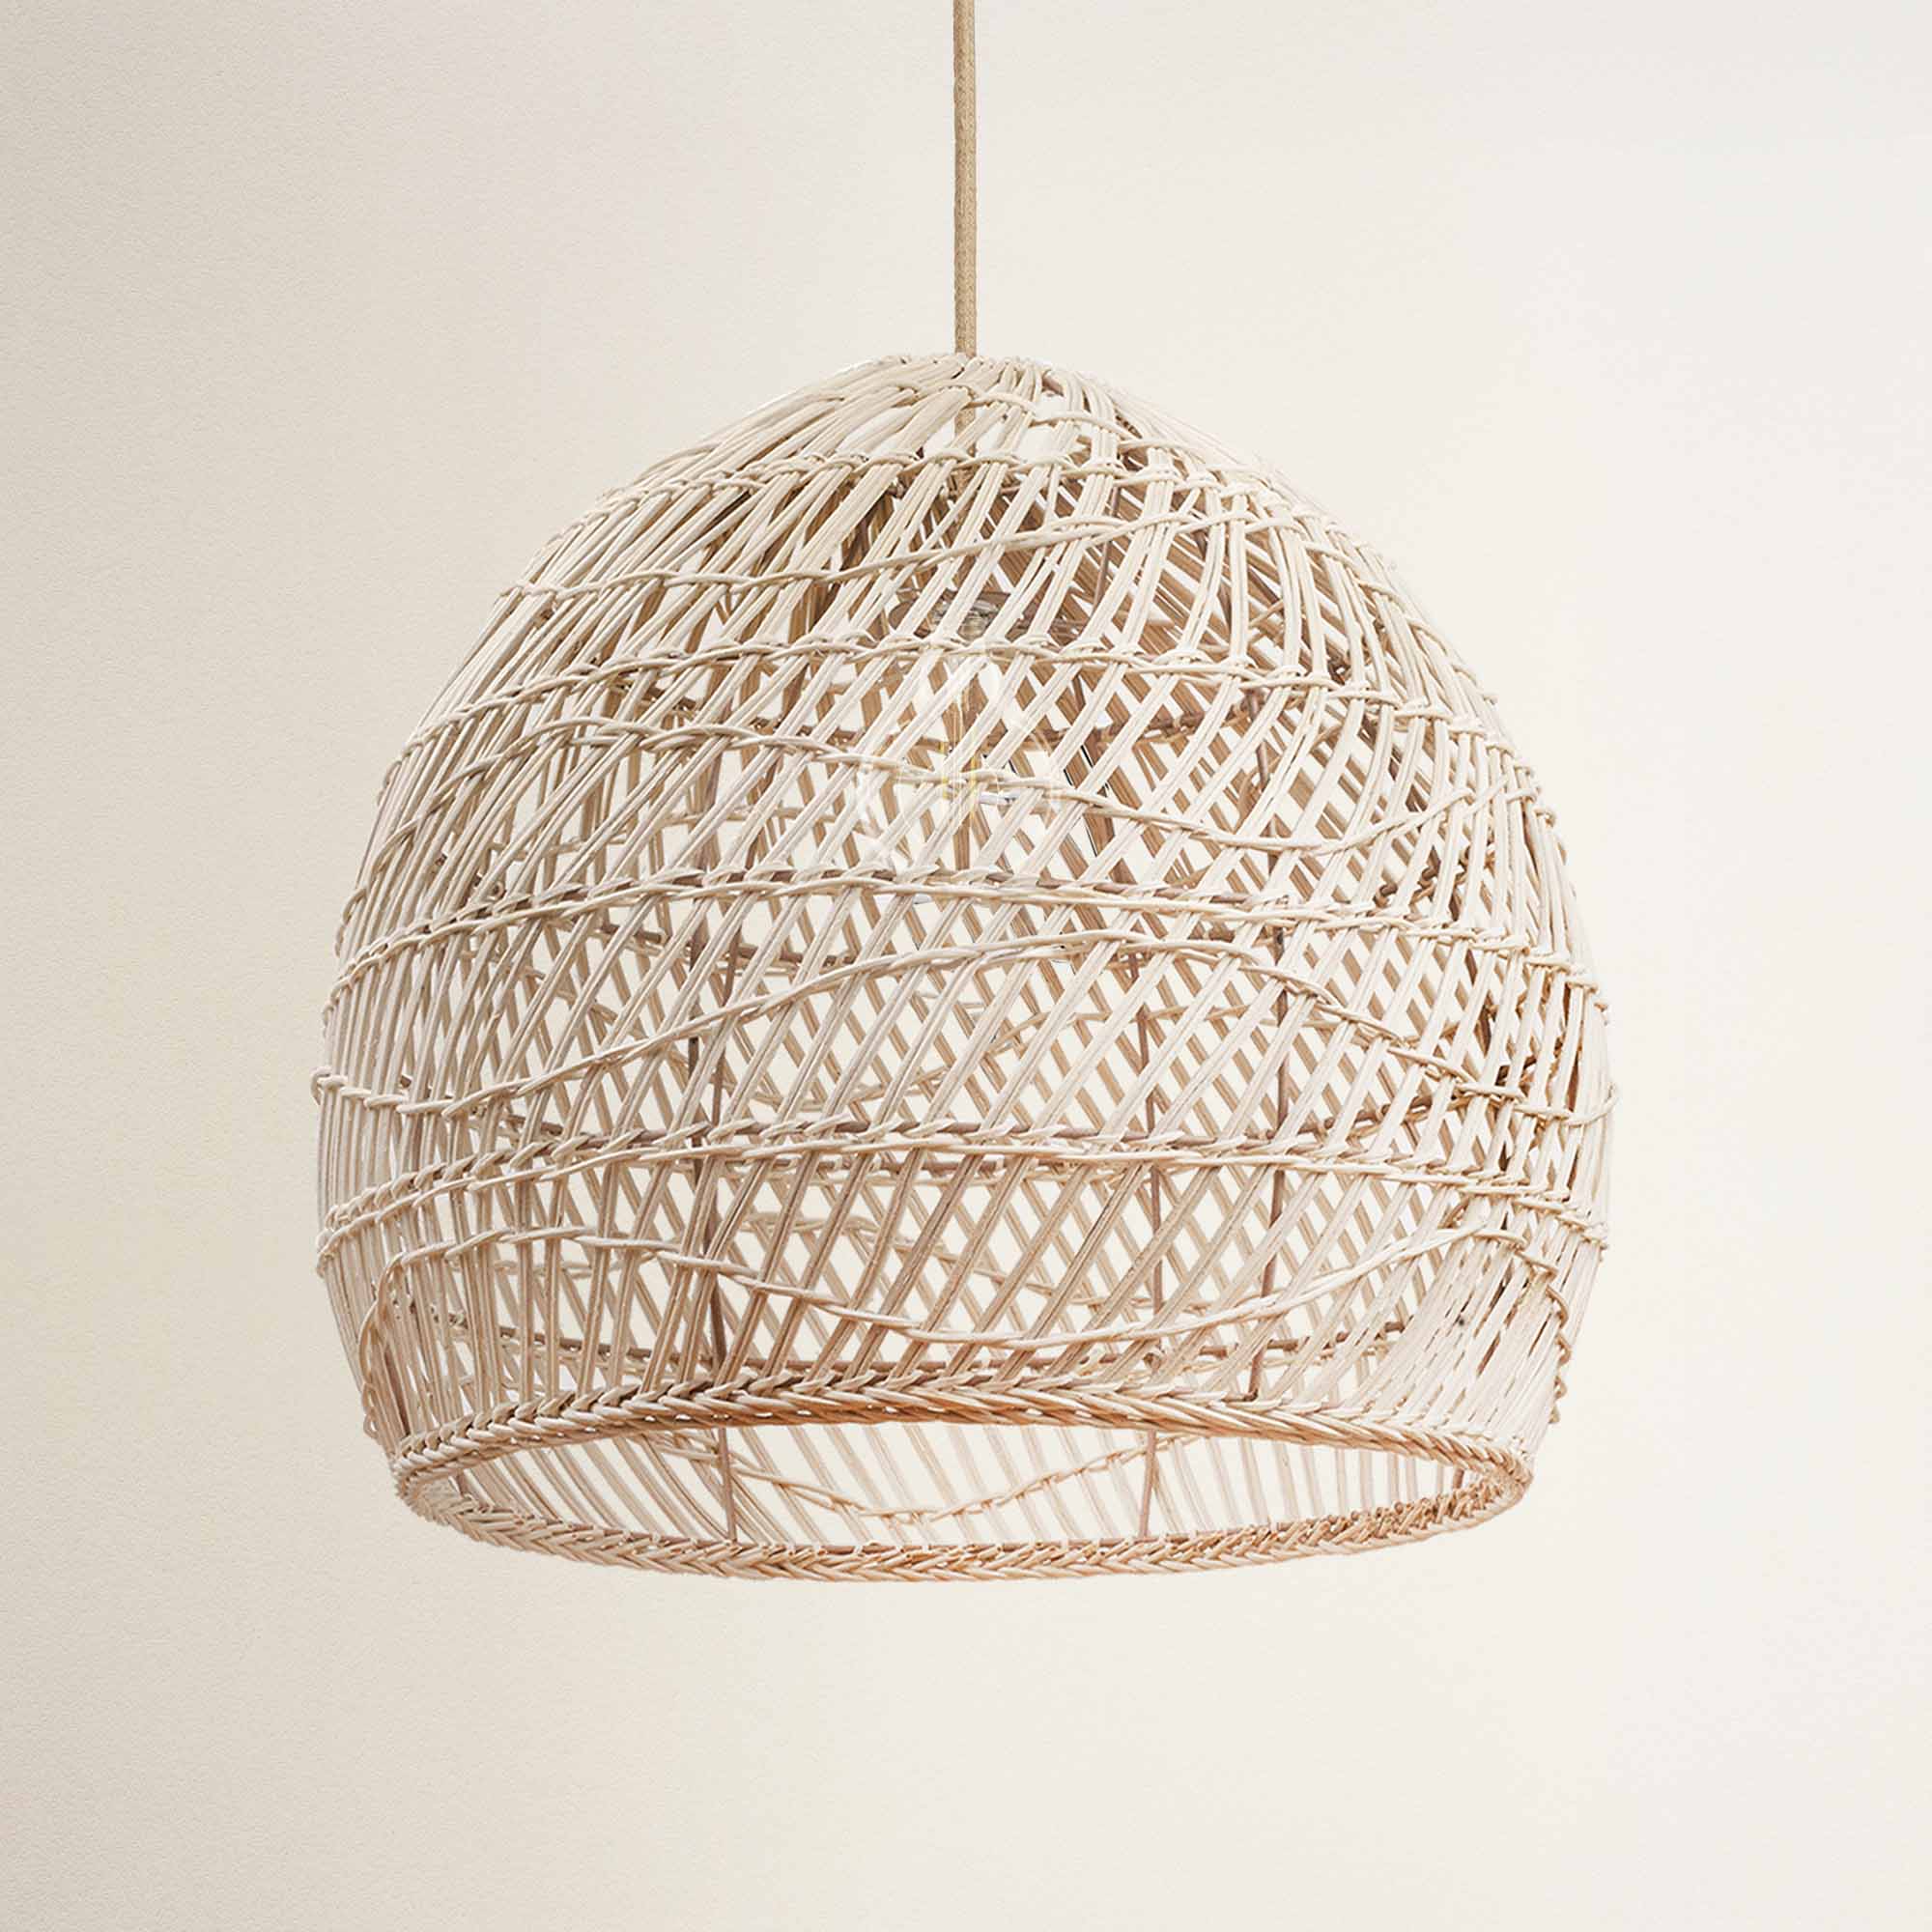
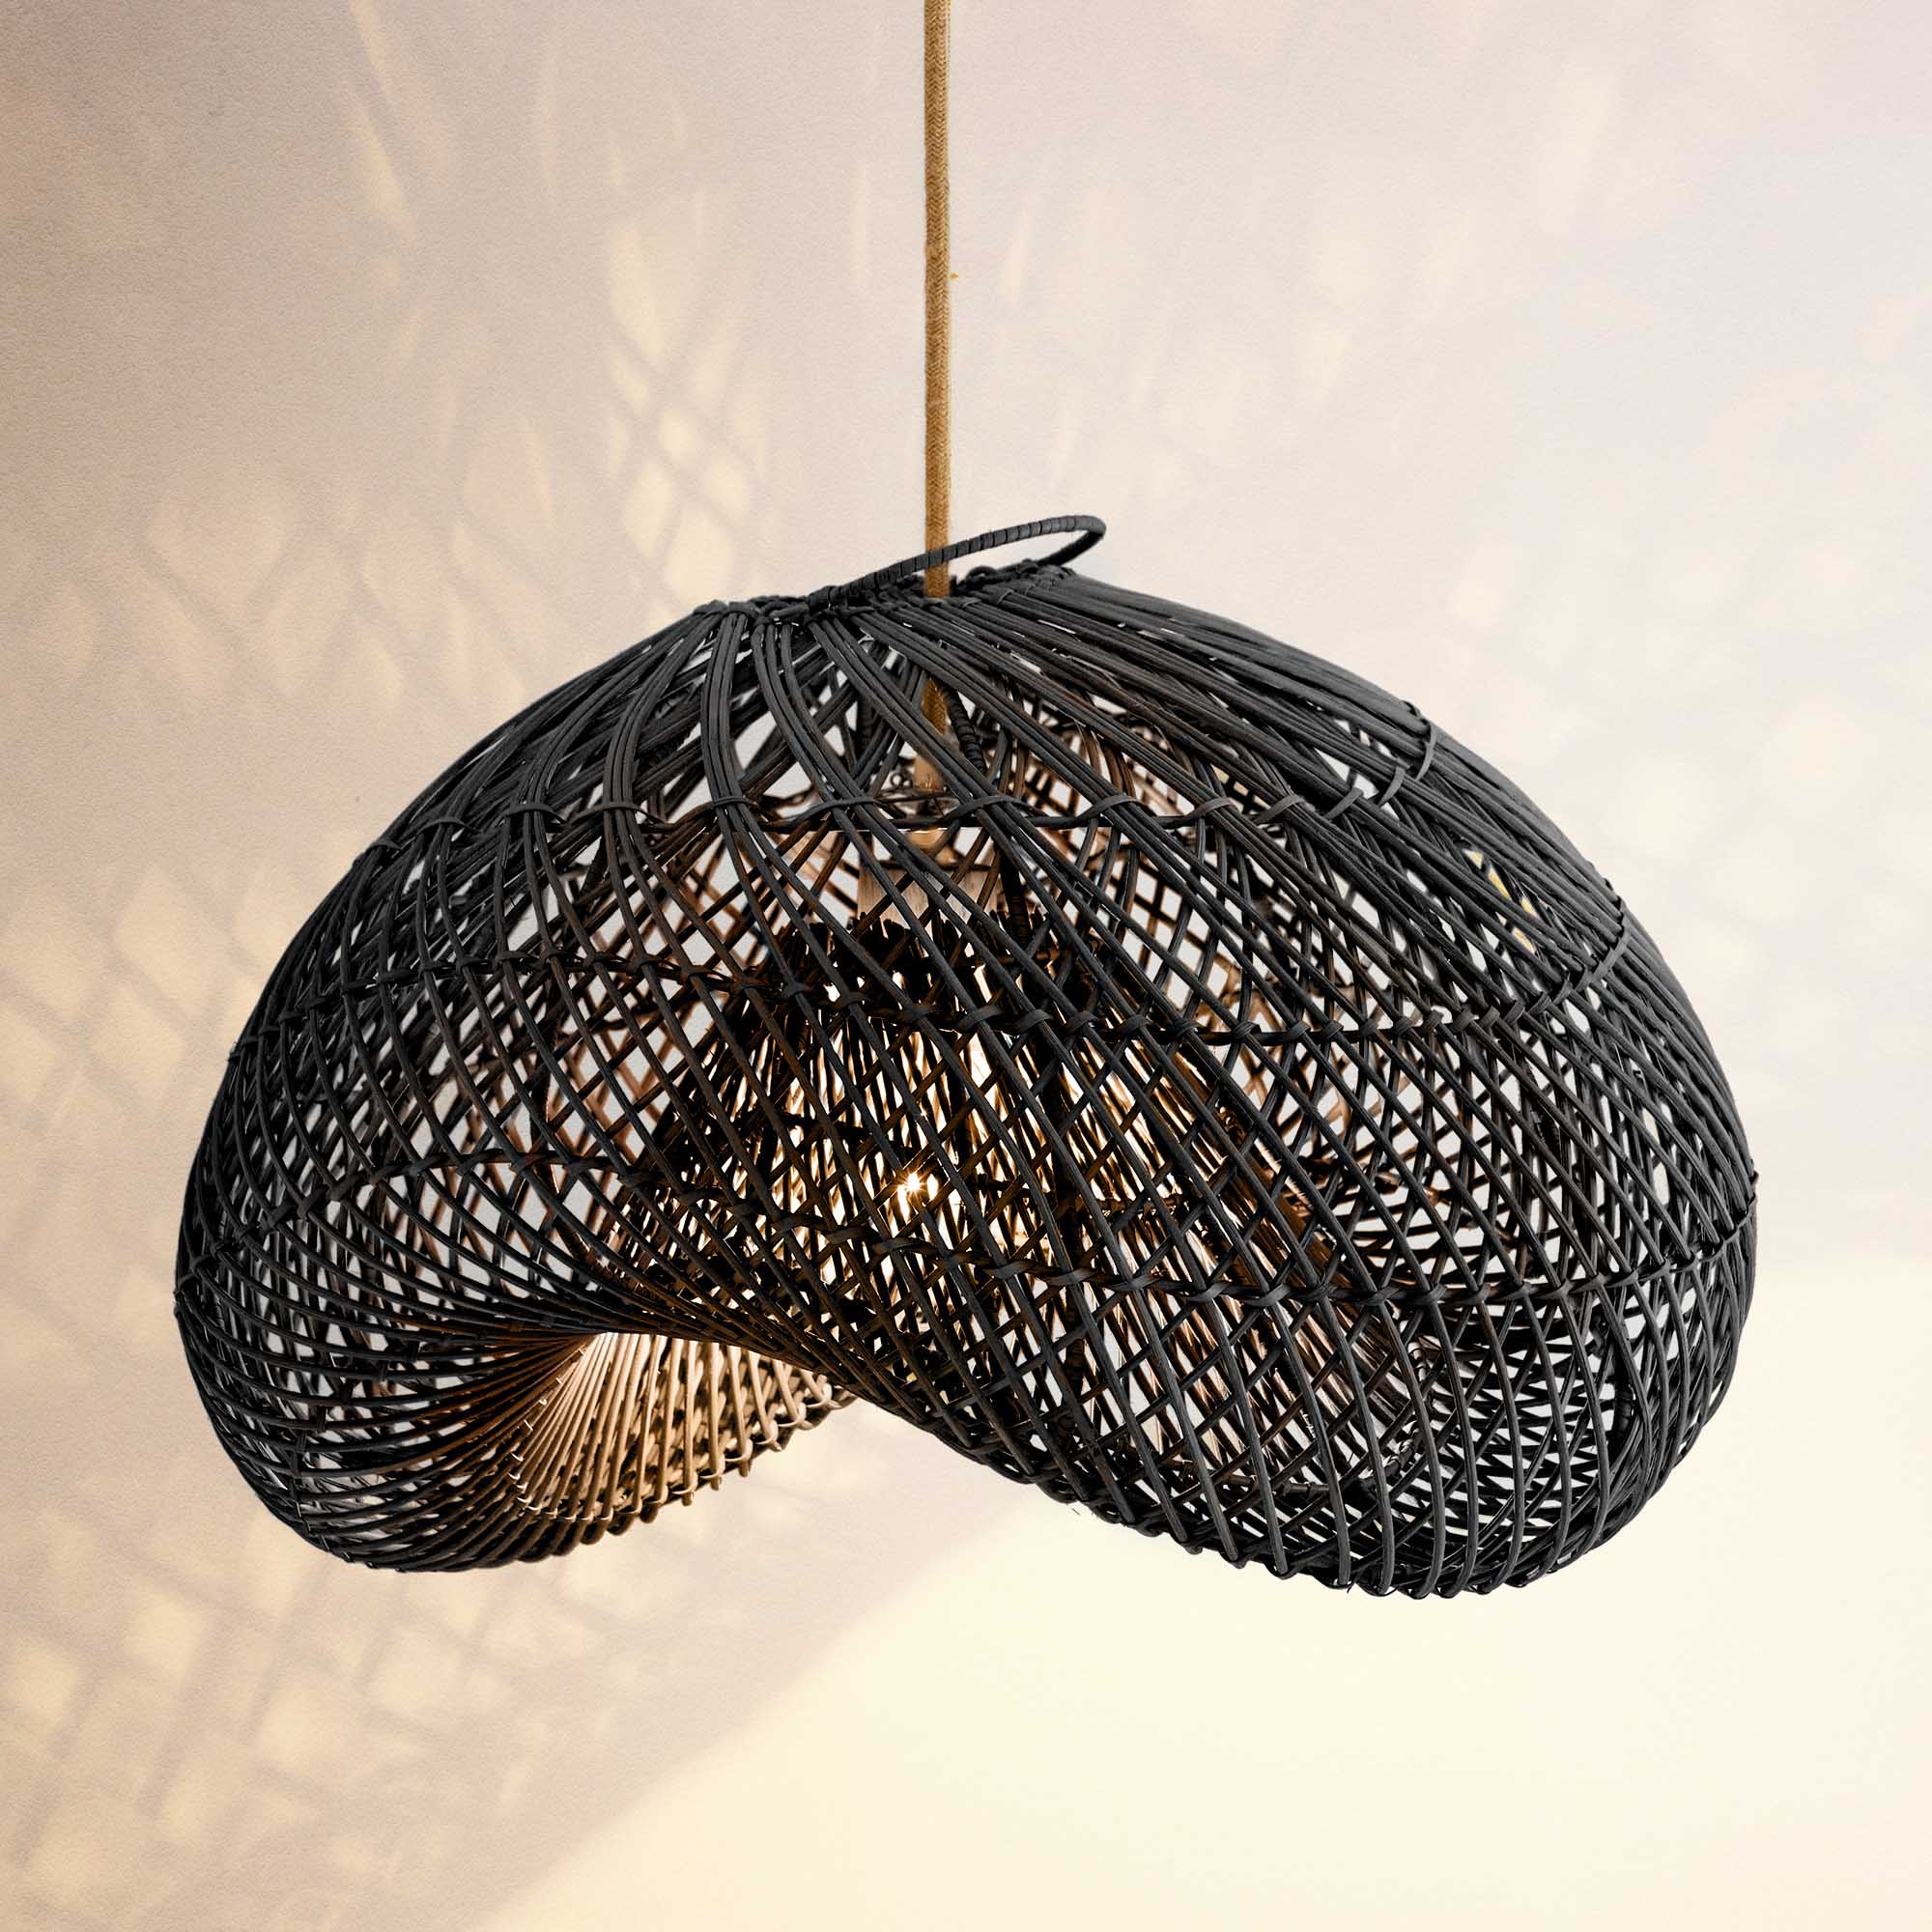
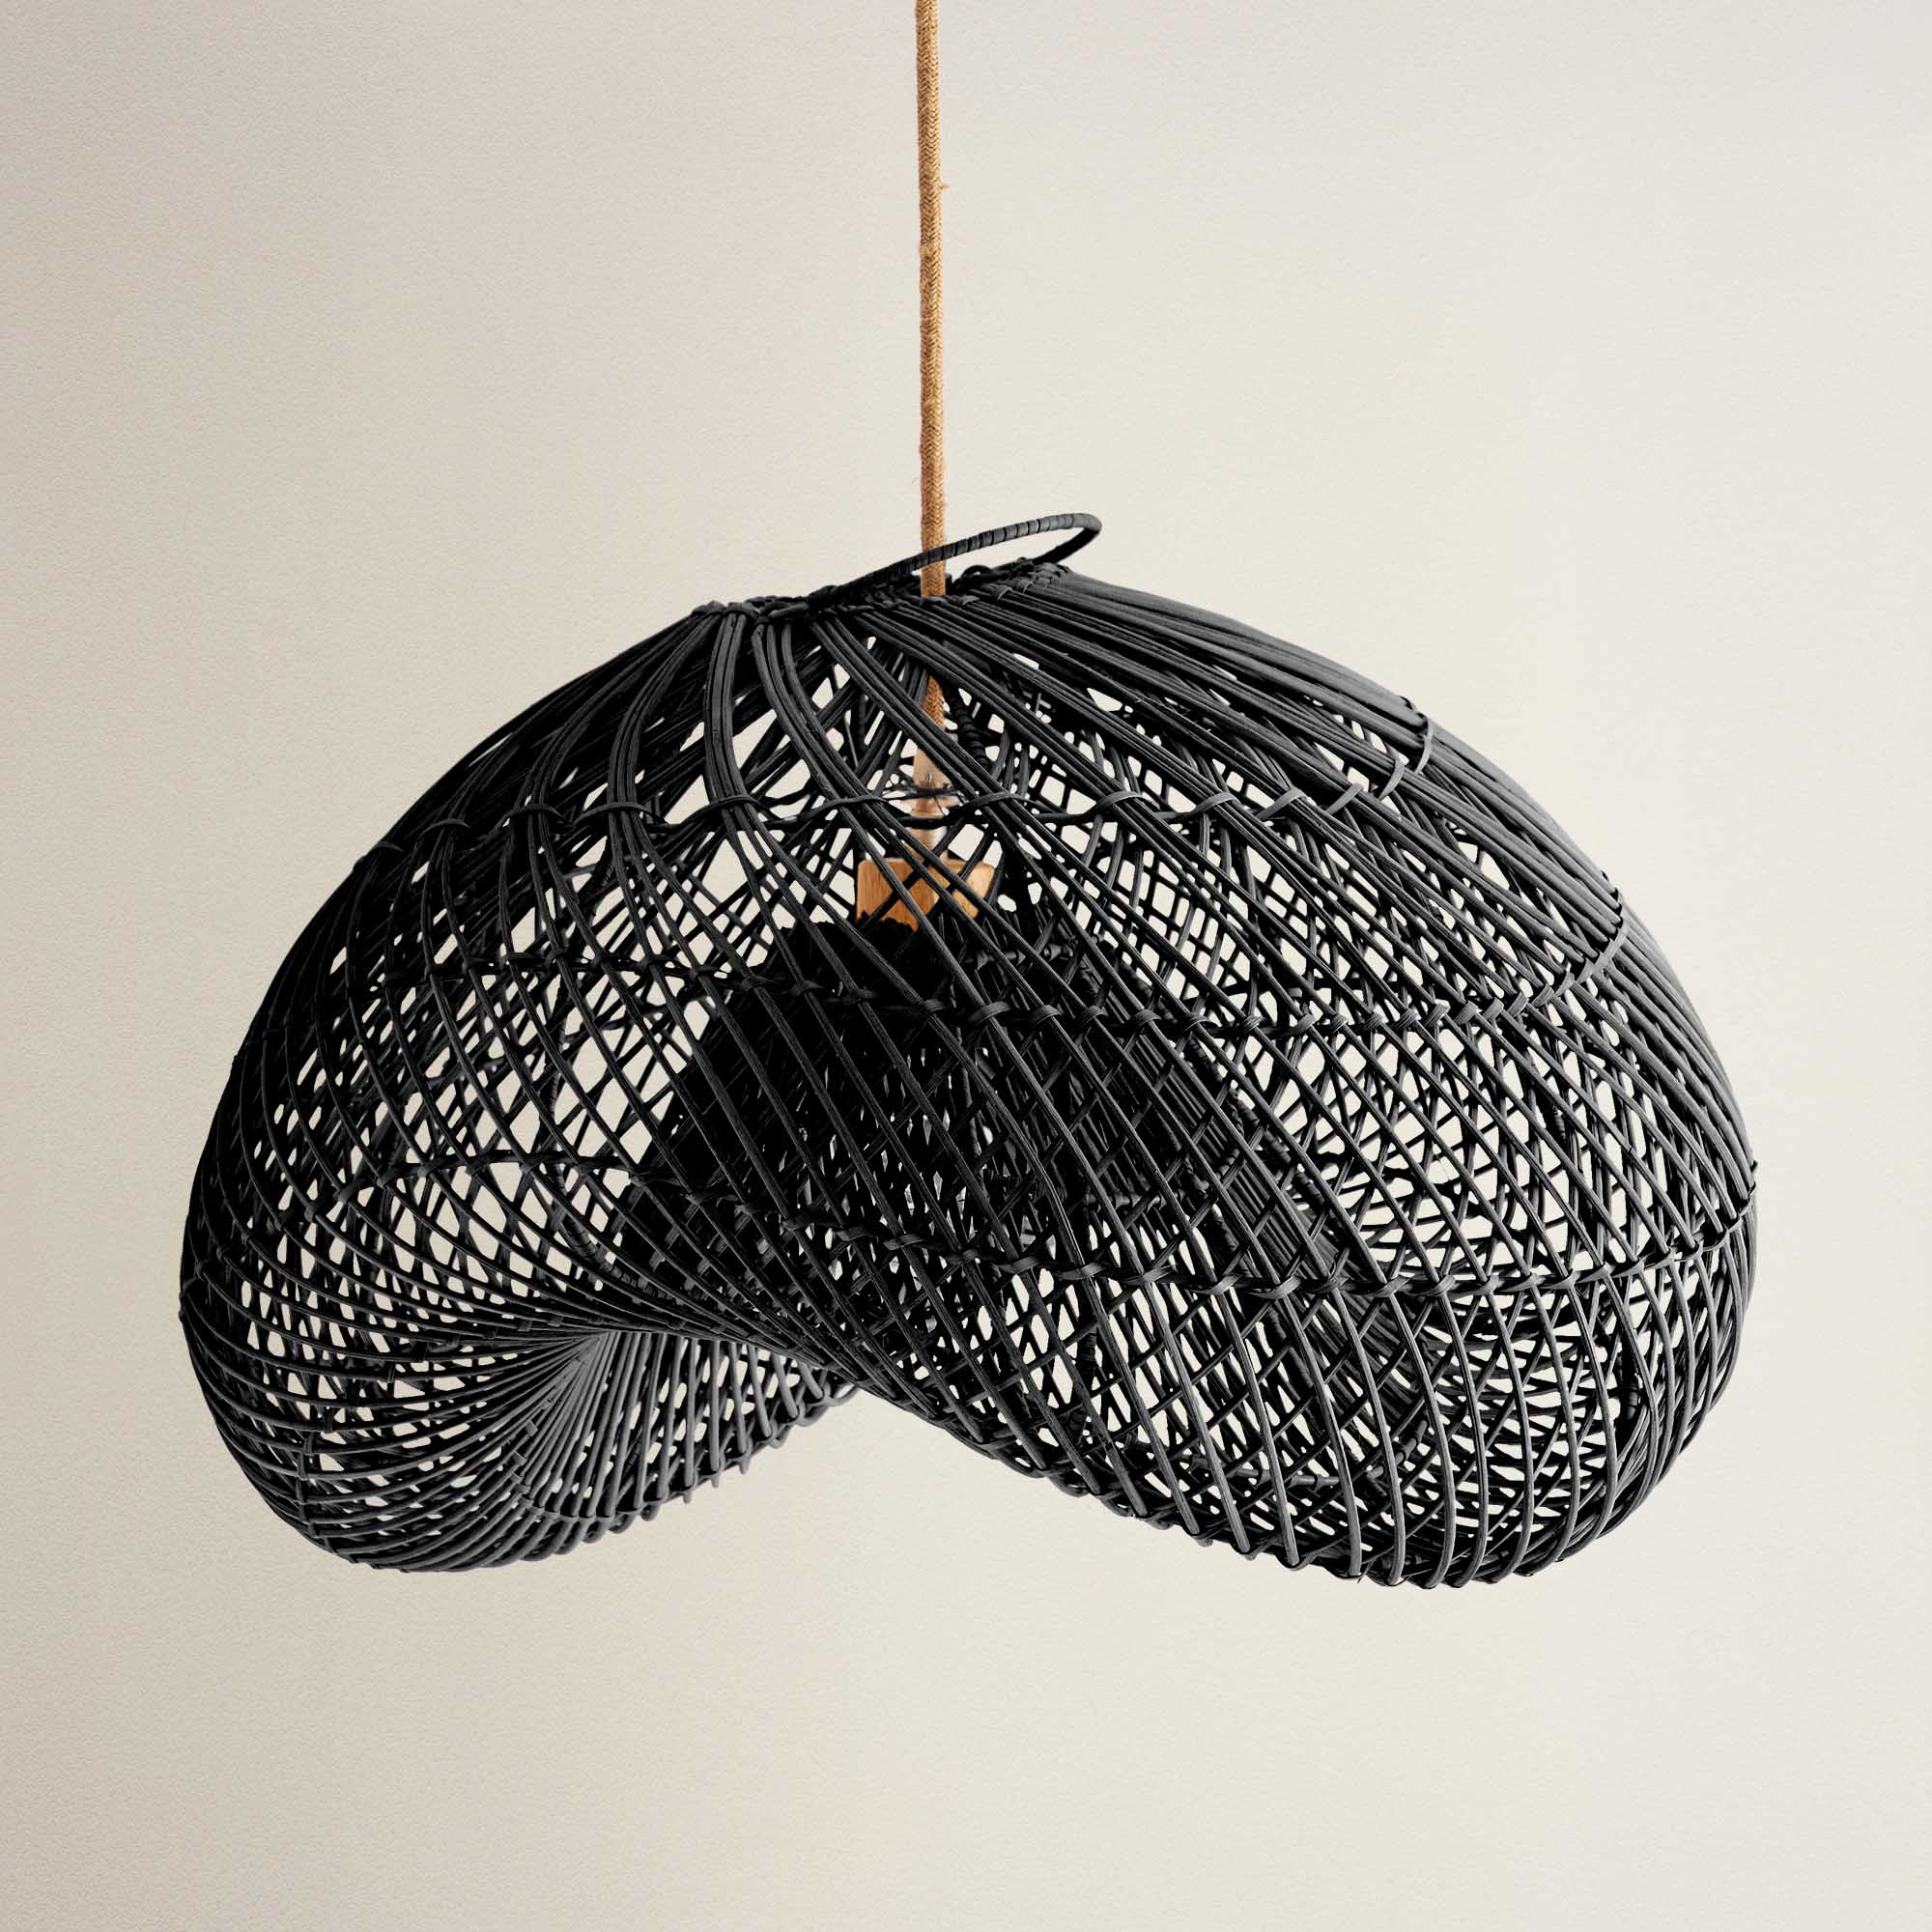
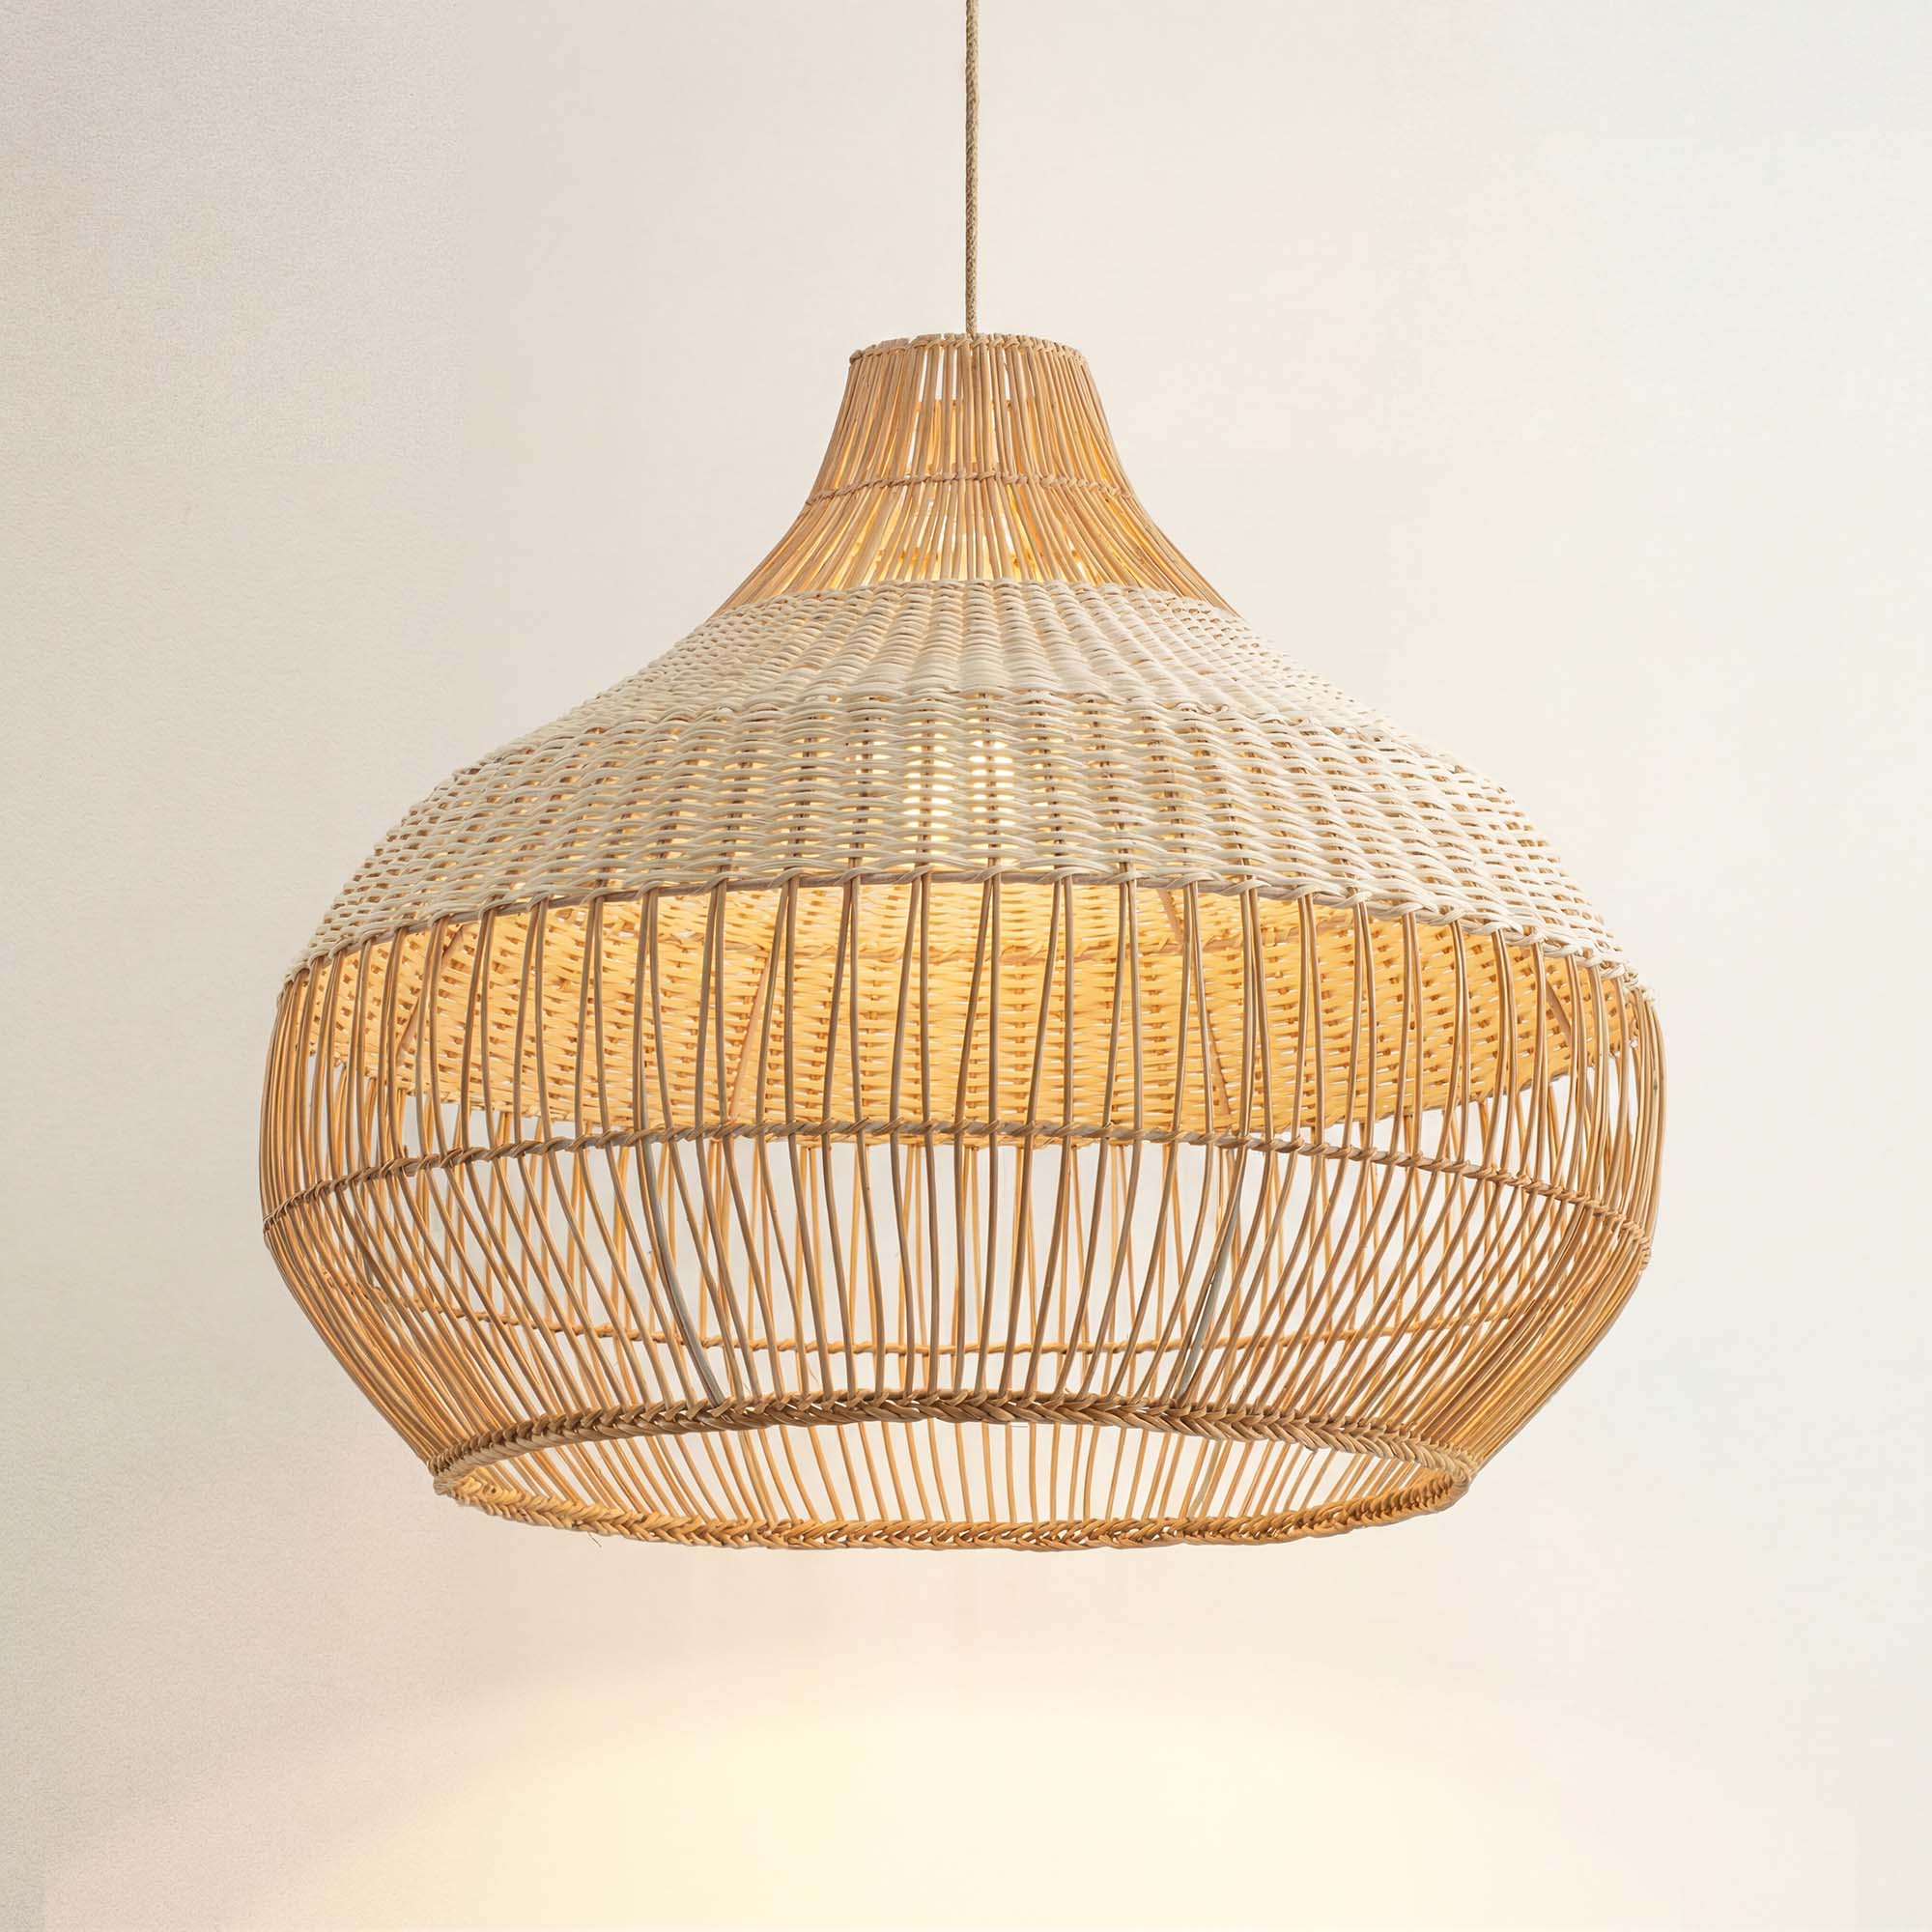
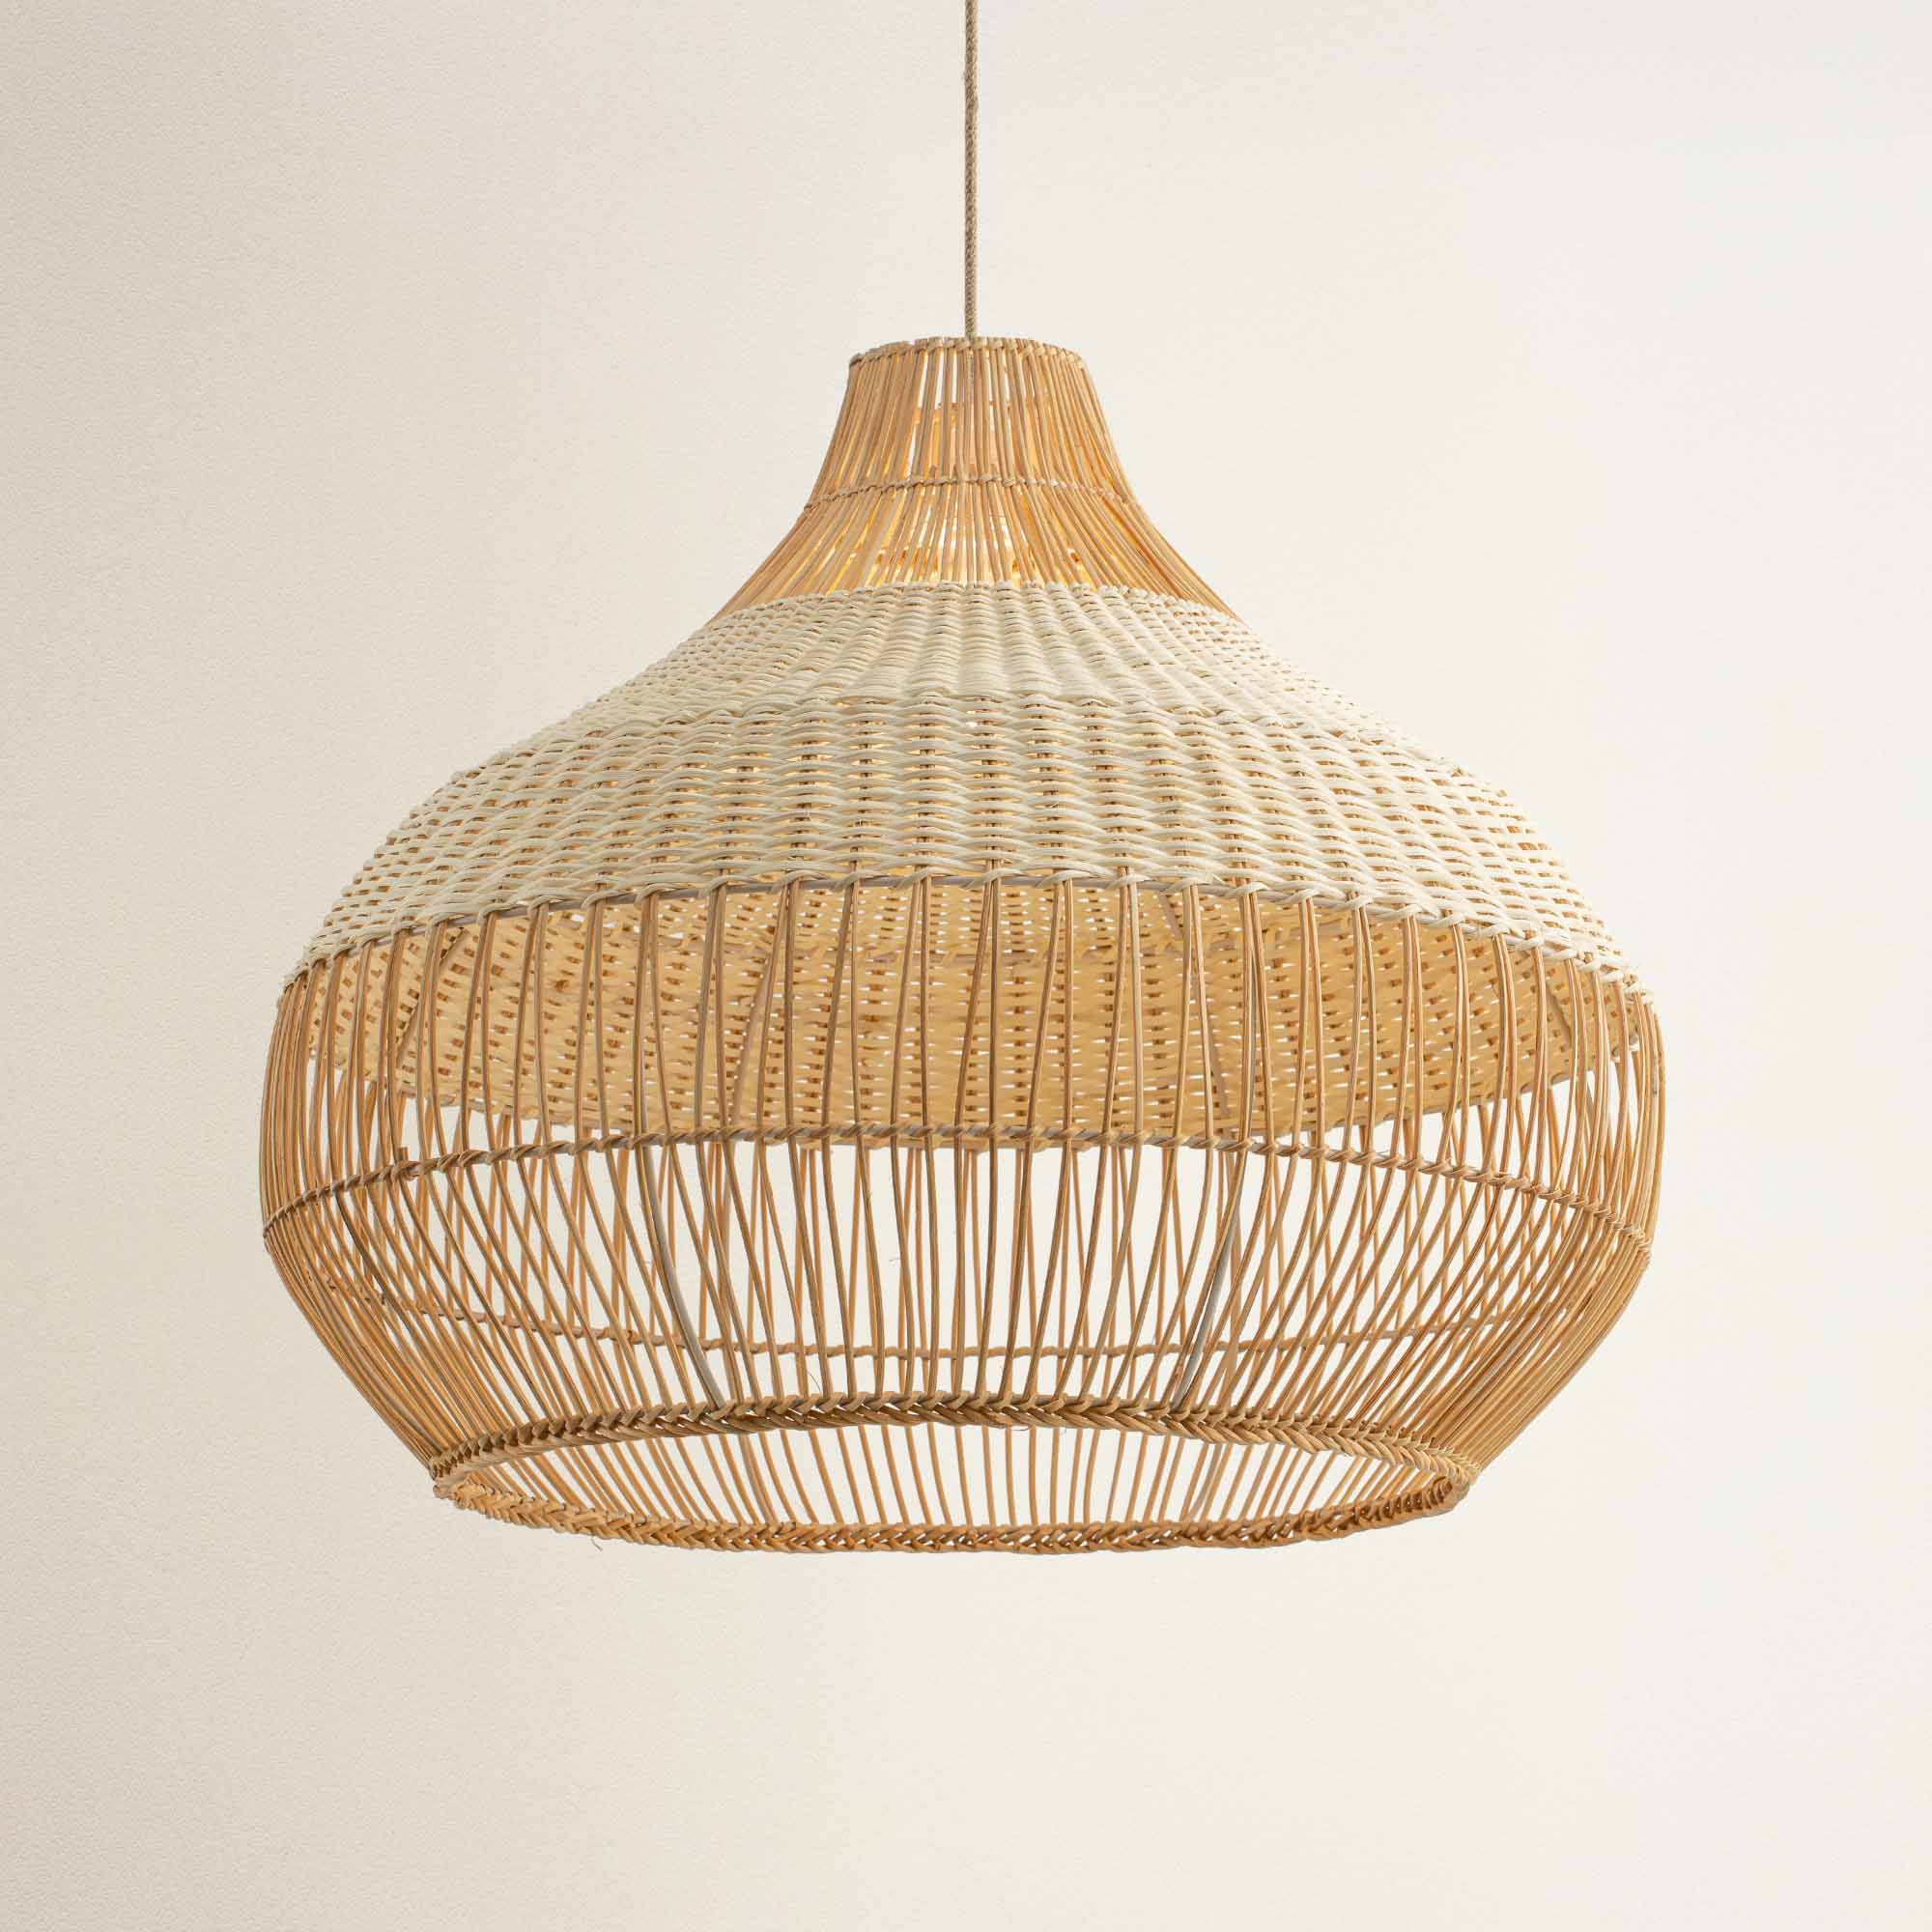
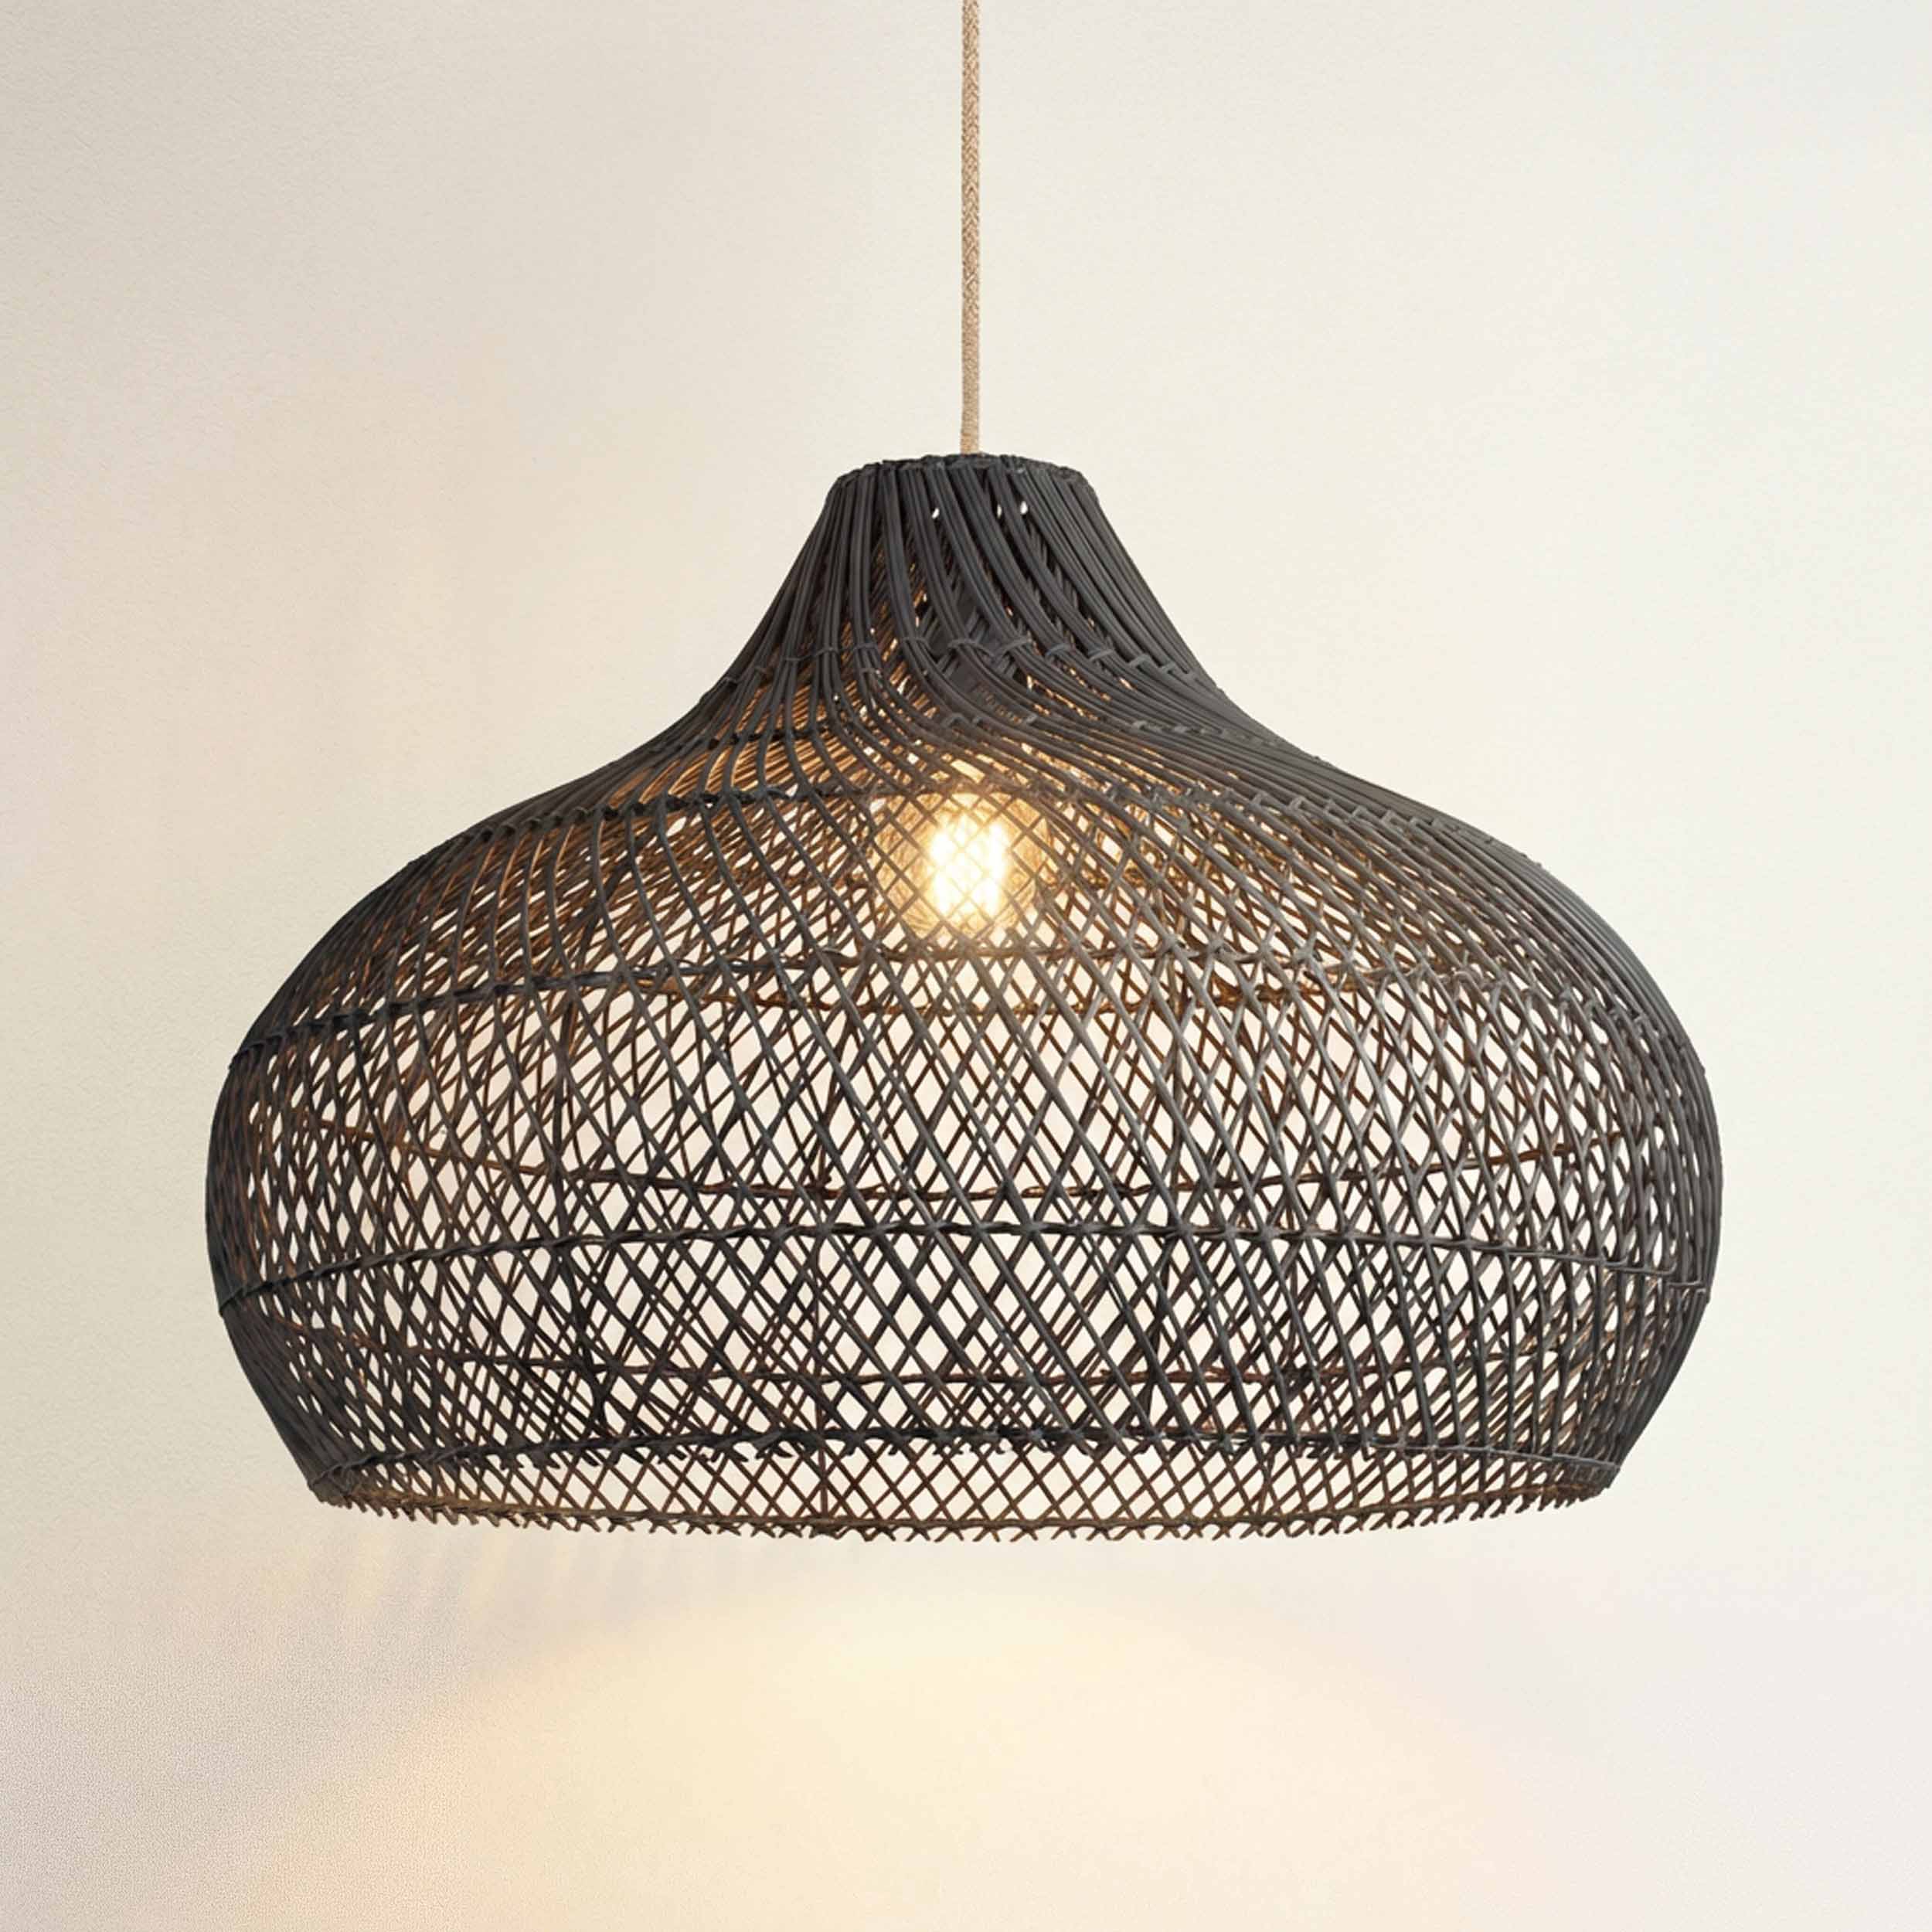
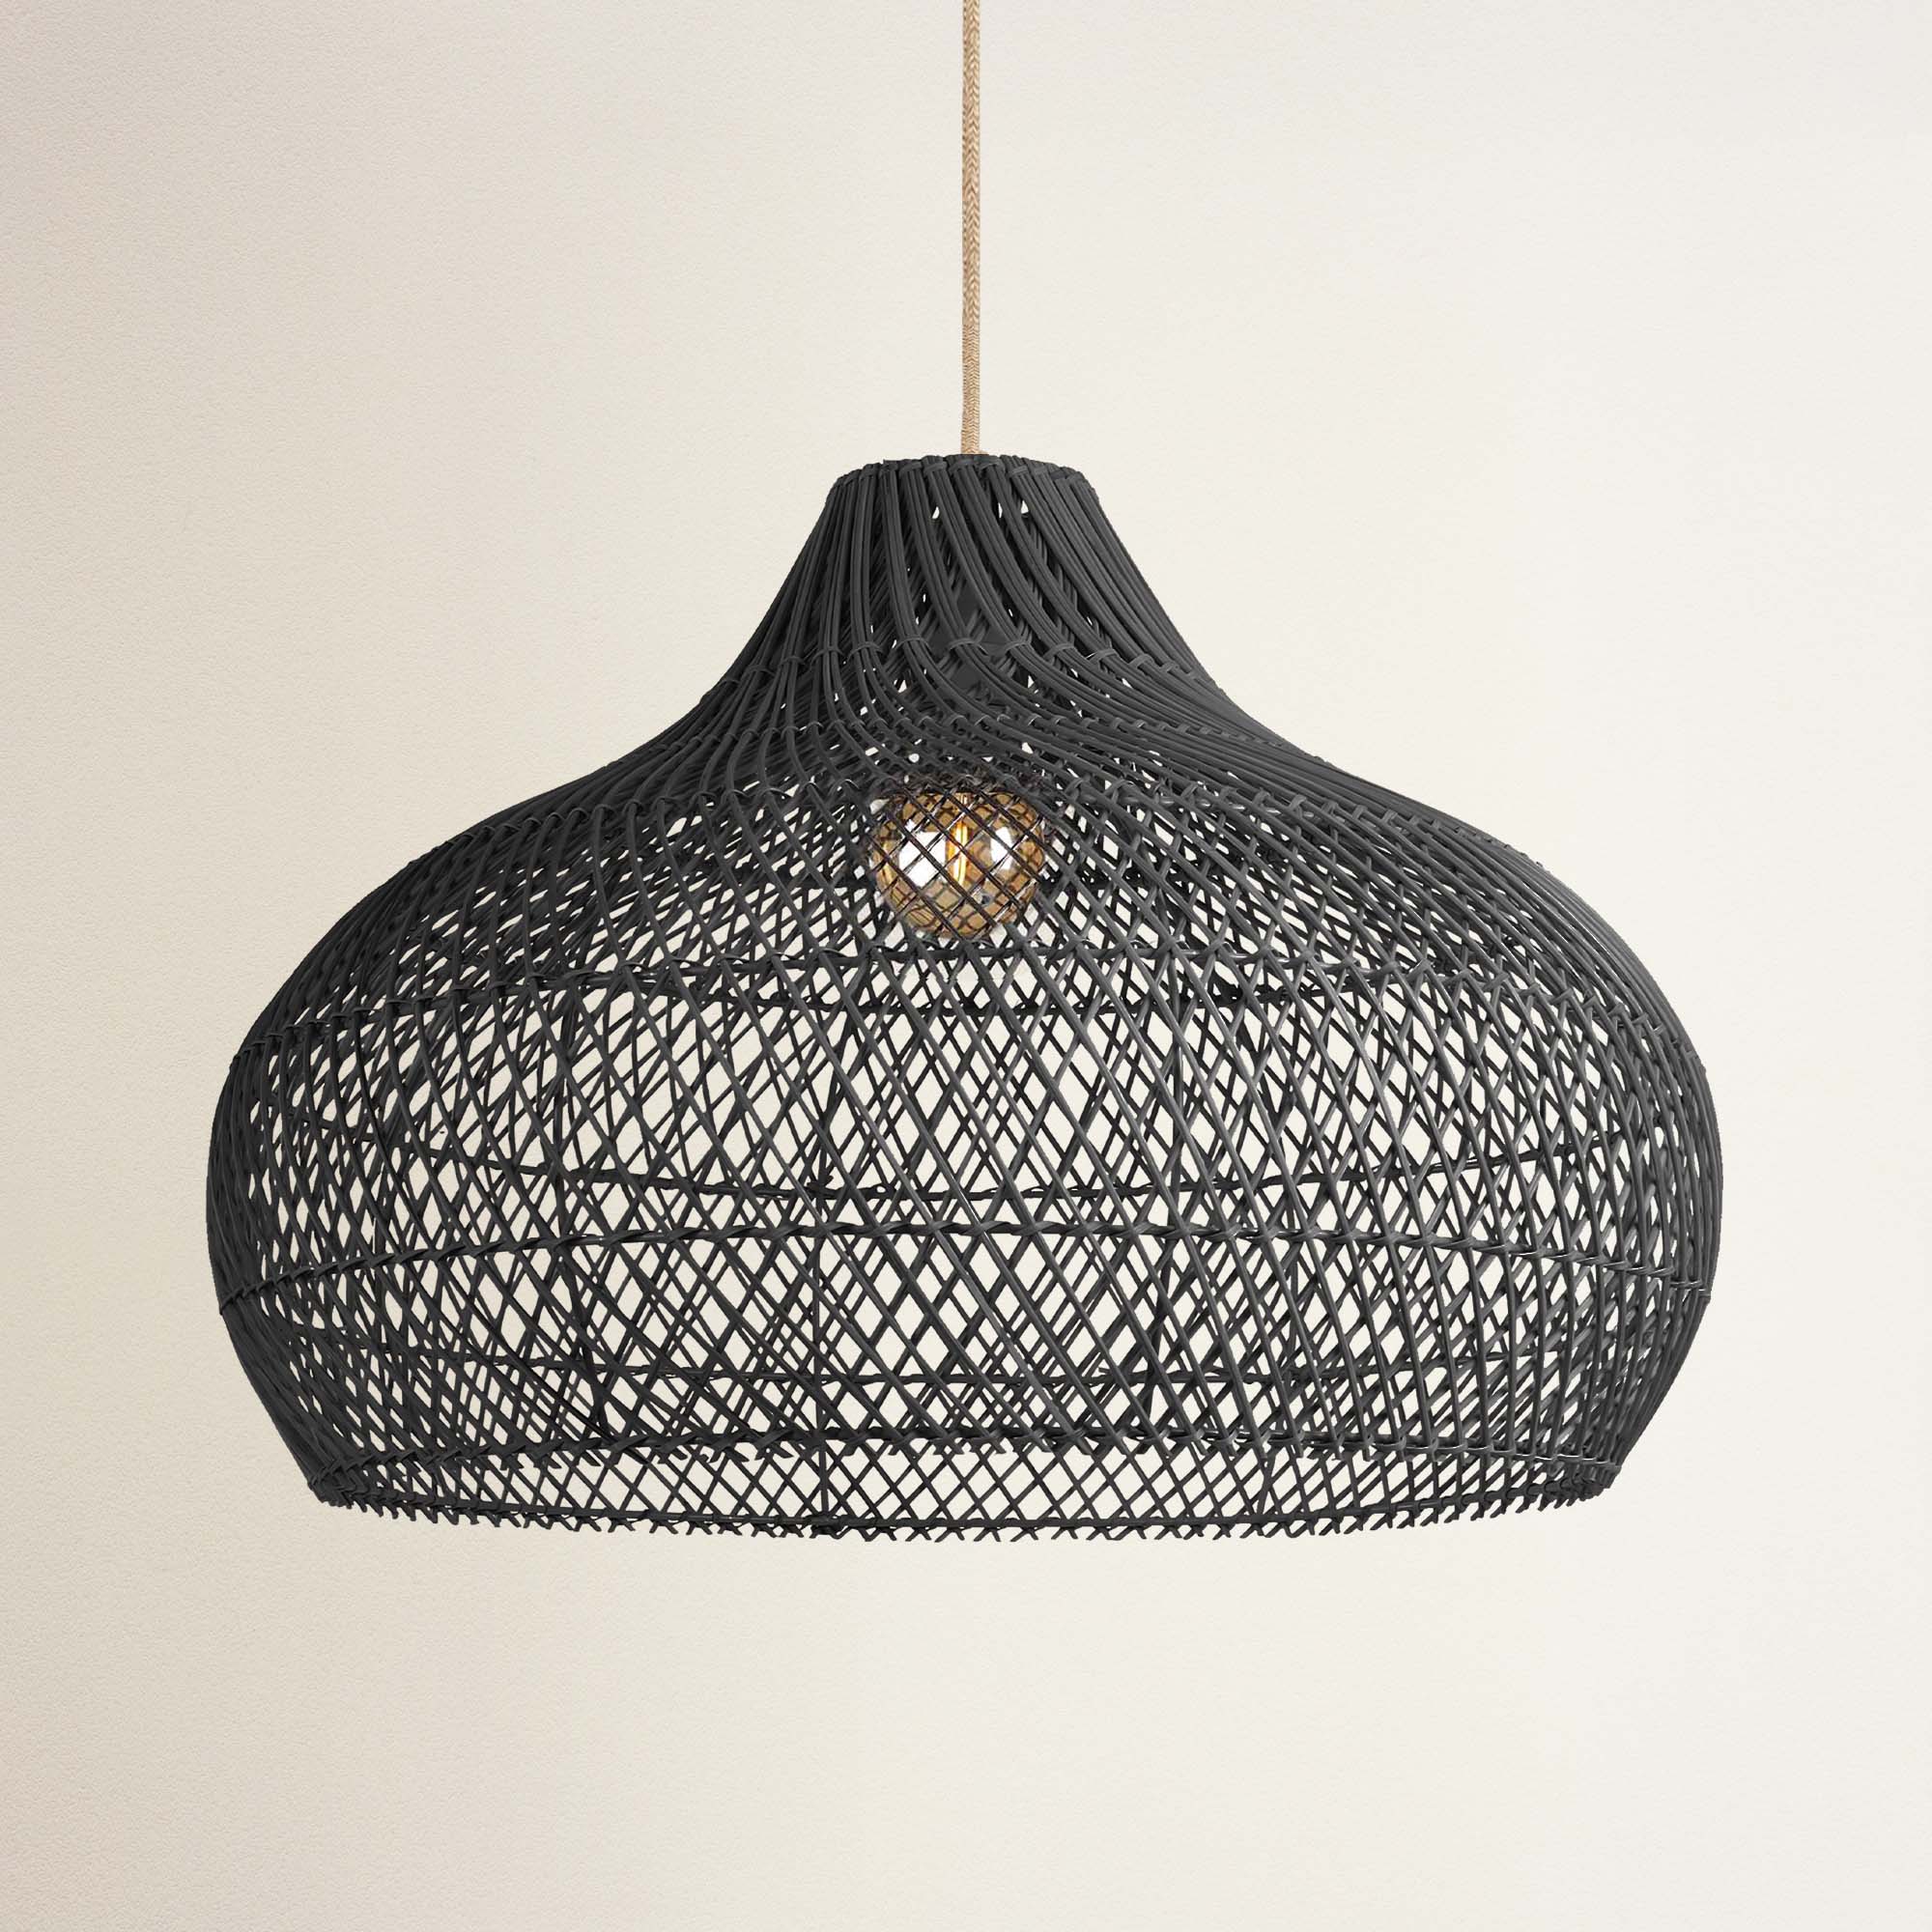
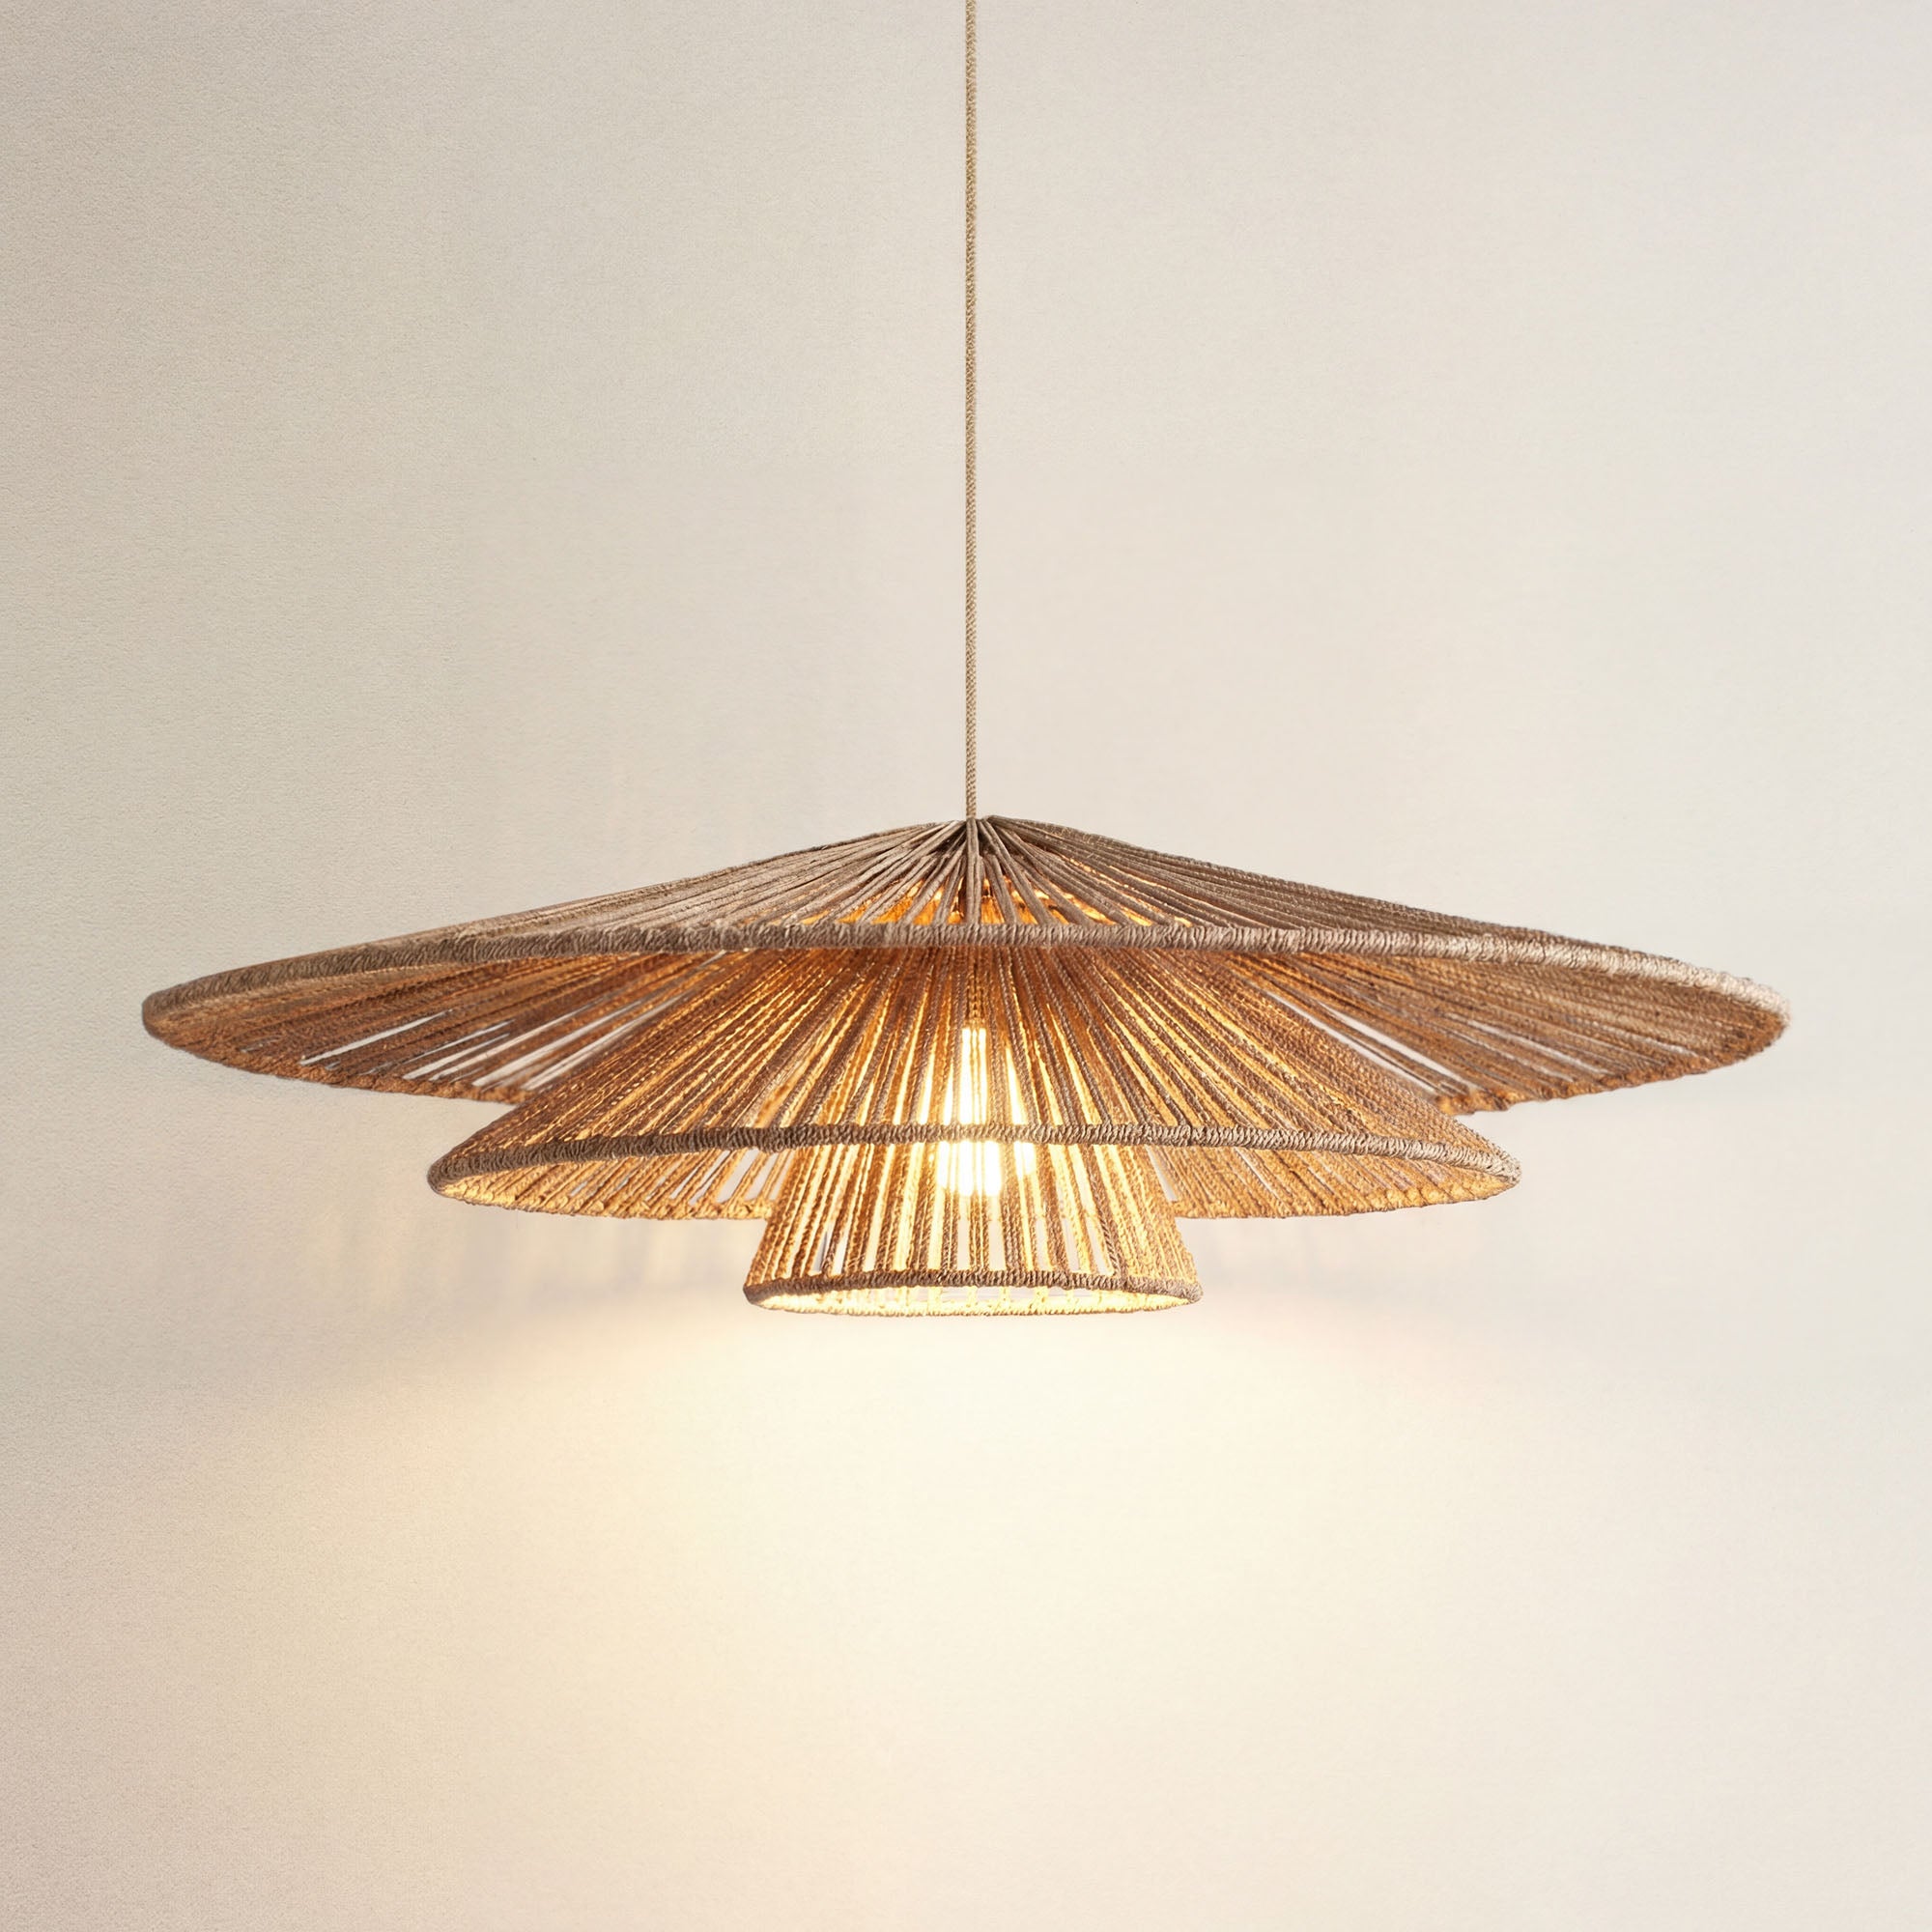
Find the piece that truly transforms your space
45-Day Return


45-Day Return
45-Day Return

45-Day Return
45-Day Return

45-Day Return

45-Day Return
45-Day Return
45-Day Return


45-Day Return


45-Day Return
45-Day Return
Tools/ equipment
Voltage tester: A voltage tester is a crucial safety tool that ensures the power is turned off before you begin the installation process. It helps to confirm that there is no electrical current running through the wires, providing a safe environment for handling the fixtures and wires.
Ladder (if needed): Depending on the height of the installation location, a ladder may be necessary to reach and work comfortably. Using the appropriate equipment, like a ladder, ensures stability and minimizes the risk of accidents during the installation process.
Screwdriver: This tool will be used for various aspects of the installation, including securing the mounting bracket, attaching the pendant fixture, and potentially removing an old fixture if applicable. It is a fundamental tool for any DIY electrical project.
Wire stripper or combination tool: These tools are essential for preparing the electrical wires by removing the insulation. The wire stripper ensures clean and precise cuts, allowing for secure connections between the house wiring and the pendant fixture.
Level: A level is crucial to ensure that your pendant light hangs straight and aligns perfectly with the aesthetics of your space. This tool helps achieve a professional and polished look by preventing any tilting or uneven positioning.
Coat hanger fashioned into an "S" hook (if needed): In some cases, especially when working alone, an "S" hook made from a coat hanger can be a handy tool. It assists in holding the pendant fixture in place during installation.

Prepare the tools and materials in advance to ensure a smoother pendant light installation process. Source: Freepik via https://www.freepik.com/author/freepik
The preparation steps
Prepare your fixture
Initiate the installation process by unwrapping the components of your pendant light package. Organize each part systematically, ensuring accessibility during the installation for a hassle-free experience.
Ensure power safety
Prioritize safety by switching off the power in the designated area or room before diving into the installation. This precaution creates a secure environment for a smooth and worry-free process.
Say goodbye to the old fixture
In the case of a recent renovation or a new home, parting ways with an old fixture may be necessary. Navigate this transition with the following steps:
- Detach the old fixture: The removal method varies by fixture type, but having an extra set of hands to hold the fixture while detaching prevents accidental drops.
- Remove old wire connectors: Identify and twist counterclockwise the small plastic caps covering connections between house wiring and fixture wires for efficient removal.
- Utilize a voltage checker: Prior to wire disconnection, employ a standard voltage checker to ensure a safe environment by confirming the absence of electricity in the wires.
- Disconnect electrical wires: Safely disconnect the electrical wires, and if applicable, remove additional components like trim or base.
Don't miss out on this deal!
Evaluate support structure
Take a moment to evaluate the support structure at the installation location. Ideally, a robust beam should provide adequate support for the electrical junction.
Important note: Prioritize safety above all else. If the fixture lacks sufficient support, it not only poses a safety risk but may also violate building regulations. Do not proceed with the installation until proper support is assured.
Now, let’s get ready to install your pendant light!
Preparation is all set, now let's join hands to place these lights exactly where they belong, transforming your home into a paradise of light! Ready to turn your house into a promised land of illumination?
Project estimation:
| Time needed | Skill Level | Cost |
| 2 to 4 hours | Easy: Medium | range from $65 to $400, detailed information here |
Turn off the power
Before you begin, ensure your safety by turning off the power to the existing light fixture at the circuit breaker. Locate your home's circuit breaker panel, typically found in a utility room, basement, or garage, and identify the breaker controlling the light fixture.
If the circuits aren't labeled, turn on the light and flip each breaker until the light goes out. Switch the correct breaker to the "off" position to cut off the electrical current. Verify that the power is off by testing the light switch and using a non-contact voltage tester on the wires.
Remove the old light
You should start by carefully taking off the fixture cover, which may involve unscrewing or unclipping it. Next, unscrew any screws or bolts securing the fixture to the ceiling or wall bracket.
Once these are removed, gently lower the fixture to expose the wiring. Allow the fixture to hang securely while you observe and prepare to disconnect the wires.

Carefully remove the old light fixture to replace it with a new one. Source: @tonodiaz via Freepik: https://www.freepik.com/author/tonodiaz
Note and mark the wire connections
Before disconnecting the wires, carefully observe and note how they are connected. Use masking tape to label each wire, such as "hot," "neutral," and "ground," to help you remember their connections on the new fixture. To be more careful, you can take photos of the wiring setup for later reference.
Disconnect the wires
First off, you need to unscrew the wire nuts that secure the wire connections. Gently disconnect each wire from the old fixture, ensuring you hold onto the fixture securely to prevent it from falling.
As you disconnect each wire, separate them and position them apart to avoid any contact, which could lead to accidental short circuits. If the wires are stiff or difficult to handle, use needle-nose pliers for better grip and control.
Install the mounting bracket
You need to check whether the new mounting bracket aligns with the electrical box in the ceiling or not. This bracket is crucial, as it will support the weight of your new pendant light.
Use the screws provided with the new fixture to secure the bracket firmly to the electrical box. Ensure that the bracket is level and tightly fastened to prevent any wobbling or instability.
Check the hanging height
Adjust the pendant light to your desired hanging height by using the adjustable cords or chains that most pendant lights come with.
Measure the distance from the ceiling to ensure the light fixture hangs at the appropriate height for your space, considering factors like room size, ceiling height, and functional needs. Remember to do it properly to avoid repositioning it later.
Attach the power wires
First, you begin by connecting the black (or red) wire from the pendant light to the black (hot) wire coming from the ceiling.
Next, twist the exposed ends of the wires together securely, ensuring a tight connection, and then fasten them with a wire nut.
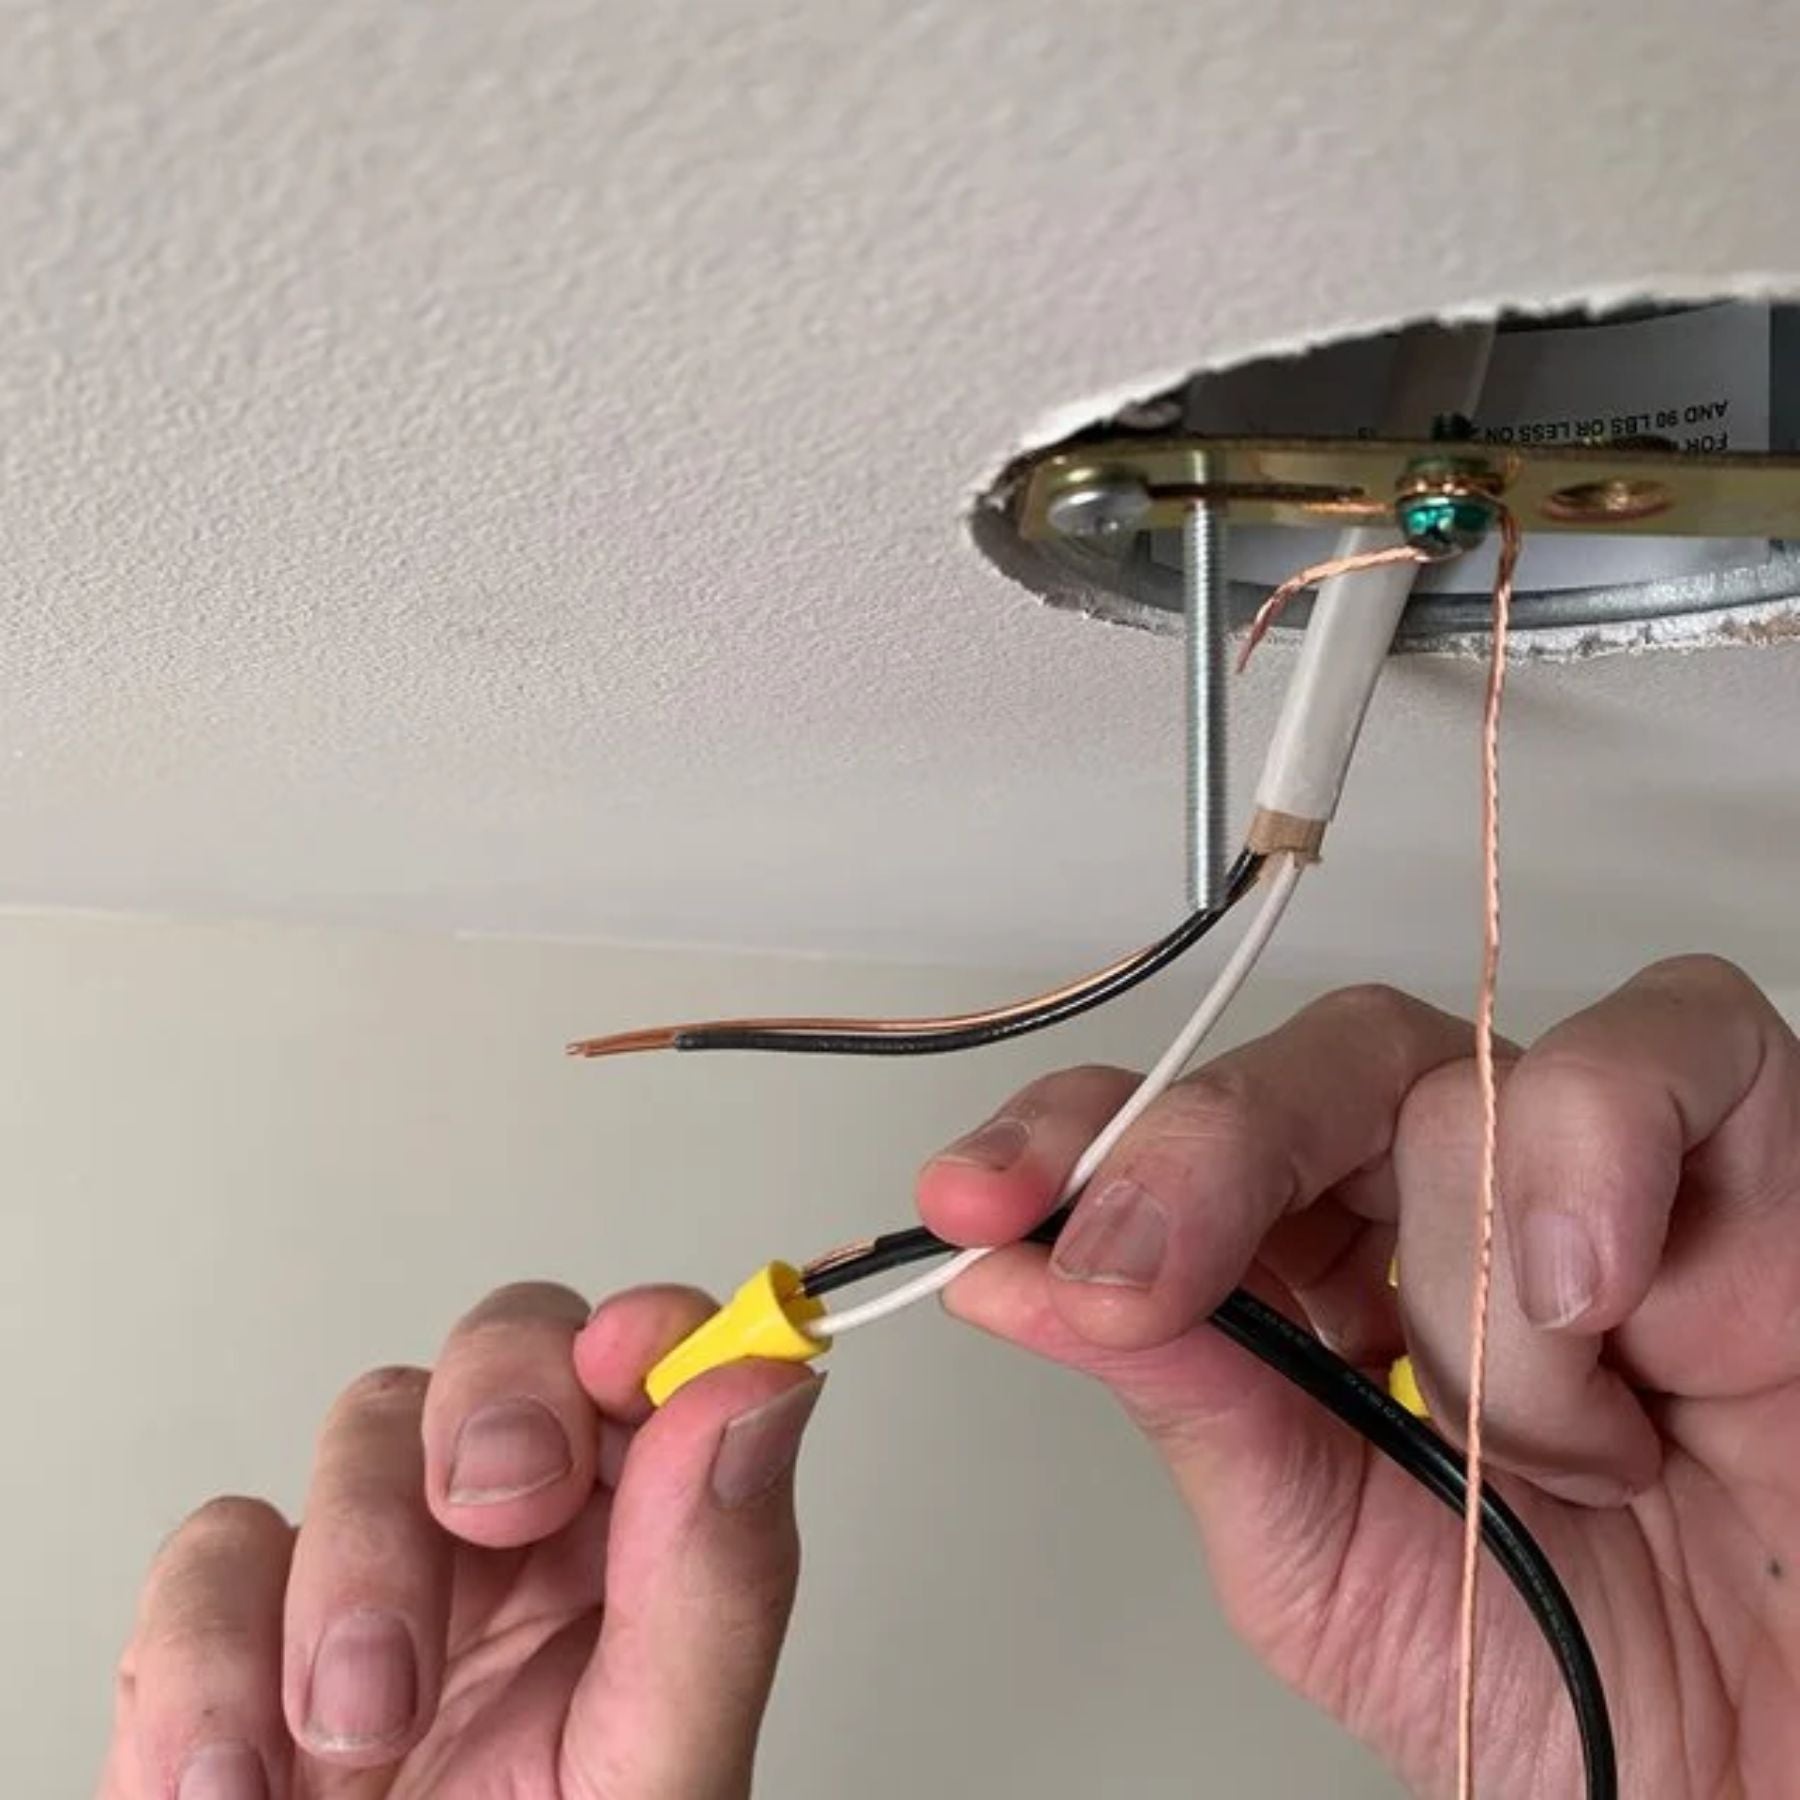
Attention to detail at this stage ensures a robust and safe electrical setup. Source: Family Handy Man via https://www.quora.com/What-happens-if-the-light-fixture-doesnt-have-a-ground-wire
Repeat this process for the white (neutral) wires, connecting the white wire from the pendant light to the white wire from the ceiling in the same manner.
Take care to double-check each connection to ensure they are properly secured and insulated to prevent any electrical hazards.
Attach the ground wire
Connect the ground wire from the pendant light, typically identified by its green or bare copper color, to the ground wire located within the electrical box. If your electrical box is metal, you have the option to attach the ground wire to the box itself for additional grounding.
Use a wire nut to securely fasten the connection, ensuring there is no exposed wire and that the connection is tight. This step is crucial for grounding the light fixture, providing a safety measure to protect against electrical shocks, and ensuring compliance with electrical codes.
Secure the wires
Once all wire connections are complete, carefully tuck the wires into the electrical box, ensuring they are neatly organized and free from any exposed sections. Use wire nuts to securely fasten each wire connection, twisting them tightly to prevent any loosening over time.
Double-check that all connections are properly insulated and that there is no risk of wires coming into contact with each other or any metal surfaces.
Hang the light
As we progress with the pendant light installation, it's time to hang the light delicately. Start by securely attaching the base or canopy of the pendant light to the previously installed mounting bracket or screws. Ensure a stable and level connection to guarantee the pendant light hangs evenly.
Always remember to double-check all connections to make sure the light hangs straight and is properly supported. It’s better to take the time to make sure of a secure attachment rather than having future unexpected adjustments.
Install a light bulb
Begin by choosing a light bulb that matches the recommended size and voltage specificationsoutlined in your pendant light's guidelines. Once you have the appropriate bulb, carefully screw it into the designated socket within the fixture.

Selecting and installing the right bulb is crucial for optimal performance. Source: @hryshchyshen via Freepik: https://www.freepik.com/author/hryshchyshen
Ensure a snug fit to prevent any loose connections that may affect the functionality of the pendant light.
Turn on the power
As you approach the final phase of your pendant light installation, it's time to switch on the power and test the functionality. Flip the power switch to illuminate your pendant light and observe its performance.
If, for any reason, the light doesn't illuminate, conduct a thorough check of the wiring. Ensure all connections made during the earlier steps are secure and properly fastened.
Complete installation
Achieving a polished finish is essential for a refined look. To complete the installation, add a cover or trim, if provided by the manufacturer, to conceal any exposed components and enhance the aesthetic appeal of your pendant light.

Now, you have these beautiful lights, giving a new look. Source: Rowabi.
Safety tips and best practices for installing pendant lights
We've gone over the necessary steps, but there are some crucial tips you should be aware of, especially regarding electrical aspects. So, it's essential to proceed with the utmost caution and attention to detail.
Use proper tools: Ensure you have the appropriate tools for the job, including wire strippers, screwdrivers, pliers, and a voltage tester. Using the correct tools makes the installation process safer and more efficient.
Read manufacturer's instructions: Carefully review the manufacturer's instructions provided with your pendant light fixture. These instructions contain valuable model-specific information, including assembly steps and safety precautions.
Check ceiling structure: Before installing a pendant light, verify that the ceiling structure can support the weight of the fixture. If necessary, use a ceiling fan-rated junction box or install additional support hardware.
Secure mounting hardware: Ensure that the mounting bracket and hardware are securely attached to the electrical box in the ceiling. A stable mounting ensures the pendant light hangs safely and securely.
Proper wire connections: When connecting wires, make sure to match the colors (black to black, white to white, etc.) and use wire nuts to secure the connections. Double-check all connections to ensure they are tight and properly insulated.
Avoid overloading circuits: Be mindful of the electrical load on the circuit where the pendant light will be installed. Avoid overloading the circuit by ensuring it can handle the additional load of the new fixture.
Test before finalizing: Before completing the installation, turn the power back on and test the light fixture to ensure it functions properly. This allows you to identify any issues before finalizing the installation.
Seek professional help: If you encounter any difficulties during the installation process or are unsure about any aspect of the installation, don't hesitate to seek professional assistance from a licensed electrician.
Safety gear: Wear appropriate safety gear, such as gloves and safety glasses, to protect yourself from any potential hazards during the installation process.
FAQs: How to install a pendant light
How should pendant lights be hung?
- Ideal height typically ranges from 28 to 34 inches above a countertop or surface and 30 to 40 inches above a dining table.
- Allow approximately 24 to 30 inches between each fixture for proper spacing. Adjustments may be needed based on the specific design and ceiling height.
Are pendant lights easy to install?
- Yes, pendant lights are generally easy to install, making them popular with DIY enthusiasts. Most kits come with comprehensive instructions, and the process involves basic electrical wiring.
- Pendant lights are designed with user-friendly features, suitable for varying levels of experience.
Can I hang a pendant light on a wall?
- While traditionally hung from the ceiling, wall-mounted pendant options are available for other lighting arrangements. Therefore, the installation process can vary depending on the design and type of pendant light.
- It's crucial to follow the manufacturer's instructions meticulously to ensure proper installation and safety.
Can I install my own pendant lights?
- Absolutely! DIY installation is possible if you're comfortable with electrical work and follow safety precautions.
Do you need an electrician to install a pendant light?
- While it's advisable for those unsure of electrical tasks to hire an electrician, DIY installation is feasible for those with electrical knowledge.
How to attach a pendant light to the ceiling?
- Secure the pendant light's mounting bracket to the ceiling's electrical box, ensuring it's firmly fastened, before hanging the fixture.
How are pendant lights mounted?
- Pendant lights are typically mounted using a bracket secured to the ceiling's electrical box.
What are the rules for pendant lighting?
- Pendant lighting should be installed at the appropriate height for the room's function and aesthetics, following electrical code requirements.
Do pendant lights need an electrical box?
- Yes, pendant lights require a ceiling electrical box for proper installation and safety.
How is a pendant wired?
- Pendant lights are wired by connecting the fixture's wires to the electrical box's corresponding wires, usually with wire nuts.
Are pendant lights a good idea?
- Yes, they're a versatile and popular lighting choice, enhancing both ambiance and functionality.
Can you put pendant lights anywhere?
- Pendant lights suit various spaces, such as kitchens, dining rooms, living rooms, and entryways, depending on your lighting needs and preferences.
Can I hang pendant light from the ceiling?
- Yes, pendant lights are designed for ceiling hanging, providing illumination and decorative appeal.
How do you position pendant lights?
- Position them to offer ample lighting for the area, considering the room layout and aesthetic balance.
Can I put a pendant light on a low ceiling?
- Yes, but choose fixtures with shorter hanging lengths to avoid clearance issues.
Can I hang a pendant light without hardwiring?
- Yes, consider plug-in or battery-operated options for flexibility.
How to raise the pendant light?
- Adjust the cord or chain length using the provided hardware.
How do you install pendant lights in a finished ceiling?
- It may require cutting a hole in the electrical box and fishing wires through the ceiling cavity. Seek professional help if you are unsure.
How to shorten hanging pendant lights?
- Adjust the cord or chain length according to manufacturer guidelines.
Conclusion
Congratulations! You've successfully navigated each step of the pendant light installation process that Rowabi has gone through, transforming your space into a well-lit haven. Enjoy the newfound elegance and warmth that your pendant light brings to your living space. Here's to your well-lit and beautifully adorned home!


Leave a comment
This site is protected by hCaptcha and the hCaptcha Privacy Policy and Terms of Service apply.