


Before changing any wiring, start by checking the fixture's lowest point, width, weight, location rating, and alignment against the furniture it serves. Whether you are troubleshooting a Rowabi lighting installation or any other pendant or chandelier, the diagnosis always comes before the fix.
Most of these problems can be resolved without replacing the fixture. The fourteen mistakes below are organized from symptom to cause to measurement to fix, so you can identify what is actually wrong before reaching for tools.
What are the most common lighting hanging mistakes?
| What You Notice | What to Check | Common Starting Guideline | First Fix to Try |
| Pendant blocks faces or the view | Distance from countertop to fixture's lowest point | 30–36 in. | Raise in 2–3 in. increments; recheck from standing and seated positions |
| Pendant feels too high or disconnected | Task-light coverage and clearance above the surface | 30–36 in. above the island | Lower gradually without letting the shade cross important sightlines |
| The chandelier hangs too low over the dining table | Distance from the tabletop to the fixture's lowest point | About 30–36 in. | Raise slightly; test an additional 3–6 in. for higher ceilings |
| A chandelier hangs in a walkway | Distance from floor to fixture's lowest point | At least 7 ft. | Shorten the suspension or switch to a flush-mount or semi-flush-mount |
| Vanity sconces cast unflattering facial shadows | Height from floor to center of backplate | About 60–65 in. | Position the sconces near the primary users' eye level |
| Light above the bathroom mirror looks undersized | Fixture width compared with mirror width | About 75% of the mirror's width | Choose a wider fixture that does not extend beyond the mirror |
| Picture light illuminates the artwork unevenly | Fixture width and beam angle | About half the artwork's width, approximately a 30° angle | Adjust fixture width, projection, and beam direction |
| Fixture hangs crooked or unevenly | Canopy, chain, cord, downrod, and ceiling slope | No universal measurement | Check that the canopy is level and suspension lengths are even |
| LED bulbs flicker or buzz when dimmed | Bulb and dimmer compatibility | Do not rely on wattage alone | Confirm bulbs are dimmable and listed as compatible with the dimmer |
| Bathroom or patio fixture deteriorates quickly | Dry-, damp-, or wet-location rating | Follow the fixture's location rating | Replace with a fixture rated for the actual installation area |
| Fixture feels loose, or canopy pulls away from the ceiling | Junction box, brace, hardware, and fixture weight | Follow the listed weight rating of the box and mounting hardware | Stop using the fixture and contact a licensed electrician |
*Friendly note:
- Always measure to the lowest visible point of the shade, frame, or bulb, not from the ceiling canopy or cord alone.
- These numbers are starting points. Any changes to wiring, junction boxes, or ceiling support should be evaluated separately.
Diagnose the problem before moving the fixture
Adjusting a fixture before identifying the actual cause is one of the most common ways to turn a fixable problem into a larger one. The hanging height may be correct, and the real issue may be the shade's opacity, the furniture's position, or the junction box alignment.
45-Day Return
45-Day Return
45-Day Return

45-Day Return
45-Day Return

45-Day Return

45-Day Return
45-Day Return
45-Day Return
45-Day Return
45-Day Return
45-Day Return
Separate the symptom from the actual cause
A pendant that appears too low may actually be too wide, too opaque, or positioned in front of the wrong view. A chandelier that looks off-center may be centered correctly on the ceiling box, while the dining table has been moved. Before adjusting the suspension, identify which of these is the real cause.
| Symptom | Possible Causes |
| Fixture looks too low | Suspension too long, fixture body too tall, furniture too low |
| Fixture looks off-center | Box centered on room instead of table, furniture moved |
| Fixture looks too large | Diameter, depth, opacity, or visual mass |
| Light feels harsh | Exposed bulb, incorrect lumen output, poor beam direction |
| Fixture hangs crooked | Uneven chain, cord memory, sloped ceiling, loose canopy |
Measure five dimensions before making changes
Before any adjustment, you should consider:
- Measure finished ceiling height
- Floor-to-surface height
- Surface-to-fixture clearance
- Fixture body height and width
- The minimum and maximum adjustable hanging height.
For example, with an 8-foot ceiling (96 inches) over a 36-inch island, the distance between the ceiling and countertop is 60 inches, which means a 36-inch clearance leaves 24 inches for the fixture body and suspension. At 9 feet (108 inches), the same clearance leaves 36 inches to work with. At 10 feet, 48 inches. All measurements should be taken in inches and feet.
Photograph the fixture from three viewpoints
Photograph from the main room entrance, from the standing work position, and from seated eye level before making any adjustment. These three positions reveal blockage, scale problems, and alignment issues that are invisible when standing directly under the fixture looking up.

Credit: Rowabi.
14 common lighting hanging mistakes and how to fix them
With the diagnostic framework in place, the following mistakes can be identified and resolved systematically, starting with the most searched and working through to the most serious.
Mistake #1: Hanging pendants or chandeliers too low
Pendants hanging too low over a kitchen island
Start with the bottom of the pendant 30–36 inches above the countertop, measured to the lowest visible point of the shade. If the shade crosses the sightline to the living room, the backyard, or the face of someone seated at the island, raise the fixture in 2–3 inch increments and recheck task-light coverage after each adjustment.
Test from the island stool, not just from the prep side of the counter. In households with taller members, test from the height of the person who uses the island most frequently.
Chandeliers hanging too low over a dining table
Measure from the tabletop to the lowest point of the chandelier frame and confirm it falls in the 30–36-inch range as a starting point. Sit across the table from another person and verify the frame does not sit between your faces or produce glare at eye level.

Credit: Rowabi.
A rectangular chandelier with significant visual weight may benefit from sitting at the upper end of that range. The fixture footprint should not extend so far beyond the table that someone standing up is at risk of coming into contact with it.
Hanging fixtures too low in walkways and foyers
In any area where people walk directly under the fixture, start by confirming that there is at least 7 feet of clearance between the floor and the lowest point of the shade or frame. With an 8-foot ceiling, a pendant or chandelier of any significant length typically cannot clear in an open walkway, which is why flush or semi-flush mounts are usually the appropriate choice in those spaces.
If the fixture hangs over a fixed surface, such as a console or dining table, the clearance calculation applies to the underside of the fixture relative to the floor, not to the surface below it.
Mistake #2: Hanging a light too high
Signs the fixture is too high
A fixture is too high when it appears to float at ceiling level rather than relate to the surface below it. The island or dining table loses its visual anchor; task lighting becomes diffuse and ineffective at the countertop or tabletop; the bulb or shade no longer reads as part of the room's composition. The gap between the fixture and the furniture below it feels disproportionately large even by the standards of the room's ceiling height.
Lower the fixture without creating a sightline problem
Lower in 2–3-inch increments, photograph from the same camera position each time, and stop when the fixture has a clear visual relationship with the surface below it without crossing any sightlines.
Test both during the day and in the evening when artificial light is the primary source. If the fixture achieves the correct visual relationship with the surface but the task lighting remains insufficient, add supplementary lighting (such as recessed lights or under-cabinet strips) rather than lowering the pendant further.
Mistake #3: Choosing the wrong fixture size or visual weight
The fixture is physically too large
A fixture is too large when its shade extends beyond the furniture footprint, when it competes visually with cabinetry or architectural details, or when the fixture body prevents maintaining the clearance and sightline the room requires.
An oversized fixture on an 8-foot ceiling can make the room feel lower than it is. If none of the available suspension adjustments can achieve safe clearance and acceptable sightlines, the fixture is too large for the space.
The fixture is too small to anchor the space
A fixture is too small when it lacks the visual weight to serve as the room's focal point, a single mini pendant over a long island, a narrow chandelier over a wide rectangular table, or a small sconce beside an oversized mirror. Replacing a single undersized fixture with two or three fixtures at appropriate spacing often solves the problem more effectively than simply choosing the next size up.

Credit: Rowabi.
Visual weight matters as much as diameter
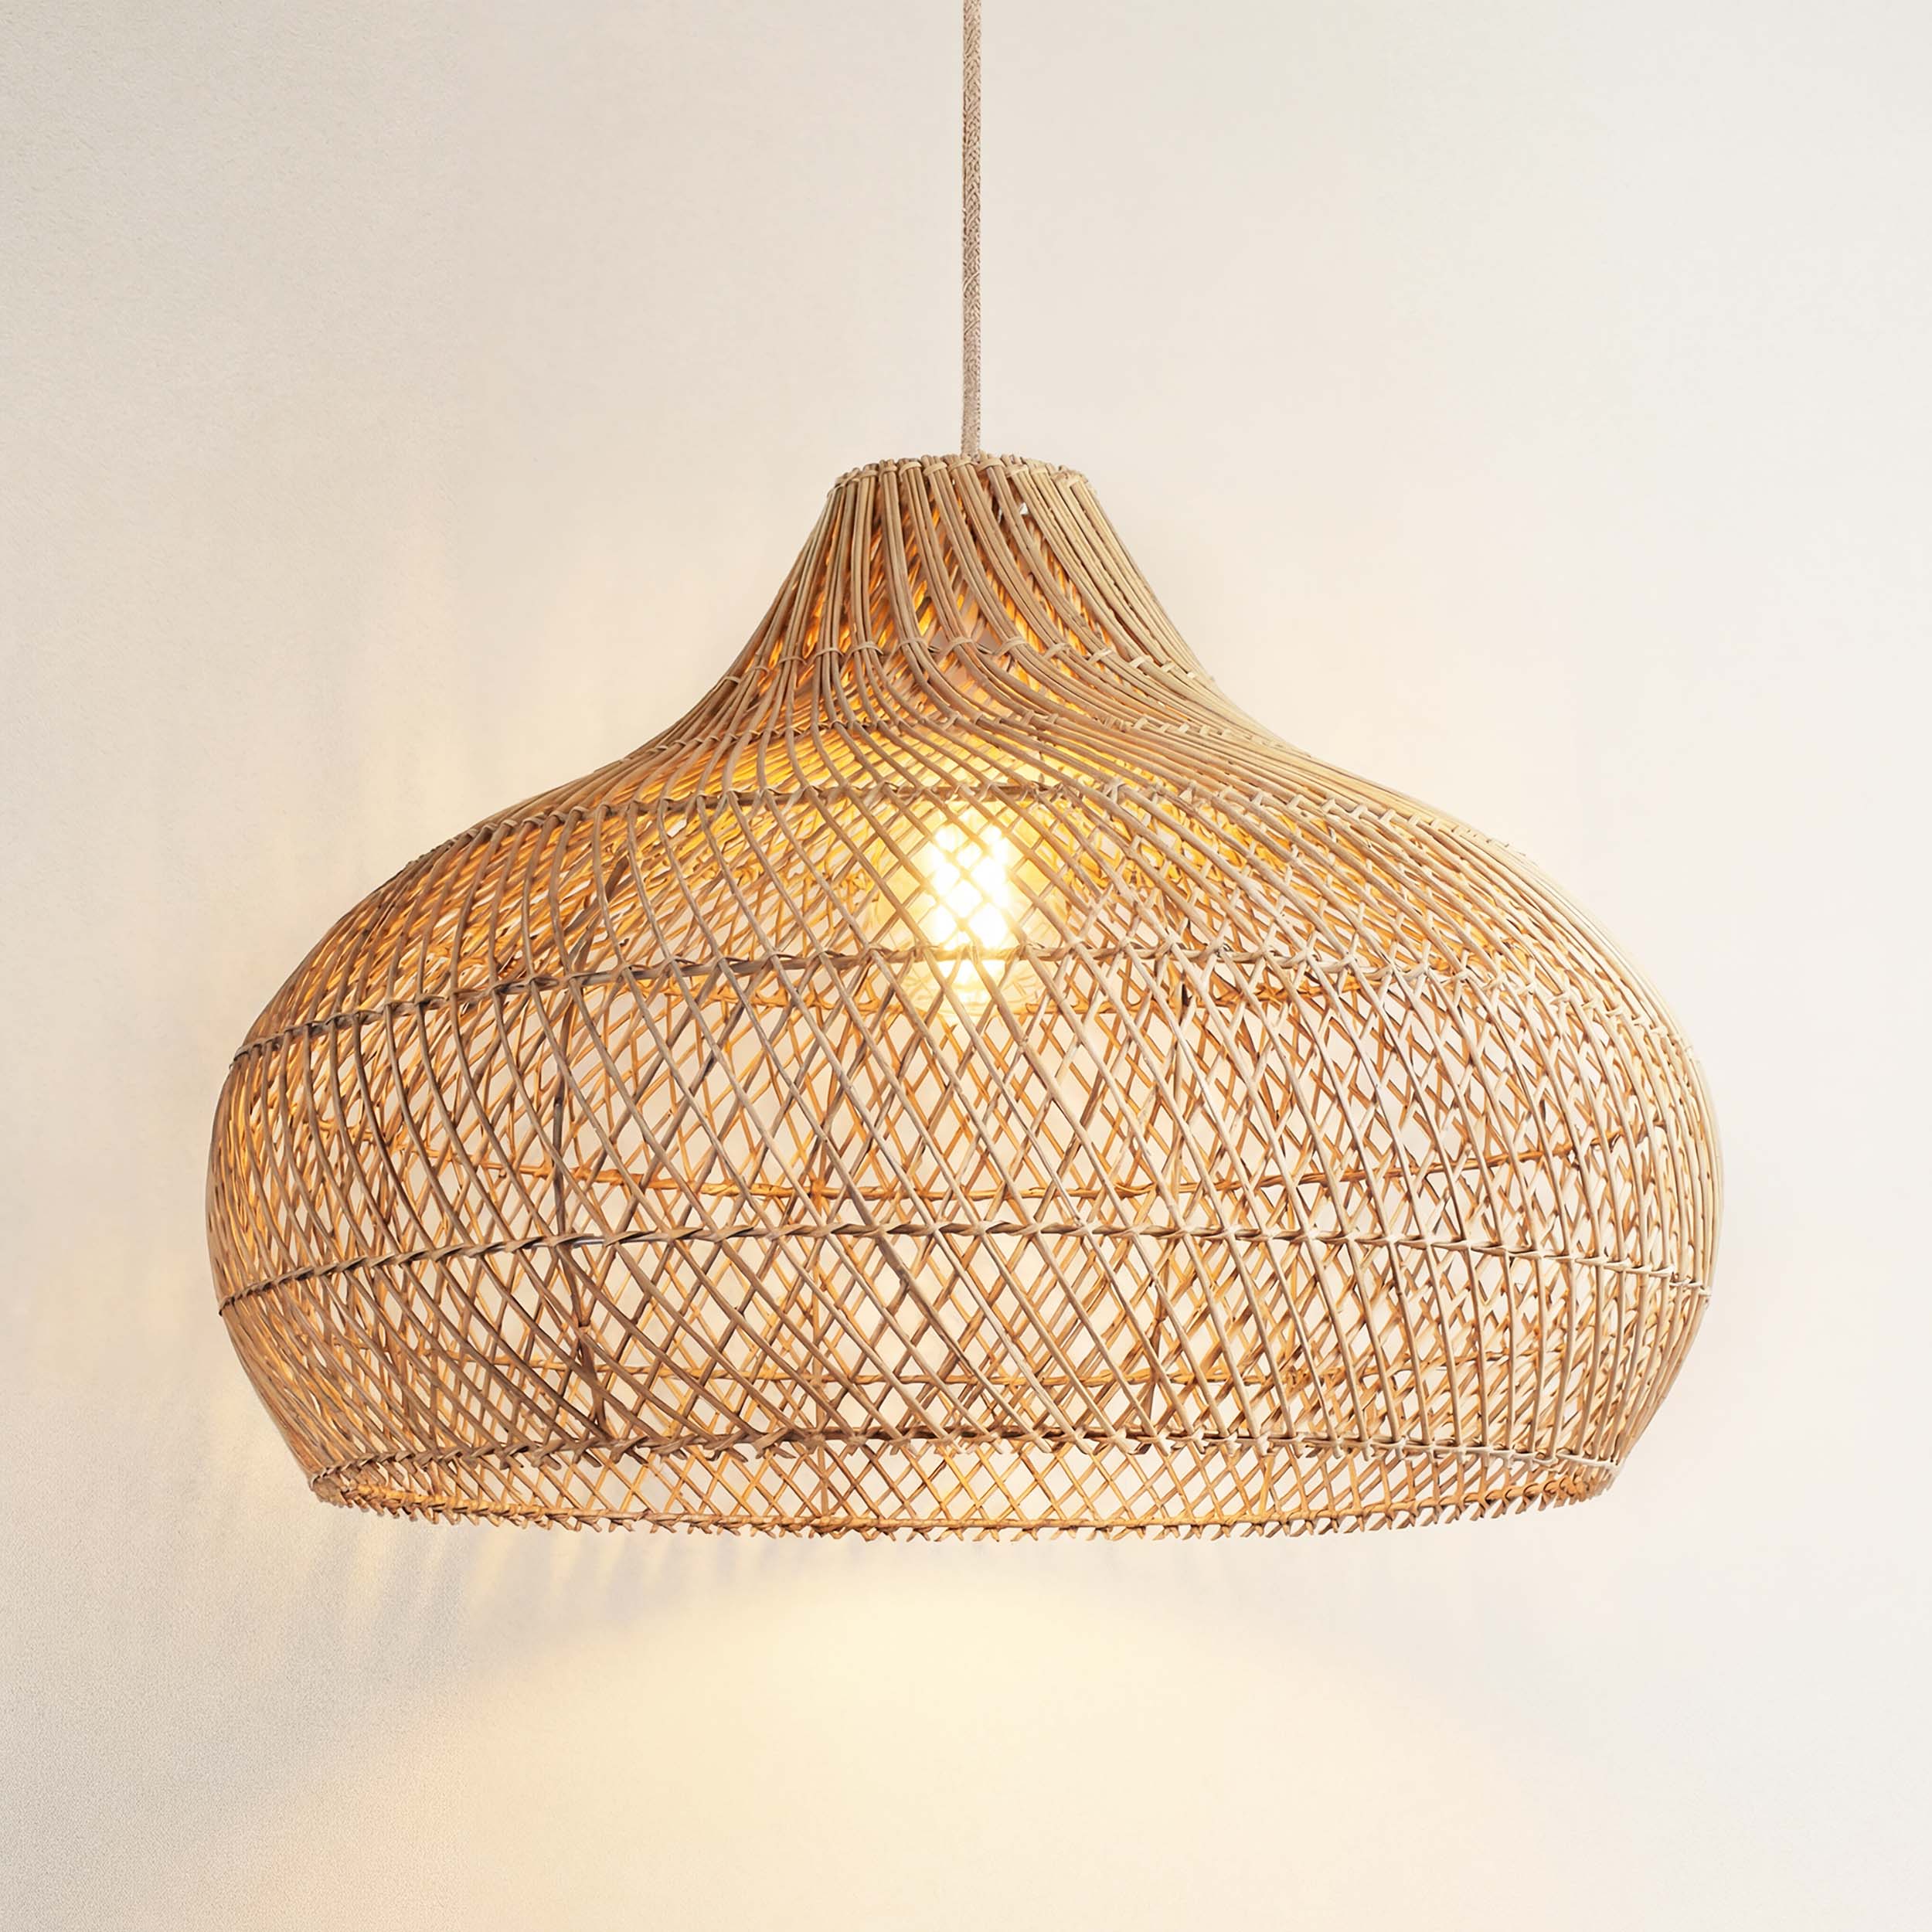
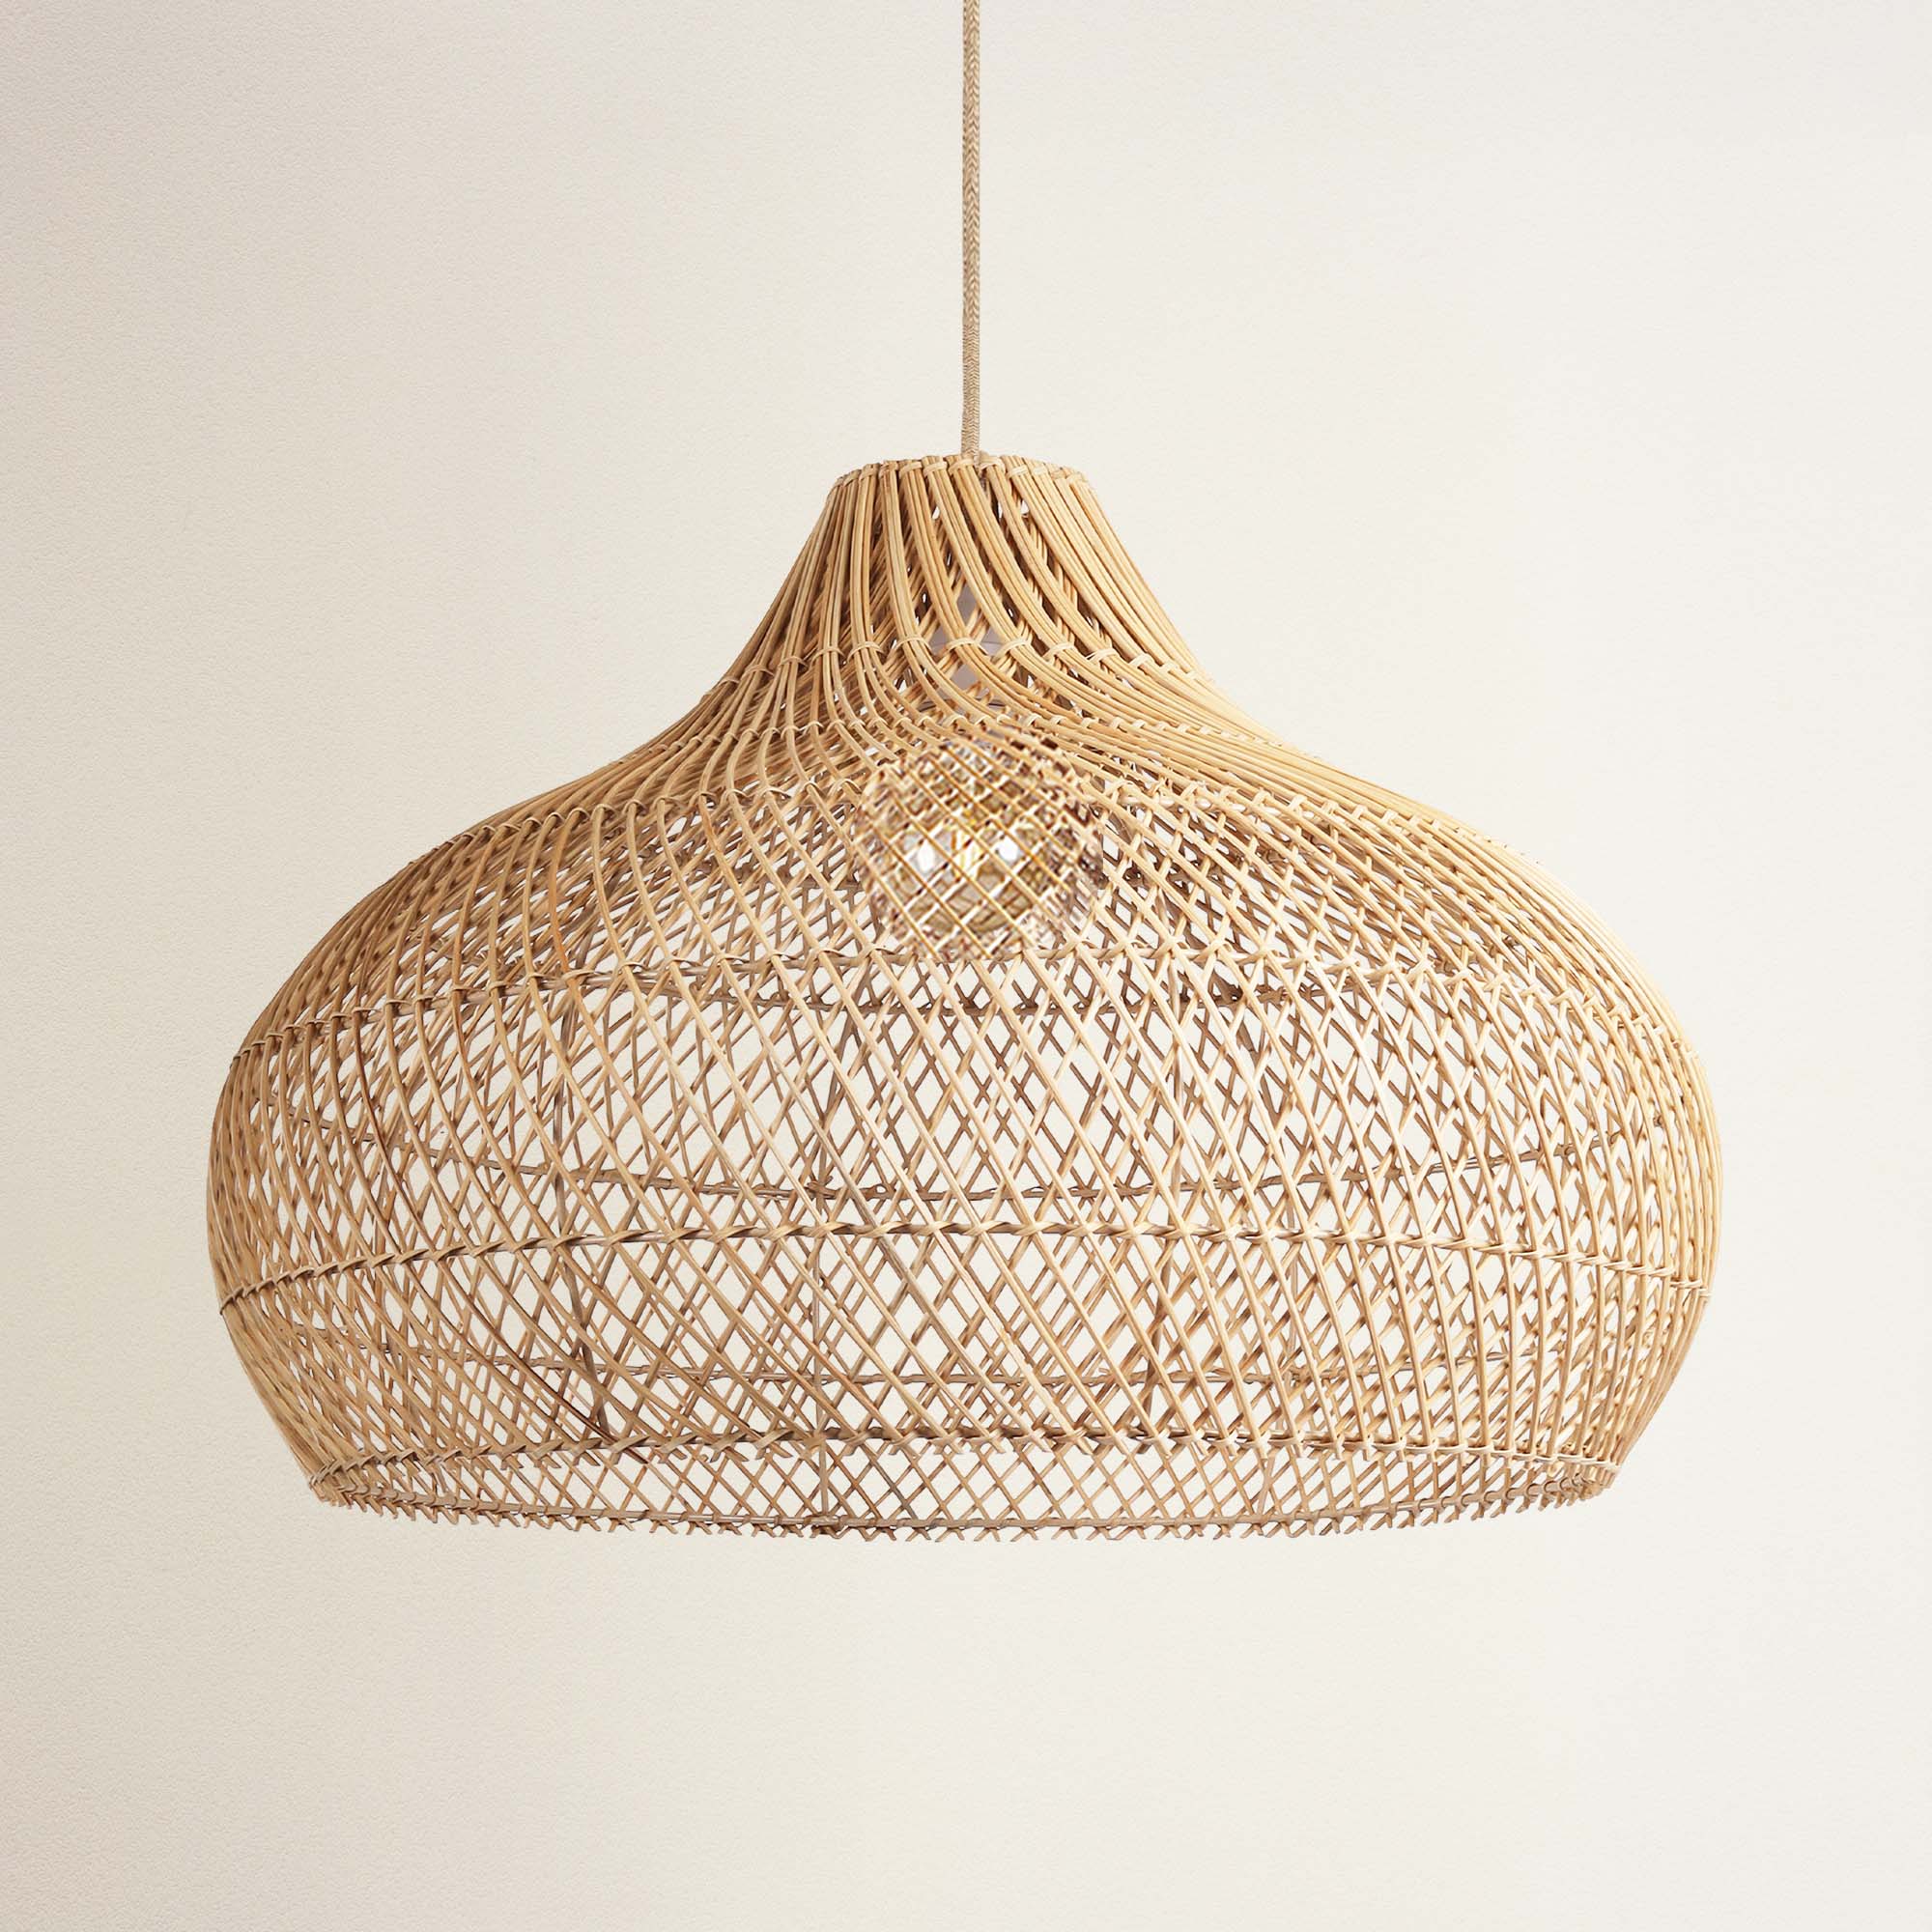
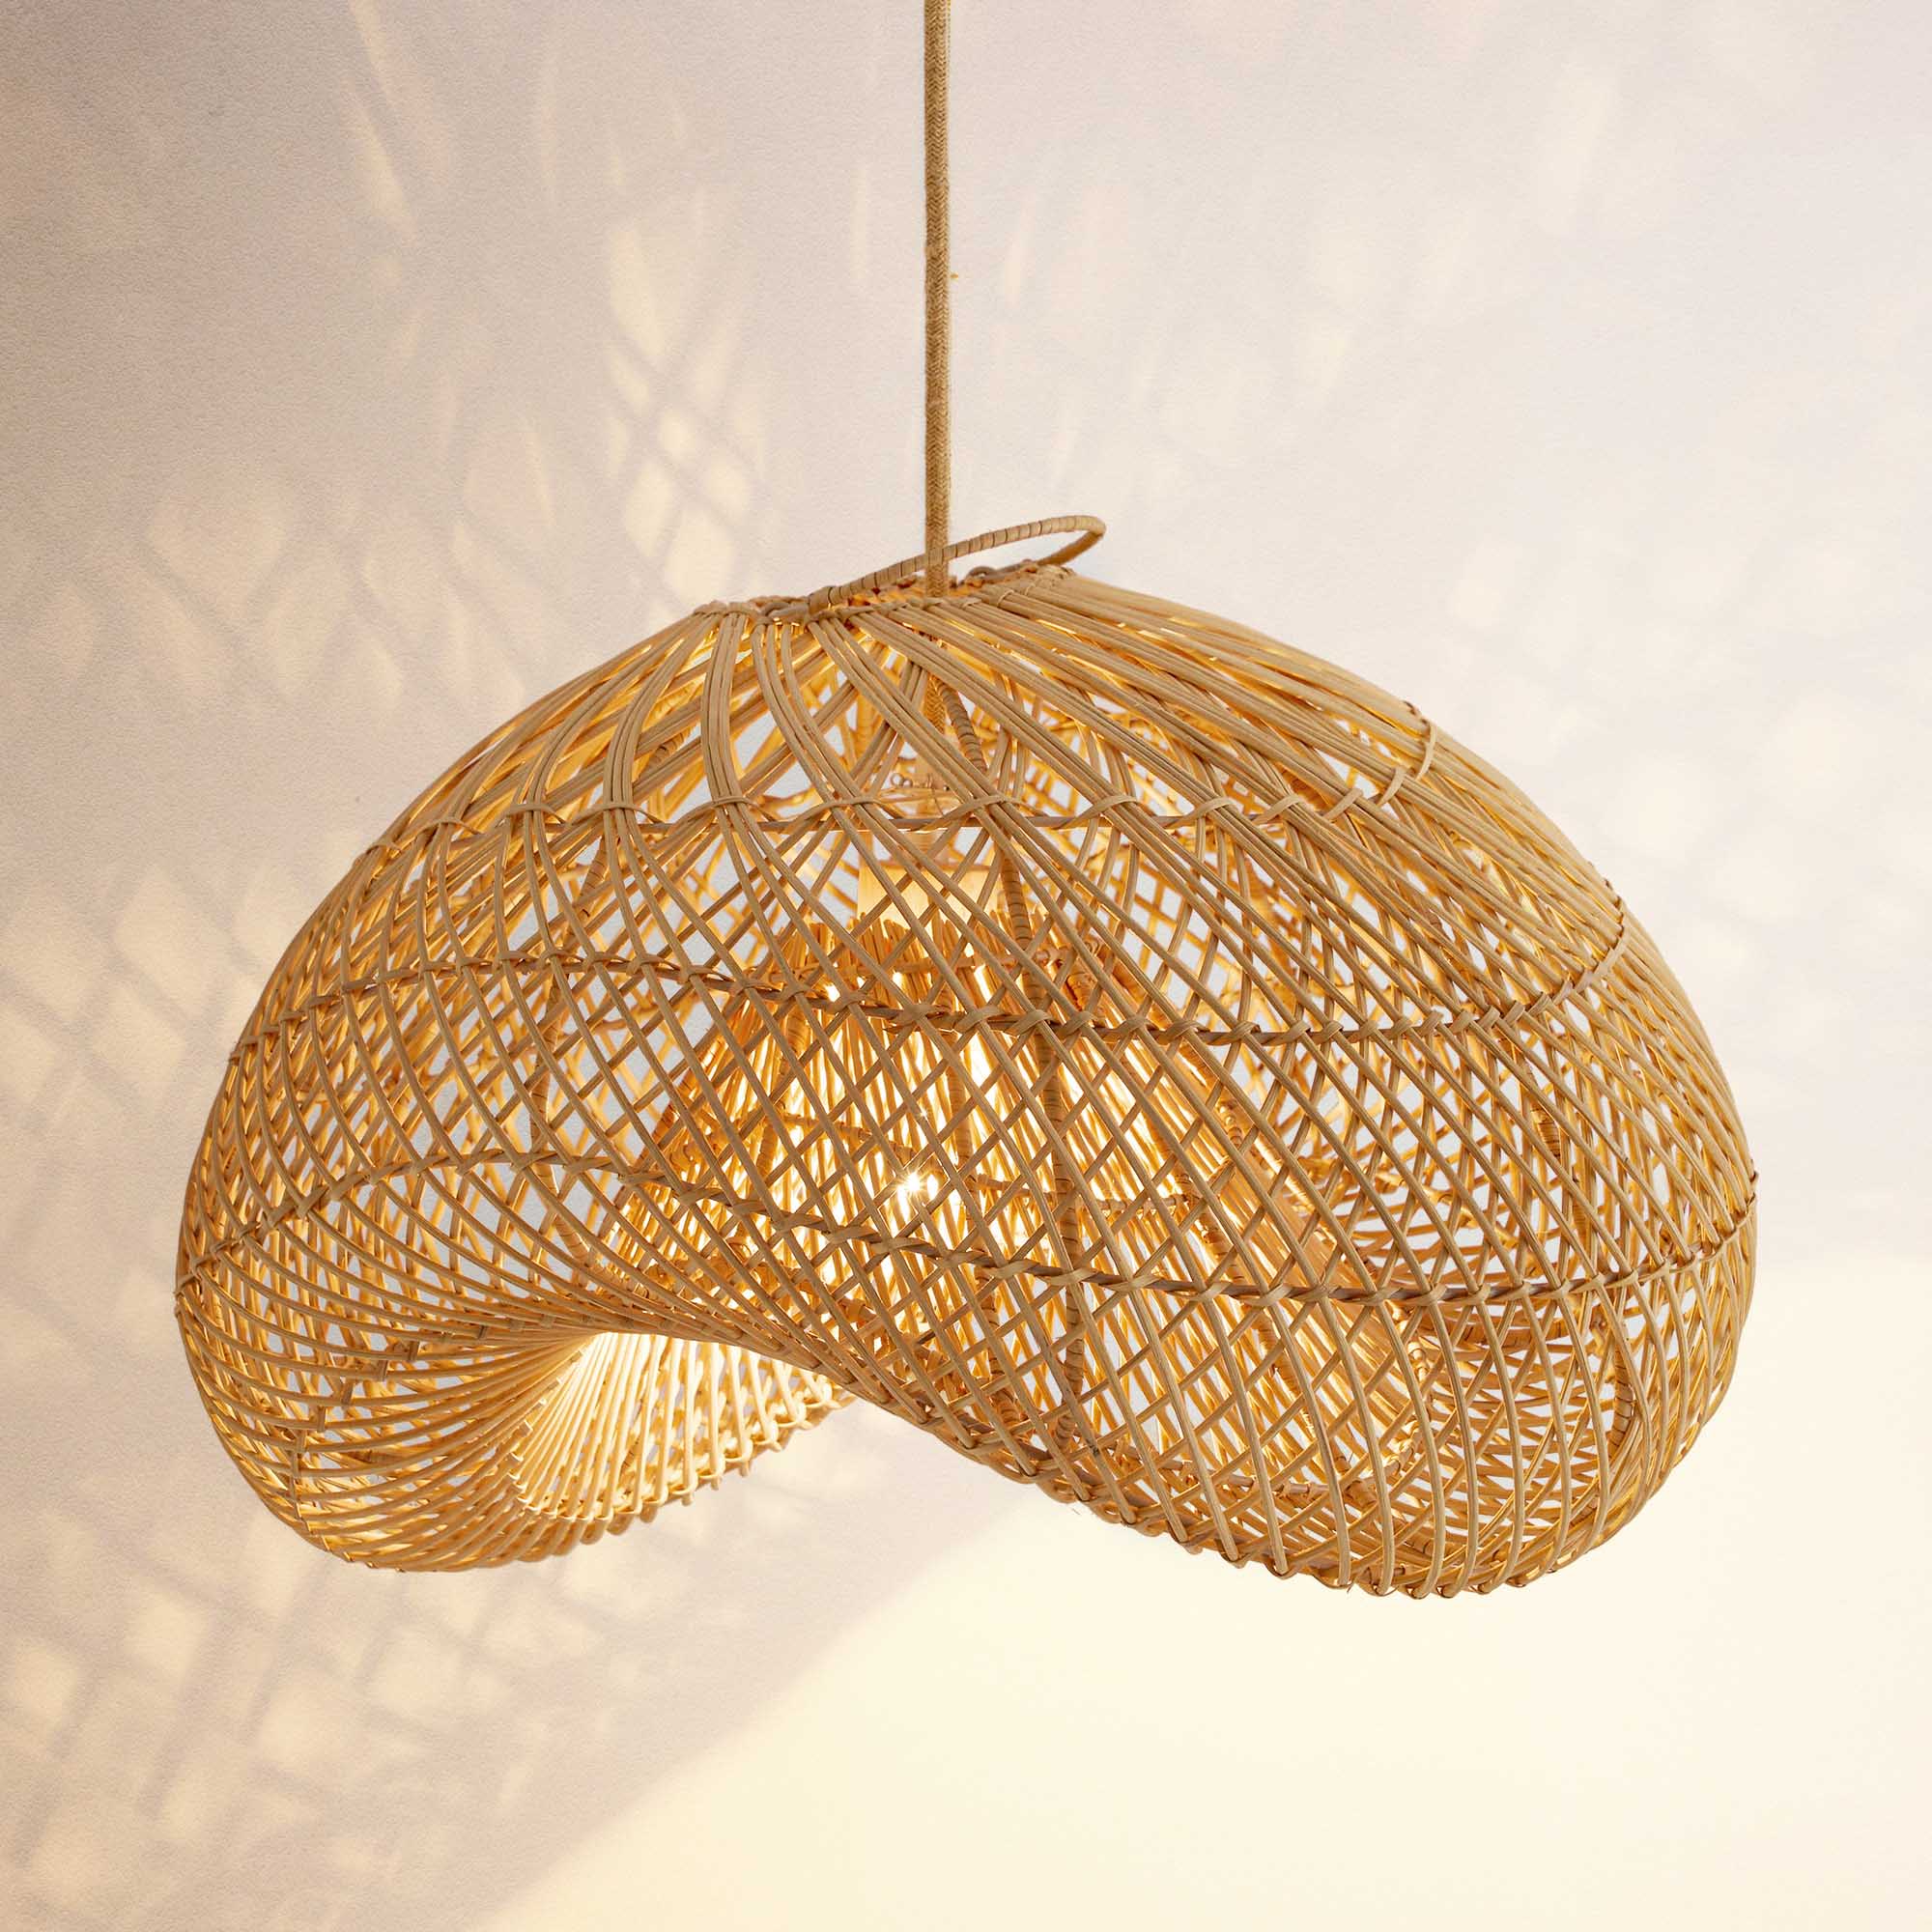
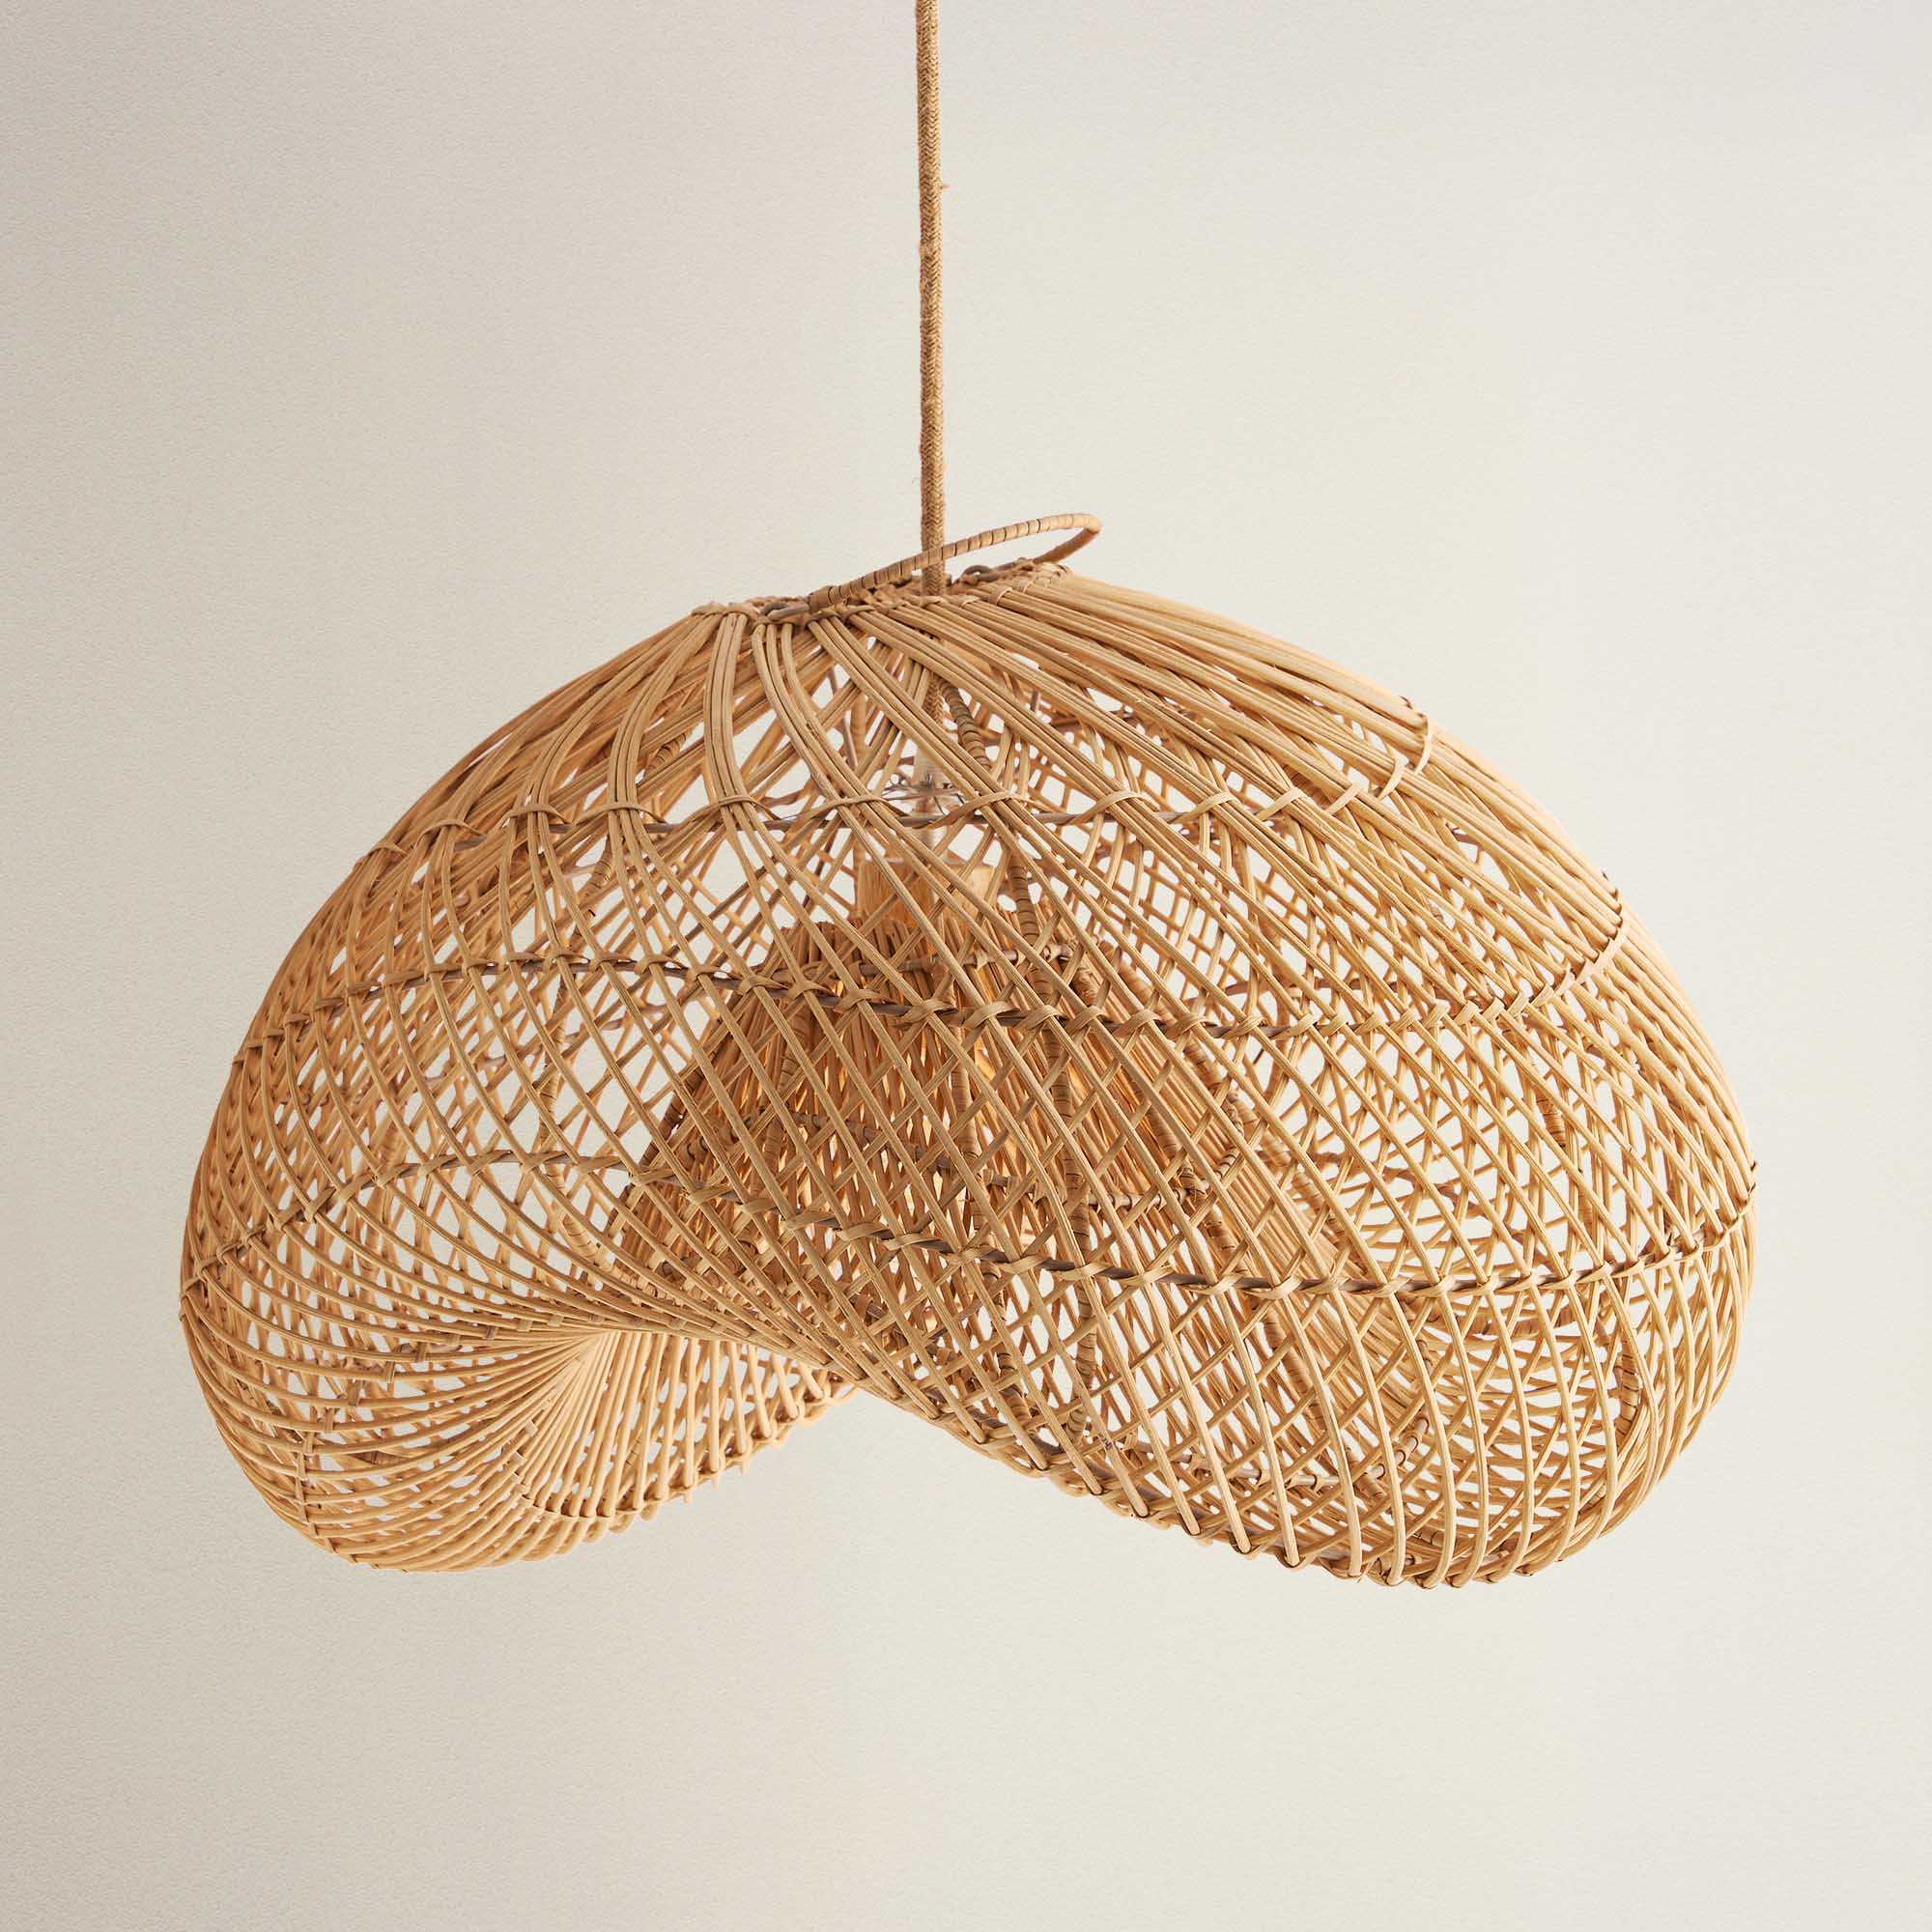
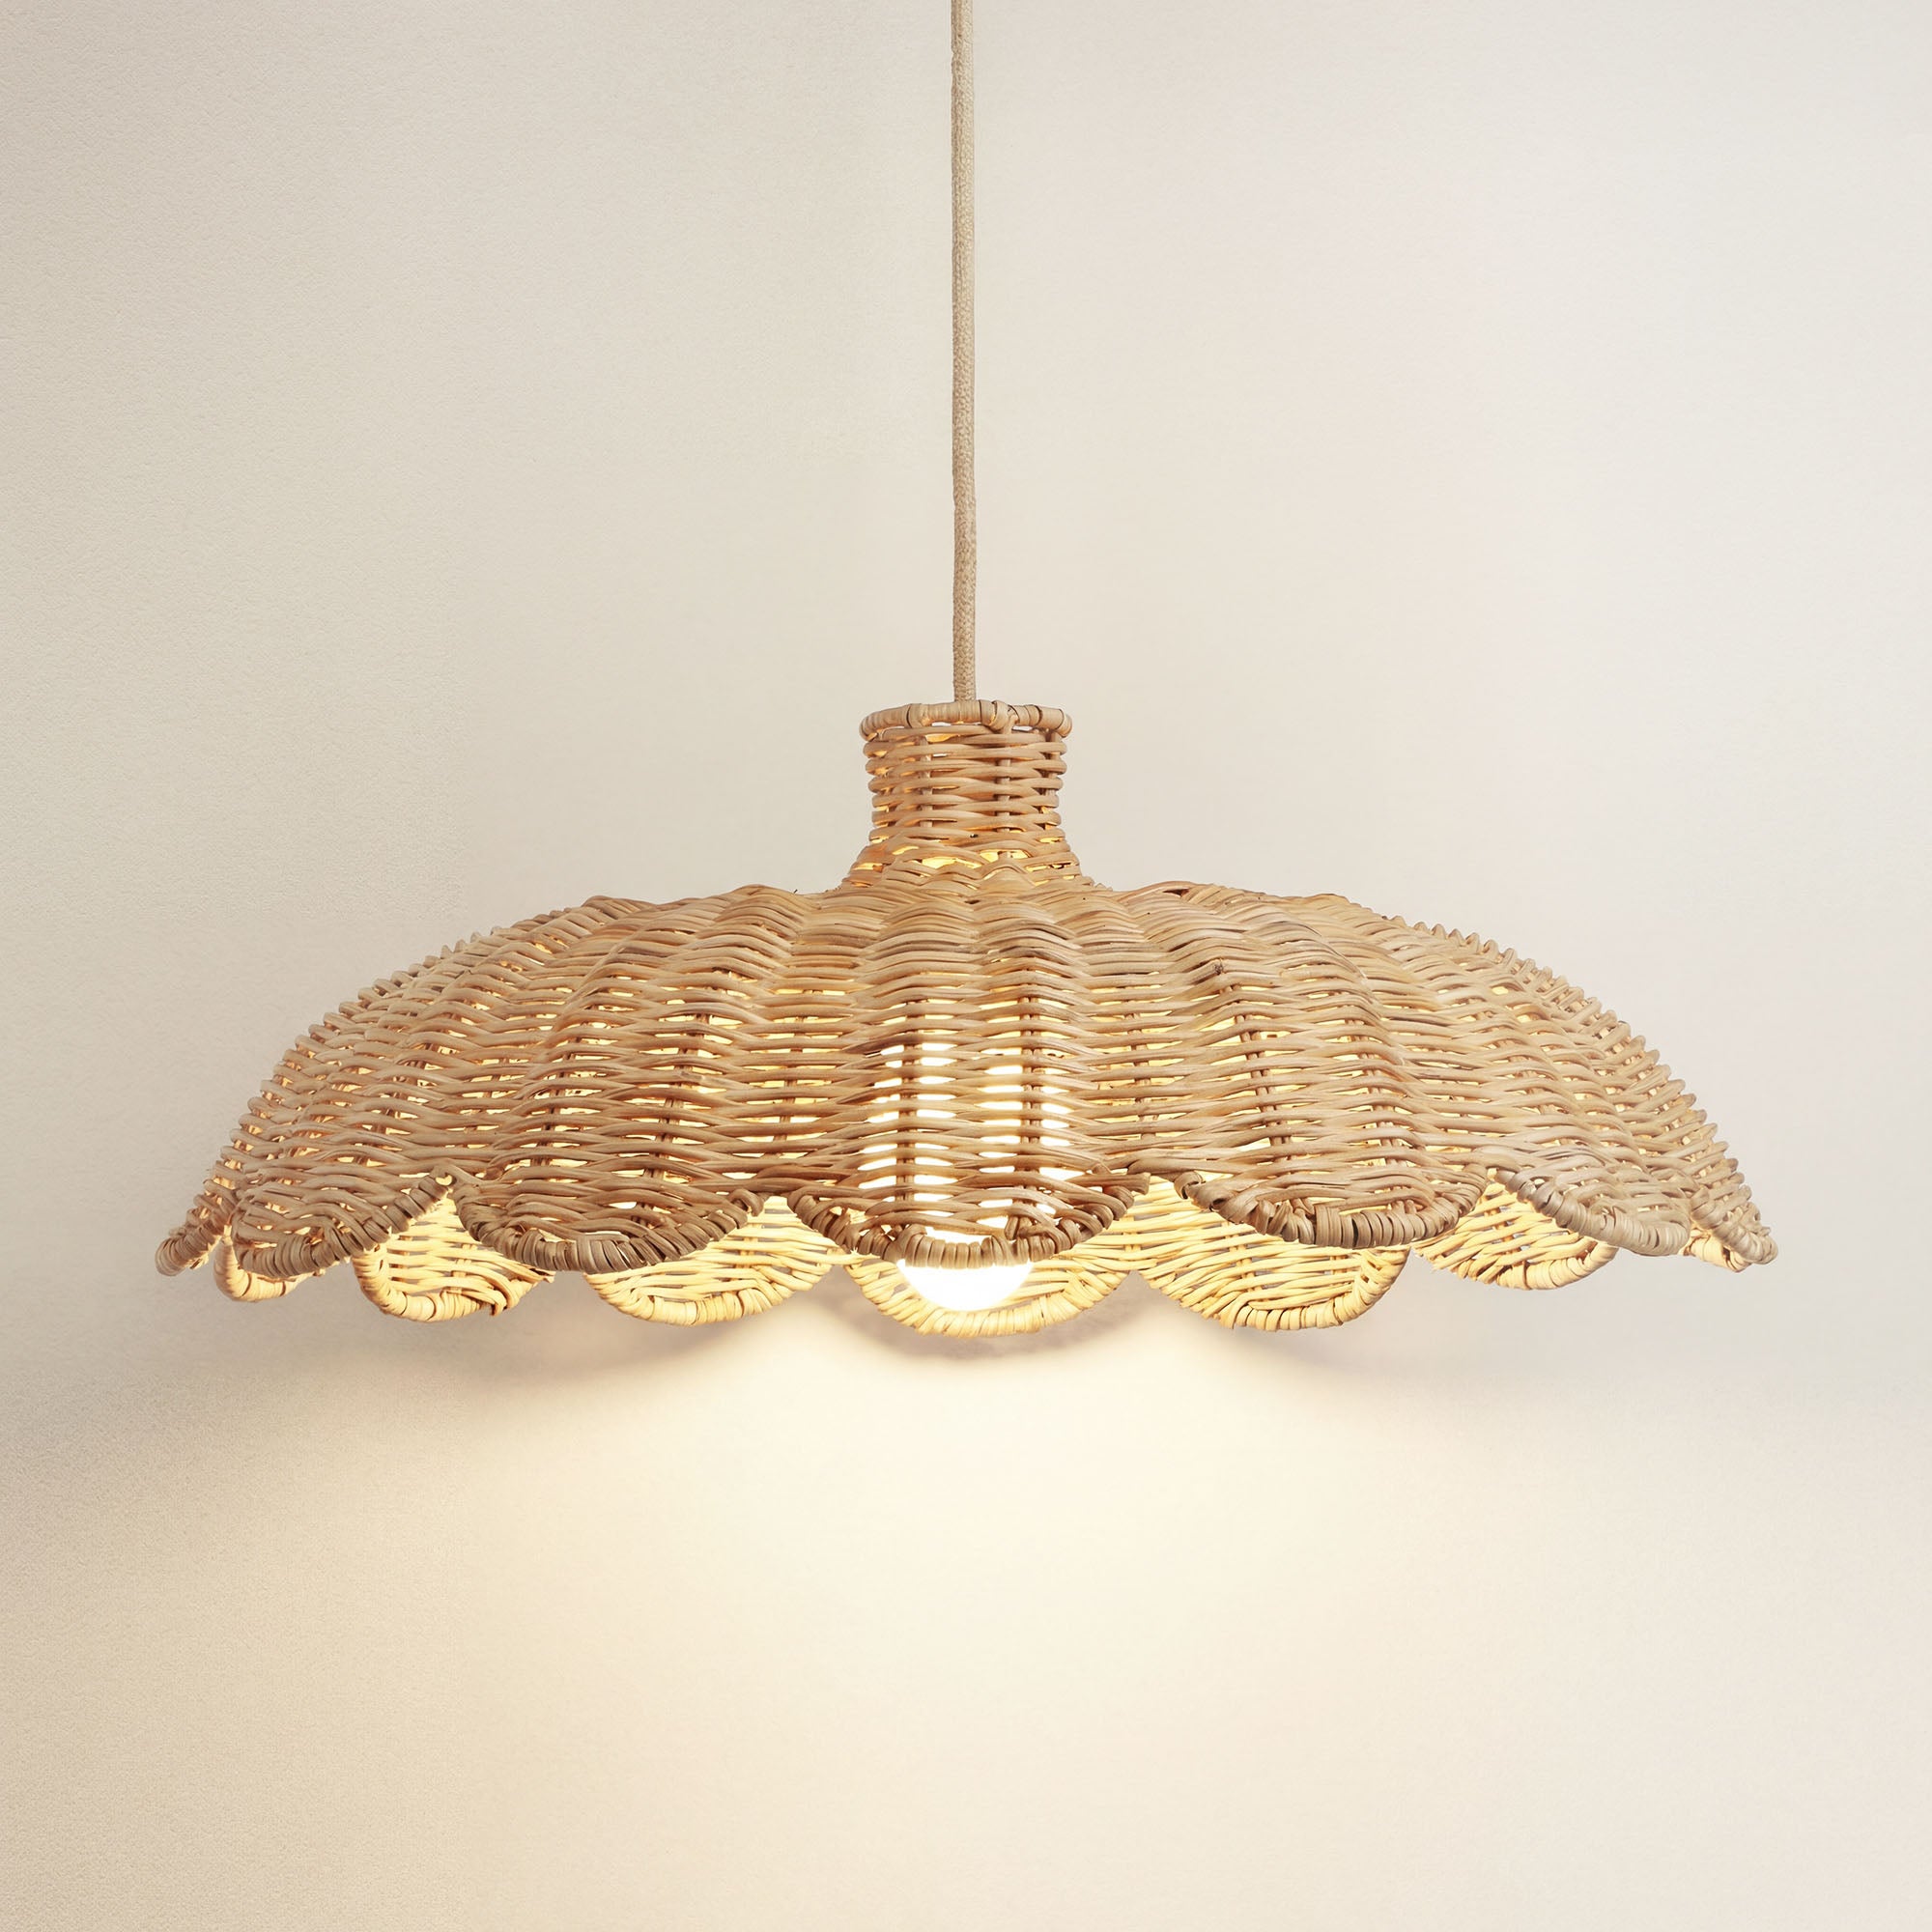
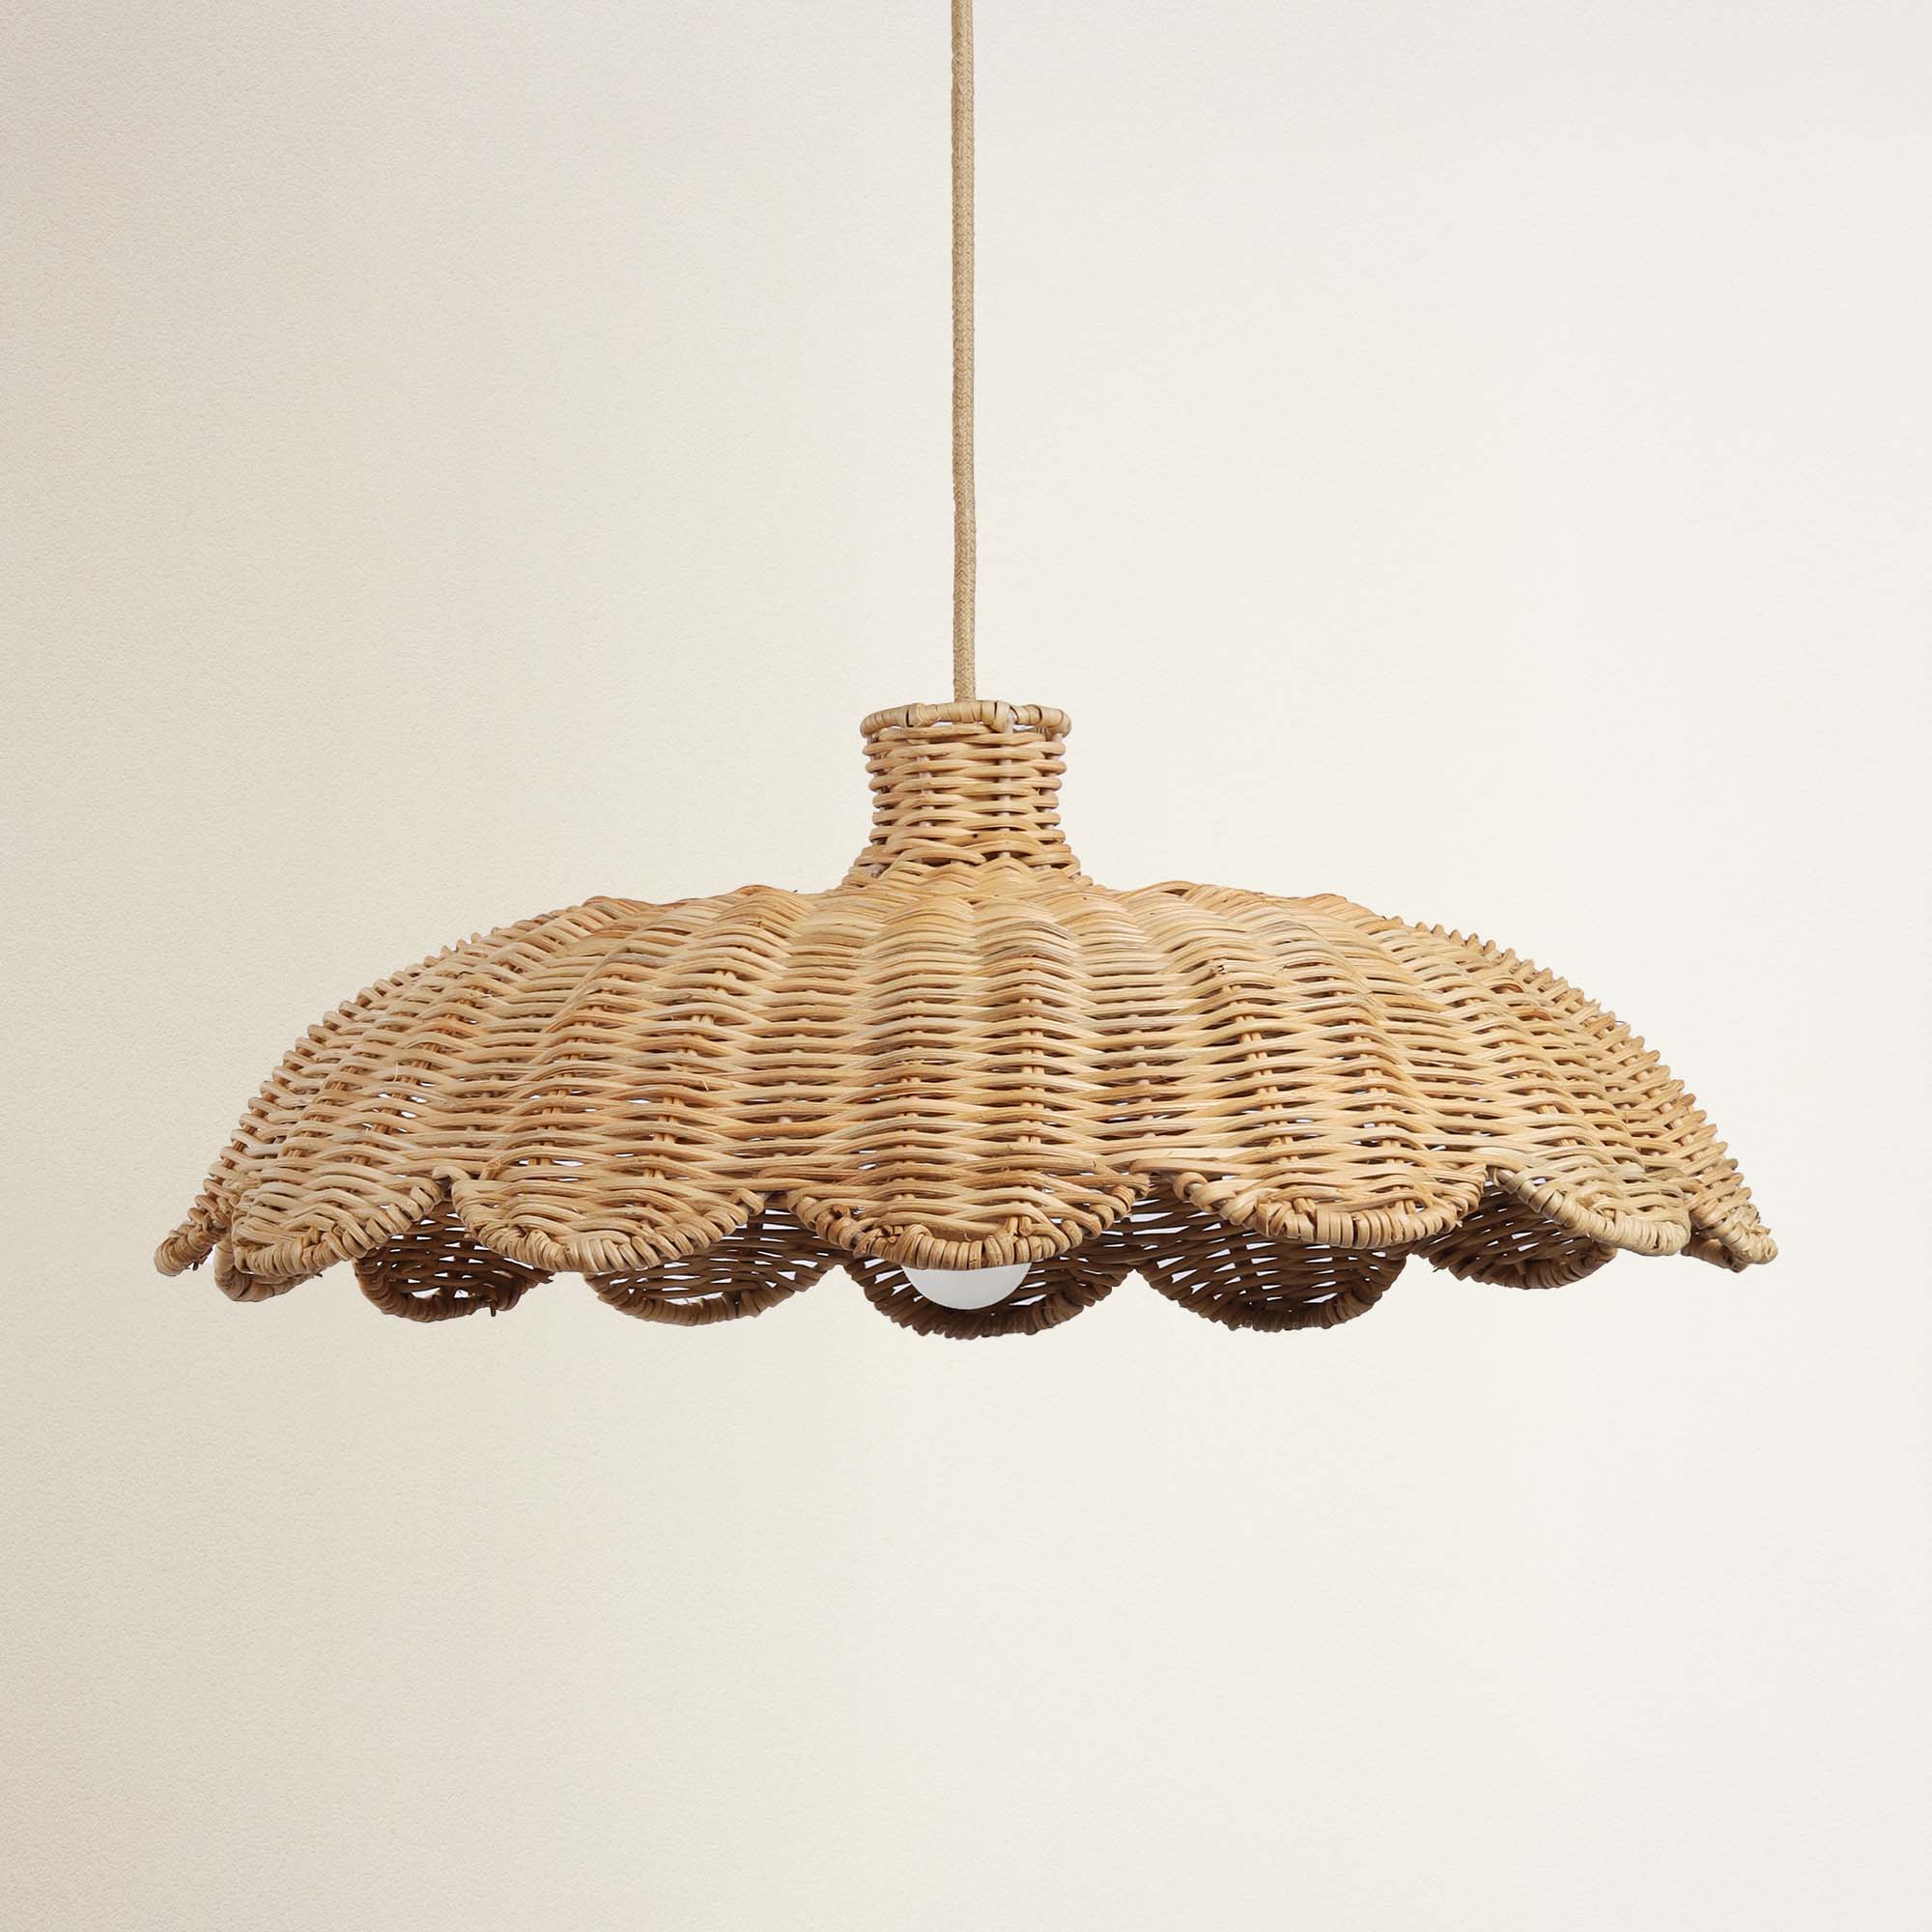
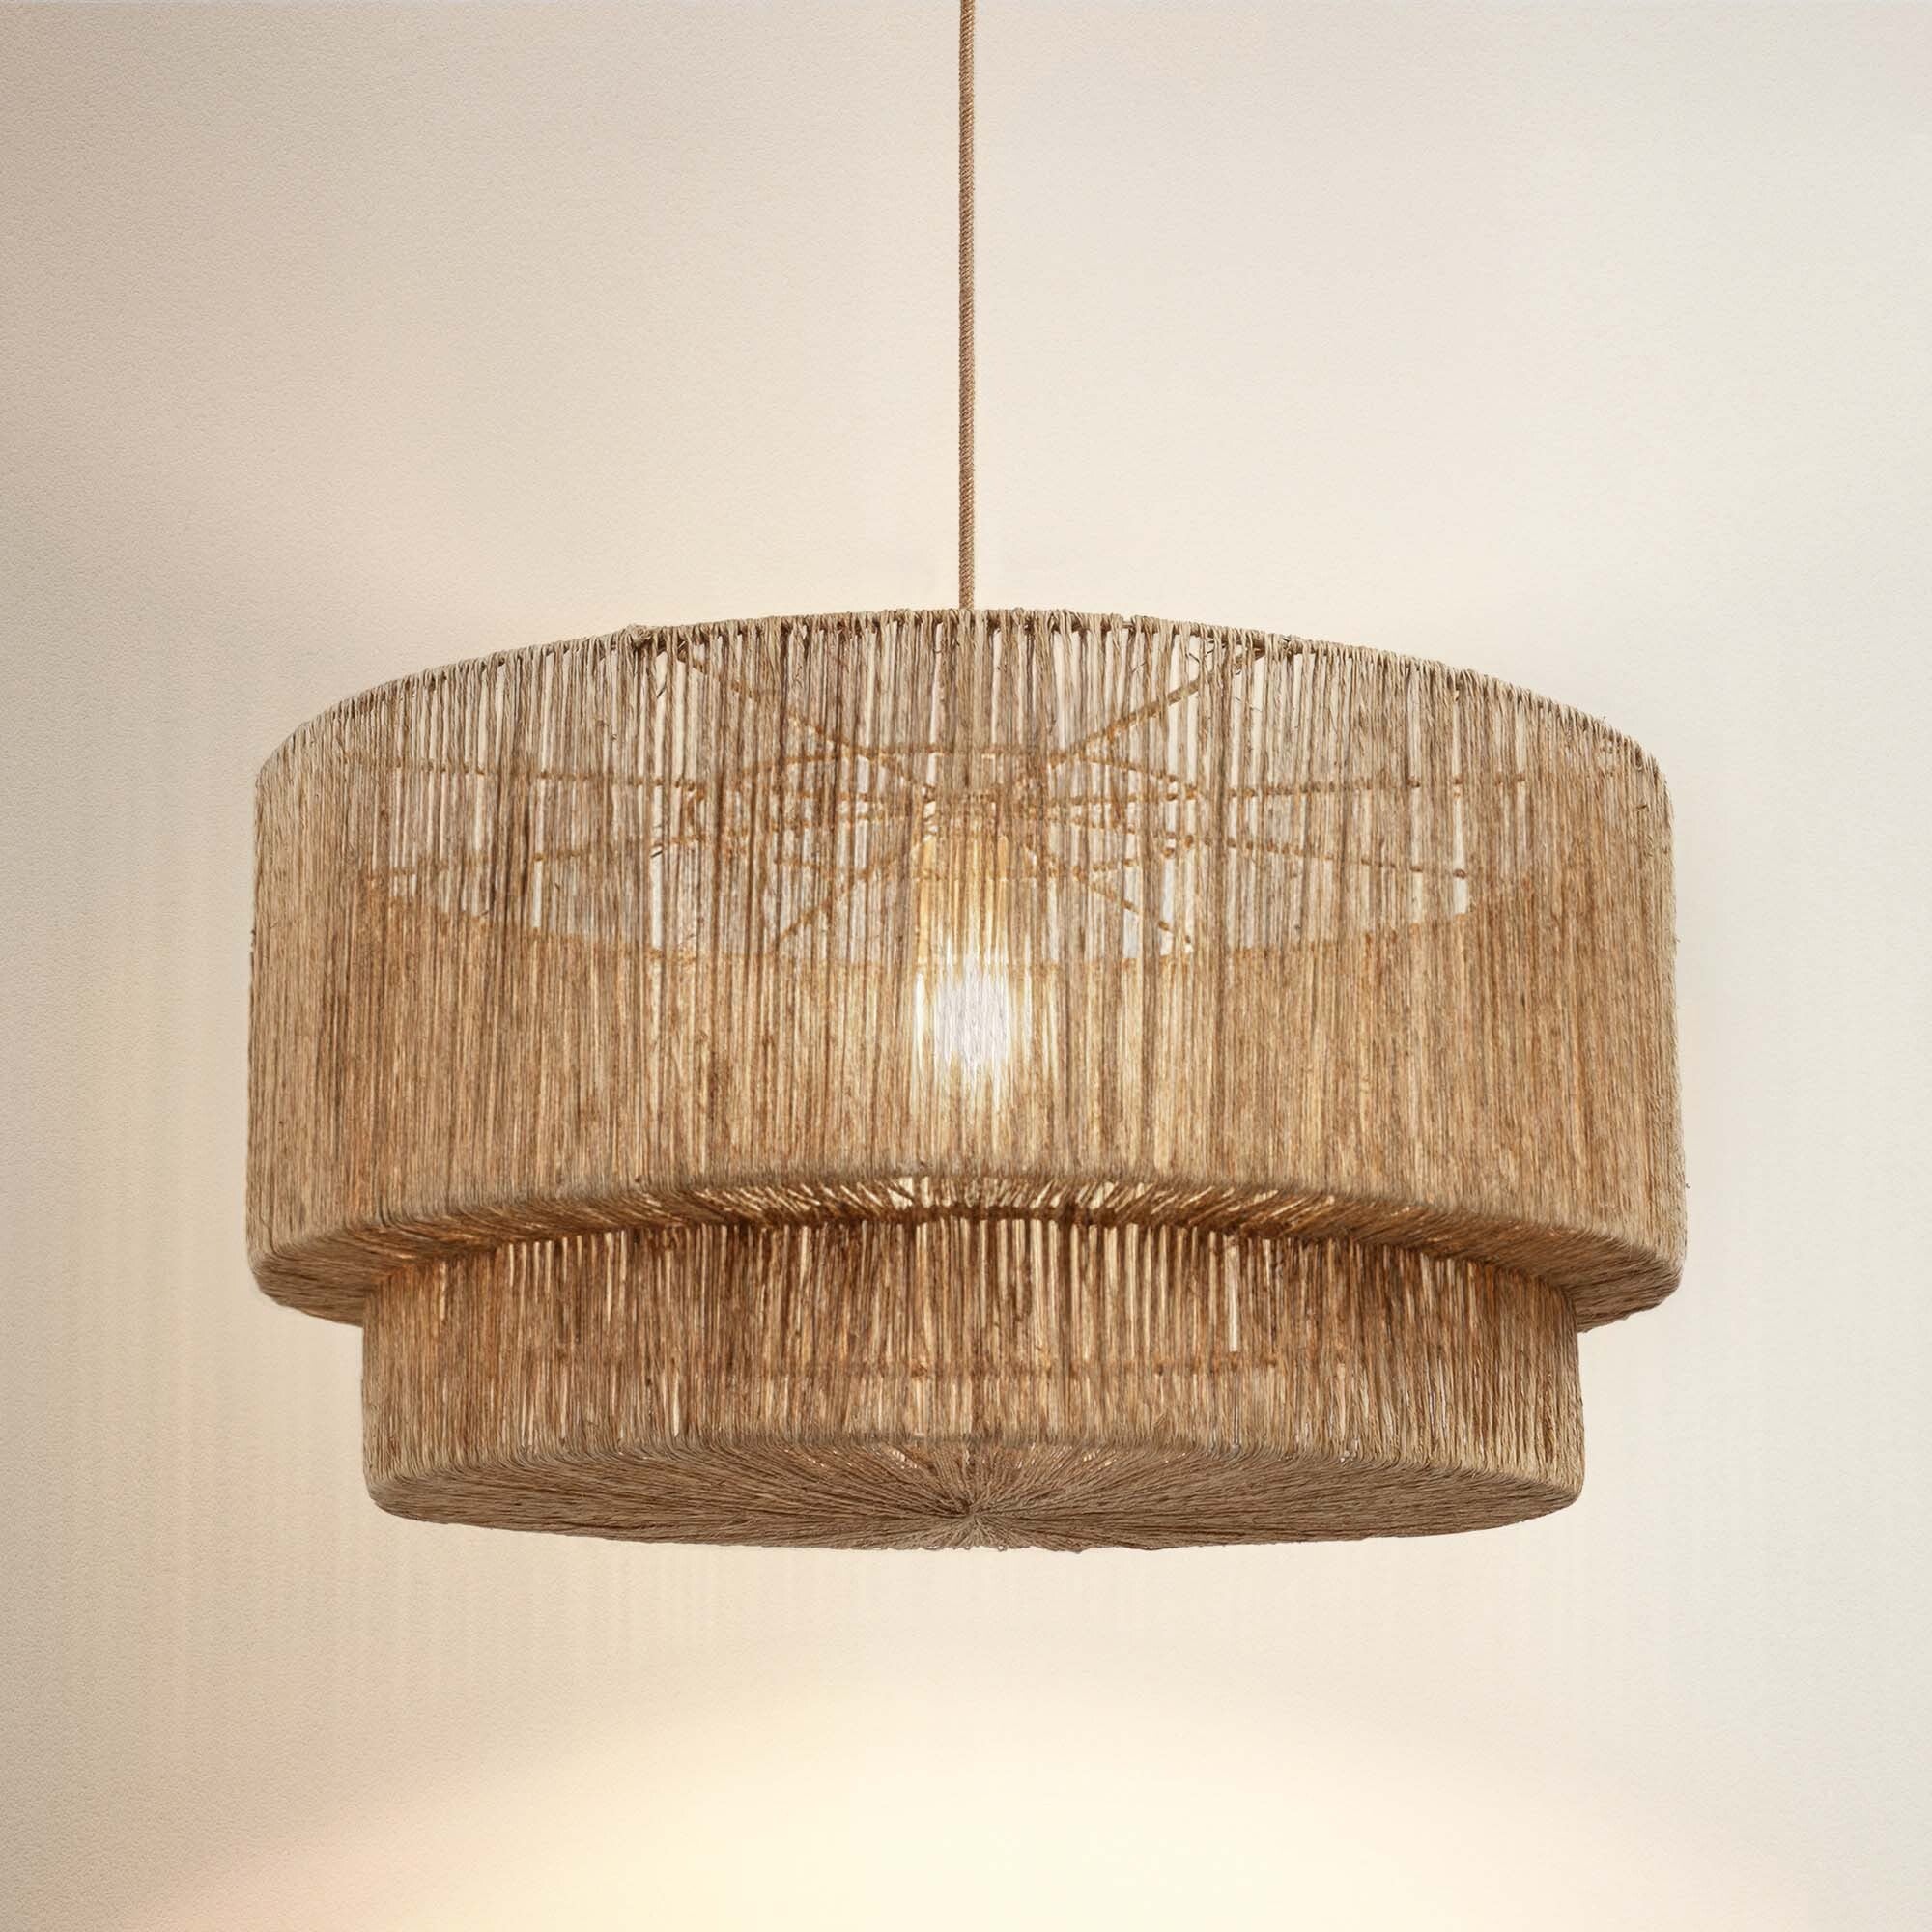
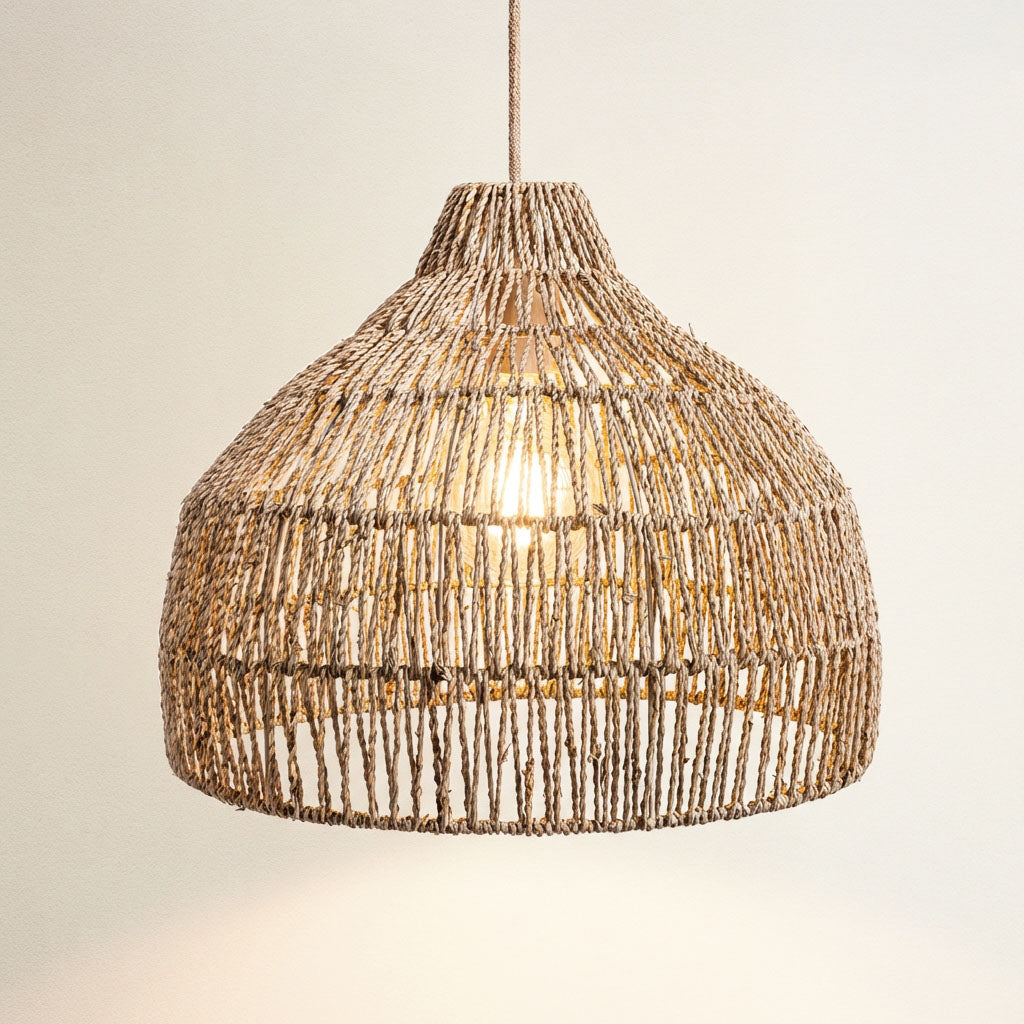
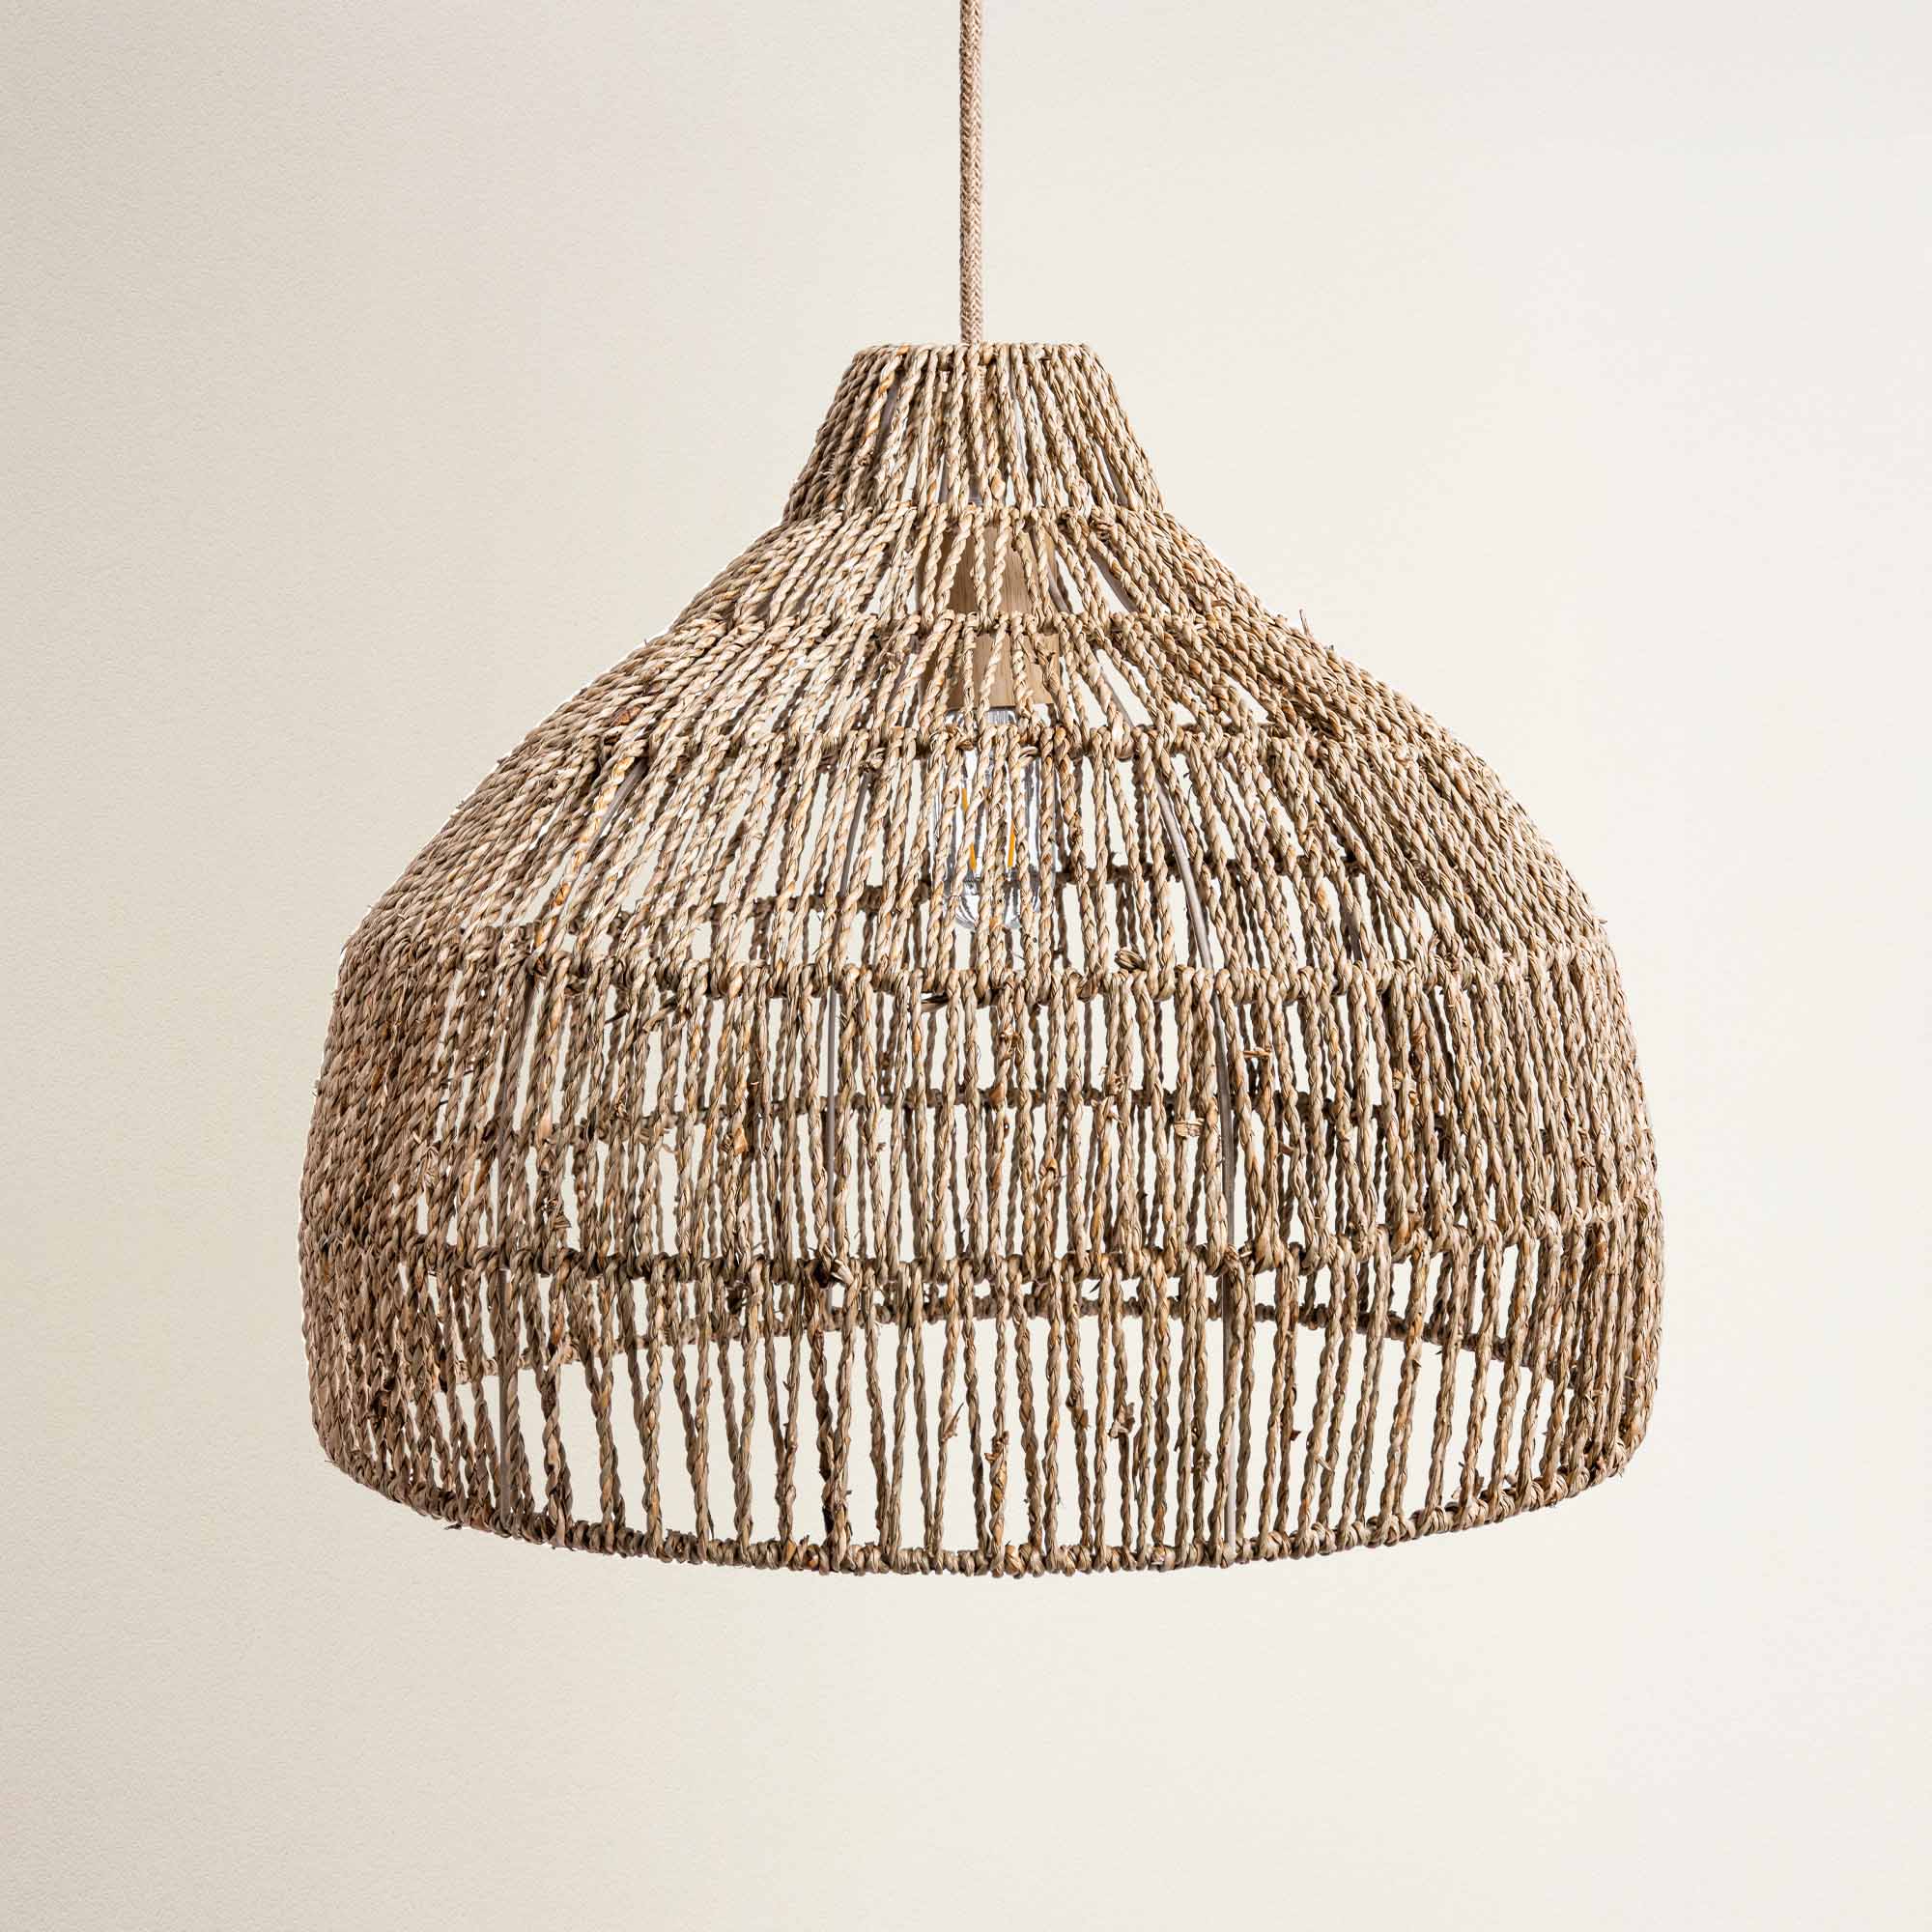
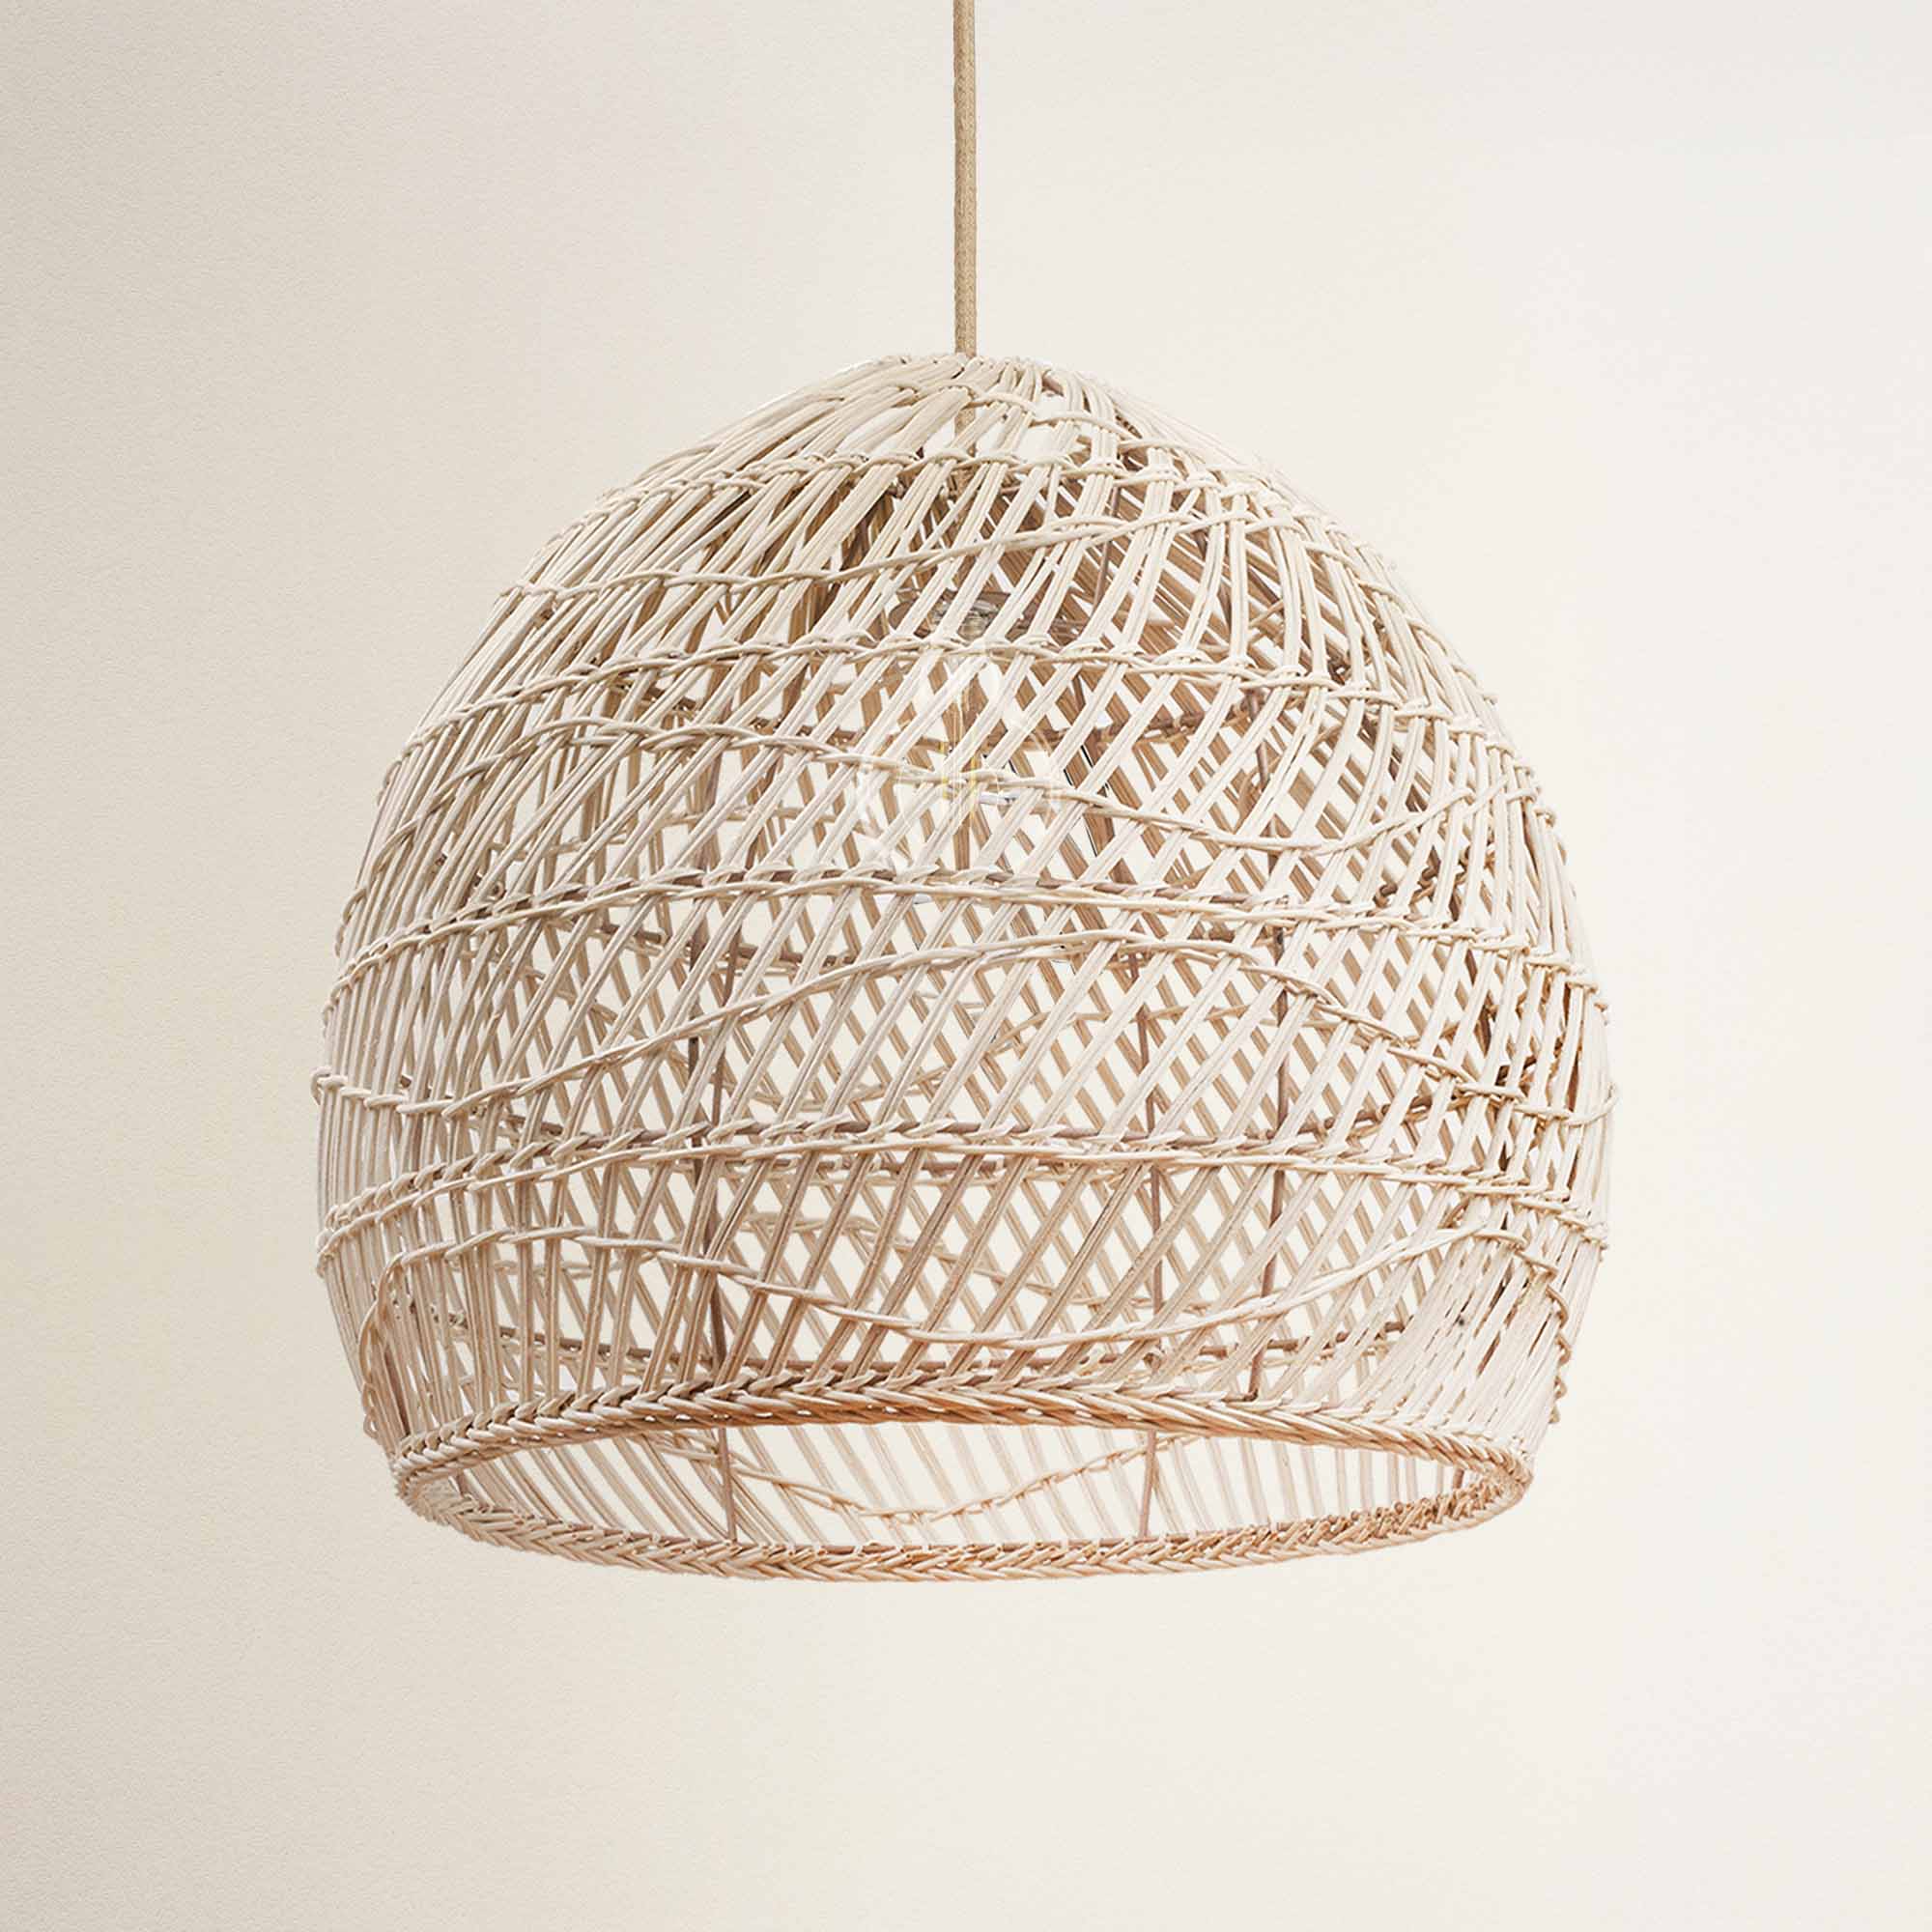
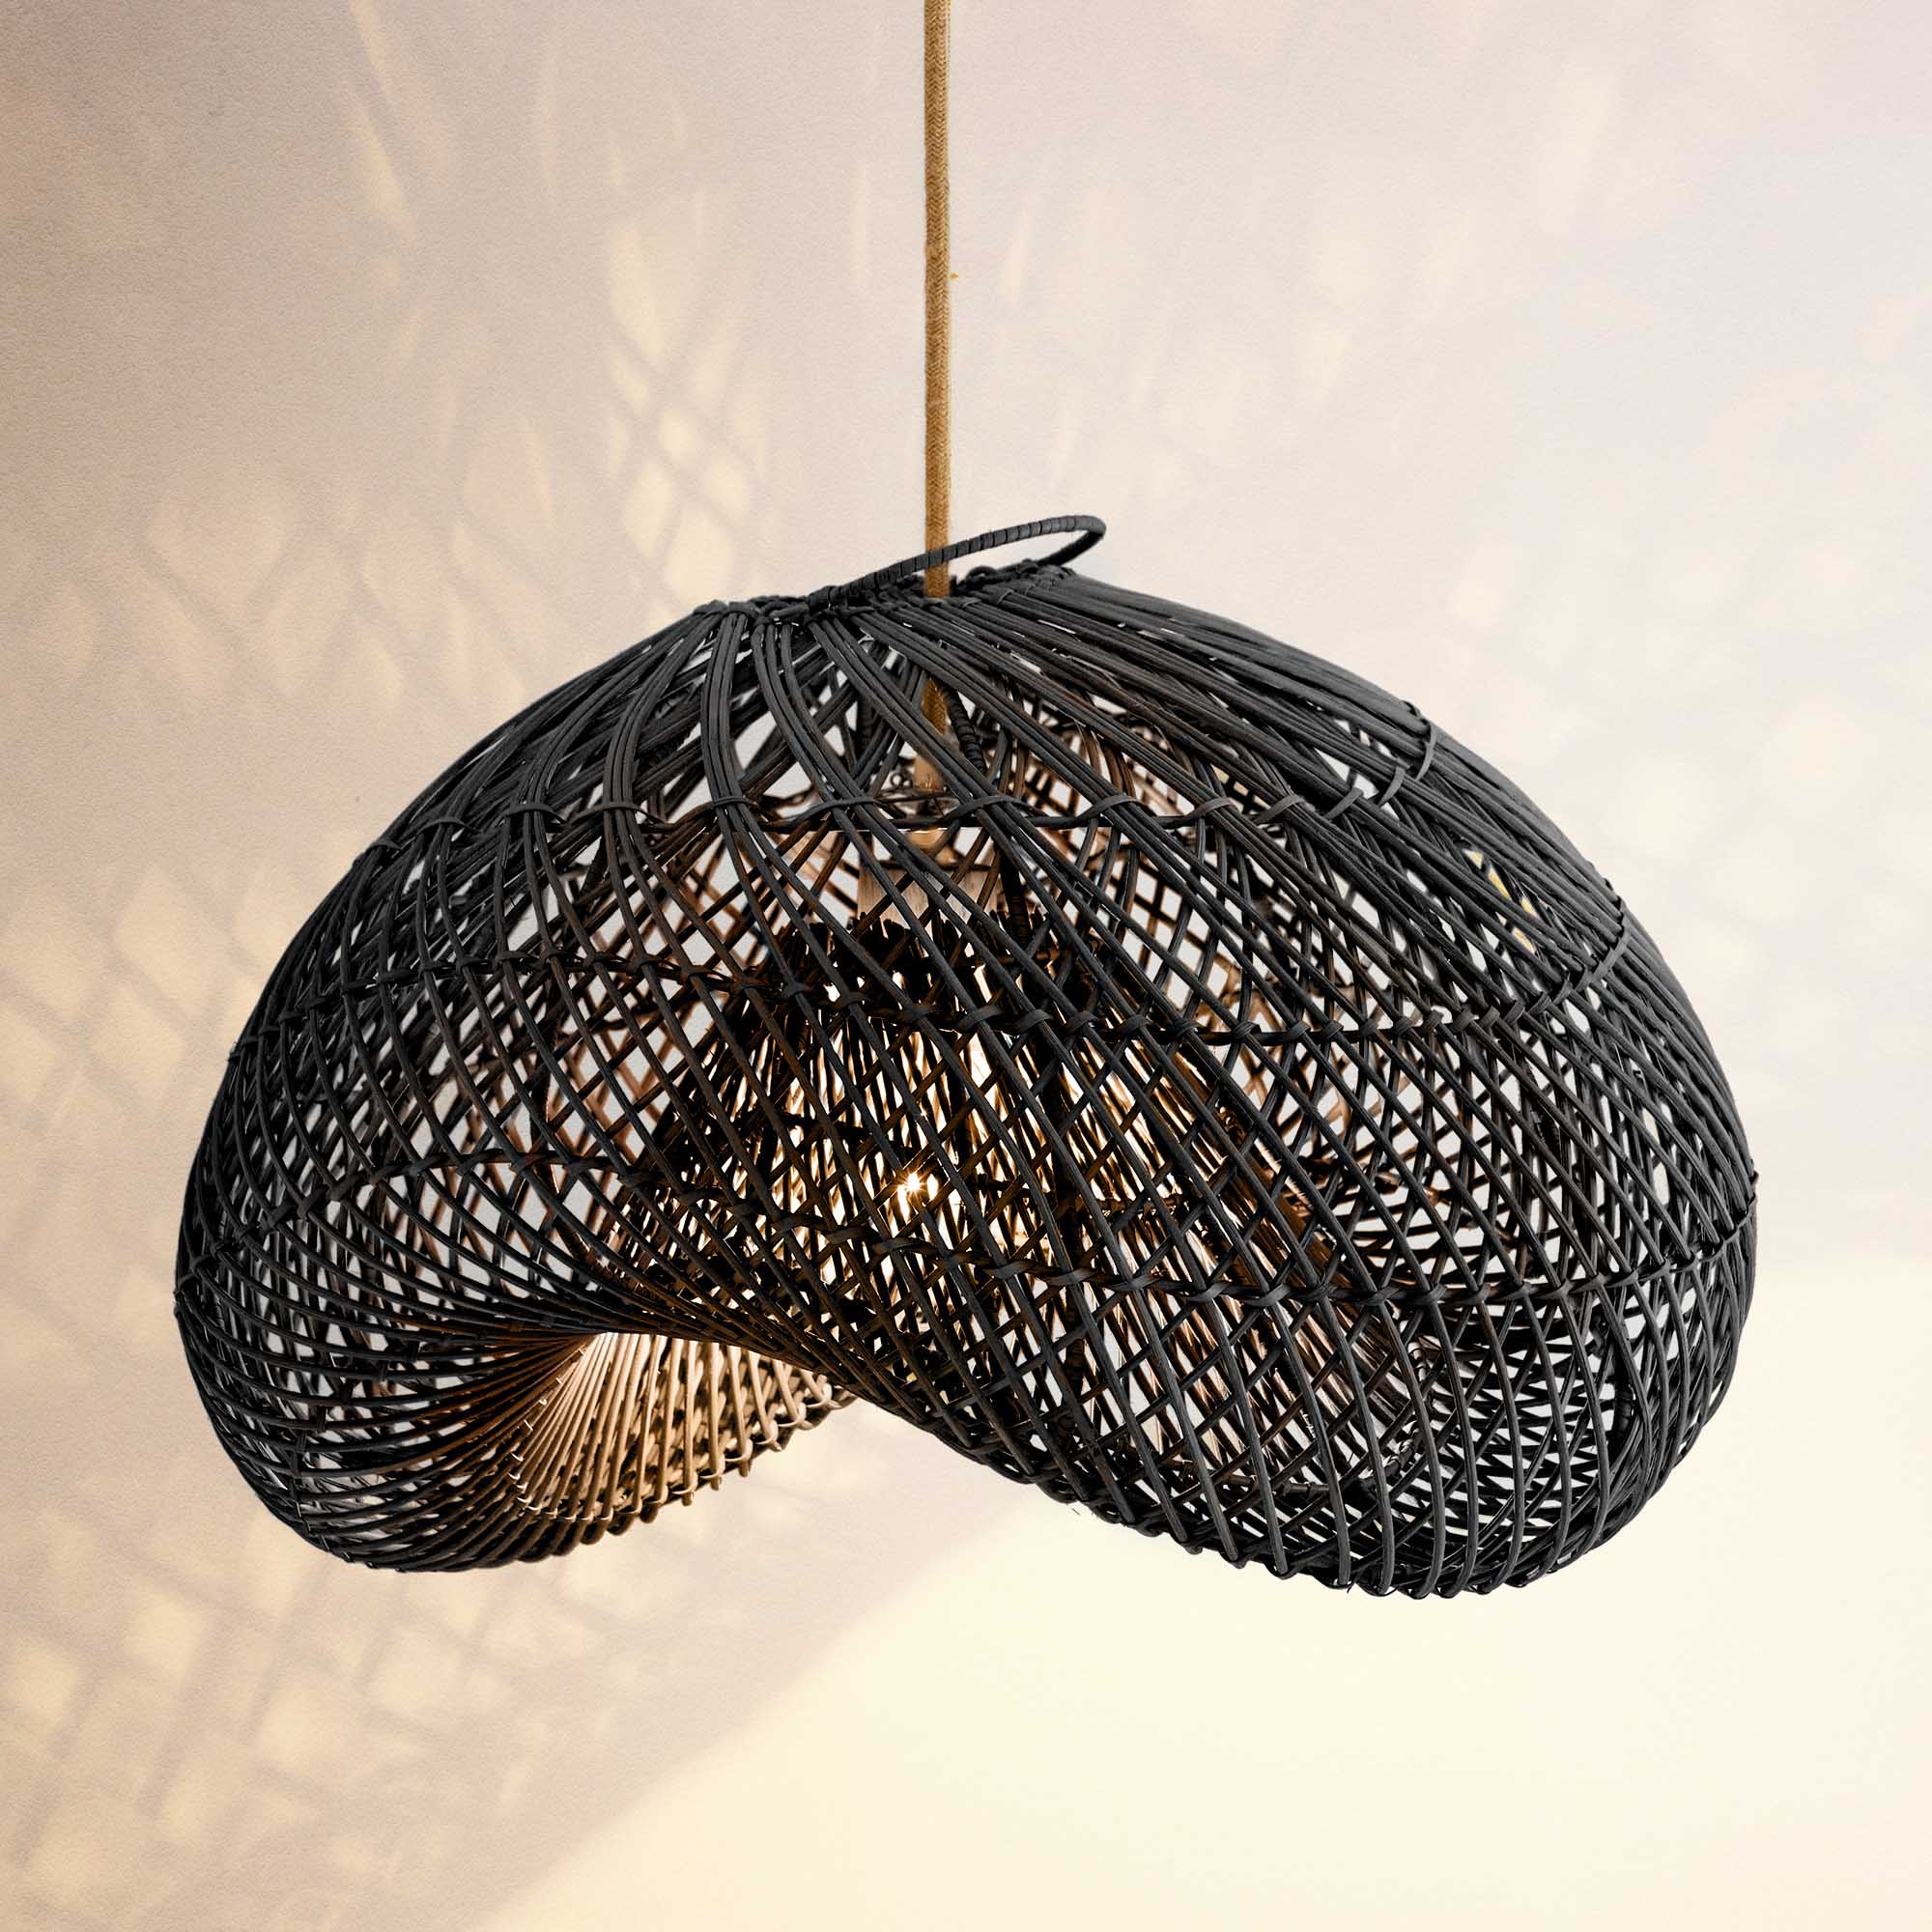
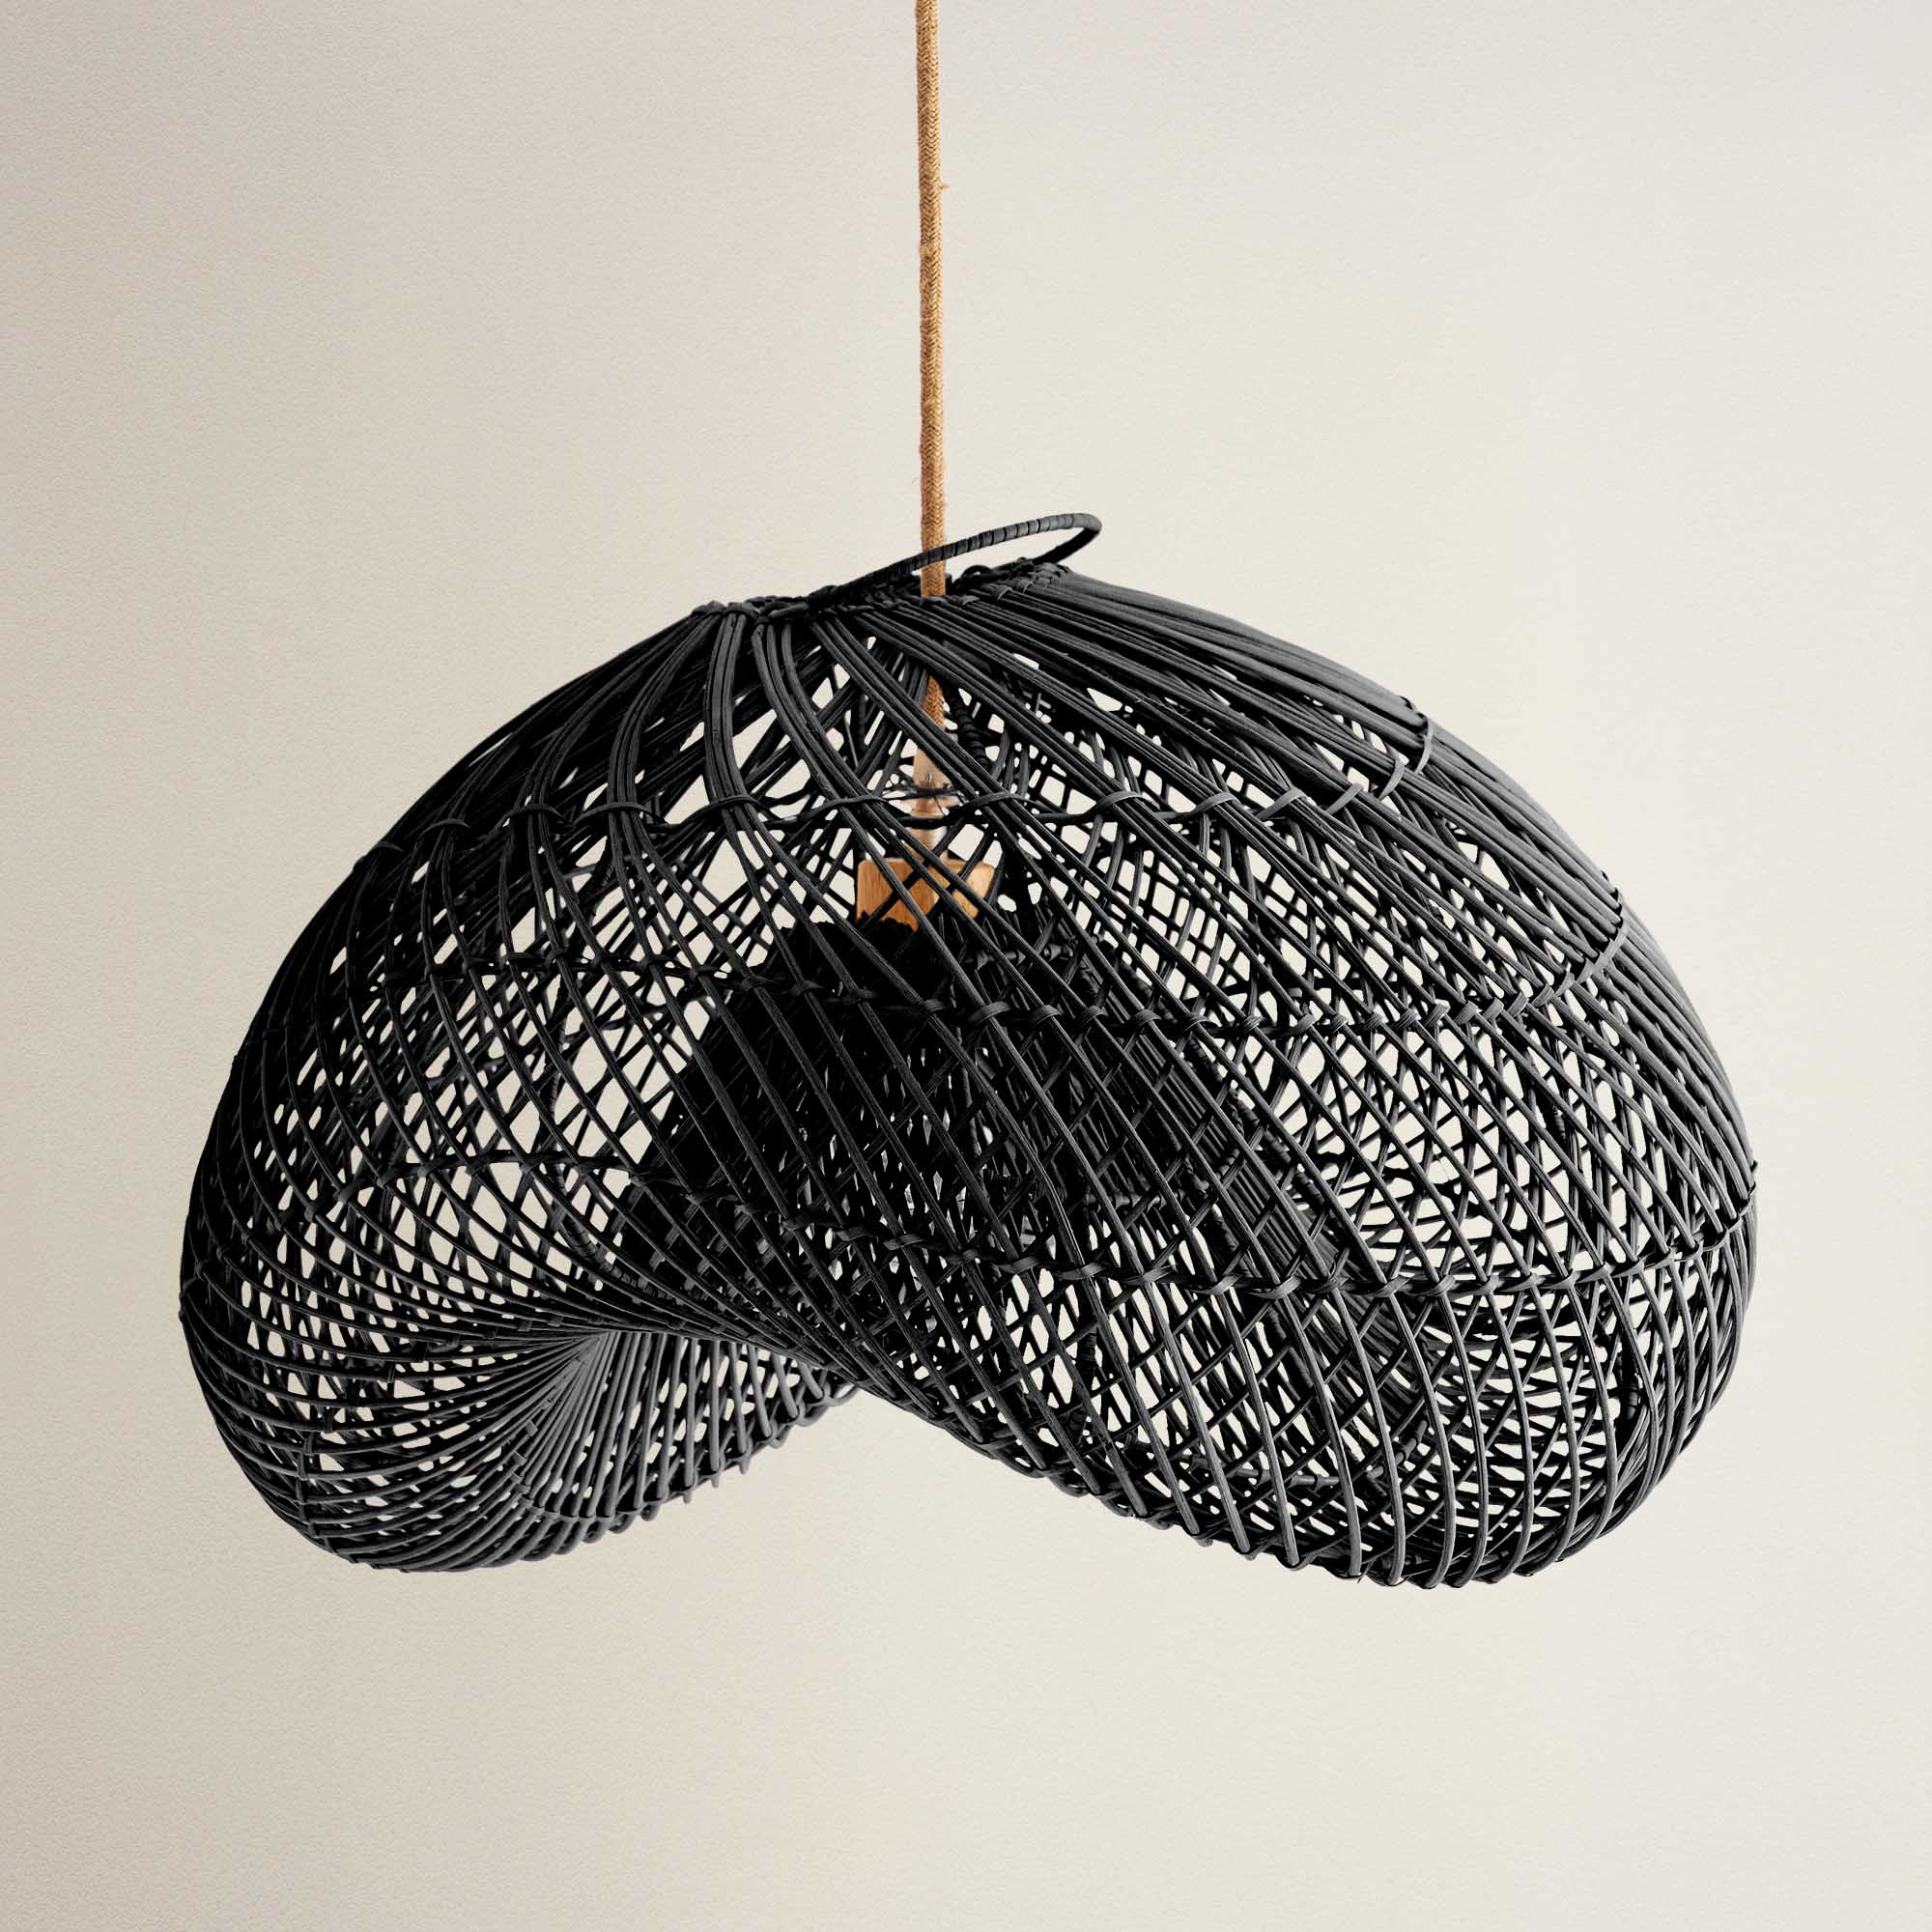
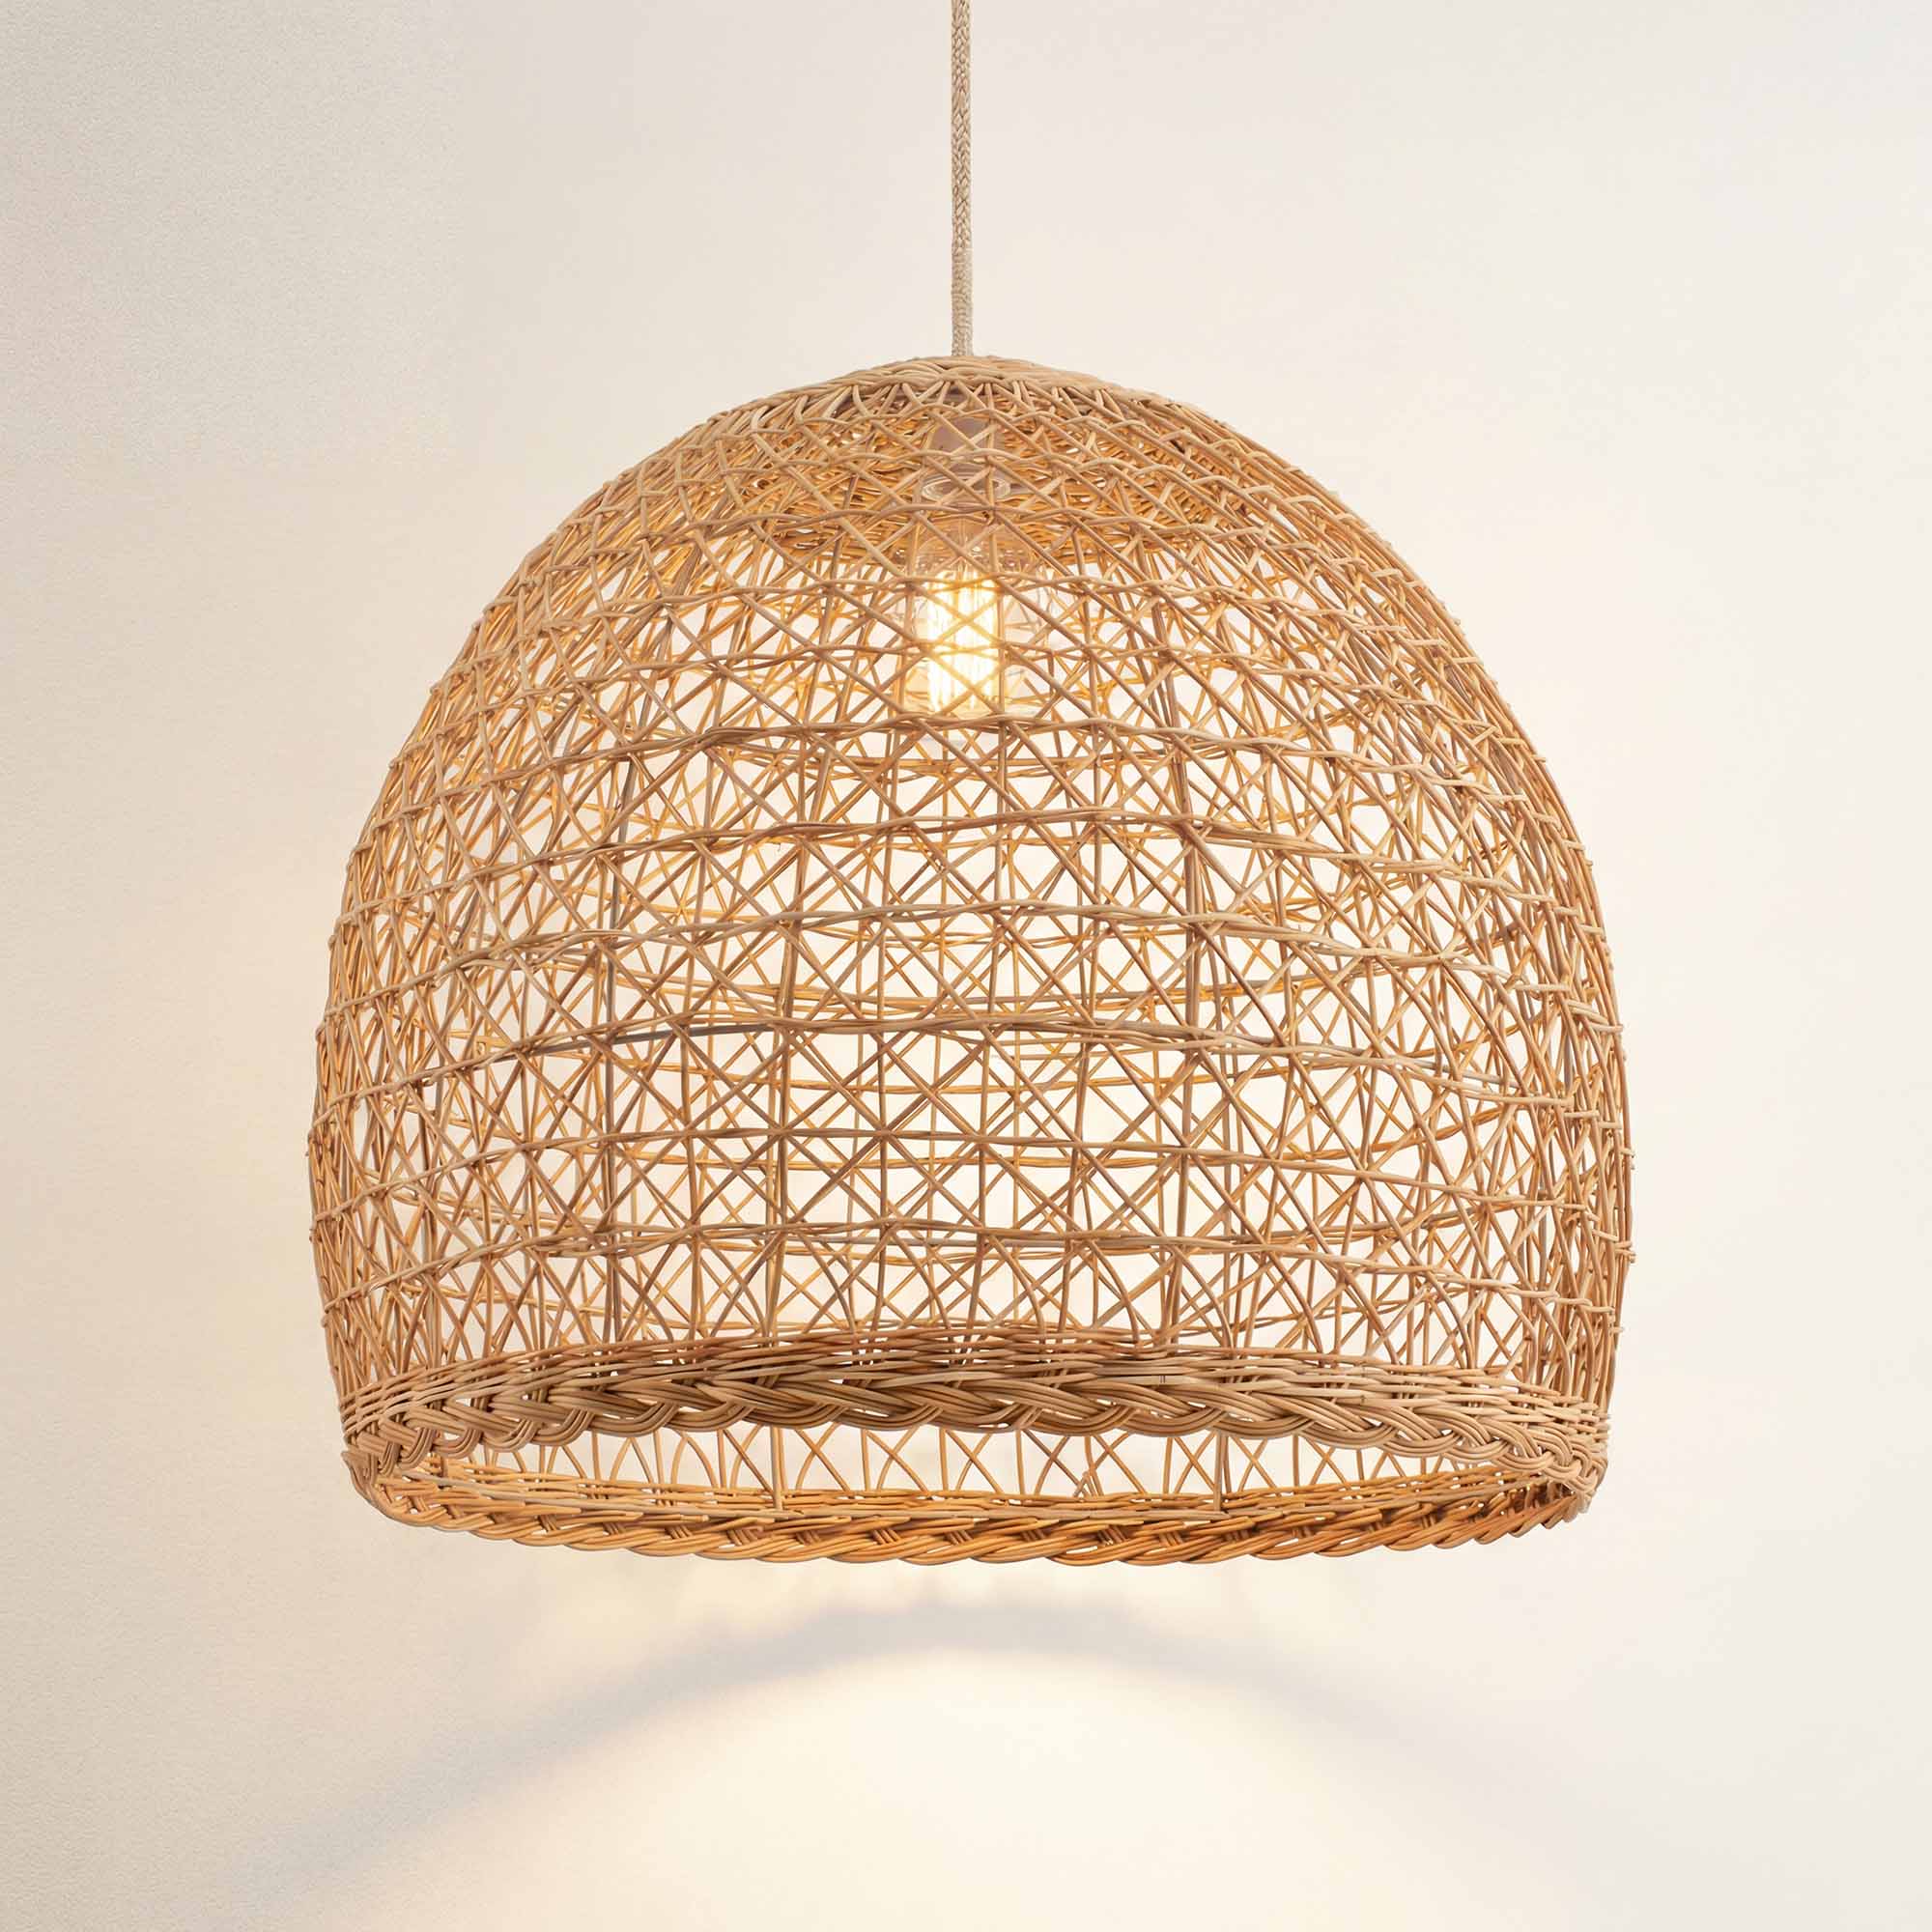
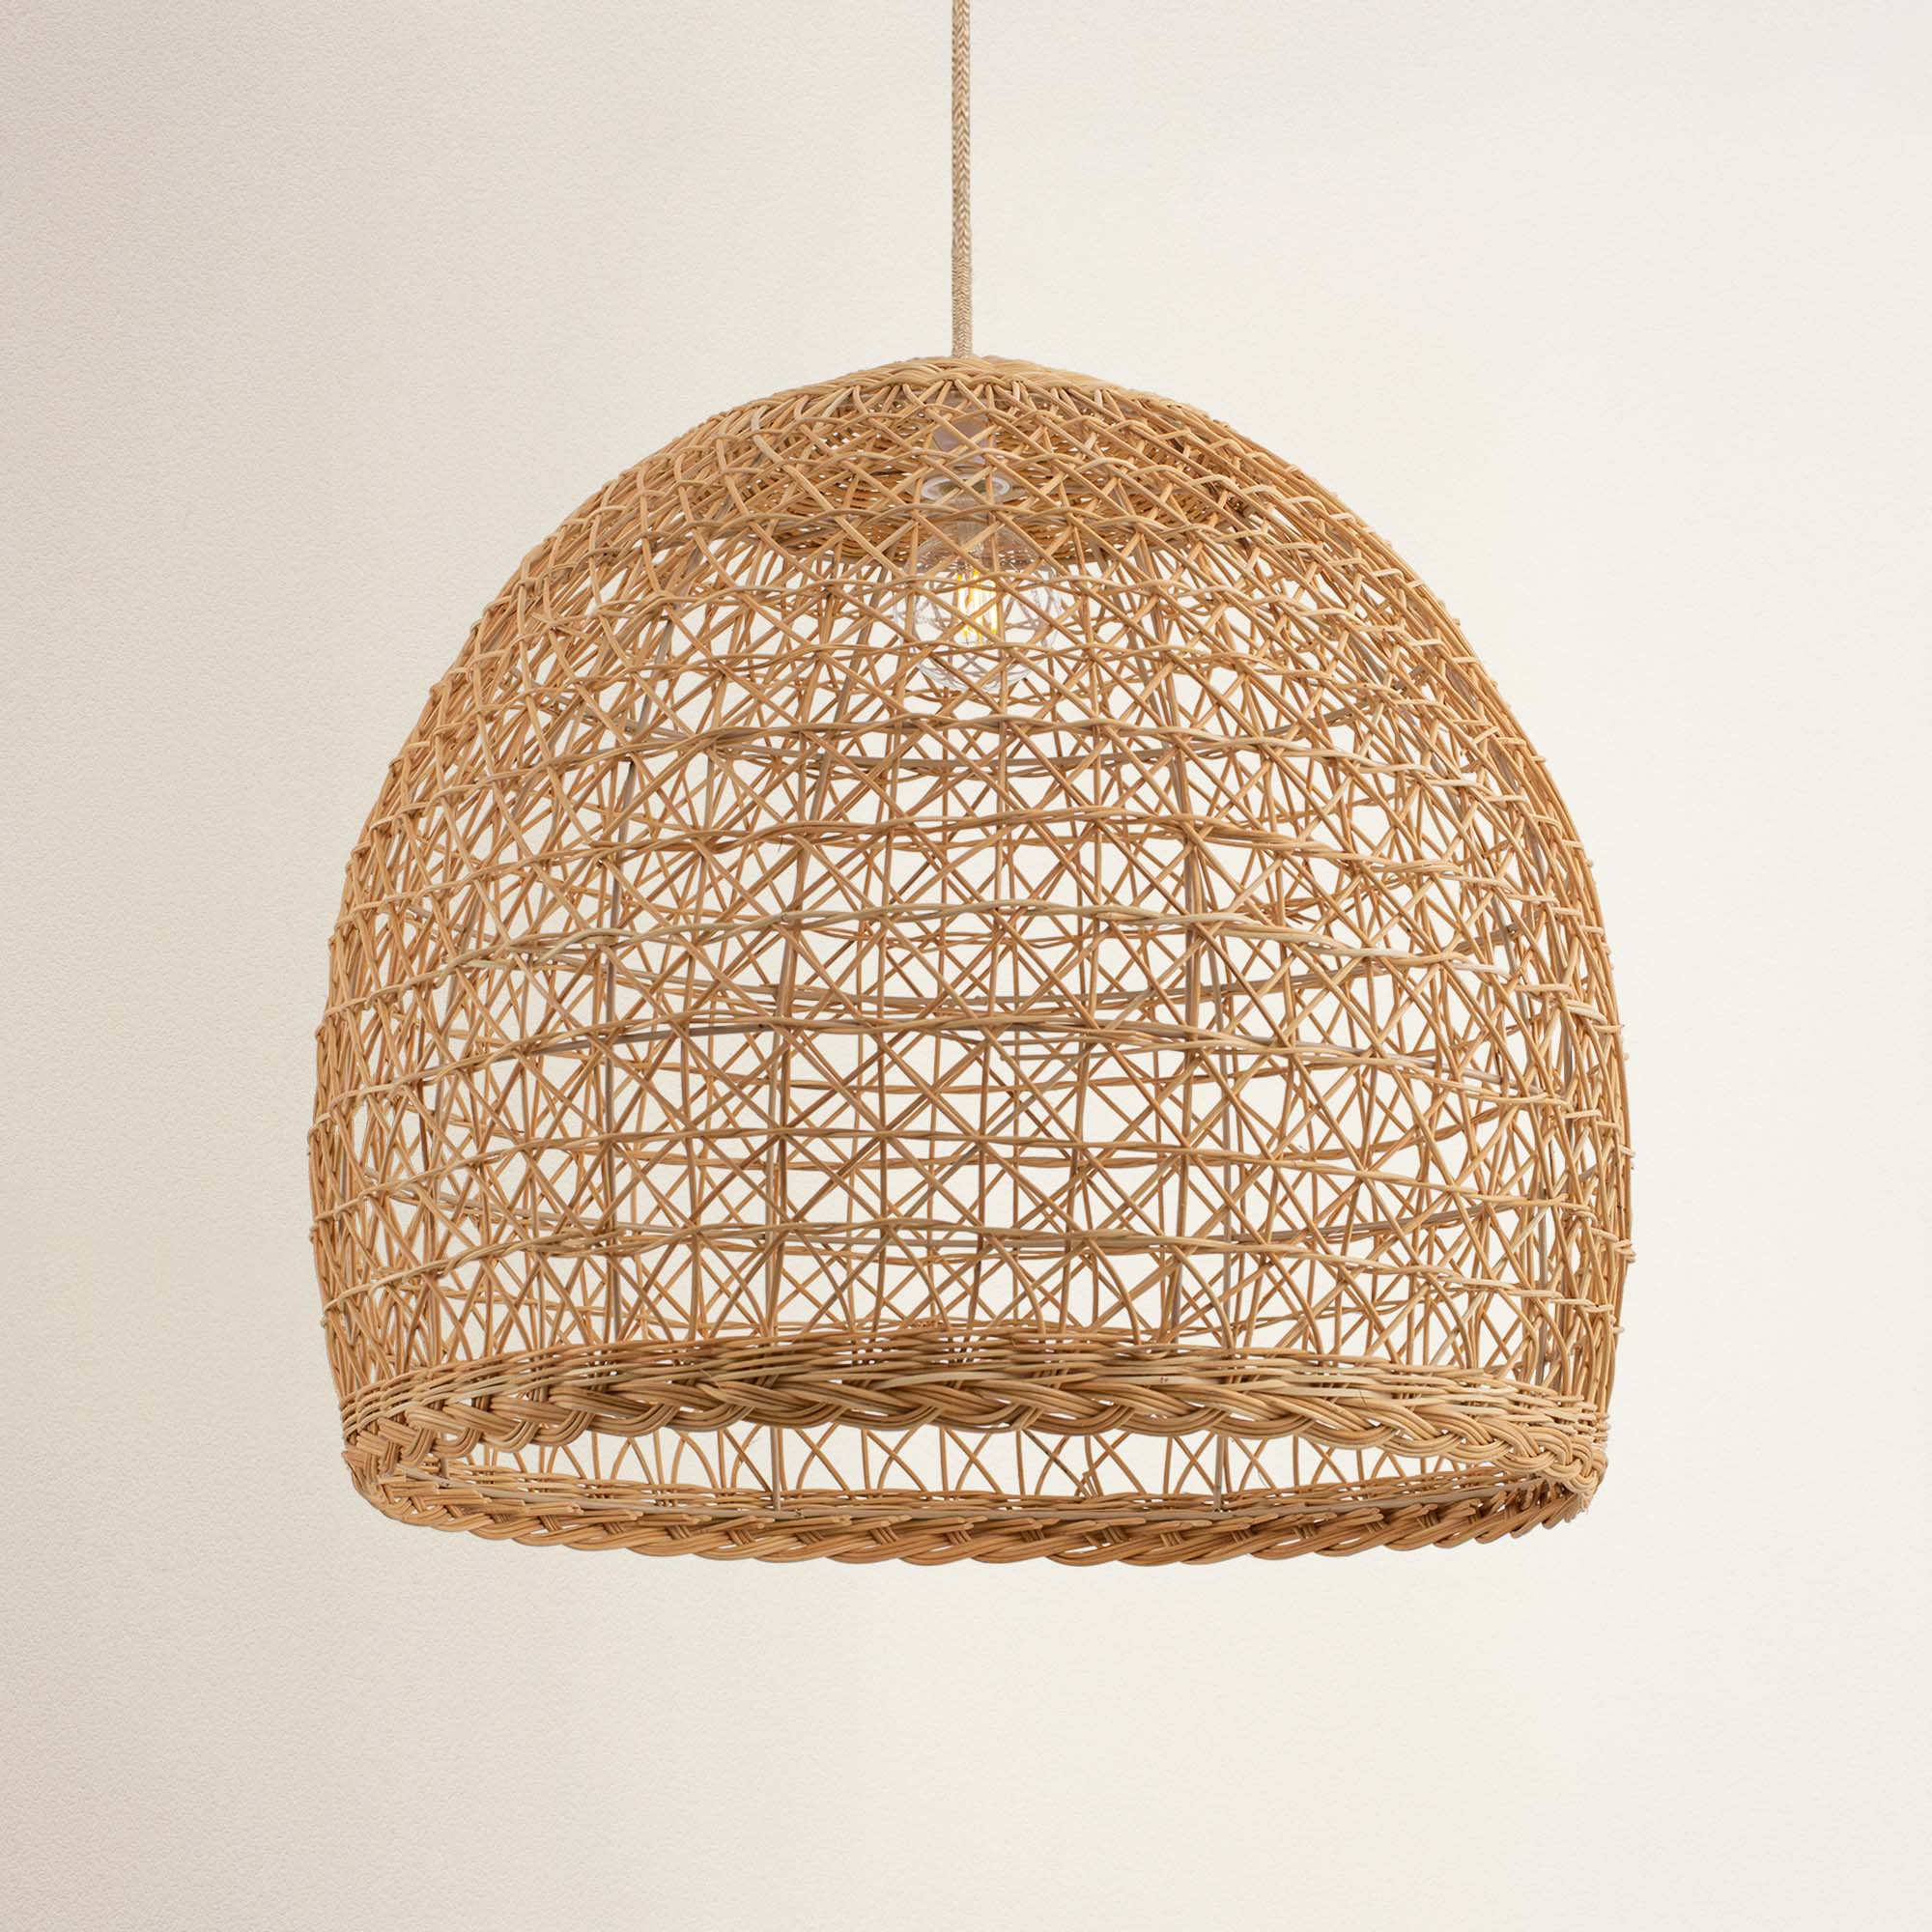
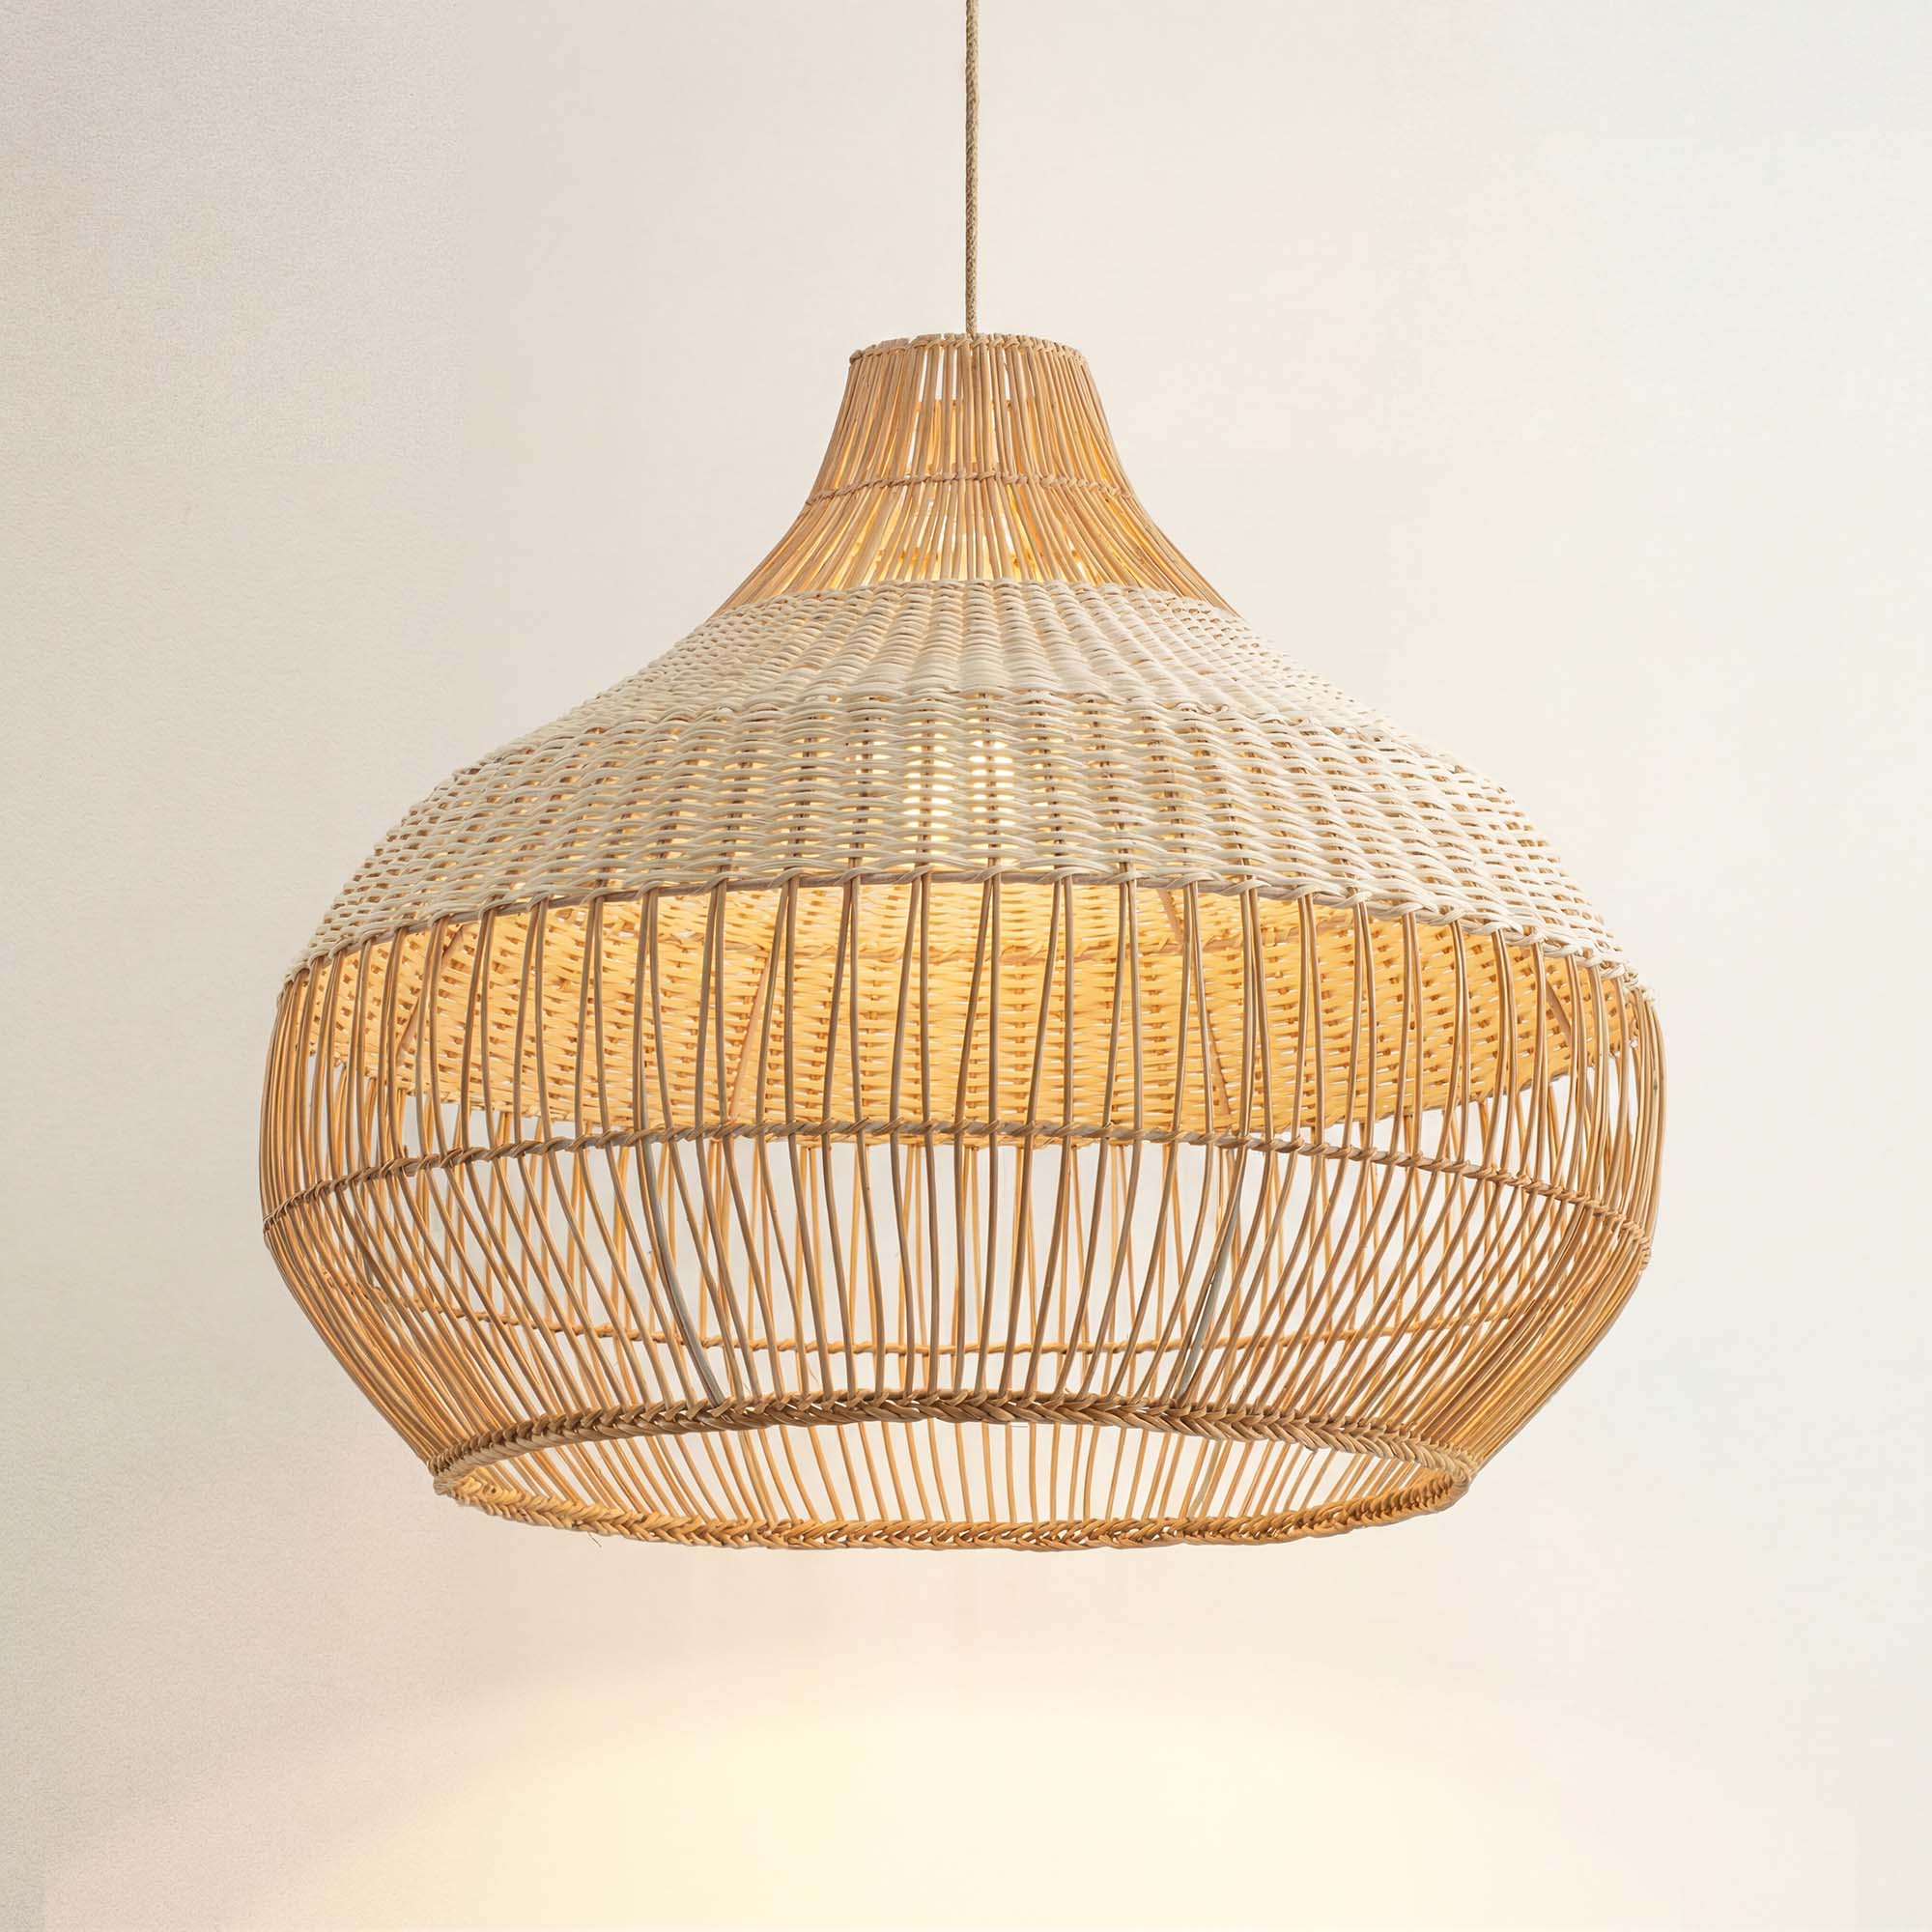
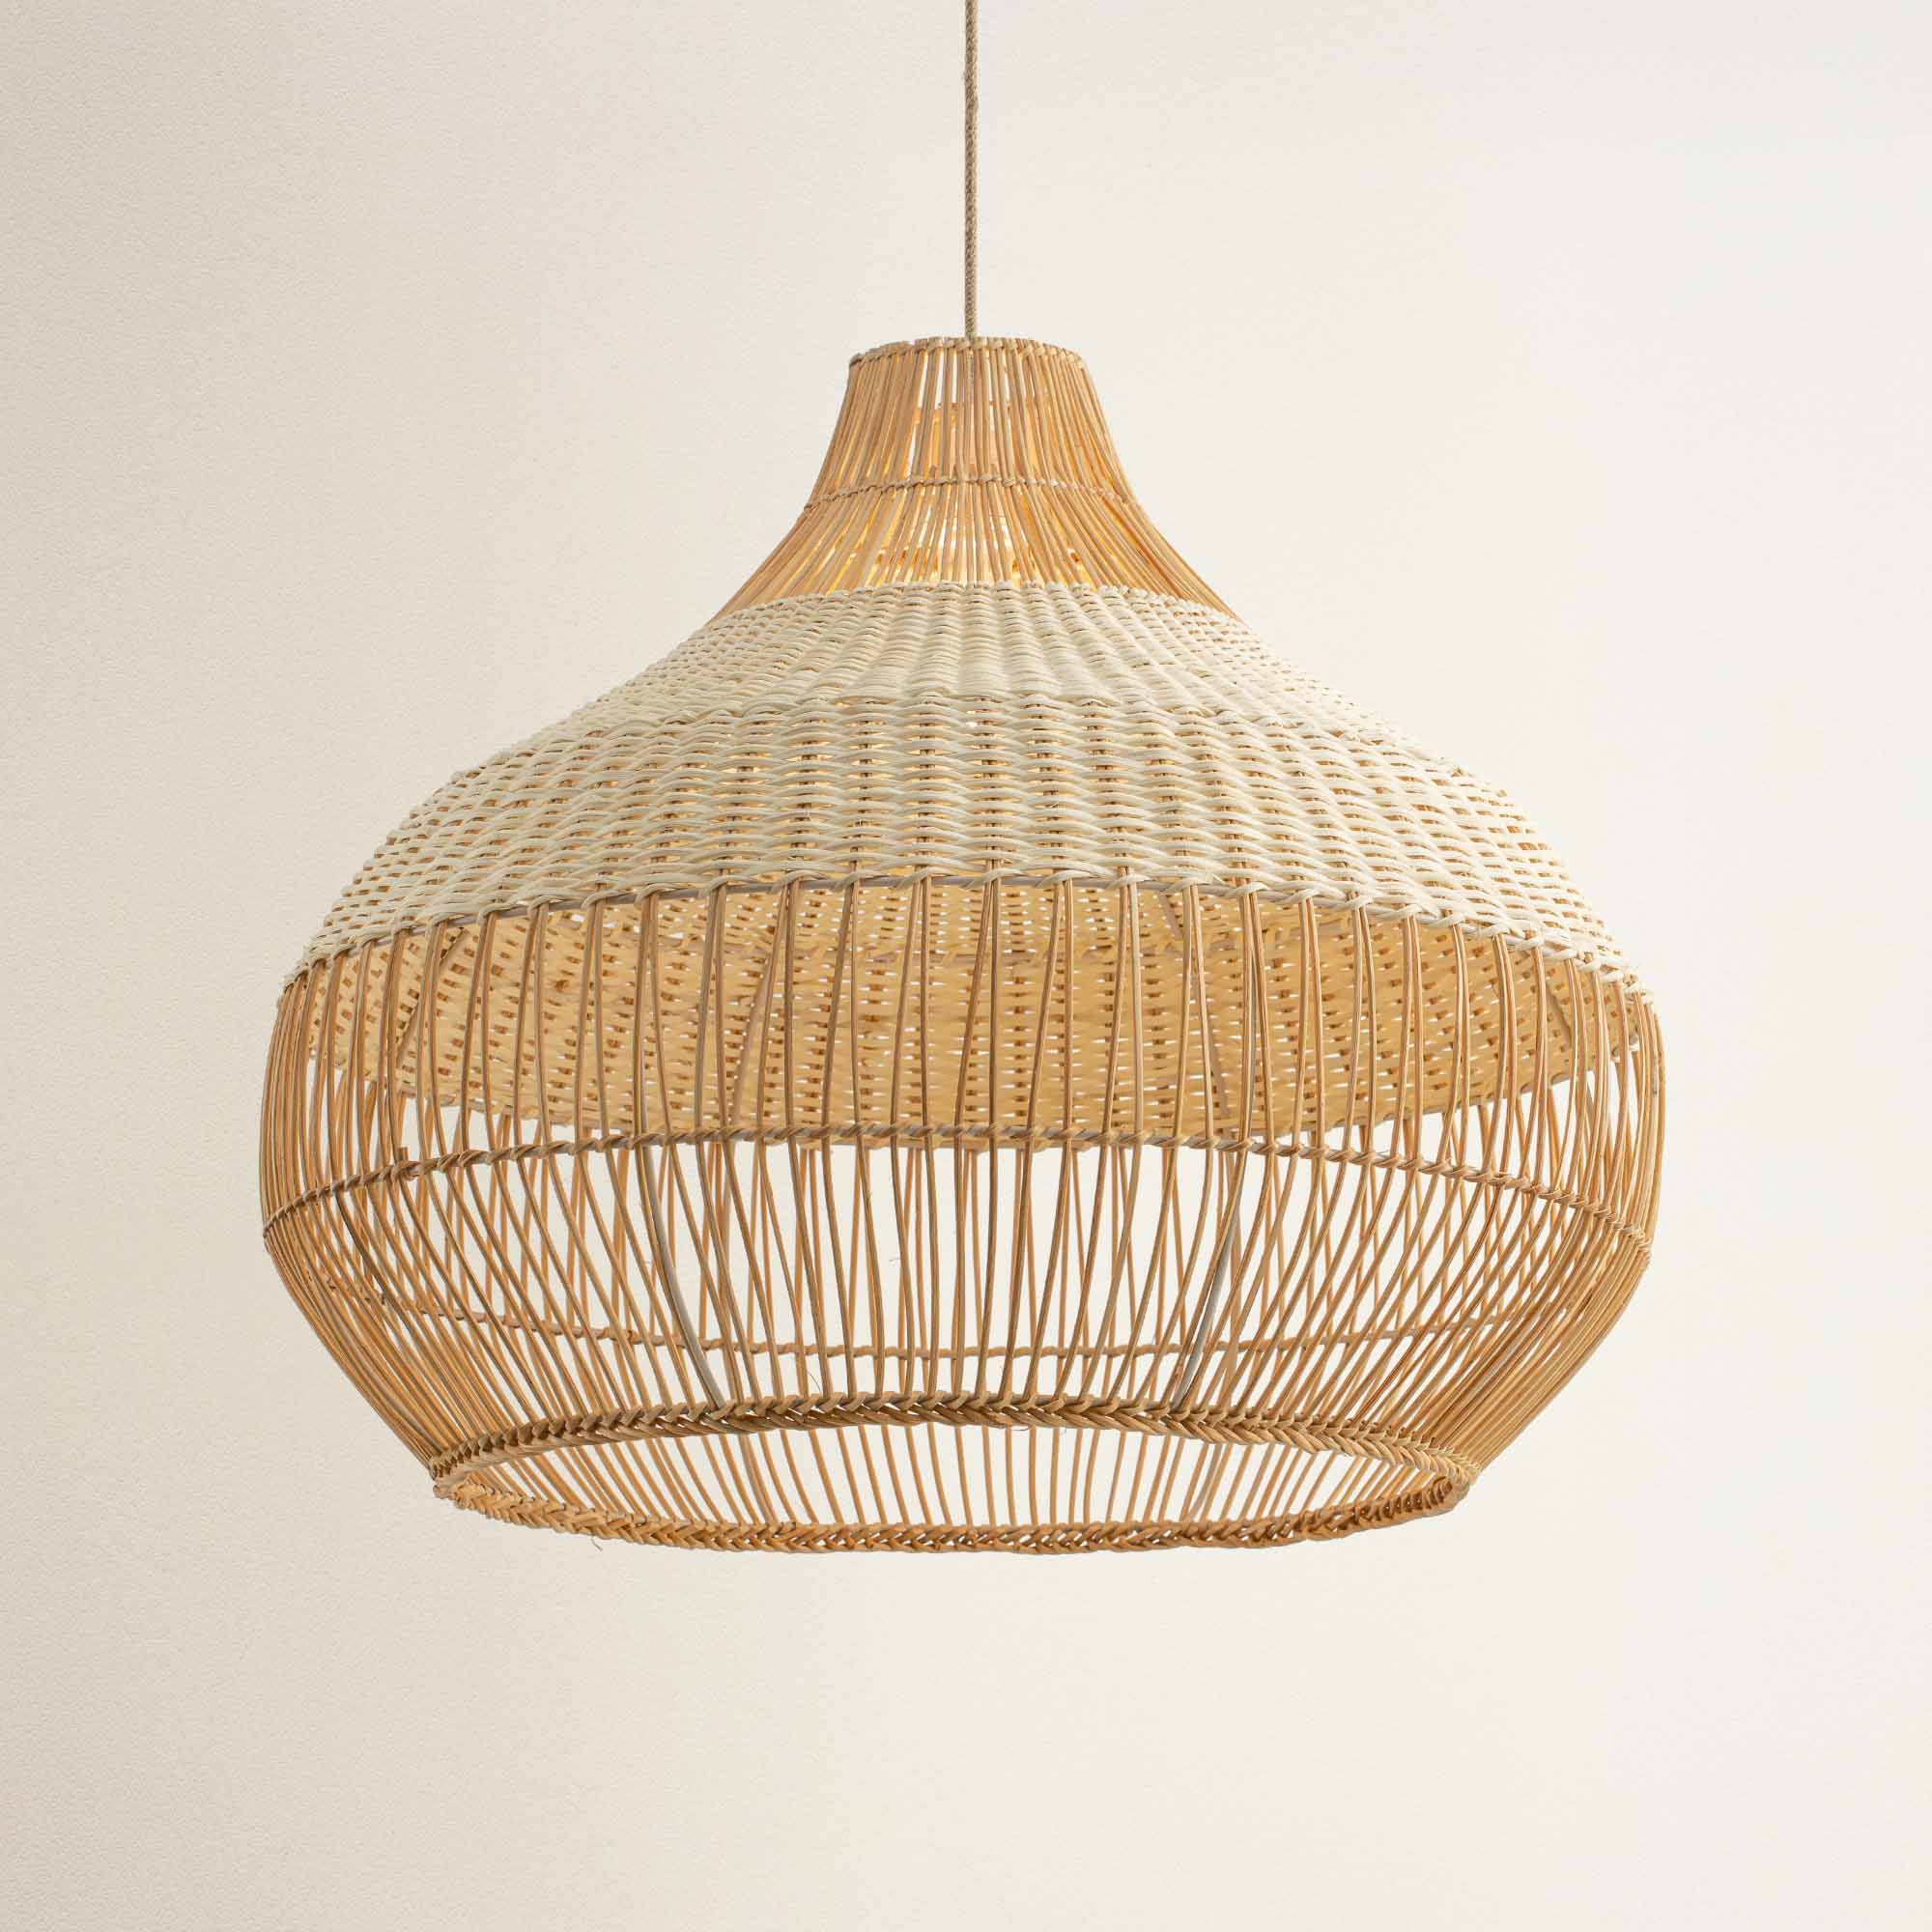
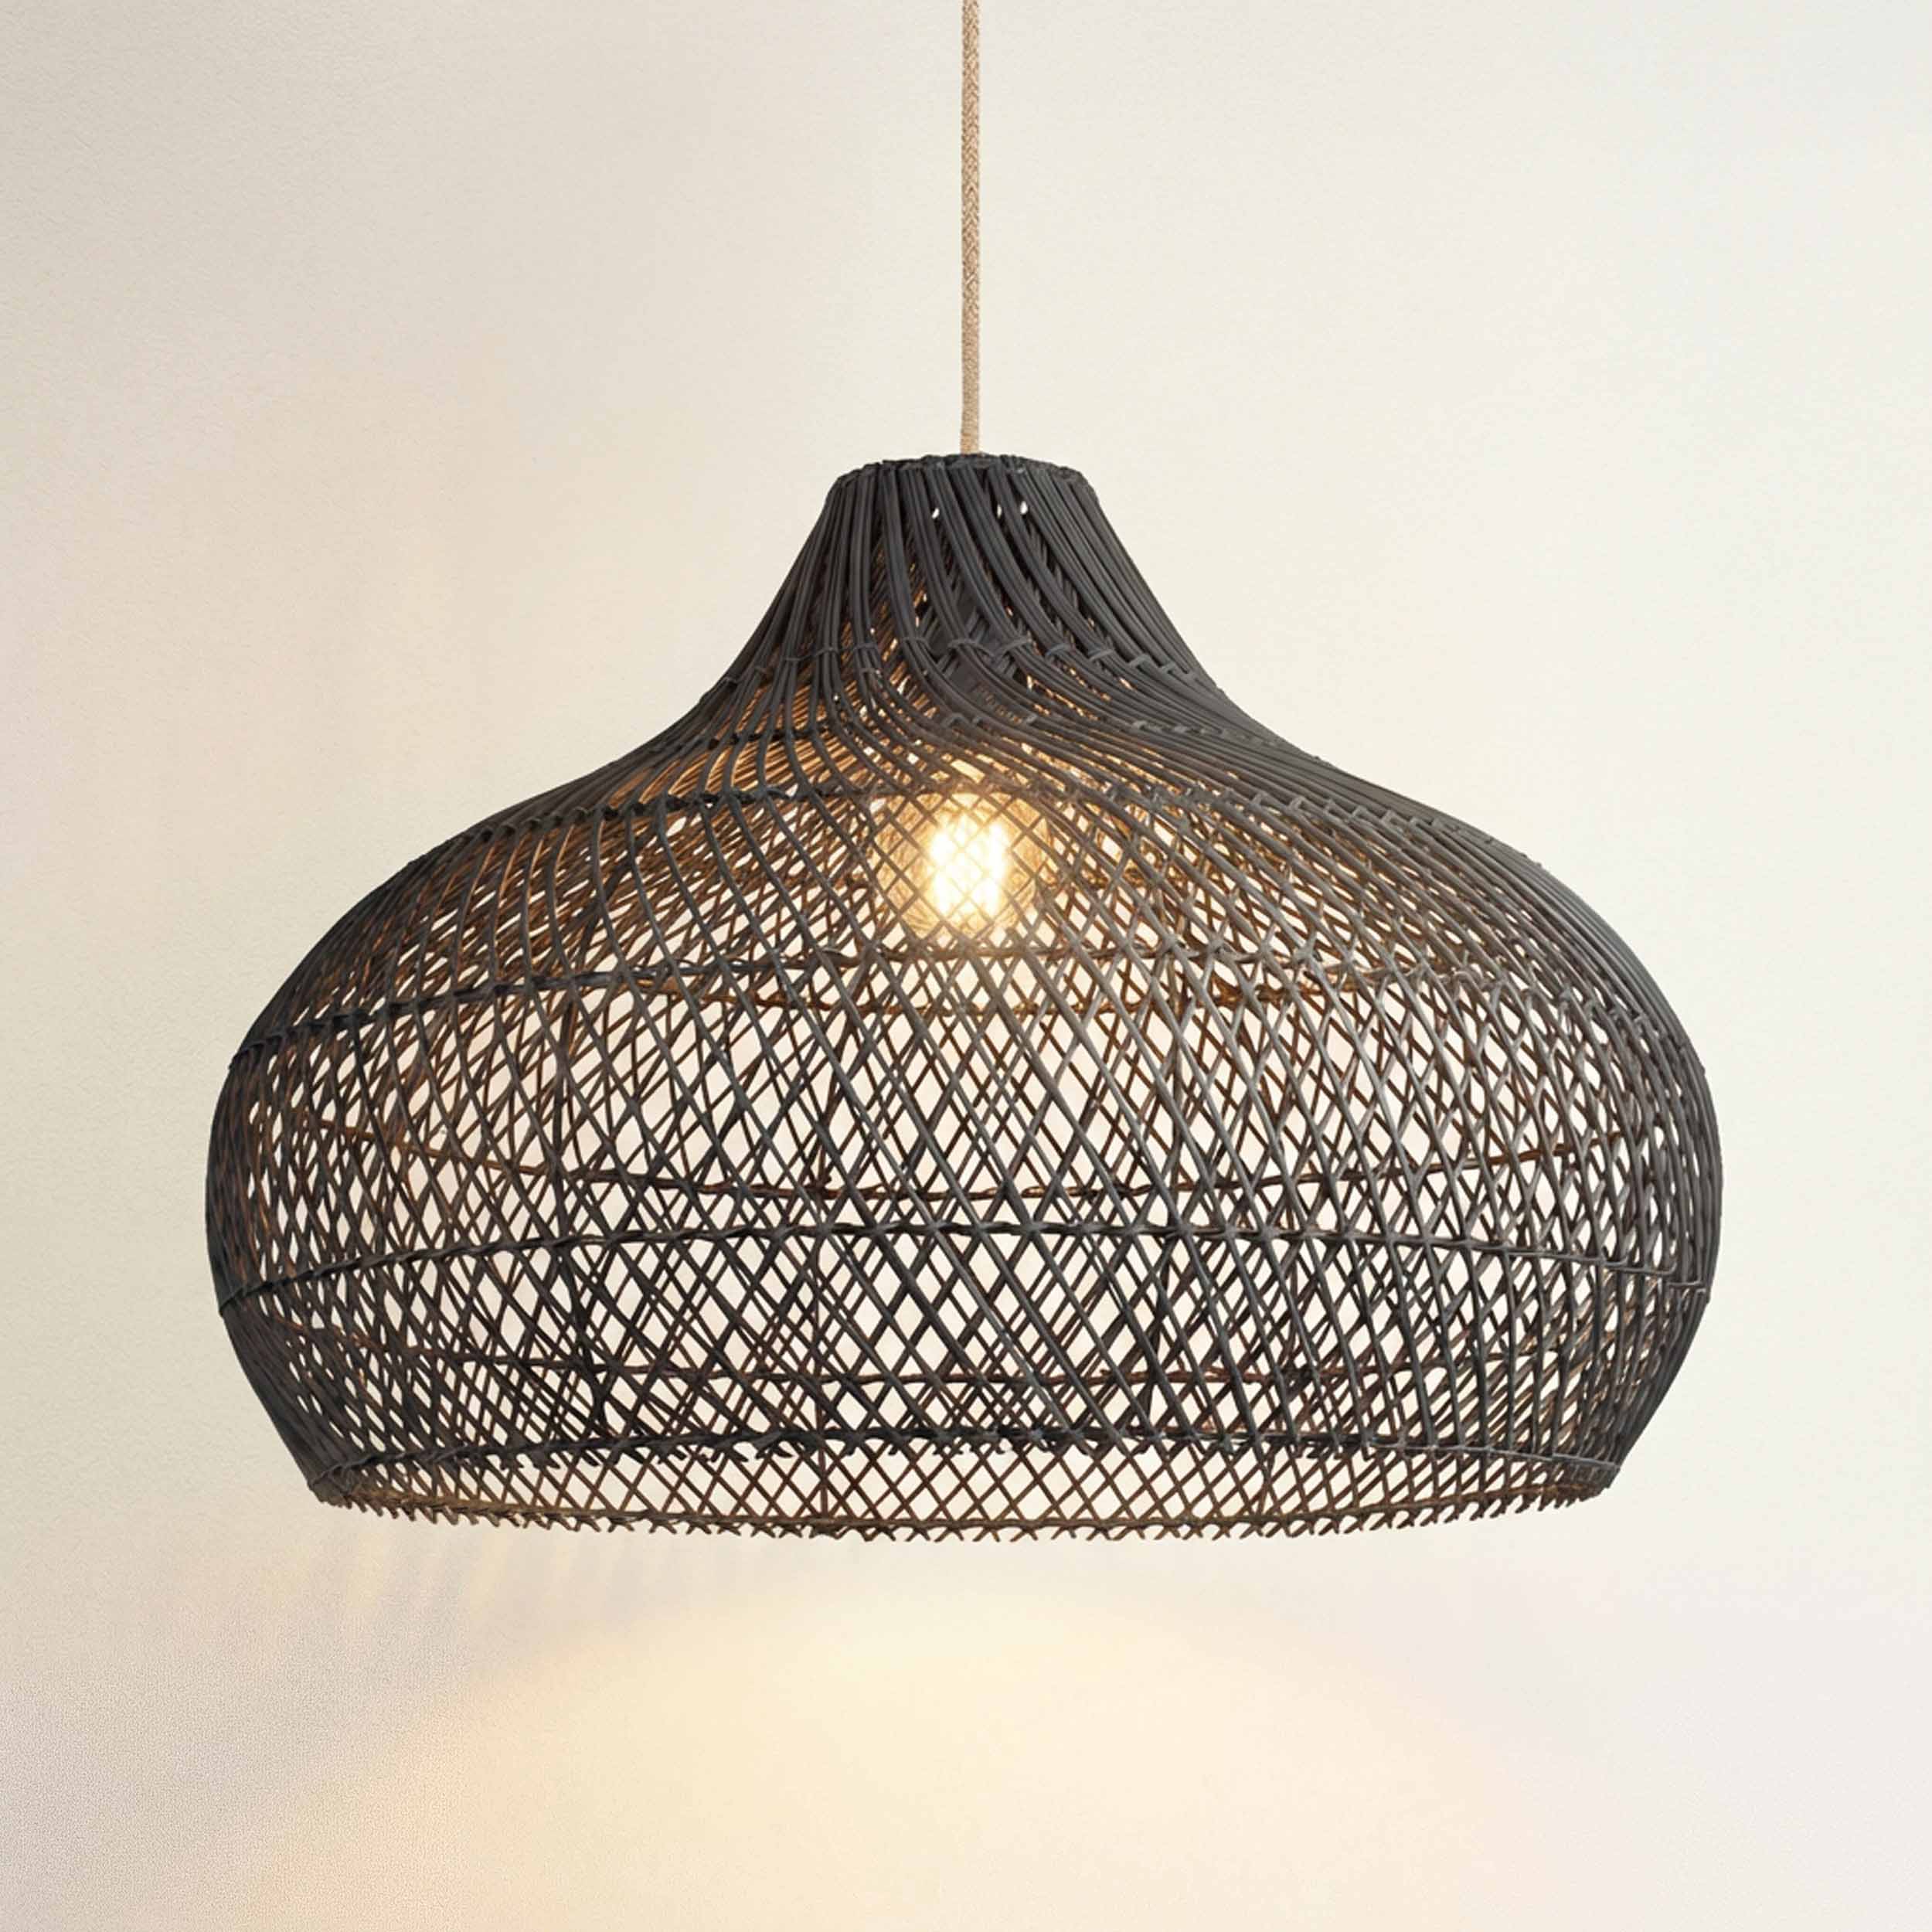
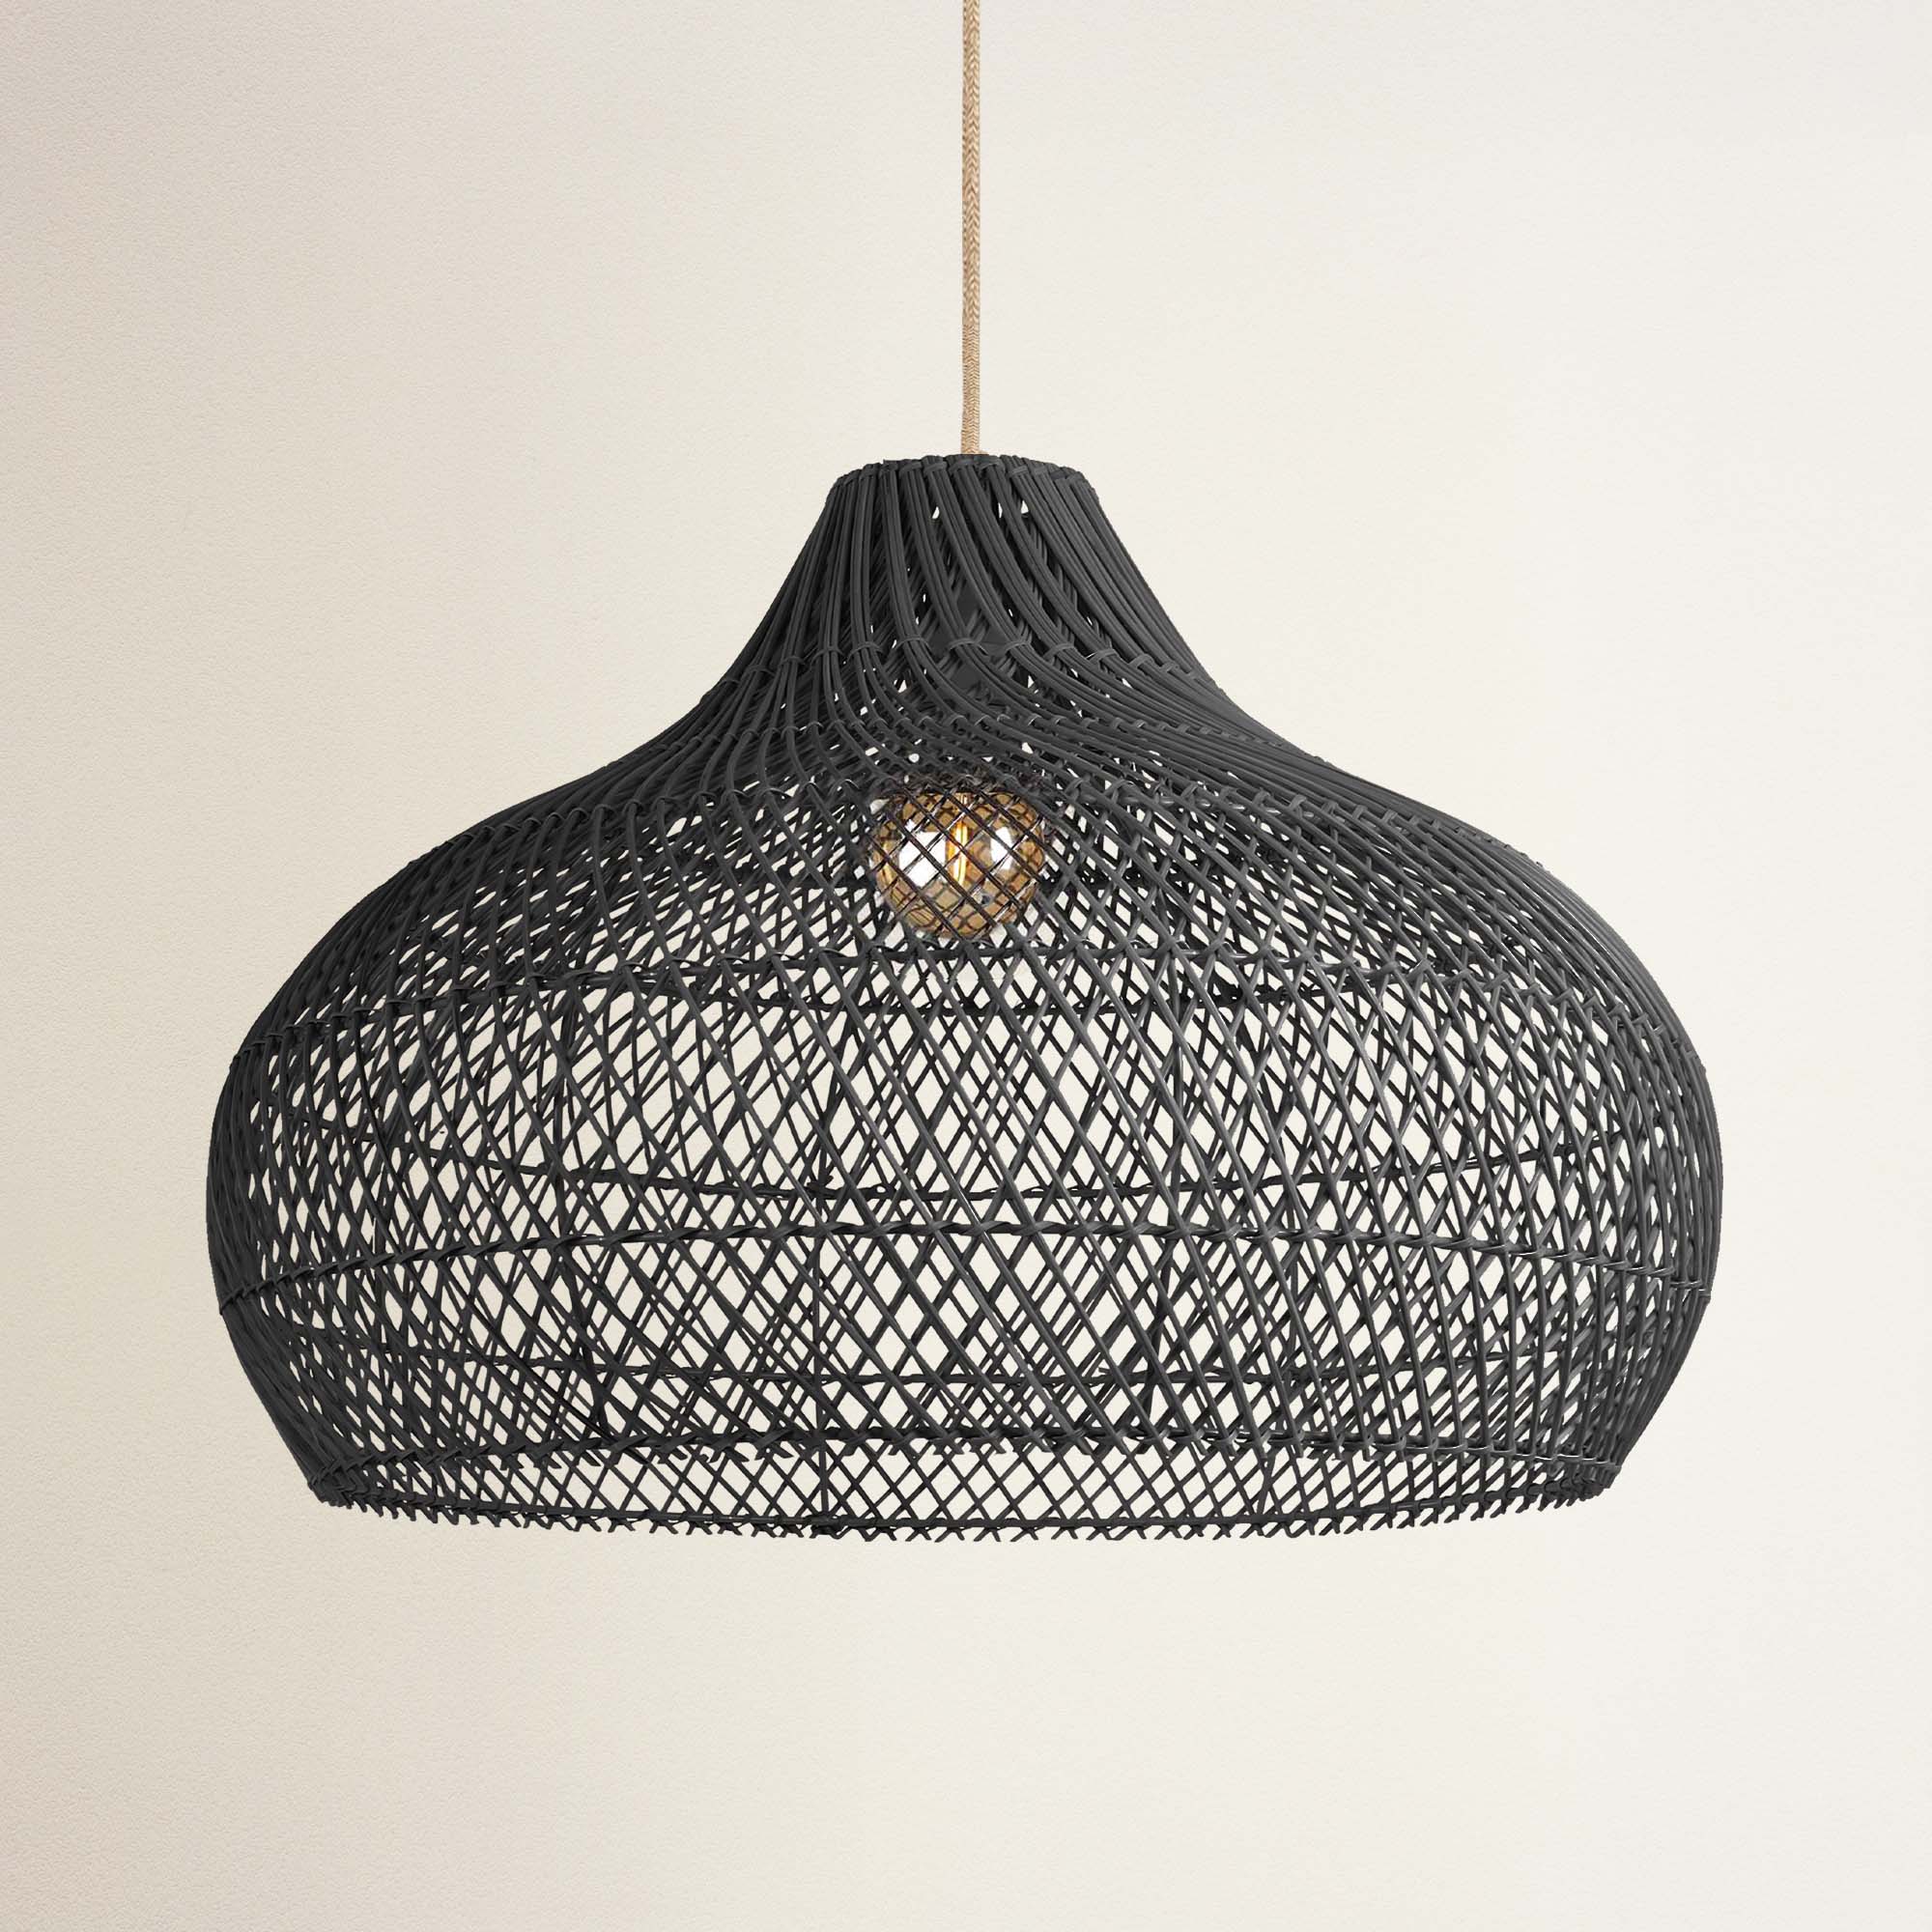
An open-weave pendant can appear lighter than a solid dome of the same diameter because light passes through it, leaving the background partially visible. An open-weave Rowabi rattan pendant can introduce a warm coastal texture without creating the same solid visual block as an opaque metal shade of a similar diameter, which is why the choice between fixture types is as much a sightline decision as an aesthetic one.
Clear glass shades preserve views but increase the risk of glare if the bulb is exposed. Opaque domes concentrate light effectively but create complete visual blockage at hanging height. Light finishes typically recede against cream or white ceilings more than dark silhouettes do.
Mistake #4: Using the wrong number or spacing of pendants
Choosing three pendants simply because the island is long
The number of pendants over an island should be determined by fixture diameter, light output, visual weight, and sightline, not by island length alone. Two large pendants with generous spacing often preserve the sightline across an open-concept kitchen more effectively than three medium pendants of equal combined width.
A linear suspension fixture may provide cleaner coverage than multiple round pendants if the island is long and the kitchen reads into a living or dining space.

Credit: Rowabi.
Measuring from the cord instead of the widest part
Pendant spacing should be measured from the outer edge of each shade's widest silhouette, not from the hanging cord. A shade with handles, irregular weave, or glass projections that extends beyond the cord attachment point will create a different visual and physical spacing than the center-to-center measurement suggests.
For asymmetric fixtures, a full-size mockup is the only reliable way to verify actual shade-to-shade gaps.
Leaving too little space near the island edges
The outermost pendants should not crowd the island's end, the adjacent cabinetry, the hood, or the seating zone at either end. A pendant that extends close to the end of the island will feel visually unbalanced relative to the room entrance, even if its center-to-center spacing with the adjacent pendant is correct. Center the entire pendant arrangement on the island centerline, not the room.
Mistake #5: Centering the light on the room instead of the furniture
Center pendants and chandeliers on the surface below
The correct center for any hanging fixture is the surface it is meant to serve. Kitchen pendants should align with the island centerline. A dining chandelier should center on the table. A breakfast nook fixture should center on the banquette zone. A living room chandelier should center on the primary seating group. A picture light should center on the artwork.

Credit: Rowabi.
What to do when the junction box is off-center
When the junction box does not align with the furniture, the appropriate response depends on how far off it is. A minor offset can sometimes be accommodated by adjusting the furniture position if the layout is flexible.
A swag hook or linear canopy may be an option where the fixture and local code permit it. Relocating the junction box to the correct position is the cleanest solution and requires a licensed electrician; covering the existing wiring with decorative elements is not an acceptable substitute.
Mistake #6: Blocking sightlines, doors, cabinets, or windows
Use a three-viewpoint sightline test
The fixture shade should not block the faces of people on the other side of the table, the television, the fireplace, the artwork, the cabinet handles, or the primary window view. Test from the main room entrance, from the standing work position at the island or sink, and from seated eye level at every chair or stool.
If the shade crosses any of these sightlines, raise the fixture, reduce the shade diameter, or replace the opaque shade with an open-frame or open-weave alternative.
Protect pool, garden, and ocean views
In coastal homes and homes with pool or garden views, test the pendant specifically from a seated position facing the view. A pendant at the standard 30–36-inch height, positioned directly in front of the kitchen stool's horizon line, is hung at the wrong height for that kitchen. Raise it by 2–4 inches, add recessed or under-cabinet task lighting to compensate for the increased distance from the work surface, and confirm from the actual viewing position.

Credit: Rowabi.
Check cabinet, door, and window operation
Before finalizing any fixture position, open every cabinet door within 24 inches of the fixture to its full swing, operate the window sash or Roman shade, check the sliding door travel, and confirm the ceiling fan blade path if applicable. Also verify that there is enough clearance above the shade to change bulbs and clean the fixture without removing the entire suspension.
Mistake #7: Mounting wall sconces at the wrong height
Bathroom sconces mounted above or below the face
Mount bathroom sconces with the center of the backplate at approximately 60–65 inches from the floor as a starting point, then adjust based on the primary user's eye level and the mirror height. Side-mounted sconces reduce facial shadows more effectively than a single overhead source.
The bulb should not be at eye level; the shade should shield it from direct line of sight when standing at the vanity. For a double vanity, test from both standing positions separately.
Bedside sconces that are difficult to reach
Test the switch and shade position from both lying down and sitting upright in bed, with the actual mattress, frame, and headboard in place. The switch should be within reach without fully sitting up; the shade should not sit at head level when sitting up abruptly. Leave clearance for the nightstand, artwork, and any planned headboard height before finalizing the mounting position.
Credit: Rowabi.
Hallway and living-room sconces mounted at random heights
Maintain a consistent centerline between all sconces in a run. Eye level and architectural molding are typical reference points. Sconces mounted at different heights along the same wall create a disorganized visual rhythm that is immediately noticeable and difficult to correct without remounting. Also check projection depth: a sconce that extends 5 inches from the wall in a narrow hallway becomes a physical obstacle at shoulder height.
Picture lights that are too wide or aimed incorrectly
Start with a fixture approximately half the artwork's width and a beam angle of roughly 30 degrees. Confirm the beam evenly covers the full height of the artwork; both the top and bottom edges should be illuminated without a hot spot in the center. If the artwork has a glass frame, check that the angle does not produce a glare reflection visible from the normal viewing position in front of the piece.
Mistake #8: Creating glare or harsh shadows
Exposed bulbs sitting at eye level
An exposed bulb at seated eye level produces direct glare regardless of the bulb's color temperature or lumen output. Replace the bulb with a frosted version, add a compatible diffuser, or choose a shade with appropriate shielding. Do not try to solve glare by raising the fixture further from the work surface if doing so would reduce task lighting to an unusable level. In this case, you can add supplementary lighting instead.
Bathroom lighting casts shadows under the eyes
A single overhead bathroom light casts shadows on the face, under the eyes, and beneath the chin. Side-mounted sconces illuminate the face more evenly by approaching from the lateral axis rather than from above. The shade should diffuse the bulb rather than creating two distinct bright points on either side of the mirror.

Credit: Rowabi.
Decorative shades reduce usable light
A dark, dense, or opaque shade can absorb or redirect most of the light a bulb produces. Do not evaluate brightness by bulb wattage alone. The shade's transmission, the fixture's lumen output, and the room's surface reflectance all affect the actual light delivered to the space. If the room is too dim despite a high-output bulb, add a targeted task light rather than exceeding the fixture's maximum bulb rating.
Mistake #9: Expecting one decorative fixture to light the entire room
Separate ambient, task, and accent lighting
A decorative chandelier or pendant typically contributes to ambient light but rarely serves as the sole light source for a multi-function room. Ambient light provides general visibility across the room. Task light delivers targeted illumination at work surfaces, reading positions, and grooming areas. Accent light highlights artwork, architectural texture, or focal points. A fixture that attempts all three simultaneously usually does none of them well.
Room-by-room layering examples
- Kitchen: Recessed or ceiling ambient light, pendants over the island, under-cabinet task lighting, and a sconce or accent light at the sink or artwork zone.
- Living room: Ceiling fixture, floor or table lamps, and fireplace or picture lighting.
- Bathroom: Ambient ceiling light, side mirror sconces, and shower-rated lighting in the applicable zone.
- Covered patio: Rated overhead fixture, wall sconces, and step or pathway lights.
Mistake #10: Mixing color temperatures or choosing poor color rendering
Mixing warm and cool bulbs without a plan
Lower Kelvin values produce warmer, more amber light; higher Kelvin values produce cooler, more white or blue-tinged light. Combining a 2700K pendant directly adjacent to a 5000K recessed light within the same visual zone creates an inconsistency that leaves the space feeling unresolved.
2700–3000K is commonly tested for living, dining, and bedroom spaces; 3000–3500K can work in kitchen and bath settings depending on the finishes and available daylight. These are starting ranges for design testing, not electrical code requirements.
Low color rendering makes finishes look flat
Color rendering index (CRI) affects how accurately the fixture represents the actual color of wood, stone, rattan, textiles, and skin tones. The DOE identifies 80 CRI as a commonly used baseline for interior lighting.

Credit: Rowabi.
For premium finishes, artwork, and natural materials where color fidelity matters, rattan, marble, linen, or painted surfaces, a fixture with 90+ CRI may render those materials more accurately. Test bulb samples against actual finishes in the specific room before committing.
Mistake #11: Pairing LED bulbs with an incompatible dimmer
Recognize common compatibility symptoms
LED flicker, buzzing, or poor dimming range almost always indicates a bulb-dimmer compatibility problem rather than a defective product.
Symptoms include flickering at low brightness levels, buzzing or humming from the fixture or the switch, lights that jump between dim and bright without a gradual transition, bulbs that cannot dim below 30%, ghosting or glowing when the switch is off, or inconsistent behavior across bulbs in the same fixture.
Safe first-line troubleshooting
Confirm that the bulb packaging explicitly states "dimmable," that the fixture's installation instructions do not prohibit dimming, and that the dimmer manufacturer's compatibility list includes the specific bulb model. If only some bulbs in a multi-bulb fixture are flickering, replace them one at a time with confirmed-compatible bulbs.
Do not attempt to diagnose or modify wiring to resolve dimmer issues. Instead, contact a licensed electrician if the problem persists after replacing the bulb or if the symptom is accompanied by a burning odor, repeated breaker trips, or loose connections.
Mistake #12: Using the wrong dry, damp, or wet location rating
Treating a covered patio as an indoor room
A covered outdoor space is not a dry location. Even under a solid roof, ambient moisture, condensation, and wind-driven rain create conditions that indoor-only fixtures are not designed to handle.
The fixture must be rated for the actual exposure of the specific installation position, not for the general category of the space. UL-listed luminaires for damp or wet locations must be marked accordingly; outdoor line-voltage fixtures are typically evaluated under UL 1598, which includes wet-location requirements where applicable.

Credit: Rowabi.
Installing the wrong fixture near moisture
Bathroom humidity zones, shower and tub areas, laundry rooms, outdoor kitchen environments, and covered poolside structures all require fixtures rated for those specific conditions. The applicable rating is determined by the fixture's distance from the water source, the local building code, and the manufacturer's installation instructions, not by appearance or general "outdoor-style" design.
Ignoring salt-air corrosion
In coastal climates, verify the material, protective coating, fasteners, and warranty exclusions before installing any exterior fixture. A "brass finish" does not confirm solid brass construction; a "weathered" appearance does not confirm salt-air resistance. Manufacturers who specifically document suitability for coastal exposure provide a more reliable basis for selection than general outdoor-use claims.
Plan a regular maintenance schedule: rinse salt deposits, inspect for corrosion at mounting hardware, and tighten any loose fasteners before the next season.
Mistake #13: Ignoring sloped ceilings, canopies, and adjustable drop
Installing a fixed canopy on a sloped ceiling
A standard flat canopy mounted on a sloped ceiling will allow the fixture to hang at an angle rather than plumb. Verify sloped-ceiling compatibility in the product specifications before purchasing, and install the appropriate sloped-ceiling adapter or swivel per the manufacturer's instructions.
Do not attempt to angle a rigid downrod or force a flat canopy against a sloped surface. The canopy must sit flush against the ceiling surface and not expose any wiring.
Why does a fixture hang crooked
The most common causes of a crooked fixture are uneven chain lengths, different cable lengths on opposite sides of a multi-point suspension, cord memory from packaging, a canopy that is not level, a shade or frame with an uneven weight distribution, or a sloped ceiling that has not been accommodated with an adapter.

Credit: Rowabi.
Measure the suspension lengths independently to confirm they are equal. Allow cord-hung fixtures to hang freely for the period recommended by the manufacturer before evaluating alignment. If the canopy, box, or wiring is loose, stop using the fixture and contact a licensed electrician.
Buying a fixture without checking the minimum hanging height
The product "height" listed in the specifications usually refers to the fixture body, not the total installed height, including the canopy, downrod, and any required connector.
For an 8-foot ceiling, verify the fixture's minimum total installed height, shortest rod configuration plus canopy plus shade, before purchasing. Not all adjustable fixtures can be shortened to an arbitrary length; some require a minimum rod configuration to properly route the wiring and maintain structural stability.
Mistake #14: Hanging a heavy fixture from inadequate support
Do not assume every ceiling box supports every fixture
The ceiling junction box must be confirmed to be rated for the fixture's total weight, including glass elements, crystal or decorative hardware, and any shade components, before installation.
Standard outlet boxes typically support much lighter loads than heavy chandeliers require; fan-rated boxes support specific loads per their listing. Do not use drywall anchors as a substitute for structural support. The mounting plate and fasteners included with the fixture must be appropriate for the box type and installation.
Handle weight thresholds carefully
The NEC model code includes specific support provisions for heavy luminaires, but the adopted edition and local amendments vary by jurisdiction. Do not apply any specific weight threshold as a universal rule without verifying the requirement with the local authority having jurisdiction or a licensed electrician.
NFPA 70 documentation notes that fixtures above certain weight thresholds require independent support unless the box is specifically listed for that load, confirm the applicable standard for your location before installation.

Credit: Rowabi.
Warning signs that require immediate attention
Stop using the fixture and contact a licensed electrician immediately if you observe any of the following: the canopy pulling away from the ceiling, the fixture moving when touched, cracking sounds, buzzing or burning odor, exposed wiring, discoloration around the canopy or mounting hardware, repeated breaker trips on the circuit, a loose mounting plate, or any evidence of water or corrosion near the electrical connection.
Room-by-room lighting troubleshooting matrix
| Room | Common Mistake | What to Measure | Typical Fix |
| Kitchen island | Pendants too low or too dense | Counter-to-fixture clearance, width, sightline | Raise, reduce count, or choose open silhouette |
| Dining room | Chandelier off-center or too small | Table center, table width, fixture drop | Recenter or resize |
| Breakfast nook | Fixture blocks bay window | Seated sightline, window height | Raise or choose a shallow/open fixture |
| Bathroom | Sconces create shadows or a wrong rating | Backplate height, mirror width, damp rating | Reposition or replace |
| Living room | Ceiling light insufficient | Lumens, room layers, glare | Add floor, table, or accent lights |
| Foyer | Chandelier too low | Floor clearance, door swing | Shorten or choose close-to-ceiling |
| Bedroom | Bedside sconce difficult to reach | Mattress height, seated reach | Reposition the switch or fixture |
| Hallway | Sconces protrude or are spaced unevenly | Projection, centerline, wall rhythm | Re-space or use a slimmer fixture |
| Covered patio | Indoor fixture used outdoors | Damp/wet marking, exposure level | Replace with a properly rated fixture |
| Coastal exterior | Finish corrosion | Material, coating, fasteners | Choose a documented coastal-suitable product |
Safety first: before adjusting or reinstalling any light
Turn off the circuit at the breaker panel, not just the wall switch, and confirm the circuit is de-energized using a voltage tester before touching any wiring, canopy, or junction box. Do not work near water sources or on wet surfaces. The Electrical Safety Foundation International (ESFI) recommends turning off power at the breaker and not attempting electrical work beyond your skill level.
Contact a licensed electrician for any of the following: moving a junction box, changing wiring, installing a heavy fixture, investigating buzzing or burning odor, working at ceiling height, or installing in a bathroom, outdoor, or wet-location zone. Confirm the fixture, junction box, mounting hardware, and dimmer are all compatible with the specific application and comply with local code and the authority having jurisdiction. UL requires luminaires to be rated for the intended installation location. Indoor-rated fixtures should not be installed in outdoor or moisture-exposed areas.
Should you adjust, recenter, or replace the fixture?
Adjust the existing fixture when
The cord, chain, or downrod is adjustable, and the fixture is the correct scale for the space. The sightline or height problem can be resolved without moving wiring. Glare can be addressed with a compatible frosted bulb, diffuser, or dimmer. The canopy, support, and mounting hardware are secure and in good condition.
Recenter or modify the installation when
The junction box is not aligned with the furniture below it, and the furniture position is fixed. The fixture is blocking a cabinet door, a window's operation, or the path of a ceiling fan. The canopy does not suit a sloped ceiling. Pendant spacing requires moving the electrical rough-in to the correct positions. These situations require a licensed electrician for any wiring or box work.
Replace the fixture when
The minimum hanging height does not provide the required clearance. The fixture is too large or too opaque to coexist with the sightlines in the space. The shade material or location rating does not suit the installation environment. Dimming incompatibility cannot be resolved by changing the bulb. Structural requirements exceed the current ceiling box and support capacity.
FAQs
What are the most common lighting hanging mistakes?
- Hanging too high or too low, choosing the wrong scale, centering on the room instead of the furniture, blocking sightlines, using an incompatible dimmer, and ignoring moisture ratings. Most of these can be corrected without replacing the fixture once the actual cause is identified.
How do I know if my pendant is too low?
- The pendant is too low when it blocks eye contact across the island or table, creates glare at seated eye level, interferes with work at the surface, or provides less than 7 feet of clearance in a walking area. Test from the island stool and from the main room entrance, not just from the standing prep position.
Why does my chandelier look too small?
- A chandelier looks too small when its diameter is less than approximately half the table width, or when its design is too thin and open to create the visual weight the room and ceiling height require. Before sizing up, consider whether the fixture style, a slim, open frame versus a solid shade, accounts for the perceived difference in scale.
Why is my light fixture hanging crooked?
- The most common causes are uneven chain or cable lengths, cord memory from packaging, a flat canopy on a sloped ceiling, or a loose or off-level canopy. Measure suspension lengths independently, allow the fixture to settle, and contact an electrician if the canopy or box is loose.
Should a chandelier be centered on the table or the room?
- Always center on the functional surface, such as the dining table, the kitchen island, or the breakfast nook, not on the room's geometry. The only exception is an empty architectural space with no fixed furniture, where the room's axis may serve as the centering reference.
Why do LED lights flicker when dimmed?
- LED flicker when dimmed almost always indicates bulb-dimmer incompatibility. Confirm the bulb is labeled dimmable, consult the dimmer manufacturer's compatibility list, and replace the bulb with a model confirmed compatible. If the problem persists, contact a licensed electrician.
Can indoor lighting be used on a covered patio?
- A covered patio is not a dry location. Ambient moisture and condensation require, at minimum, a damp-rated fixture, and direct rain exposure requires a wet-rated fixture. Using an indoor-only fixture outdoors creates both a safety risk and a code violation.
Conclusion
Diagnose before adjusting: measure the actual height, spacing, and clearance; photograph from three viewpoints; and identify whether the problem is suspension length, fixture scale, shade opacity, or a sightline issue before making any changes. Standard measurements like 30–36 inches are starting points. Your eye, tested from standing and seated positions, makes the final call.
When the fixture is the right size but the wrong material for the space, open-weave rattan pendants offer a way to introduce warmth and coastal texture without the solid visual block of an opaque metal dome. Browse Rowabi's rattan pendant collection for open-weave styles suited to clear-sightline and view-preserving installations, or reach out to the team for guidance on fixture size, drop length, and placement before you install.




Leave a comment
This site is protected by hCaptcha and the hCaptcha Privacy Policy and Terms of Service apply.