


To replace a ceiling light fixture, turn off the breaker and test the wires, remove the shade and the old fixture, disconnect the wires, install the new mounting base, connect ground, neutral, and hot wires color to color, then mount the new fixture and add bulbs and the shade. If the ceiling box is loose, the wiring looks damaged, or the new fixture is much heavier than the old one, call a licensed electrician.
Key takeaways
- Safety first: Turn off the breaker, not just the wall switch, and confirm the wires are dead with a voltage tester.
- Remove the old fixture: Take off the shade and bulbs, unscrew the fixture while supporting it, and disconnect the wire nuts.
- Prepare the box: Swap in the new fixture's mounting base and make sure the ceiling box is secure and rated for the new fixture's weight.
- Wire it: Ground to ground, white to white, black to black, each joined with a snug wire nut.
- Finish: Mount the fixture, add bulbs at or below its maximum wattage, attach the shade, and restore power.
Choosing a ceiling light fixture
Before you replace your old light, decide on the new ceiling light that suits your space. Our guide on choosing the right size light fixture can help.
For low ceilings, a flush mount keeps headroom clear. For higher ceilings or over a table, a pendant light adds a focal point.
Uncover more: 25+ Modern Contemporary Ceiling Lights Ideas
What you'll need
Tools
- Screwdrivers: Flathead and Phillips.
- Voltage tester: To confirm the power is off.
- Step stool or ladder: To reach the ceiling safely.
Materials
- New ceiling light fixture: Choose one that suits your style and ceiling height.
- Wire connectors (wire nuts): To secure the wire connections.
- Electrical tape (optional): For extra security over wire nuts.
- Light bulbs: At or below the fixture's maximum wattage.
It's time for an upgrade. Find your perfect focal point.
A step-by-step guide to replacing a ceiling light fixture
Step 1: Turn off the power
Go to the breaker panel and turn off the breaker that controls the light. Turning off the wall switch alone isn't enough. You'll confirm the power is off with a voltage tester once the wires are exposed.
Step 2: Remove the shade or globe
Loosen the screws or knob holding the shade or globe and remove it, holding it steady so it doesn't fall. Unscrew the bulbs once they're cool.

Hold the fixture steady to avoid dropping or damaging any parts. Source: Rowabi.
Step 3: Unscrew the fixture
Find the screws or decorative nuts holding the fixture to the mounting base. Remove them while supporting the fixture, then lower it gently so it doesn't hang by its wires.
 Source: Rowabi.
Step 4: Disconnect the wires
Test the exposed wires with your voltage tester. Once you're sure they're dead, unscrew the wire connectors and separate the fixture wires from the ceiling wires, usually black (hot), white (neutral), and green or copper (ground). Take a photo first for reference.
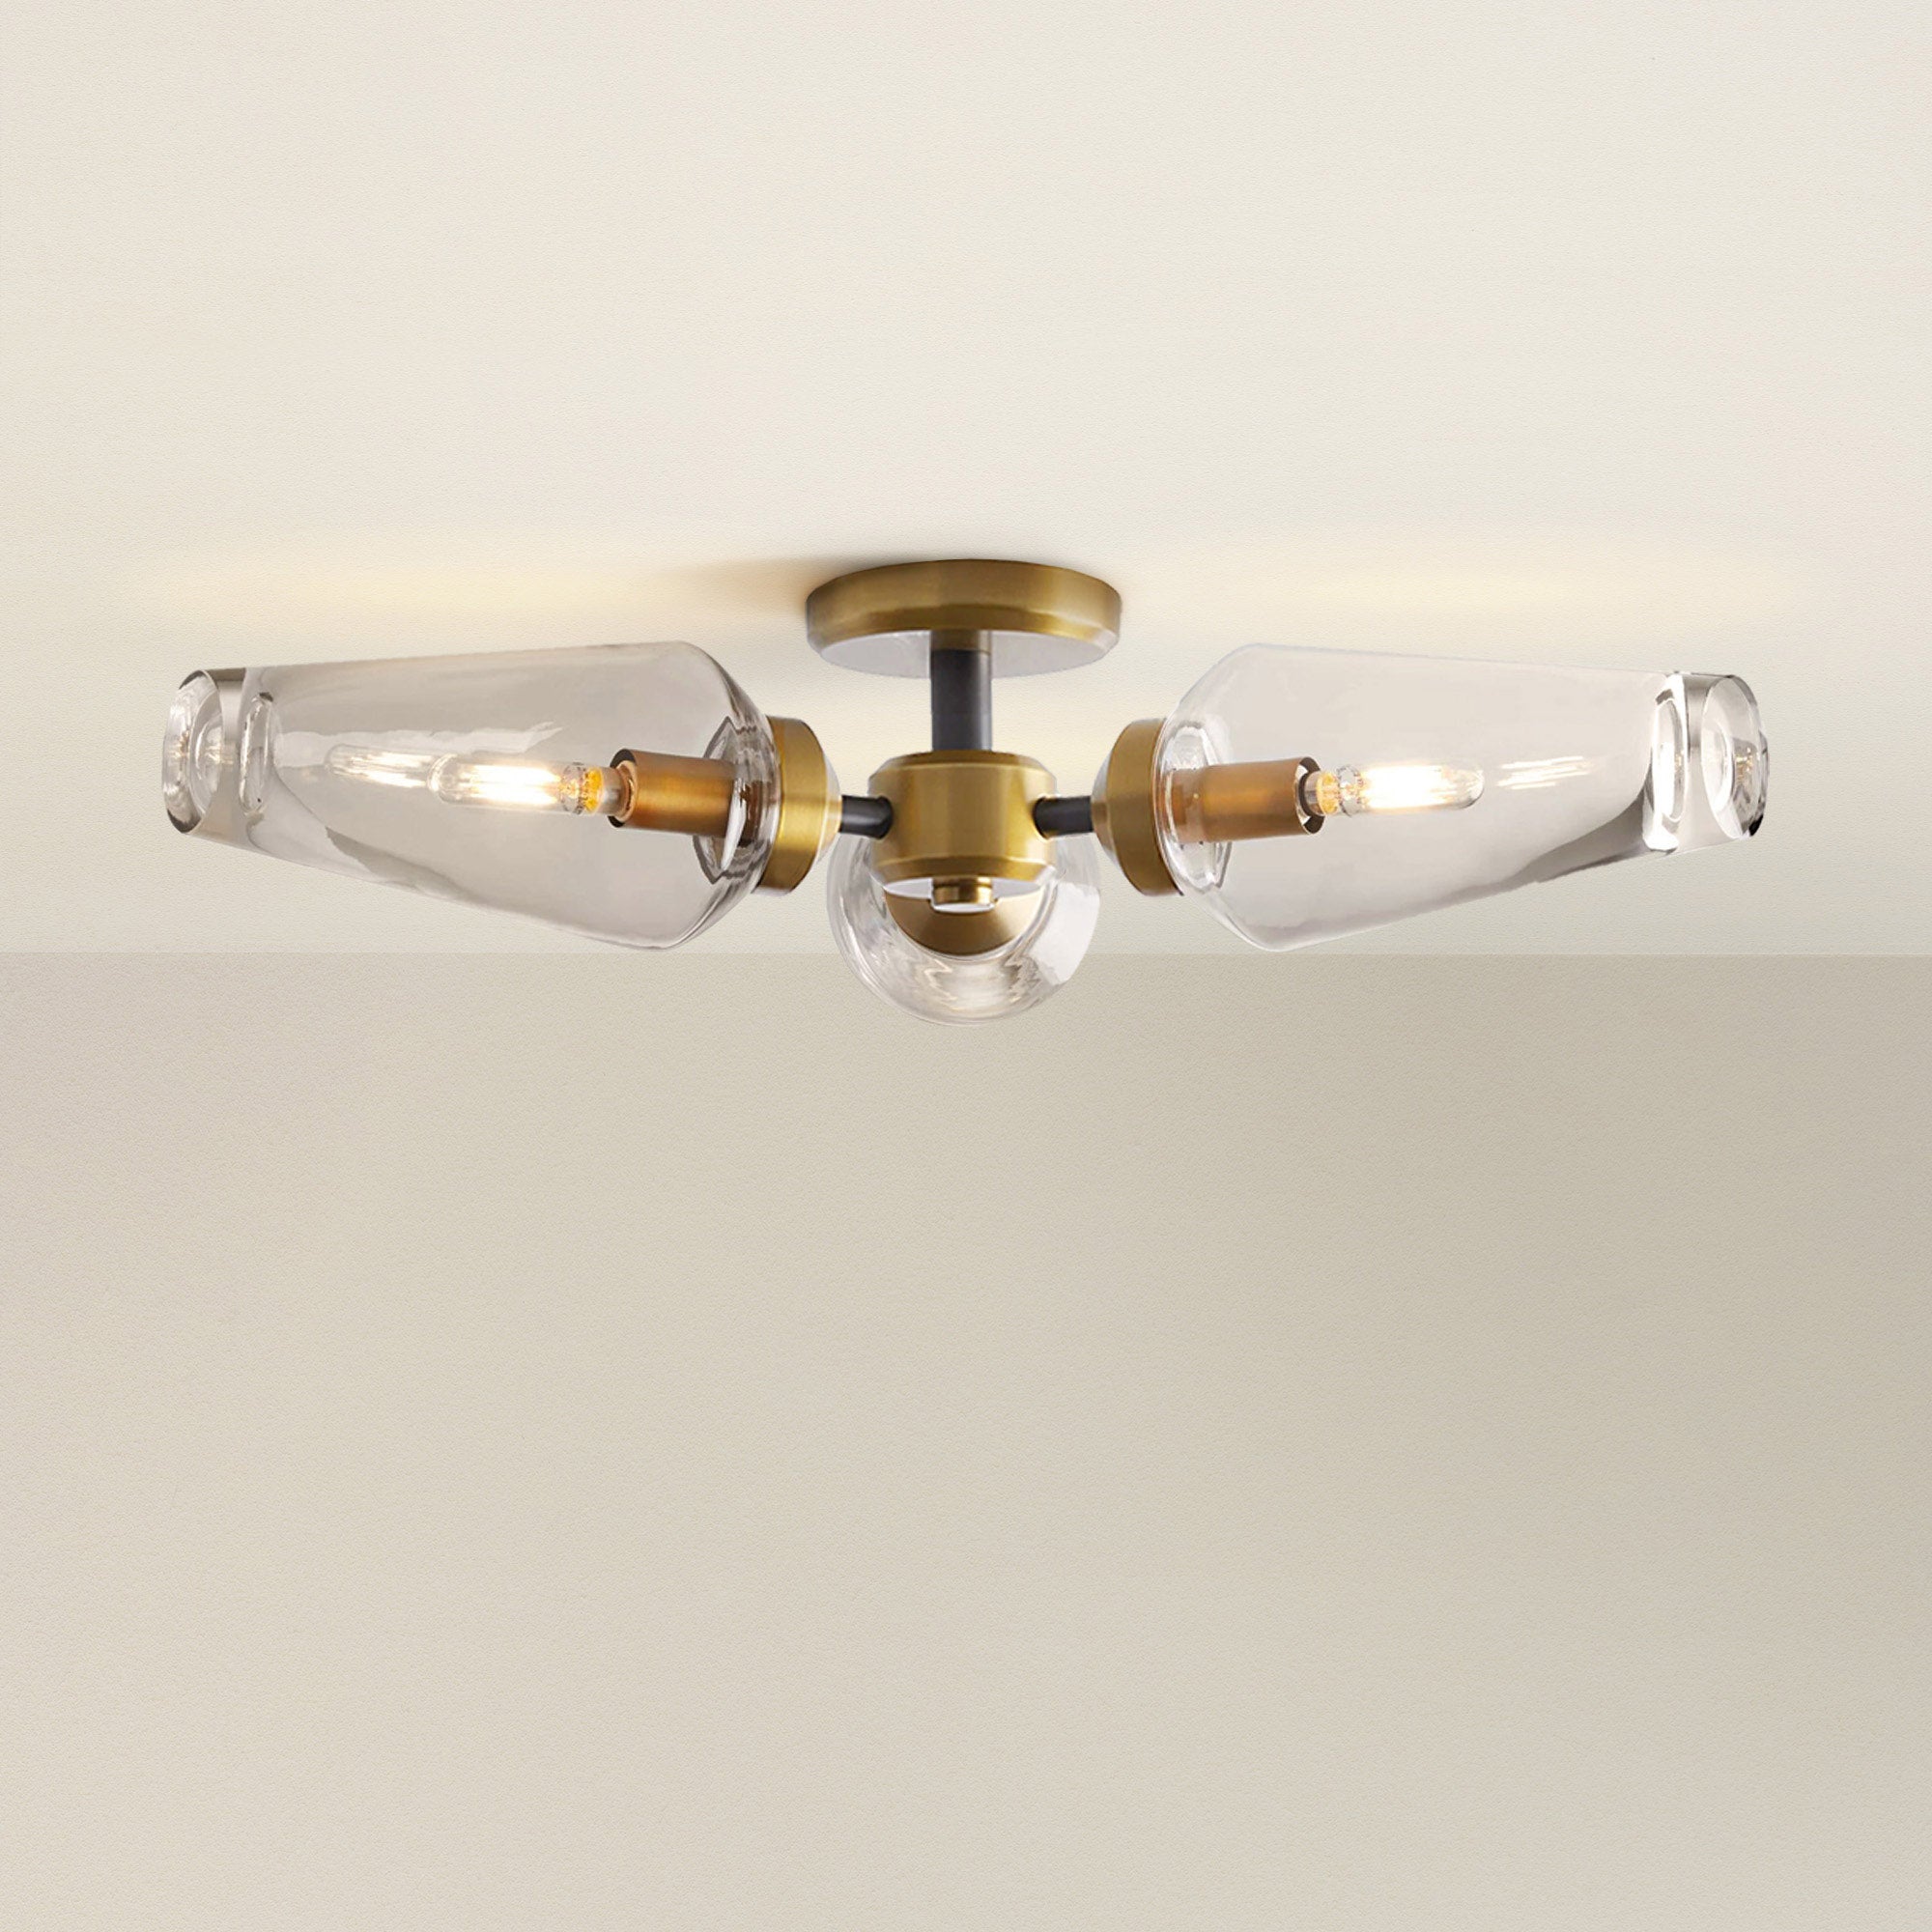
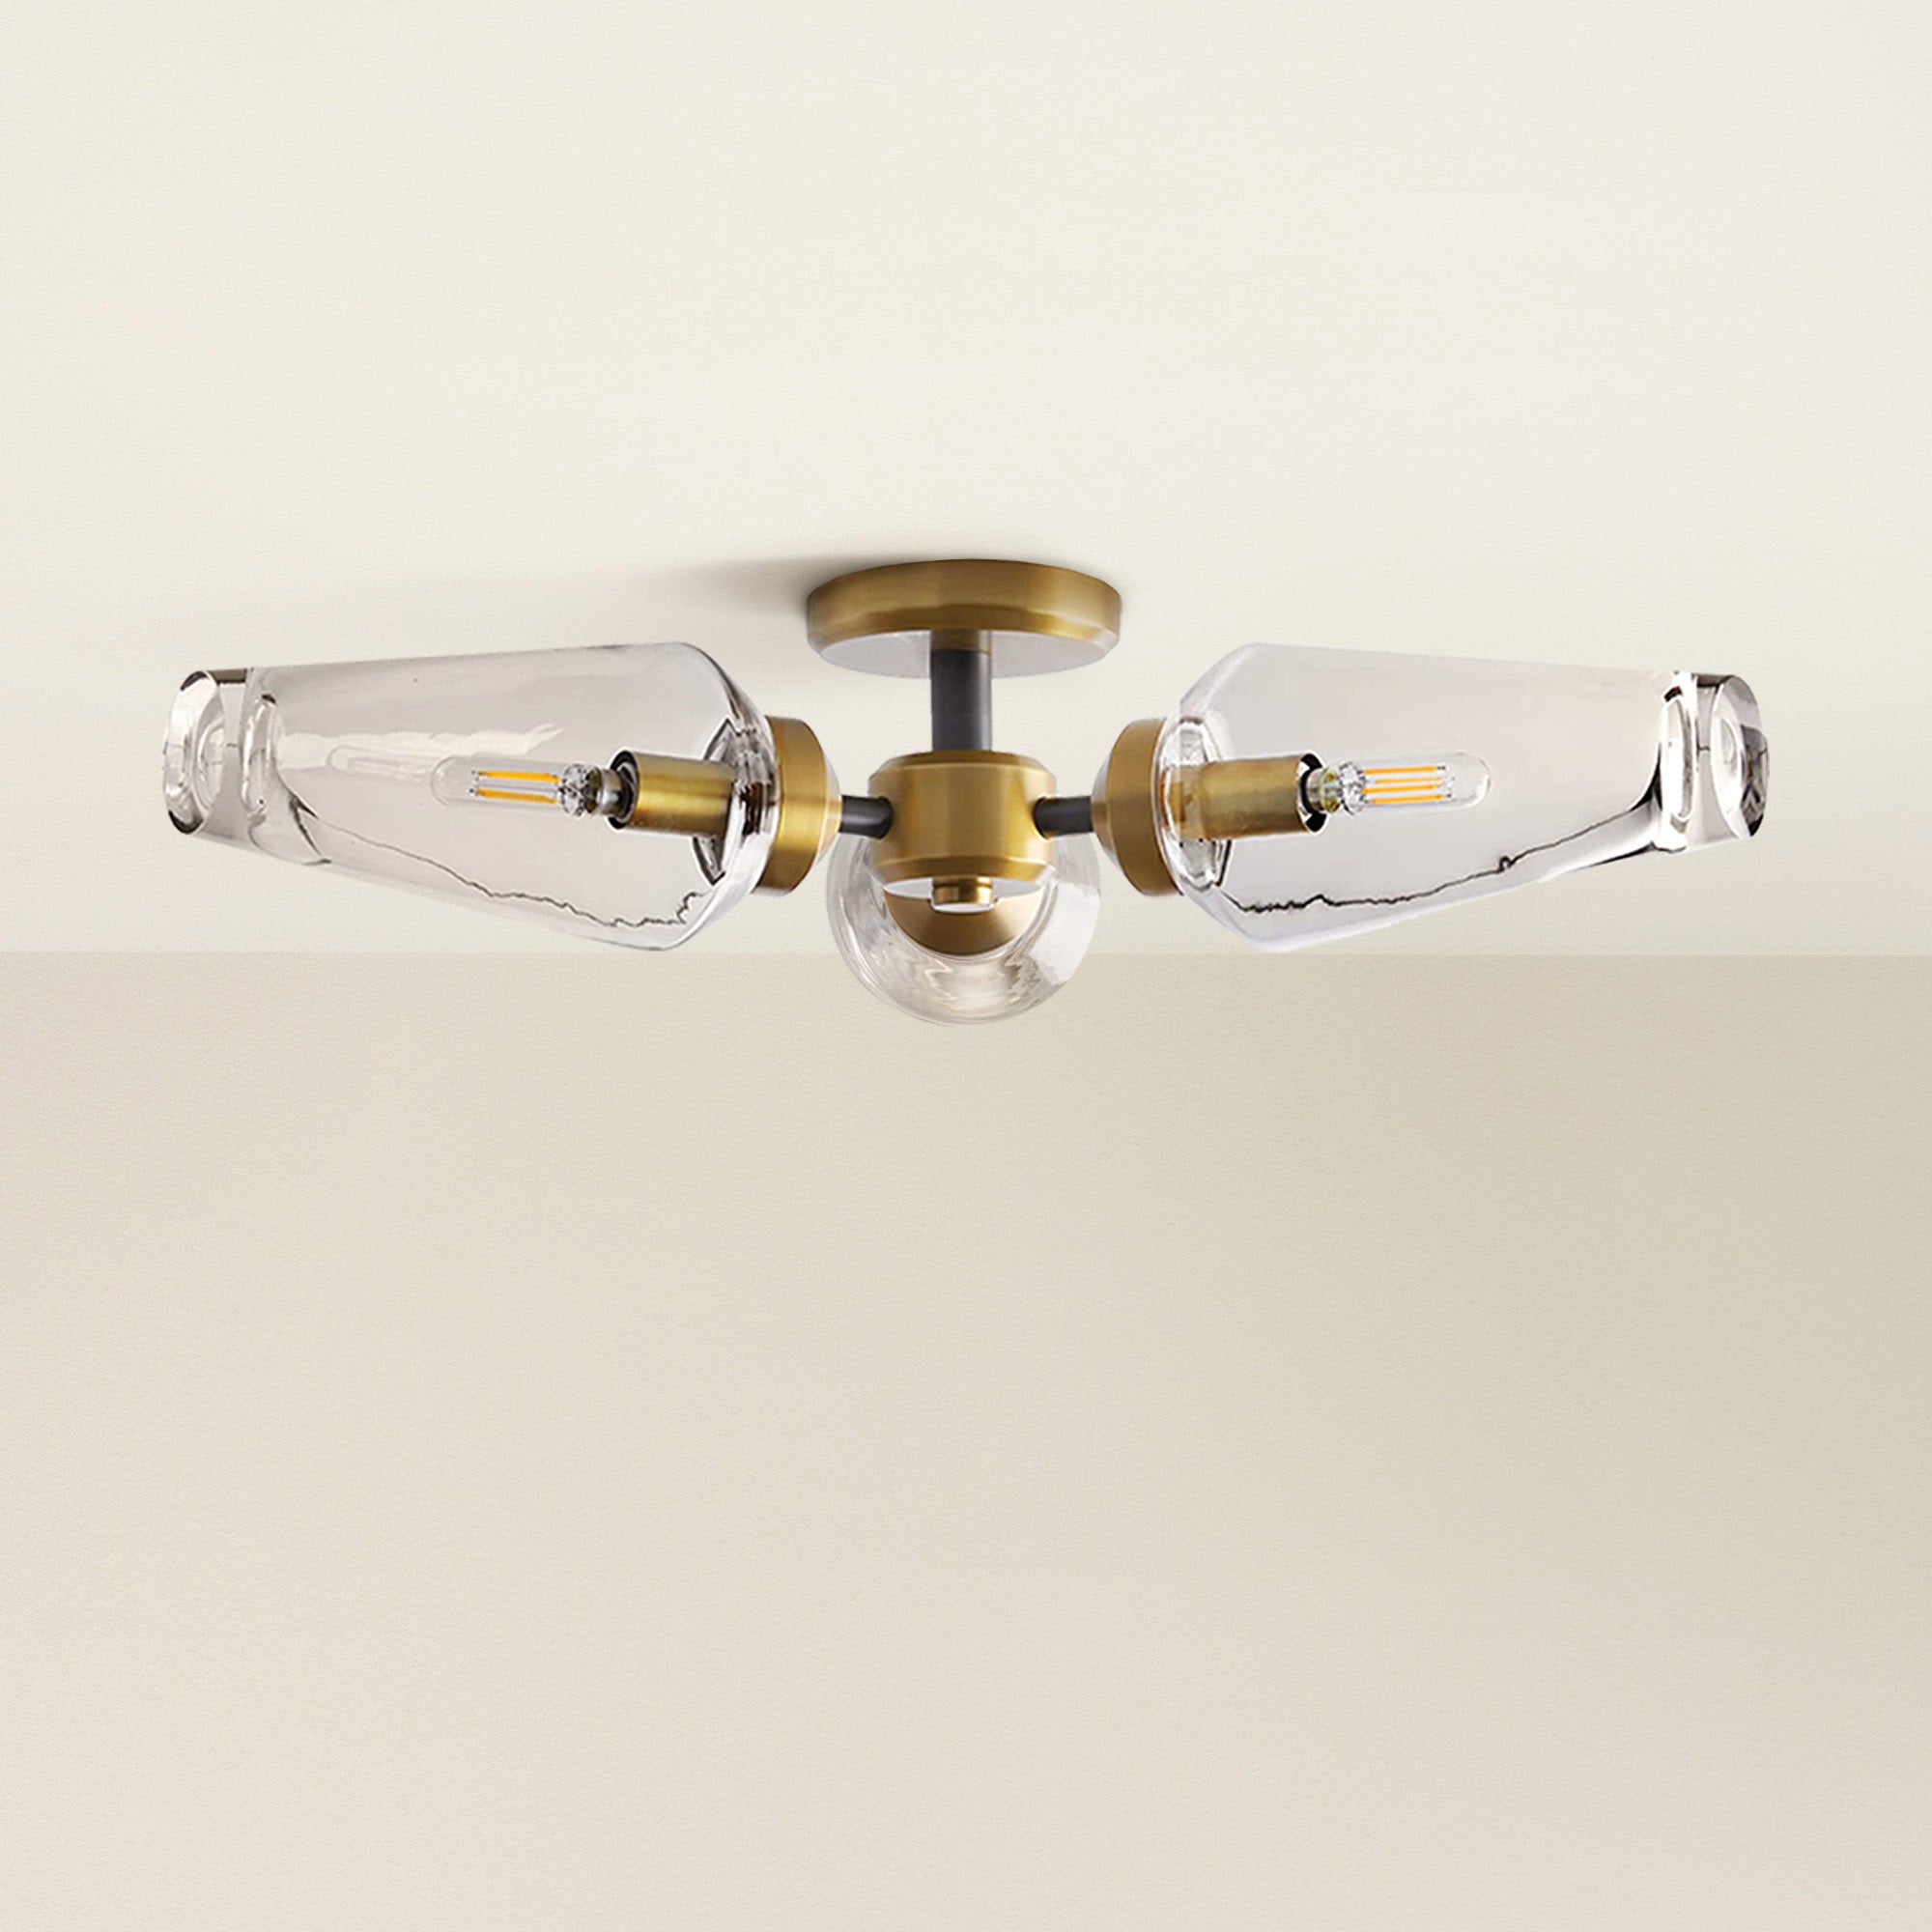
See the difference quality makes. View the Rowabi bestsellers.
Step 5: Remove the old mounting base
If the new fixture comes with its own mounting base or bracket, unscrew the old one from the ceiling box. While it's off, check that the box itself is firmly attached to the ceiling.
Step 6: Unbox the new ceiling fixture
Unpack the new fixture and check that all parts and hardware are included and undamaged.
Step 7: Install the mounting base
Attach the new mounting base to the ceiling box following the manufacturer's instructions, and tighten it firmly.
Step 8: Connect the circuit wires
Start with the ground: connect the fixture's green or copper wire to the ceiling's ground wire and to the green screw on the mounting base. Then join white to white (neutral) and black to black (hot) with wire nuts, checking that no bare wire shows.
Step 9: Mount the fixture
Fold the wires neatly into the box and attach the fixture to the mounting base. Tighten all screws so the fixture sits flush and stable.
Step 10: Install the light bulbs
Screw in bulbs at or below the fixture's maximum wattage. Our light bulb buying guide can help you pick the right brightness and color temperature.
Step 11: Install the shade and restore power
Reattach the shade or globe, turn the breaker back on, and test the light with the wall switch.

Once the bulbs are in place, reattach the shade or globe according to the manufacturer's instructions. Source: Rowabi.
Ceiling light replacement checklist
- Breaker off and wires tested dead.
- Old wiring photographed before disconnecting.
- Ceiling box firmly attached and rated for the new fixture's weight.
- Ground connected first, then neutral and hot, color to color.
- Fixture mounted flush with all screws tight.
- Bulbs at or below the maximum wattage.
FAQs: Replacing a ceiling light fixture
How hard is it to replace a ceiling light fixture?
- Replacing a fixture at an existing ceiling box is manageable for most DIYers with basic tools. If you're unfamiliar with electrical work, or the box or wiring needs work, hire a licensed electrician.
Do I need to turn off the power to change a light fixture?
- Yes. Turn off the breaker and confirm with a voltage tester before touching any wires.
Can I replace a flush mount with a pendant or chandelier?
- Often, yes, as long as the ceiling box is rated for the new fixture's weight. Heavier chandeliers may need a fan-rated or brace-mounted box.
How much does it cost to have a ceiling light replaced?
- Cost depends on the fixture type, your location, and the wiring condition. See our light fixture installation cost guide for typical ranges.
Conclusion
Replacing a ceiling light fixture is a rewarding DIY project when you work safely: turn off the breaker, test the wires, connect them color to color, and secure the new fixture firmly.
For a quicker overview, see our guide on how to change a light fixture in 9 steps.


Leave a comment
This site is protected by hCaptcha and the hCaptcha Privacy Policy and Terms of Service apply.