

The process involves these key steps: turning off the power and testing it, removing the old fixture, connecting the new wires color-to-color, and finally securing the new fixture to the wall bracket.
Safety first - How to Replace Bathroom Vanity Light
When working with electrical fixtures and learning how to replace bathroom vanity light, taking safety precautions is essential.
Here's a simple checklist to keep you safe while replacing your bathroom vanity light:
- Turn off the power at the circuit breaker: Go to your main circuit breaker and flip the switch for the bathroom's circuit to "off."
-
Double-check with a voltage detector:
- Hold the voltage detector near the wires where you'll be working.
- If the detector lights up or beeps, there's still power, and you'll need to recheck the circuit breaker.
- Handle wires carefully: Avoid touching exposed wires until the power is off.
These precautions might add a few minutes but are crucial for avoiding accidental electric shocks. Electrical work is one area where it's always better to be overly cautious!
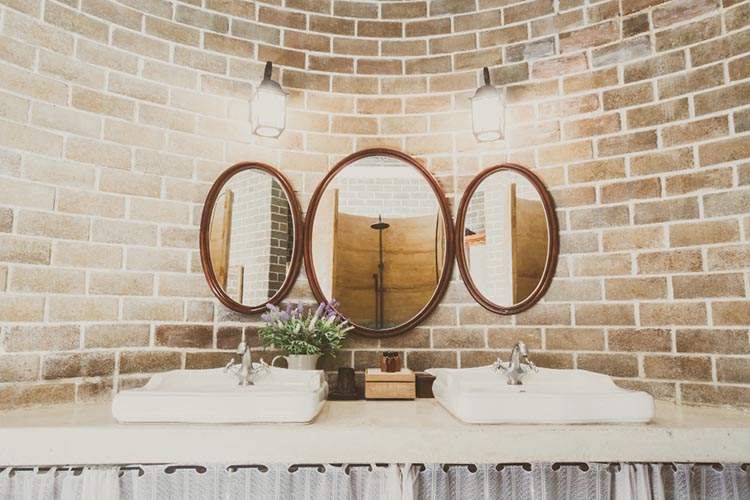
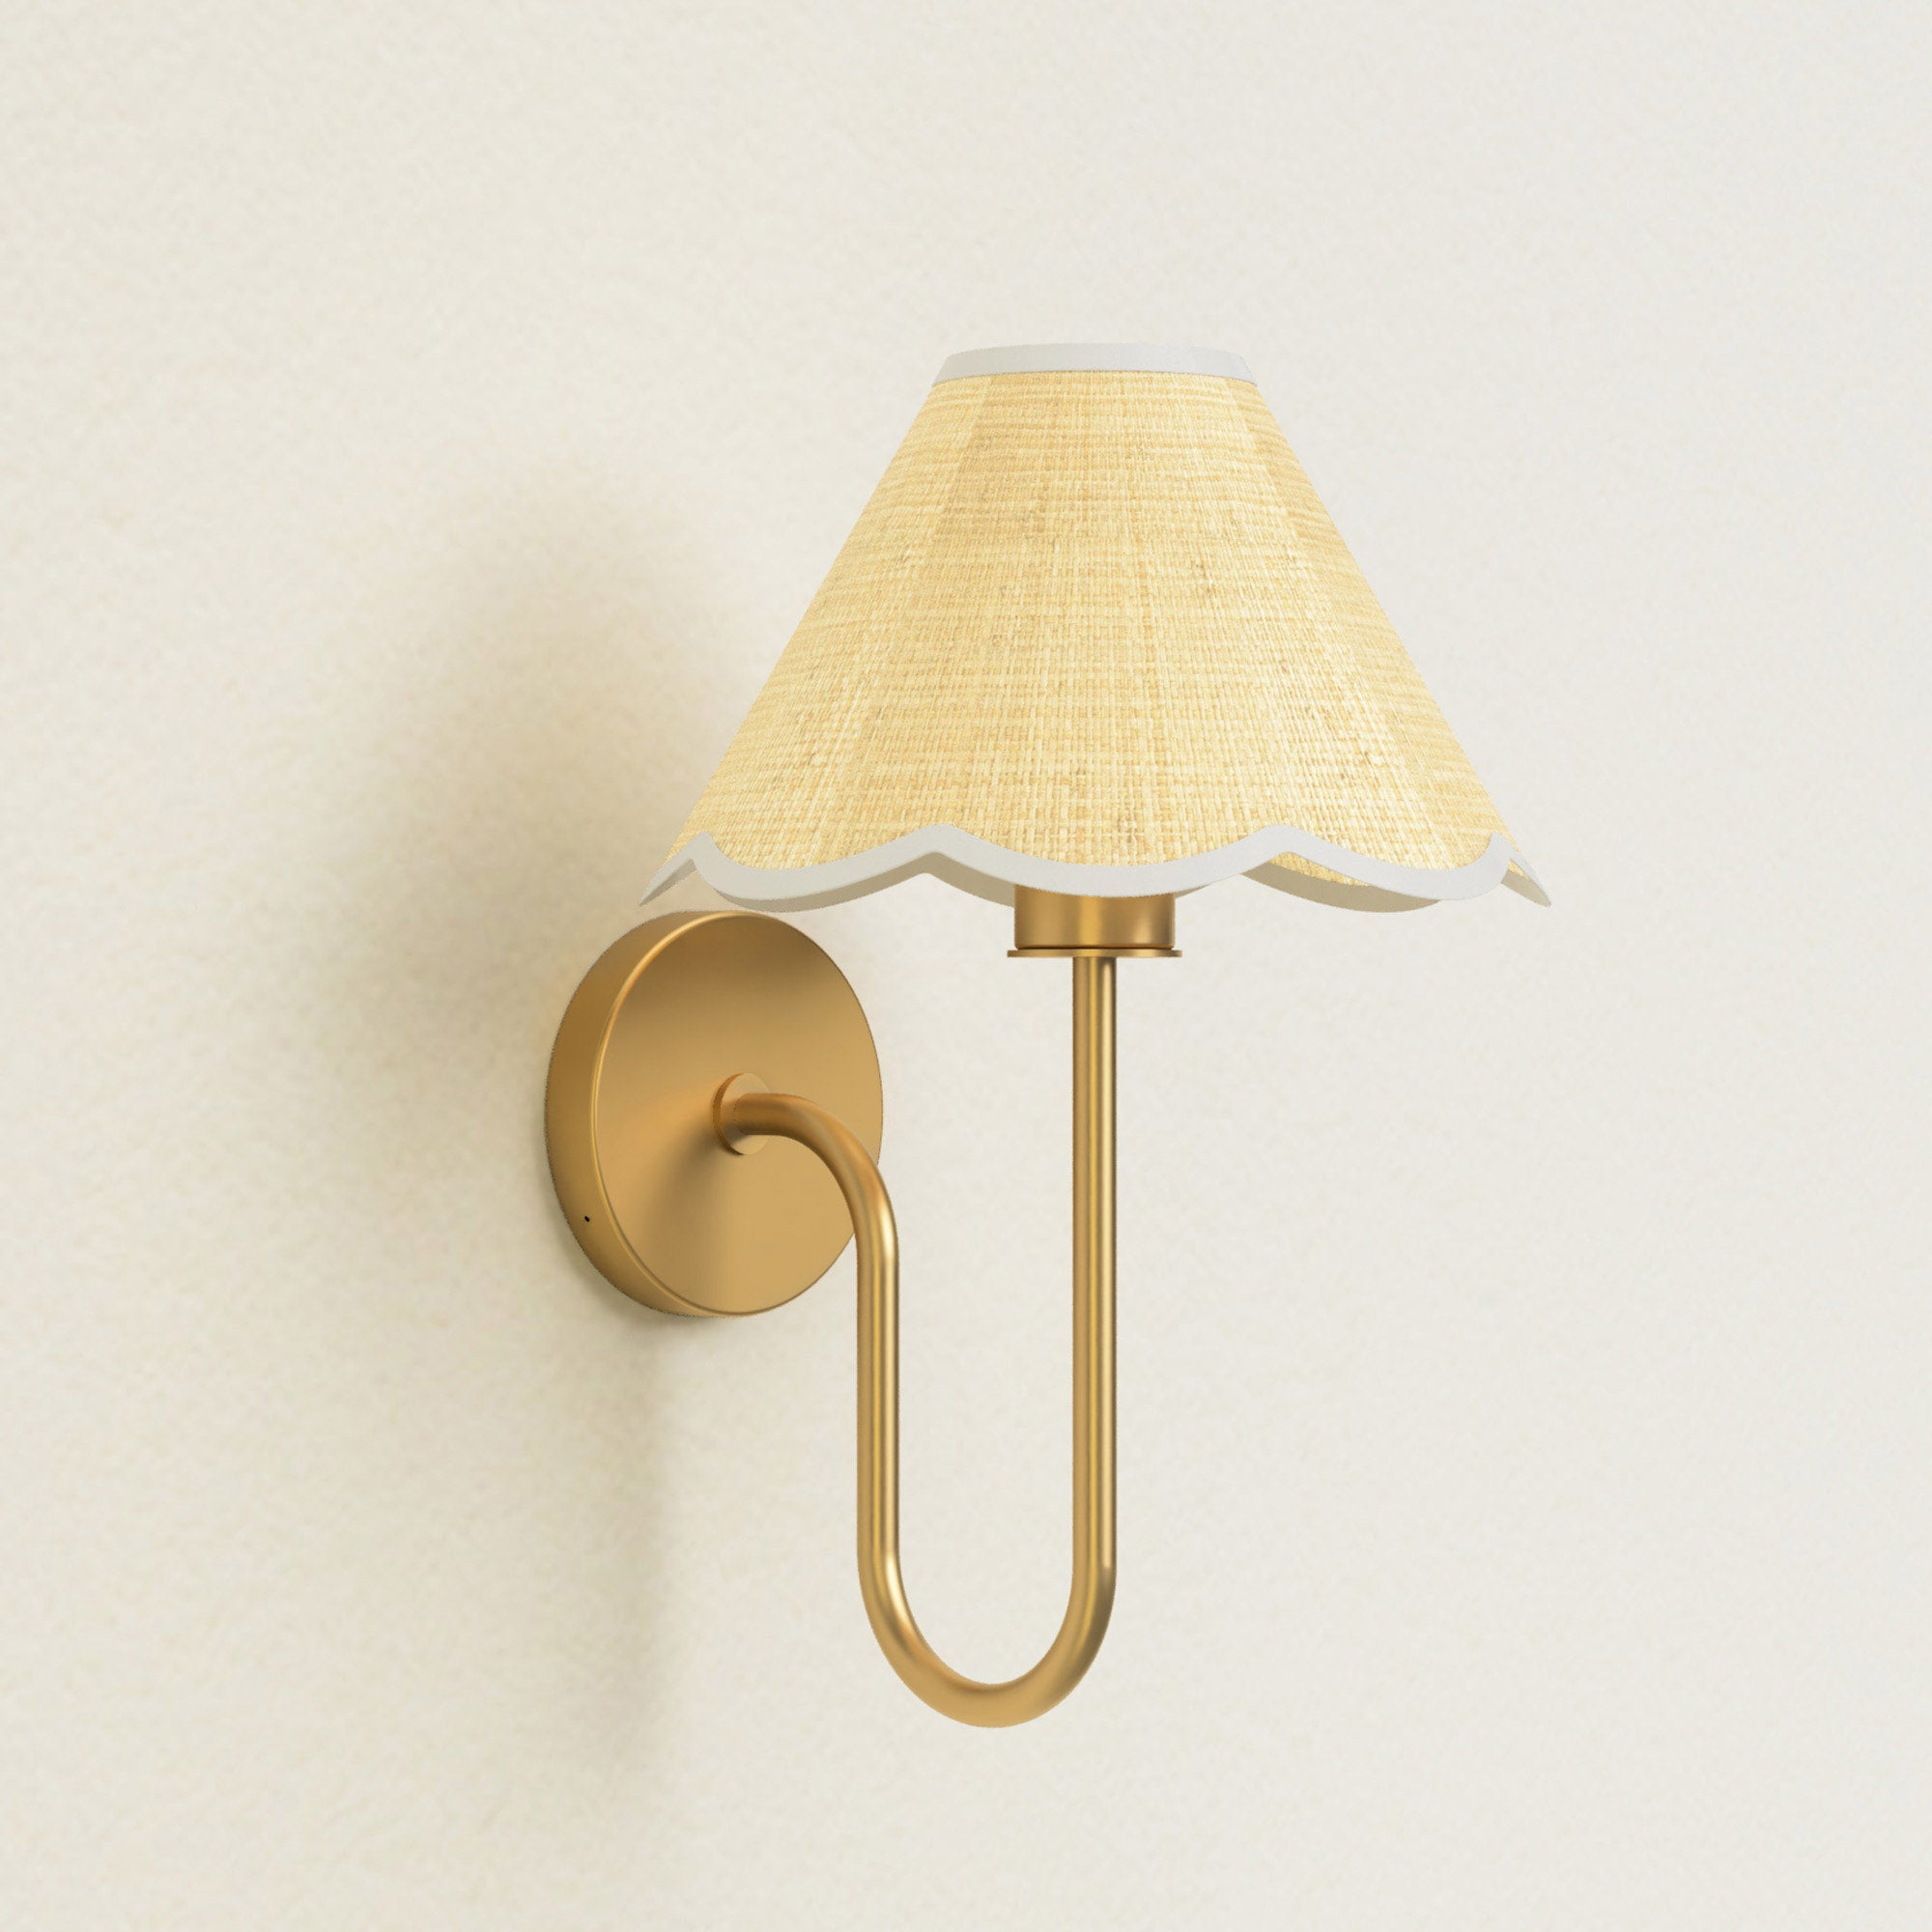
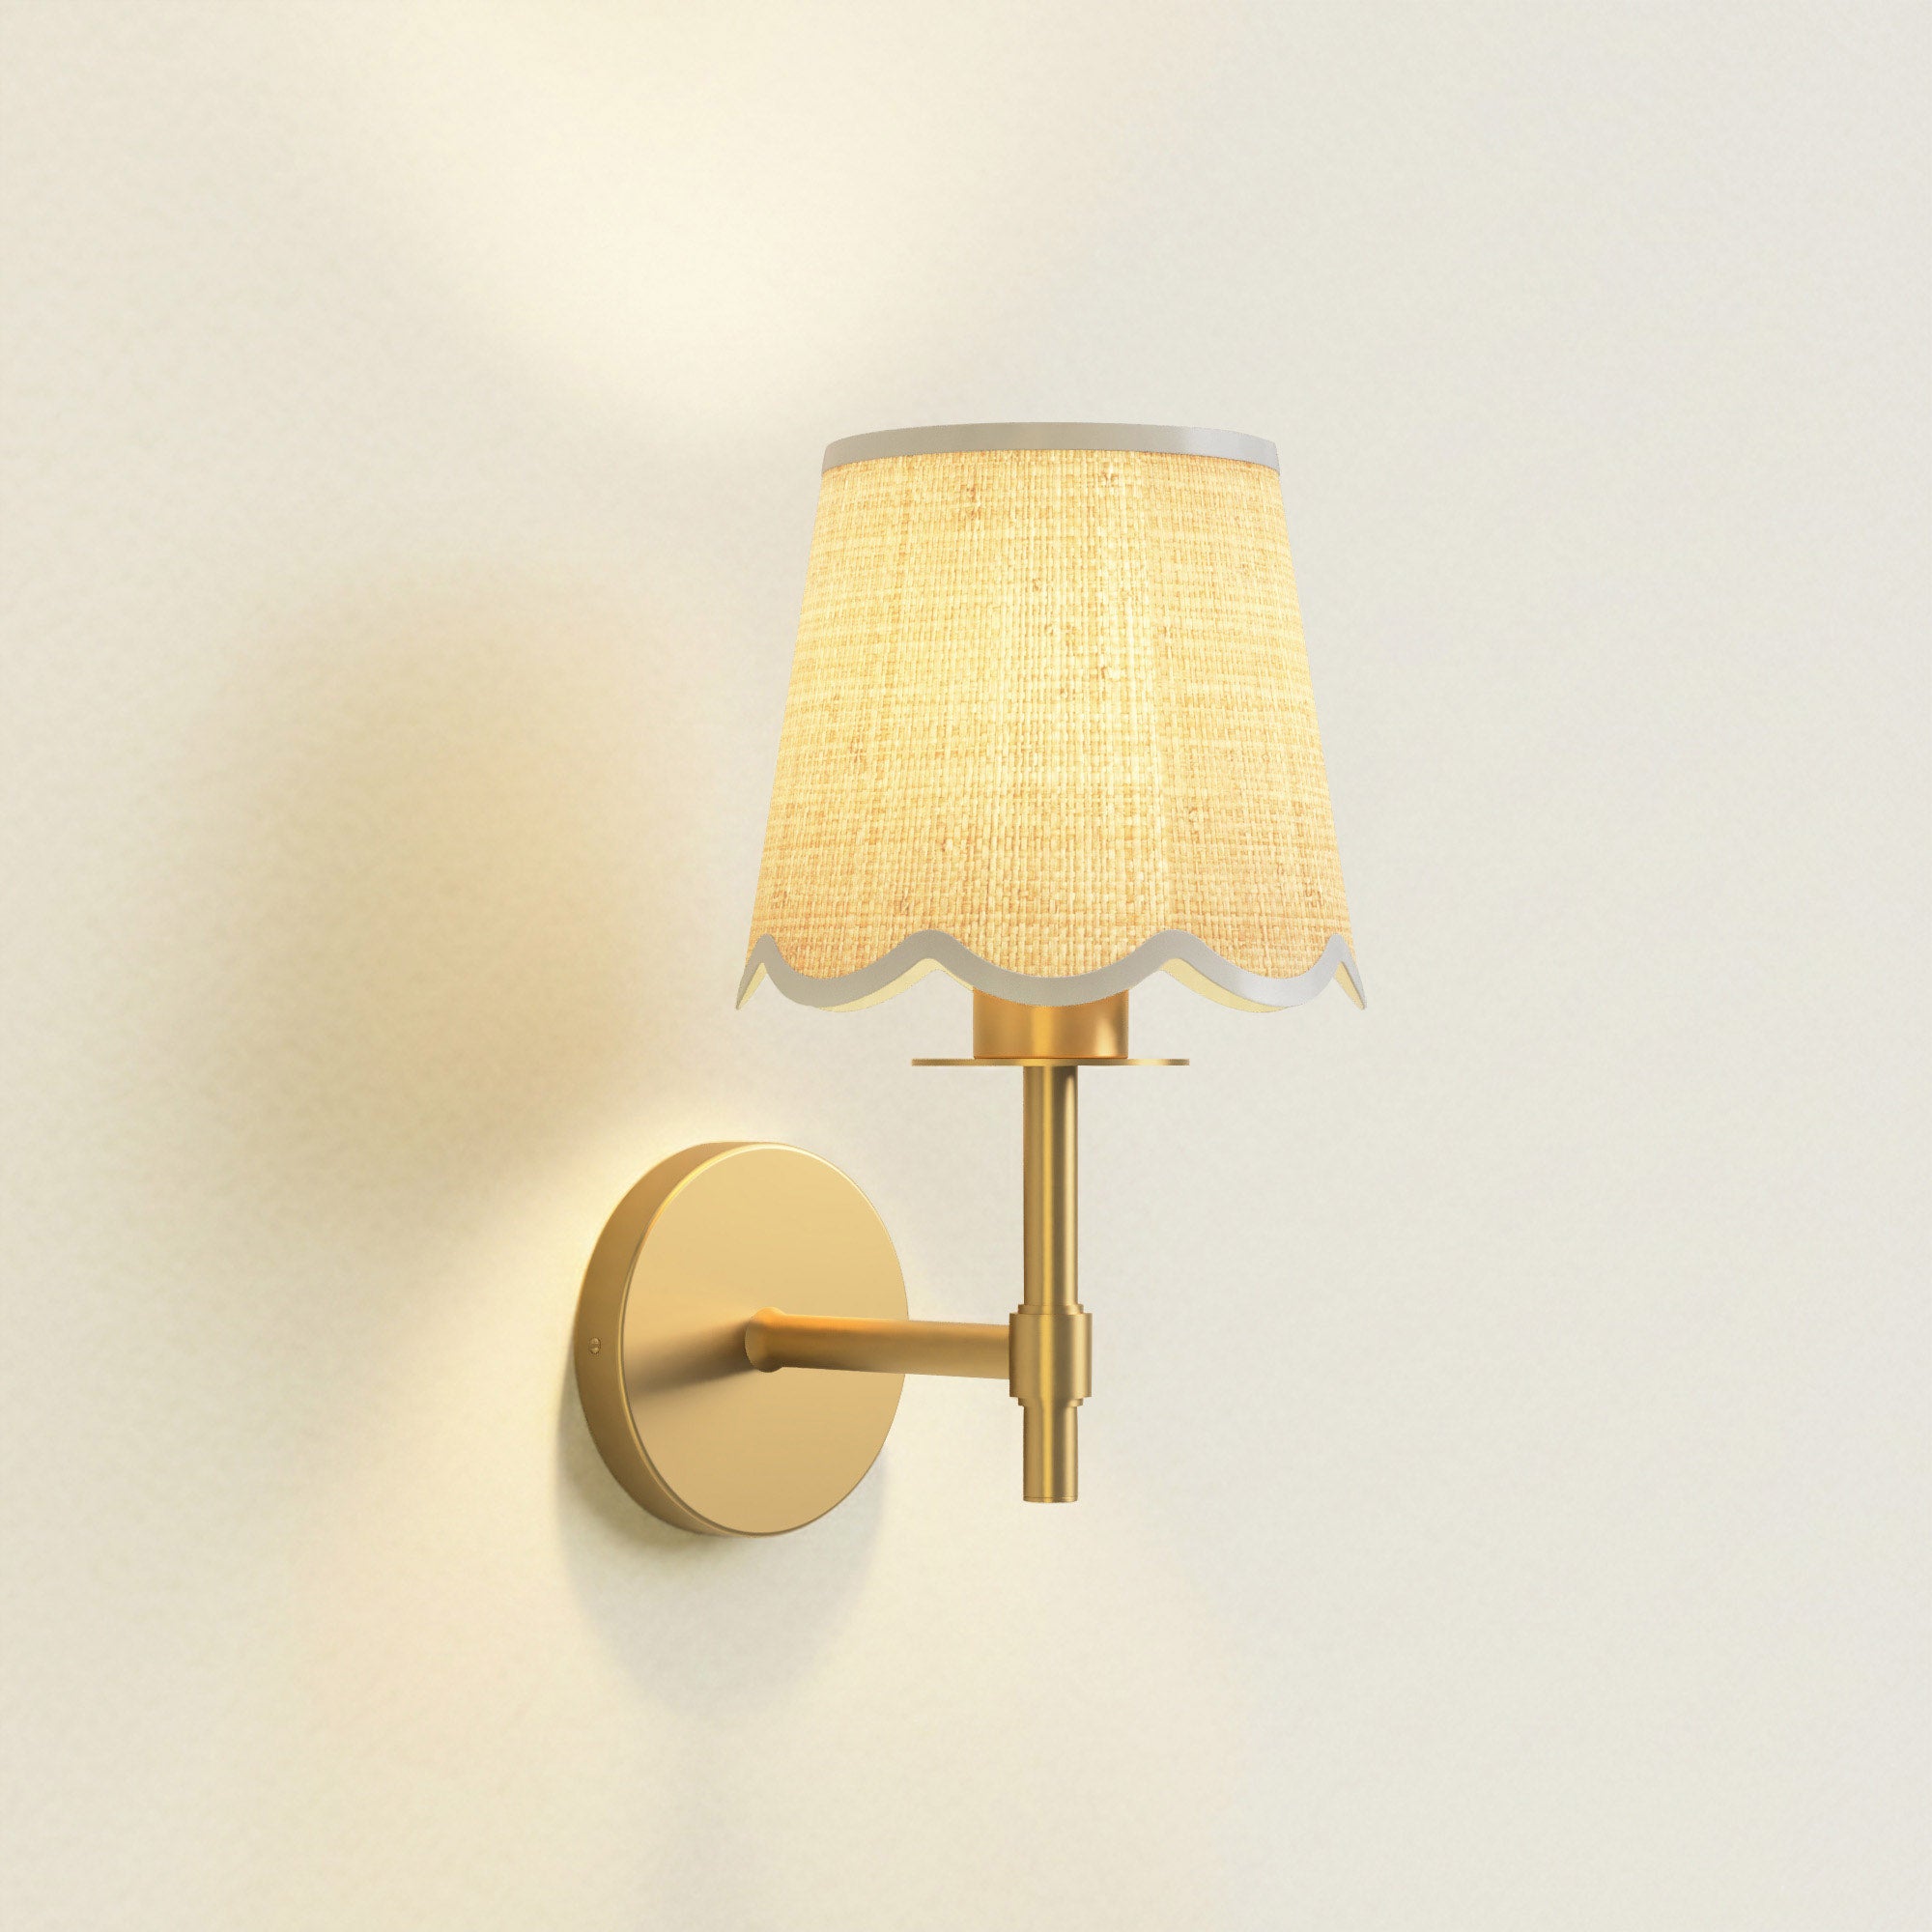
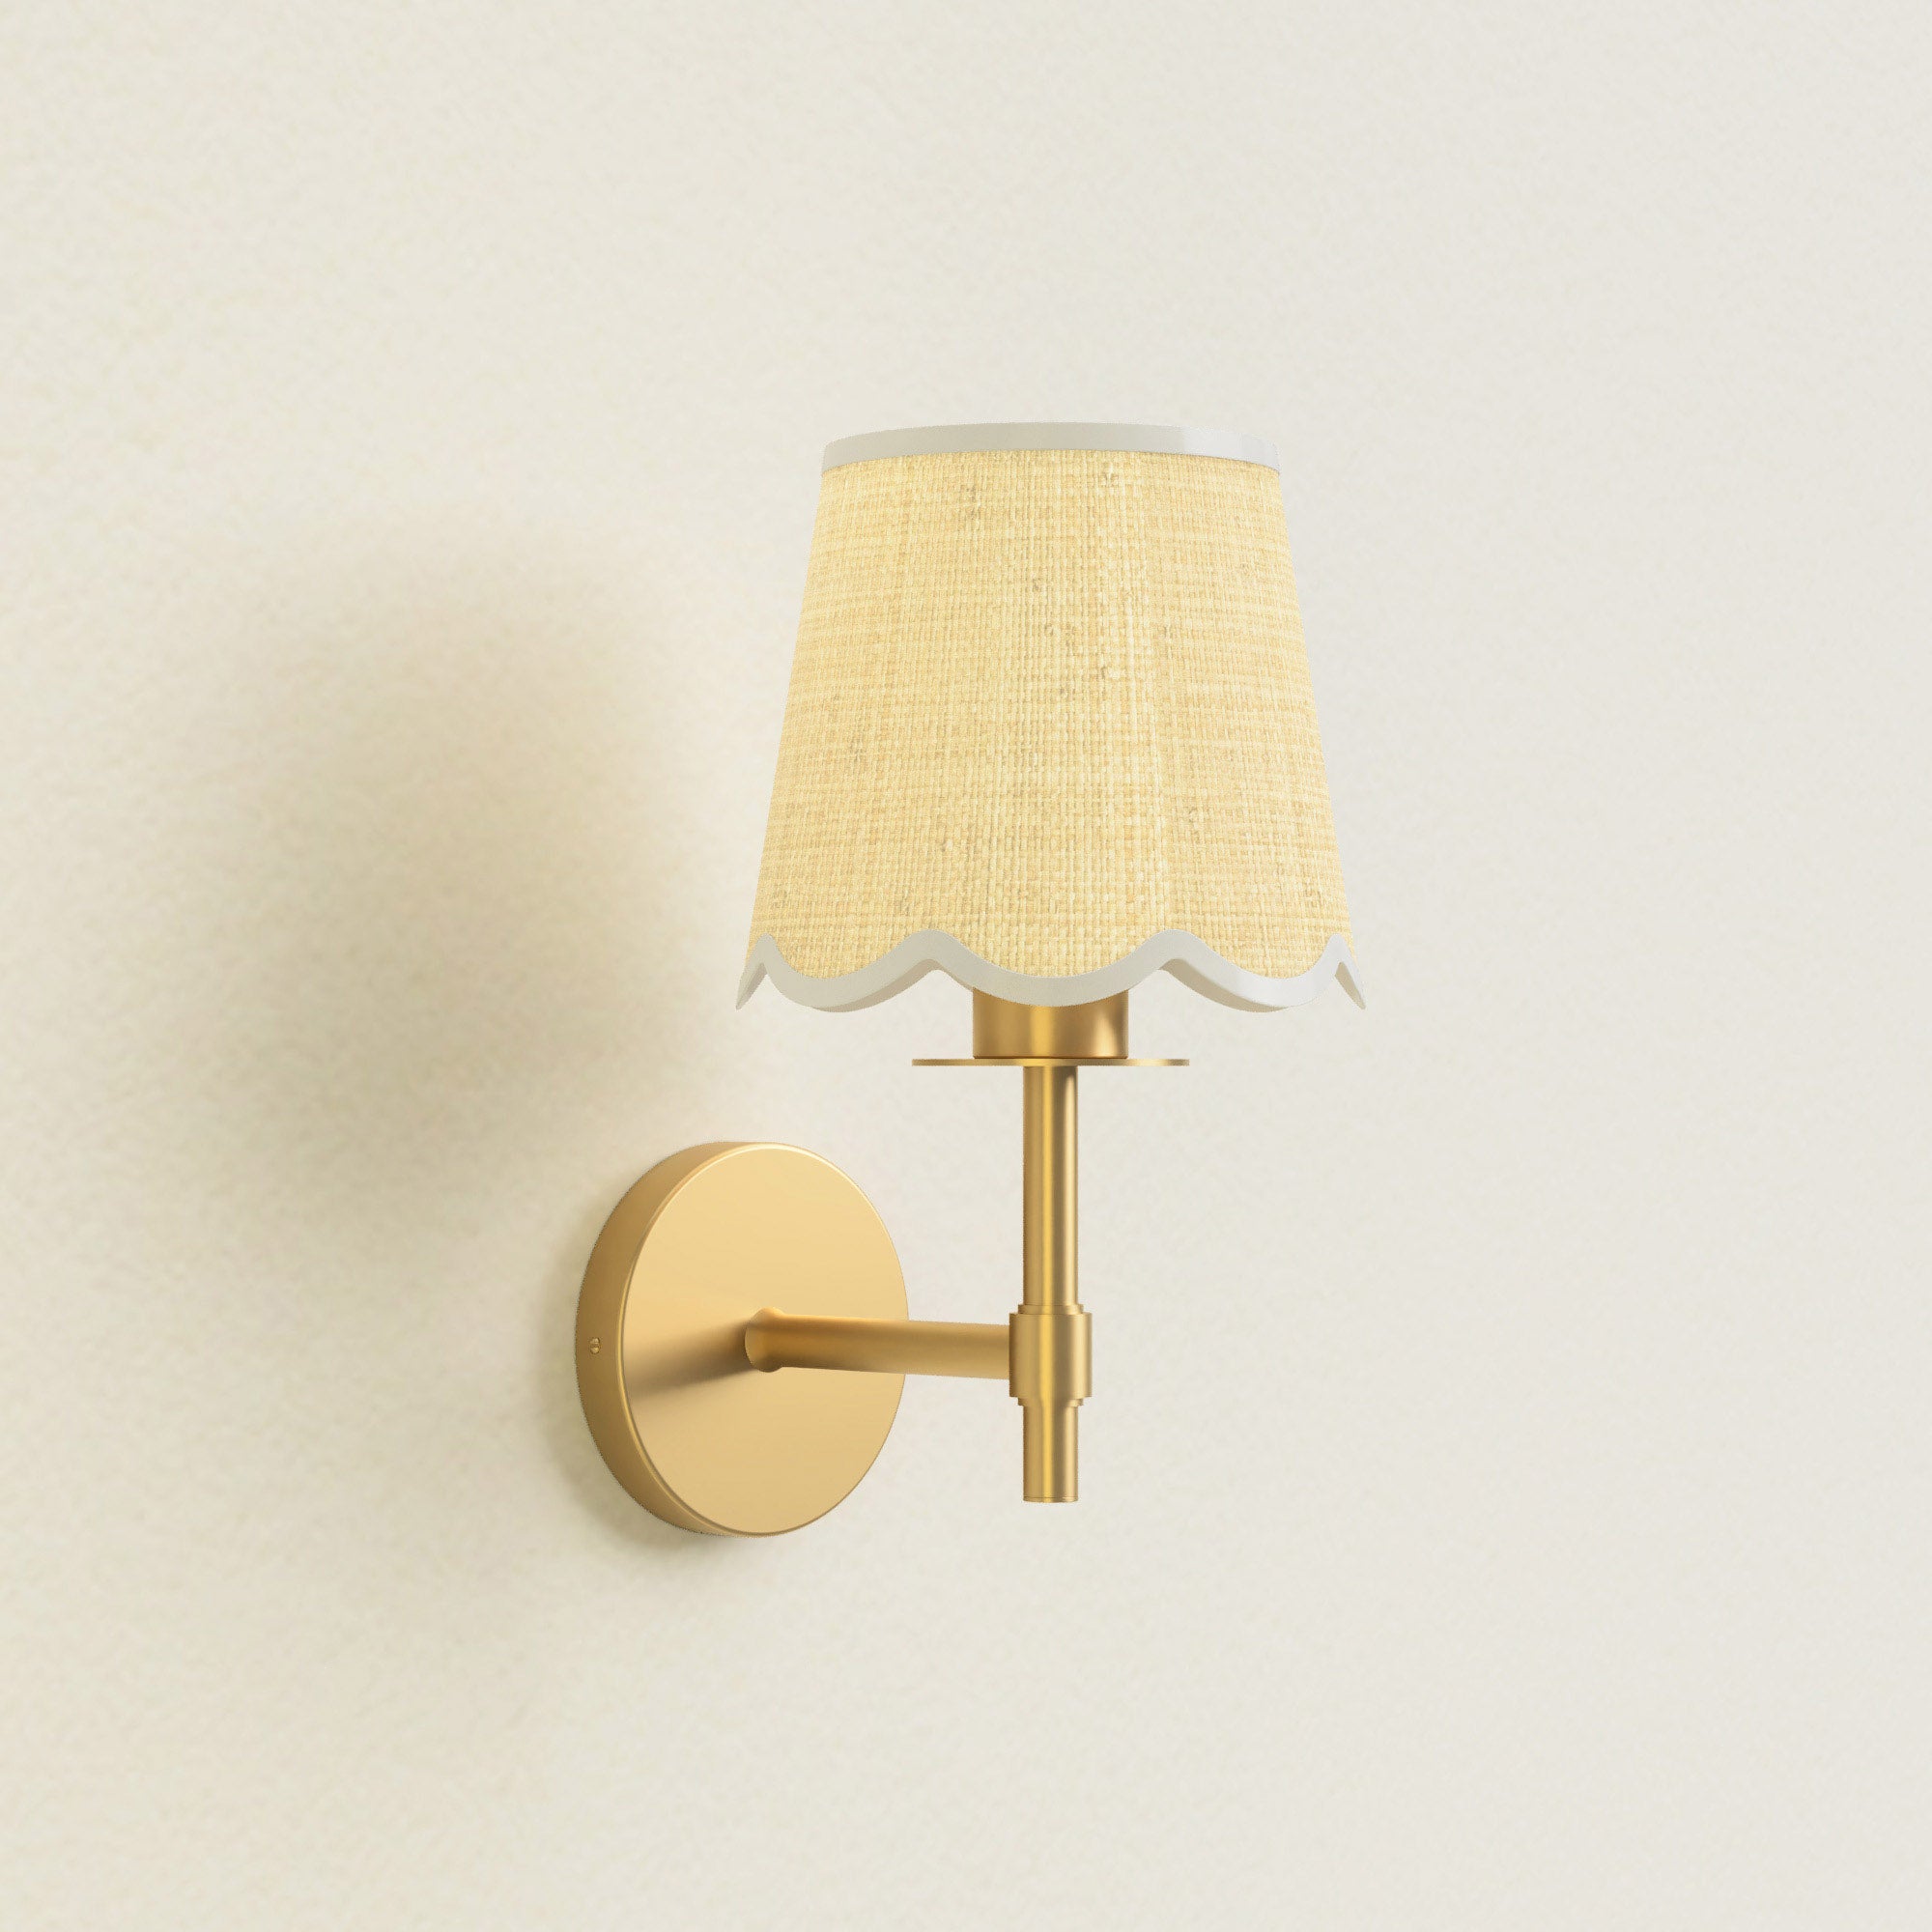
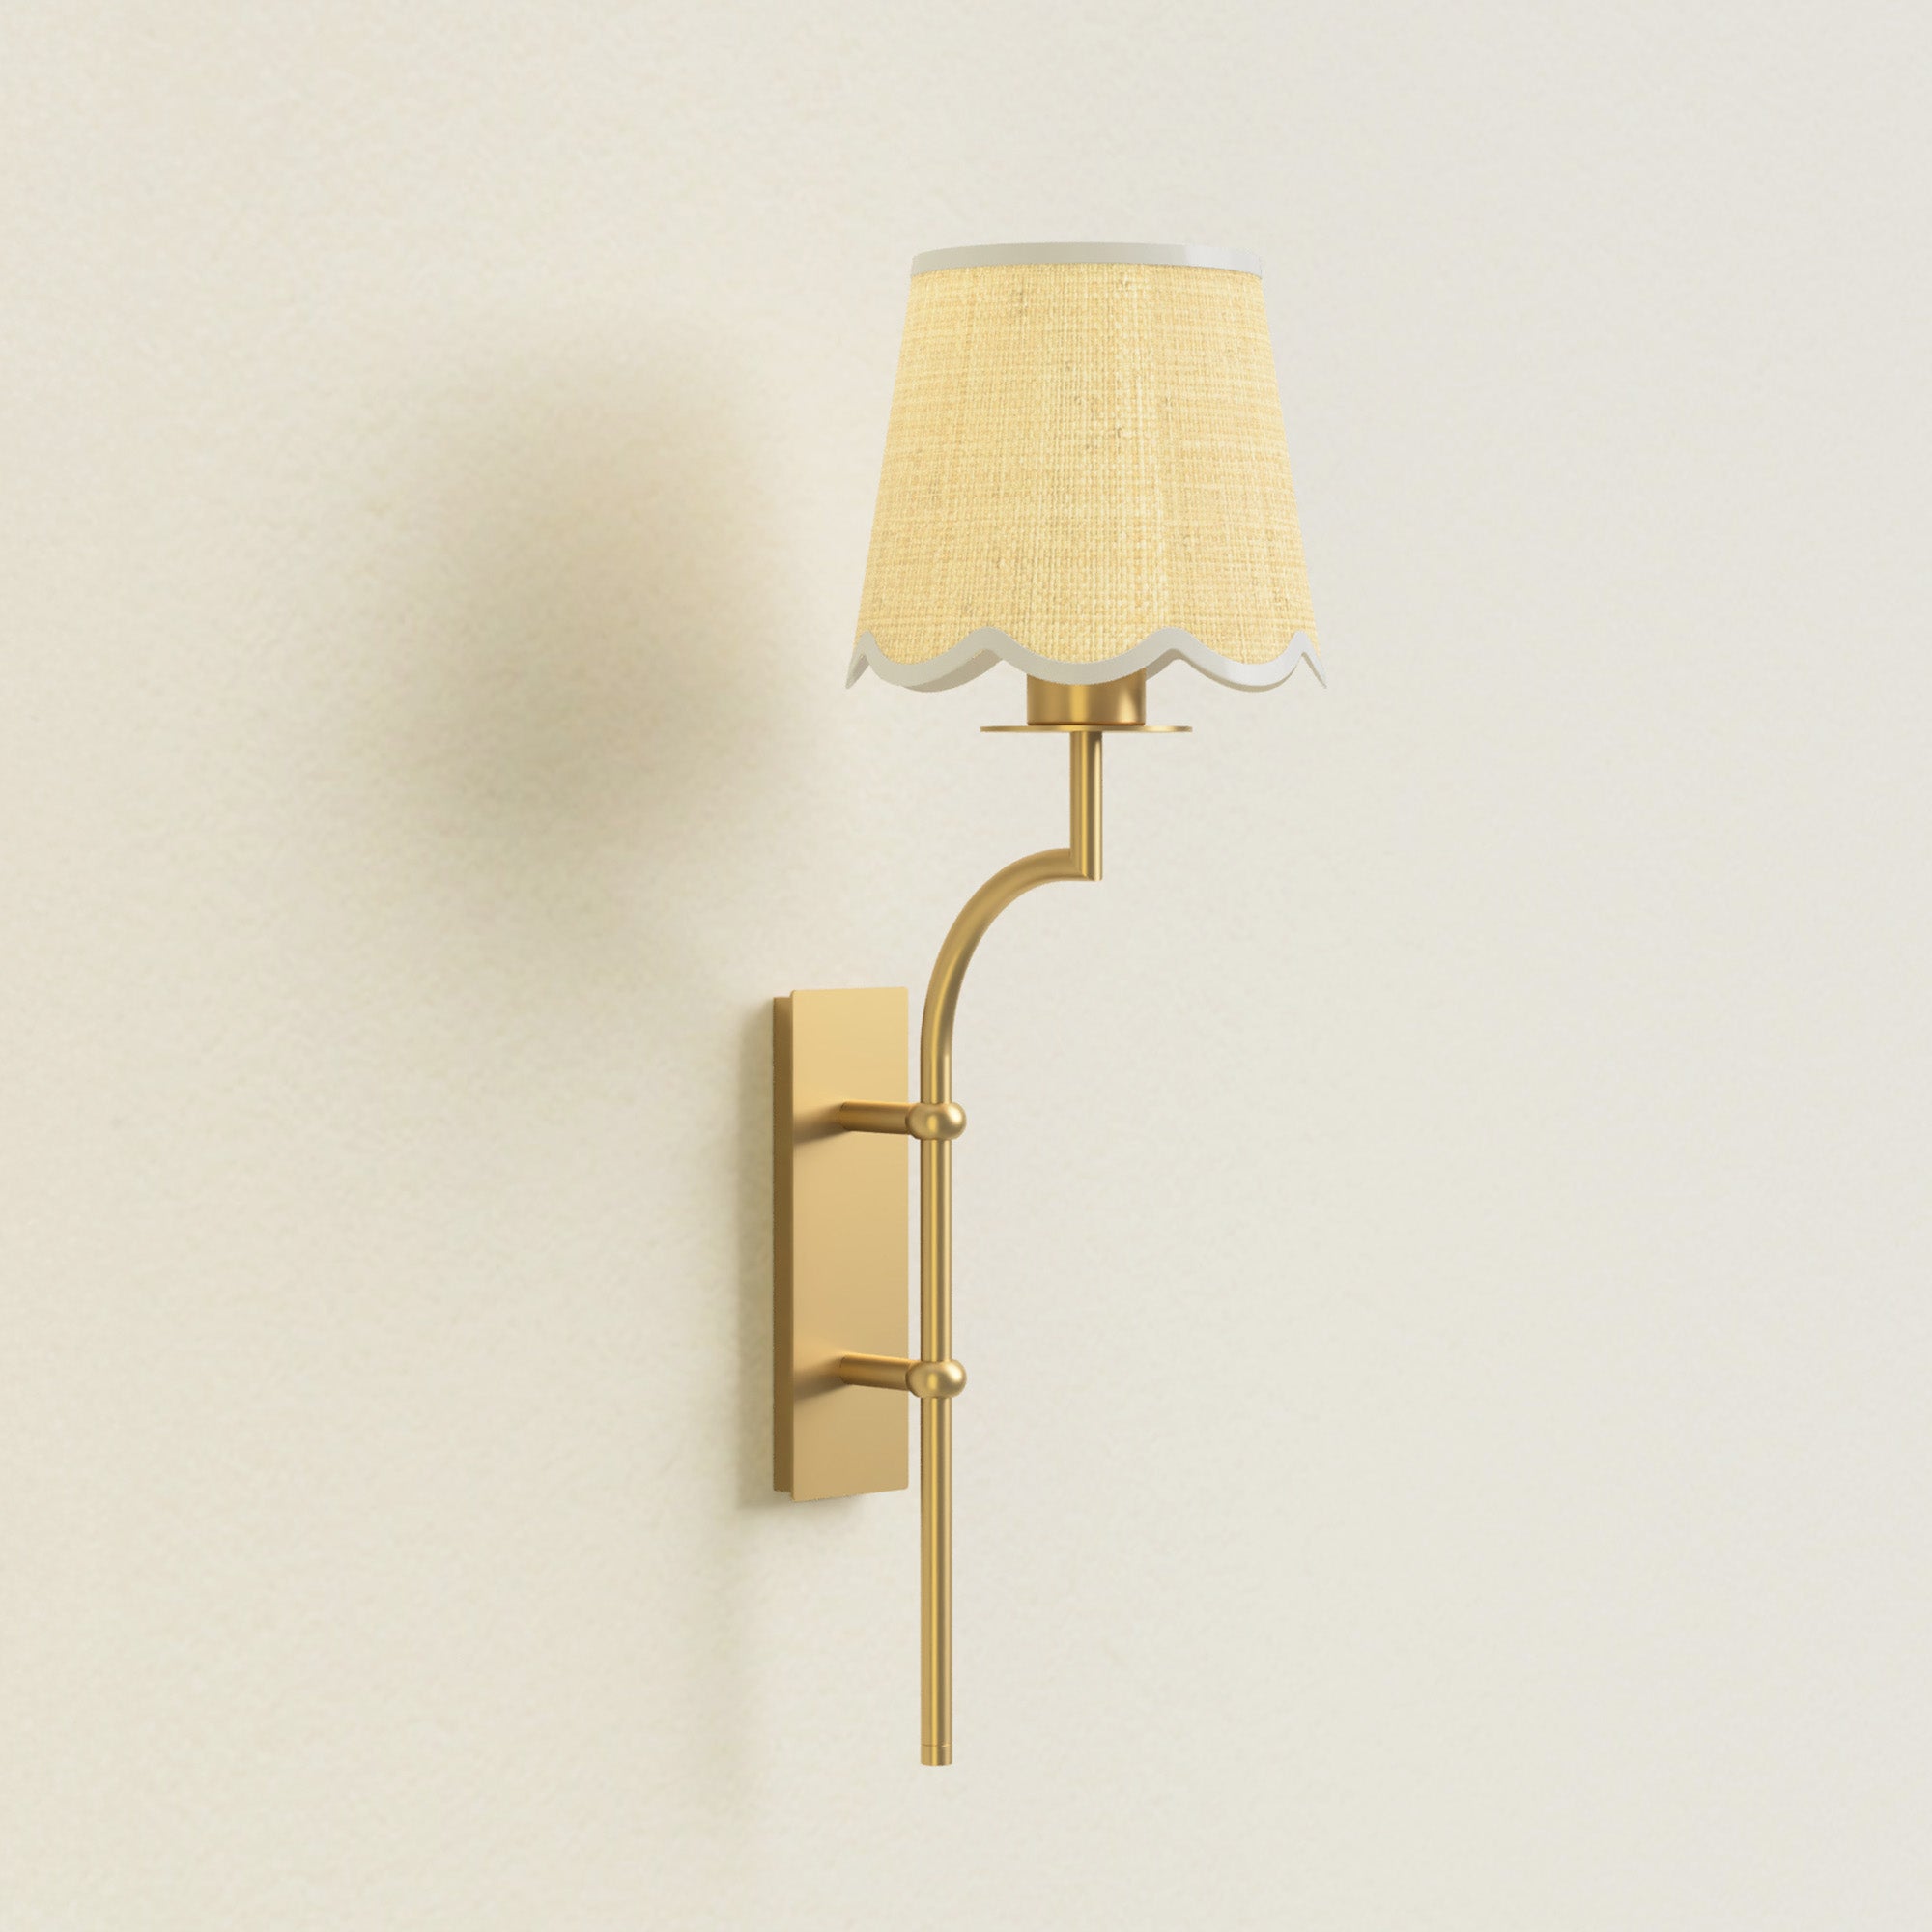
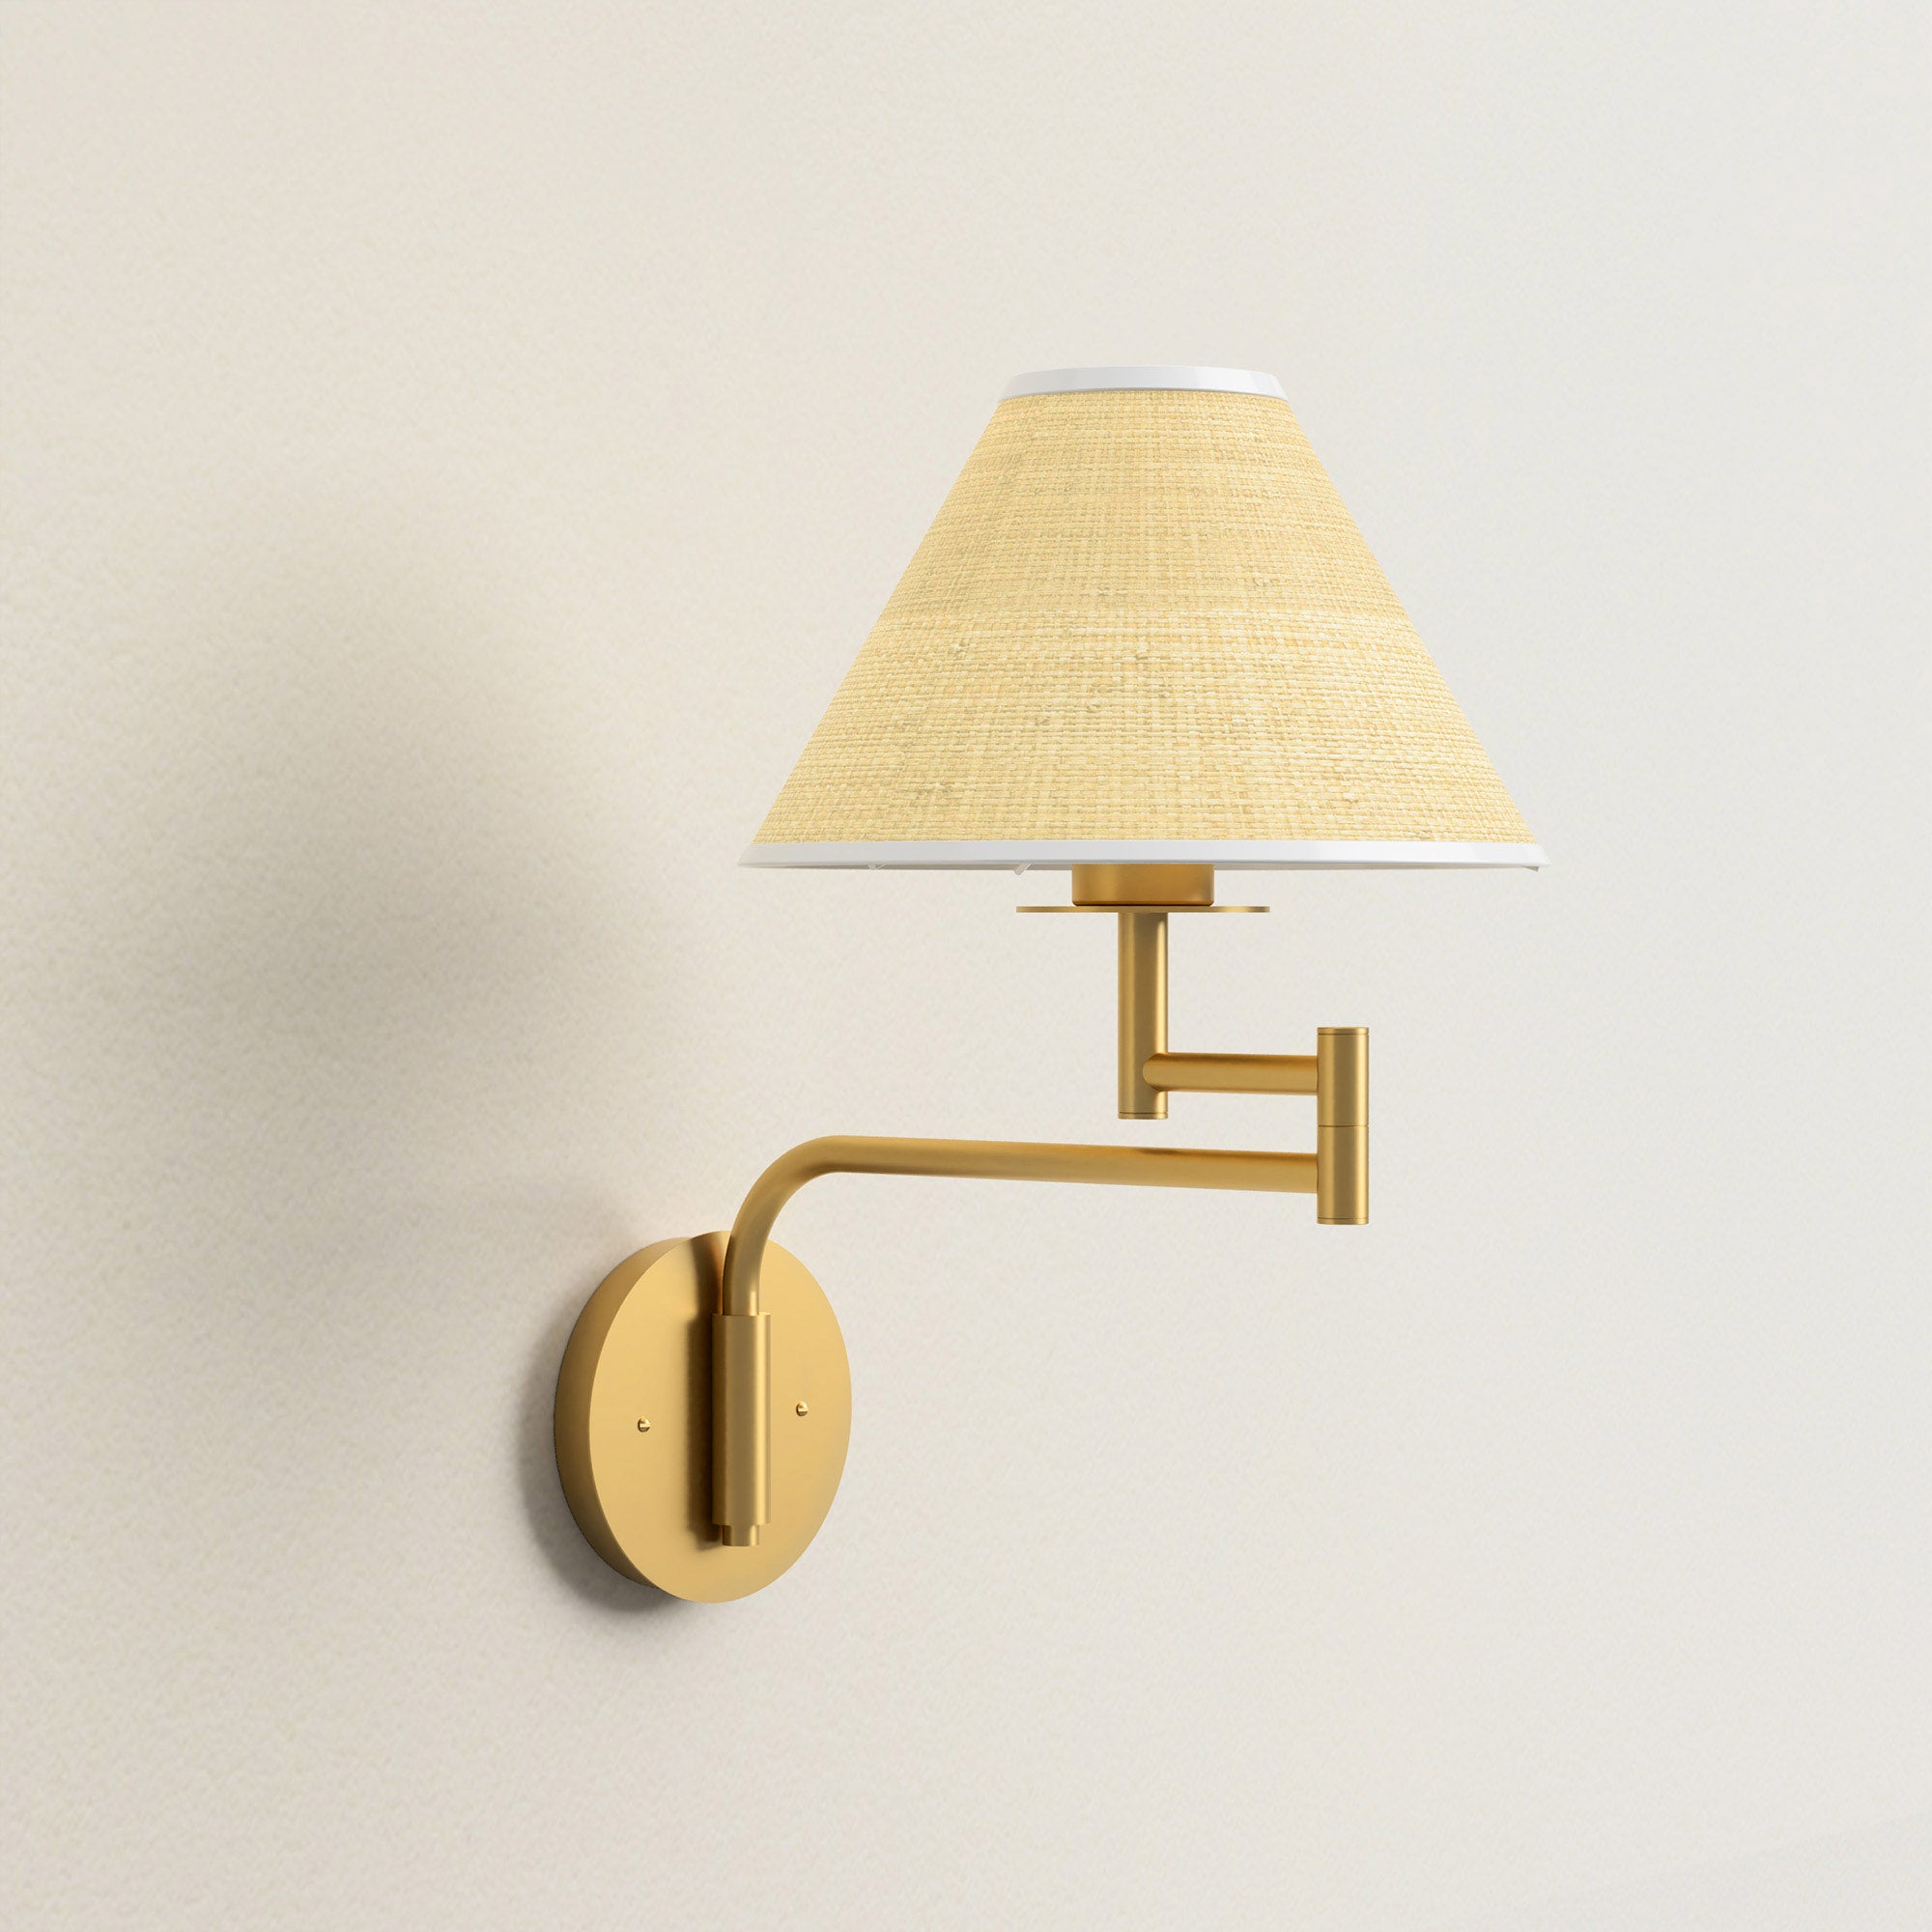
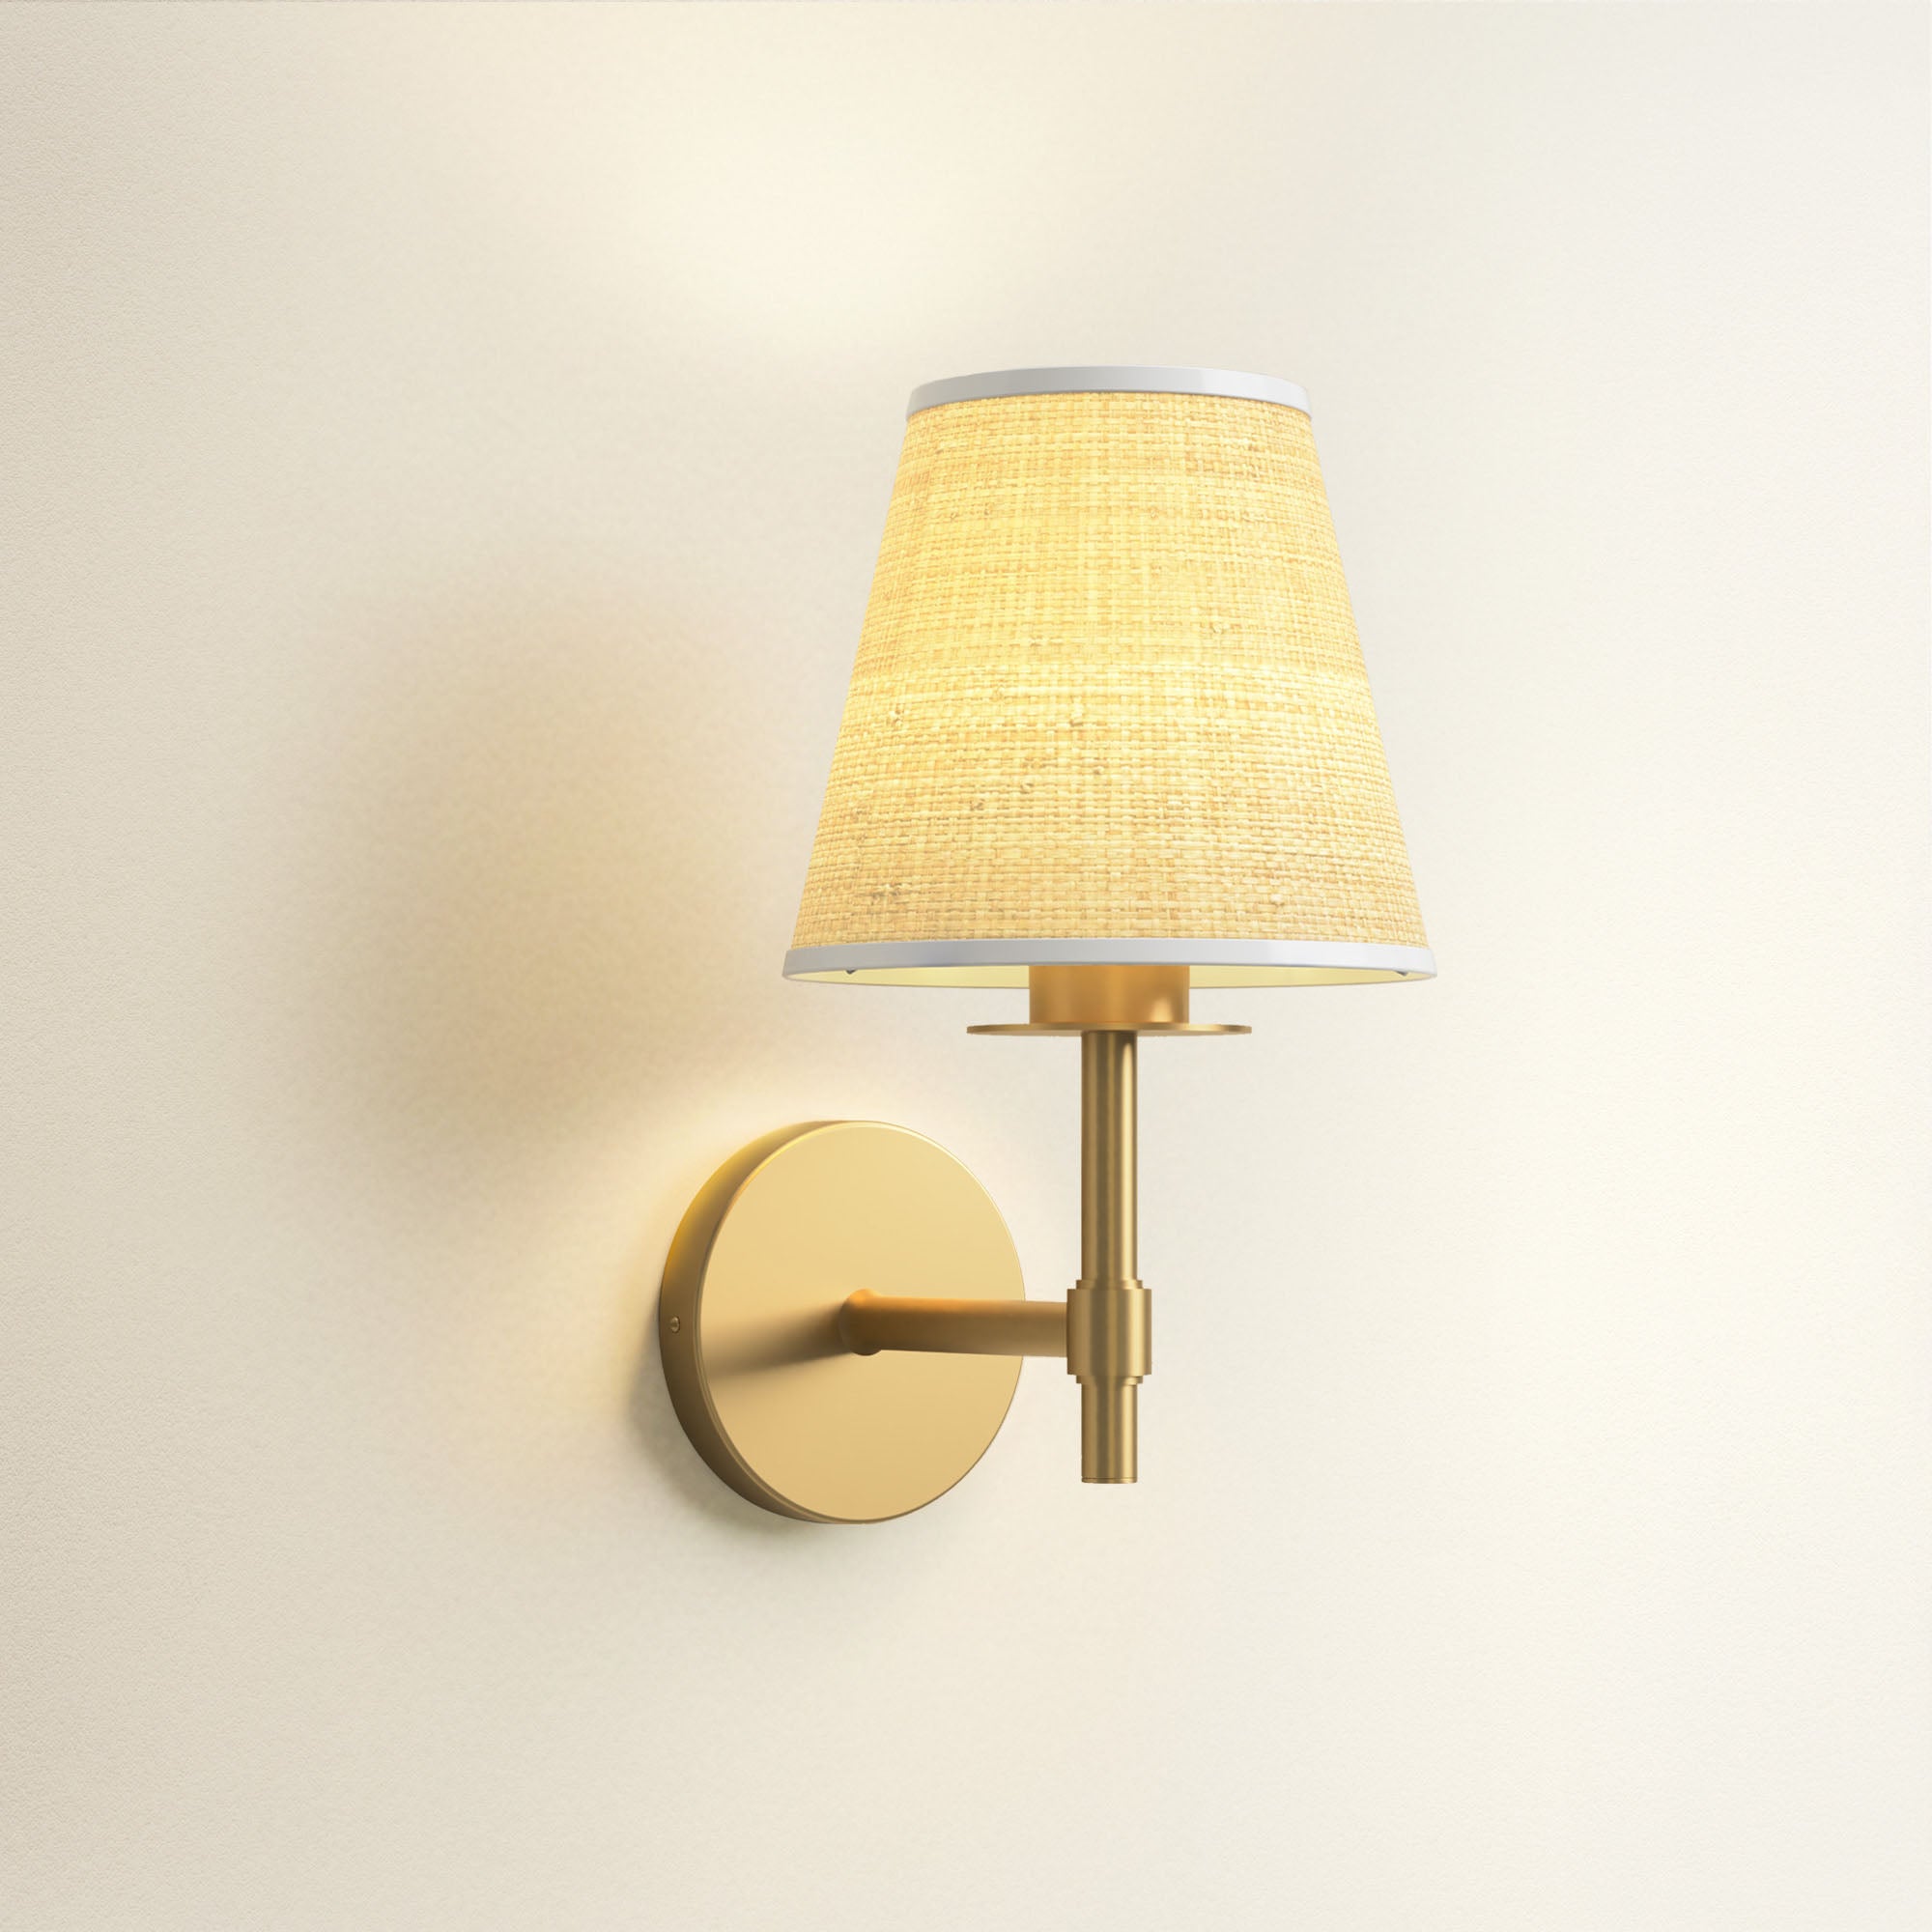
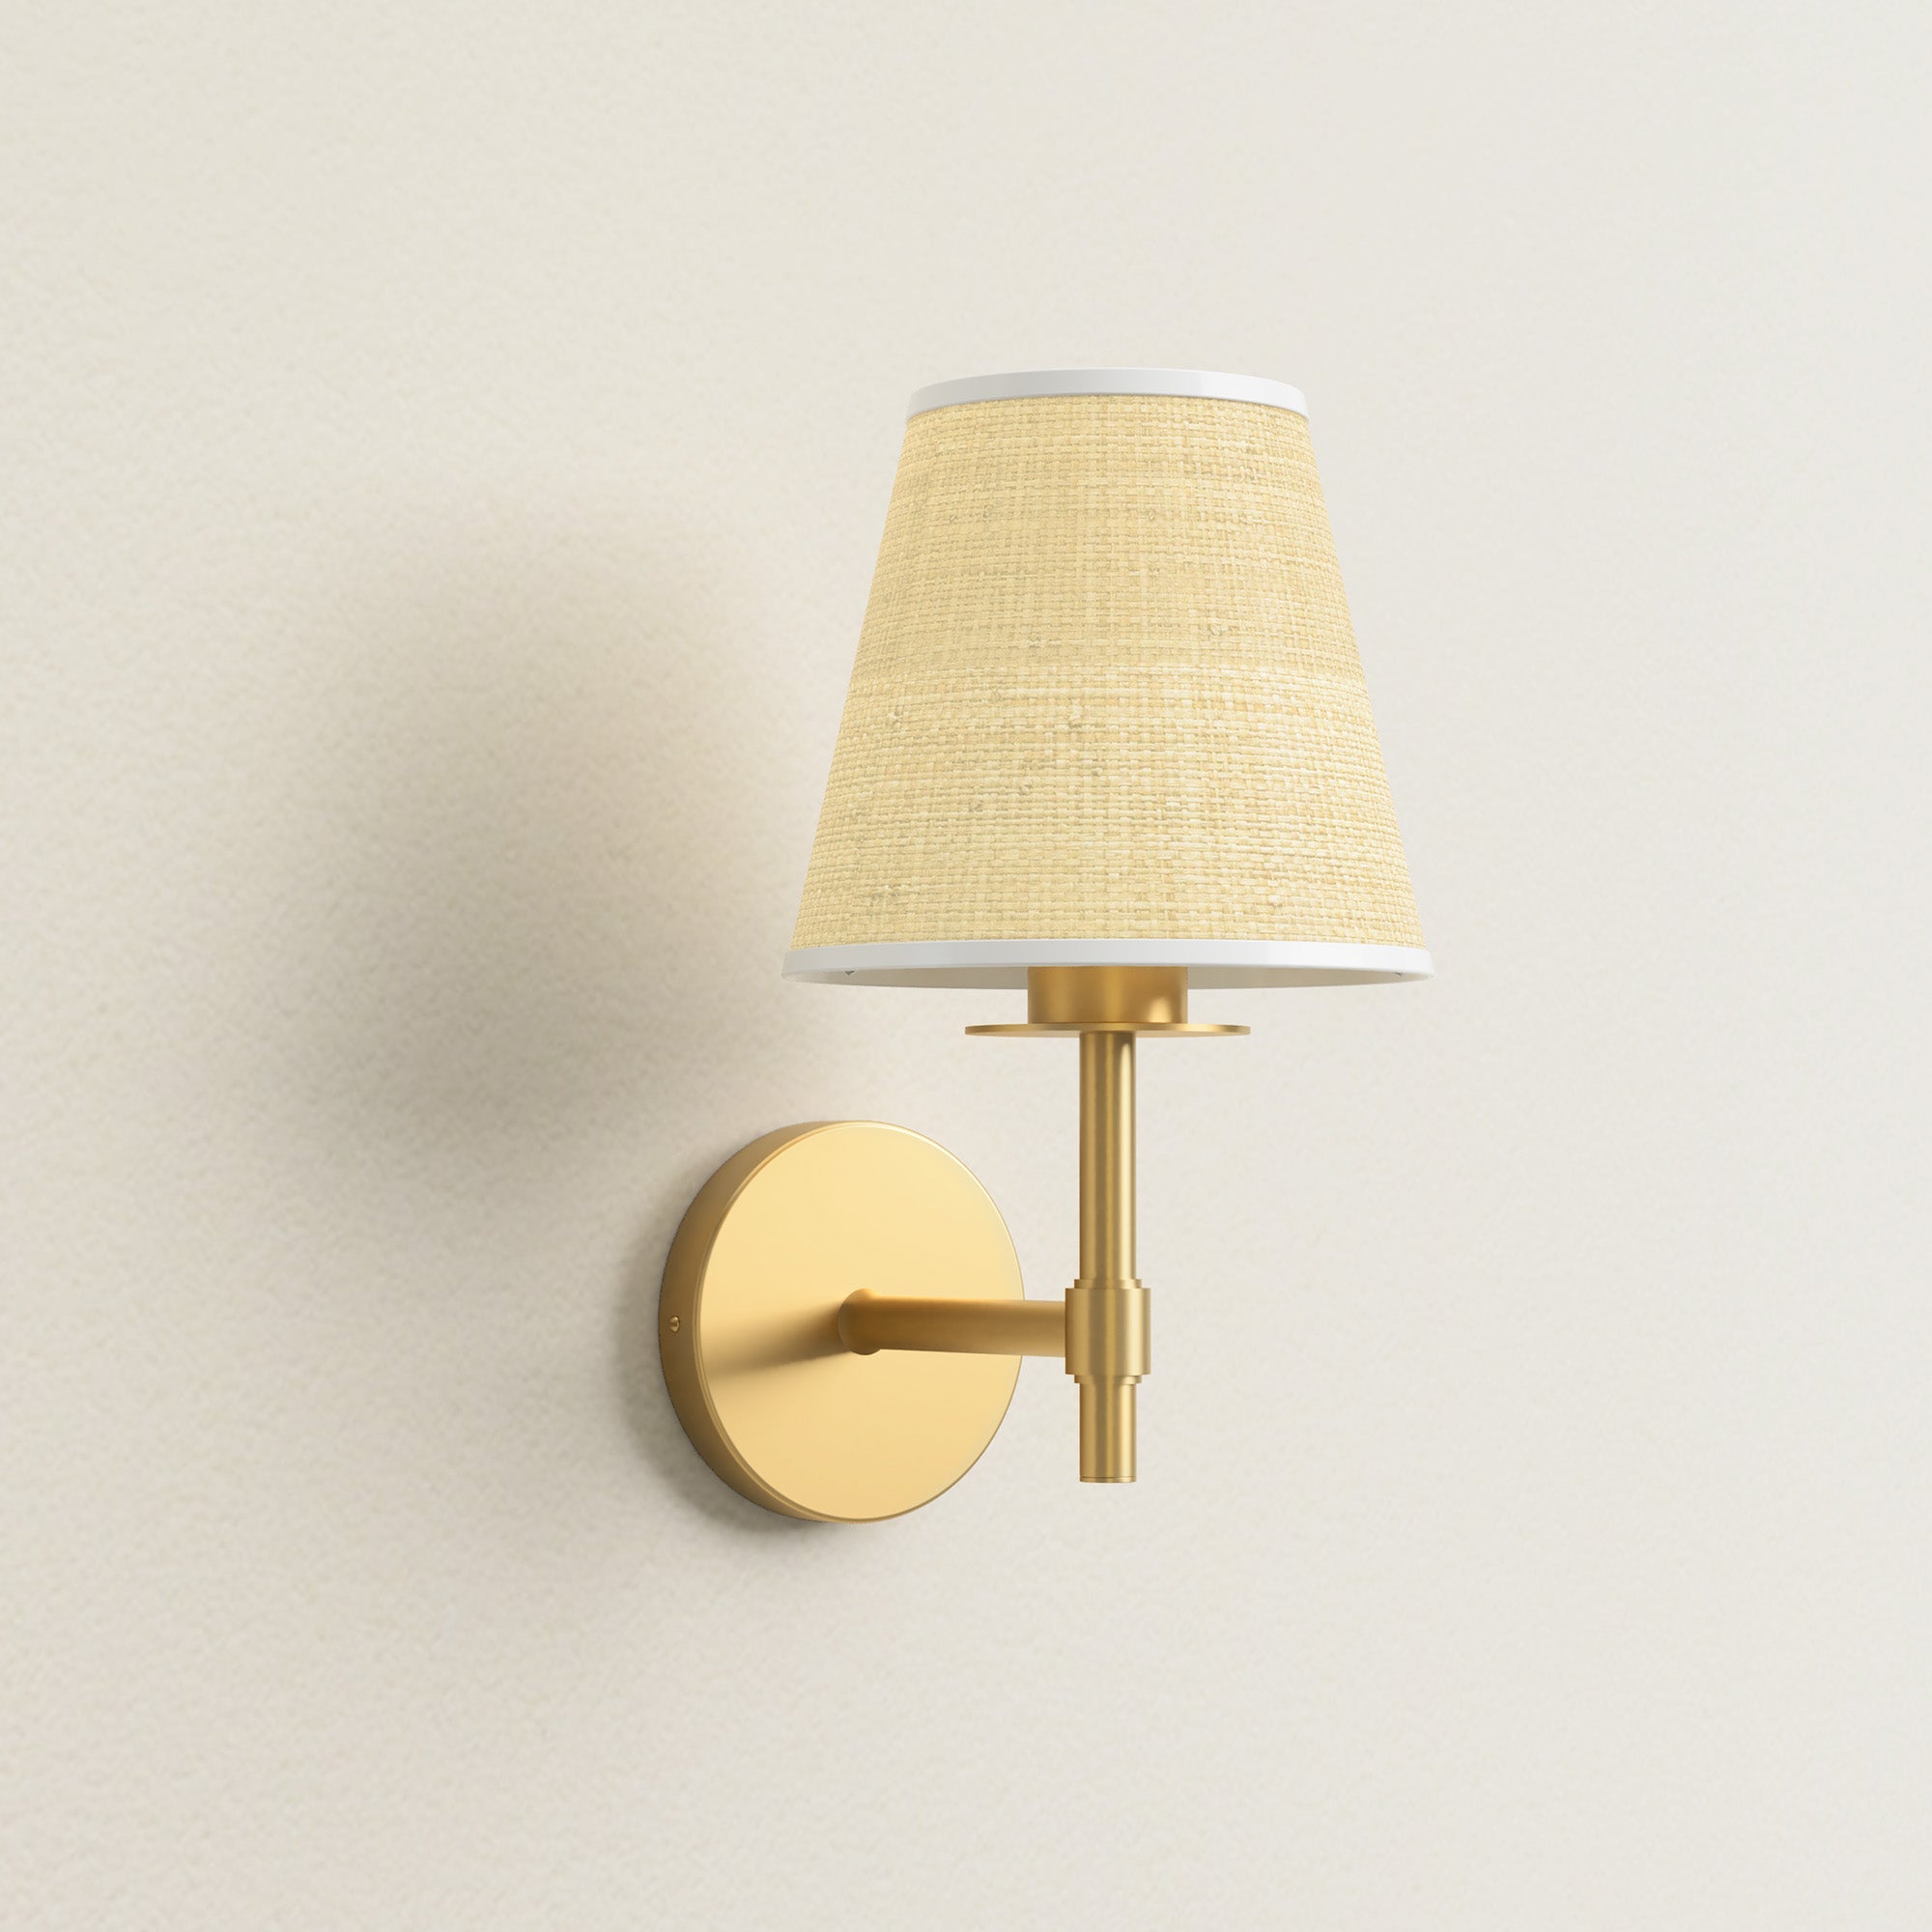
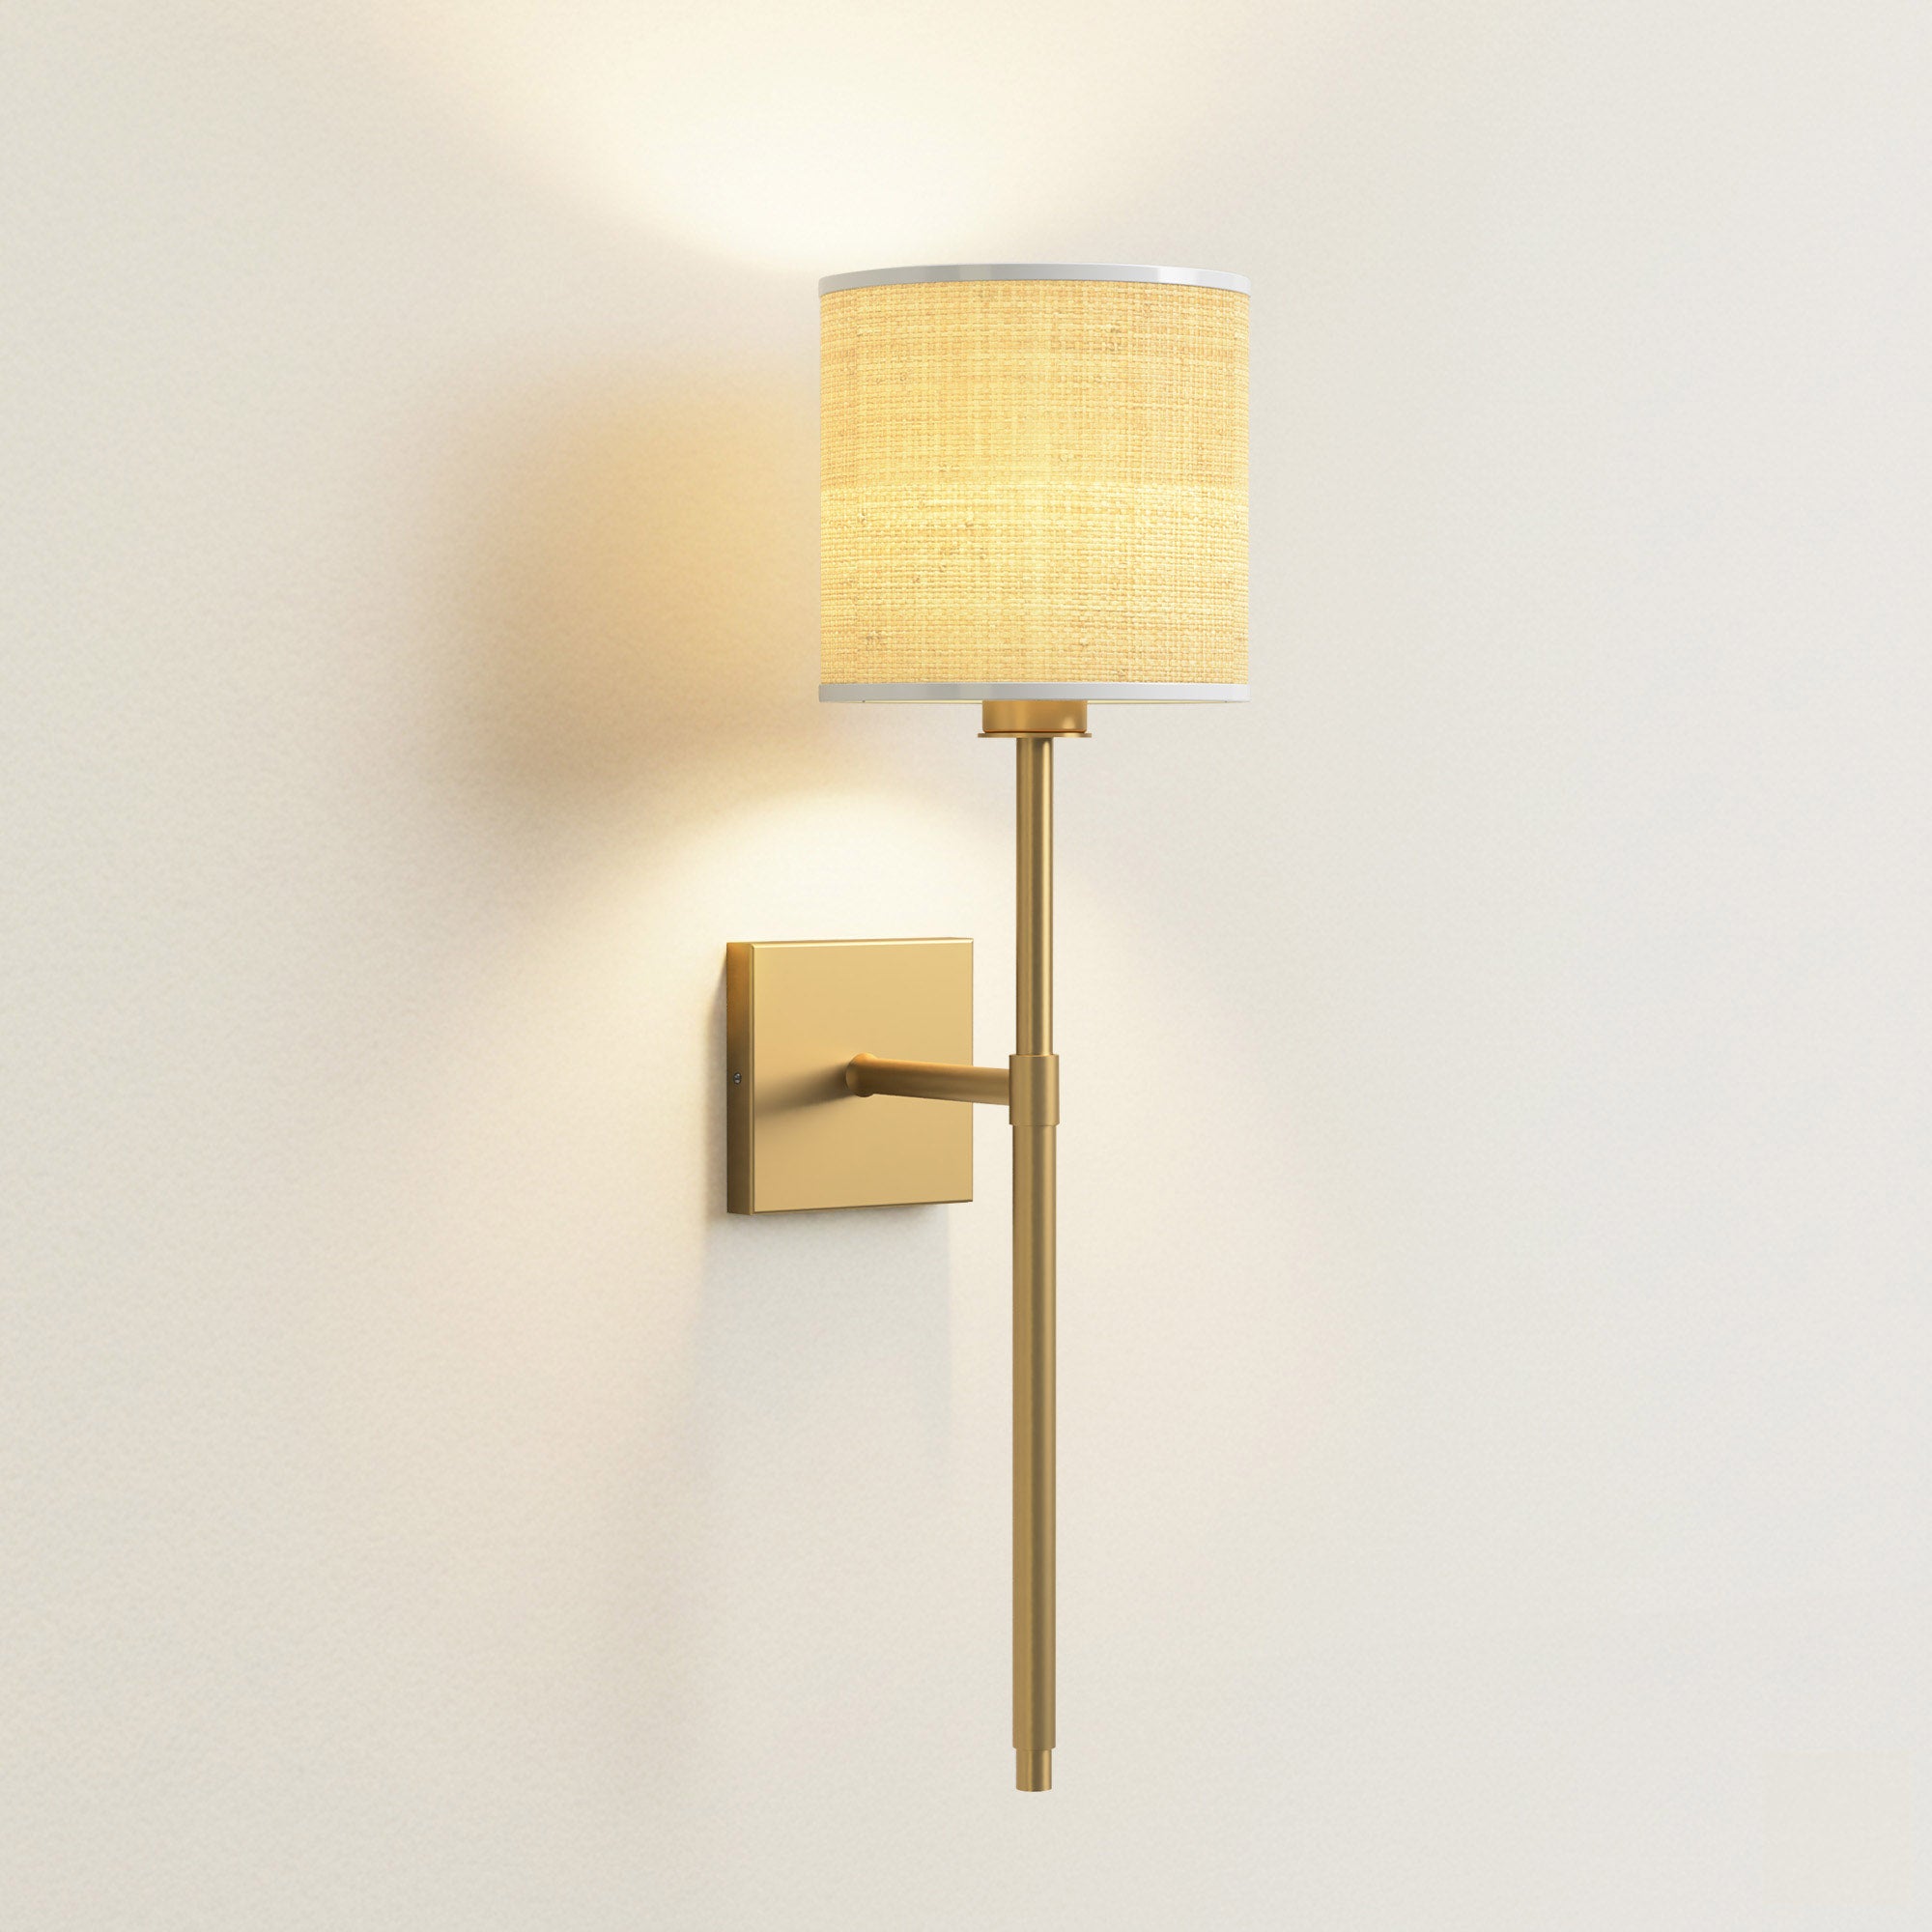
Need a little design inspiration? Let our collection spark your creativity.
45-Day Return
45-Day Return
45-Day Return
45-Day Return
45-Day Return
45-Day Return
45-Day Return
45-Day Return
45-Day Return
45-Day Return
45-Day Return
45-Day Return


Tools and materials needed
Having the right tools and materials will help your project go smoothly! Here’s a simple list of everything you’ll need to replace your bathroom vanity light:
Tools
- Screwdrivers: Use Phillips and flathead screwdrivers to loosen and tighten screws on light fixtures.
- Voltage detector: This little tool is essential for double-checking that the power is completely off before working with wires.
- Wire stripper: If you need to strip the ends of any wires for better connections, a wire stripper makes it easy and safe.
- Needle-nose pliers: Ideal for twisting wires together and handling small connections securely.
- Ladder or step stool: A safe and sturdy stool or ladder will allow you to reach the fixture without stretching.
Materials
- New vanity light fixture: Choose a fixture that suits your bathroom’s style and size, whether LED fixtures, globe lights, or a more classic candlestick sconce. For various options, check out our collection of pendant lights for bathrooms.
- Wire nuts: These small connectors twist onto the wire ends to hold them securely. You’ll typically find these in different colors, which indicate their size.
- Electrical tape: Use this to reinforce the wire nuts and ensure everything is secure.
- Mounting screws: These are usually included with your new light fixture, but it’s good to double-check in case you need specific screws for your wall type.

Source: Rowabi.
Additional lighting terms
When shopping for your fixture, keep in mind these terms:
- Wattage and amperage: Make sure the wattage of the bulbs matches what your fixture can handle. Check amperage, too, if your fixture is high-powered.
- Junction box: Some vanity lights require a junction box for proper installation, which holds and organizes wires inside the wall.
- Safety equipment: While not always necessary, gloves can help protect your hands during the process.
Taking the time to gather these tools and materials will help you tackle your bathroom vanity light replacement with confidence! If you're considering styles, look into the modern farmhouse bathroom trend for a fresh look.
How to change a bathroom vanity light
Replacing your bathroom vanity light can feel like a big project, but it’s a straightforward job with a little planning. Let’s break it down into easy steps.
Step 1: Switch off the power
Safety first! Head to your circuit breaker and turn off the power to the bathroom. Once you’ve flipped the switch, test the vanity light to ensure it’s off, and then double-check with a voltage detector for added peace of mind. It’s an extra step but essential to keep things safe.
Step 2: Removing the bulbs
Gently unscrew each bulb from the old fixture and set them aside. If they’re still good, you can keep them for other lights or as backups.
Step 3: Unscrew the light fixture
Using a screwdriver, start unscrewing the fixture from the wall. It might be attached with one or more mounting screws, so take your time and support the fixture with one hand as you loosen it to prevent it from falling.
Step 4: Disconnect the wires
Carefully detach the fixture from the wall to reveal the wiring. You’ll likely see a set of wires from the wall and a set from the fixture, held together by wire nuts. Twist off each wire nut and gently separate the wires. Now your old fixture is free!
A common misconception is that many builder-grade fixtures look properly installed but may not have an actual external junction box.
Instead, they might use a built-in junction box. If your new fixture requires an external box, you may need to install an “old work box” to hold the wires and mount the fixture securely. This ensures your new light is both safe and code-compliant.

Source: Rowabi.
Step 5: Get the new vanity light fixture ready
Unbox your new vanity light and read through the instructions. Check if you need to install additional components, like a mounting bracket. Many modern fixtures, especially LED models, come with everything you need for a straightforward installation.
If you want options, check out some bathroom pendant lighting ideas for inspiration.
Step 6: Installing the new vanity light fixture
Mount the bracket (if included) to the wall. Connect the new fixture’s wires to the wall wires—white to white (neutral), black to black (live), and green or bare copper to ground. Twist on wire nuts, and add electrical tape for an extra secure connection.
Since you’re upgrading your vanity light, consider an LED fixture. LEDs use 90% less energy, last up to 50,000 hours, and run cooler - ideal for bathroom moisture and heat, saving on both energy and replacements.
Step 7: Double-check connections
Before you wrap up, check that all connections are tight. Avoid flickering lights and potential electrical dangers by tightening loose connections.
Step 8: Turn the power back on
Return to the circuit breaker and turn the power back on. Test the light to confirm it’s working correctly, and enjoy your updated space with its fresh, modern glow!
Tips to replace bathroom vanity light with ease
Replacing your vanity light doesn’t have to be a hassle. Here are some tips to make the process as smooth and straightforward as possible:
- Plan in advance: Know the style, size, and type of fixture you want before starting. For trending options, explore our latest bathroom lighting trends.
- Review the instructions: Every fixture is slightly different, so read the instructions to know exactly what’s involved.
- Shut off the power: Turn off the power at the circuit breaker and double-check with a voltage detector. It's better to be safe than sorry!
- Gather your tools: Have everything on hand, from screwdrivers to electrical tape, so you’re not hunting for tools mid-project.
- Ensure compliance with regulations: Check local electrical codes if unsure—safety standards can vary by area.
- Mark the wires: Label them as you disconnect them so you can easily match them up when installing the new fixture.
- Tighten connections securely: Loose connections can lead to flickering or electrical hazards, so ensure everything is snug and secure.
- Align the fixture properly: Double-check the alignment before tightening it for a polished look.
- Inspect the mounting hardware: Ensure the bracket and screws are solid to keep the fixture securely in place.
- Test the fixture: Once the power’s back on, check that everything works smoothly and looks just right.
- Install the bulbs with care: Gently screw in the bulbs to avoid damage or misalignment.
- Avoid circuit overloads: Make sure the wattage of your bulbs matches what the fixture can handle to prevent circuit issues.

Source: Rowabi.
Following these steps will give you a beautifully updated vanity light with minimal stress! If you're aiming for a specific style, don’t forget to check out our guide on how to choose the right pendant lights for your bathroom for more tailored options.
FAQs
Can you replace the vanity lights?
- Yes, you can replace bathroom vanity lights yourself if you follow safety precautions and have basic electrical knowledge.
How to remove bathroom vanity light?
- Turn off power: Switch off the power at the circuit breaker.
- Remove bulbs: Unscrew the bulbs from the fixture.
- Unscrew fixture: Use a screwdriver to remove the screws holding the fixture.
- Disconnect wires: Unscrew the wire nuts and carefully pull the wires apart, checking with a voltage tester to ensure no power is running.
- Remove fixture: Gently pull the fixture away from the wall.
How to replace a vanity light socket?
- Turn off power: Ensure the power is off at the circuit breaker.
- Remove bulb and fixture: Follow similar steps to removing the fixture.
- Access socket: Remove any screws or parts to access the socket.
- Disconnect old socket: Unscrew or unclip the old socket from the wiring.
- Install new socket: Connect the new socket (black to black, white to white) and secure it with wire nuts.
- Reassemble fixture: Put everything back together and test after restoring power.
What are the lights on a vanity called?
- They are called vanity lights, bathroom sconces, or Hollywood lights, mainly when they feature multiple bulbs in a row.
Can I replace my own vanity?
- Yes, you can replace your vanity light fixtures if you take proper safety precautions, such as turning off the power and understanding how to connect electrical wires safely. Check out our How to change a bathroom light fixture guide for more detailed steps.
Conclusion
Replacing your bathroom vanity light is a straightforward DIY project that can significantly enhance your space's look and functionality. Following the steps outlined in our guide on how to replace bathroom vanity light and prioritize safety, you can easily upgrade your lighting to fit your style.
Ready to brighten up your bathroom? Explore our range of stylish vanity lights at Rowabi, and find the perfect fixture to elevate your space today!


Leave a comment
This site is protected by hCaptcha and the hCaptcha Privacy Policy and Terms of Service apply.