


The installation involves removing the old fixture, attaching the new mounting bracket to the electrical box, and connecting the wires via wire nuts by matching the colors: black to black, white to white, and ground to ground. Finally, the fixture's base is secured flush against the ceiling before the bulbs and cover are attached.
EXPLORE:
- How to Choose the Correct Flush or Semi-Flush?
- What is flush mount lighting?
- All flush mount ceiling lights
- Flush mount living room light
Key takeaways
1. Before You Start (Safety Tools)
- Safety First: Turn off the power to the area at the main circuit breaker. Use a voltage tester on the wires to ensure no electricity is present.
- Tools: Gather your new flush mount light, screwdriver, wire strippers, voltage tester, and wire nuts (or lever nuts).
2. Step-by-Step Installation
- Remove Old Fixture: Unscrew the cover and bulbs, then disconnect the old fixture's wires by untwisting the wire nuts.
- Mount Bracket: Attach the new mounting bracket (or strap) supplied with your new light to the existing electrical box using the provided screws.
- Connect Wires (Color-to-Color): Securely connect the wires using wire nuts or lever nuts, ensuring no bare wire is exposed outside the connector.
- Bare copper from the ceiling connects to the bare or green wire from the fixture.
- Neutral: White wire from the ceiling connects to the white wire from the fixture.
- Black wire from the ceiling connects to the black wire from the fixture.
- Secure Fixture: Gently tuck the connected wires into the box, align the new fixture's base with the mounting bracket, and push it flush against the ceiling. Secure it by tightening the screws or decorative nuts.
- Finalize: Screw in the correct light bulbs, then attach the glass shade or cover.
- Test: Turn the power back on at the breaker and test your new light.

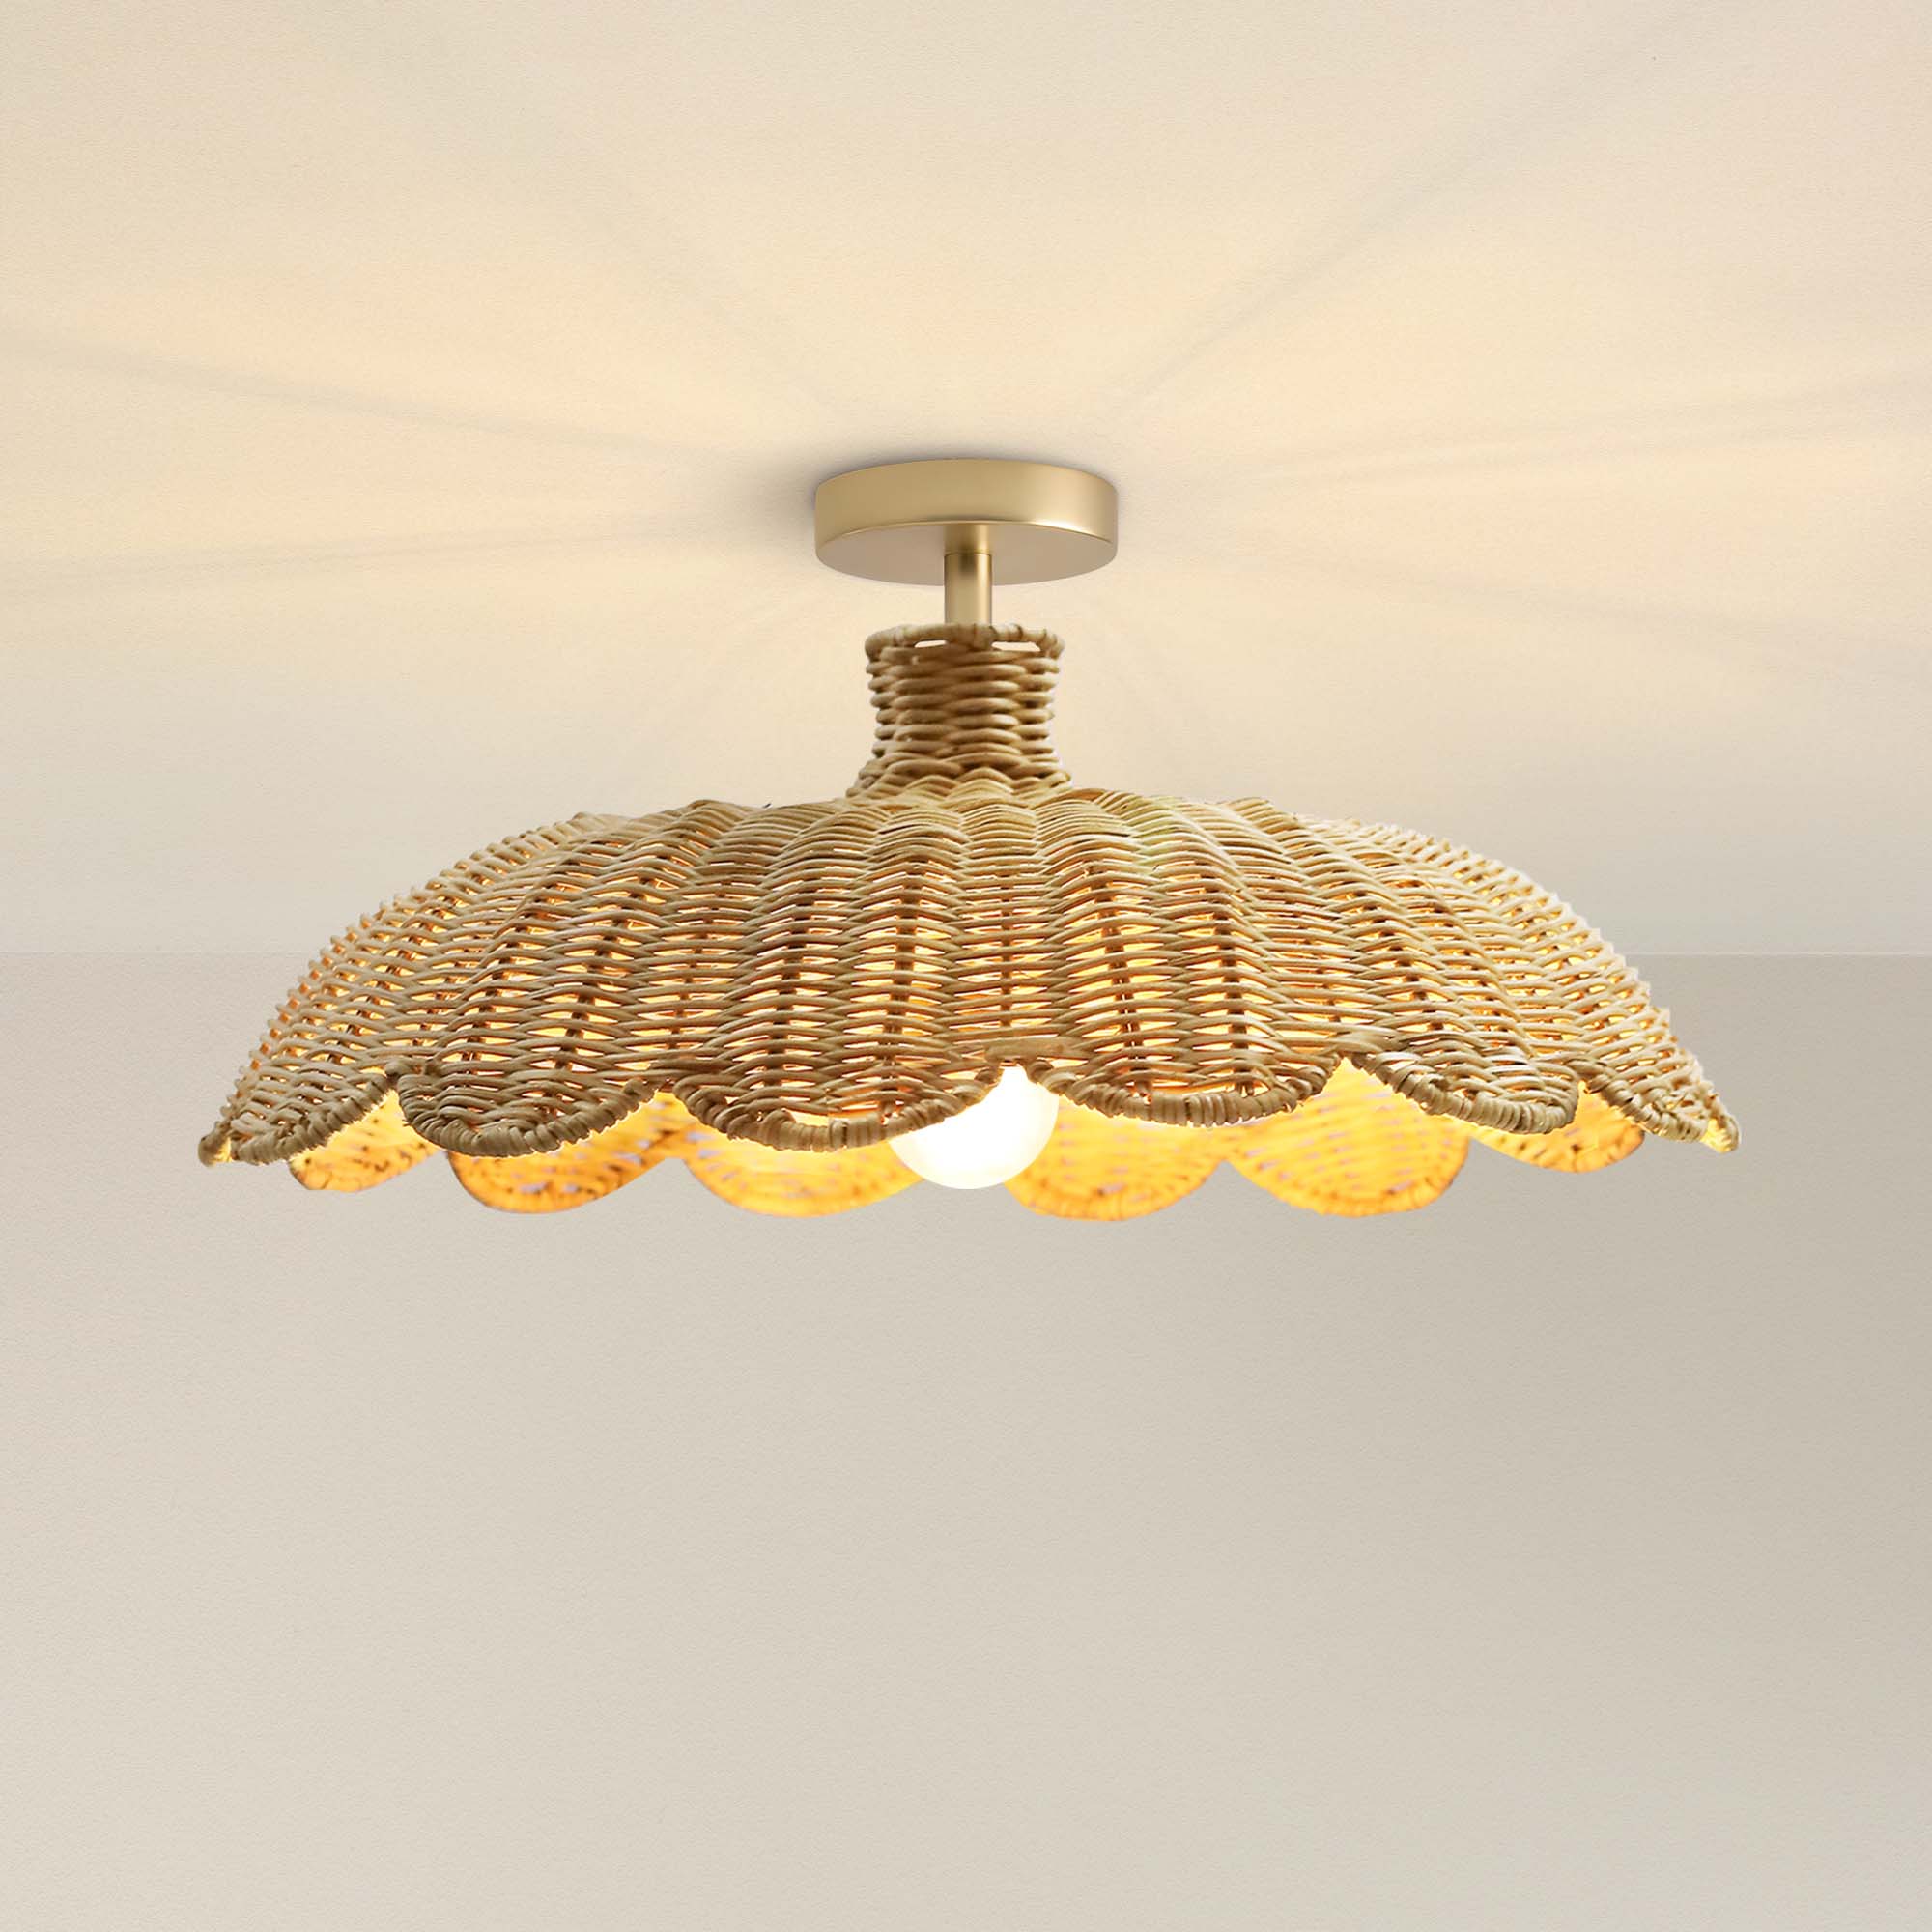
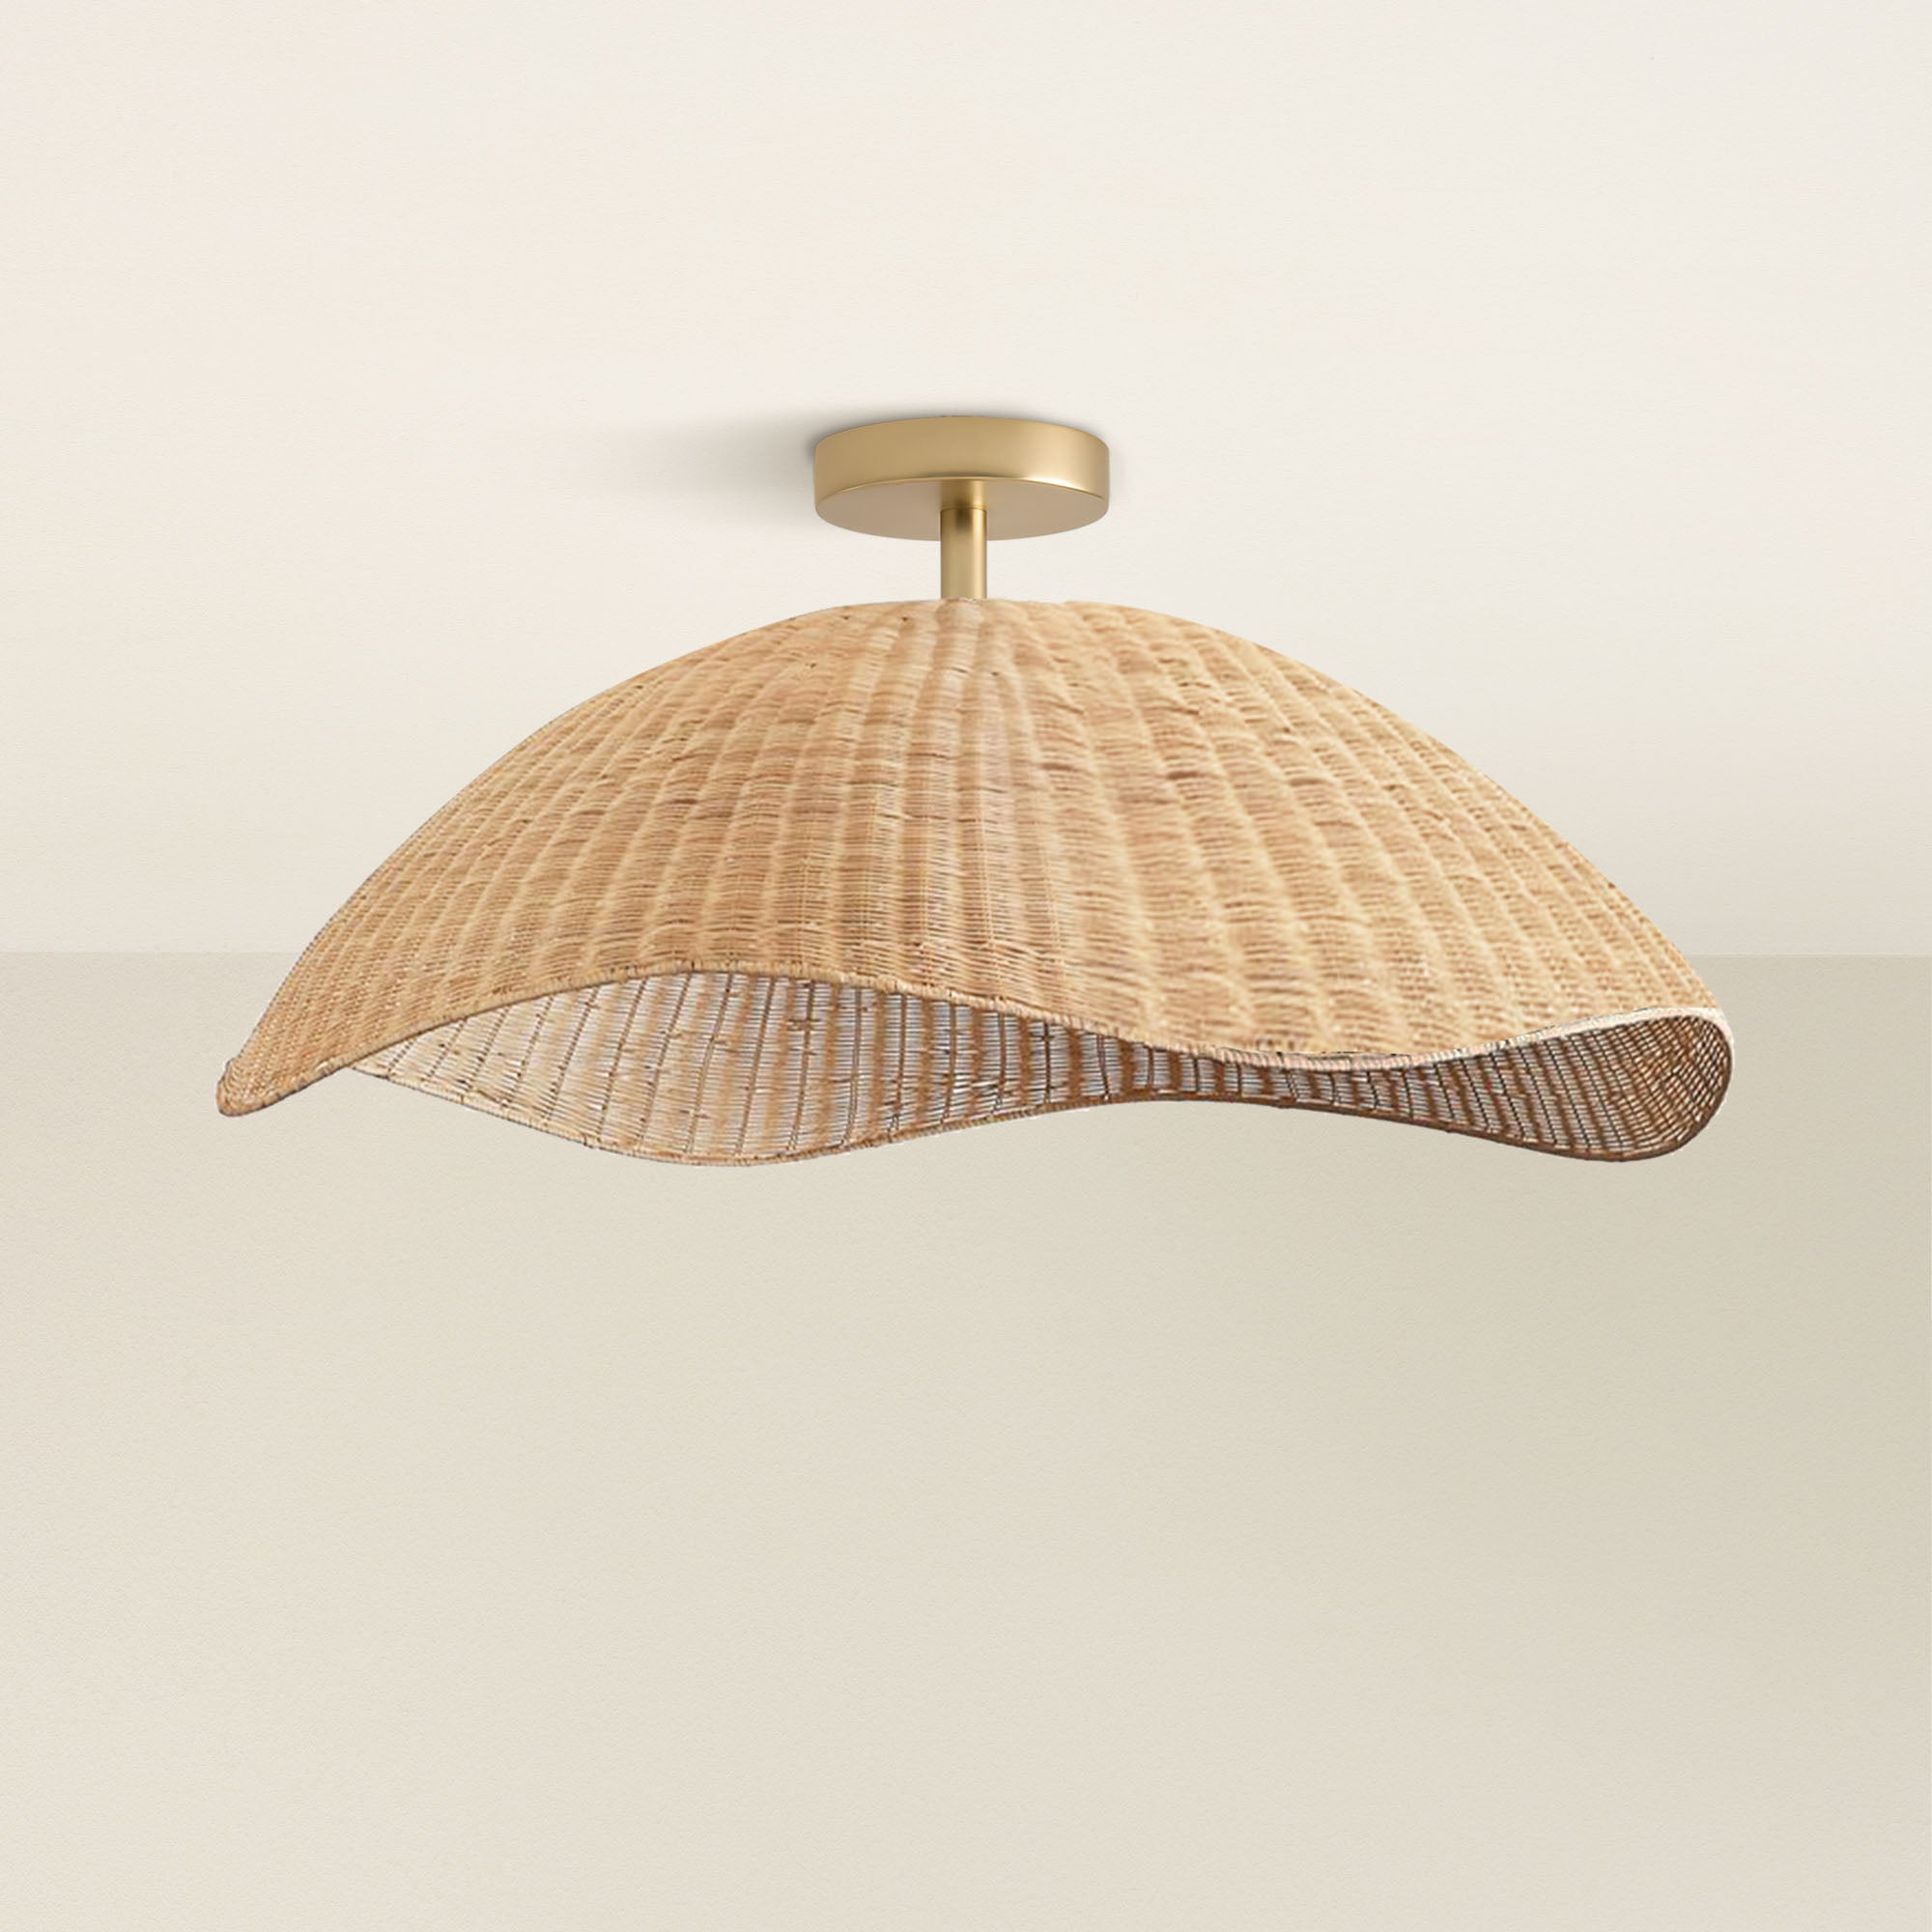
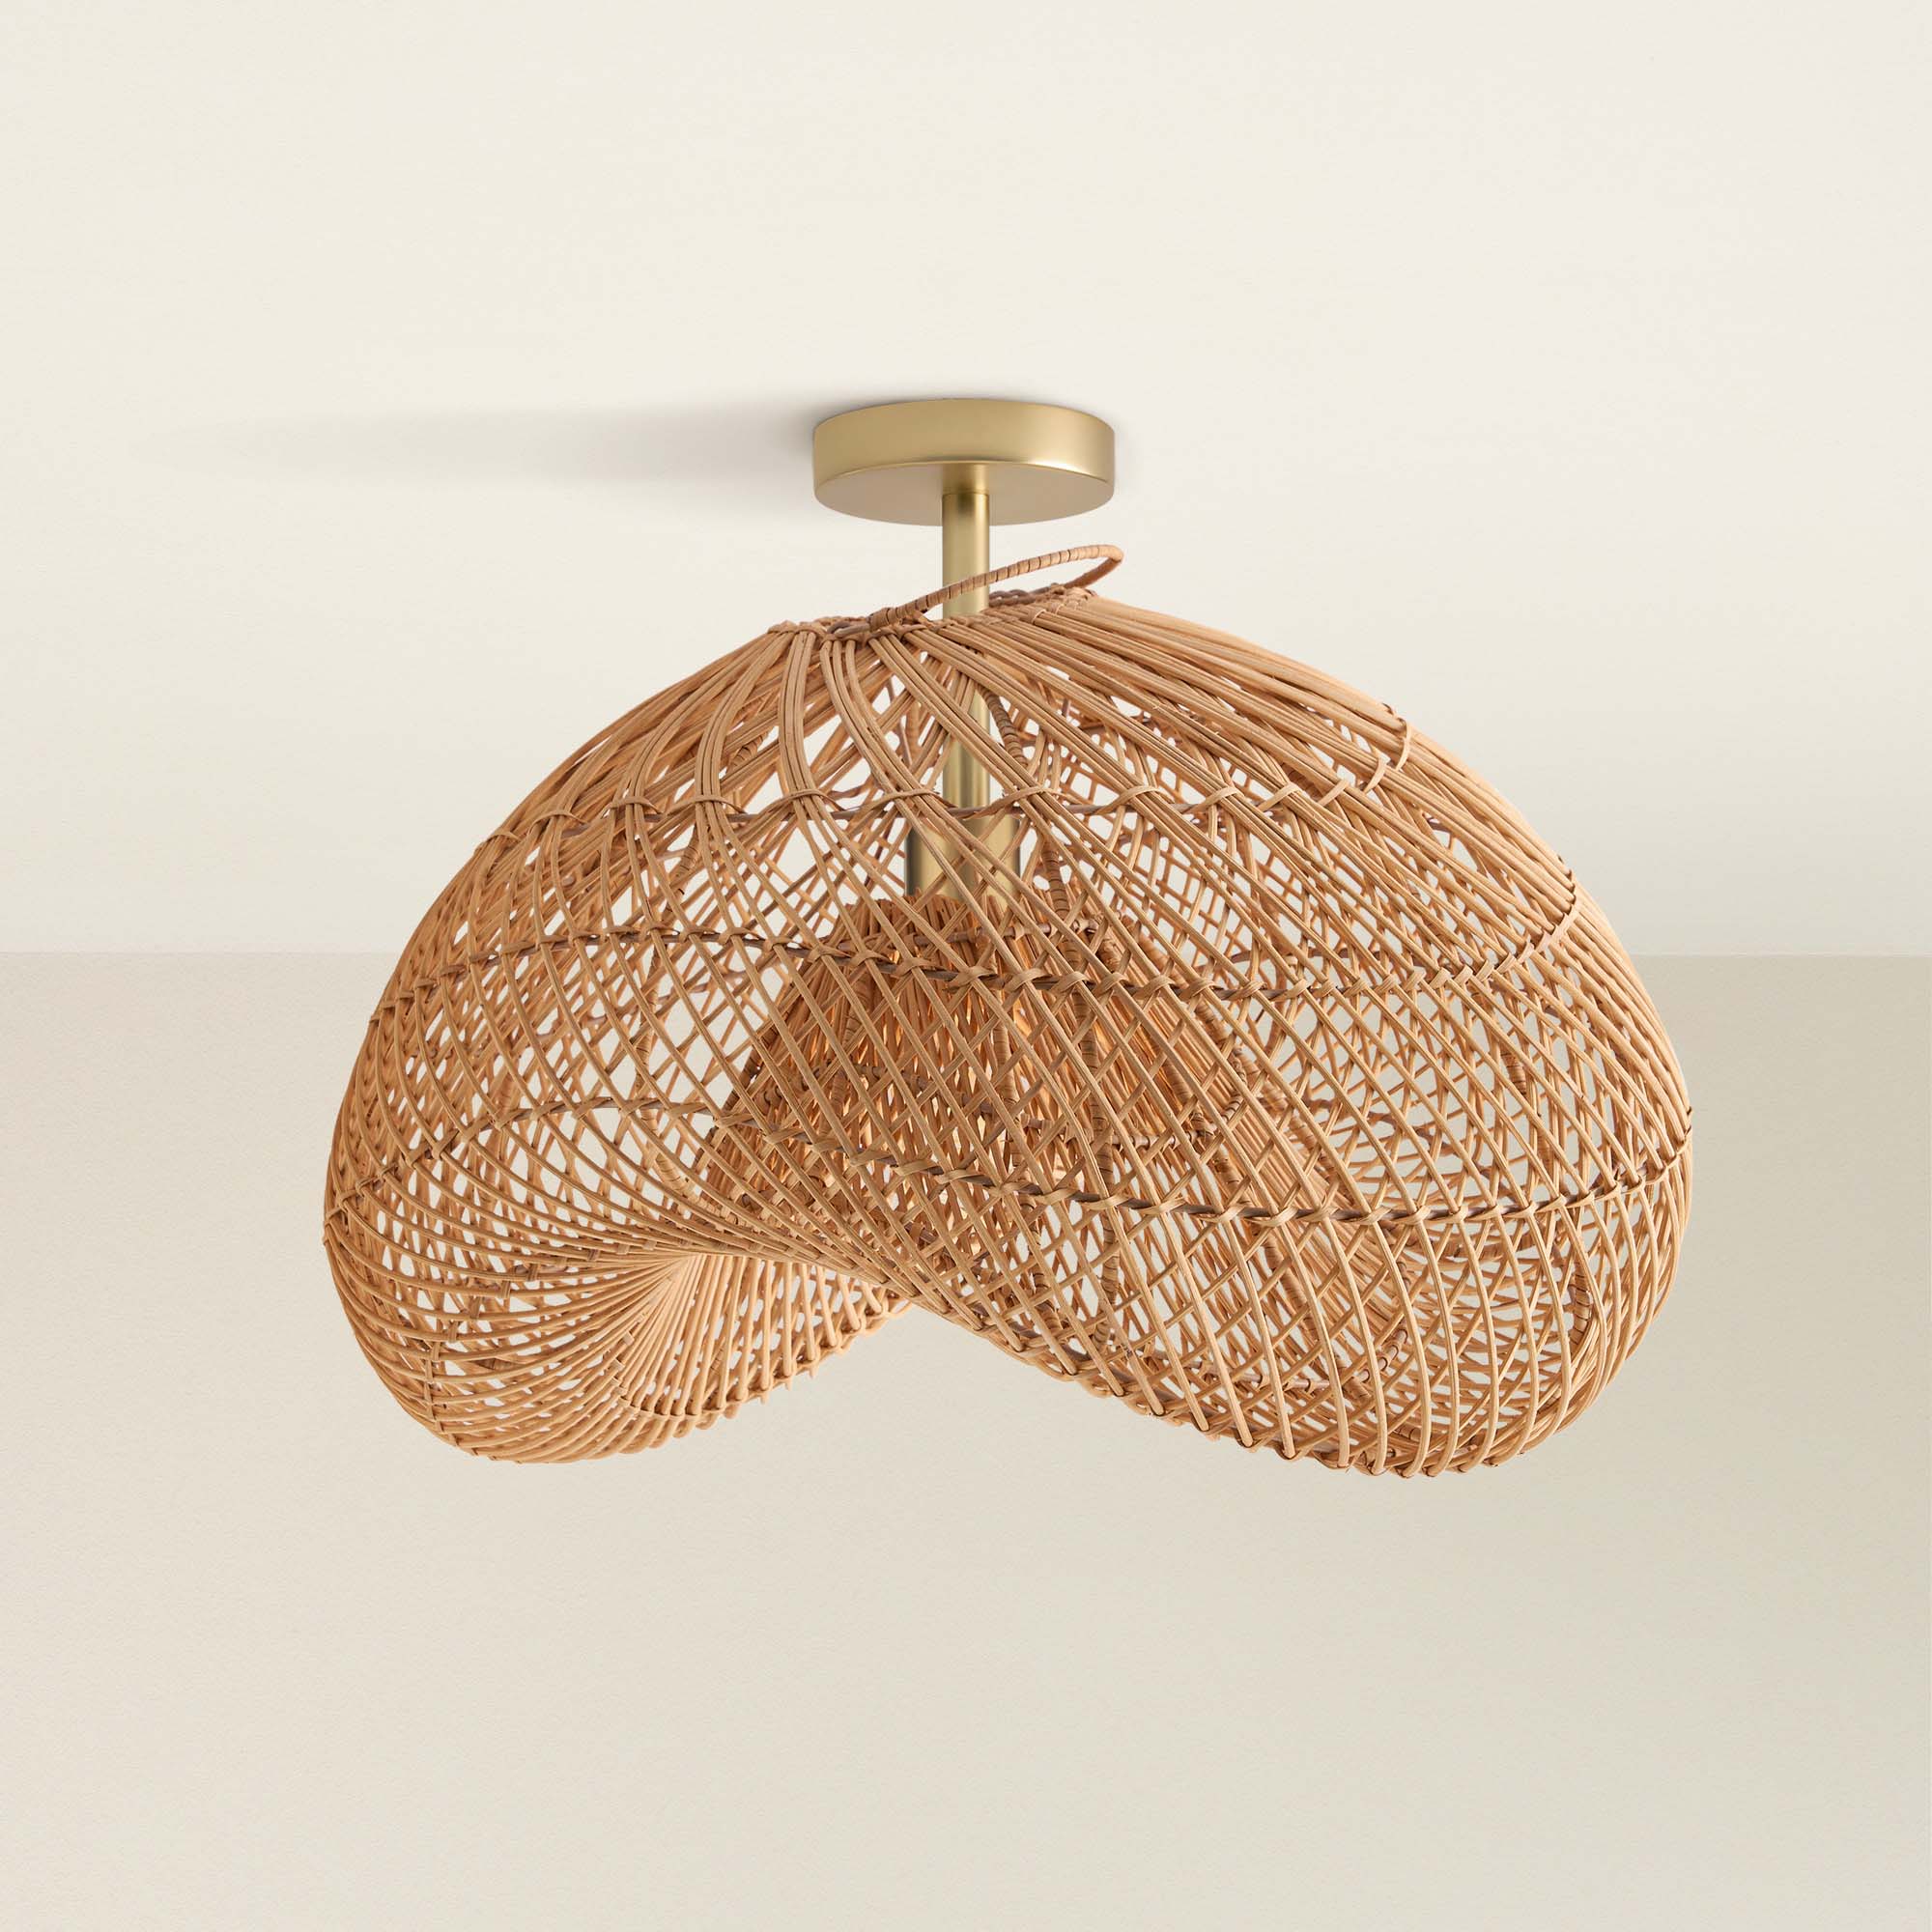
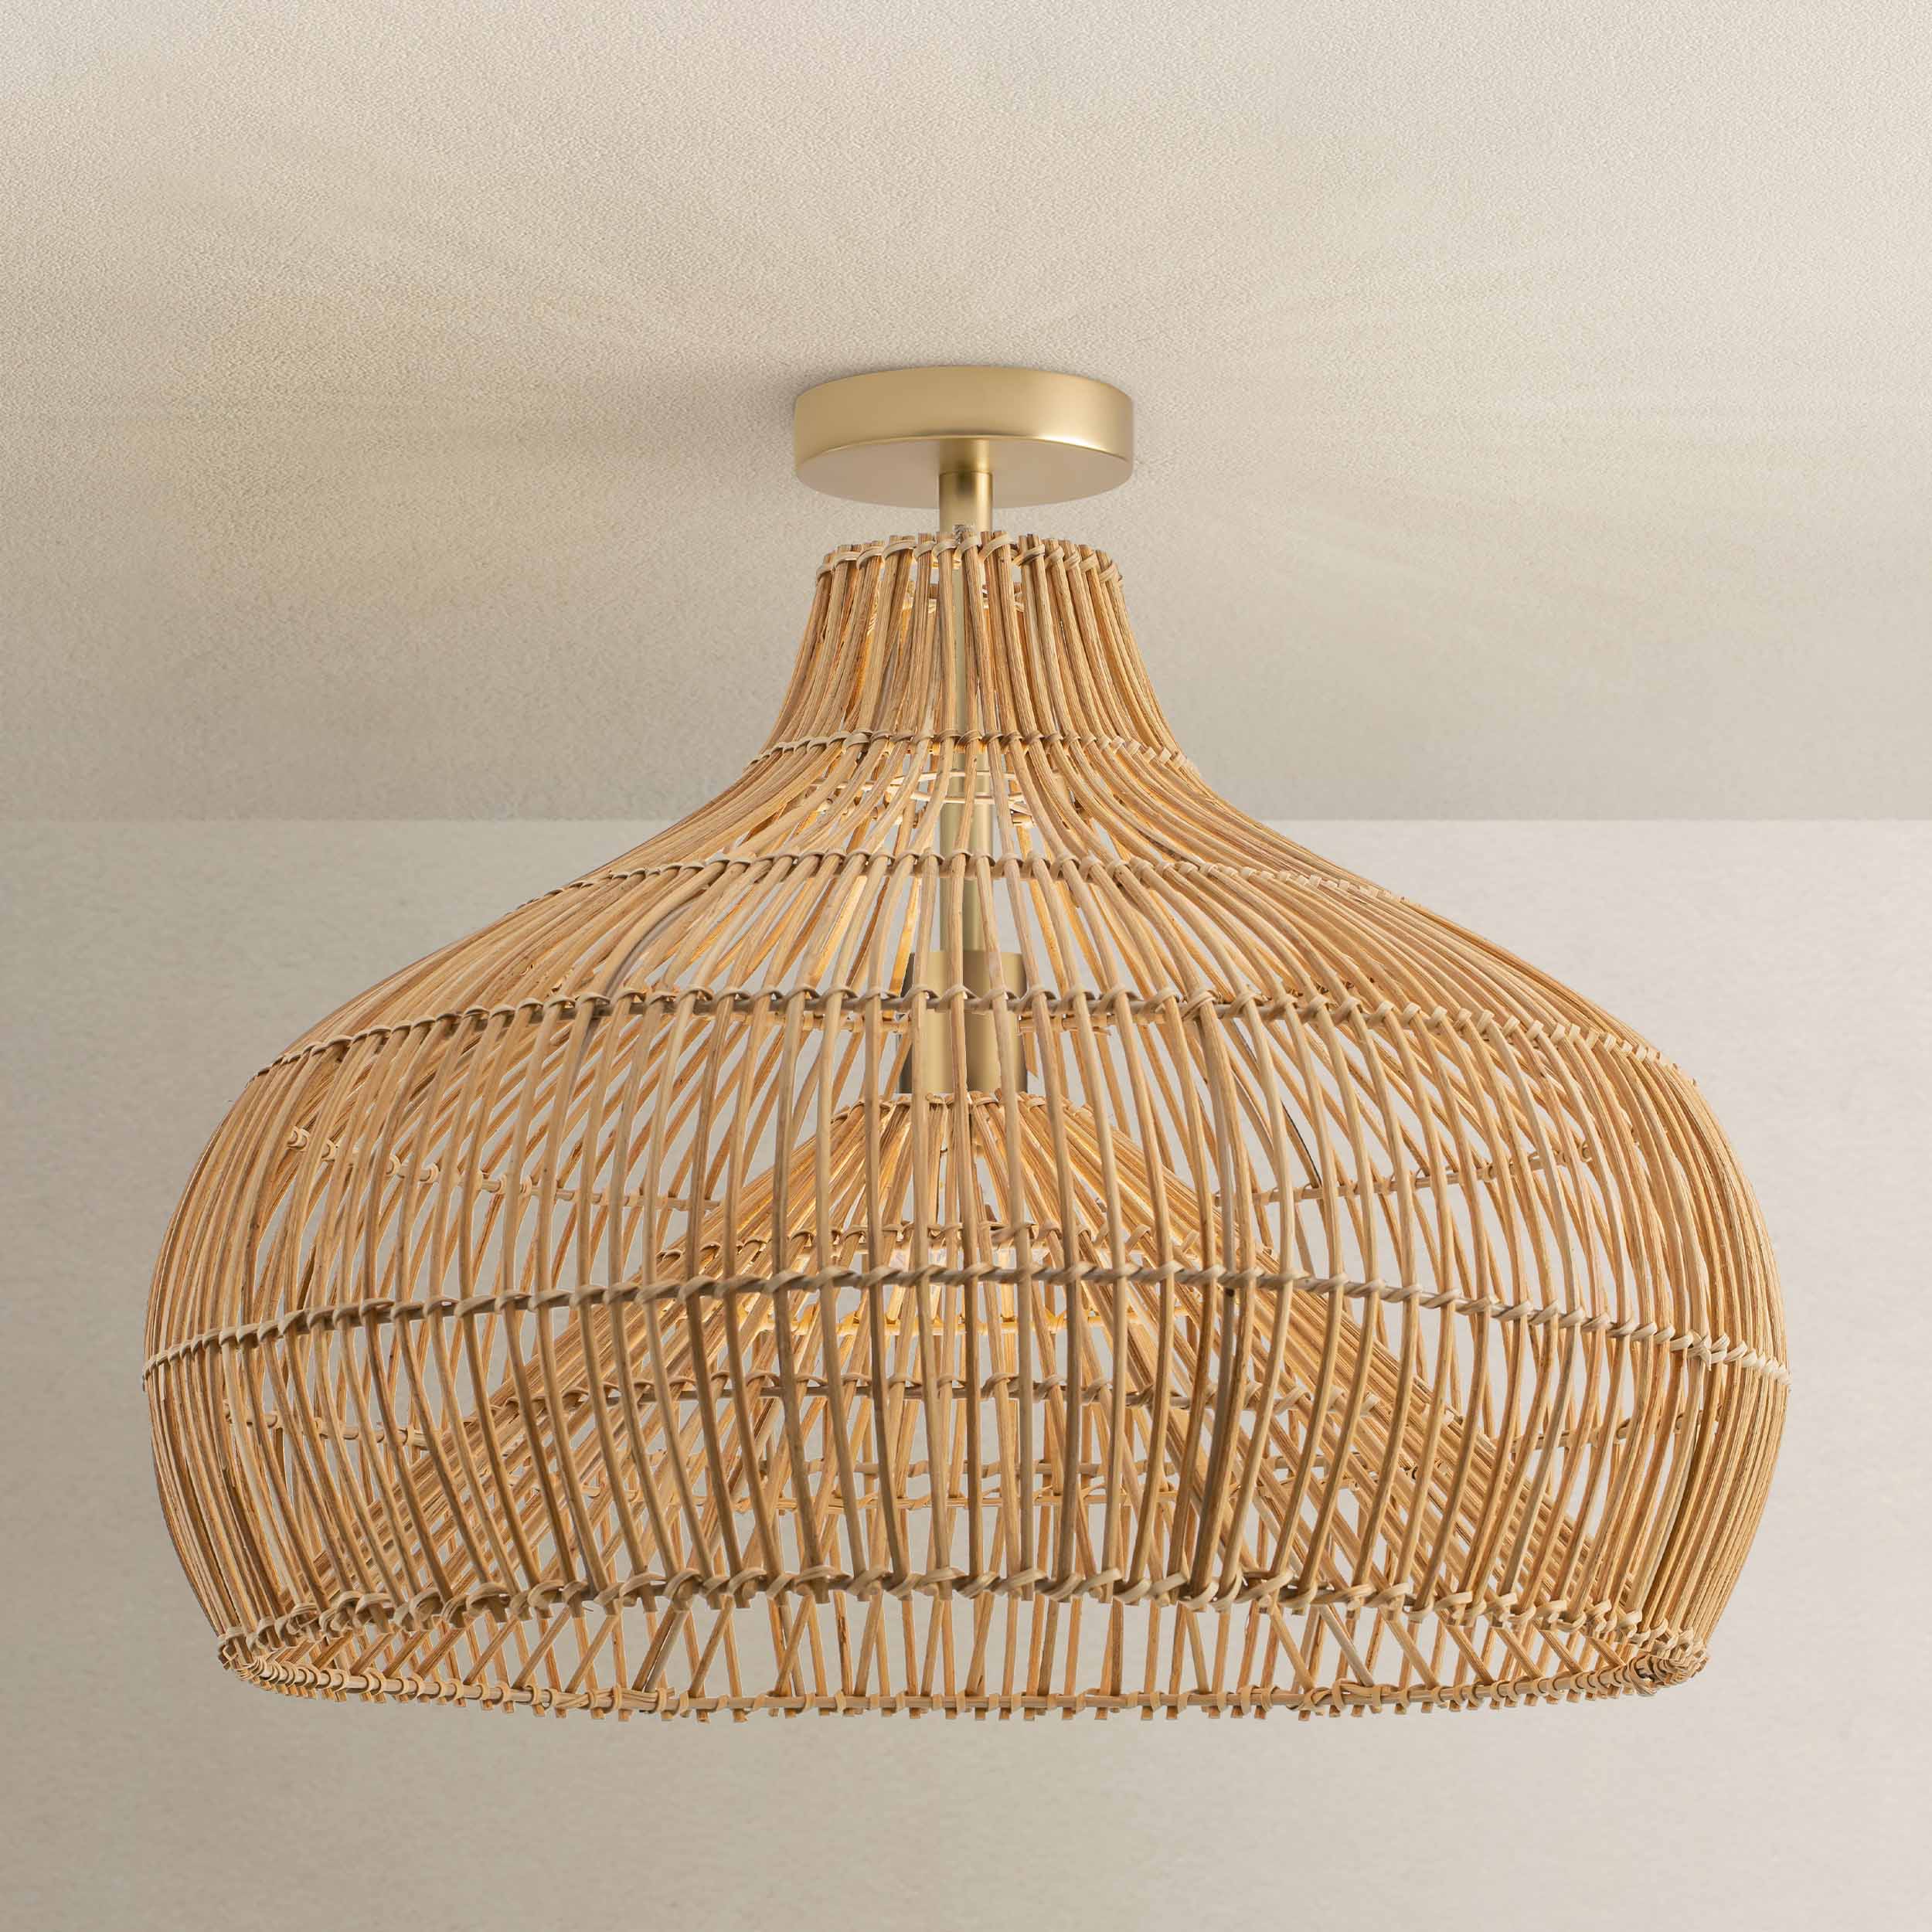
Image by Rowabi.
How to safely turn off the power?
First and foremost, safety is key. Before you begin, head to your electrical panel and turn off the power to the room where you’ll be working. If you’re unsure which breaker controls your light, flip off the main power switch to be extra safe. You don’t want to risk a shocking situation!
Always double-check the light switch to ensure there’s no power running. Using a non-contact voltage tester is a good idea if you want to ensure there is no electricity flowing. Better safe than sorry!
Invest in enduring quality. Shop our handcrafted lighting.
45-Day Return
45-Day Return

45-Day Return
45-Day Return
45-Day Return
45-Day Return
45-Day Return
45-Day Return
45-Day Return

45-Day Return
45-Day Return
How to install a flush-mount light
Now, let’s get to the fun part—installing that gorgeous flush mount light! Here’s what you’ll need:
- Difficulty: Intermediate
- Duration: 2-4 hours
Tools and Materials:
- Screwdriver: To remove screws and tighten your new fixture.
- Wire stripper: To strip the ends of the wires, which is essential for a good connection.
- Voltage tester: To ensure there's no power running through the wires.
- Wire nuts: To secure the wires together.
- Mounting bracket (included with your fixture): To securely attach your new light to the ceiling.
- Flush-mount light fixture: Of course! Choose something that suits your space.

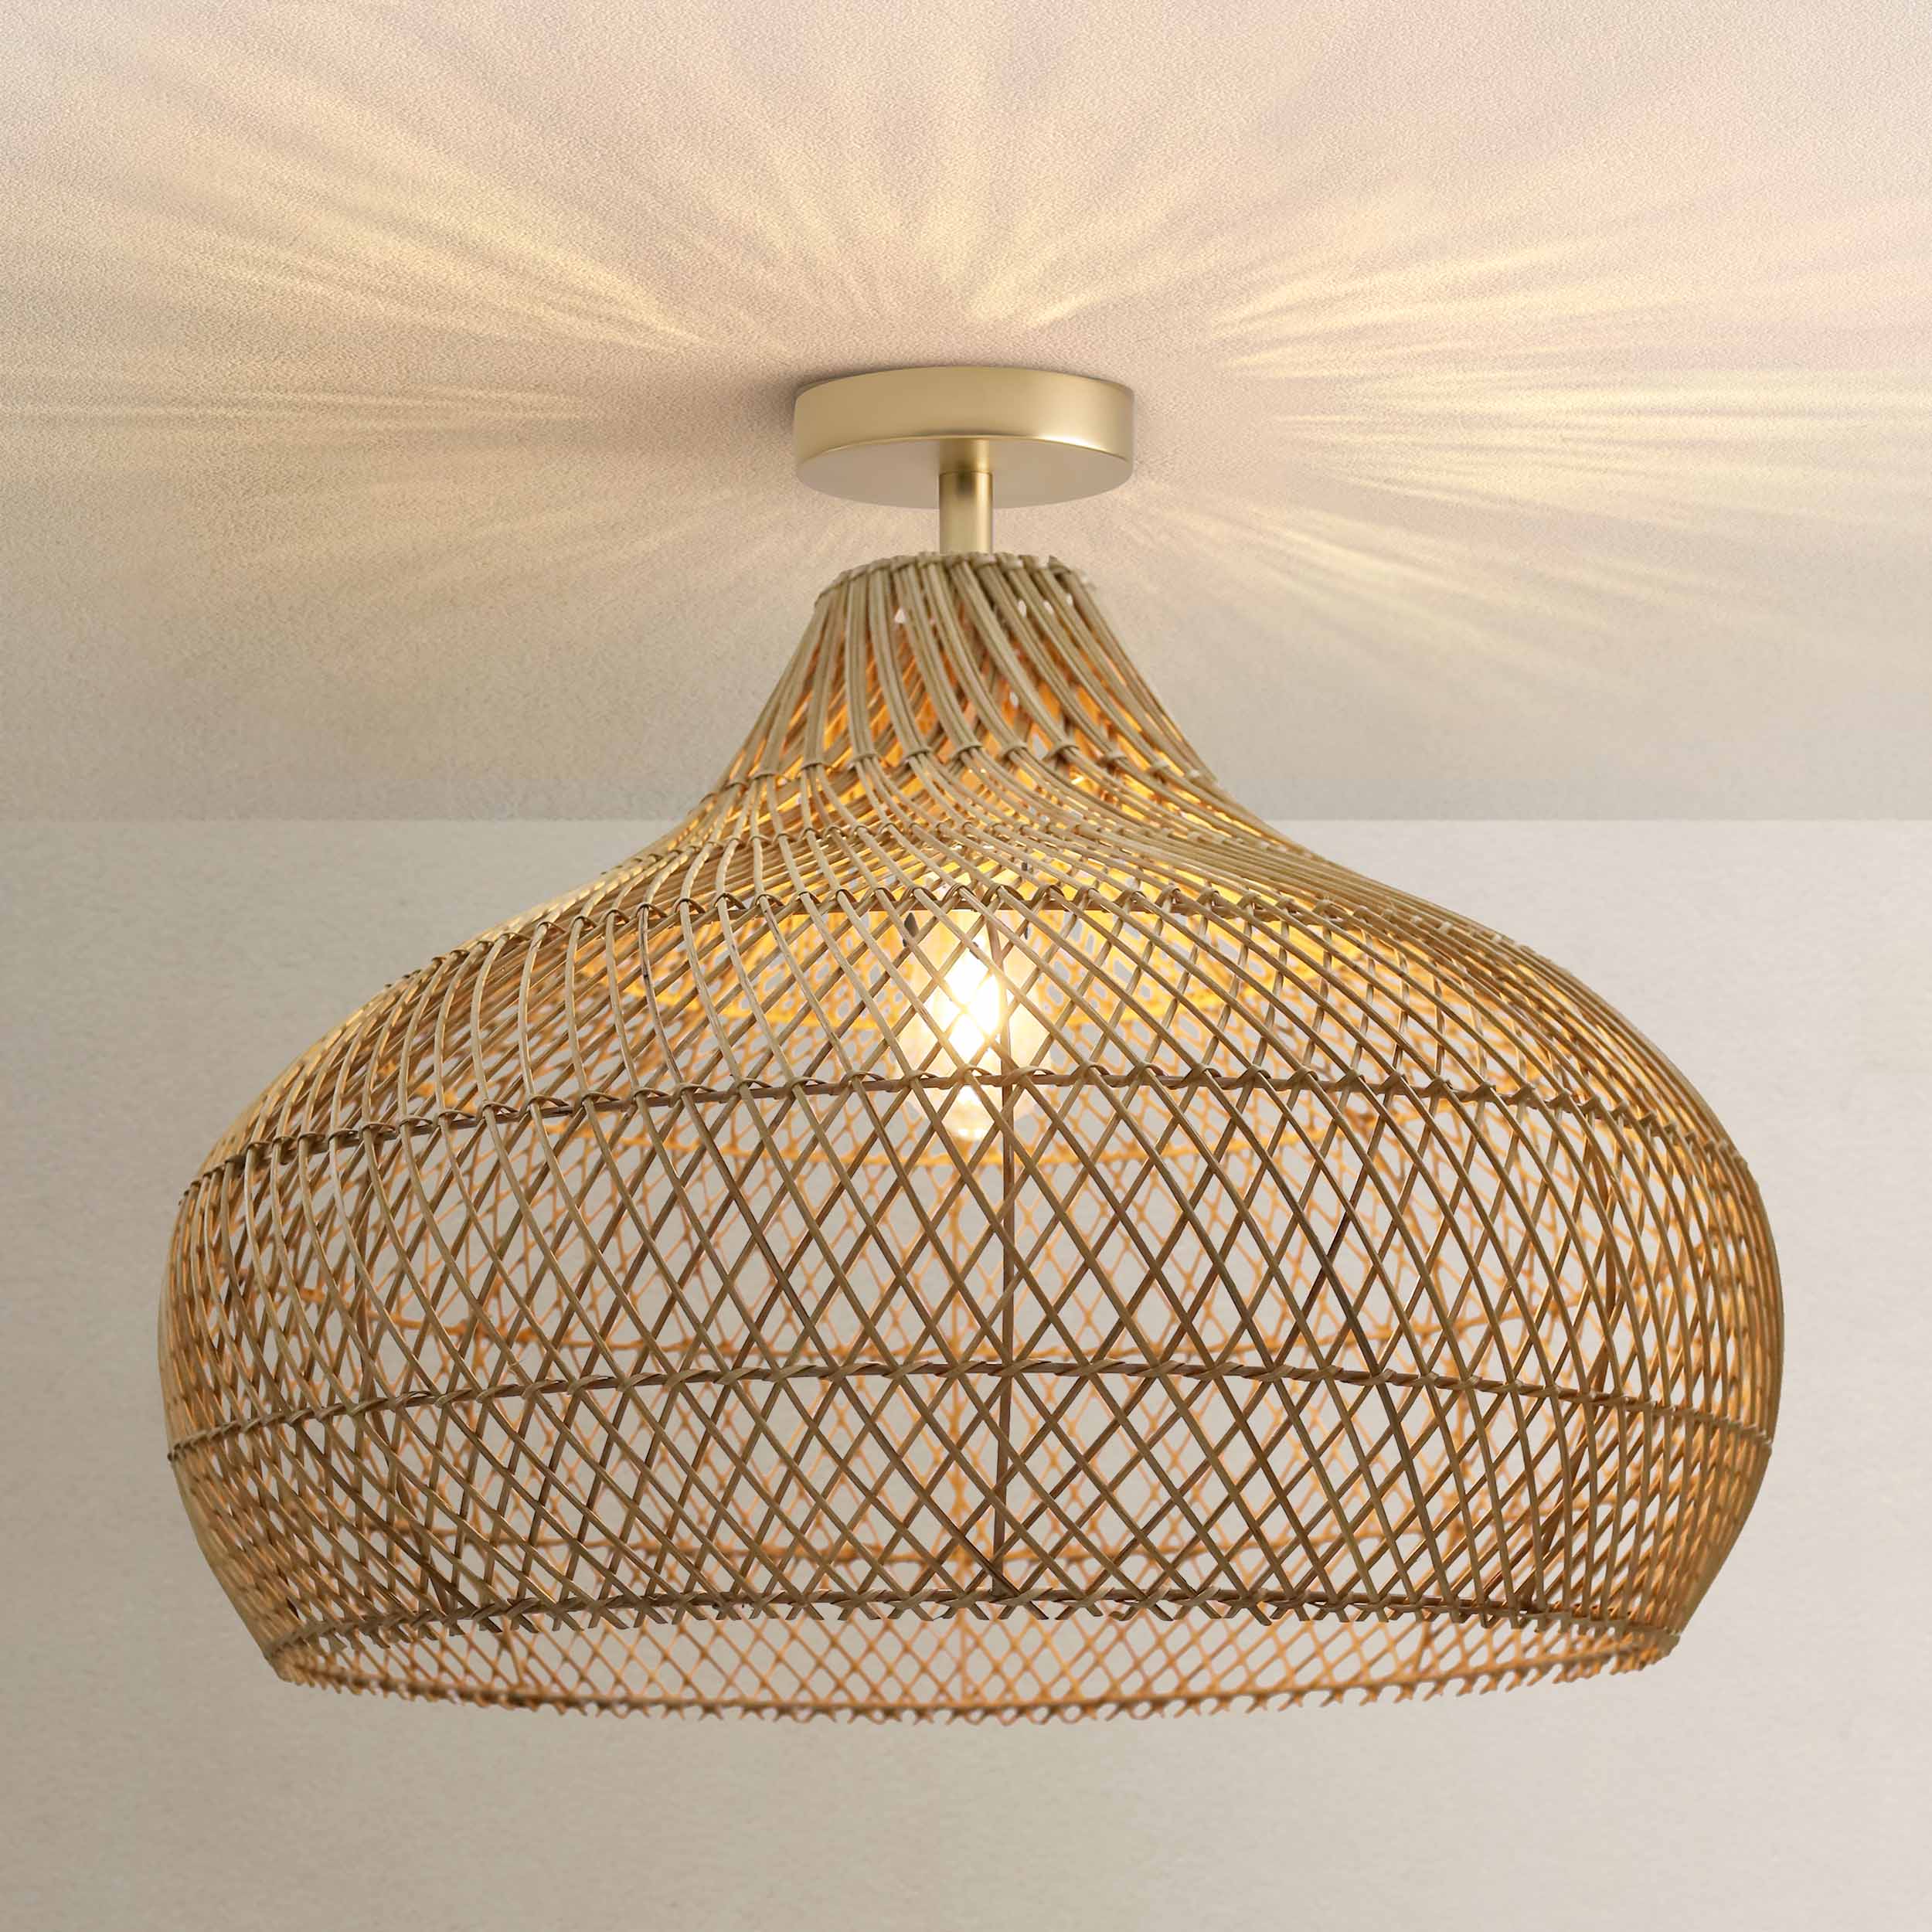
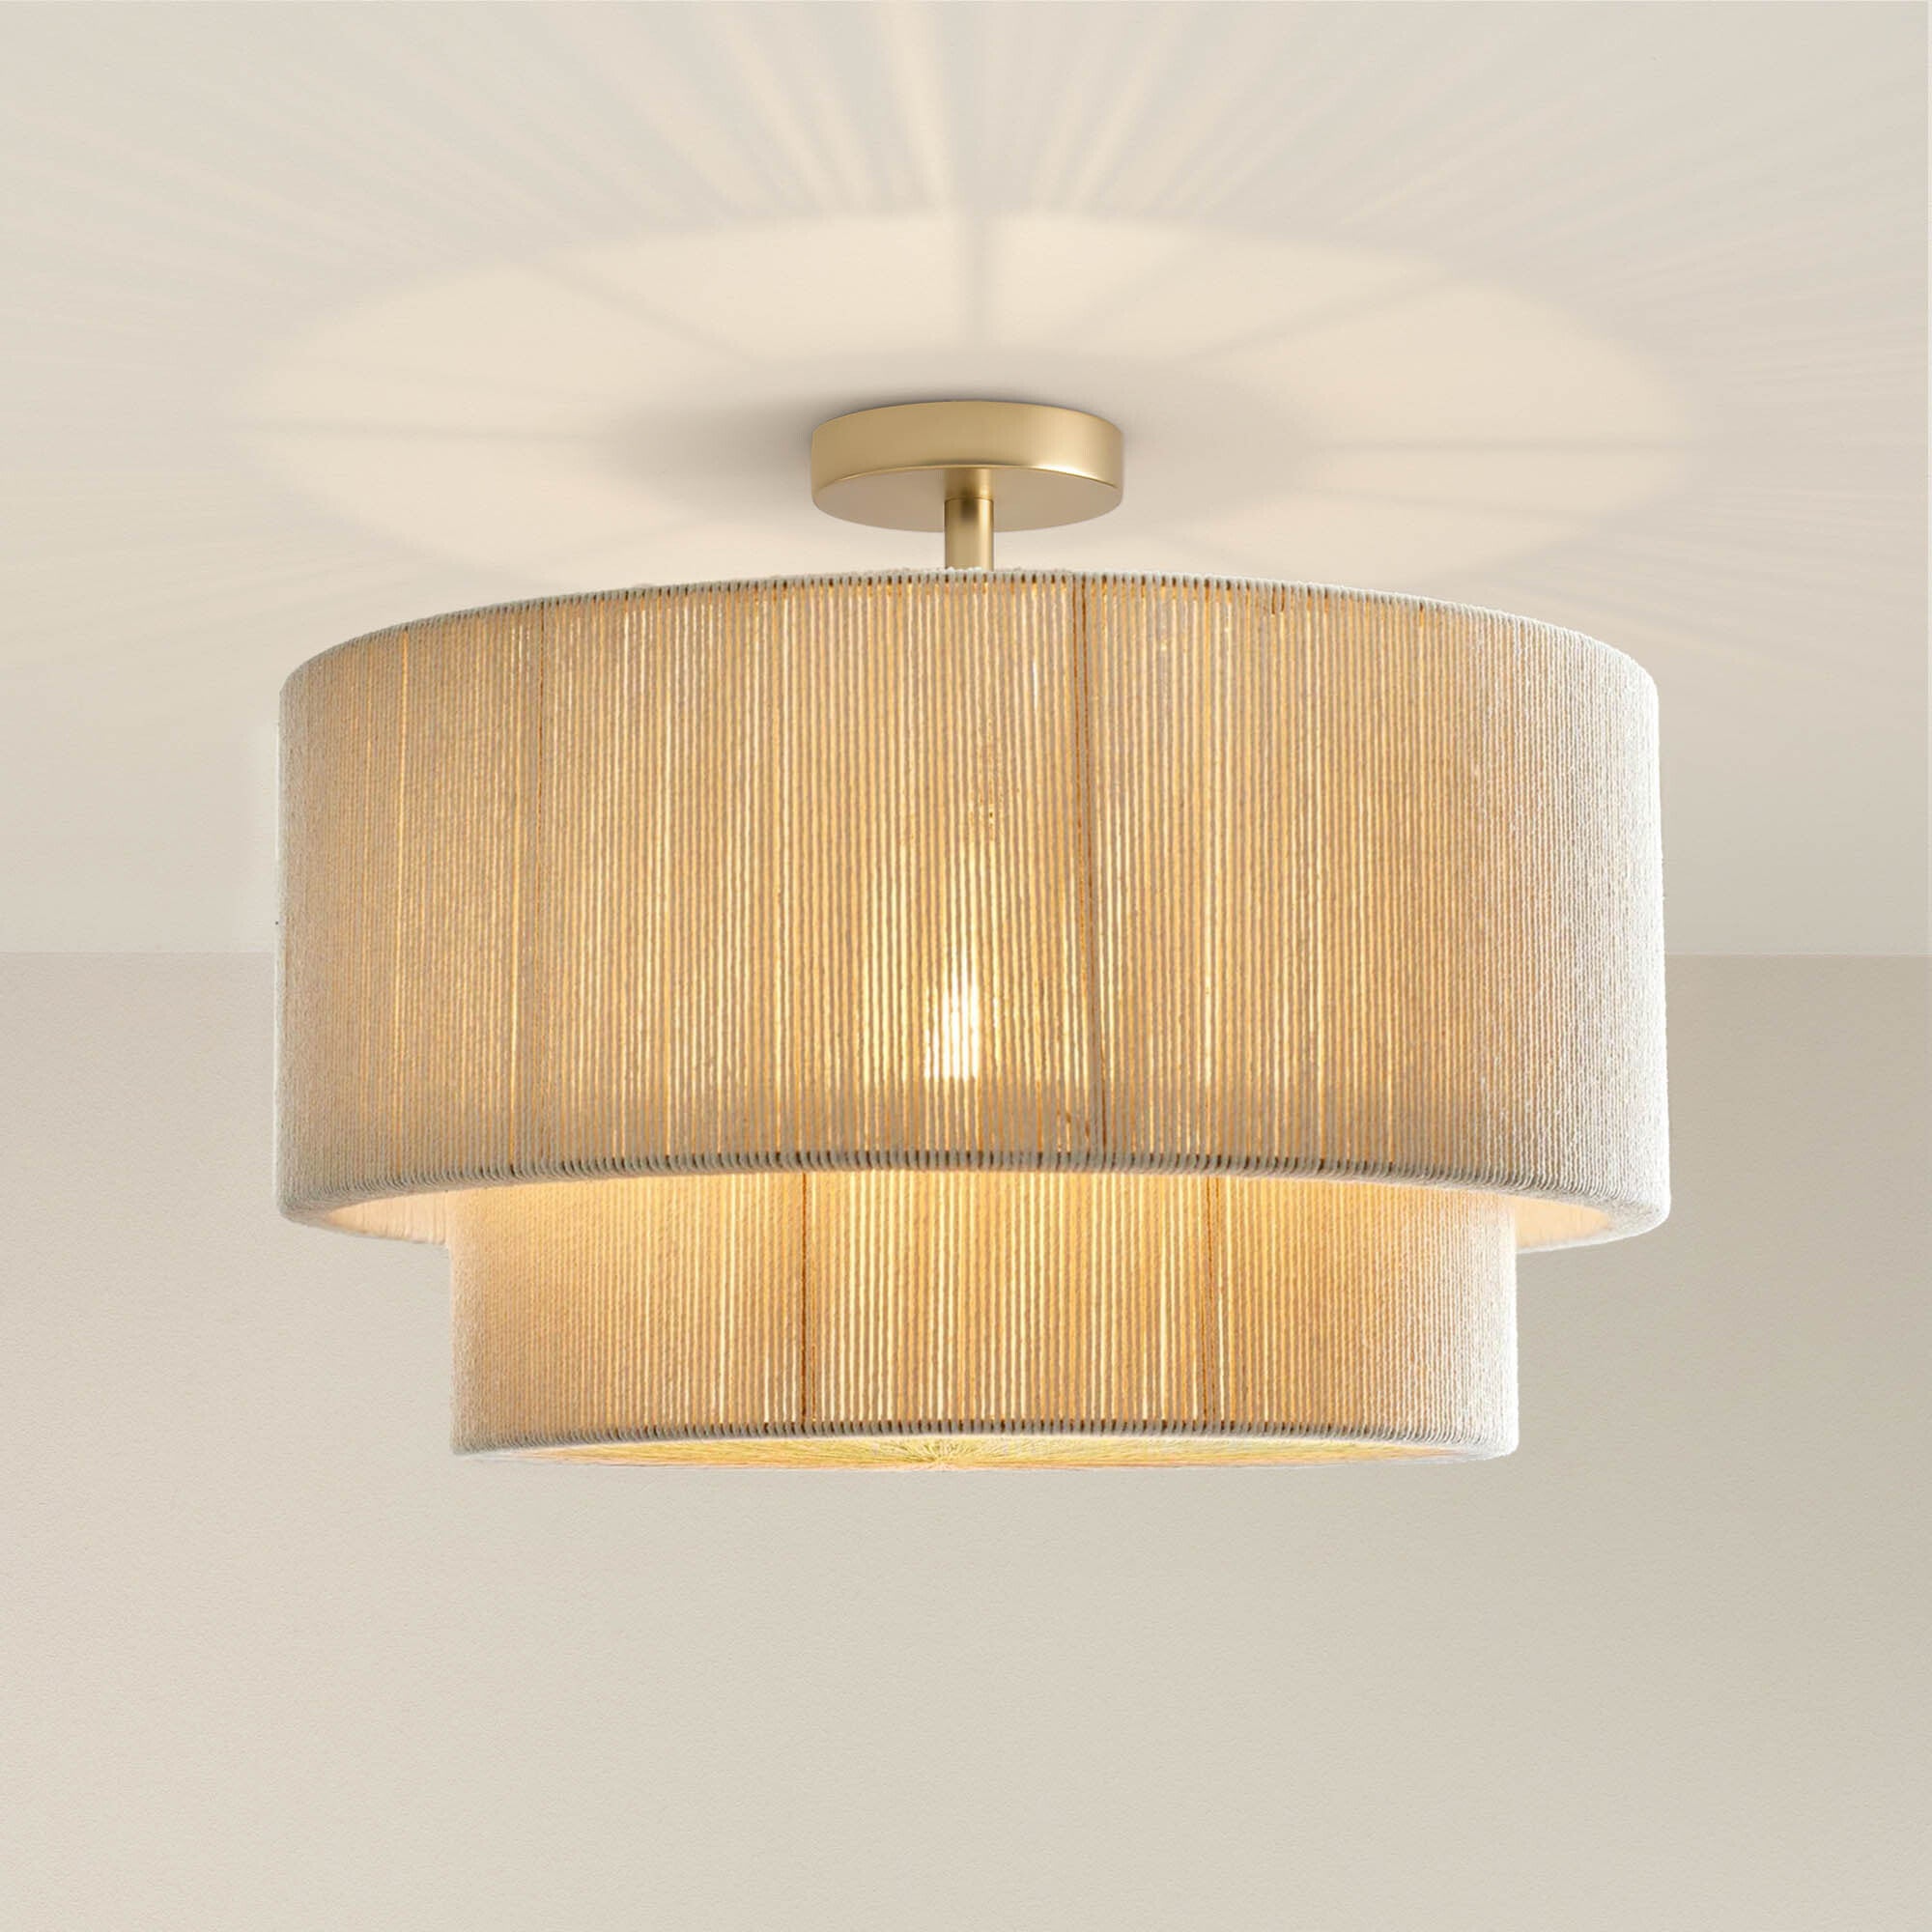
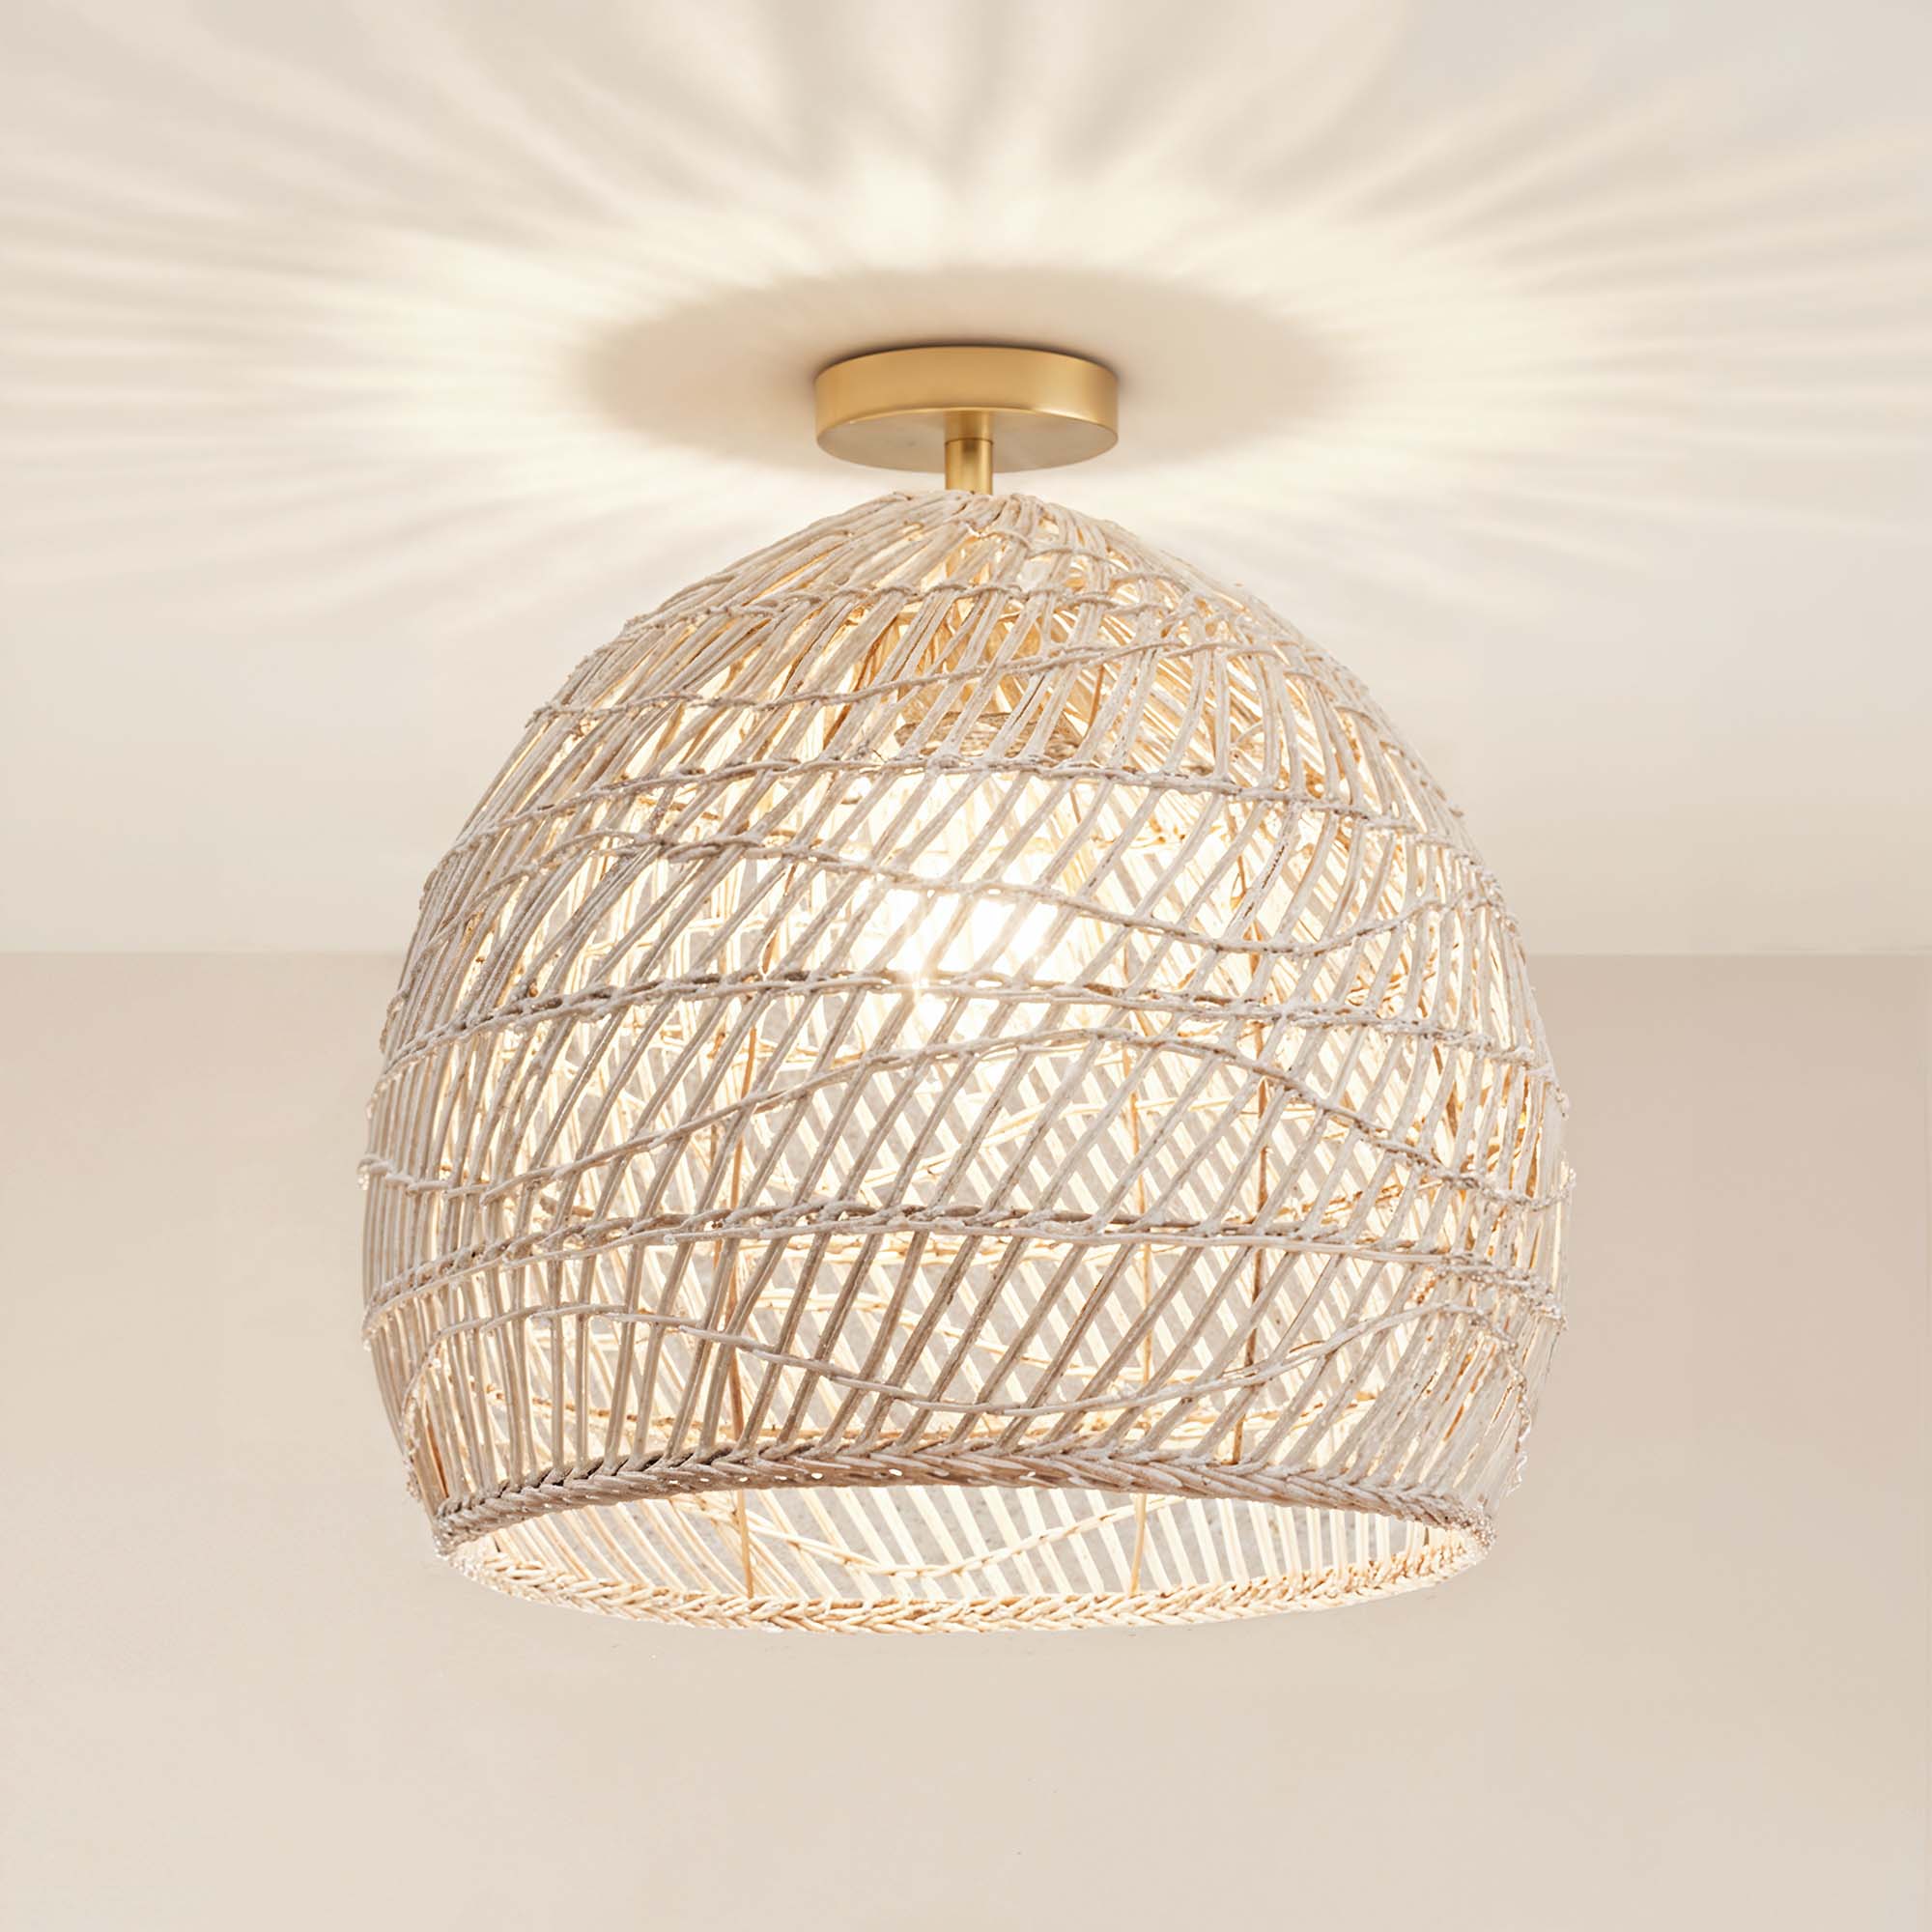
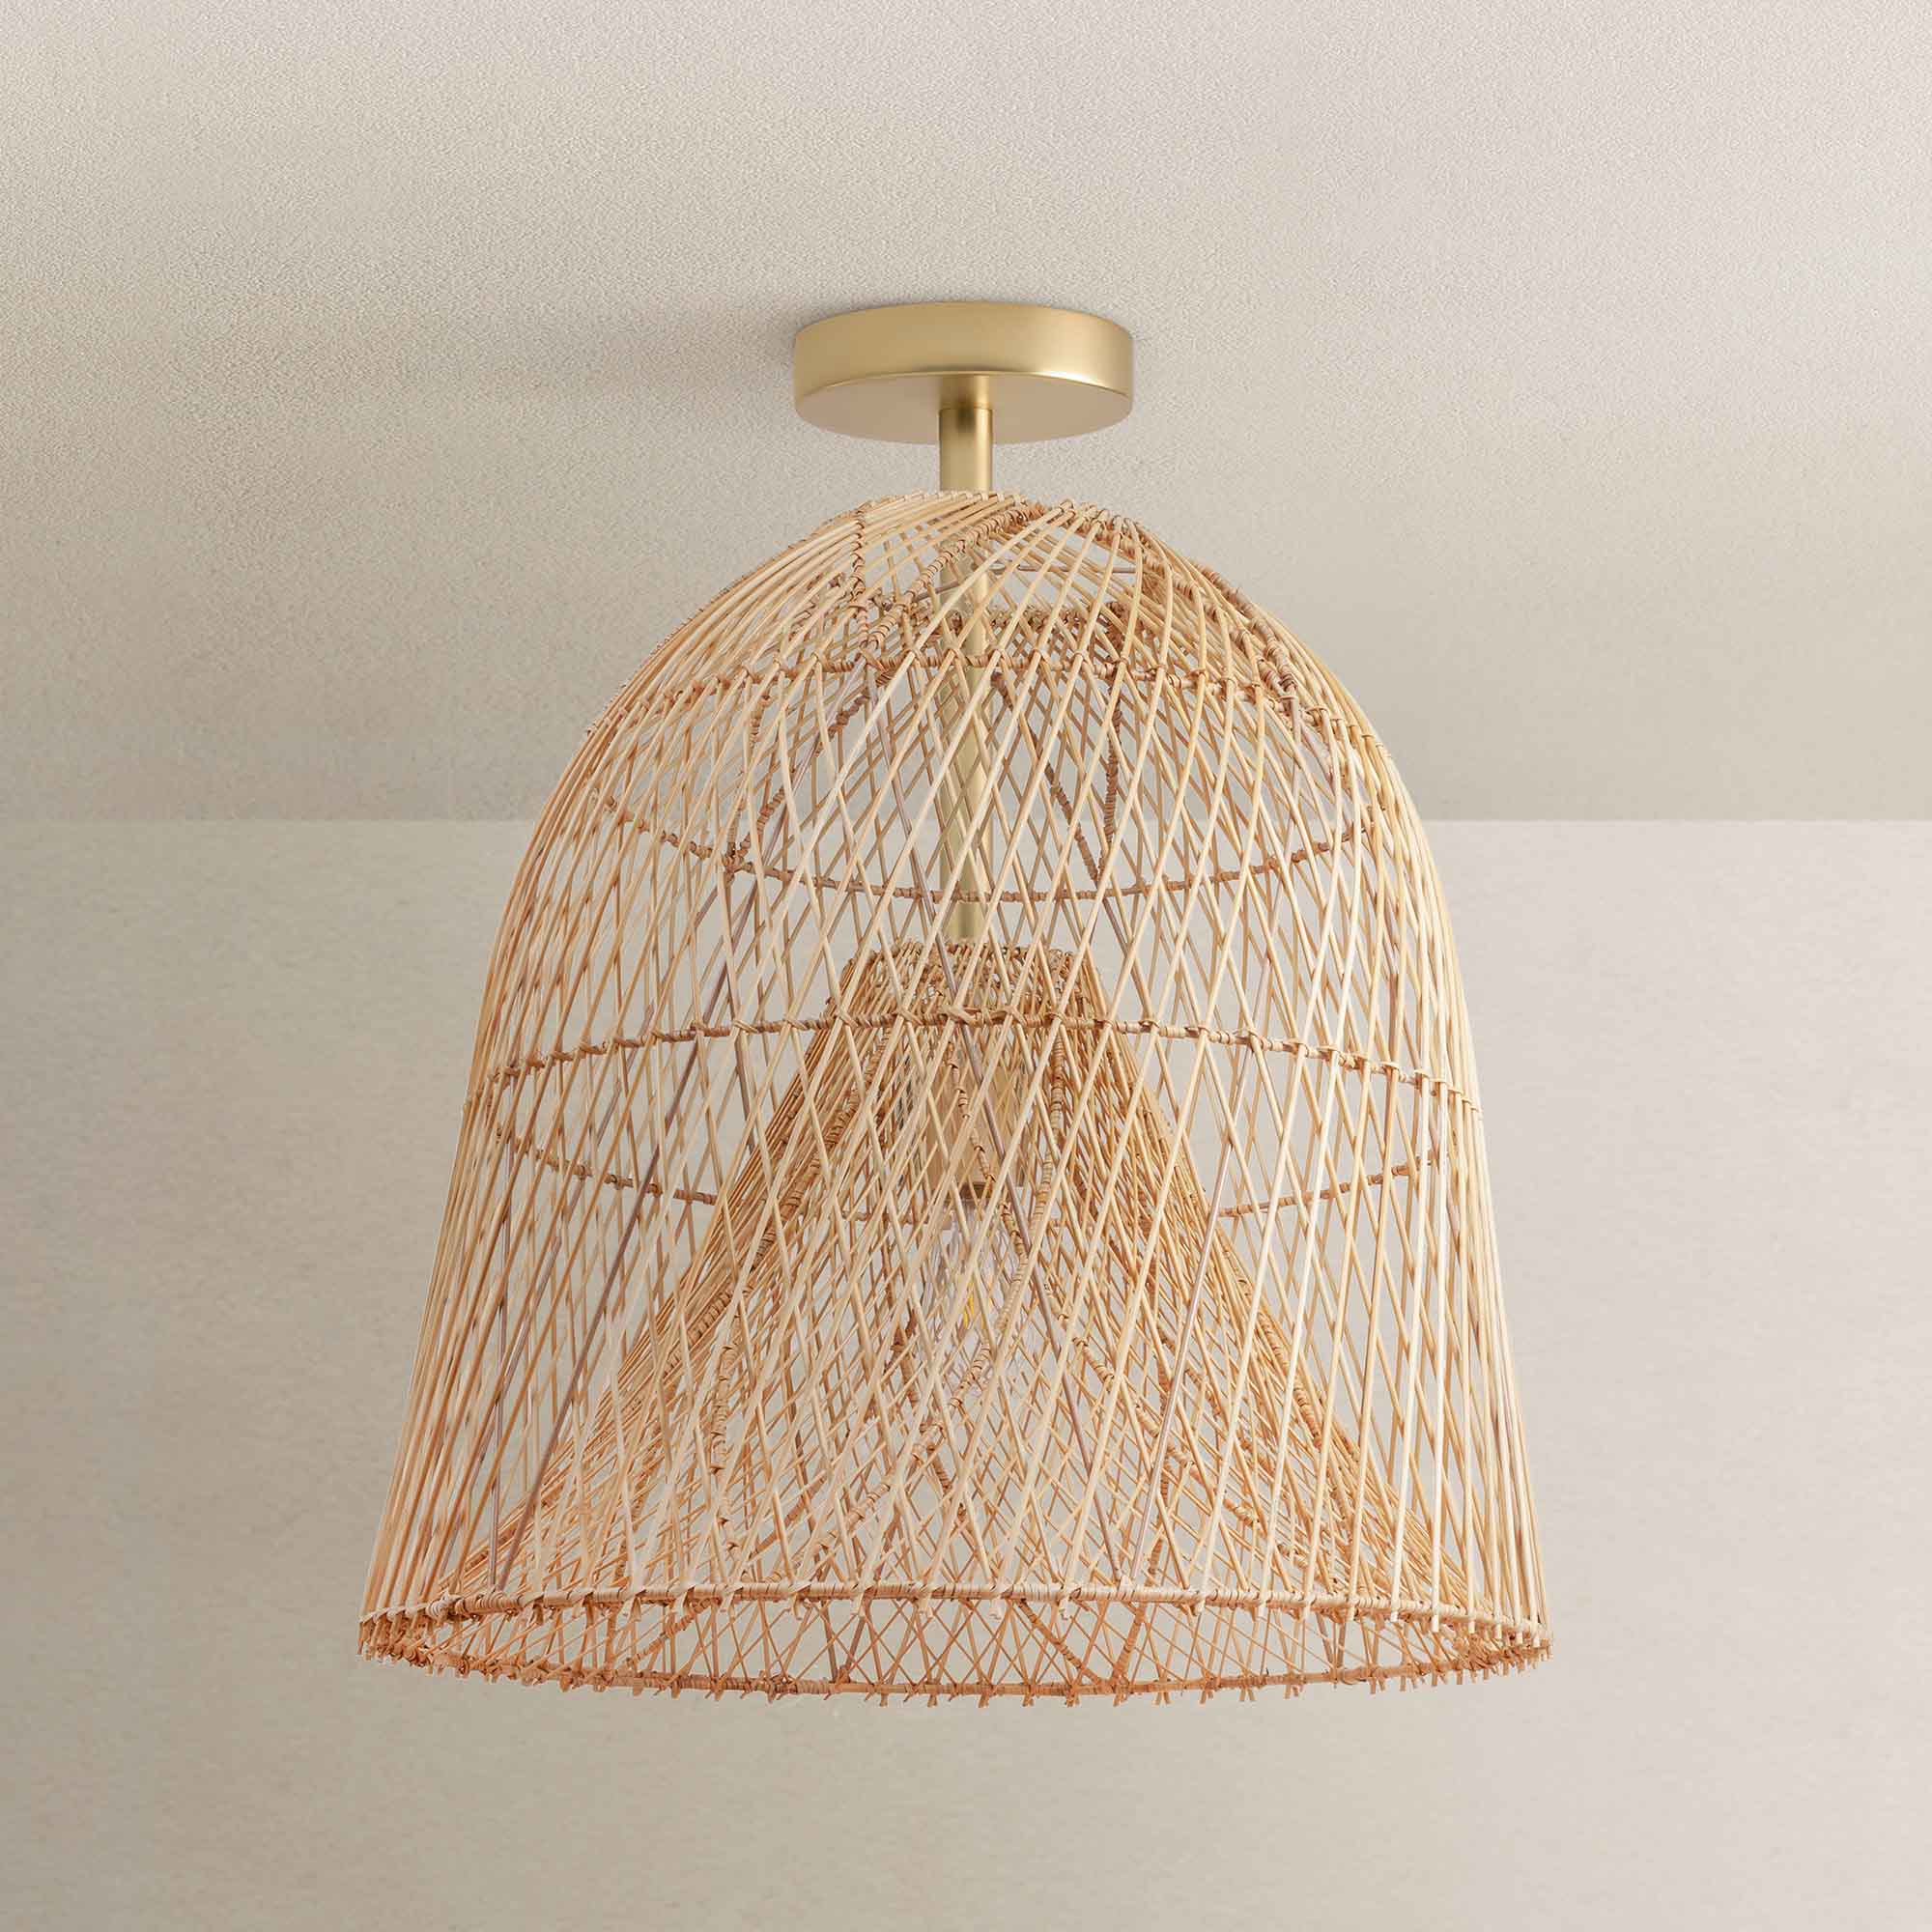
Source: Rowabi
Step-by-Step Instructions:
1. Turn off the power: This one’s a repeat, but it’s important enough to say twice! Double-check that the power is off before proceeding.
2. Remove the old fixture: Unscrew the old light fixture from the ceiling and gently lower it to the ground. You’ll likely see some wires attached, which brings us to the next step—don’t pull on them!
3. Prepare the new fixture: Take your new flush-mount light out of the box and check if it’s assembled correctly. You’ll need to attach the mounting bracket to the electrical box in the ceiling using screws. Make sure it’s tightly secured.
4. Install the mounting bracket: Line up the mounting bracket with the electrical box and secure it with the screws provided. This bracket will serve as the base for your new light, so make sure it’s firmly attached.
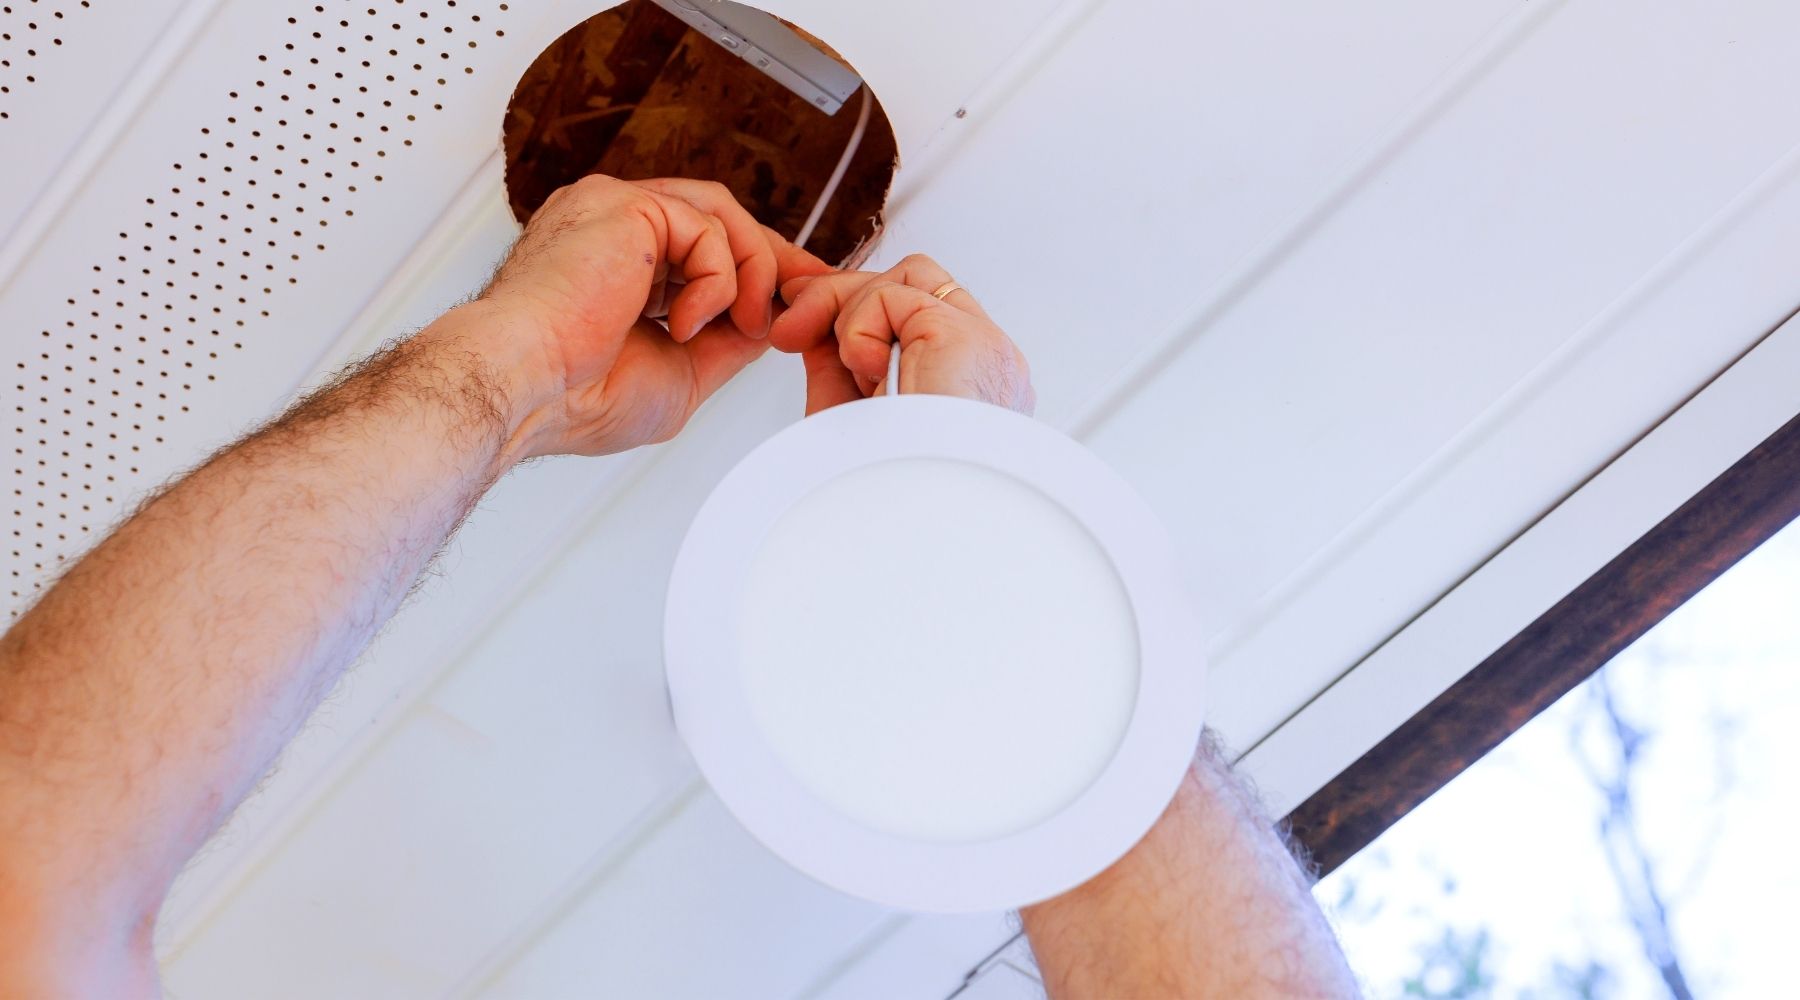
5. Attach the fixture: Now, connect the wires from the light fixture to the wires in the ceiling. Use wire nuts to twist the wires together—white to white (neutral), black to black (hot), and green or bare copper to ground. Once connected, tuck the wires neatly into the box and secure the fixture to the bracket.

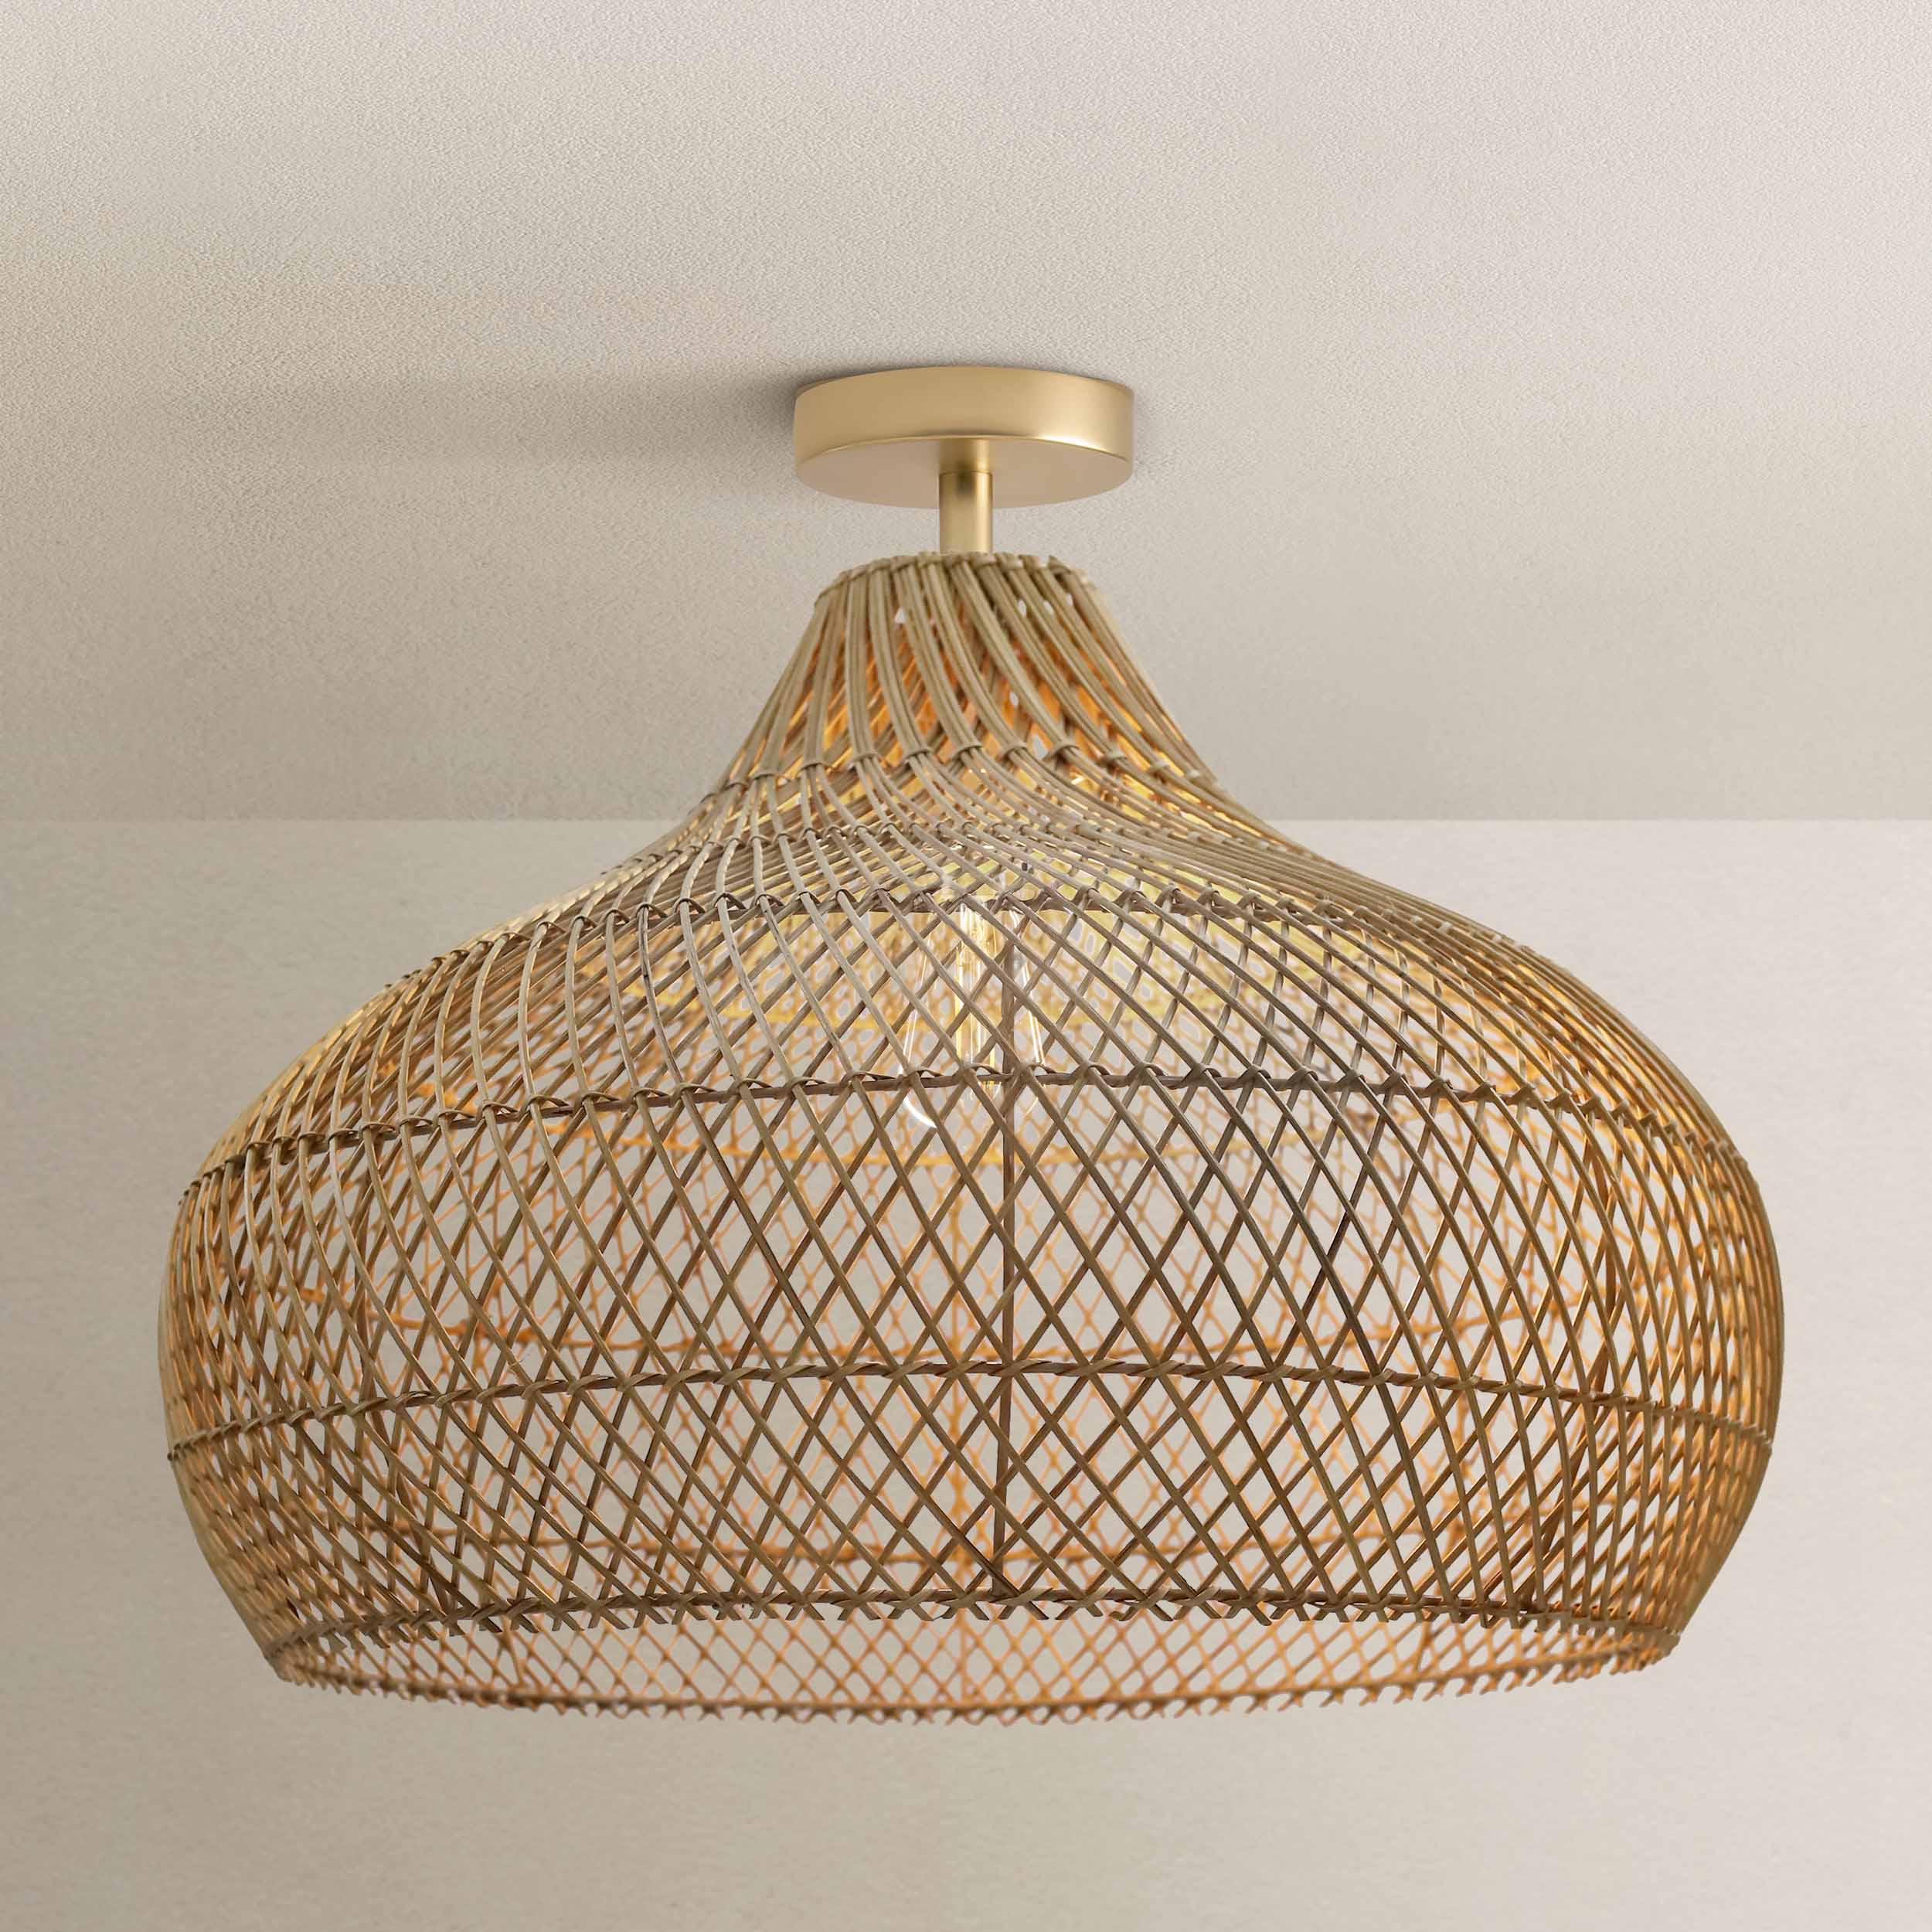
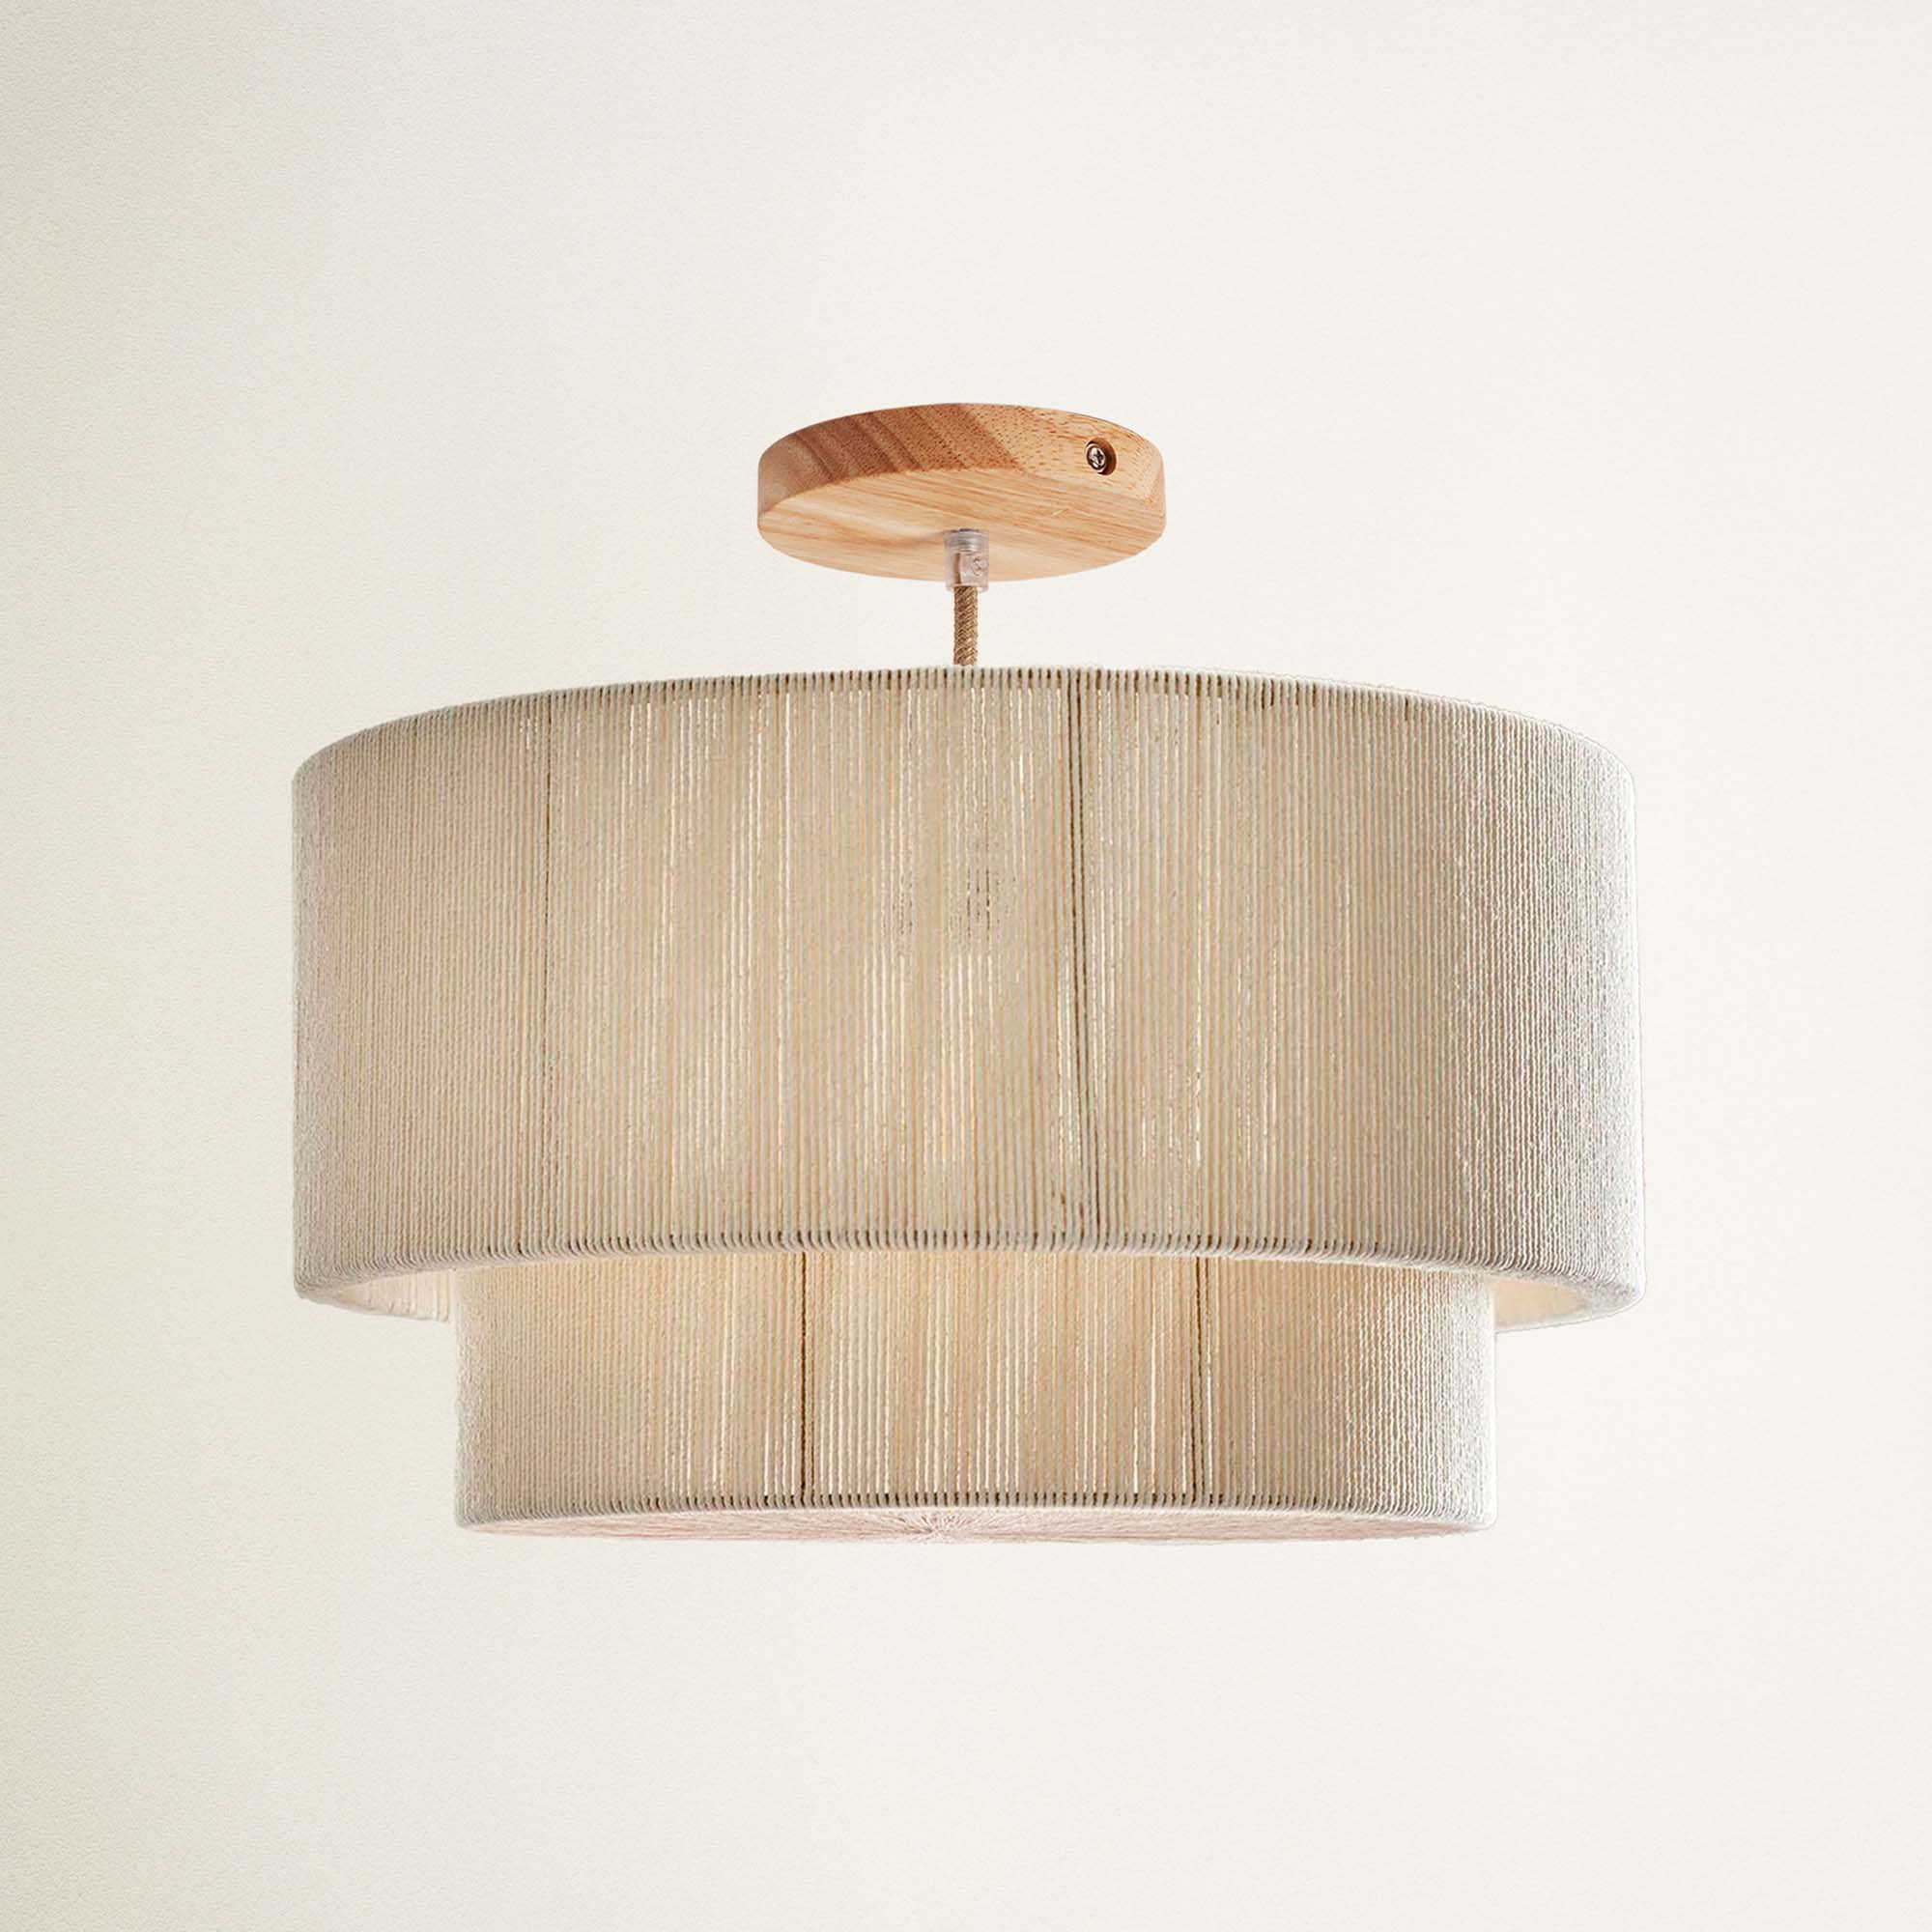
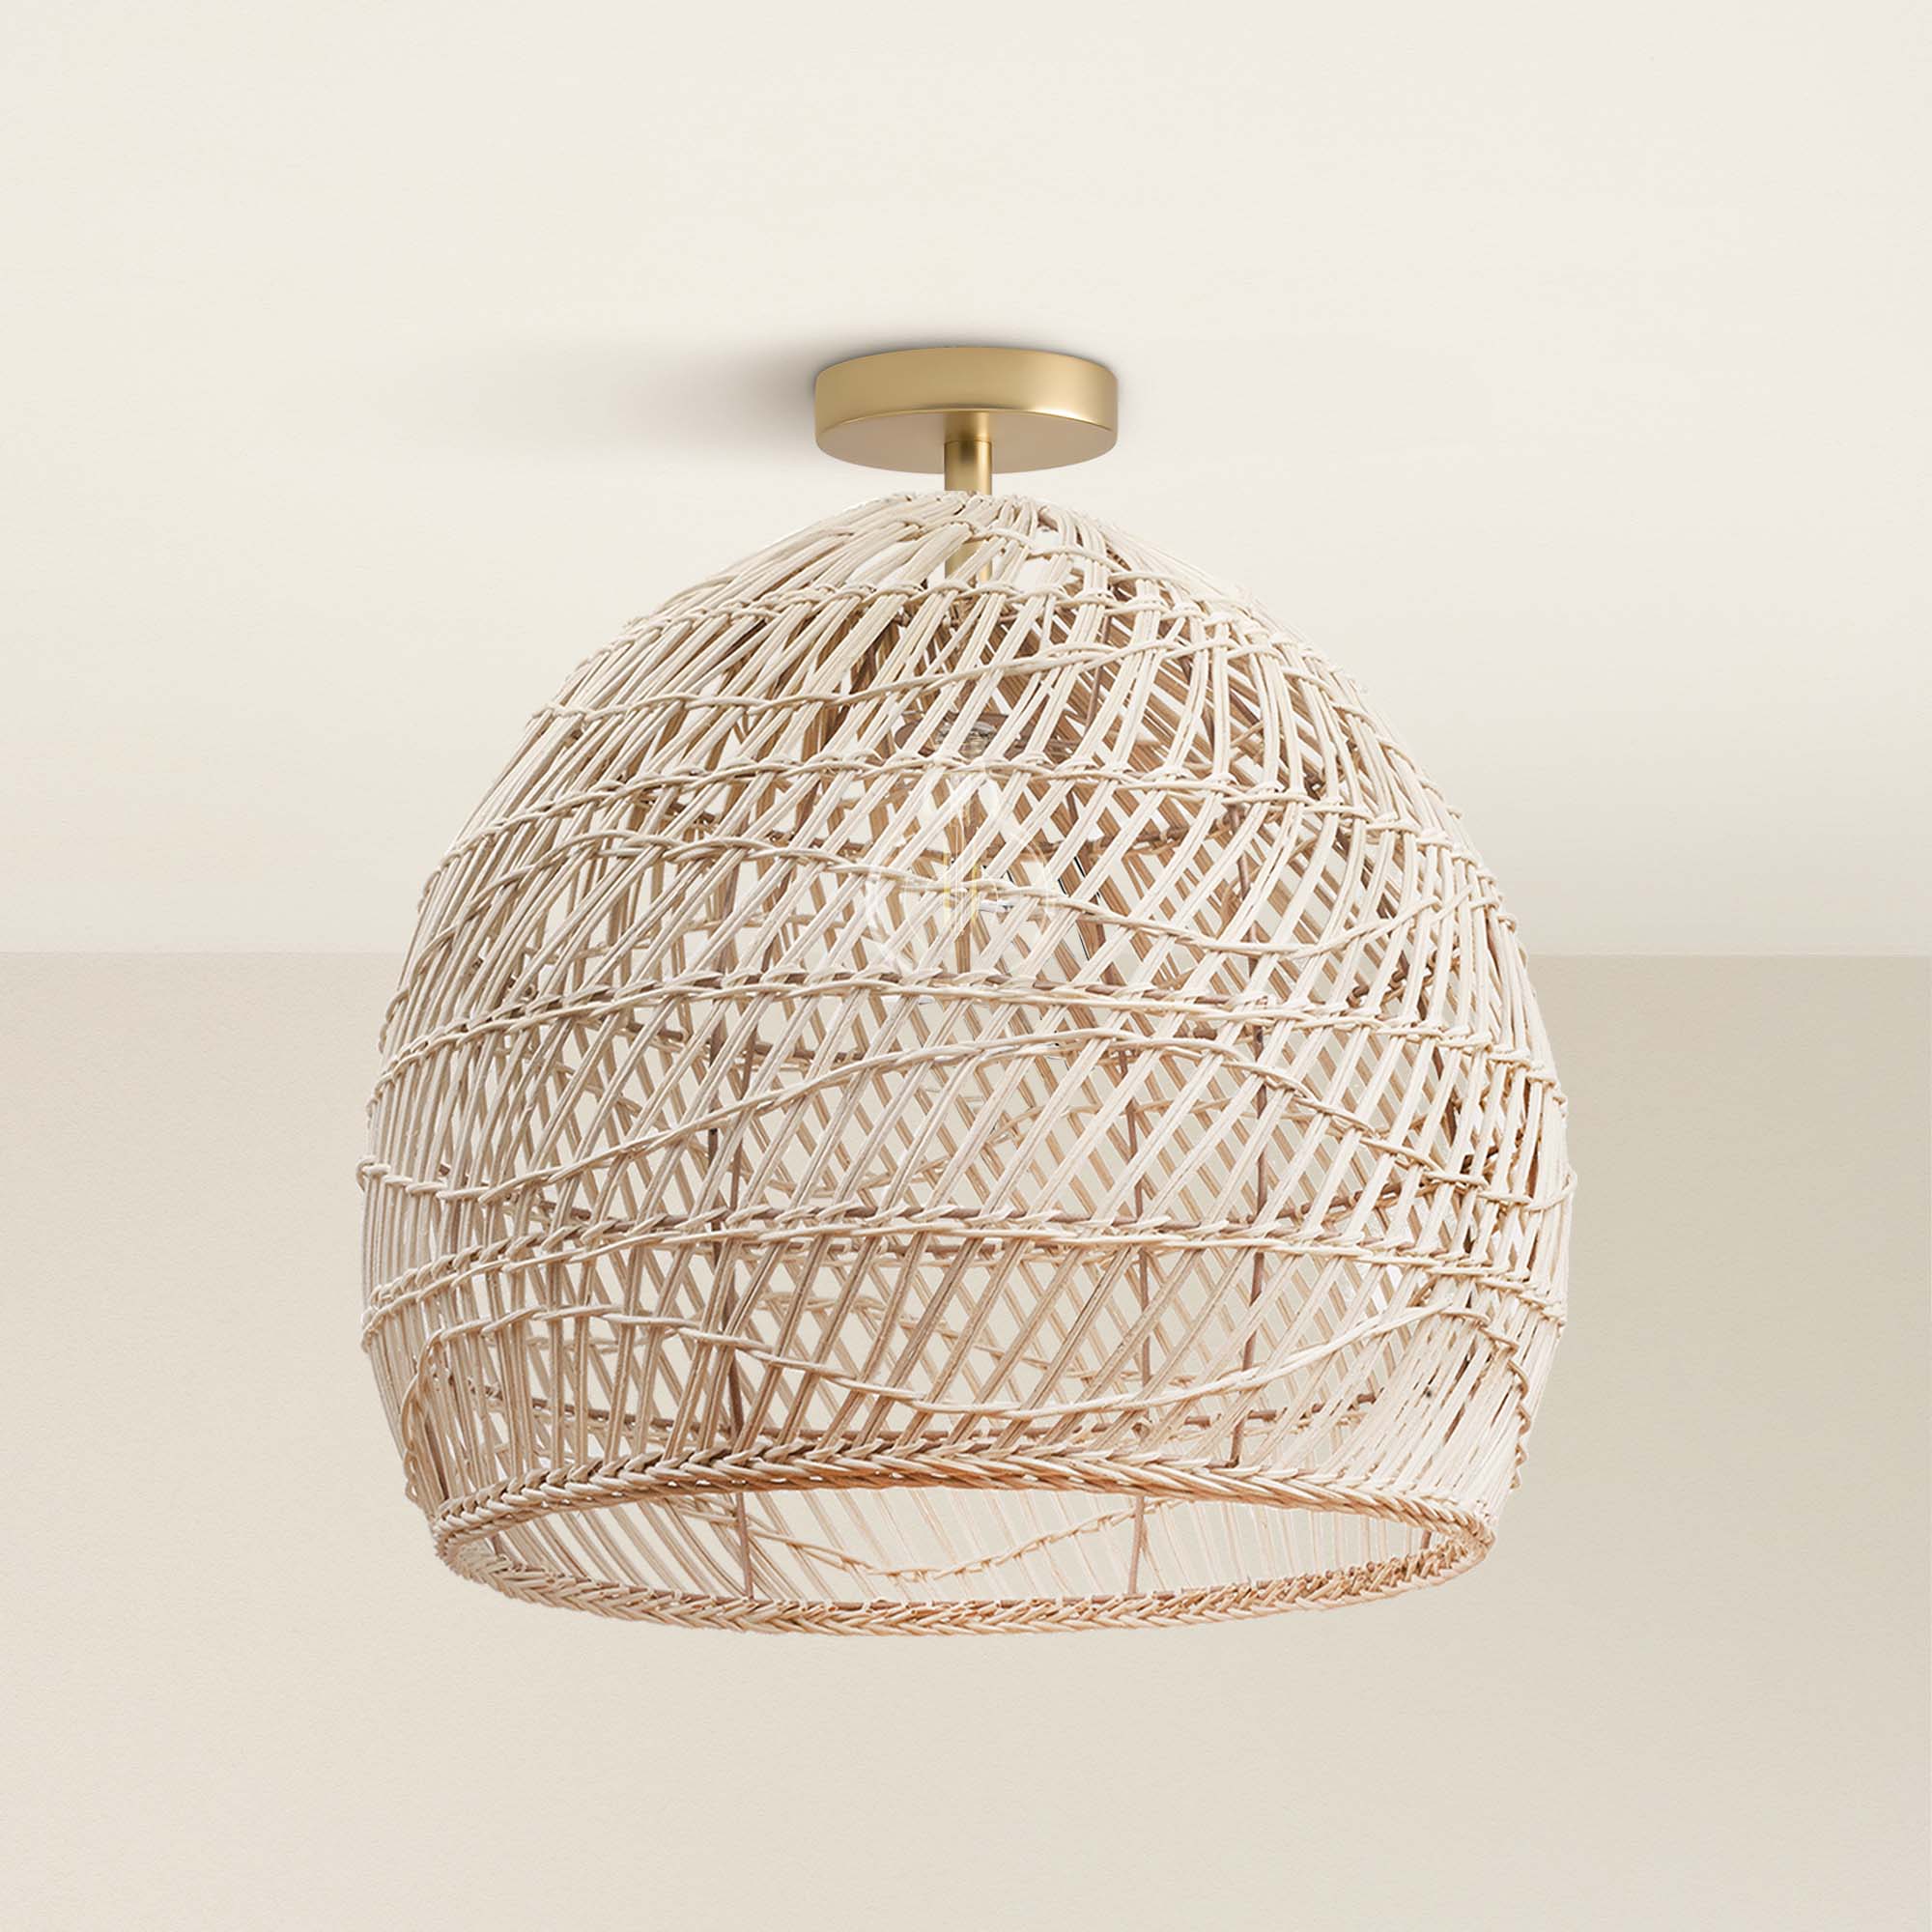
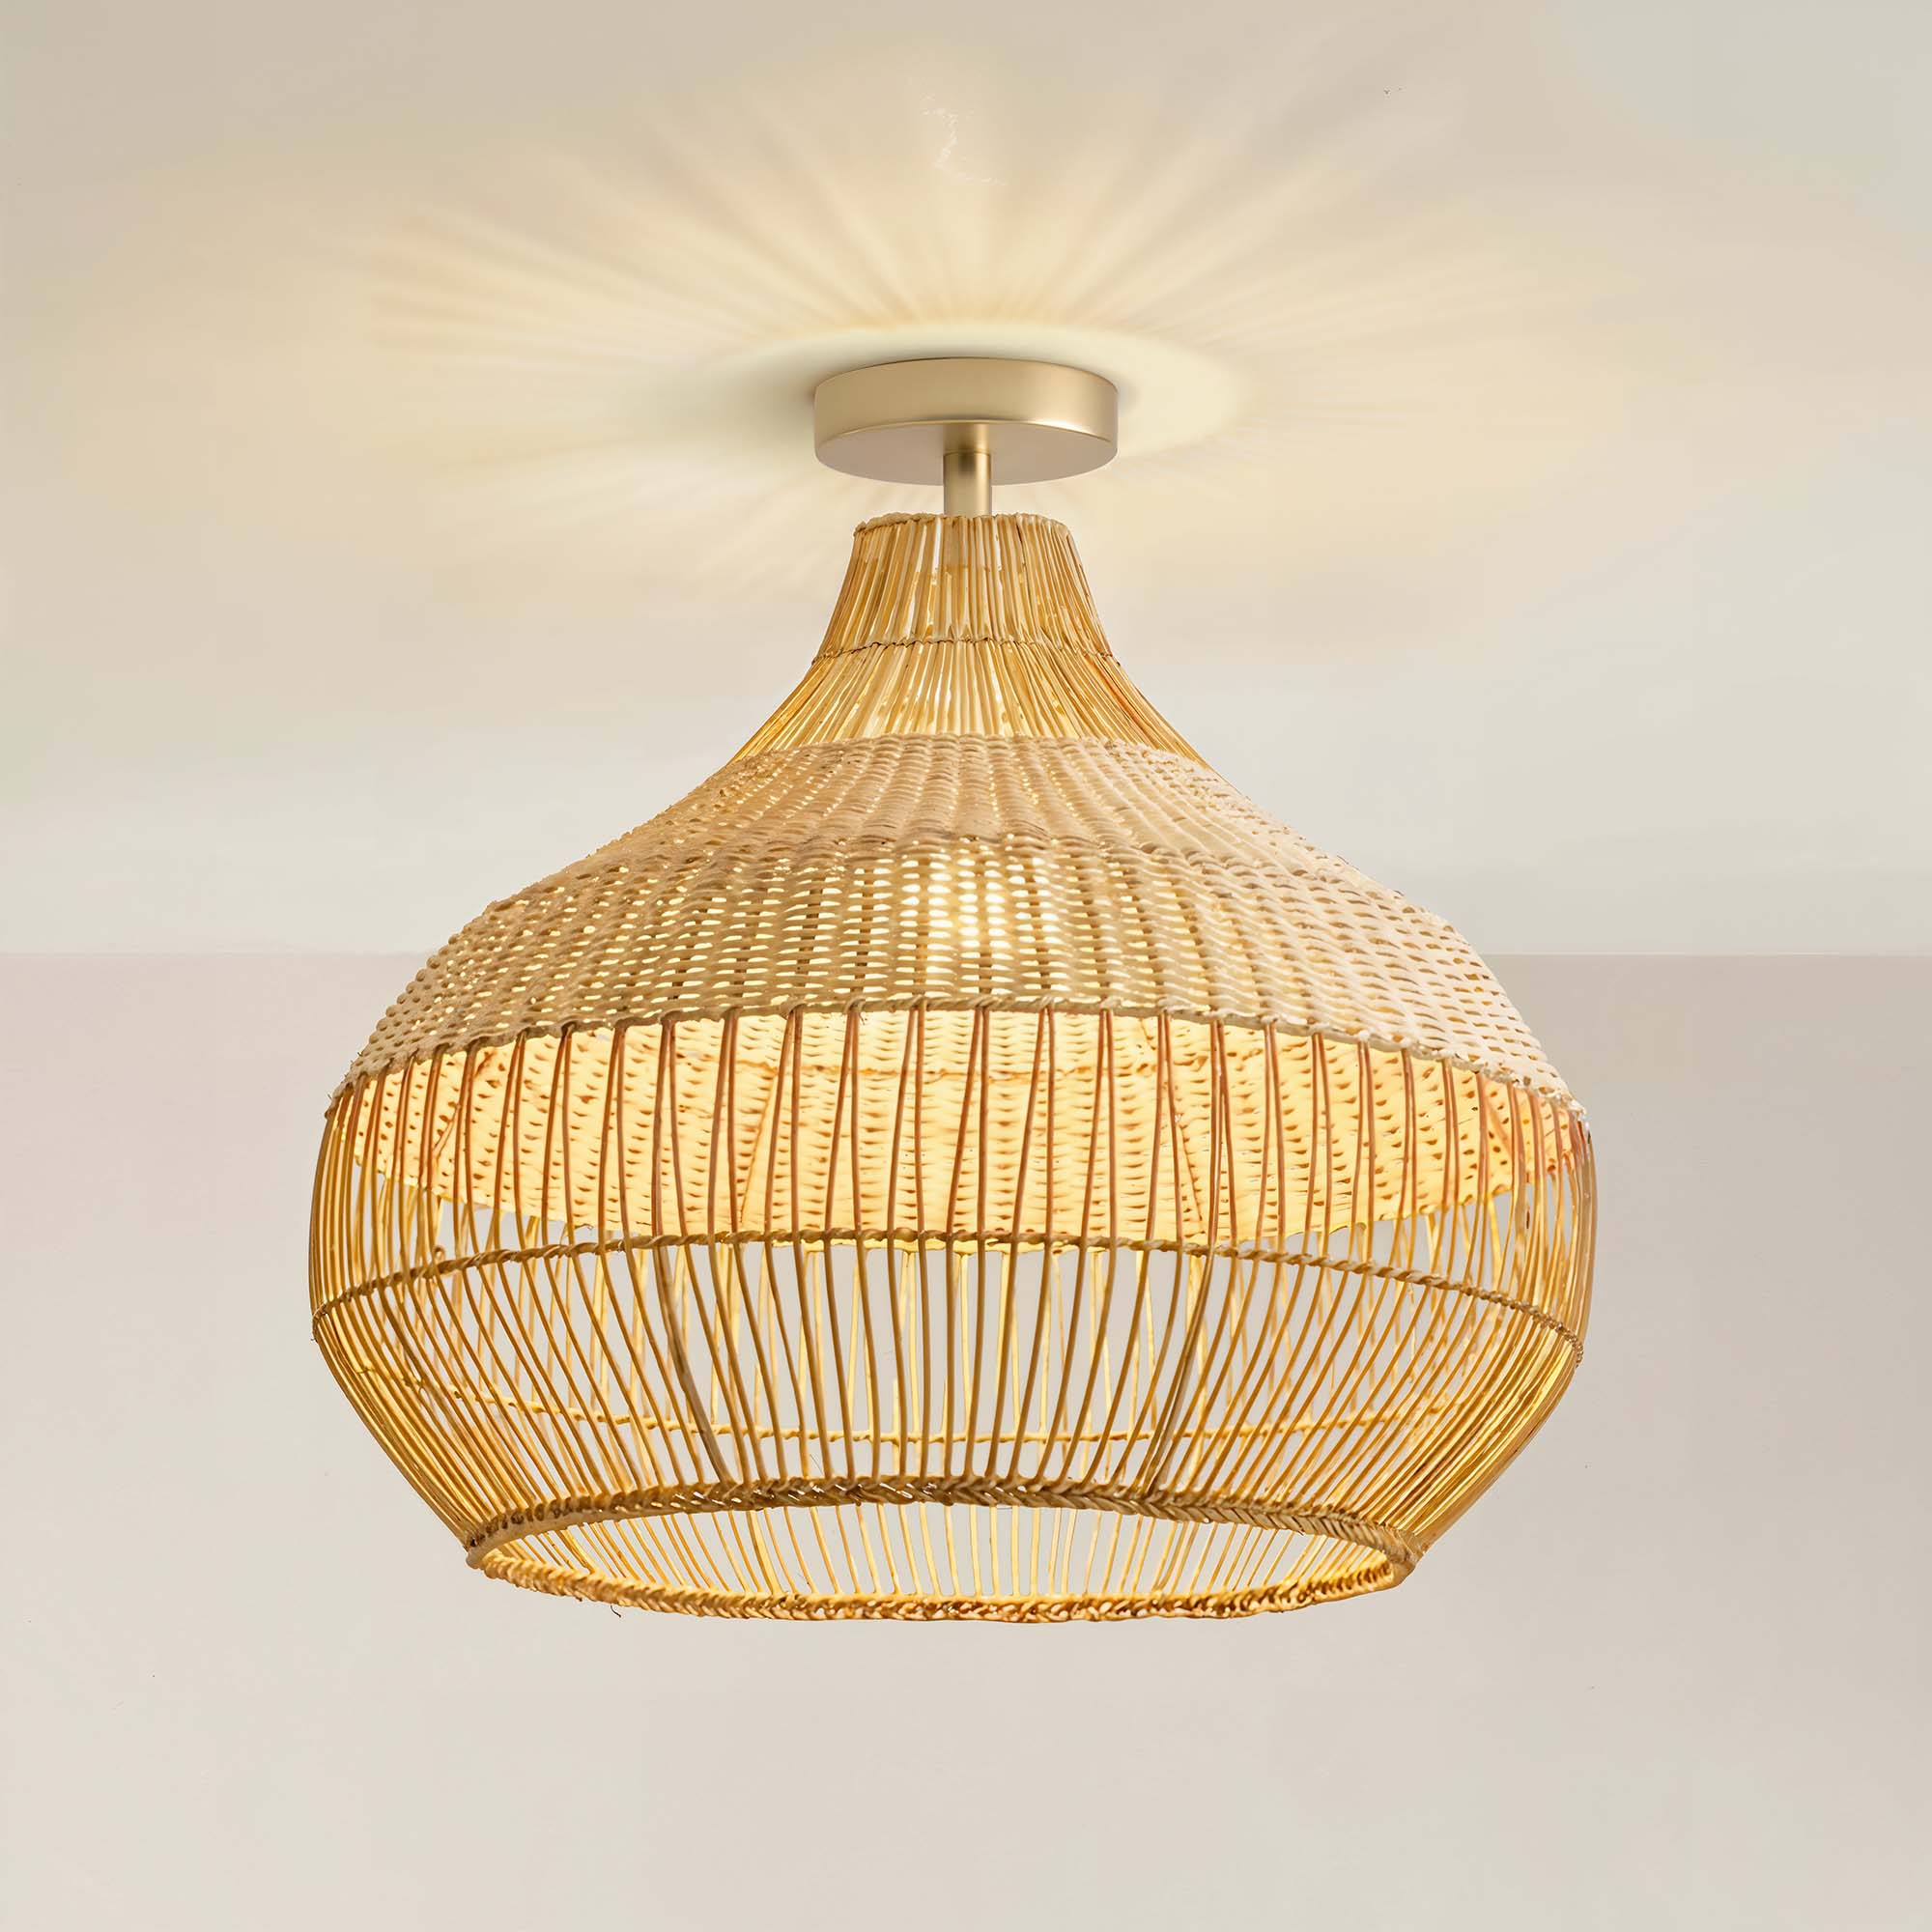
Source: Rowabi.
6. Install the bulbs: Screw in the bulbs (make sure they’re the correct wattage for your fixture). If you're using LED bulbs, go ahead and install them. Make sure they’re tightly secured.
7. Turn on the power: Go ahead and turn the power back on at the breaker box. Then, flip the light switch, and voila! You’ve got yourself a brand-new flush mount light shining bright.
It's time for an upgrade. Find your perfect focal point.
How to change the flush light bulb
Changing the bulb in your flush mount light is as easy as flipping the switch. However, here’s a pro tip: Before changing the bulb, ensure the power is turned off. Safety first! Once the power is off, unscrew the old bulb from the socket and replace it with a new one.
For LED fixtures, consult the manufacturer's instructions for specific guidelines on bulb replacement. It’s always a good idea to double-check that you're using the correct type of bulb to avoid any issues.
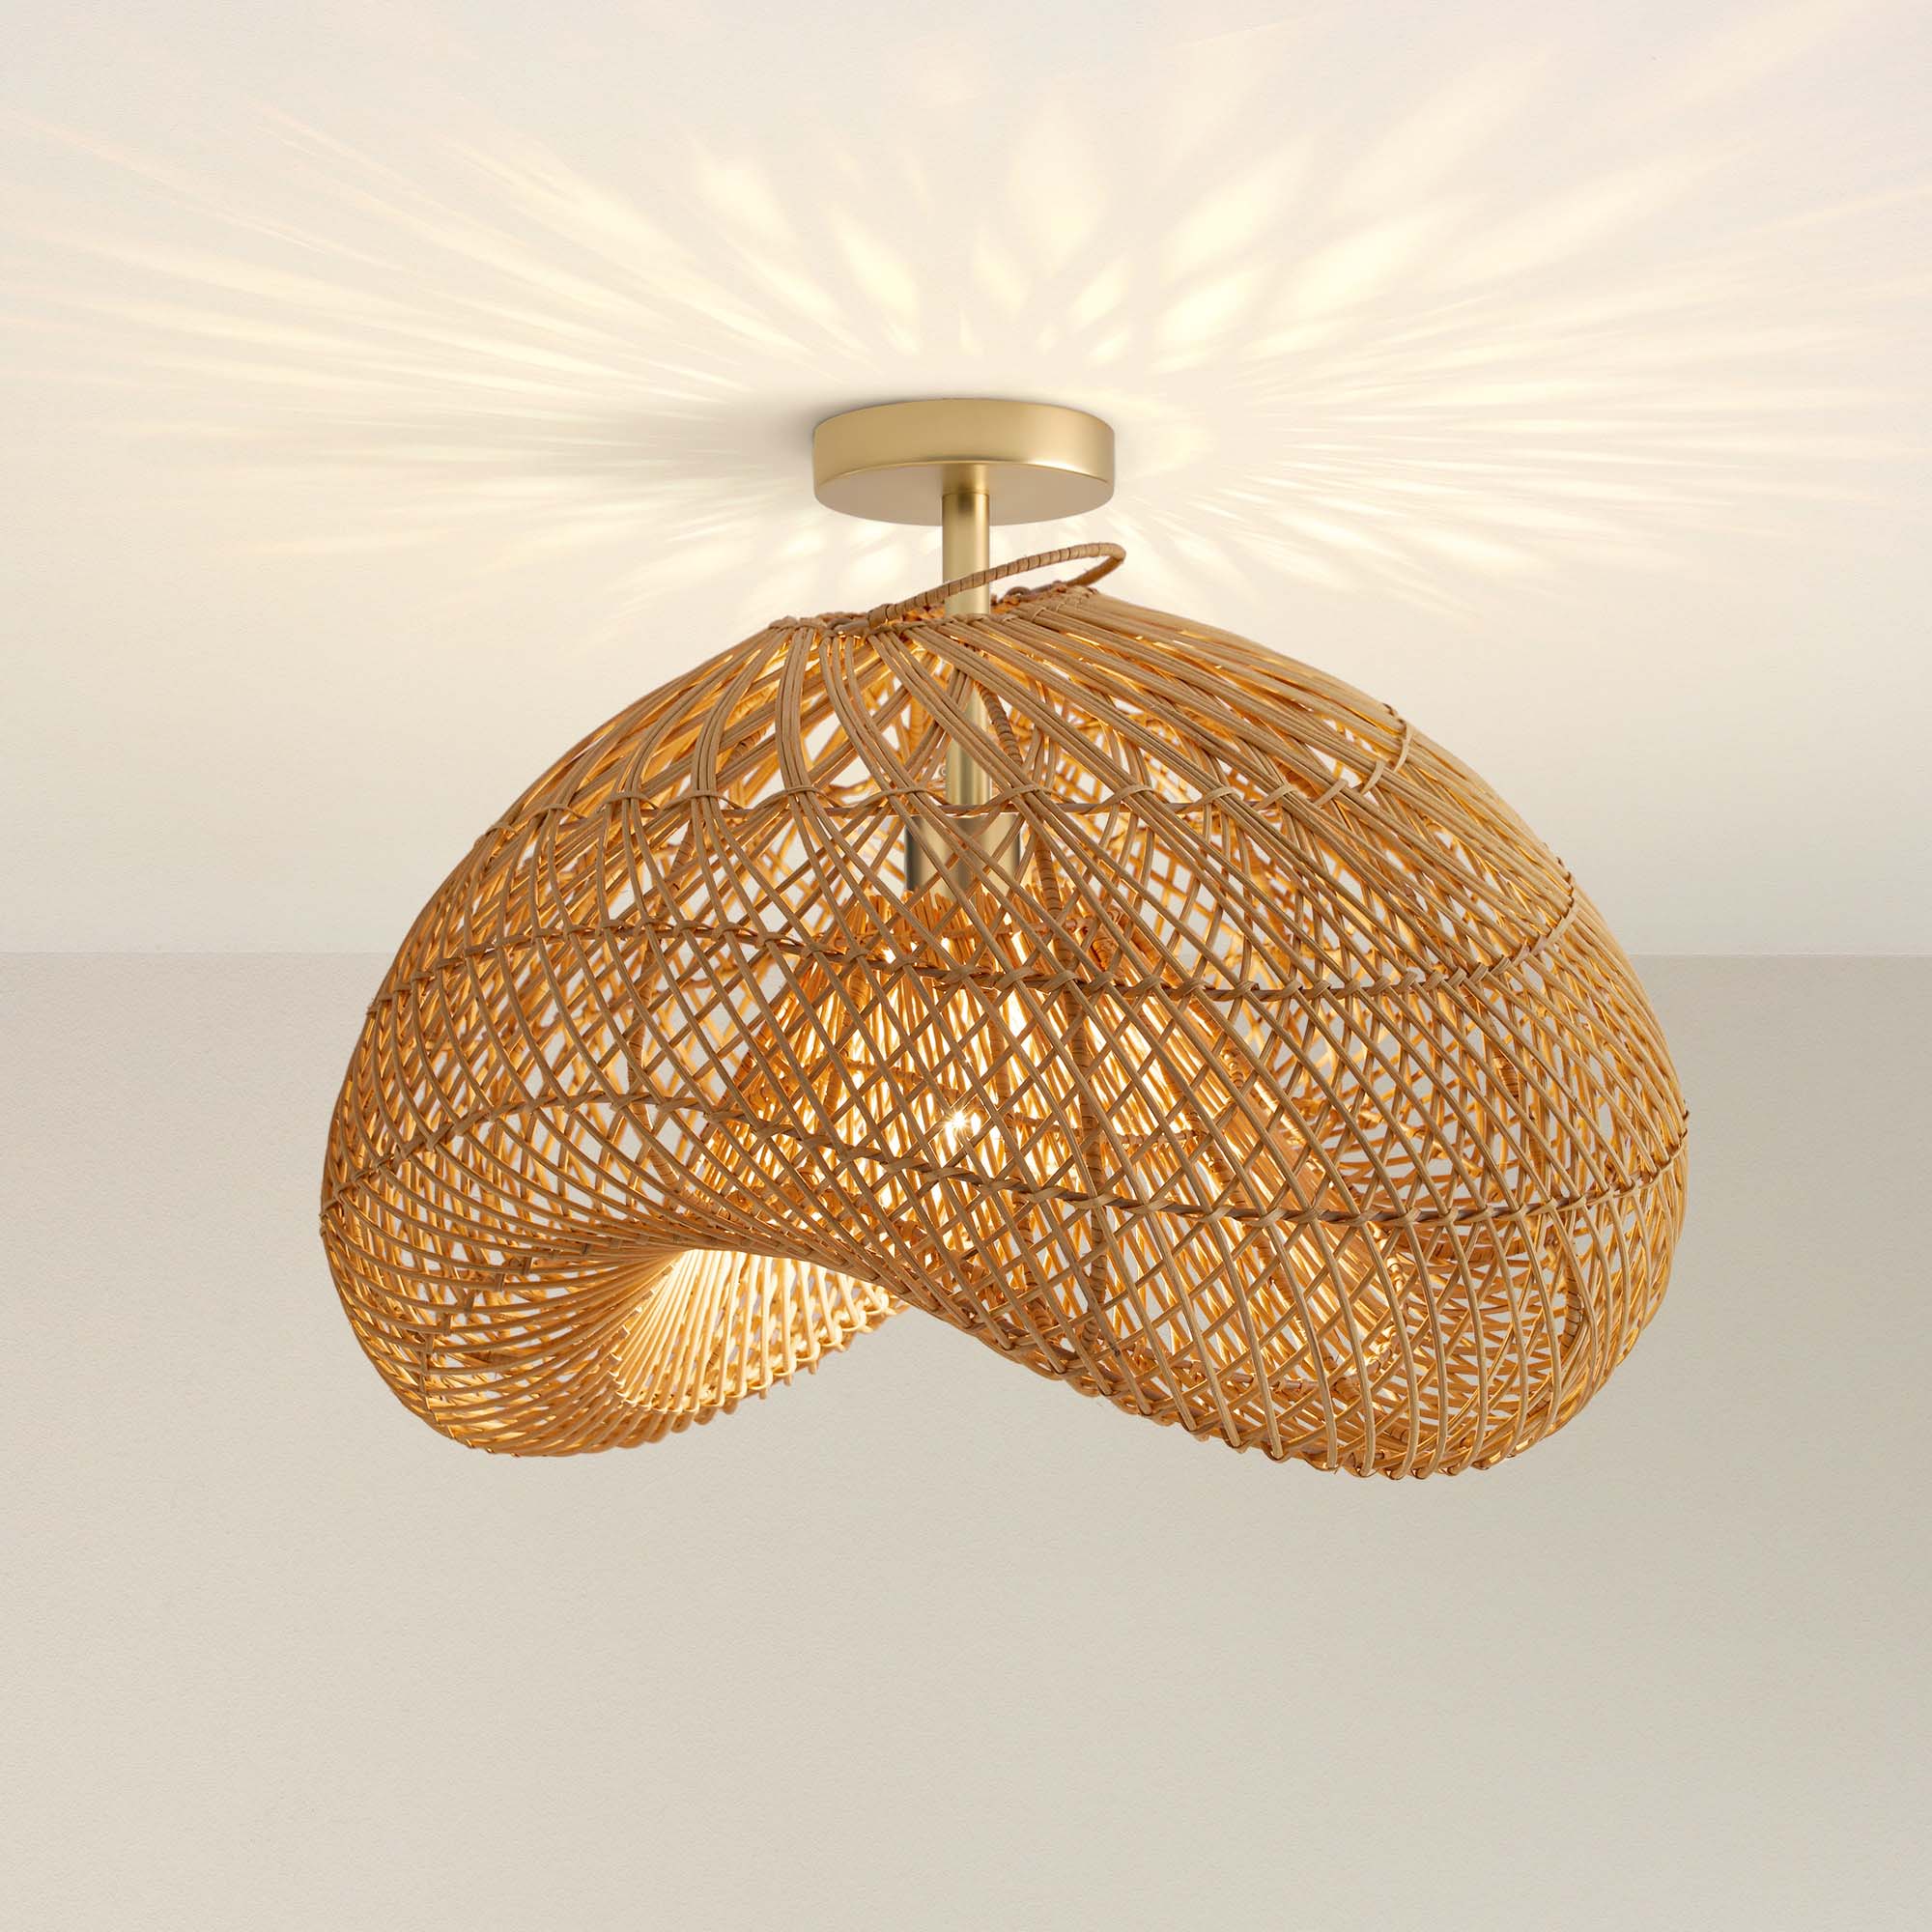
Flush-mount ceiling light installation pro tip!
Here’s a little expert advice for you: when installing a flush-mount light in a room with a lower ceiling, opt for a compact fixture that doesn’t protrude too far. You want it to emit a great deal of light without feeling overwhelming in the space.

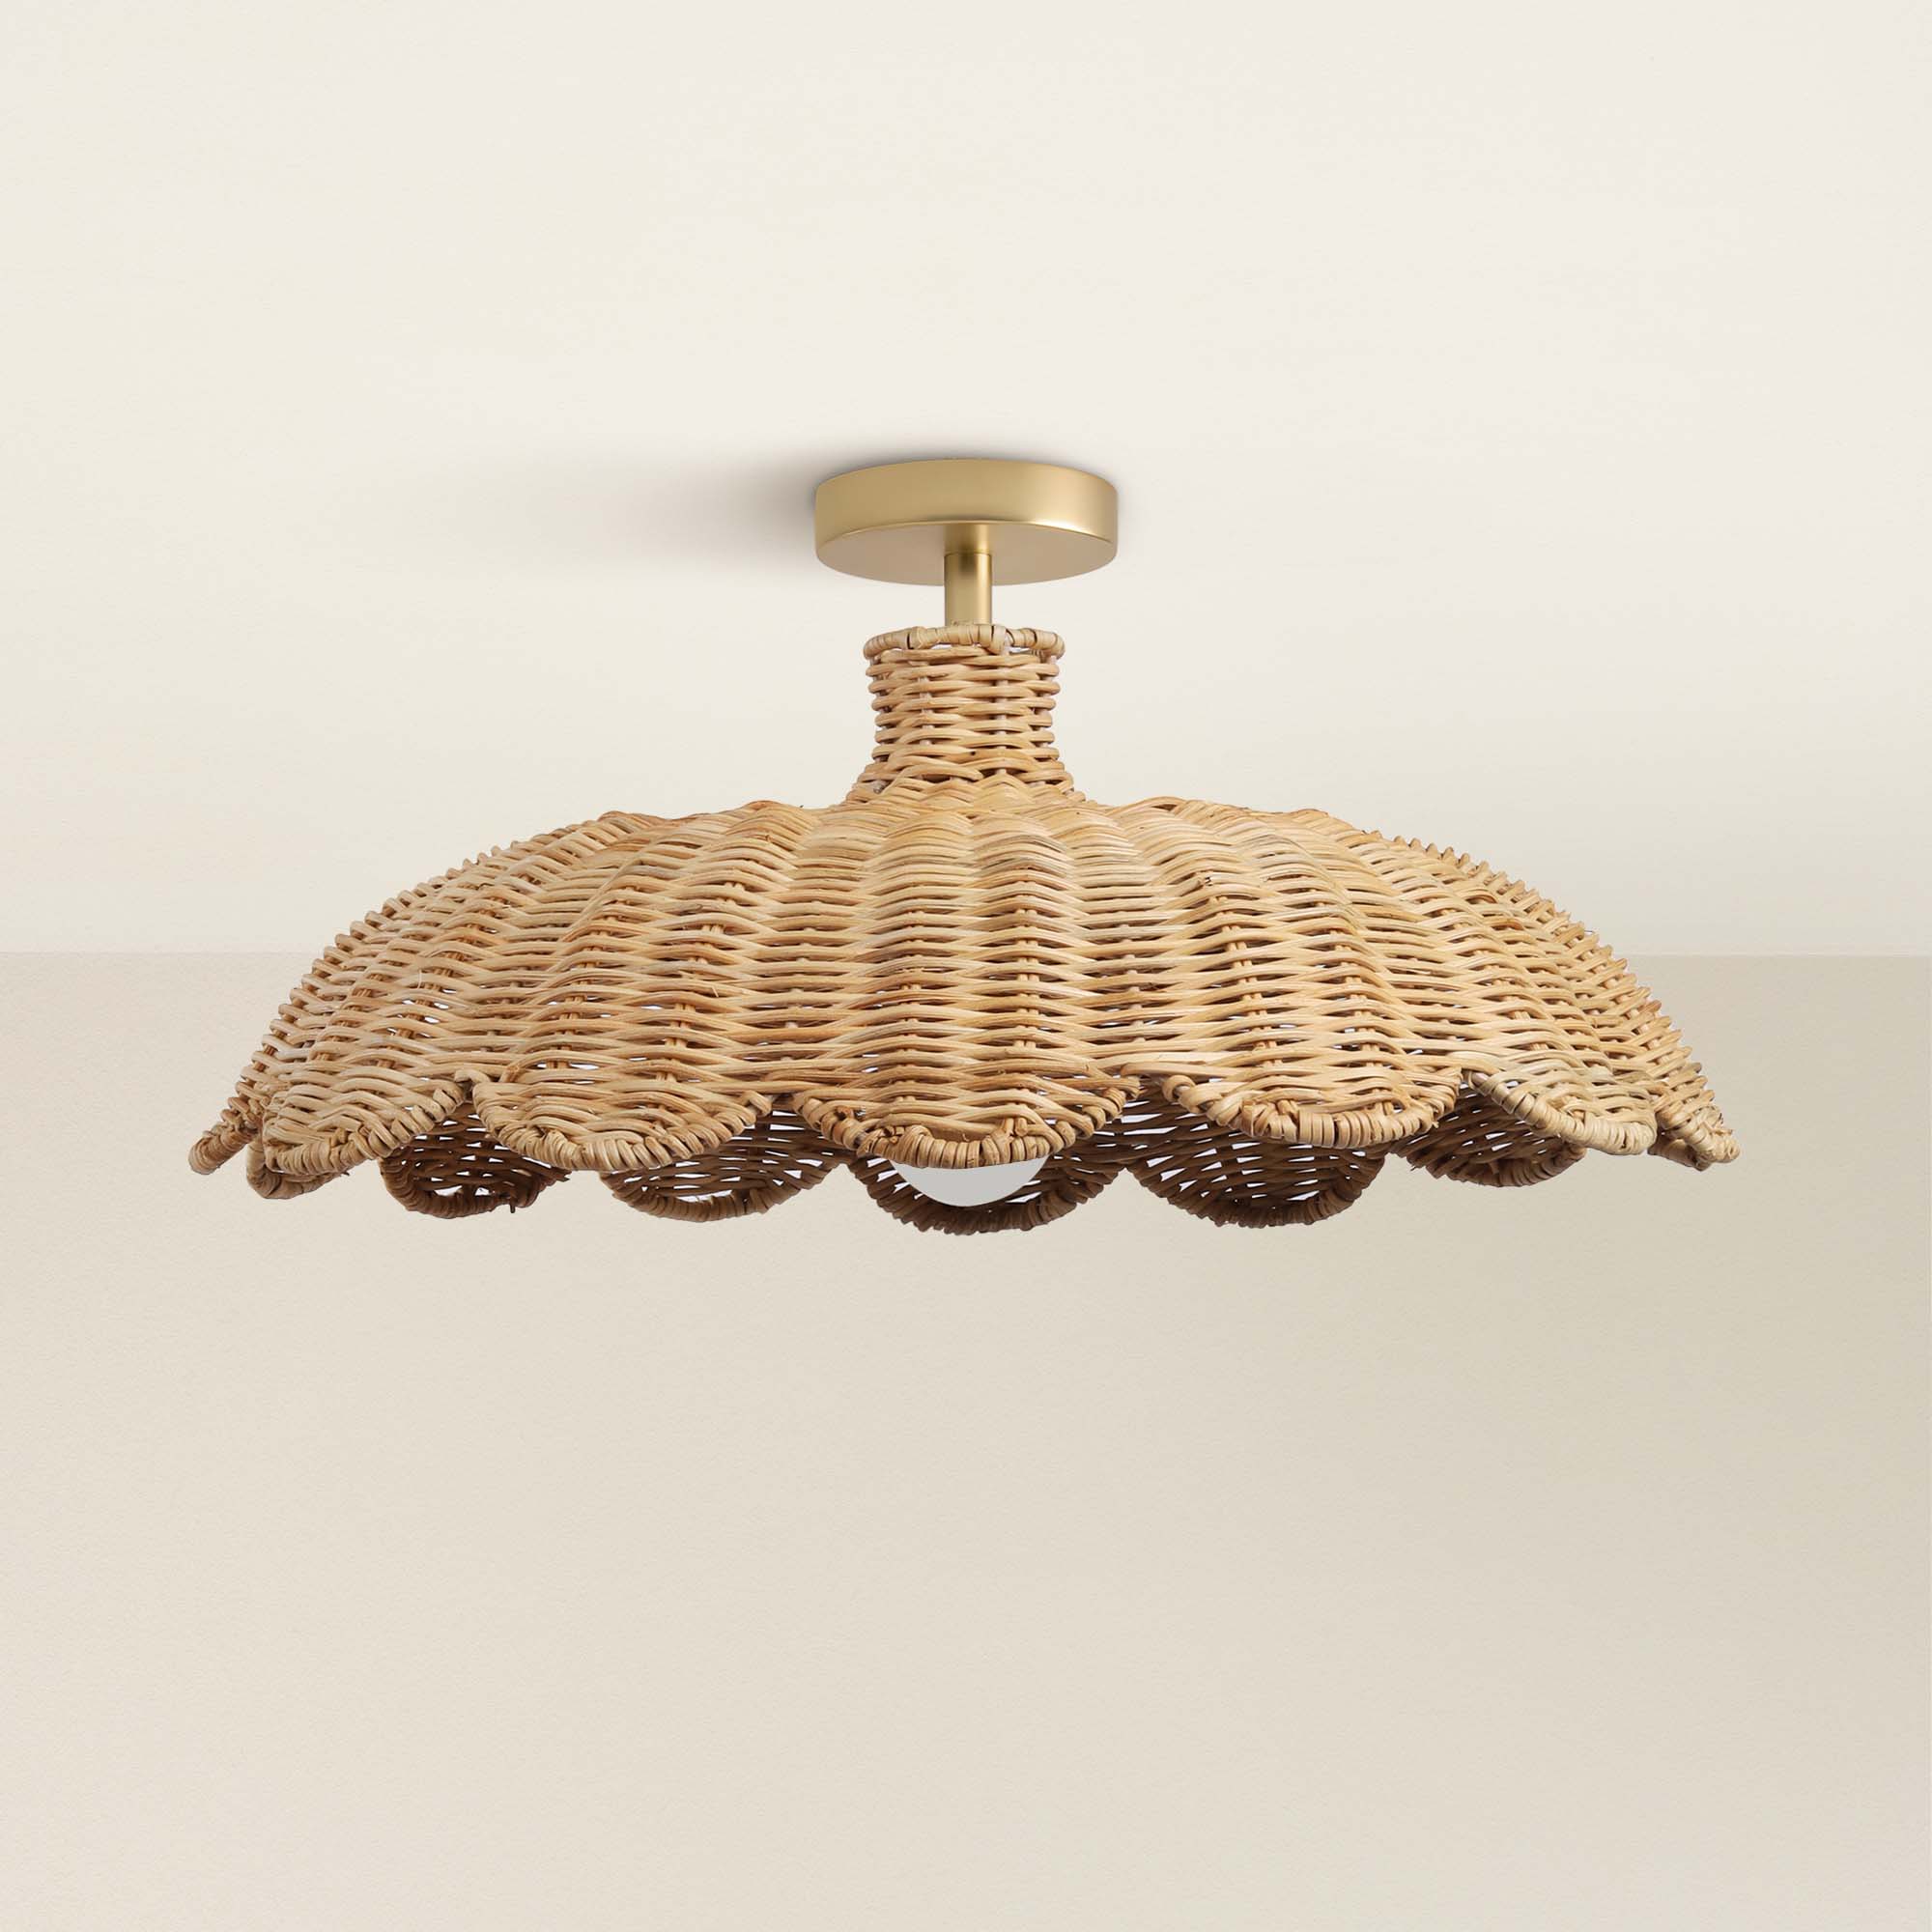
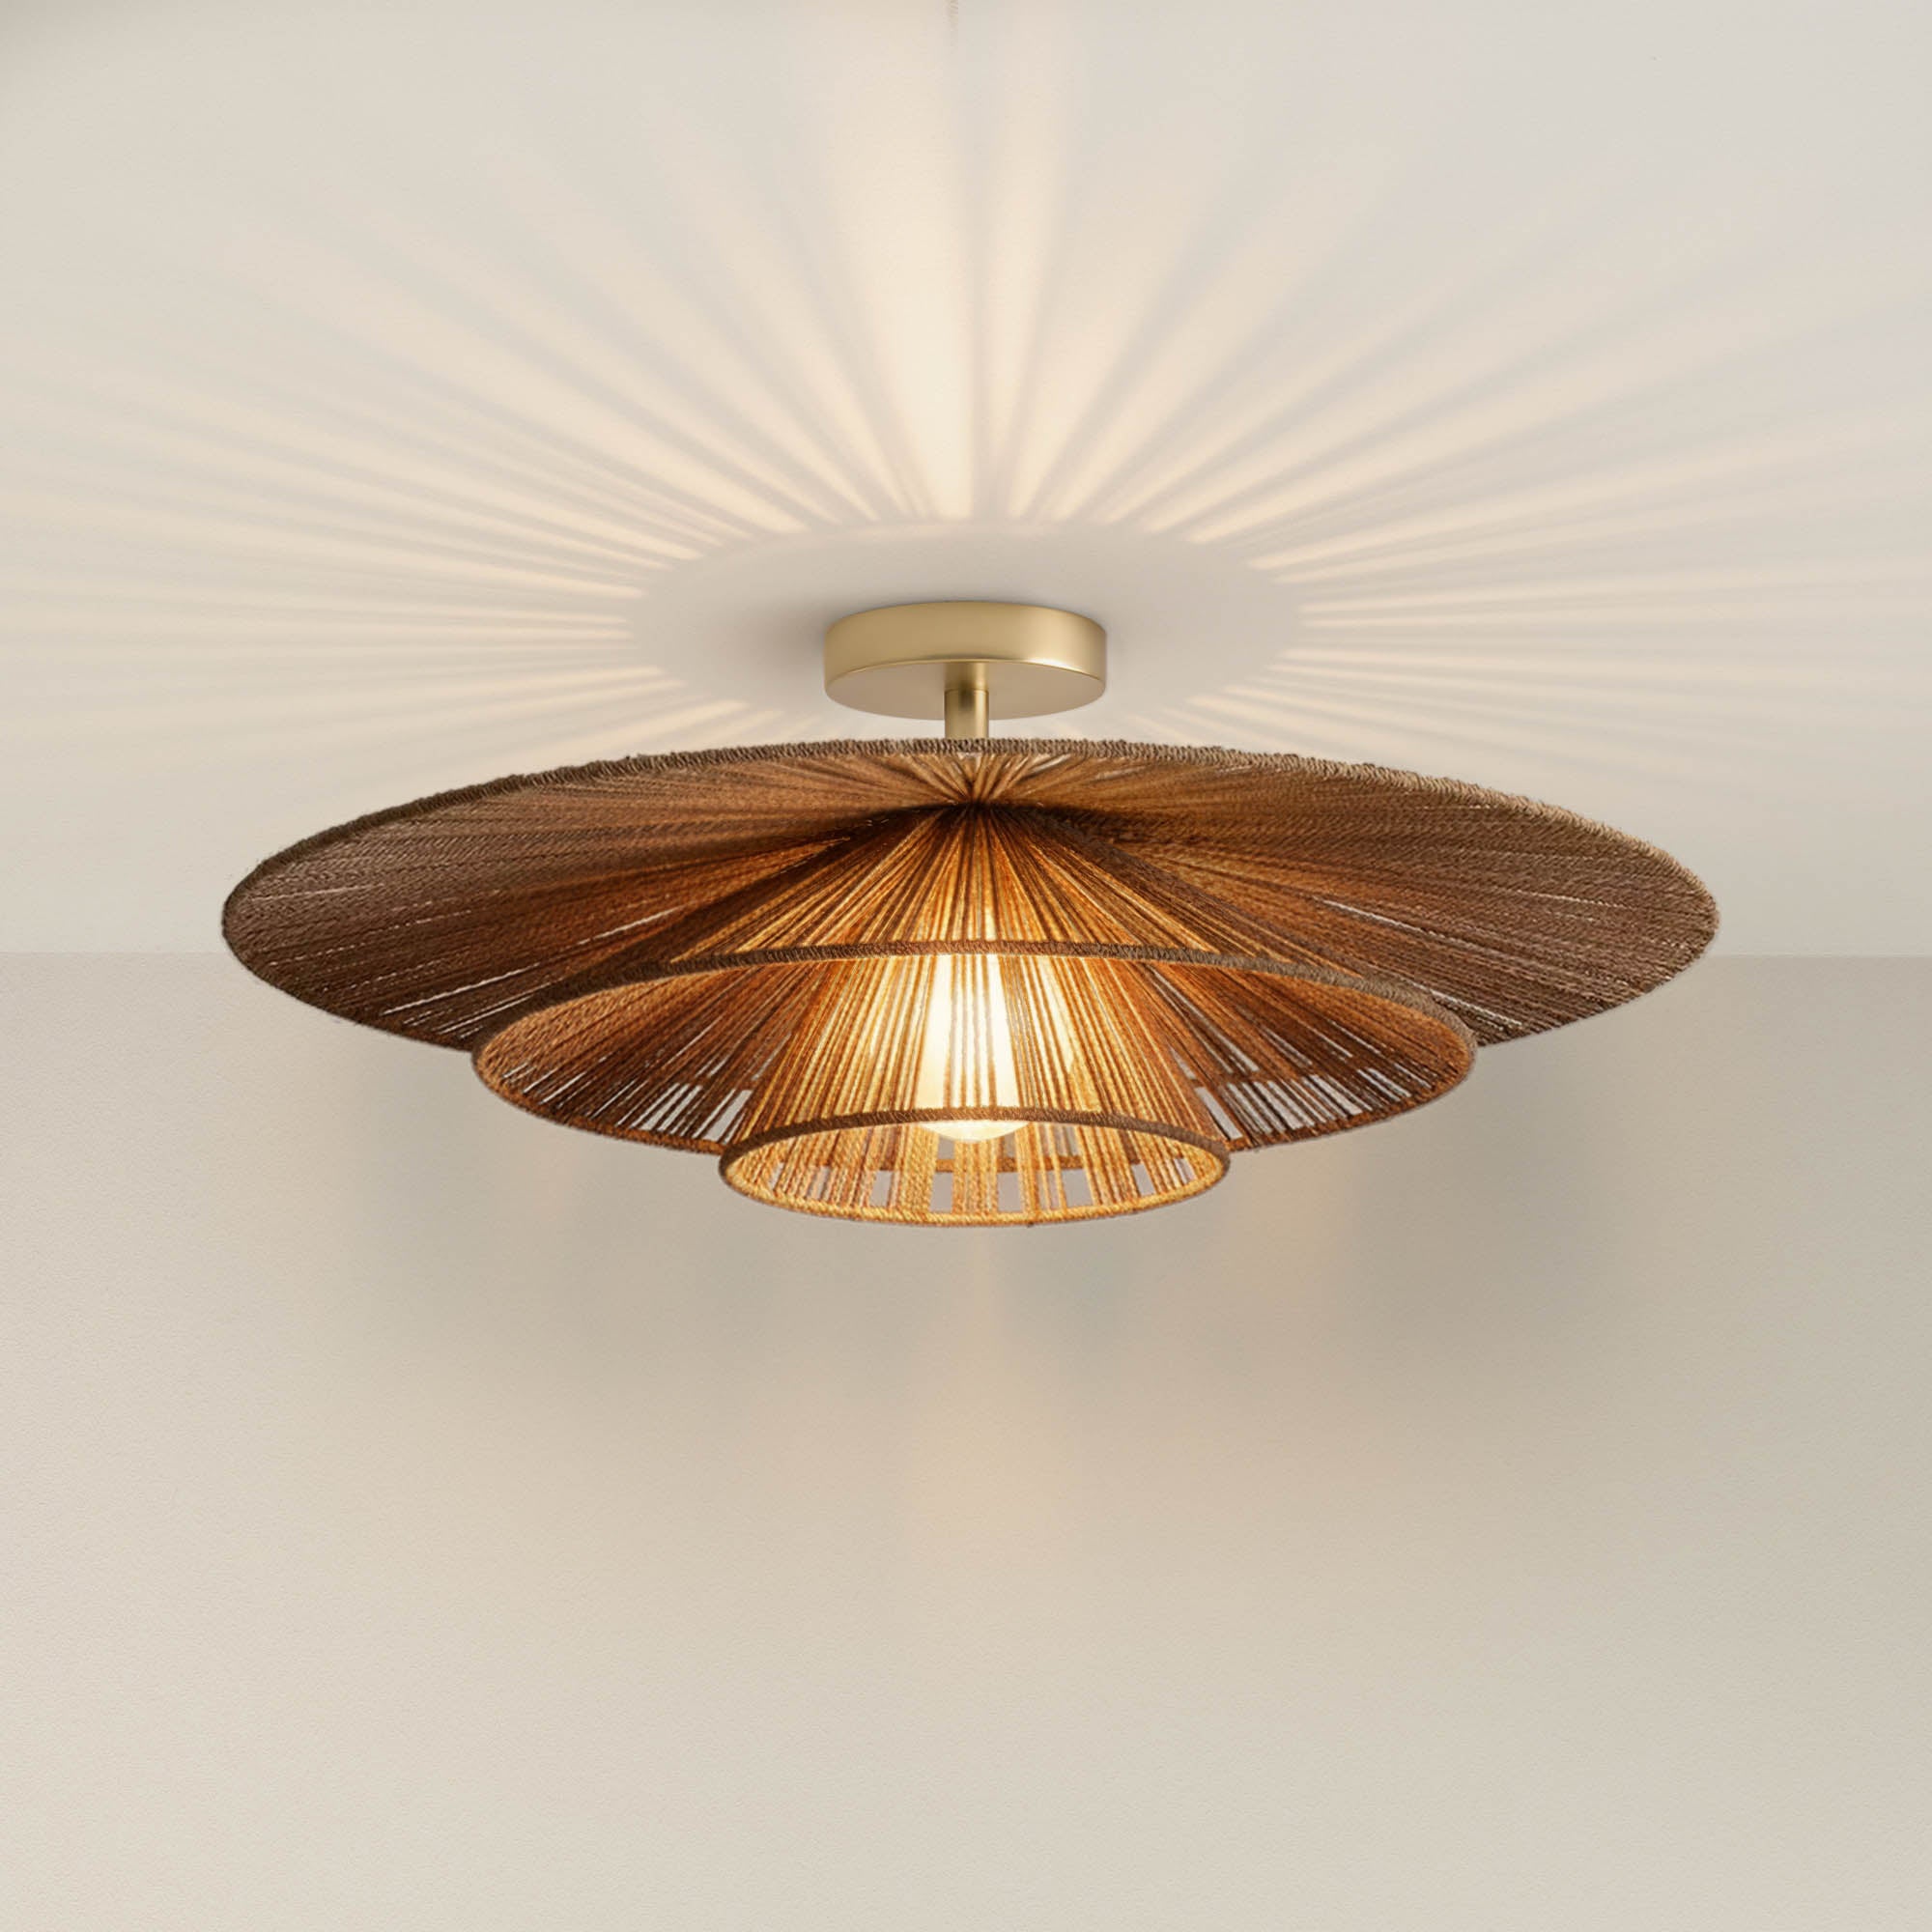
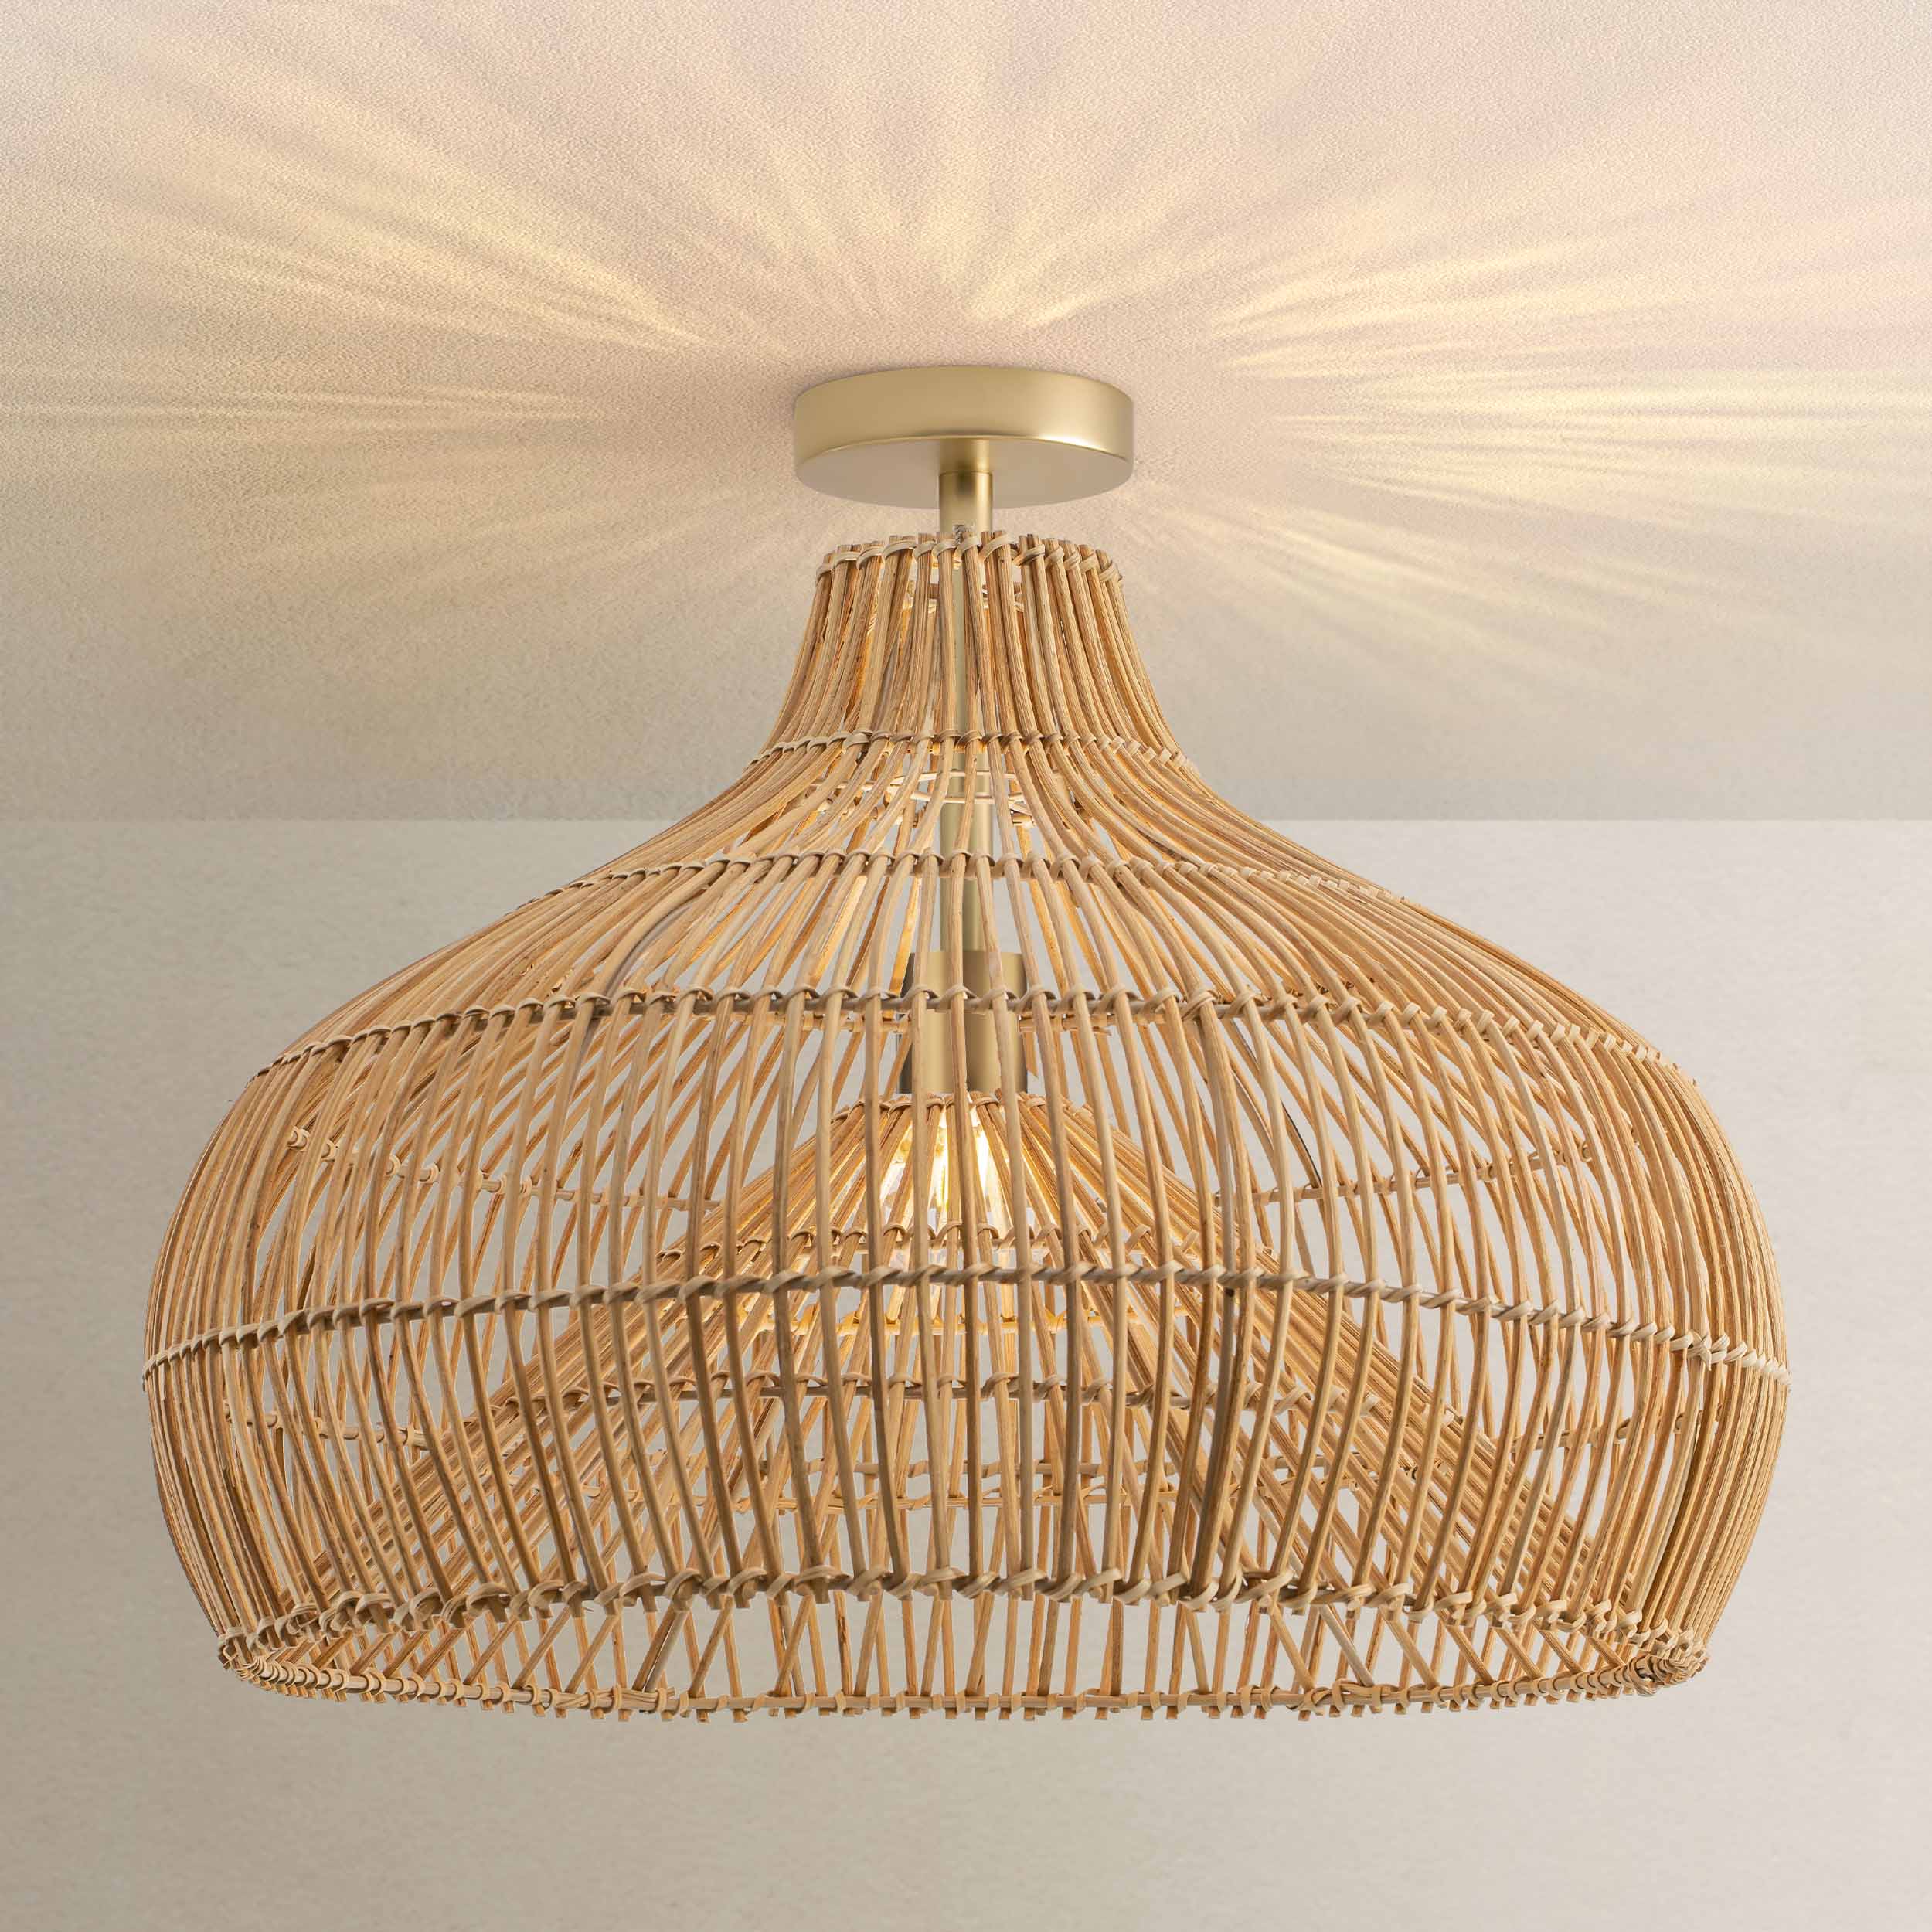
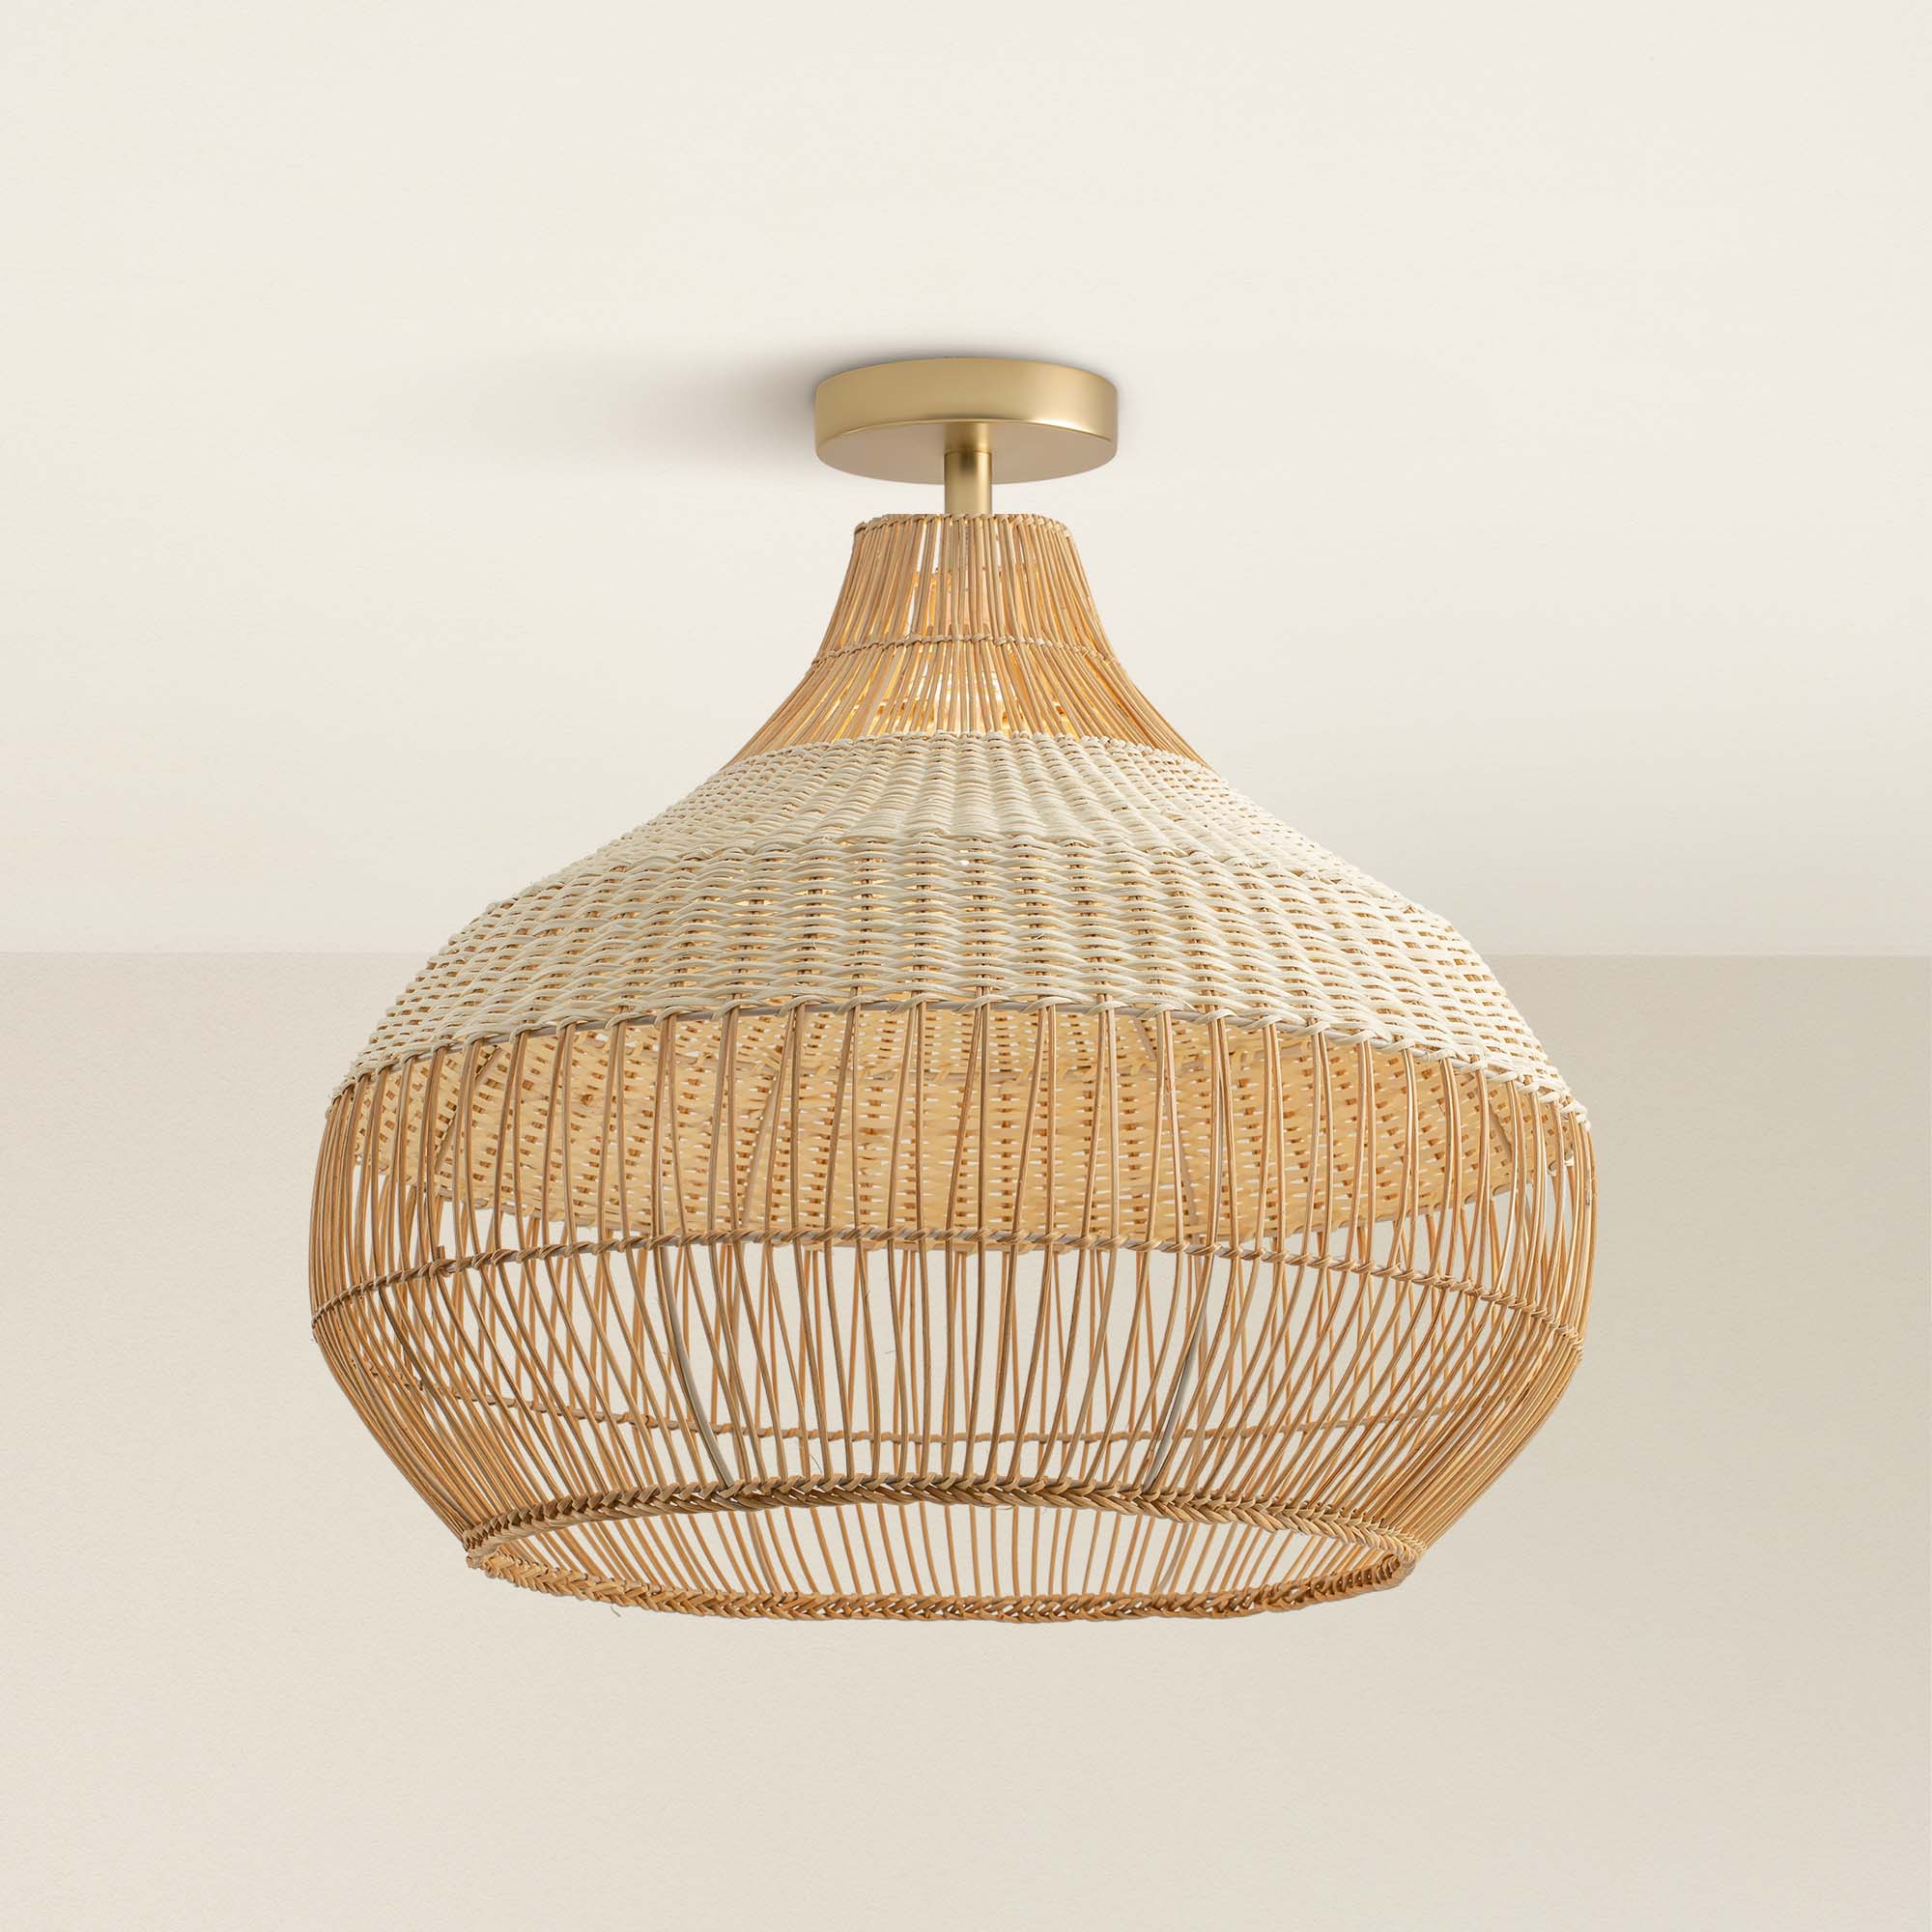
Image by Rowabi
Additionally, if you’re working with a high ceiling, consider using a pendant-style flush mount to add elegance and illumination. Additionally, if you’re unsure which type of bulb to use, LED is always an excellent choice for long-lasting, energy-efficient lighting.
Faqs
Is it difficult to install a flush-mount ceiling light?
- A flush mount can be easily fixed to introduce additional light into a room. Whether you're updating an old fixture or installing a new LED flush-mount ceiling light, our guide will walk you through the process of installing flush-mount light fixtures with ease.
How much does it cost to install a flush mount light?
- The cost to install a flush mount light can range from $65 to $250, depending on the fixture and installation costs.
What is the difference between a ceiling mount and a flush mount?
- A flush-mount light is installed directly onto the ceiling and has no visible center stem that lowers the sockets, holding the fixture below ceiling level.
How long do flush mount ceiling lights last?
- LED flush mount ceiling lights have a long lifespan and can last up to 50,000 hours or more
What is the difference between surface-mount and flush-mount lights?
- Surface mounting and suspended mounting expose fixtures directly to the space, making them more visually appealing.
Can you replace a flush mount with a pendant light?
- Yes, you can replace a flush mount light fixture with a pendant light, but it may require some additional work depending on the existing electrical wiring and the weight of the pendant light.
- In most cases, you'll need to ensure the junction box in the ceiling can support the weight of the pendant and may need to add a mounting bracket to hang it securely.
How big should a flush mount ceiling light be?
- The average flush mount light is 13 inches wide, but they range in width from 12 inches to 24 inches.
Conclusion
And there you have it! You’re now ready to tackle the installation of your flush mount light like a pro. Replacing a flush mount light doesn’t have to be intimidating when you break it down into manageable steps. If you’re looking for high-quality, stylish fixtures to elevate your space, Rowabi has got you covered.


Leave a comment
This site is protected by hCaptcha and the hCaptcha Privacy Policy and Terms of Service apply.