Gifting has never been easier
Perfect if you're short on time or are unable to deliver your gift yourself. Enter your message and select when to send it.
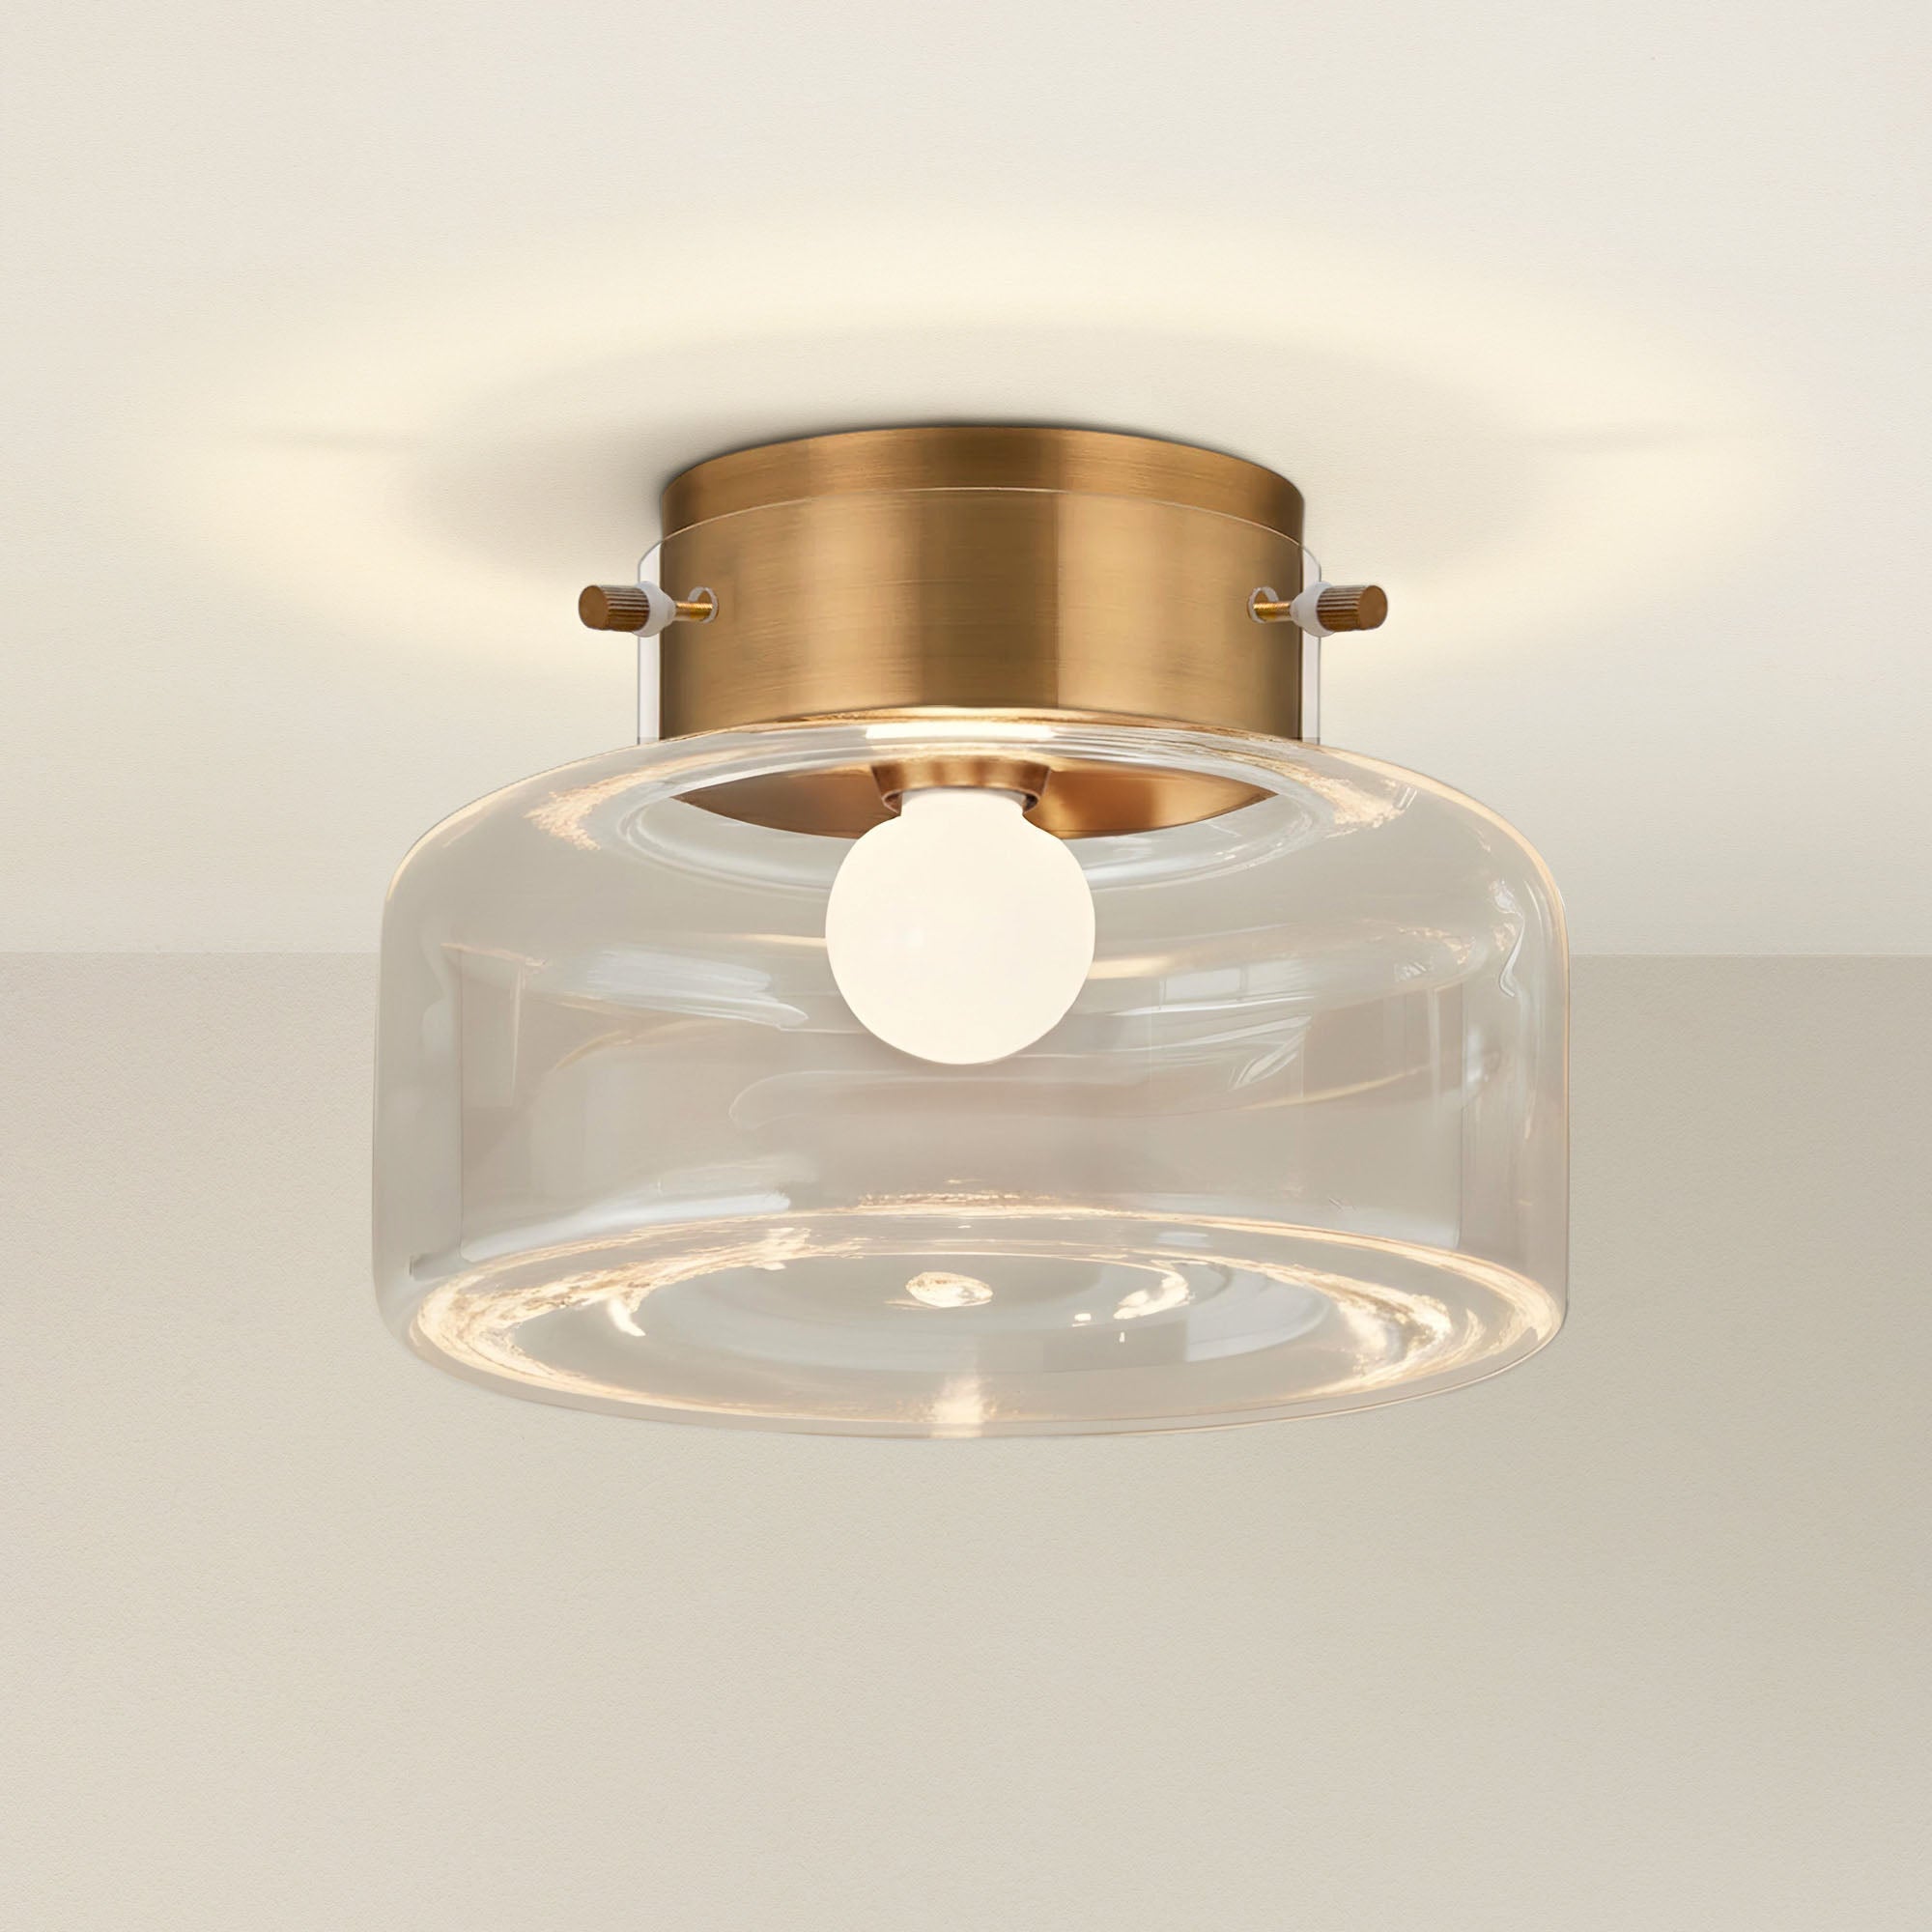
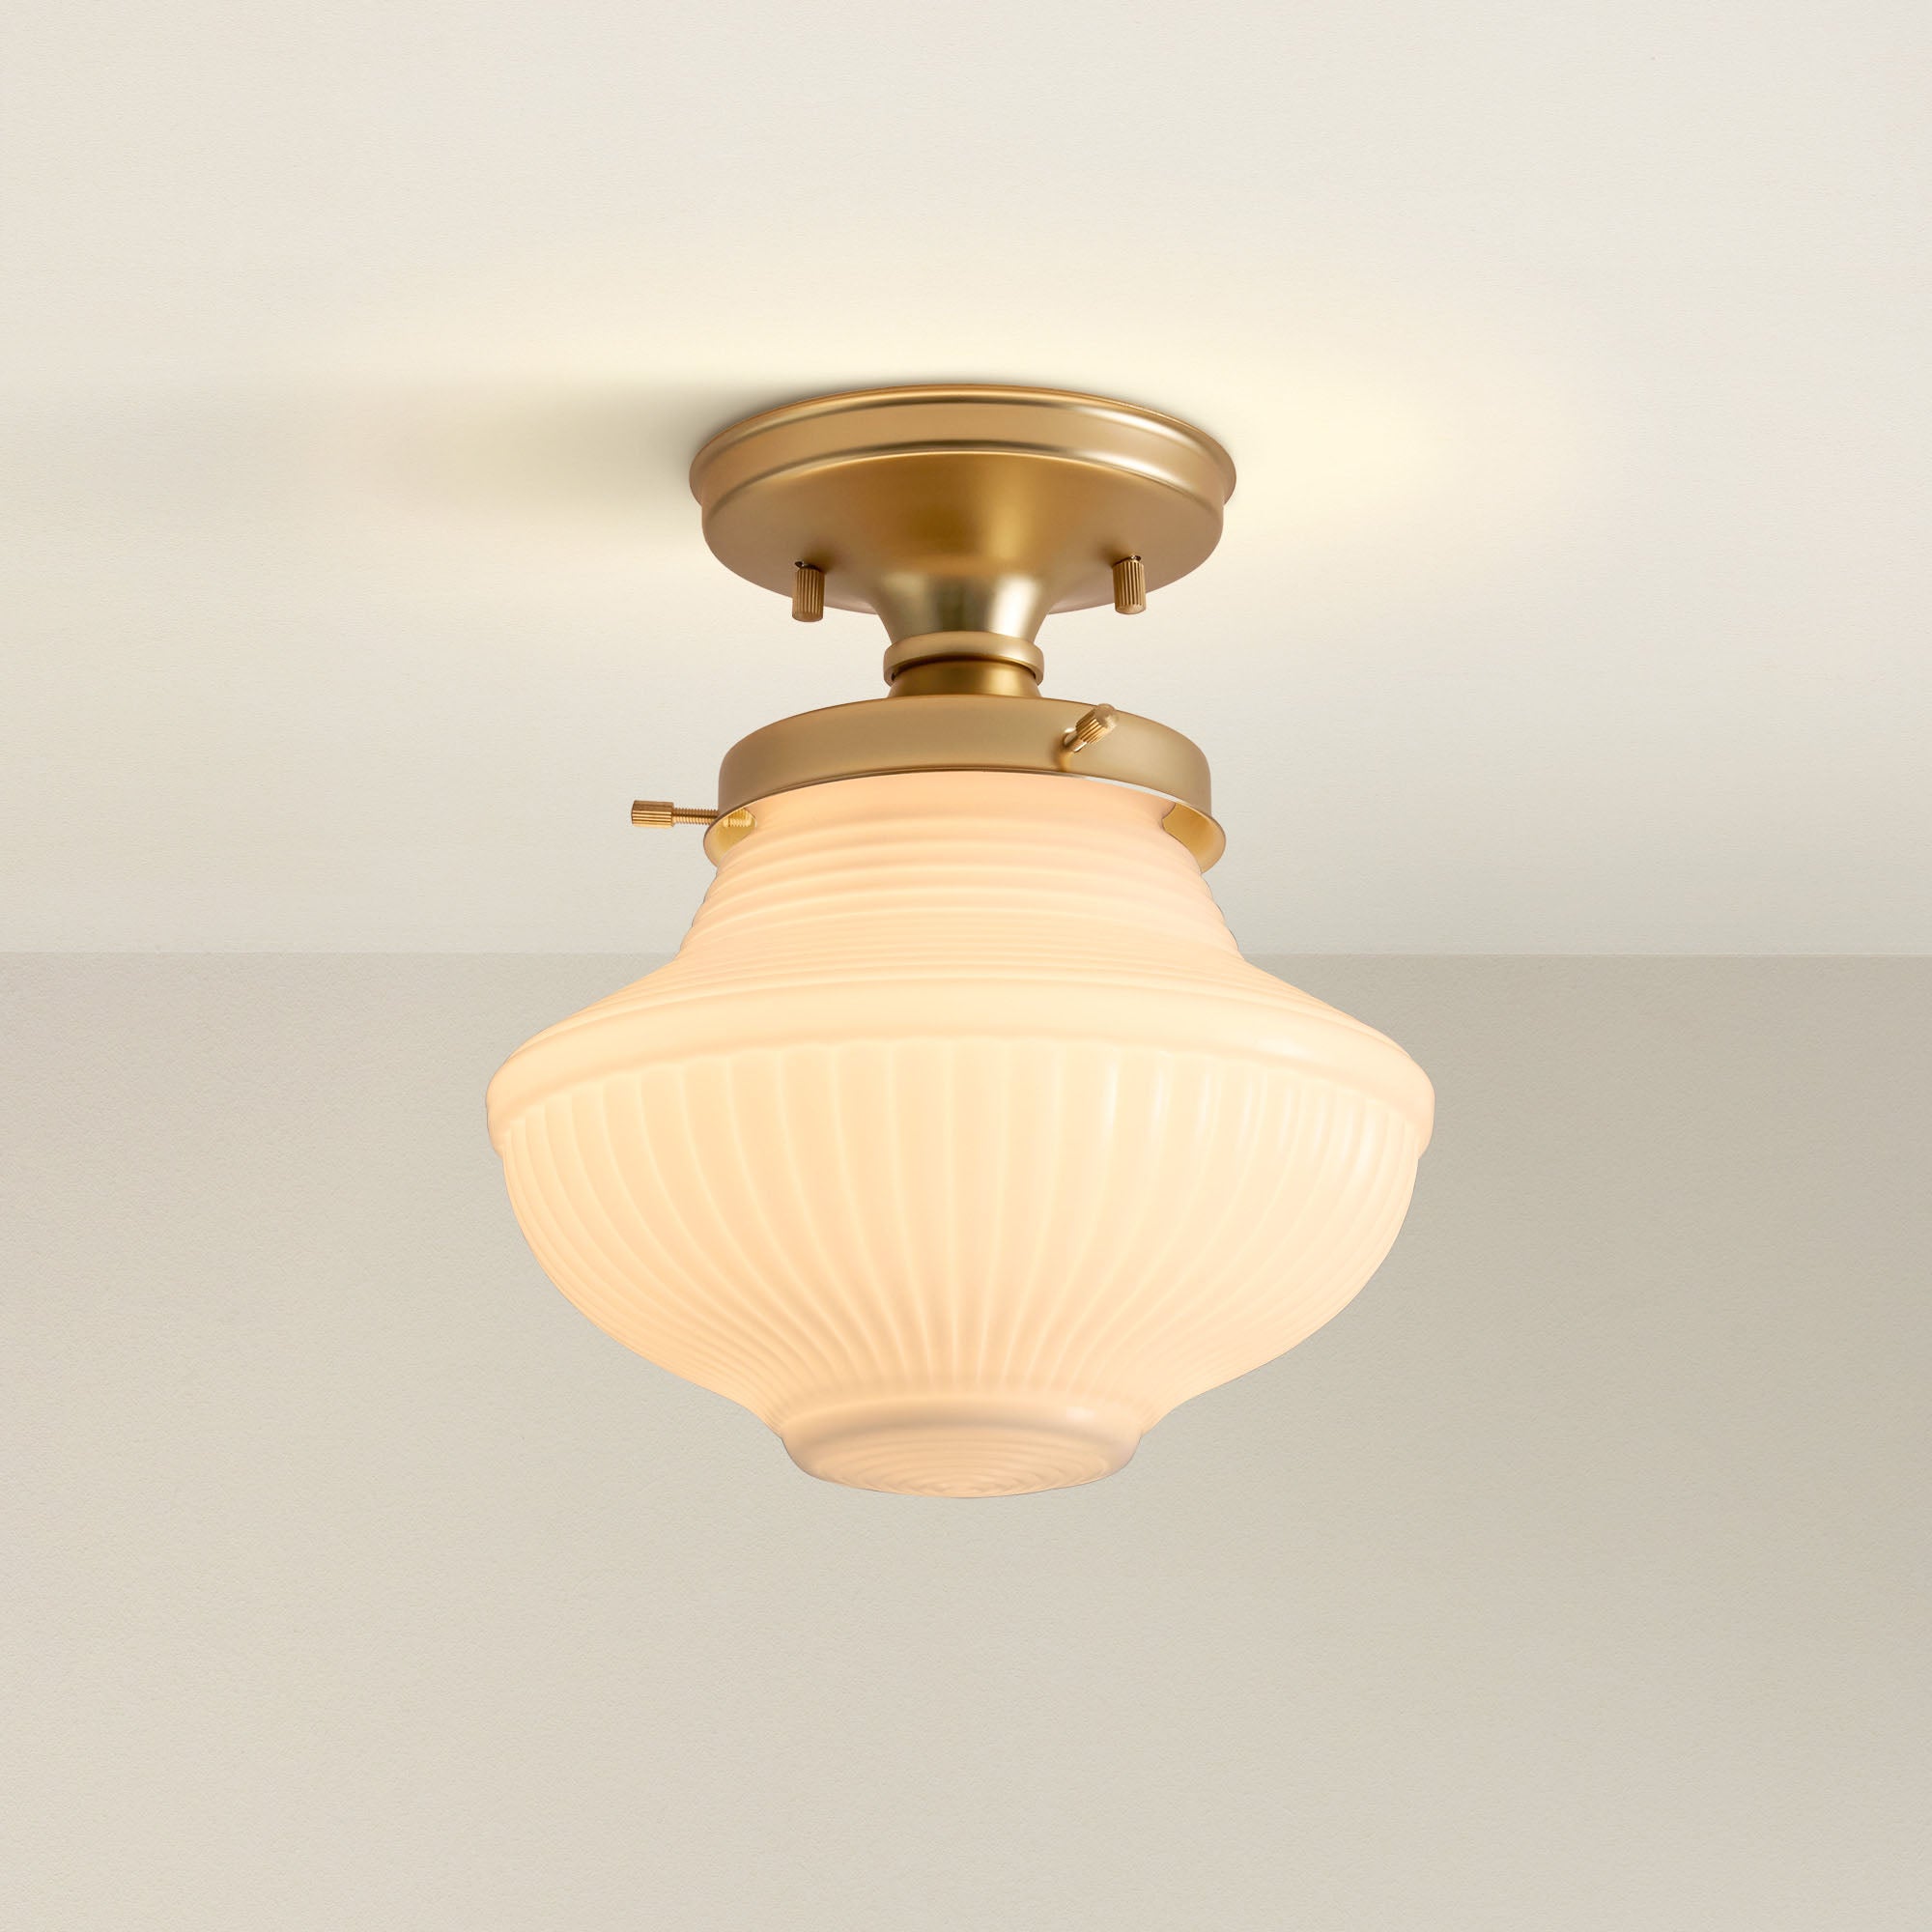
Swapping out an old or dated light fixture is one of the quickest and most impactful ways to refresh a room's aesthetic. While the task involves electrical components, it is a straightforward DIY project provided you adhere strictly to safety protocols.
The process begins with the most crucial step: turning off the power at the circuit breaker and confirming the absence of current with a voltage tester. Once the old fixture is safely disconnected, you simply install the new mounting hardware and match the critical wiring, ground, neutral, and hot, using wire nuts to secure the connections.
Follow this Rowabi guide to safely and effectively install a new statement piece and instantly upgrade your space.
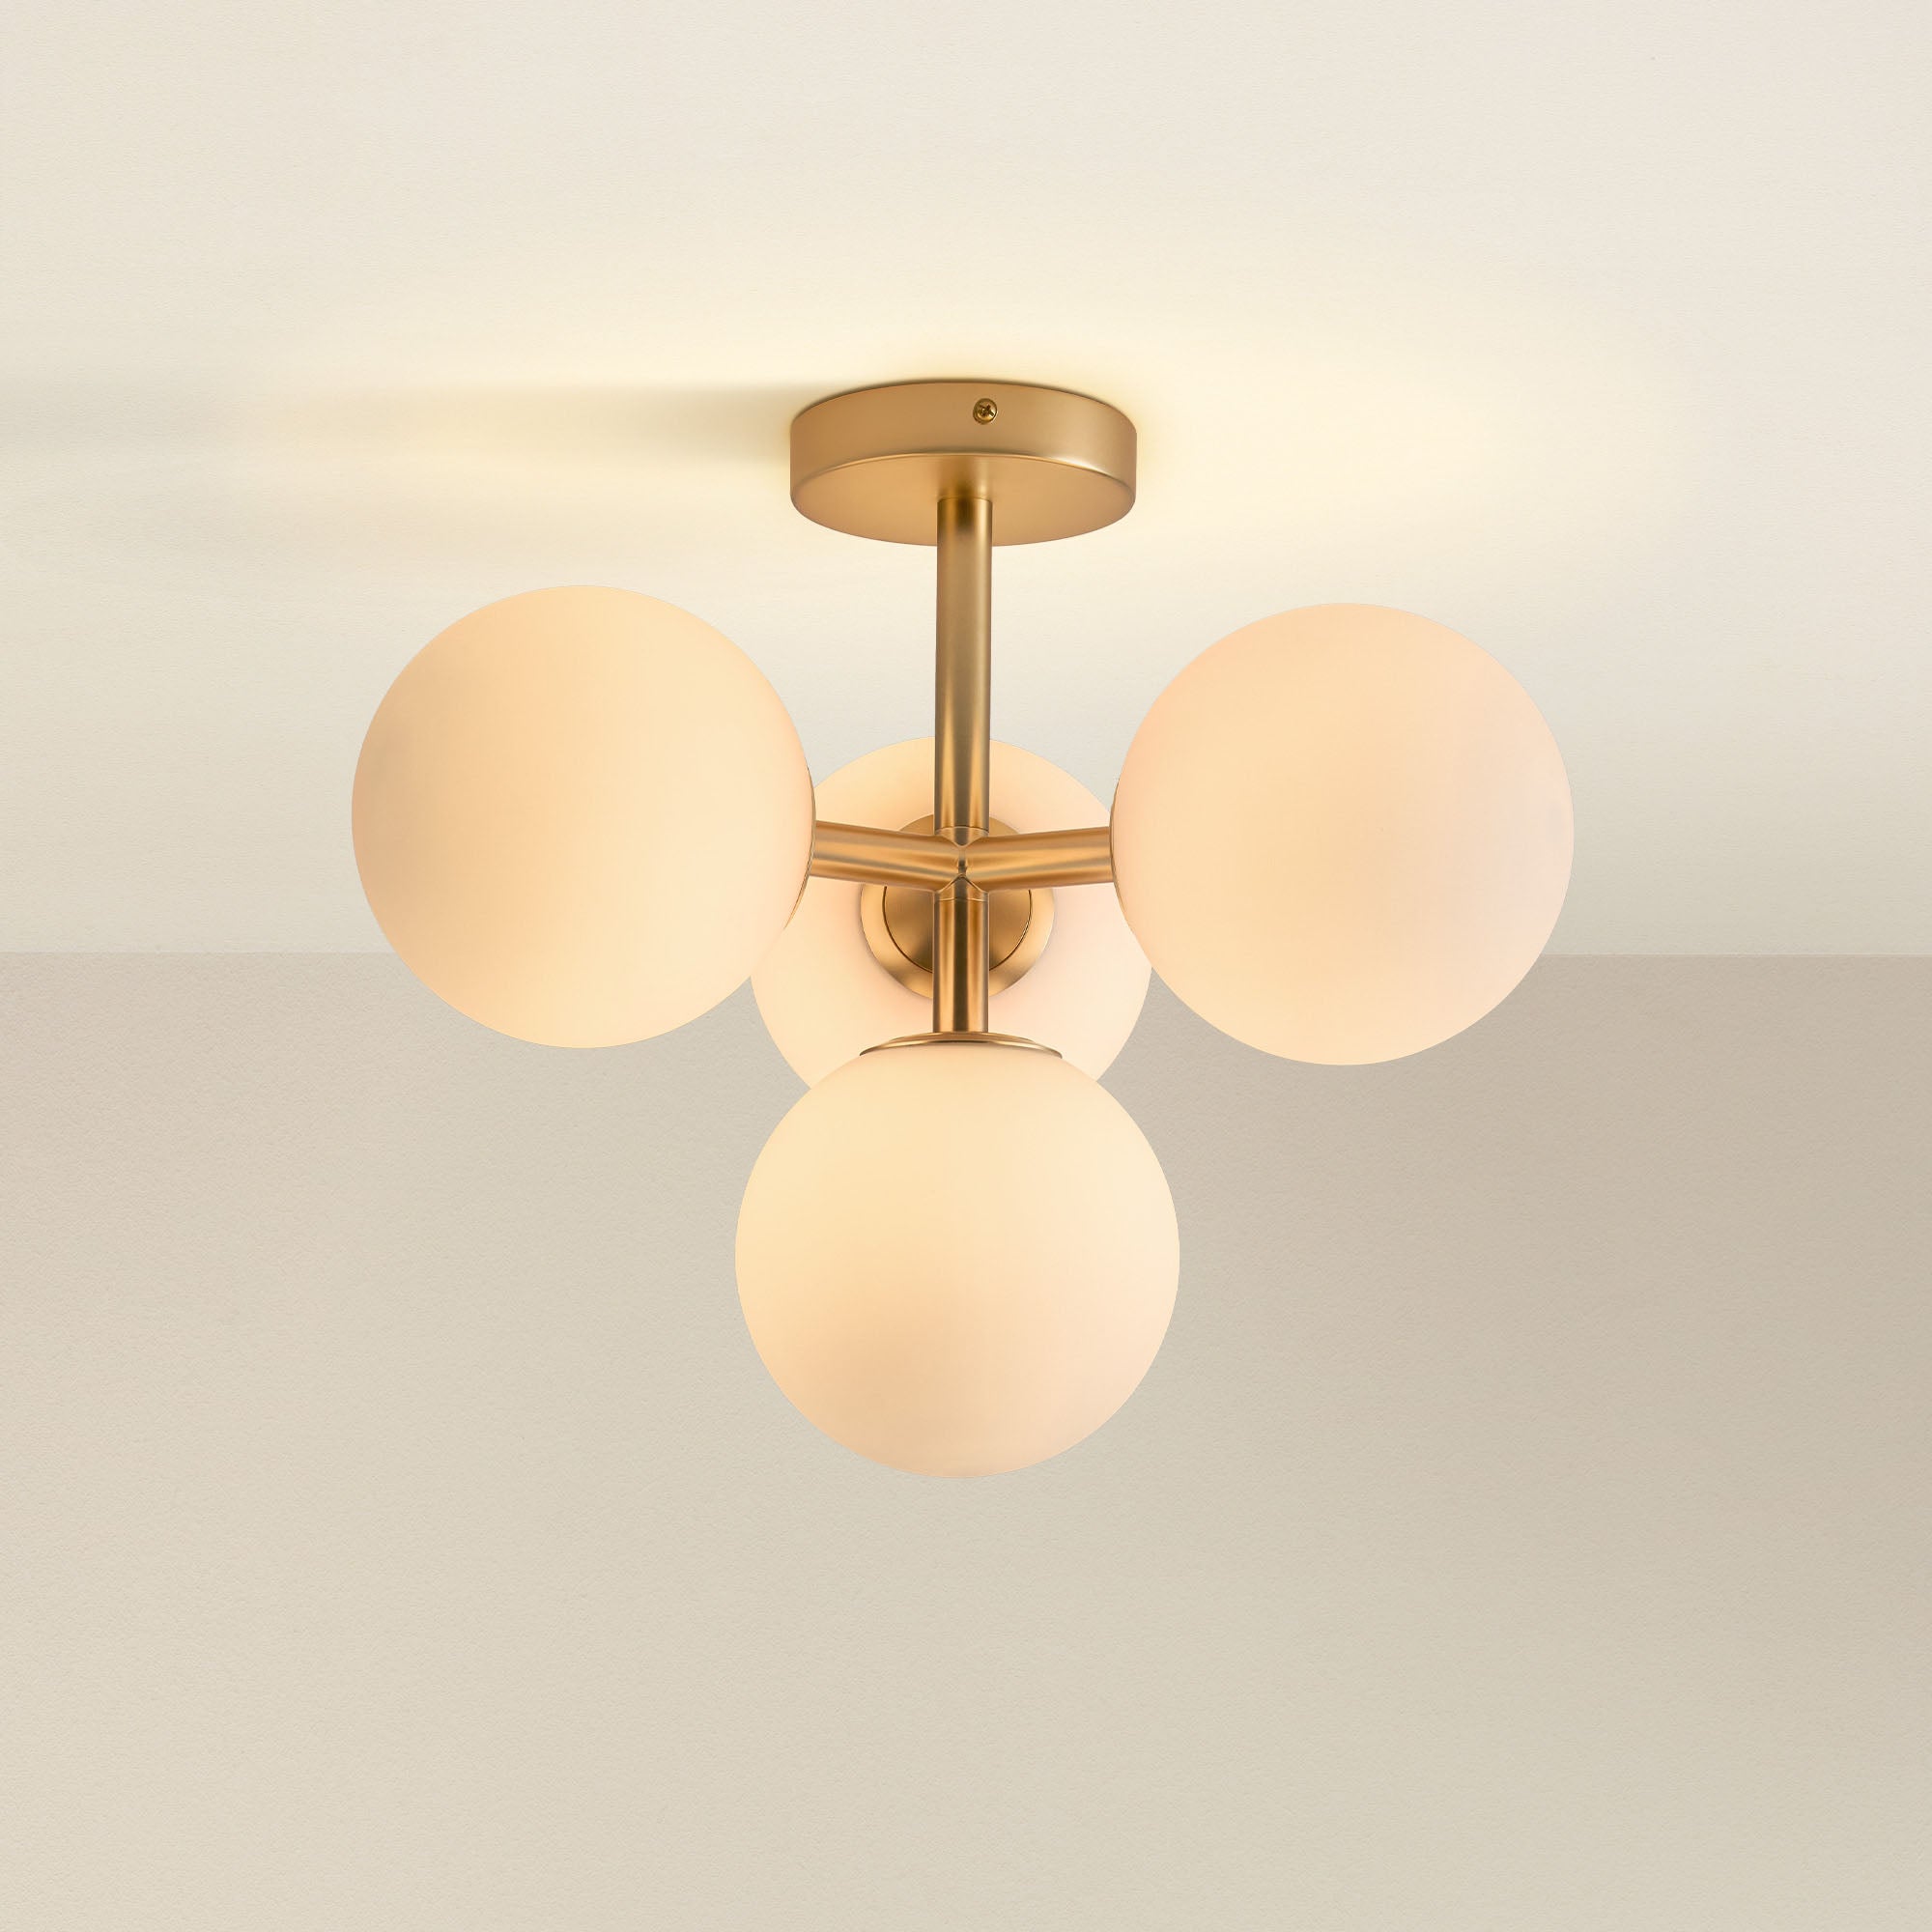
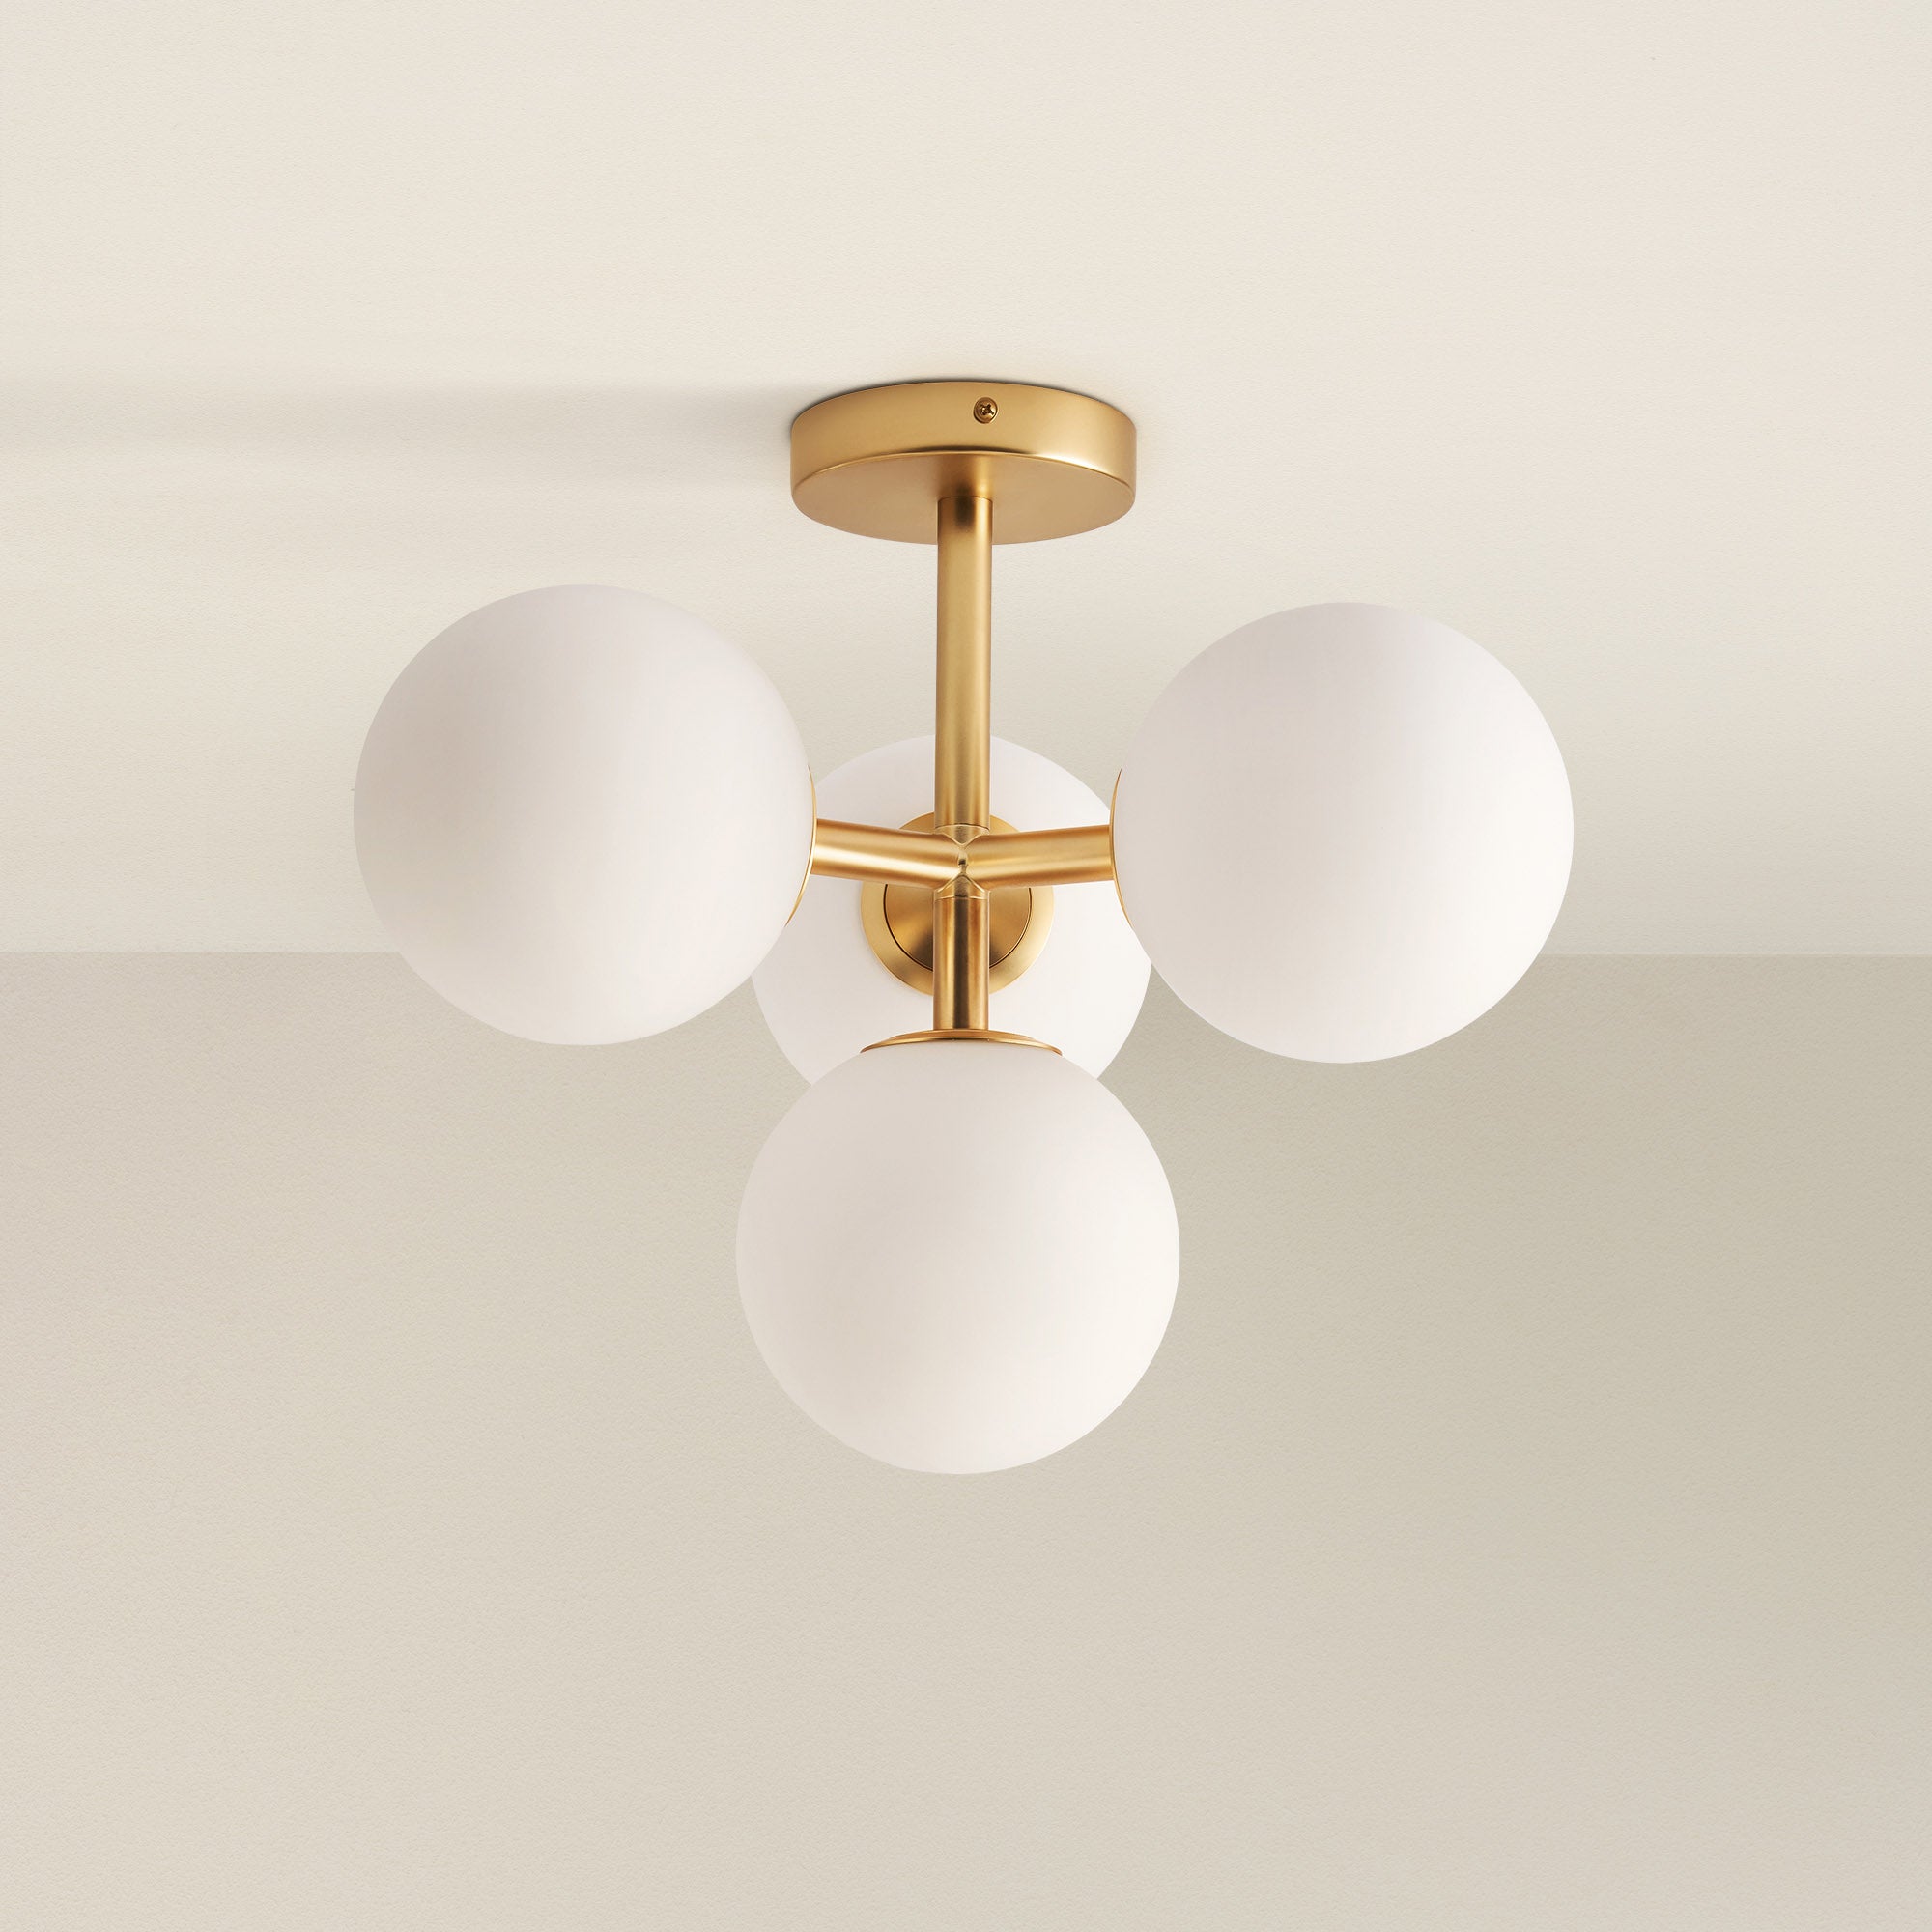
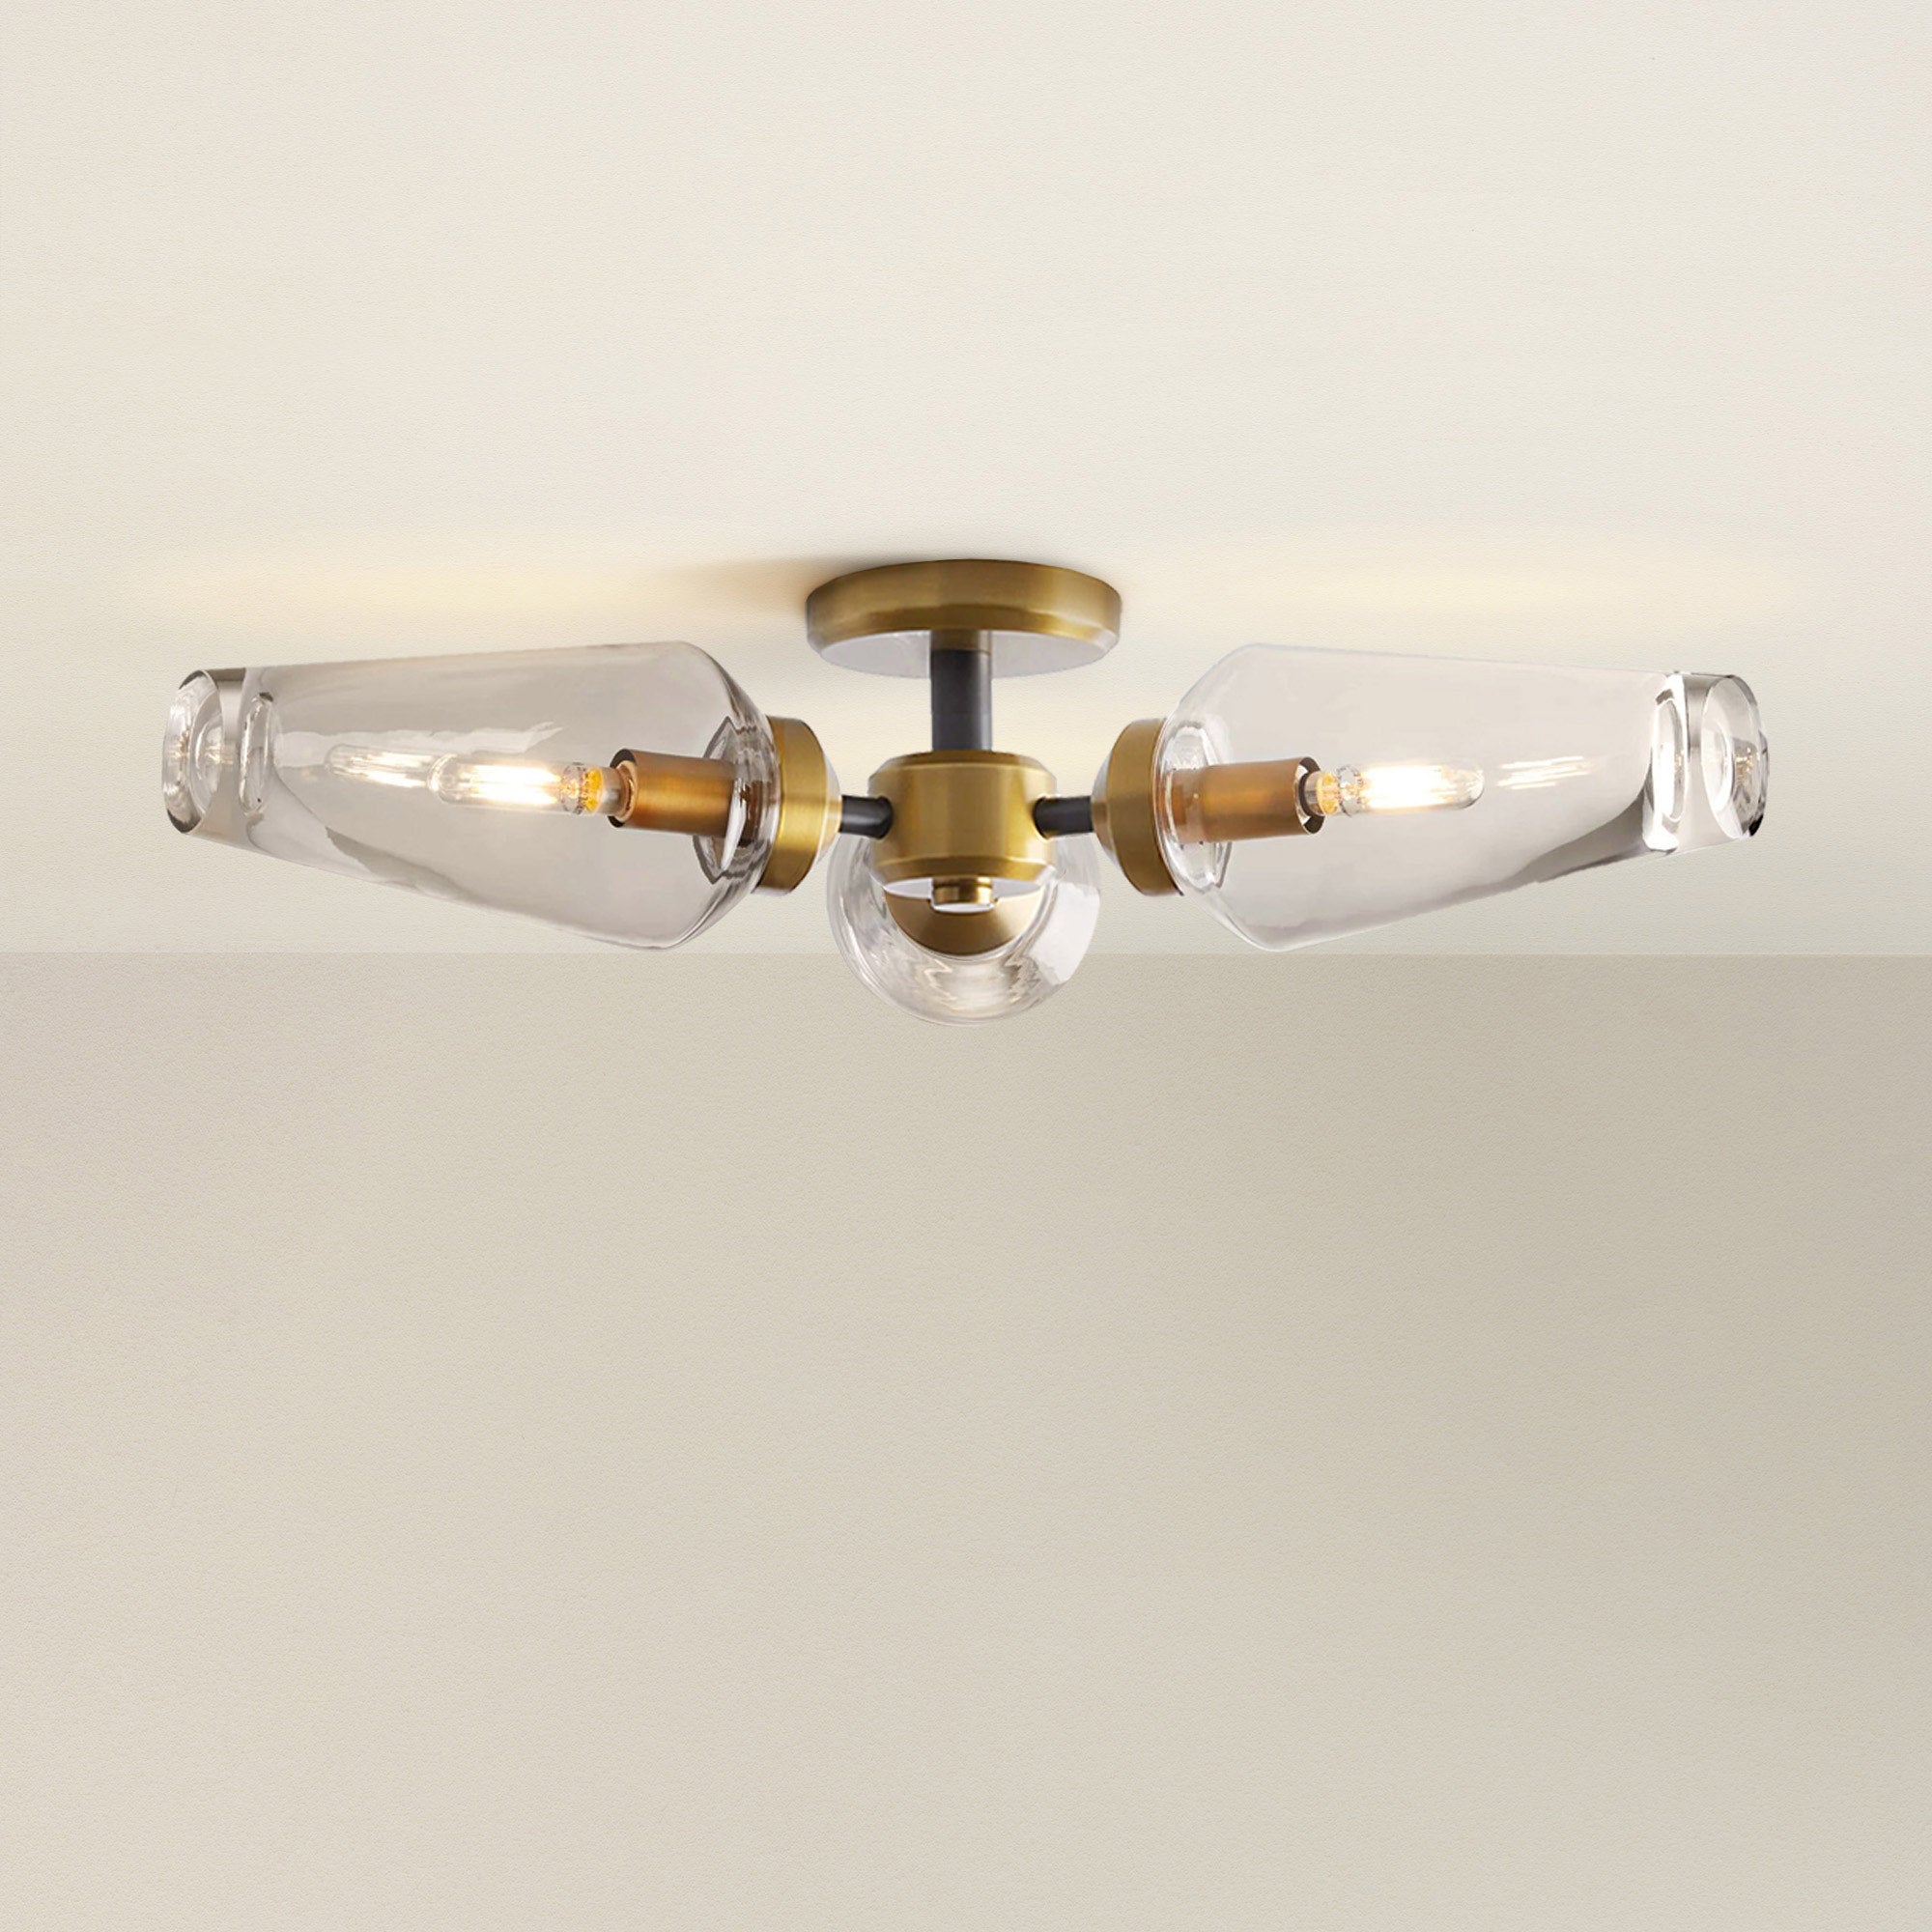
Pendant lights are not only a stylish addition to any room, but they also serve as functional lighting that enhances both aesthetics and practicality.
Whether you're illuminating a kitchen island, dining area, or entryway, installing pendant lights may seem daunting, but with the right approach, it can be straightforward.
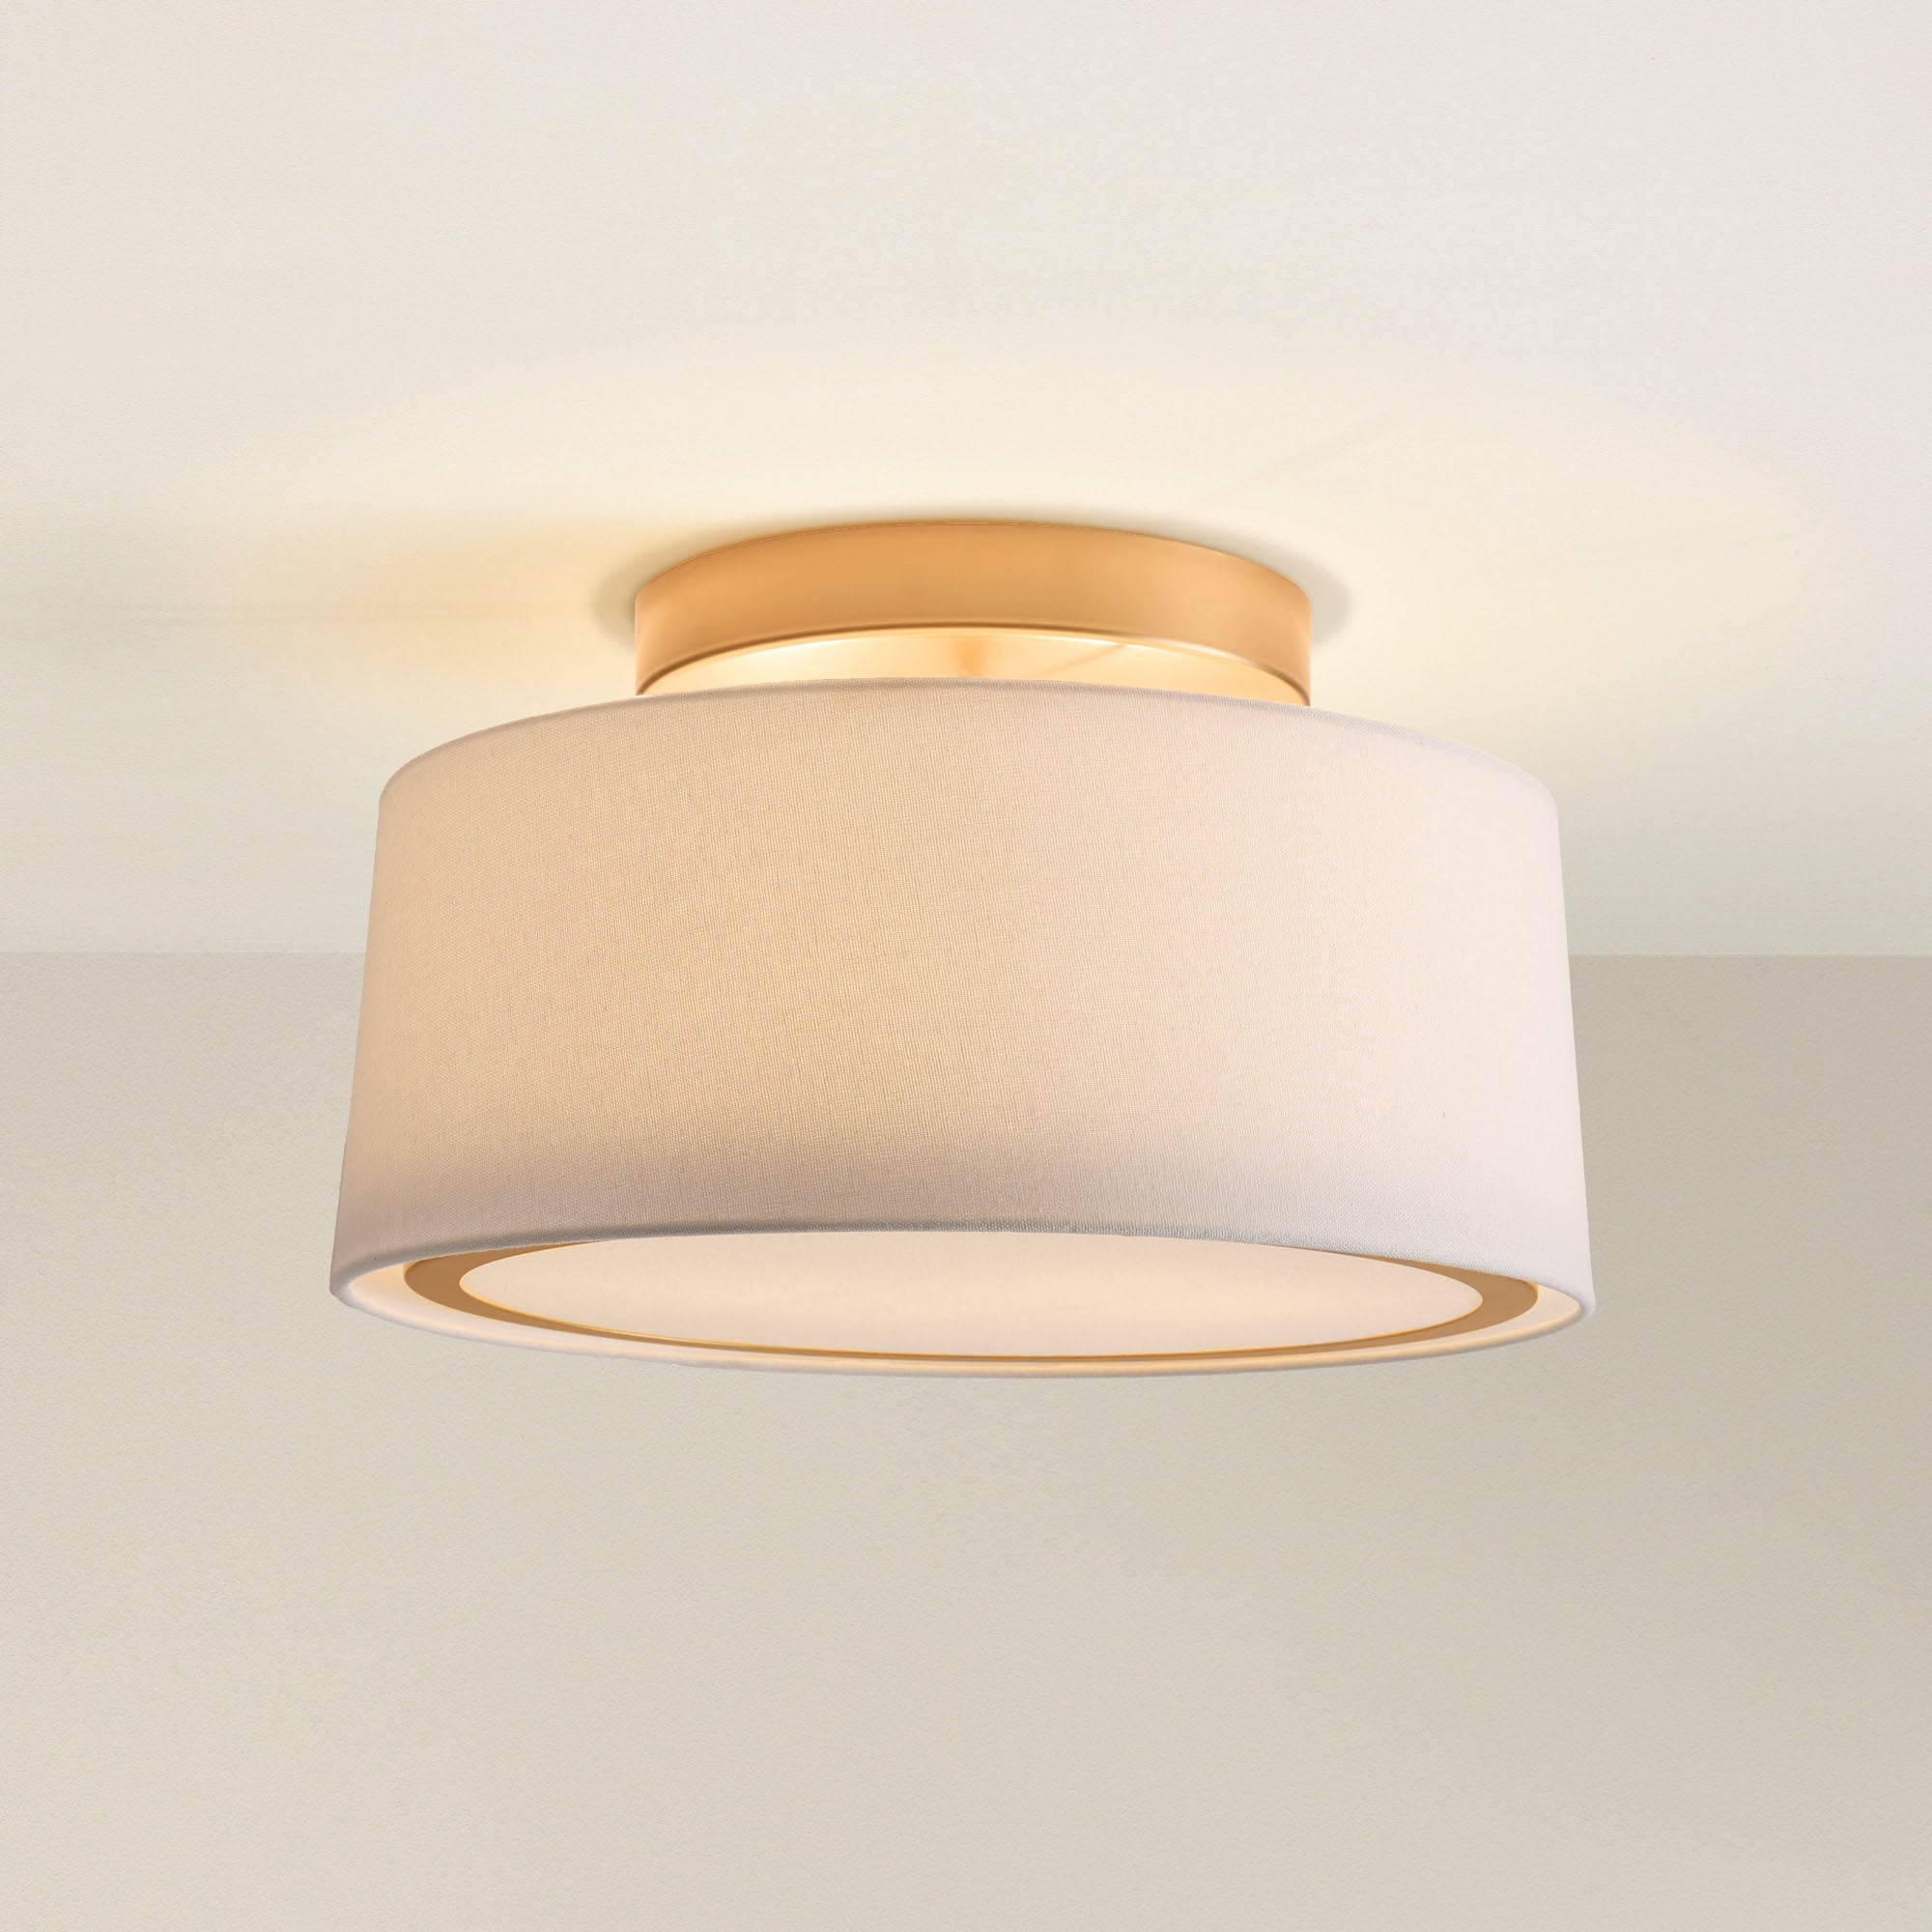
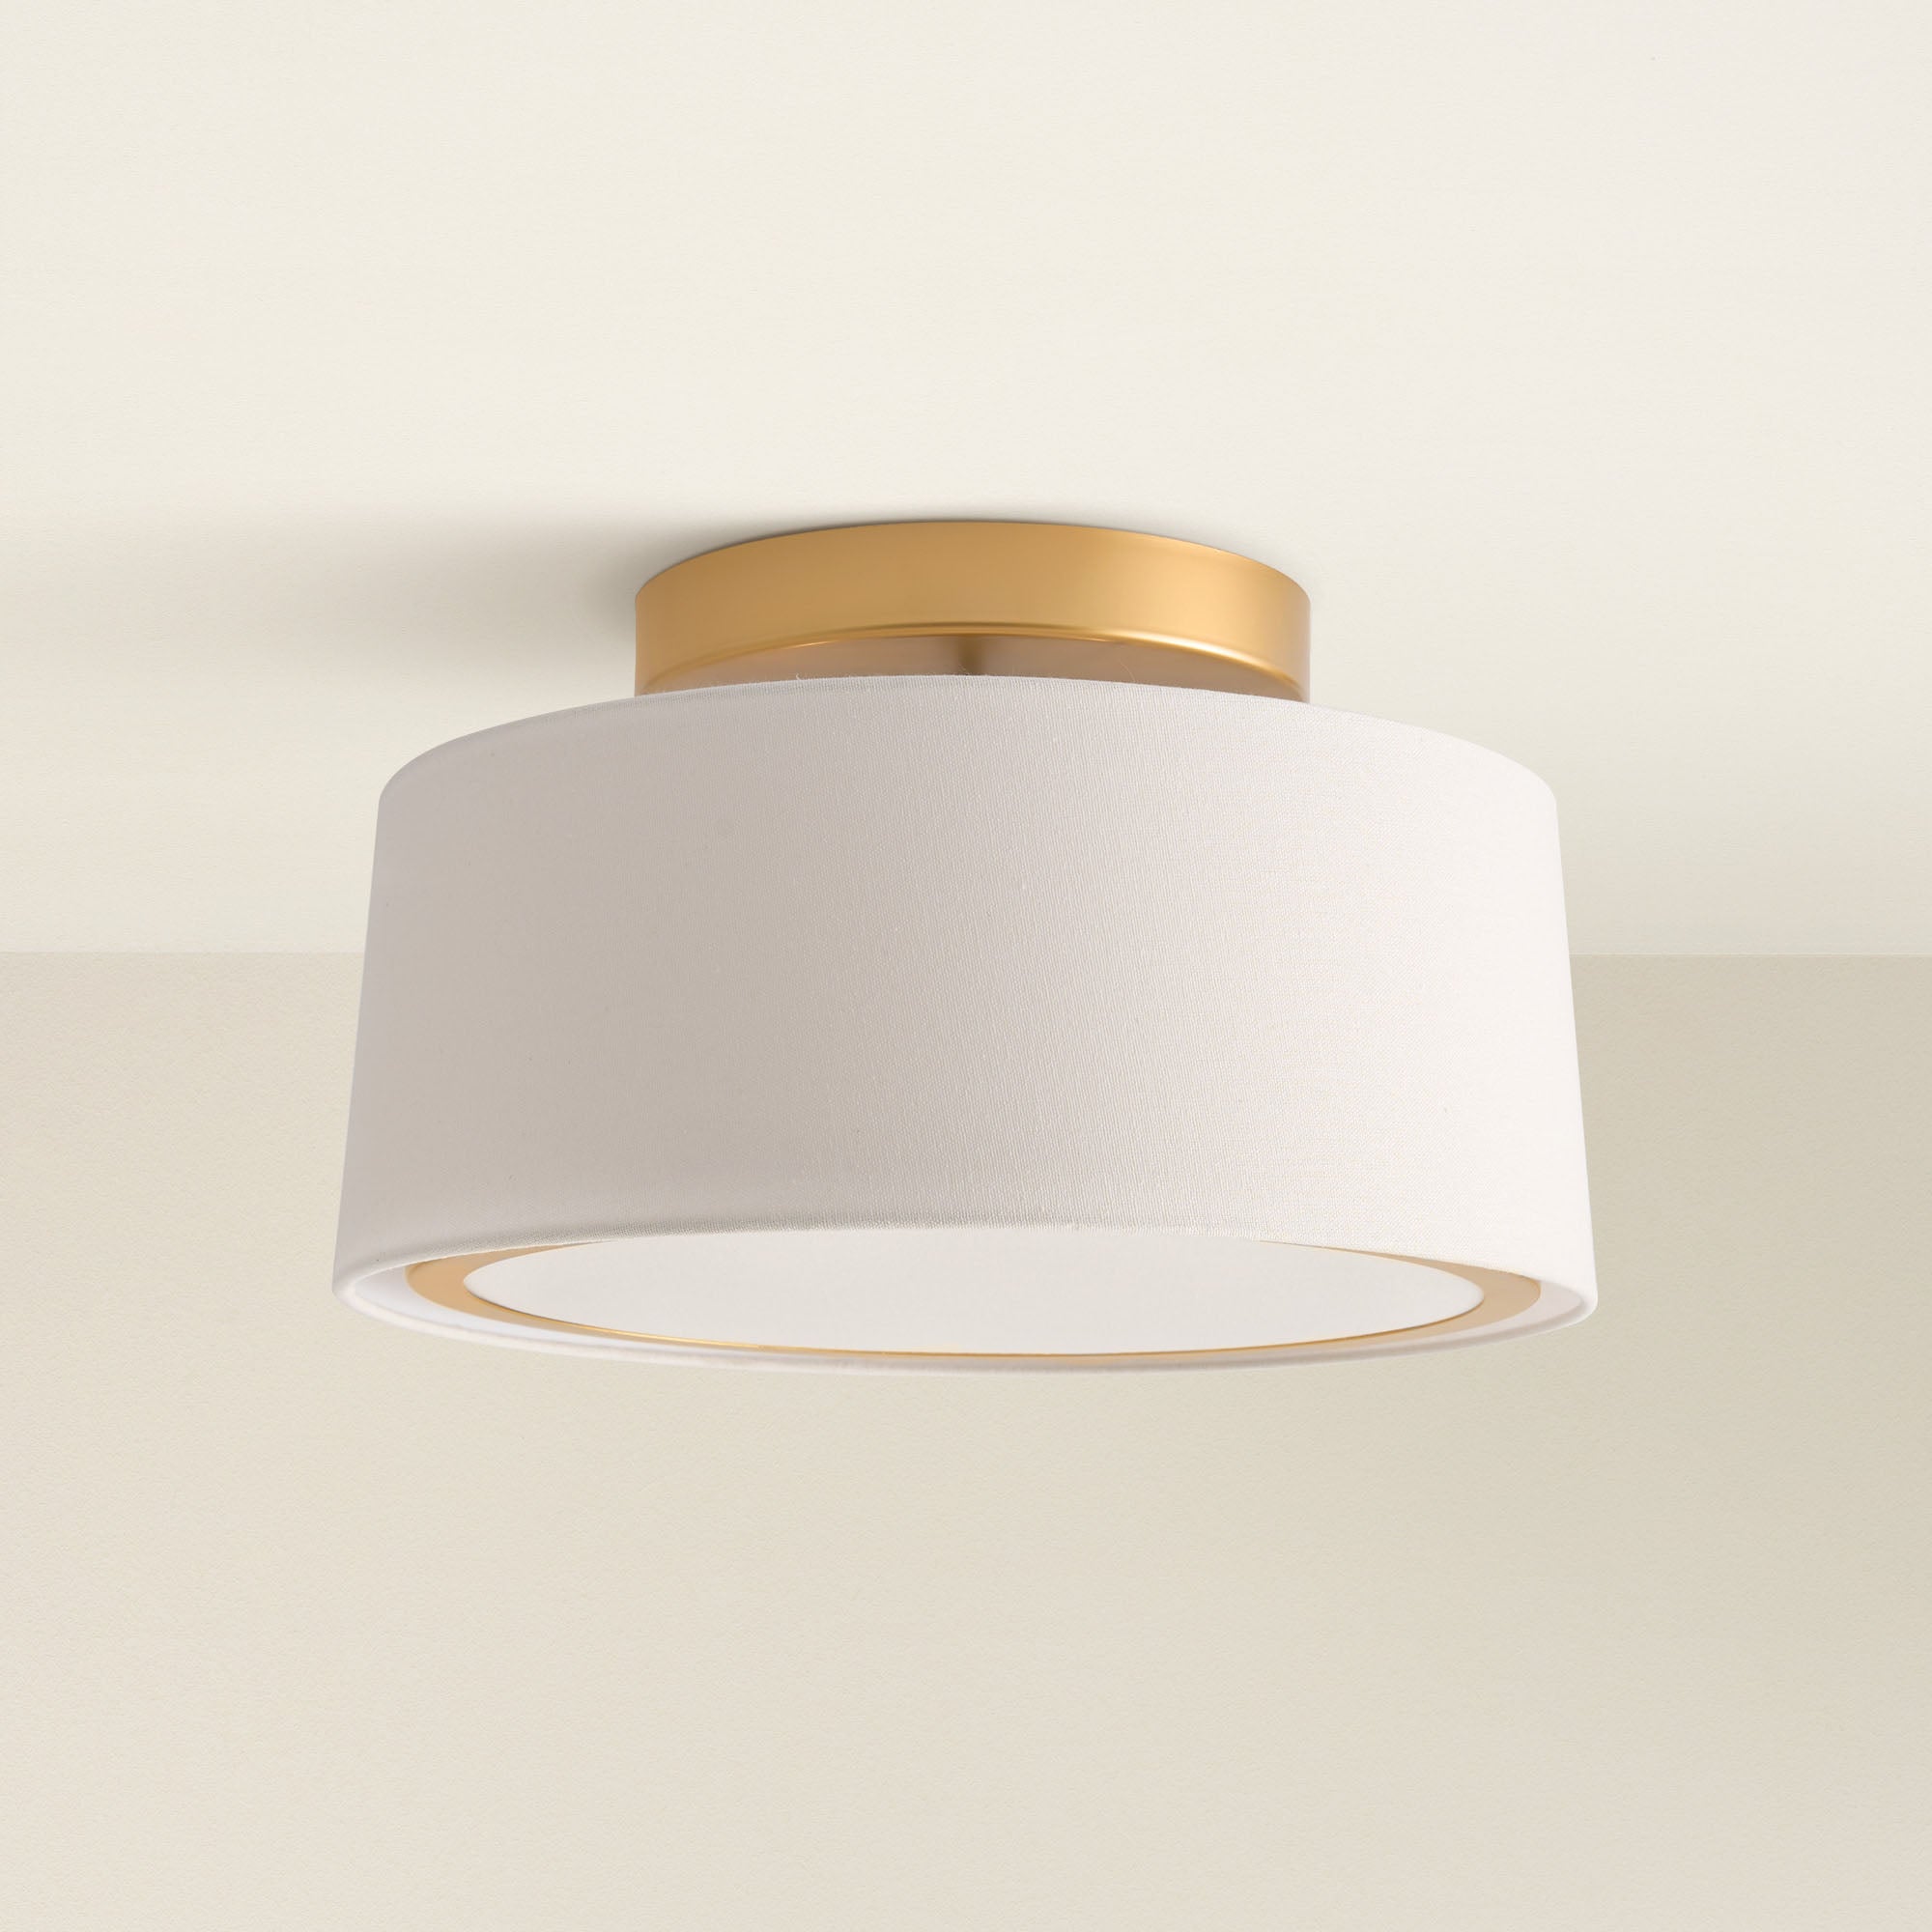
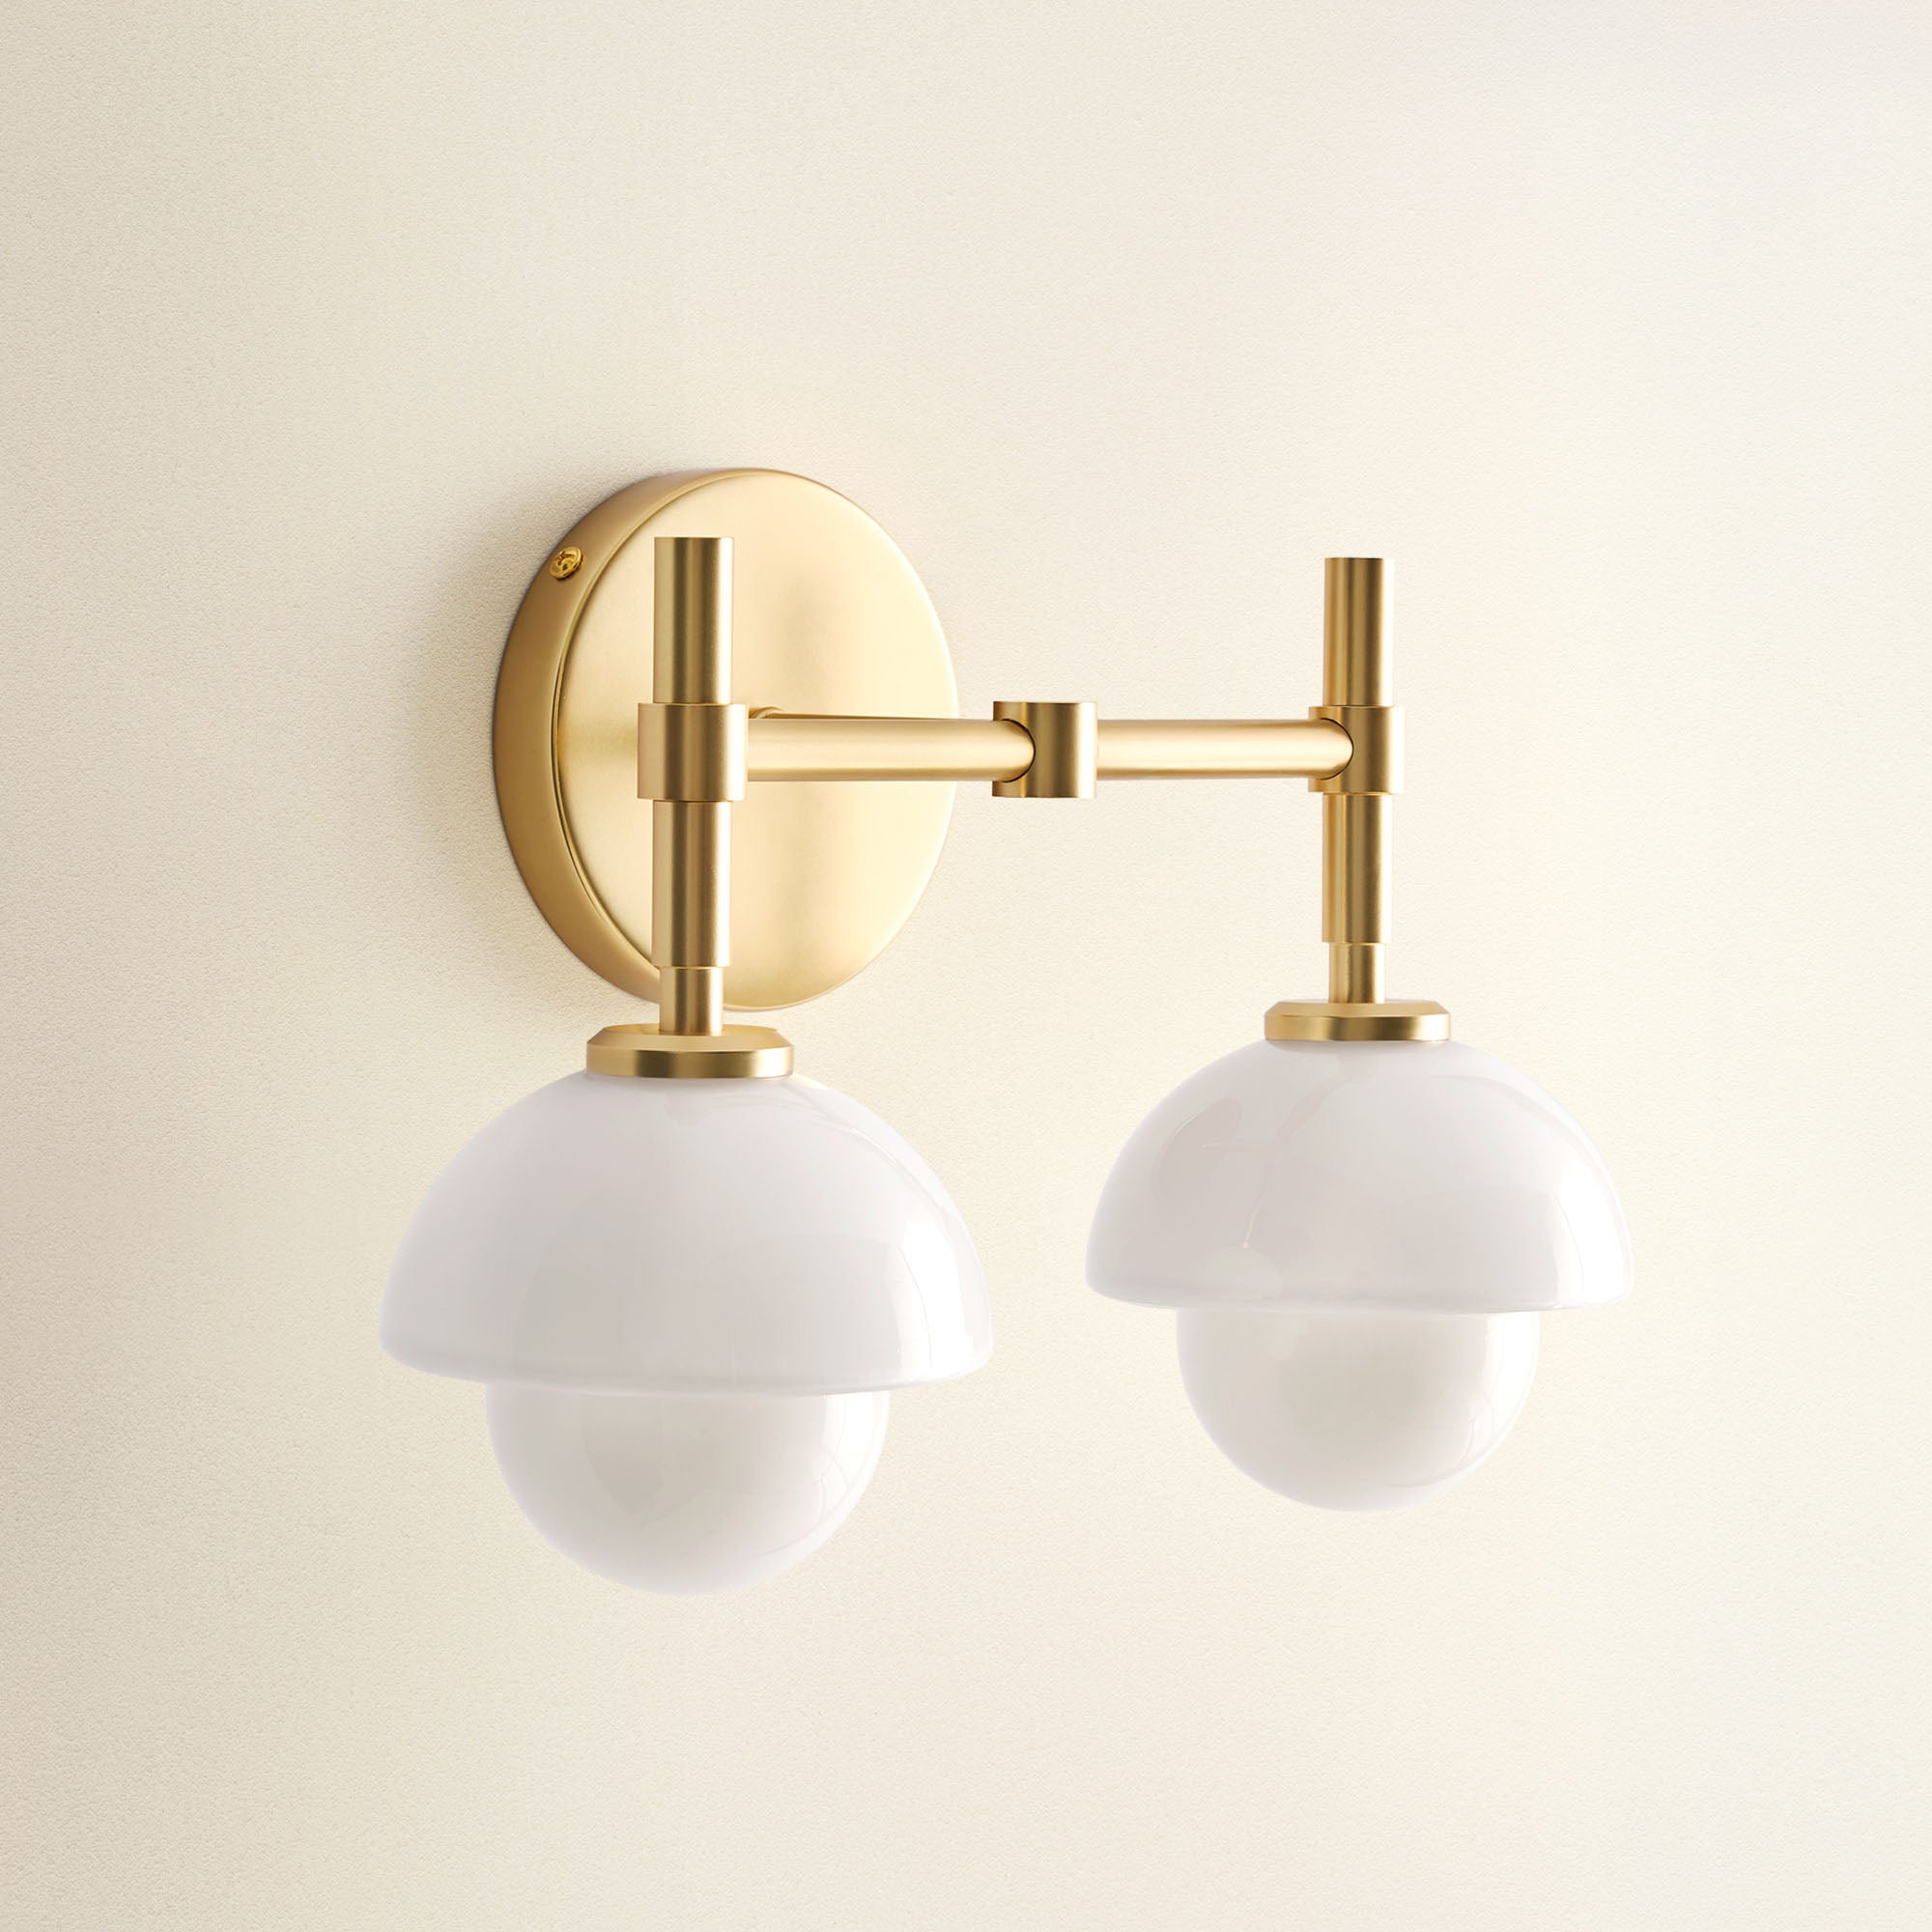
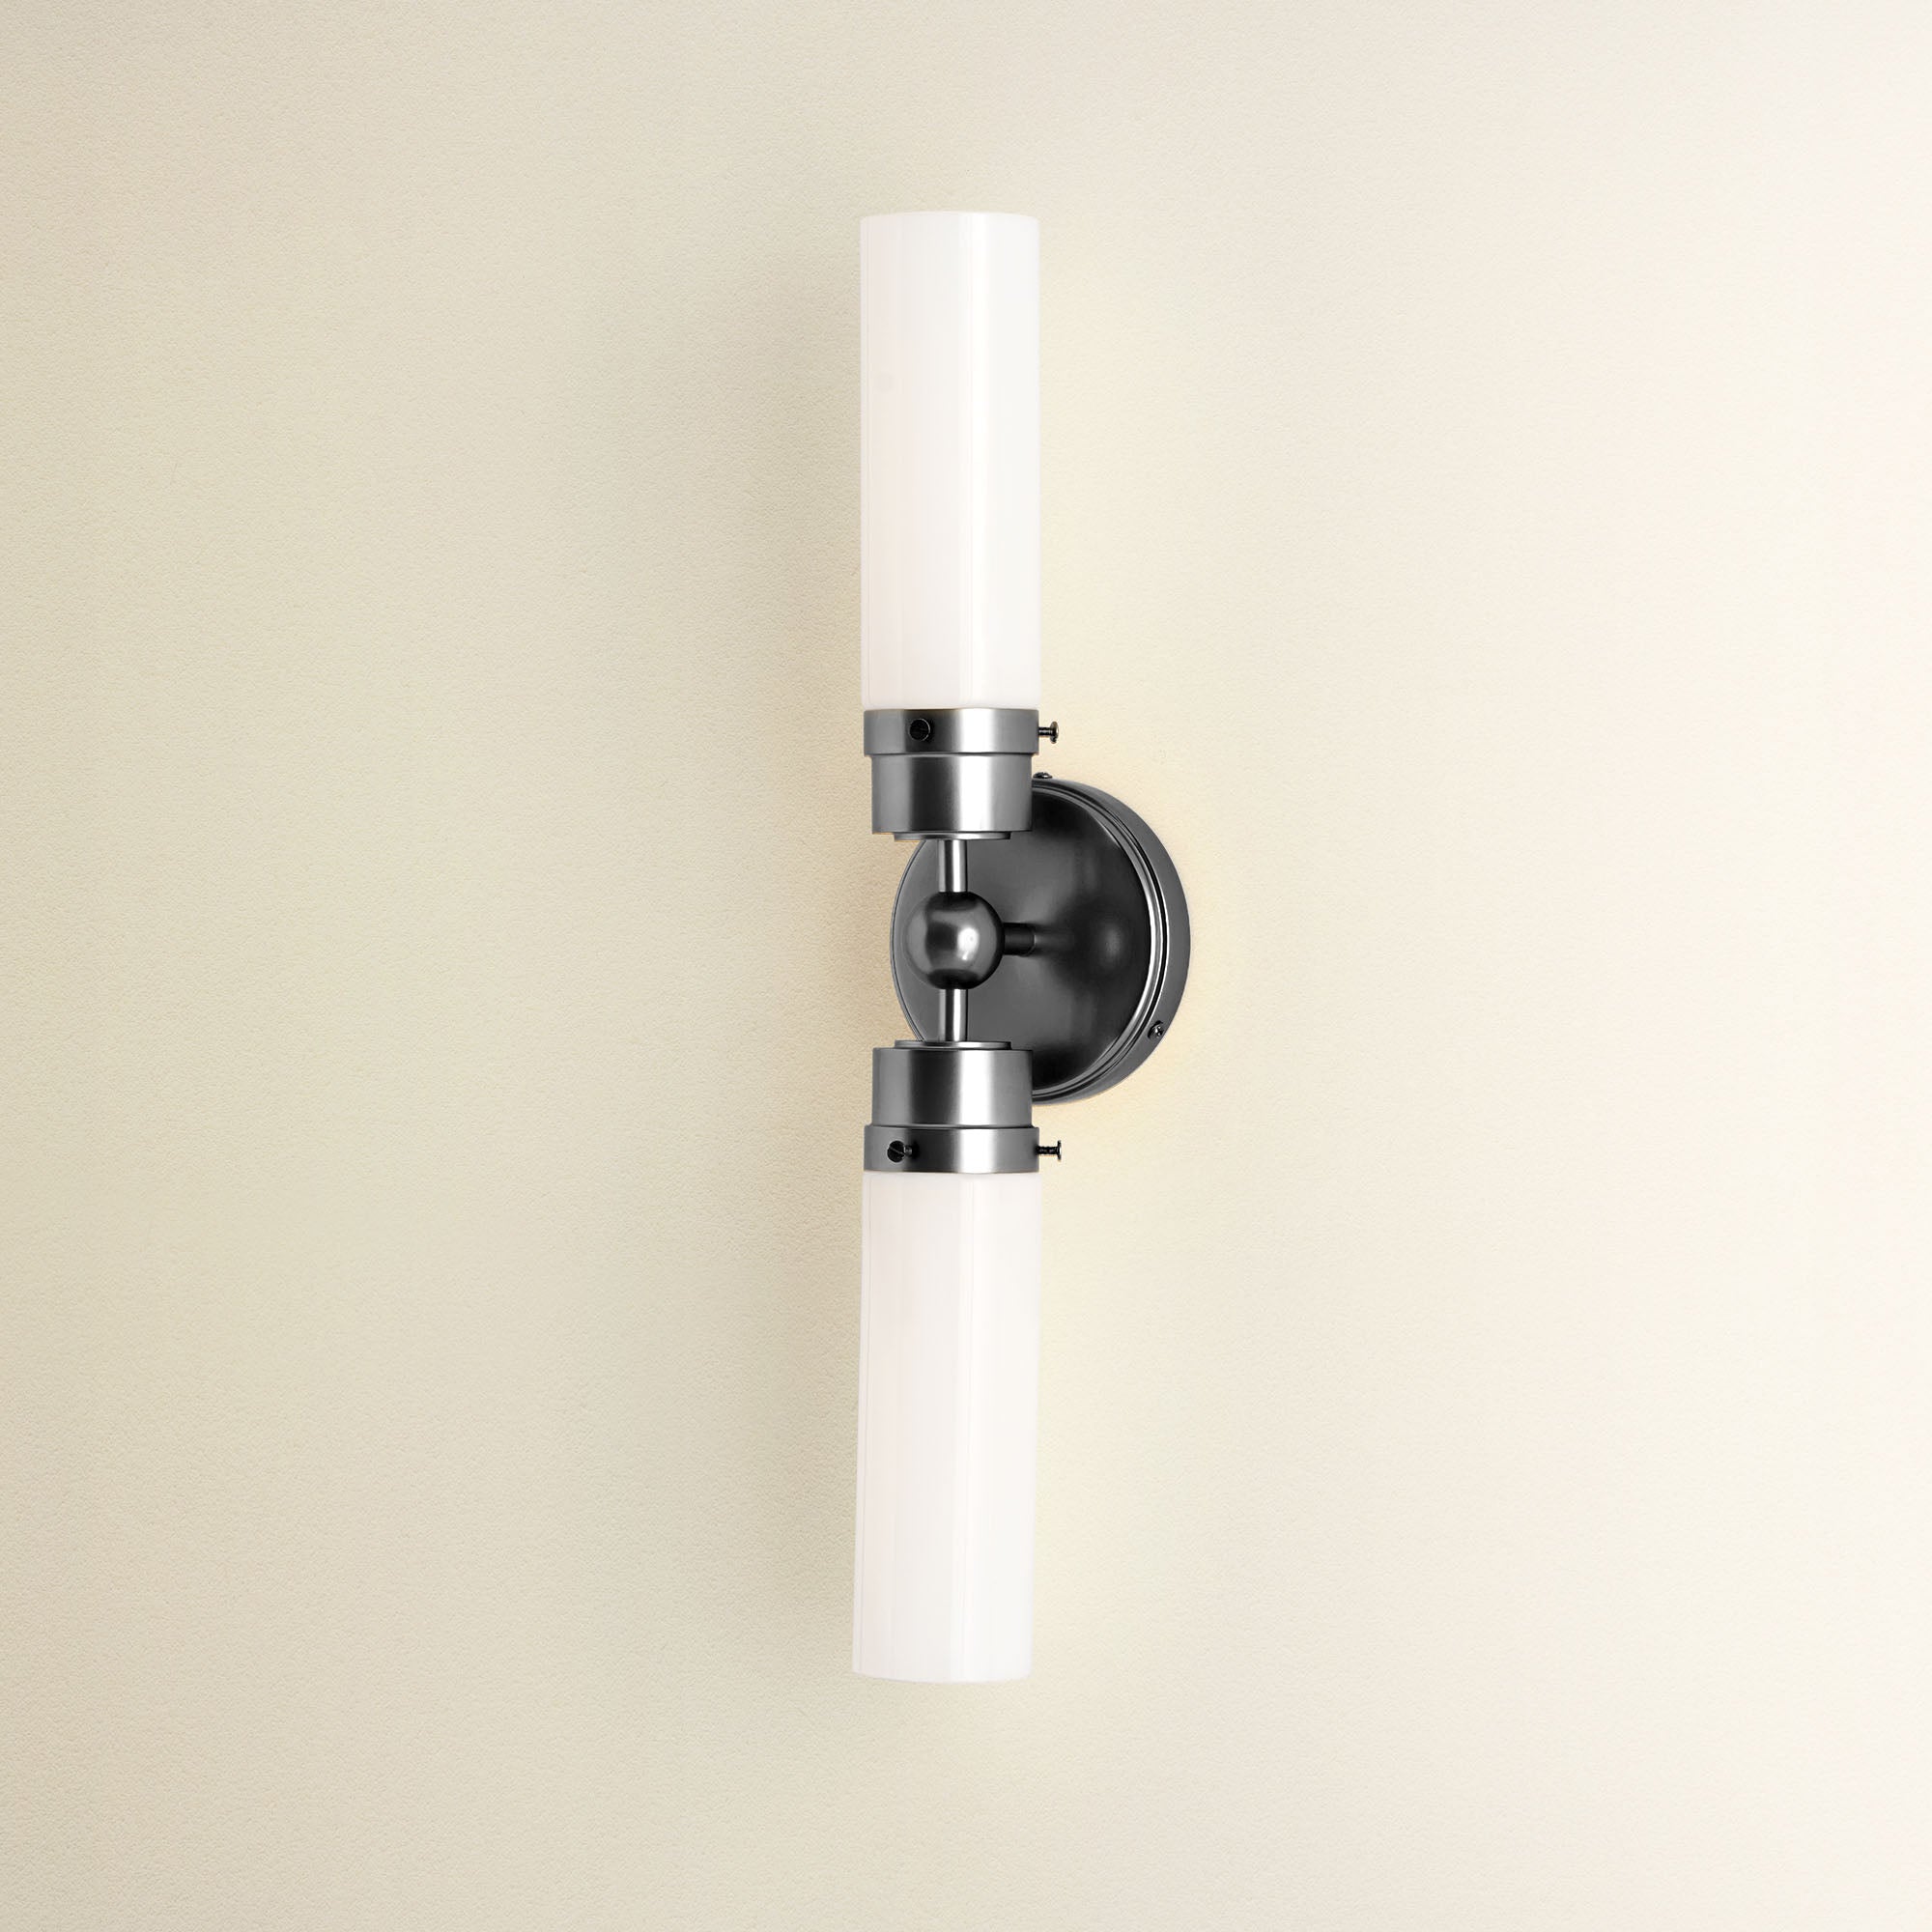
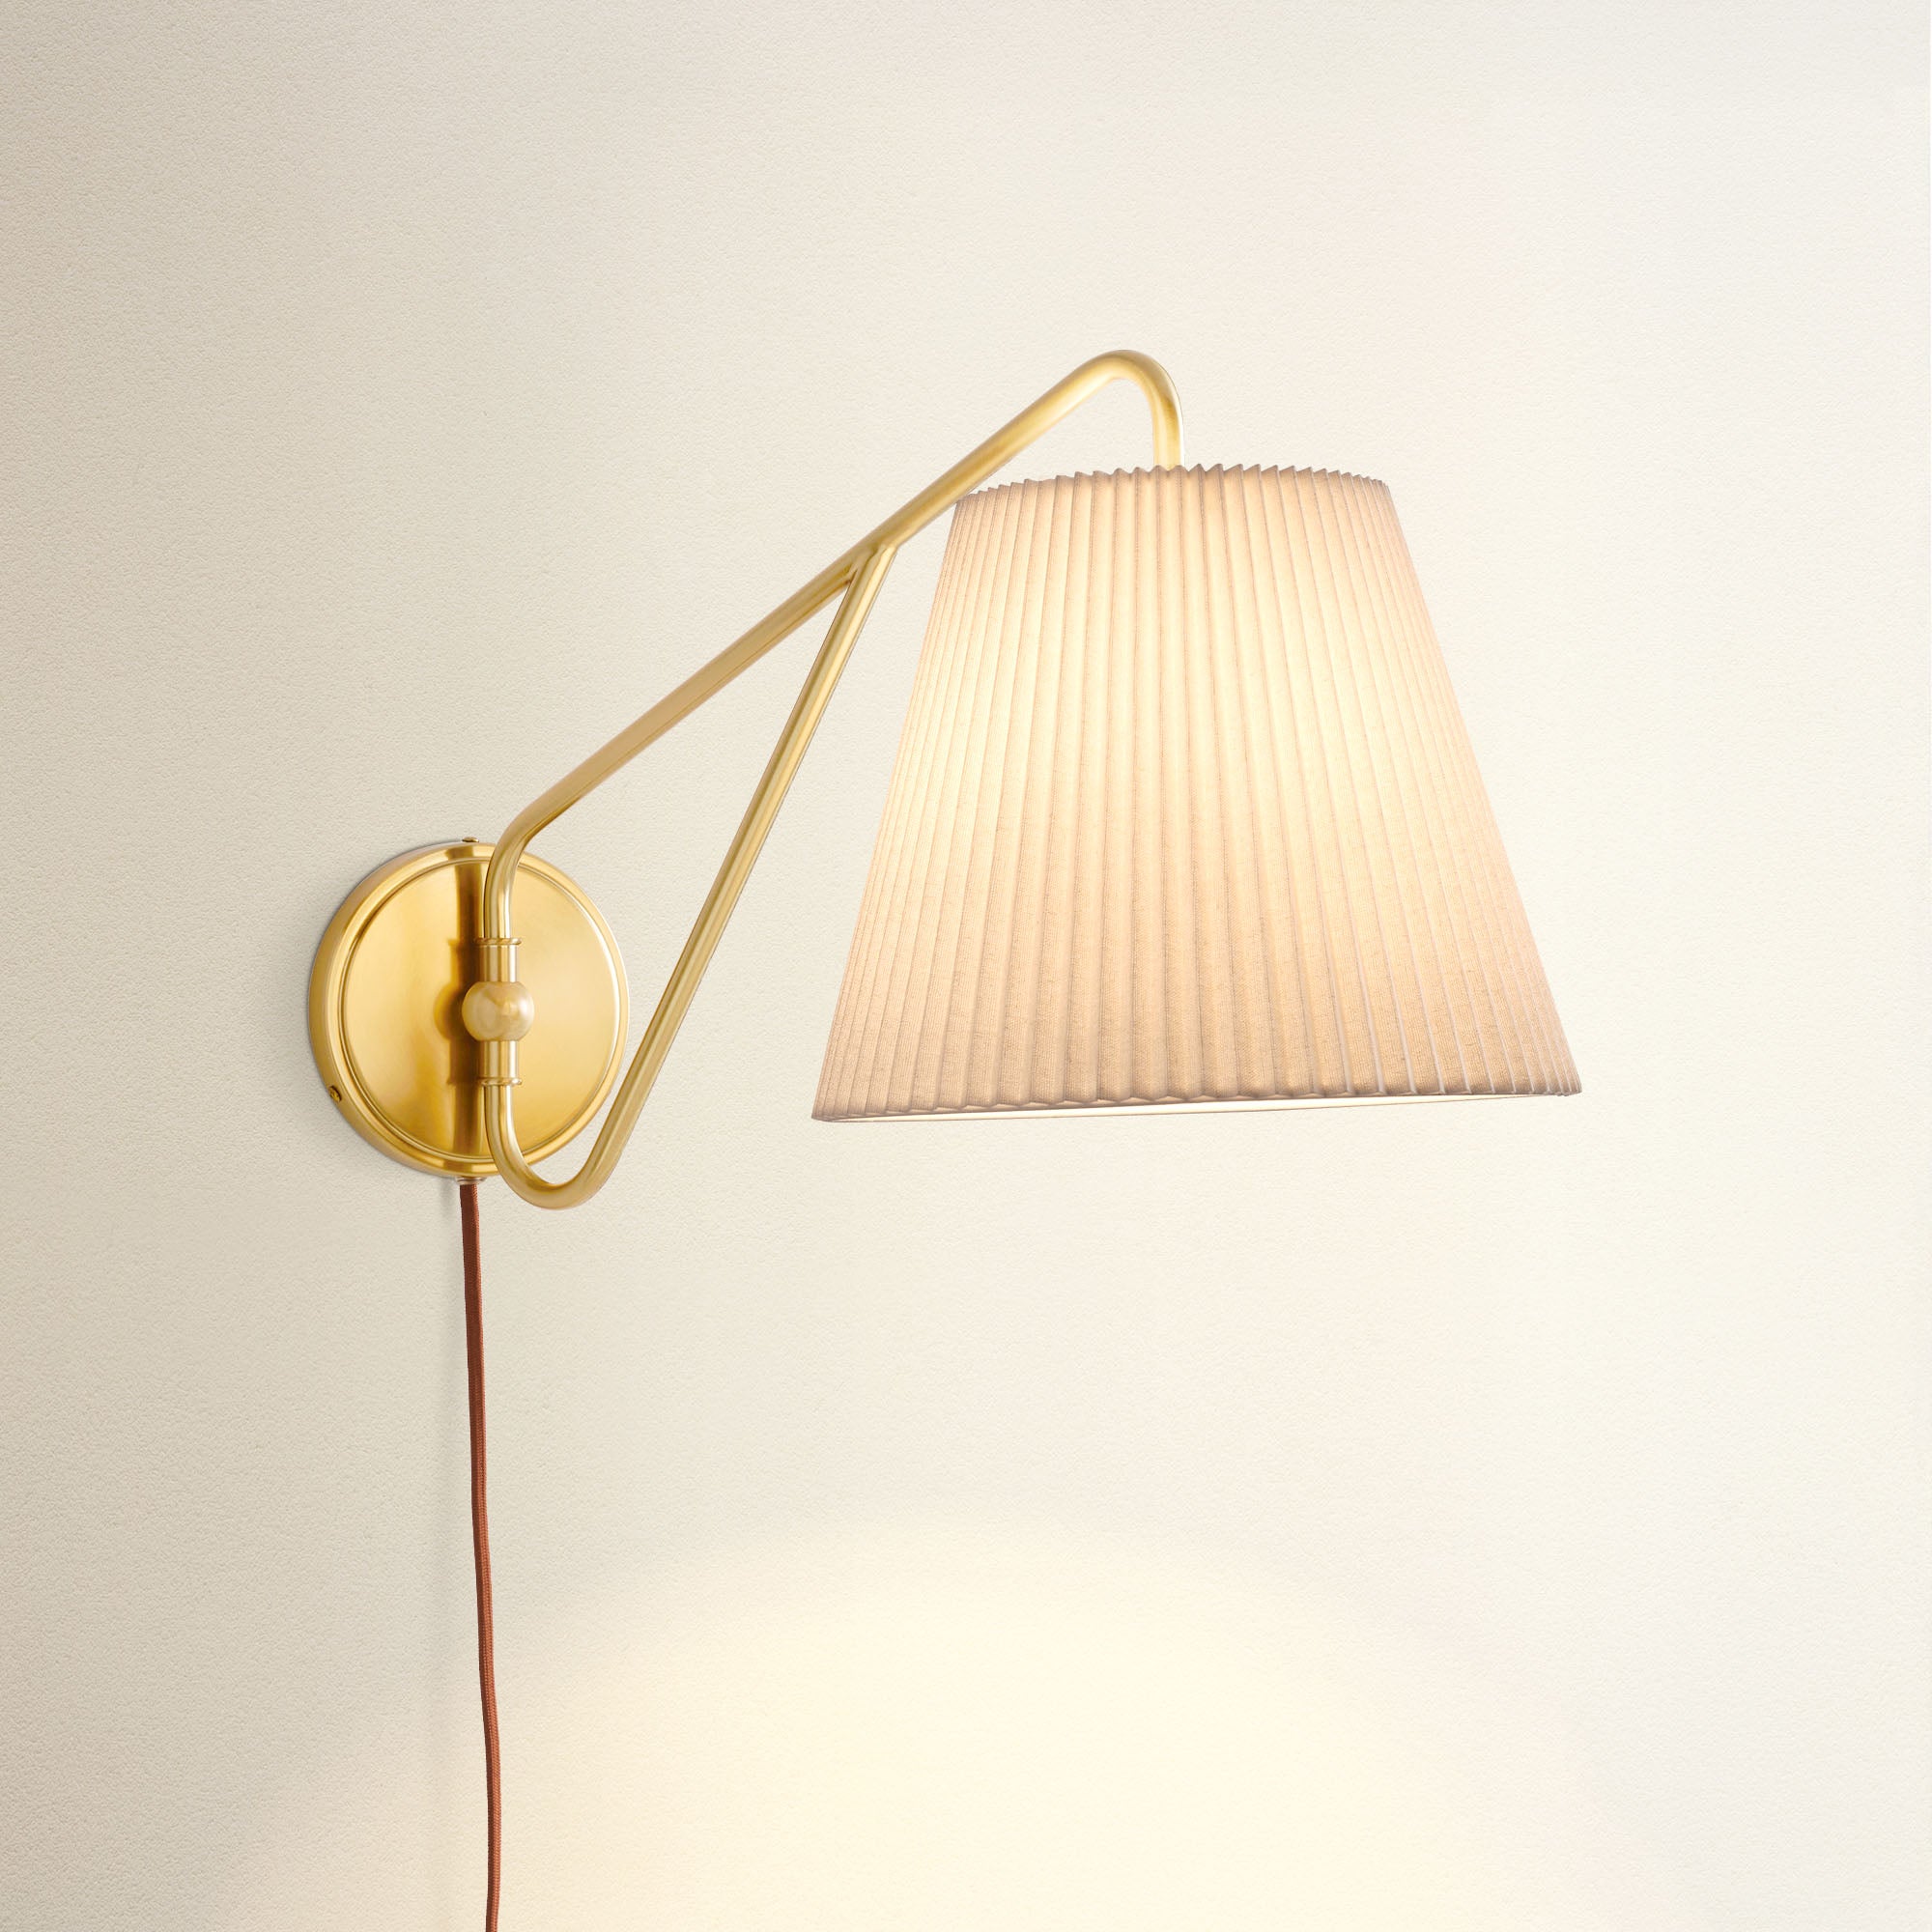
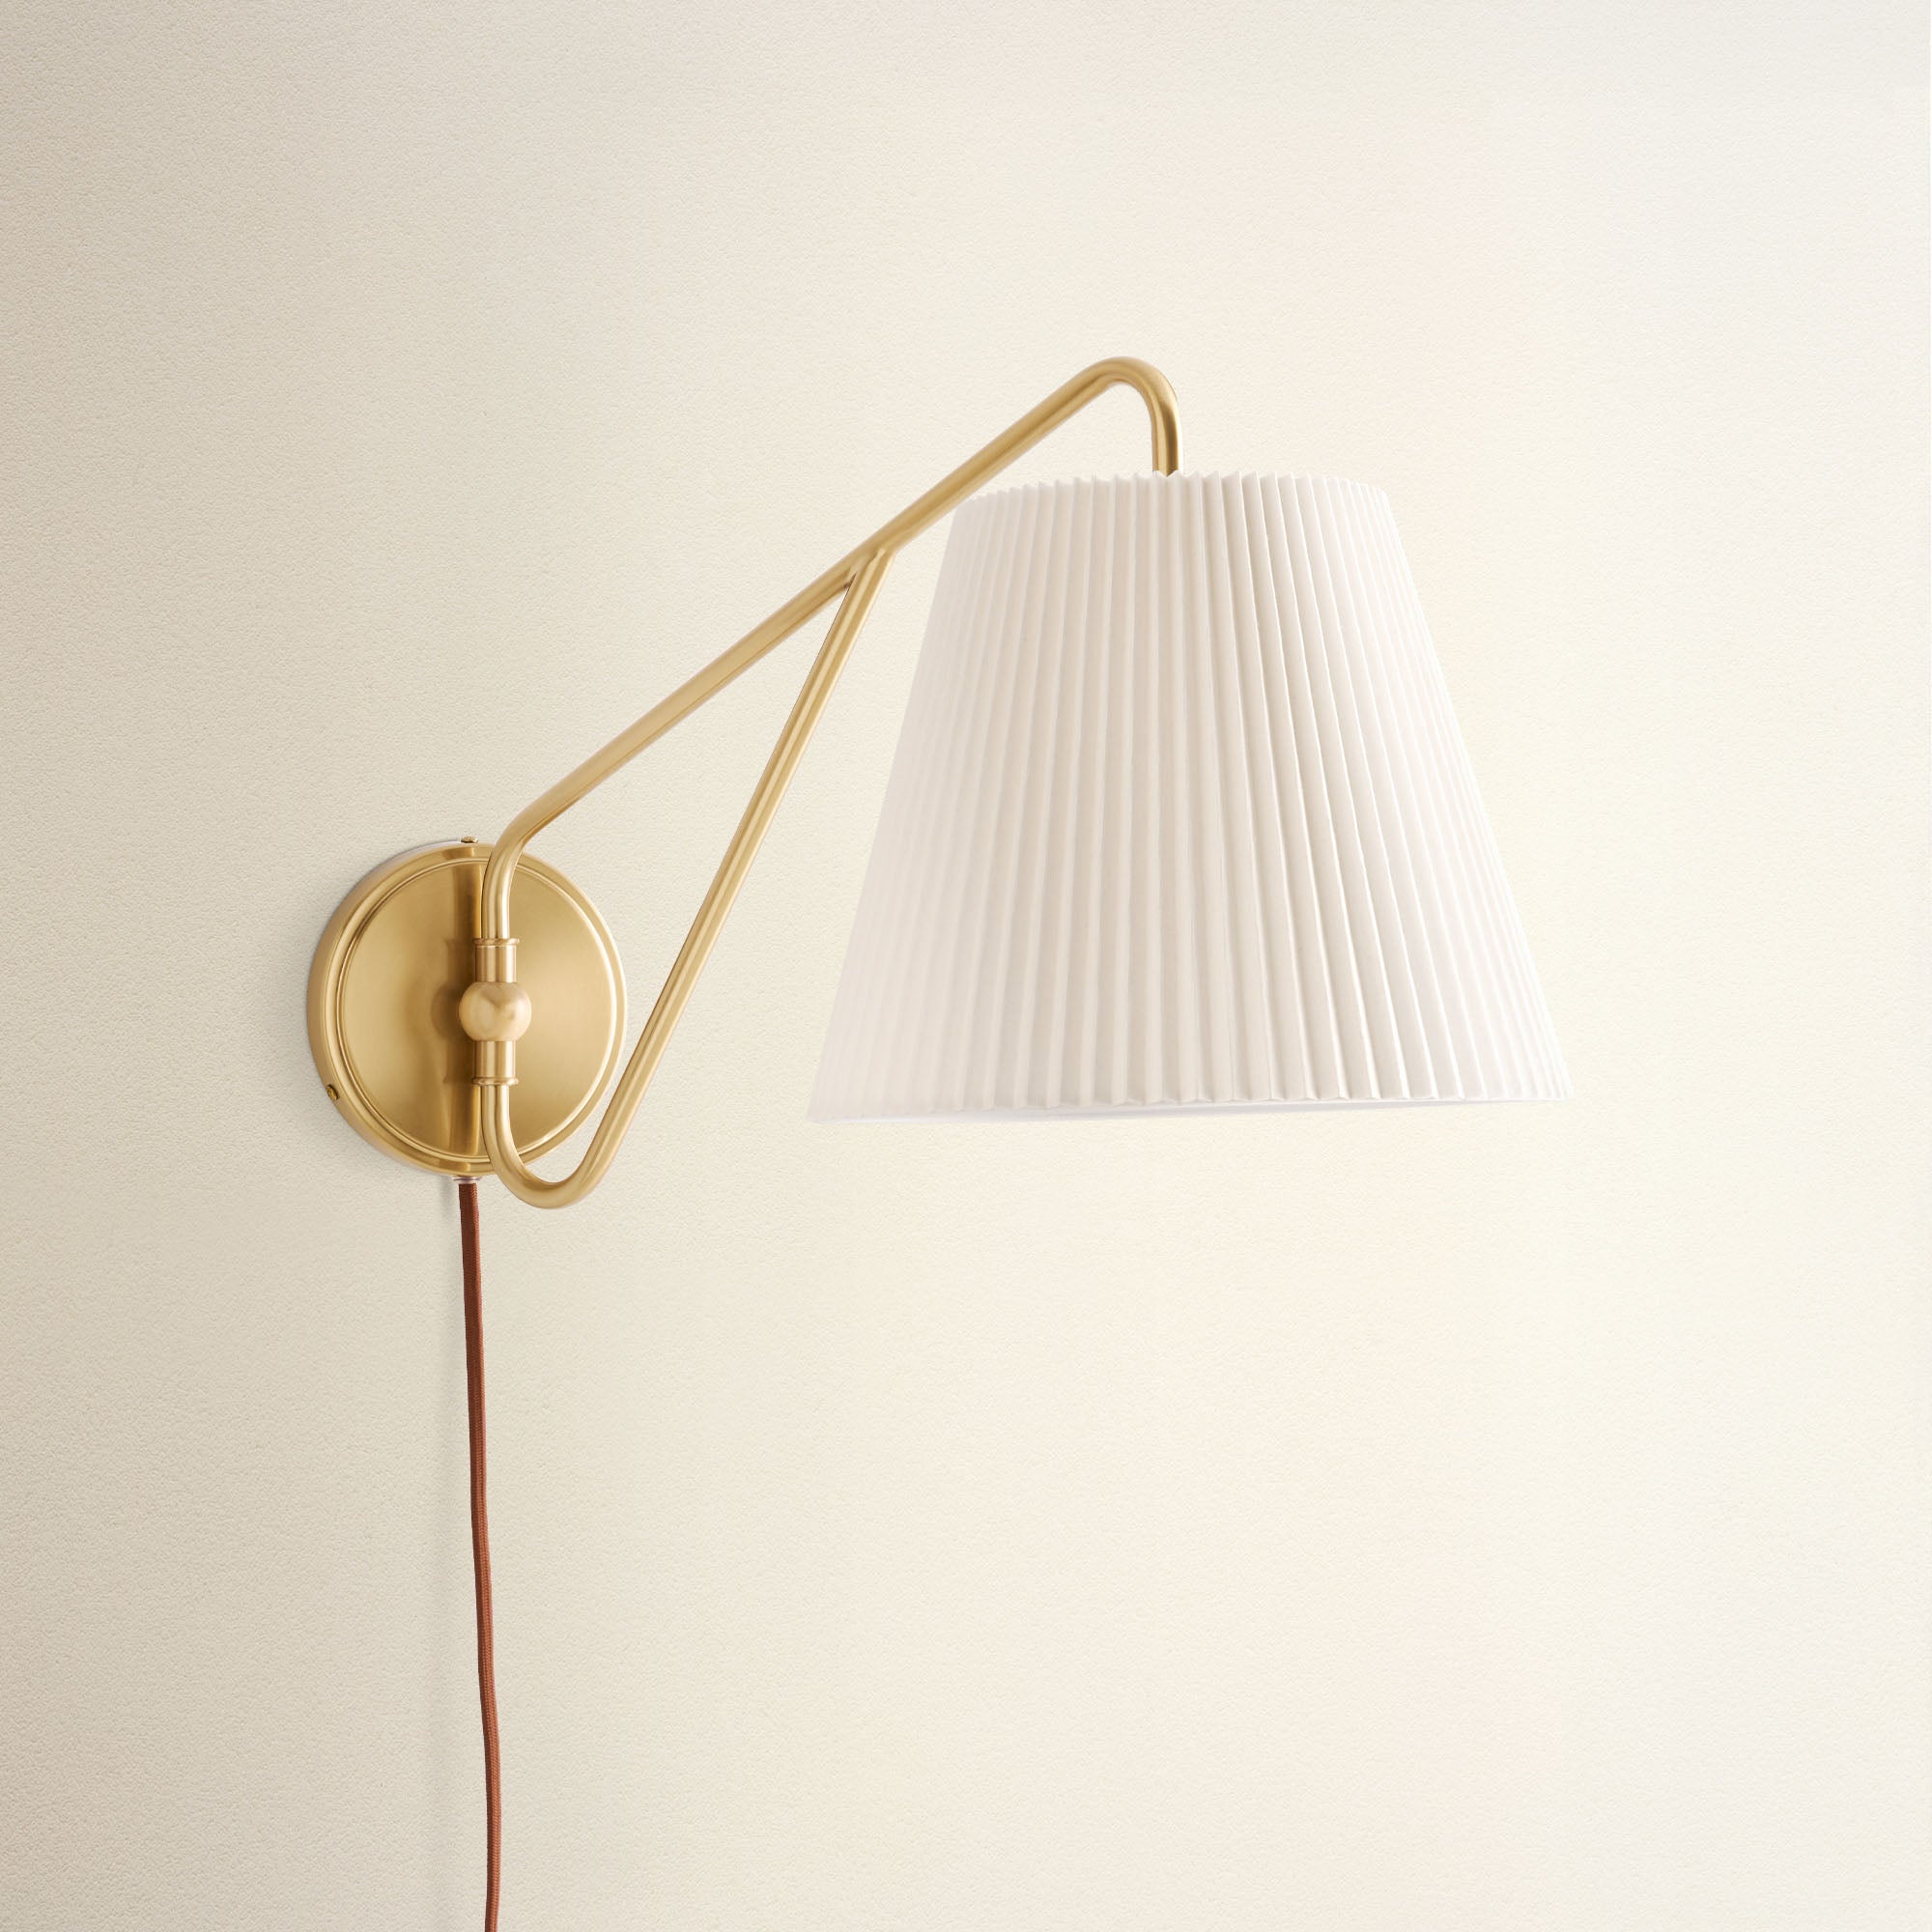
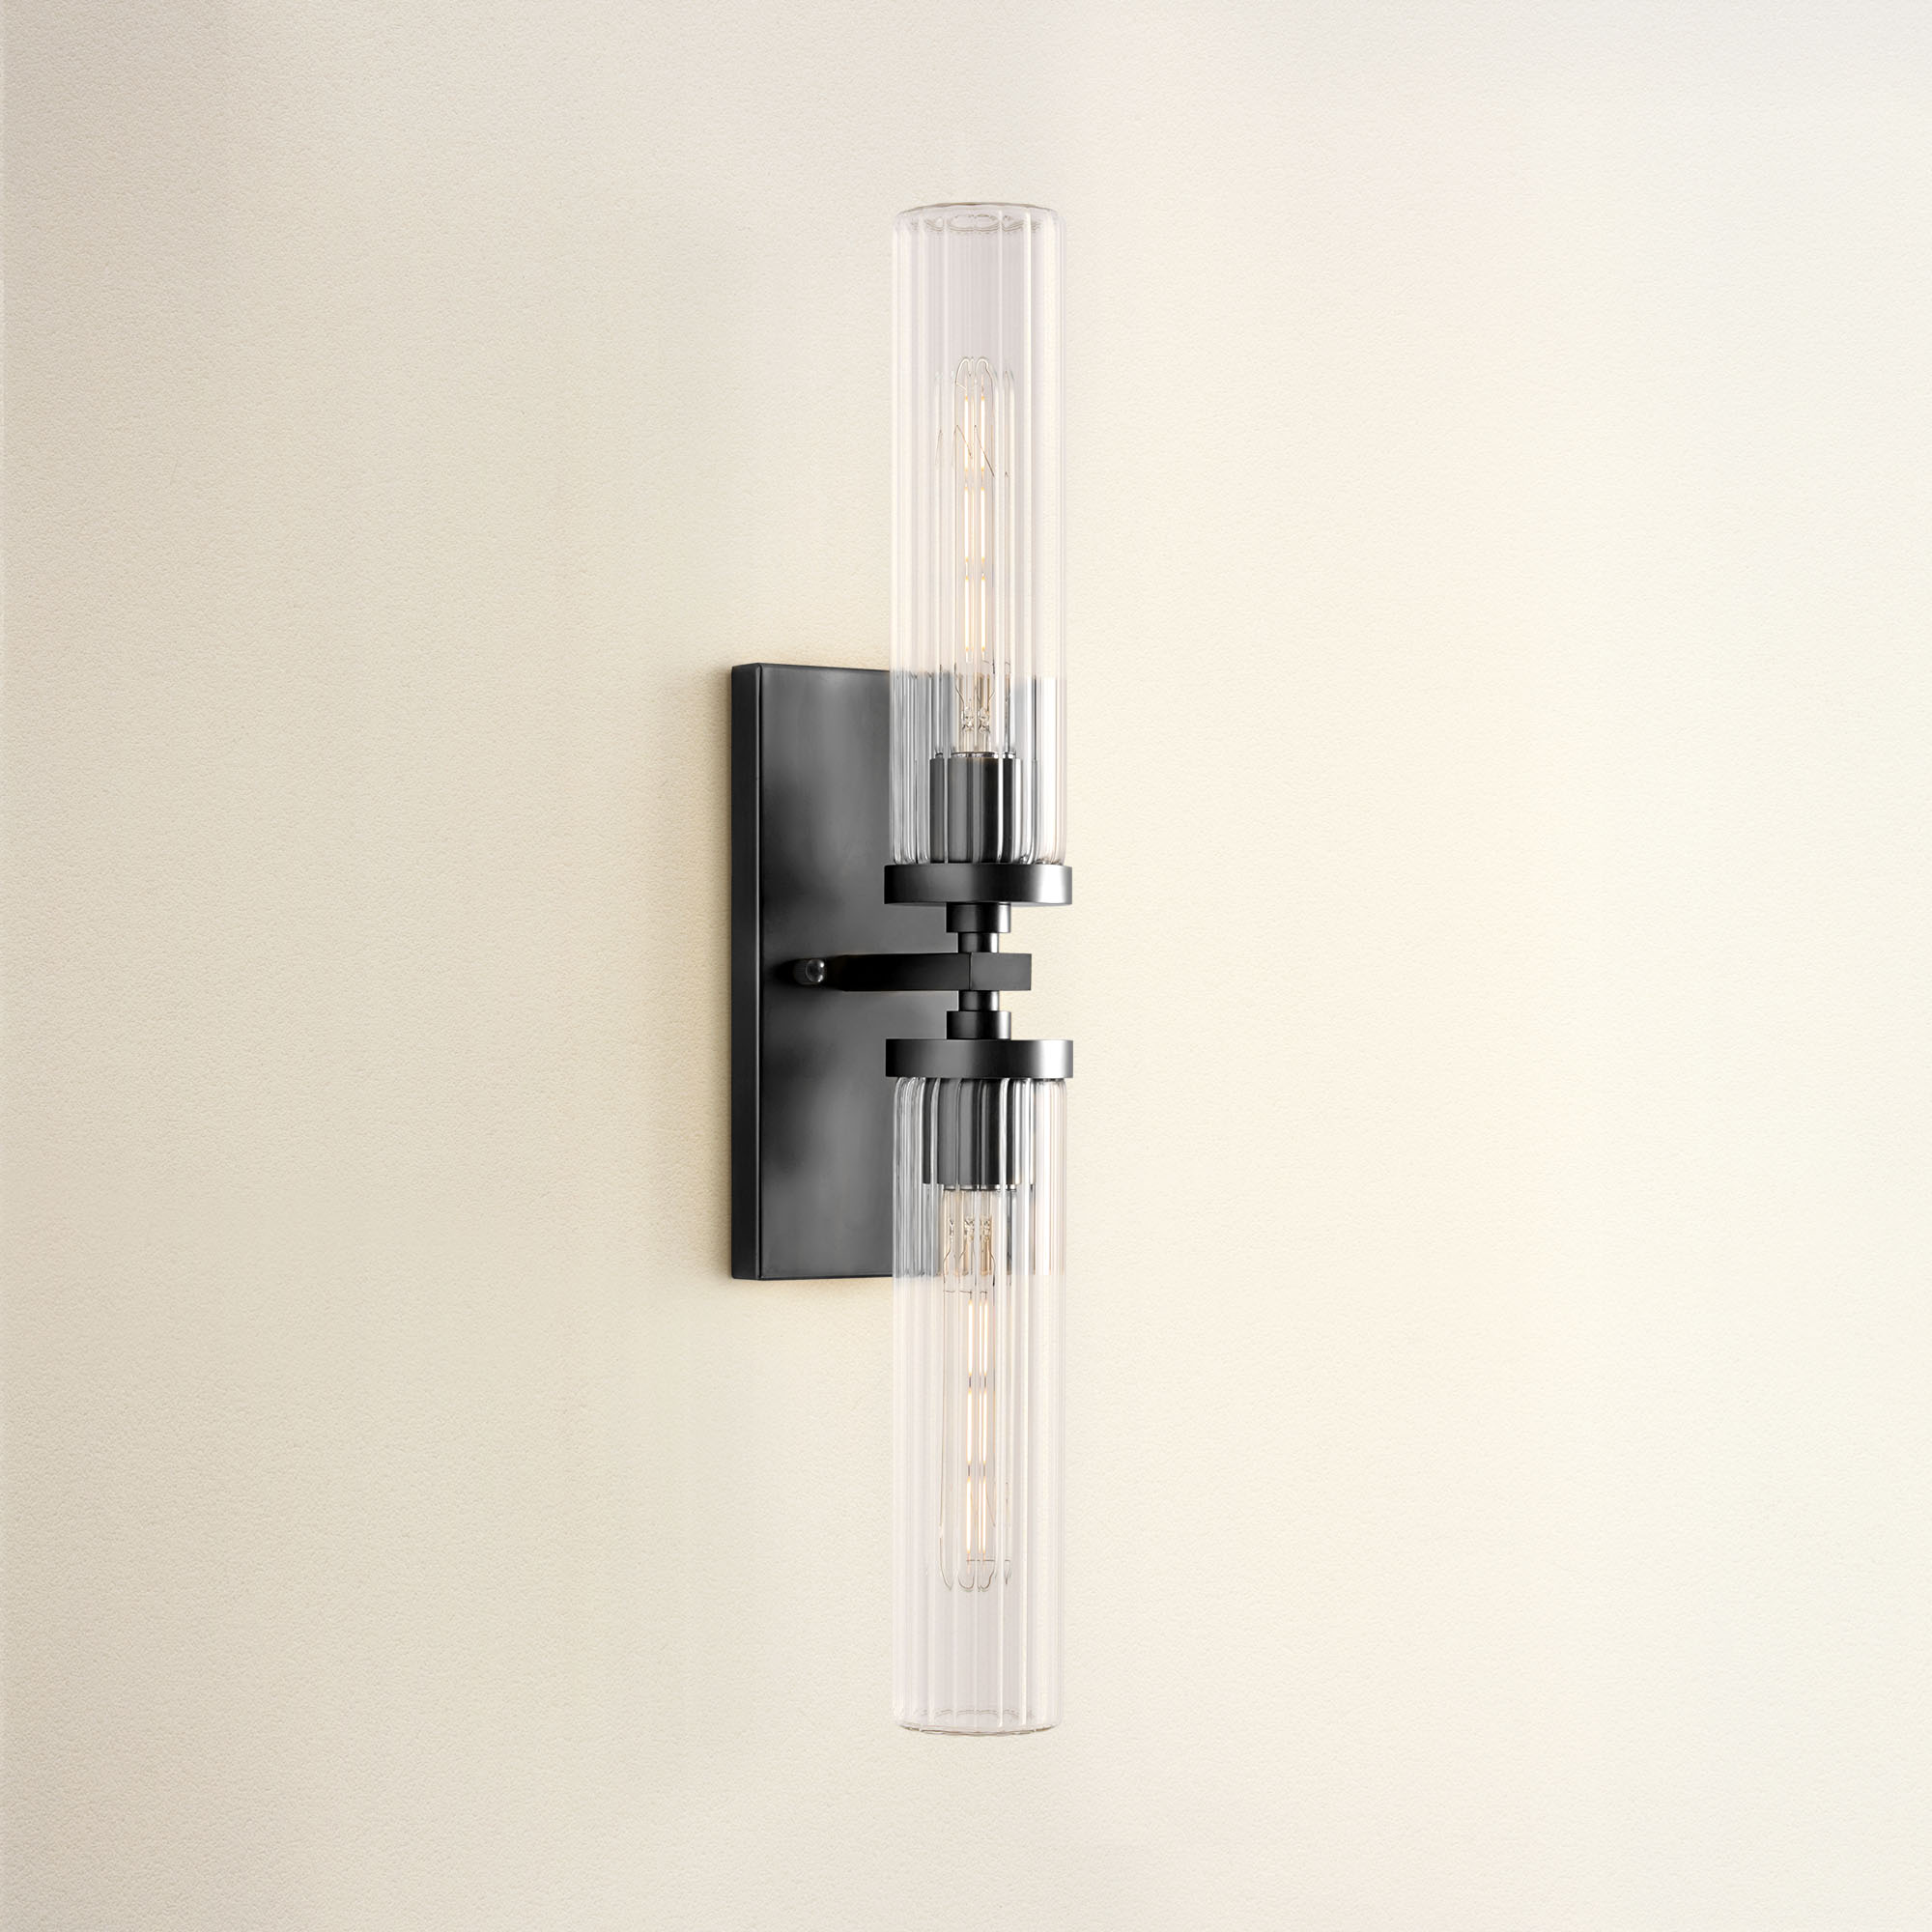
Make an architectural statement. Discover the full range here.
Free delivery between Dec 22 - 23 on orders $200+
45-Day Return
Free delivery between Dec 22 - 23 on orders $200+
45-Day Return
Free delivery between Dec 22 - 23 on orders $200+
45-Day Return
Free delivery between Dec 22 - 23 on orders $200+
45-Day Return
Free delivery between Dec 22 - 23 on orders $200+
45-Day Return
Free delivery between Dec 22 - 23 on orders $200+
45-Day Return
Key steps to installing pendant lights:
Need more detailed instructions? Check our guide on how to install pendant lights. Transform your room effortlessly with these easy steps.
Before diving into the step-by-step process of how to change a light fixture, let’s make sure you’re fully prepared with everything you’ll need.

Make sure you have everything you need to replace your light fixture safely and efficiently. Source: Freepik via https://www.freepik.com/author/freepik
Having the suitable materials and tools on hand is the key to making the replacement quick and hassle-free. Here's a handy list to ensure you’re set up for success:
Once you have all your materials and tools ready, you’re set to begin! In the next part, let’s look at the detailed instructions. But if you’re seeking further insights, our guide on how to change a light fixture without hiring an electrician is a great resource.
Changing a light fixture might seem intimidating, but it’s easier than you think! With a few simple steps, you can do it safely and efficiently. Here’s a friendly guide to help you through the process!
This is the most crucial step. Head to your circuit breaker panel and turn off the power to the room where you’ll be working.
Never rely on just flipping the light switch—cutting power at the breaker ensures your safety. Double-check with a voltage tester on the fixture wires to confirm no current is flowing.
Carefully remove any glass shades or decorative parts of the old fixture. These are often secured with screws, so use a screwdriver to take them off.
Set aside all the screws and pieces in a safe spot where you can easily find them later. This makes the fixture lighter and easier to handle as you continue the process.
Now, you’re getting into the technical part. Unscrew the wire nuts connecting the old fixture’s wires to the house wiring. Typically, you’ll see three wires:
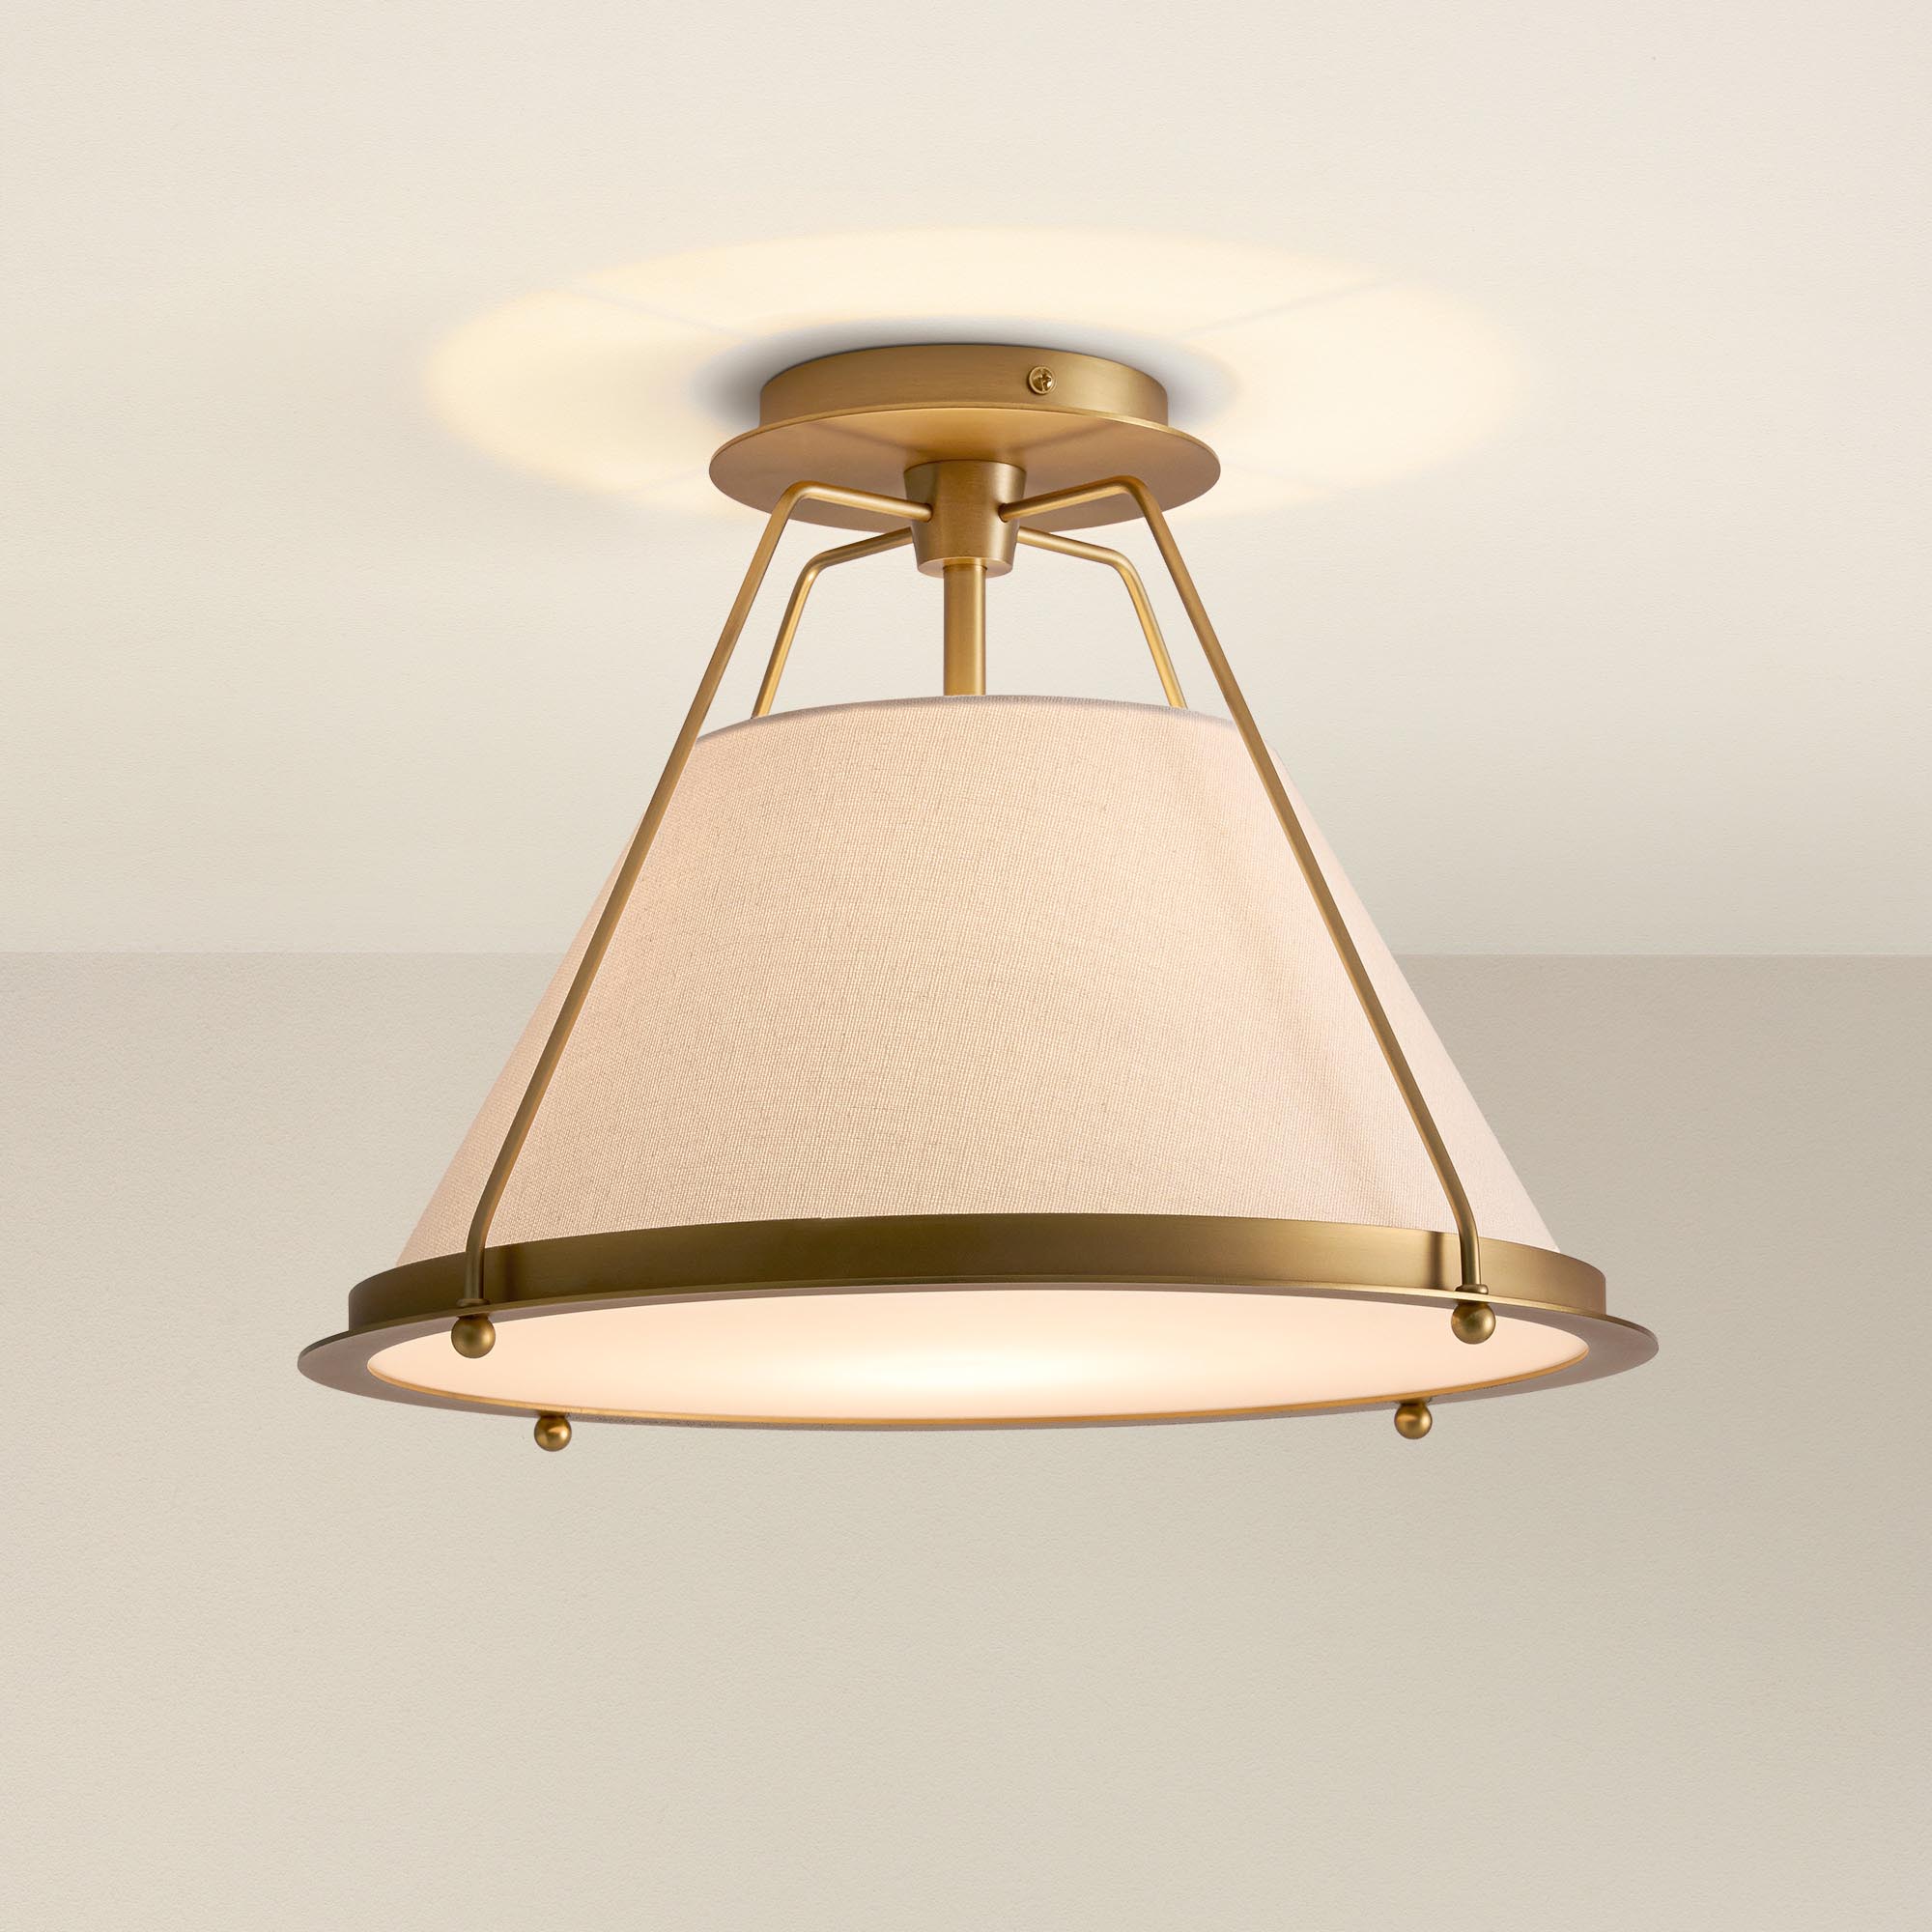
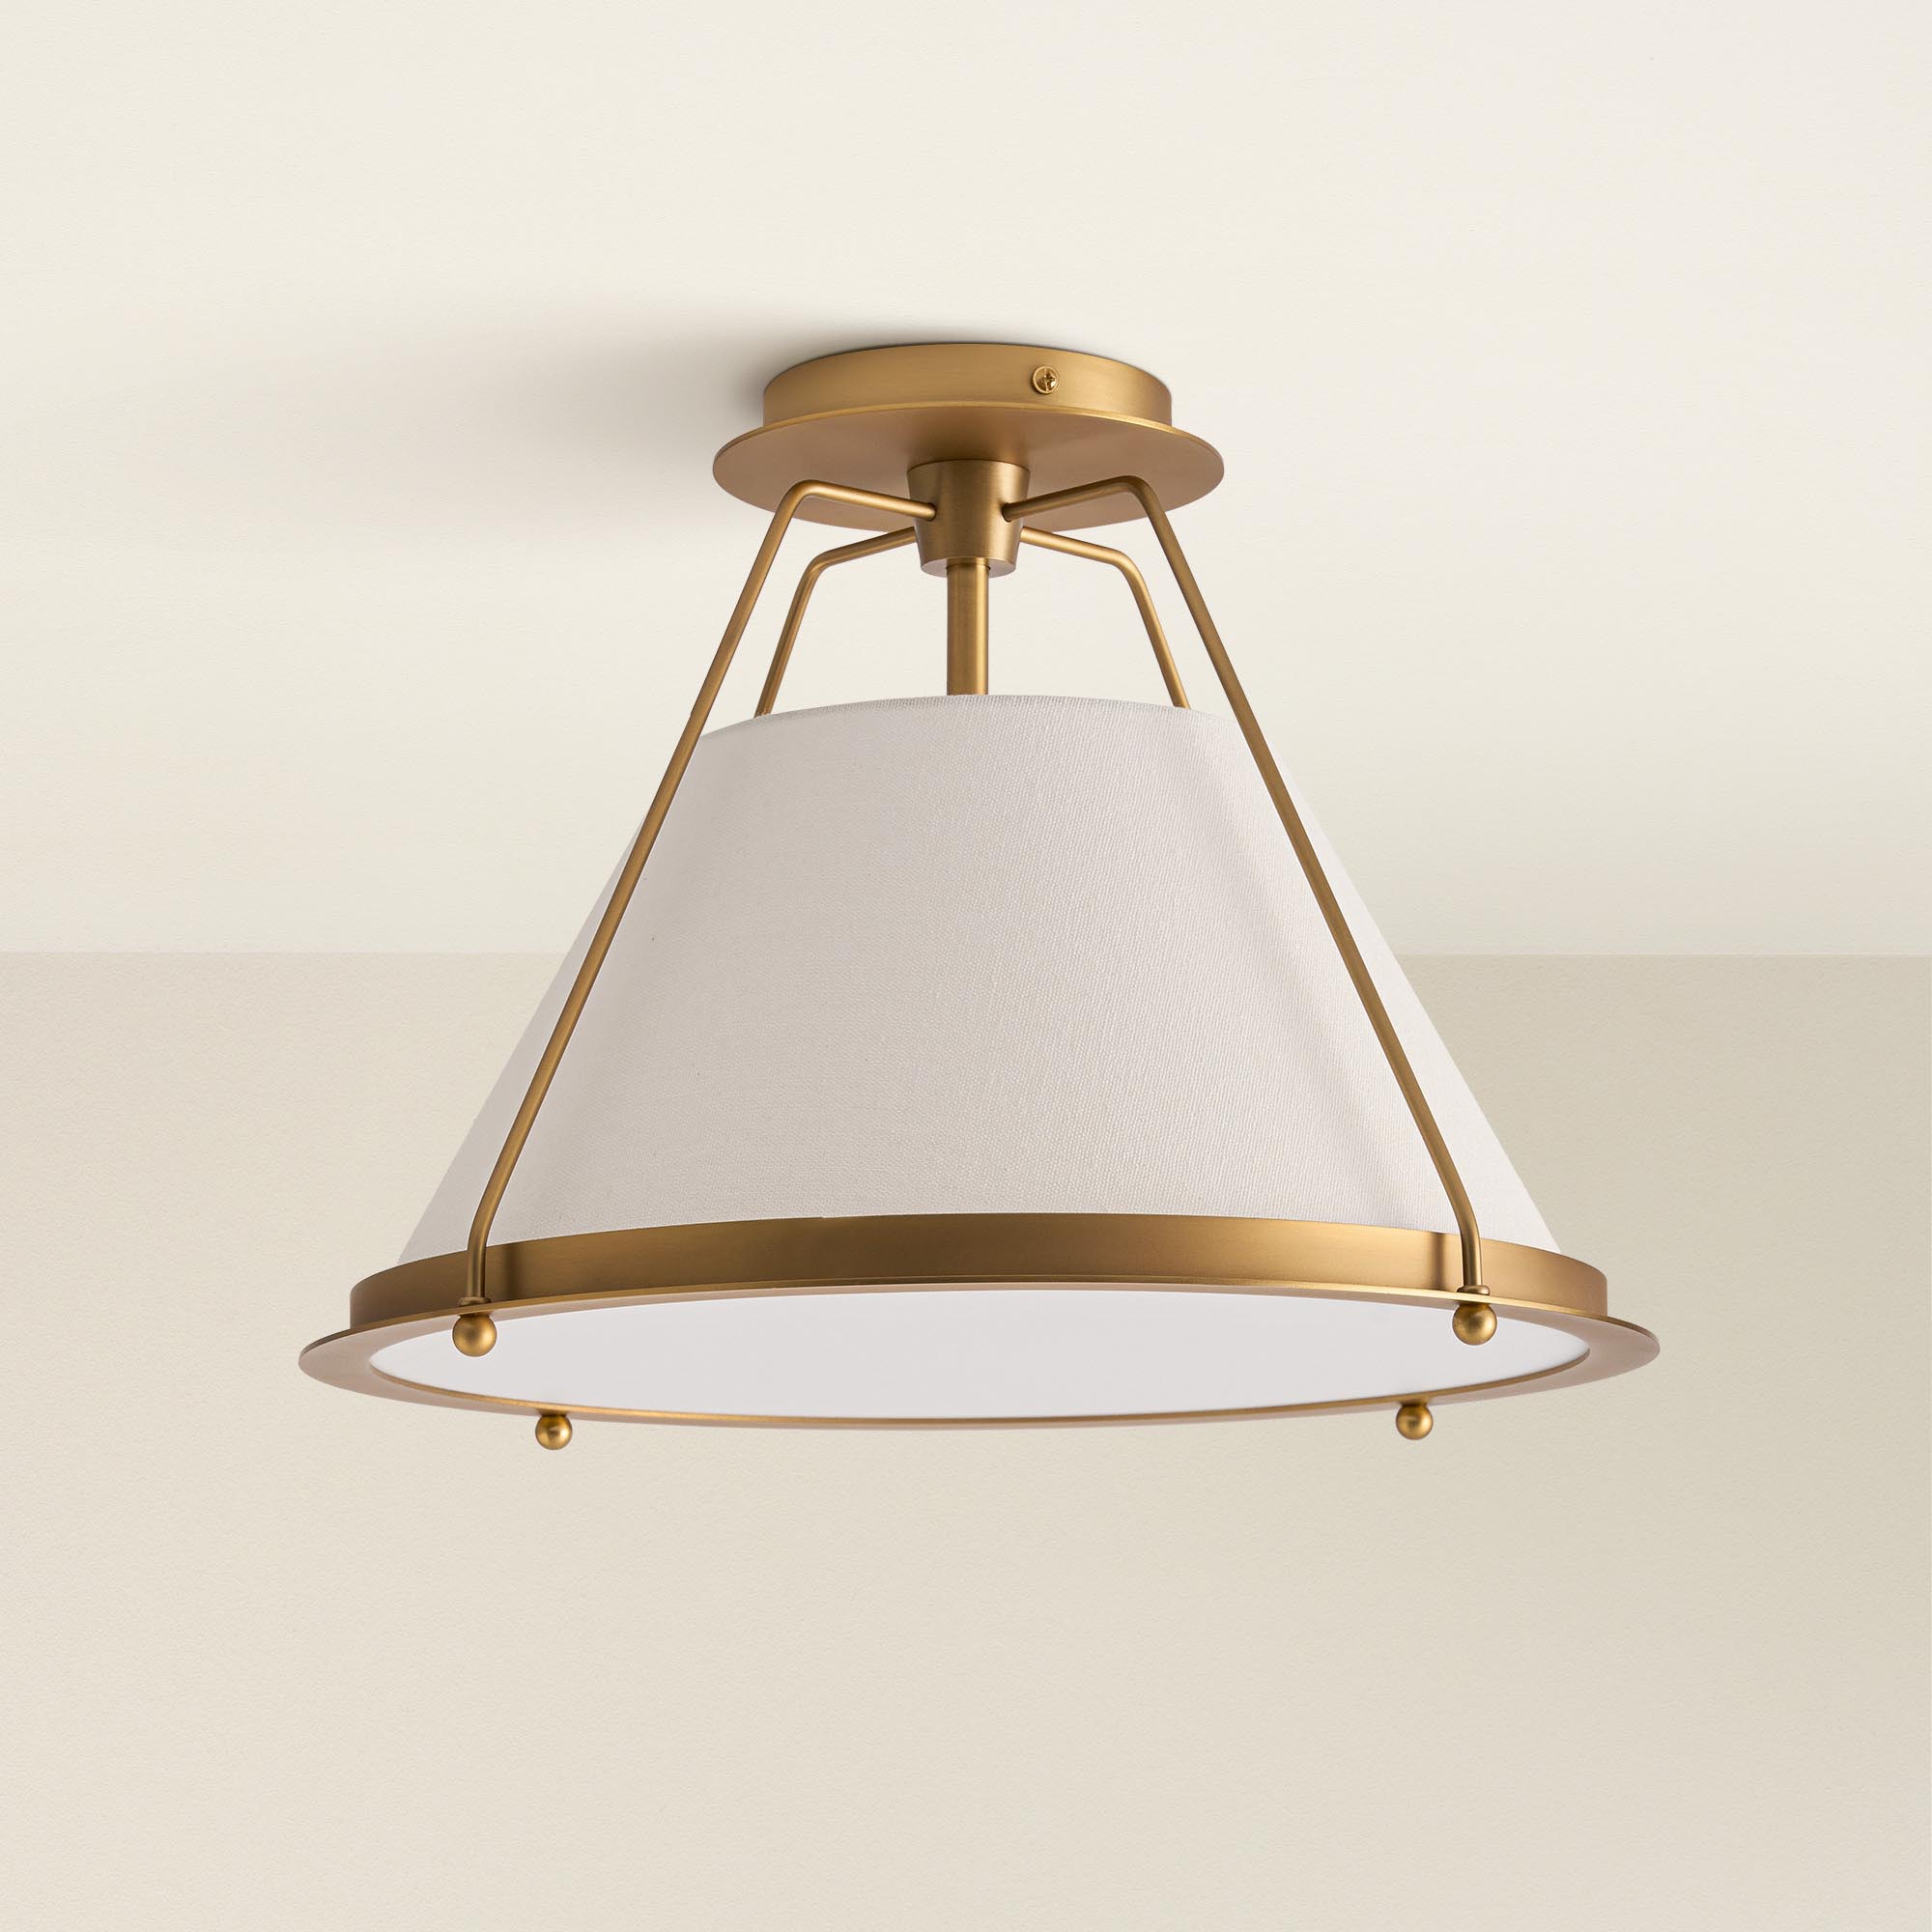
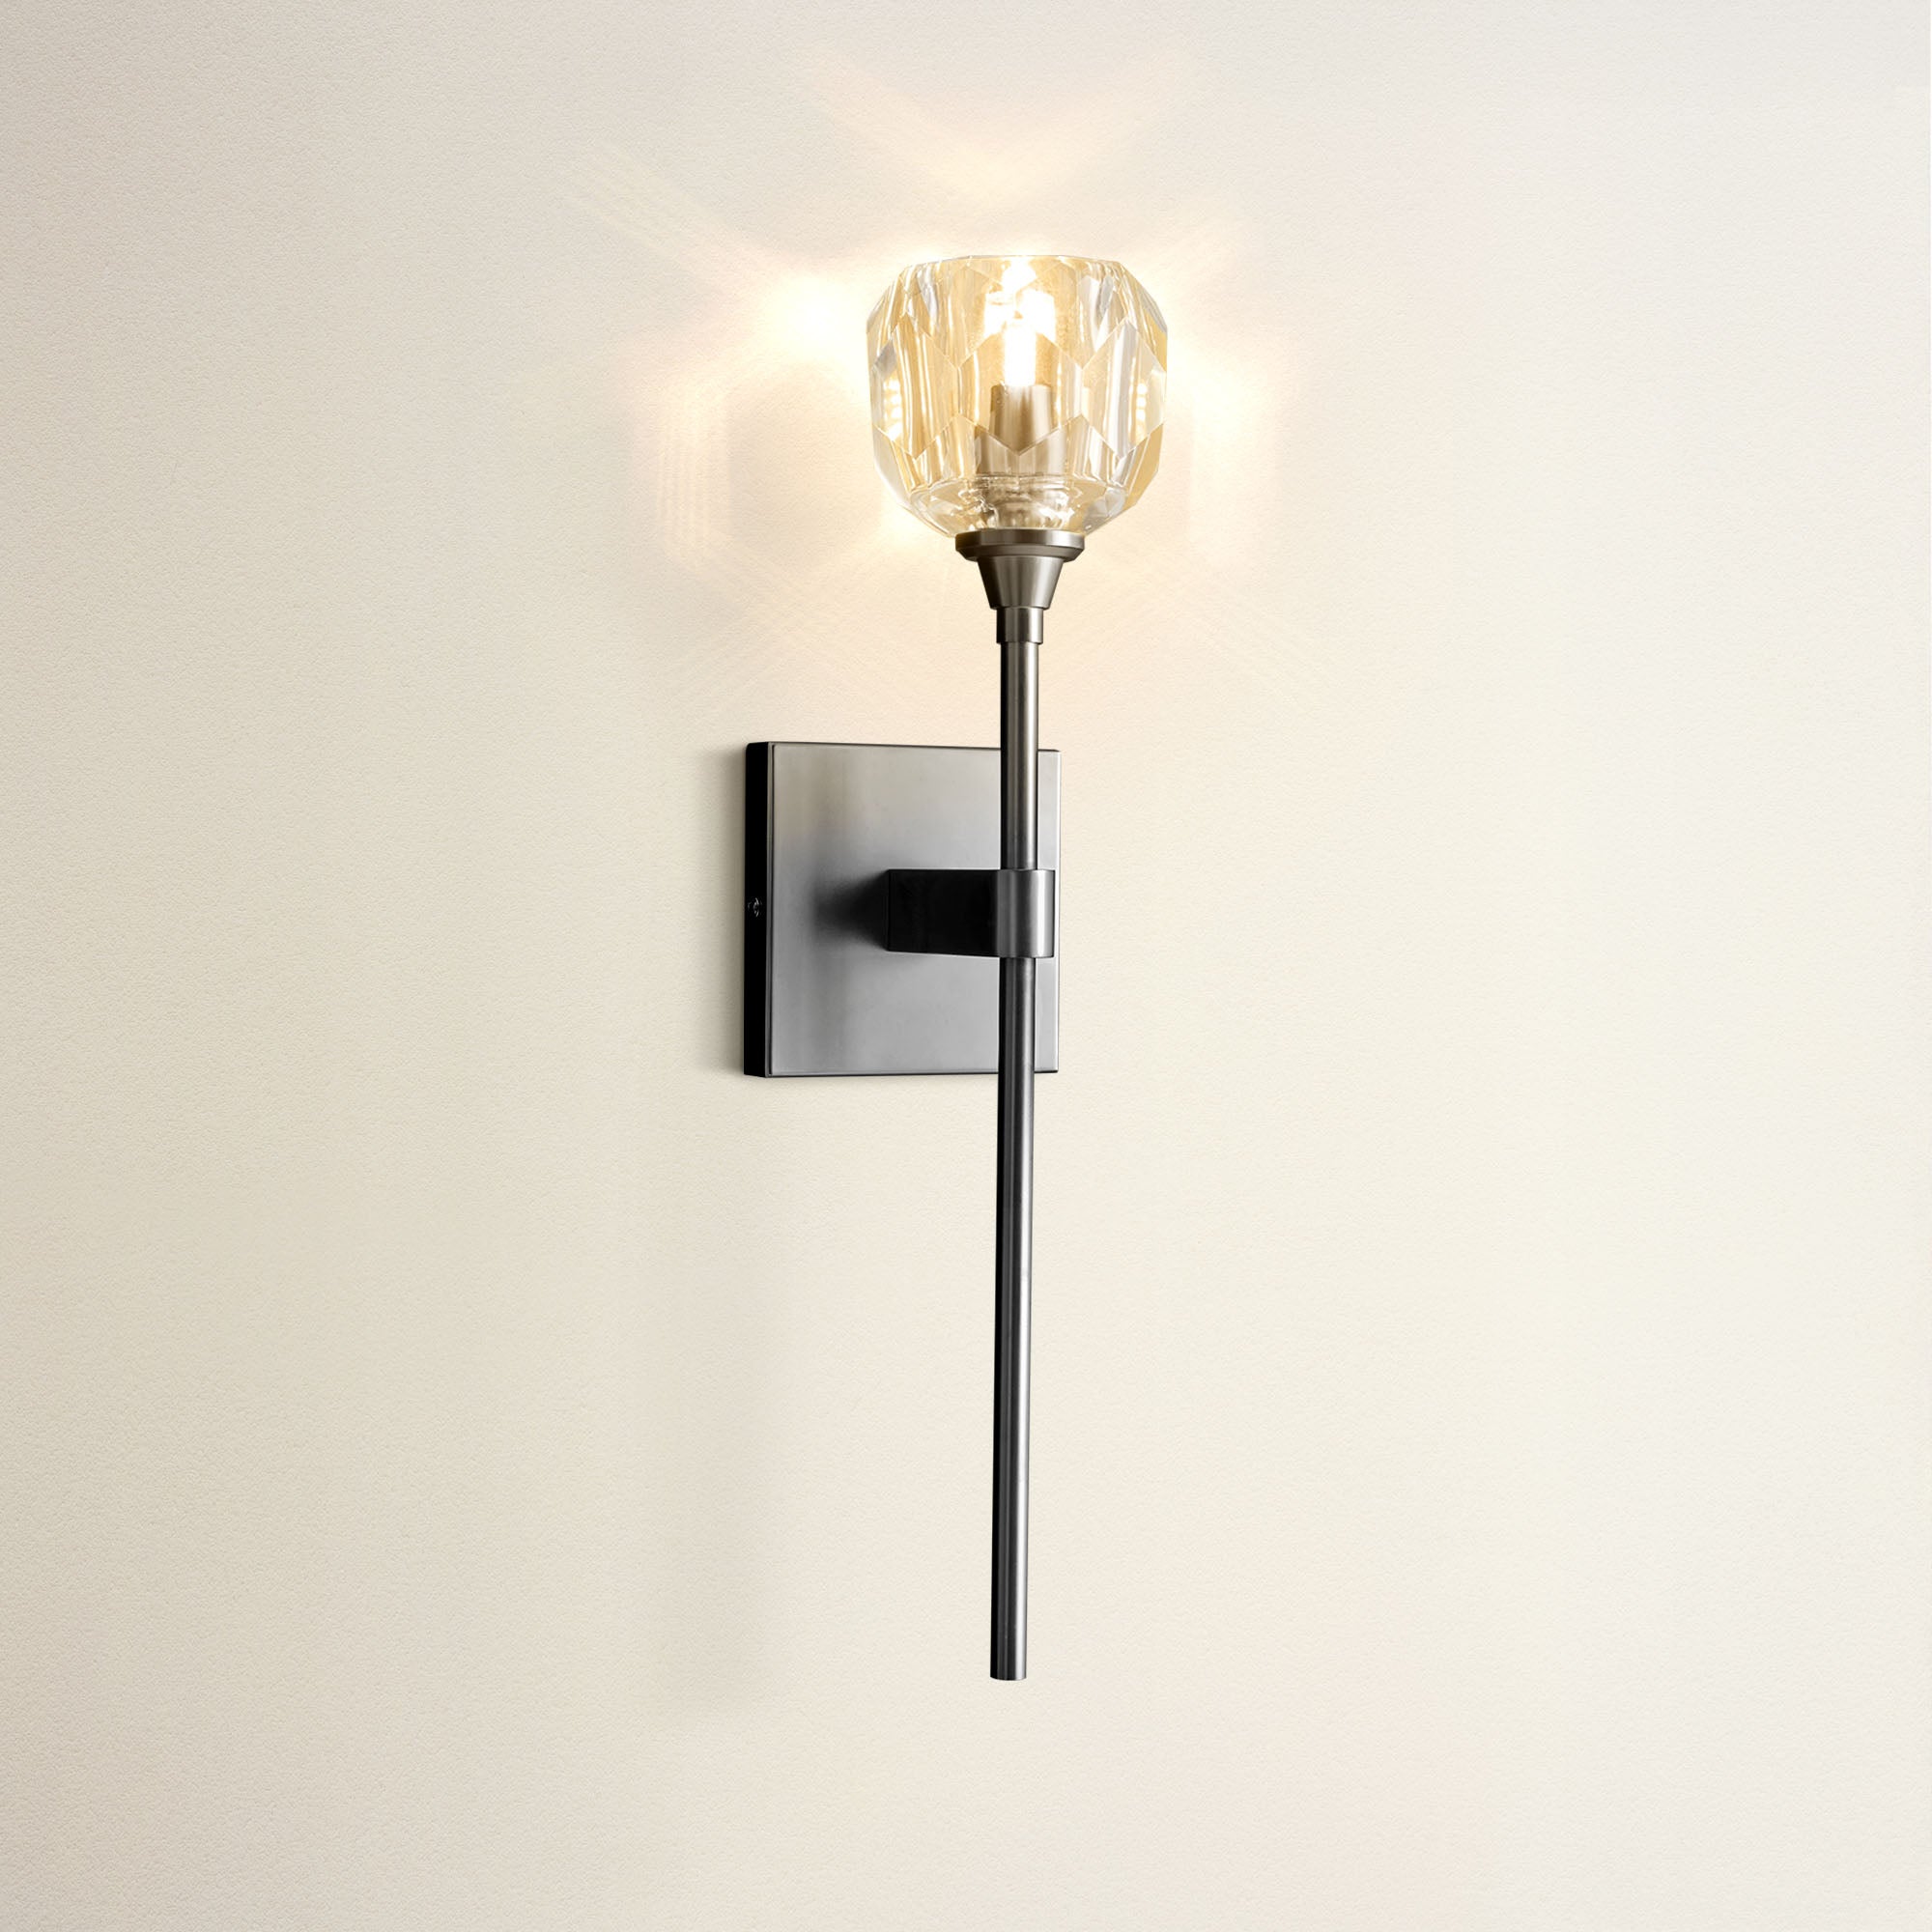
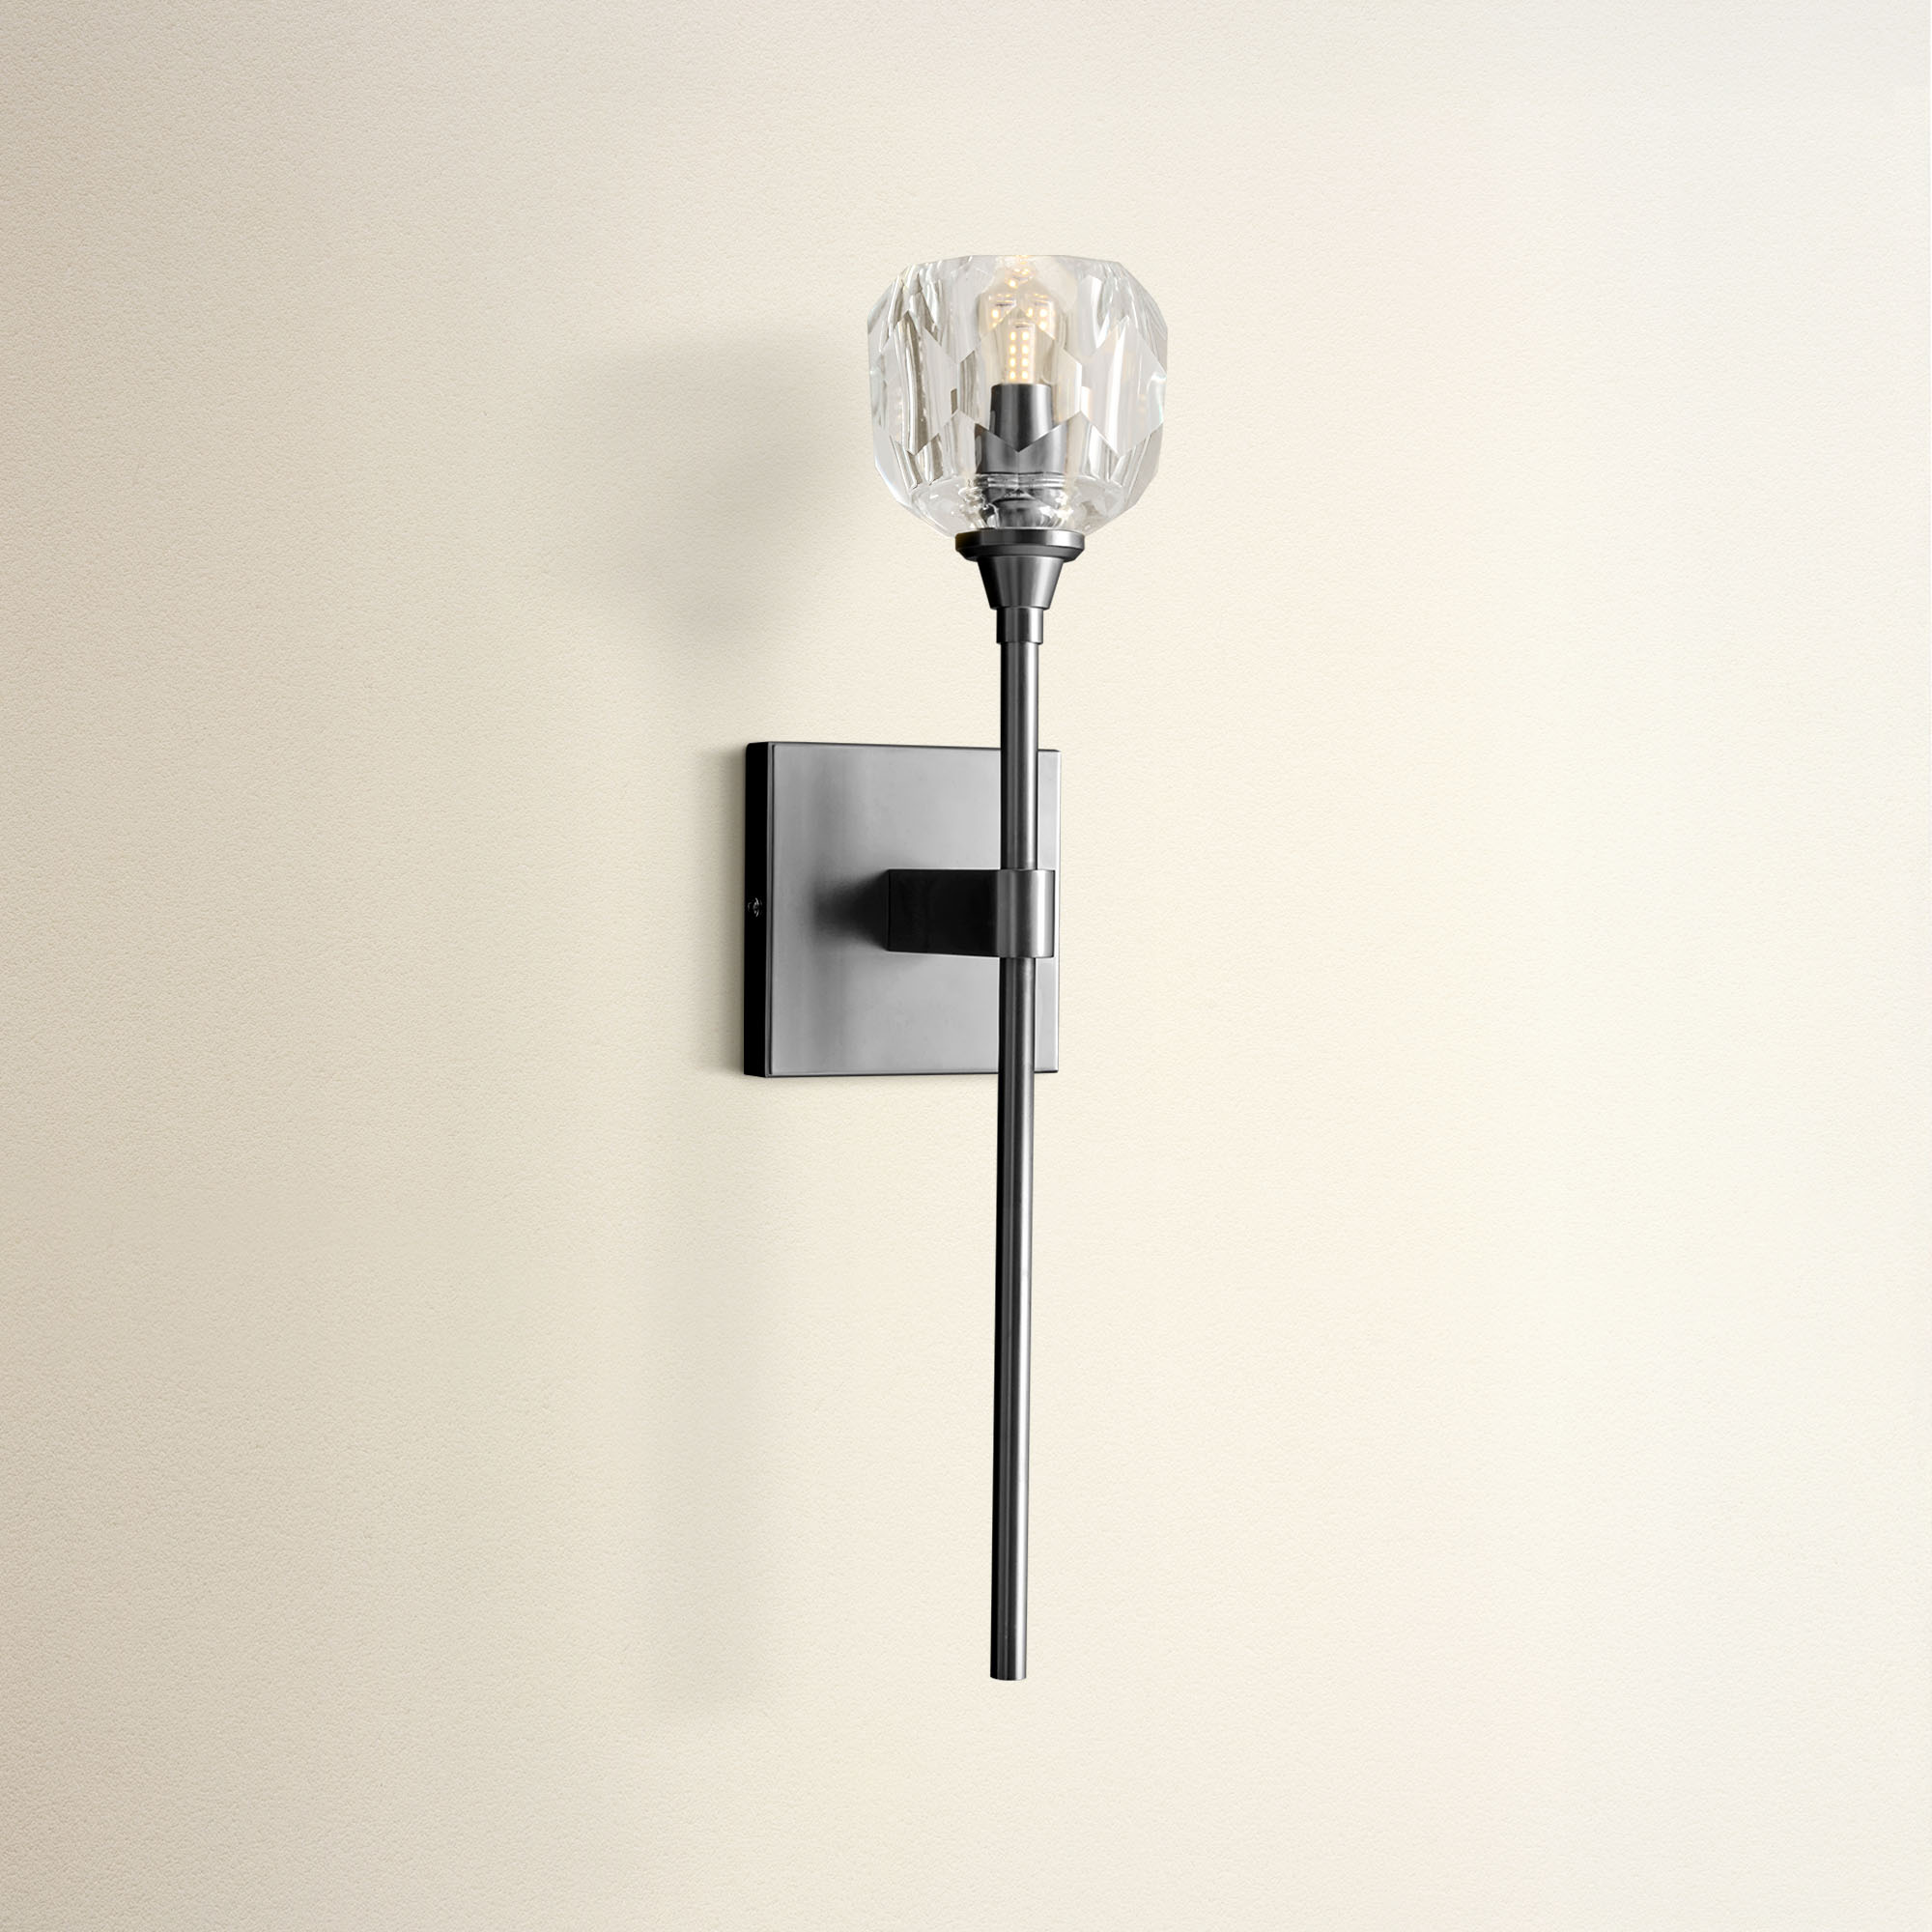
It's time for an upgrade. Find your perfect focal point.

Free delivery between Dec 22 - 23 on orders $200+
45-Day Return
Free delivery between Dec 22 - 23 on orders $200+
45-Day Return
Free delivery between Dec 22 - 23 on orders $200+
45-Day Return
Free delivery between Dec 22 - 23 on orders $200+
45-Day Return
Free delivery between Dec 22 - 23 on orders $200+
45-Day Return

Free delivery between Dec 22 - 23 on orders $200+
45-Day Return
Carefully disconnect each wire, noting how they were attached (taking a photo for reference is helpful). Make sure the cables don’t touch after you disconnect them.
With the wires safely disconnected, unscrew the fixture from the ceiling. Most light fixtures are attached with screws to a metal bracket mounted to the electrical box in the ceiling. After you take out the screws, you can carefully lower the fixture and place it to the side.
Inspect the wires coming from the ceiling. If they’re frayed or too long, use wire cutters to trim them to a manageable length—about 6 inches is usually ideal. You may also need to strip a small amount of insulation from the ends of the wires if they’re not exposed, using wire strippers. This ensures clean, secure connections when you install the new fixture.
Your new fixture should come with a mounting bracket or hardware plate. Remove the old bracket from the electrical box, and secure the new one in its place using screws. Make sure it’s fastened tightly, as this will support the weight of your new light fixture.

Give your new light fixture a strong foundation. Source: @tonodiaz via Freepik: https://www.freepik.com/author/tonodiaz
Some fixtures may have adjustable brackets, so follow the instructions that come with your fixture to position it correctly.
Here’s where it gets satisfying: reconnecting the wires! Start by matching the wires from the fixture to the corresponding wires in your ceiling:
Twist the wires together and then secure them using wire nuts. Ensure the wire nuts are on tightly and no bare wire is exposed. For extra safety, wrap the wire nuts with electrical tape. This step ensures a solid, safe connection.
Securely attach the new fixture to the mounting bracket with the provided screws after completing the wiring to ensure a safe and reliable setup.
Make sure everything is aligned correctly and securely fastened. If your fixture has decorative elements like glass shades or covers, it is time to put them in place. Don’t forget to screw in the new bulbs!
Once everything is securely installed, head back to your breaker box and restore power to the room. Flip the light switch to check if the fixture works correctly. If it lights up, you’ve successfully installed your new light fixture!
 Source: Rowabi.
Congratulations—you’ve just upgraded your room with a new fixture! By following these steps, you save money and gain a valuable DIY skill. For additional insights, feel free to check out our comprehensive guides on how to replace a ceiling light fixture and how to install pendant lights.
Can I change a light fixture myself?
Do you need an electrician to switch a light fixture?
Can I change a light fixture with just the switch off?
Is replacing a light fixture hard?
What does an electrician charge to replace a light fixture?
Do you need to be an electrician to change a light?
Is it safe to replace your own light fixture?
How to swap out a ceiling light fixture?
How to remove an old light fixture?
Can I still get shocked if the light switch is off?
Do you have to turn off electricity to change a light switch?
Do I need to turn off the power to change a light fixture?
By following the steps outlined in this guide on how to change a light fixture, you can safely and effectively replace your old fixture with a stylish new one.
Whether upgrading for aesthetics or functionality, this task saves you money and boosts your confidence in tackling home improvement projects. So gather your tools, follow the instructions, and enjoy your beautifully illuminated space!

How to Choose The Right Pendant Lights for Outdoor (Patio)
Selecting the ideal pendant light for your porch, patio, or pergola means prioritizing rugged durability and strategic placement to withstand the elements and create the desired atmosphere. The fir...
Read more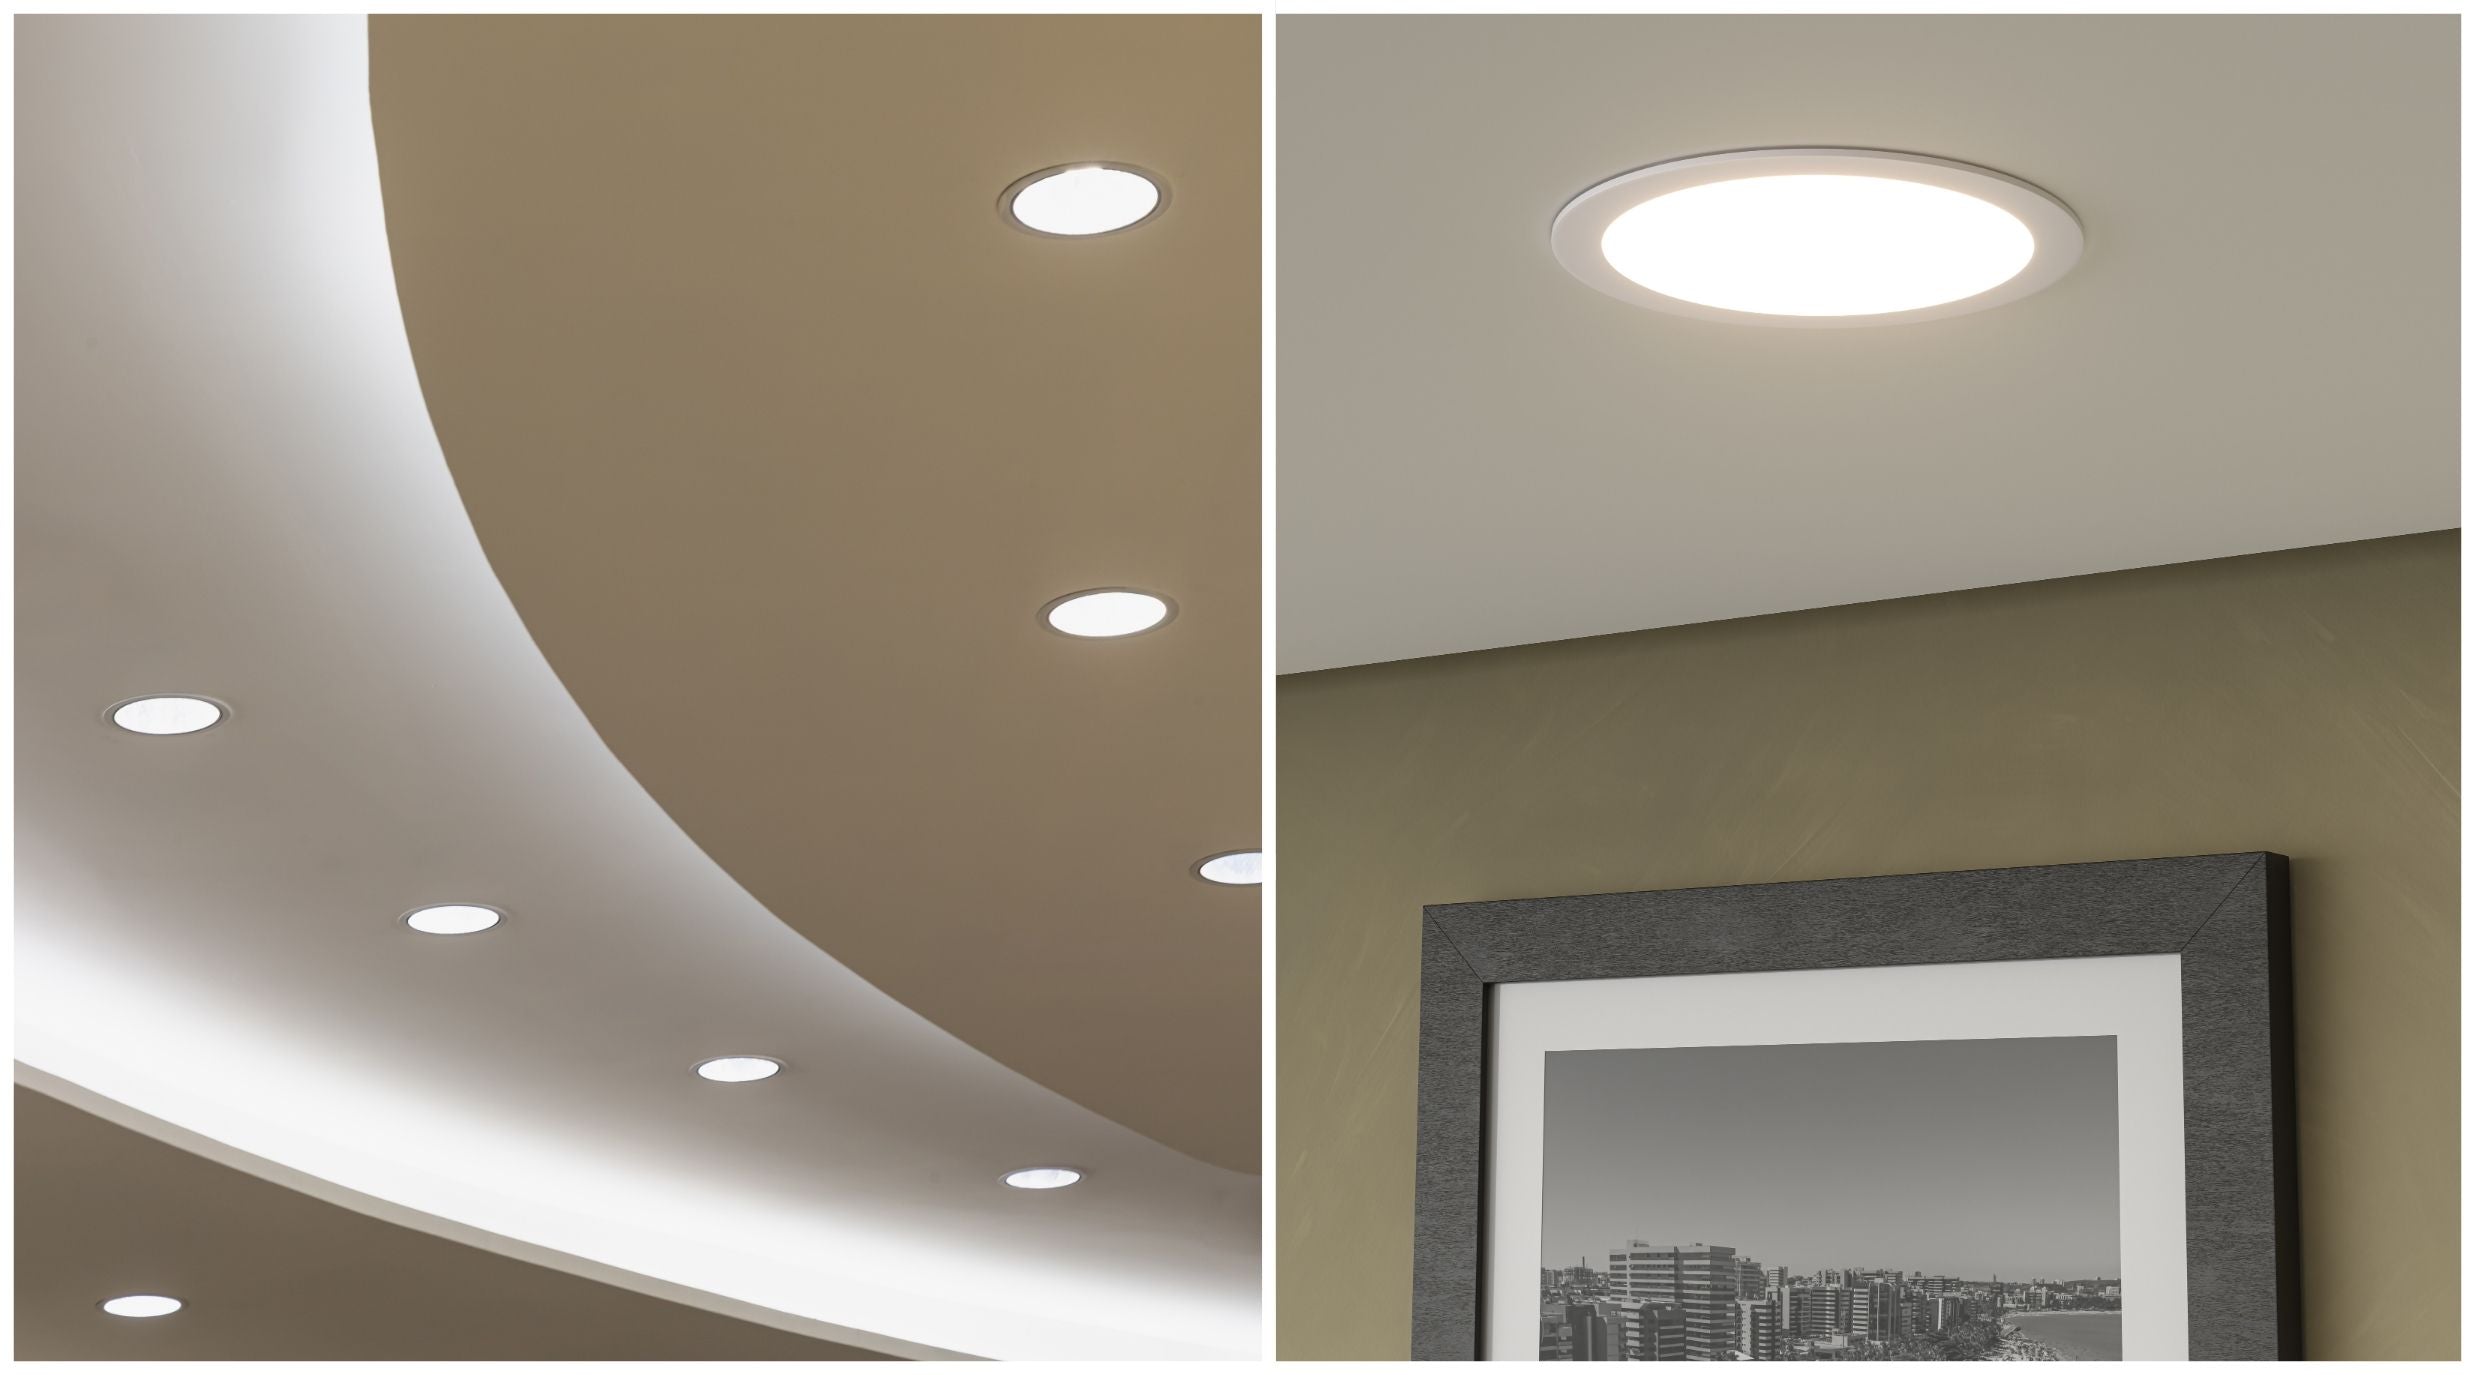
How To Layout Recessed Lighting In 4 Easy Steps?
Achieving balanced, shadow-free lighting with recessed cans depends entirely on a smart layout plan. The fundamental principle for general ambient lighting involves basing all spacing calculations ...
Read more
Leave a comment
This site is protected by hCaptcha and the hCaptcha Privacy Policy and Terms of Service apply.