


Once the old fixture is removed, you will simply connect the wires color-to-color (black to black, white to white, and ground to the green screw) to the new mounting bracket before securely attaching the fixture.
Tools and materials needed
Before you begin learning how to install a bathroom light fixture, let’s gather all the necessary tools and materials to ensure a smooth installation process.
Tools required
- Drill: This removes the old fixture and secures the new mounting bracket.
- Screwdriver: For removing the old fixture and securing the new one.
- Wire stripper: This is used to strip the ends of the wires to make connections.
- Voltage tester: Ensure the power is off before you begin working.
- Needle nose pliers: Useful for twisting wires together and securing wire nuts.
- Level: To ensure that the new fixture is installed straight.
- Ladder: Necessary for reaching higher fixtures safely.
- Measuring tape: To position the fixture at the right height.
Materials needed
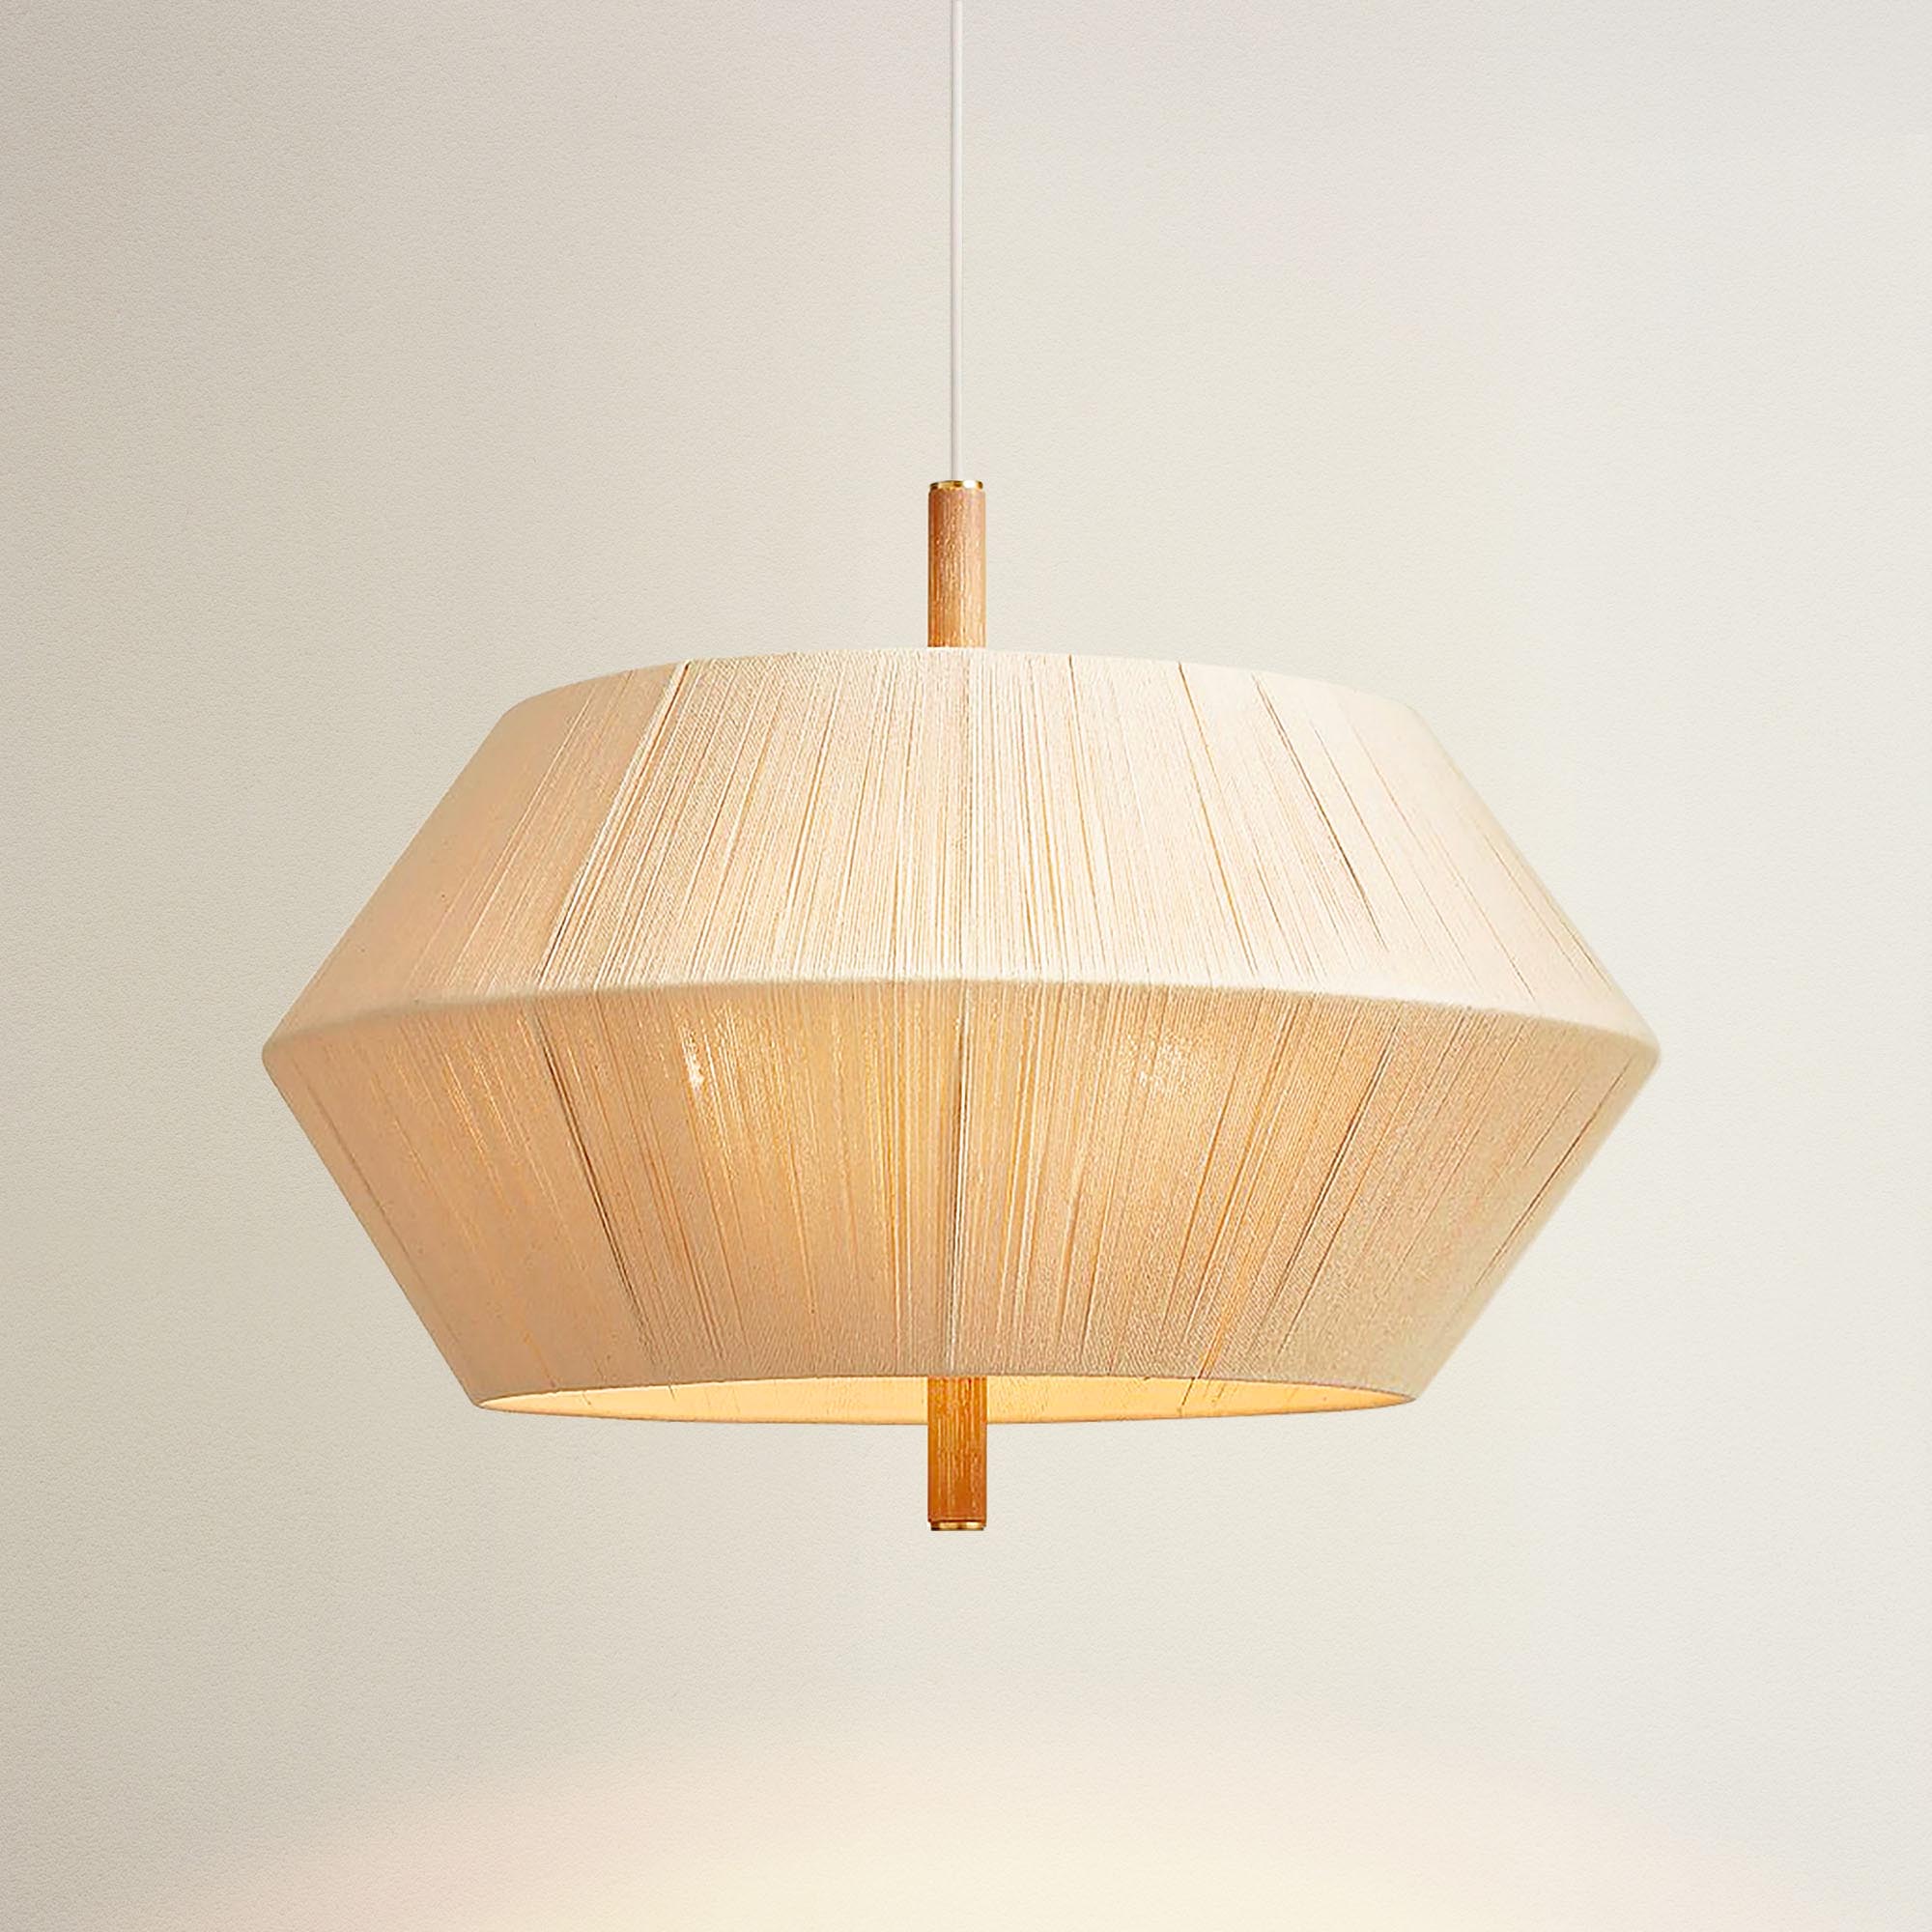
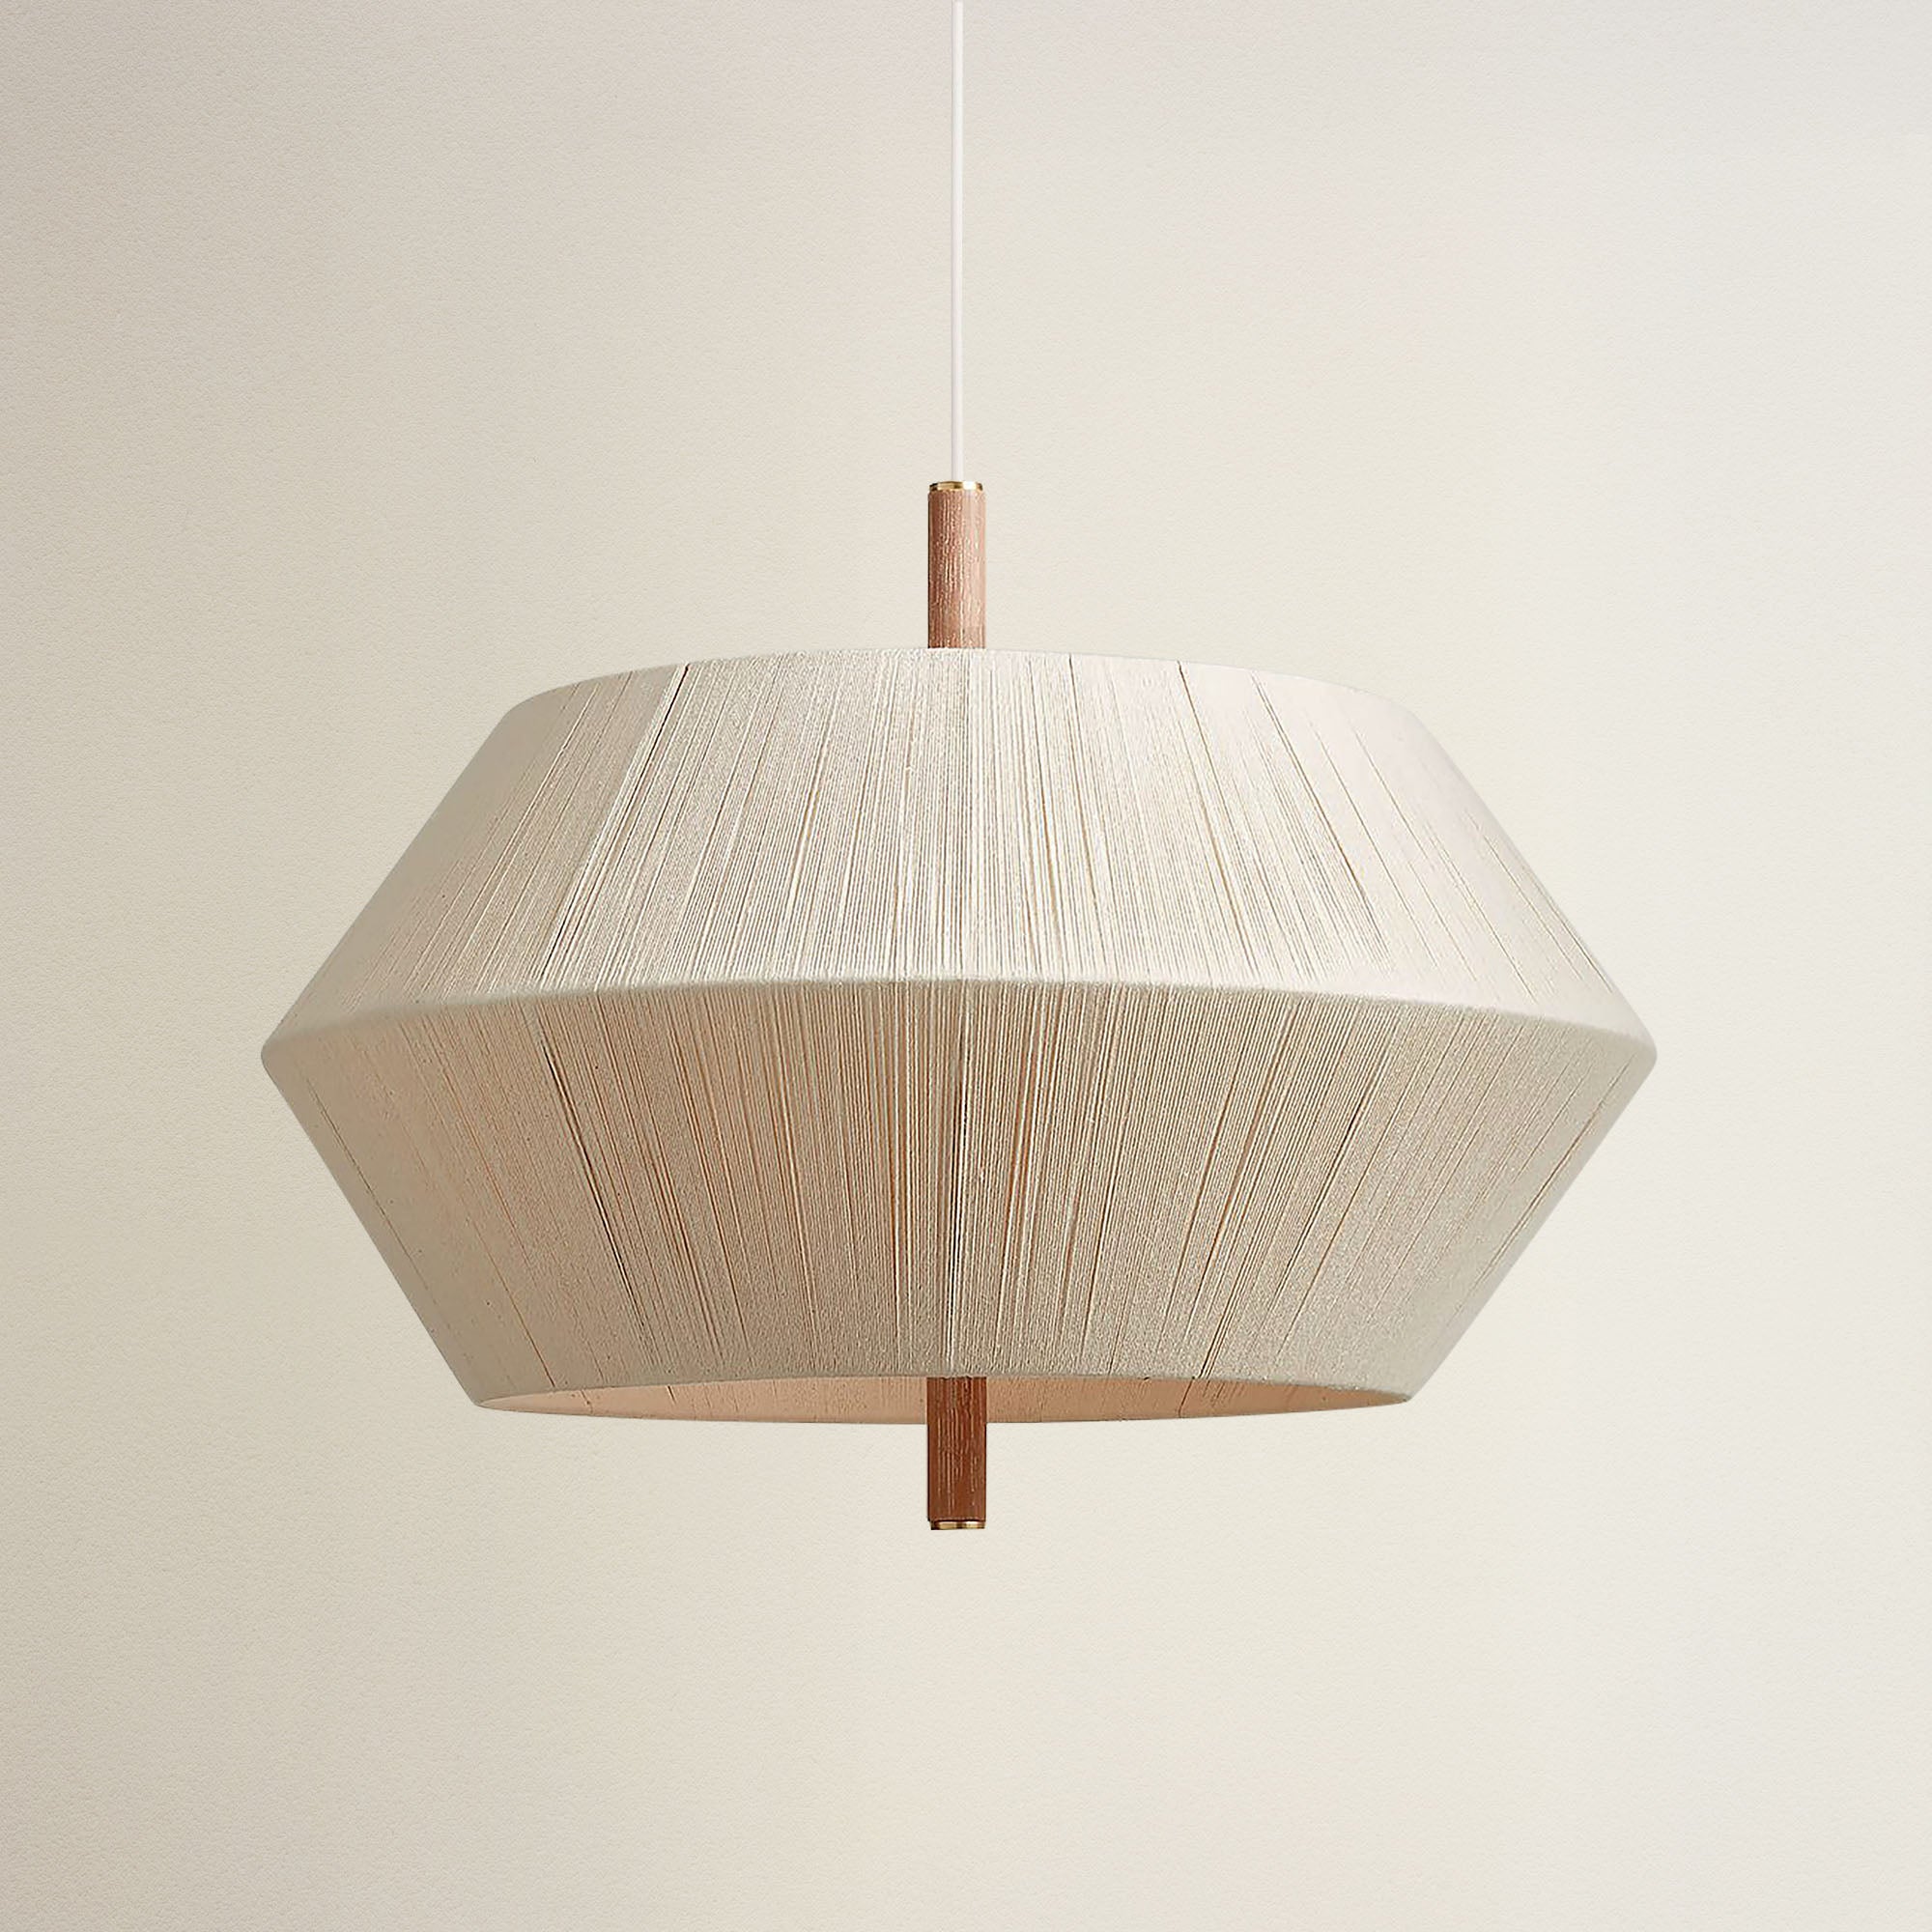
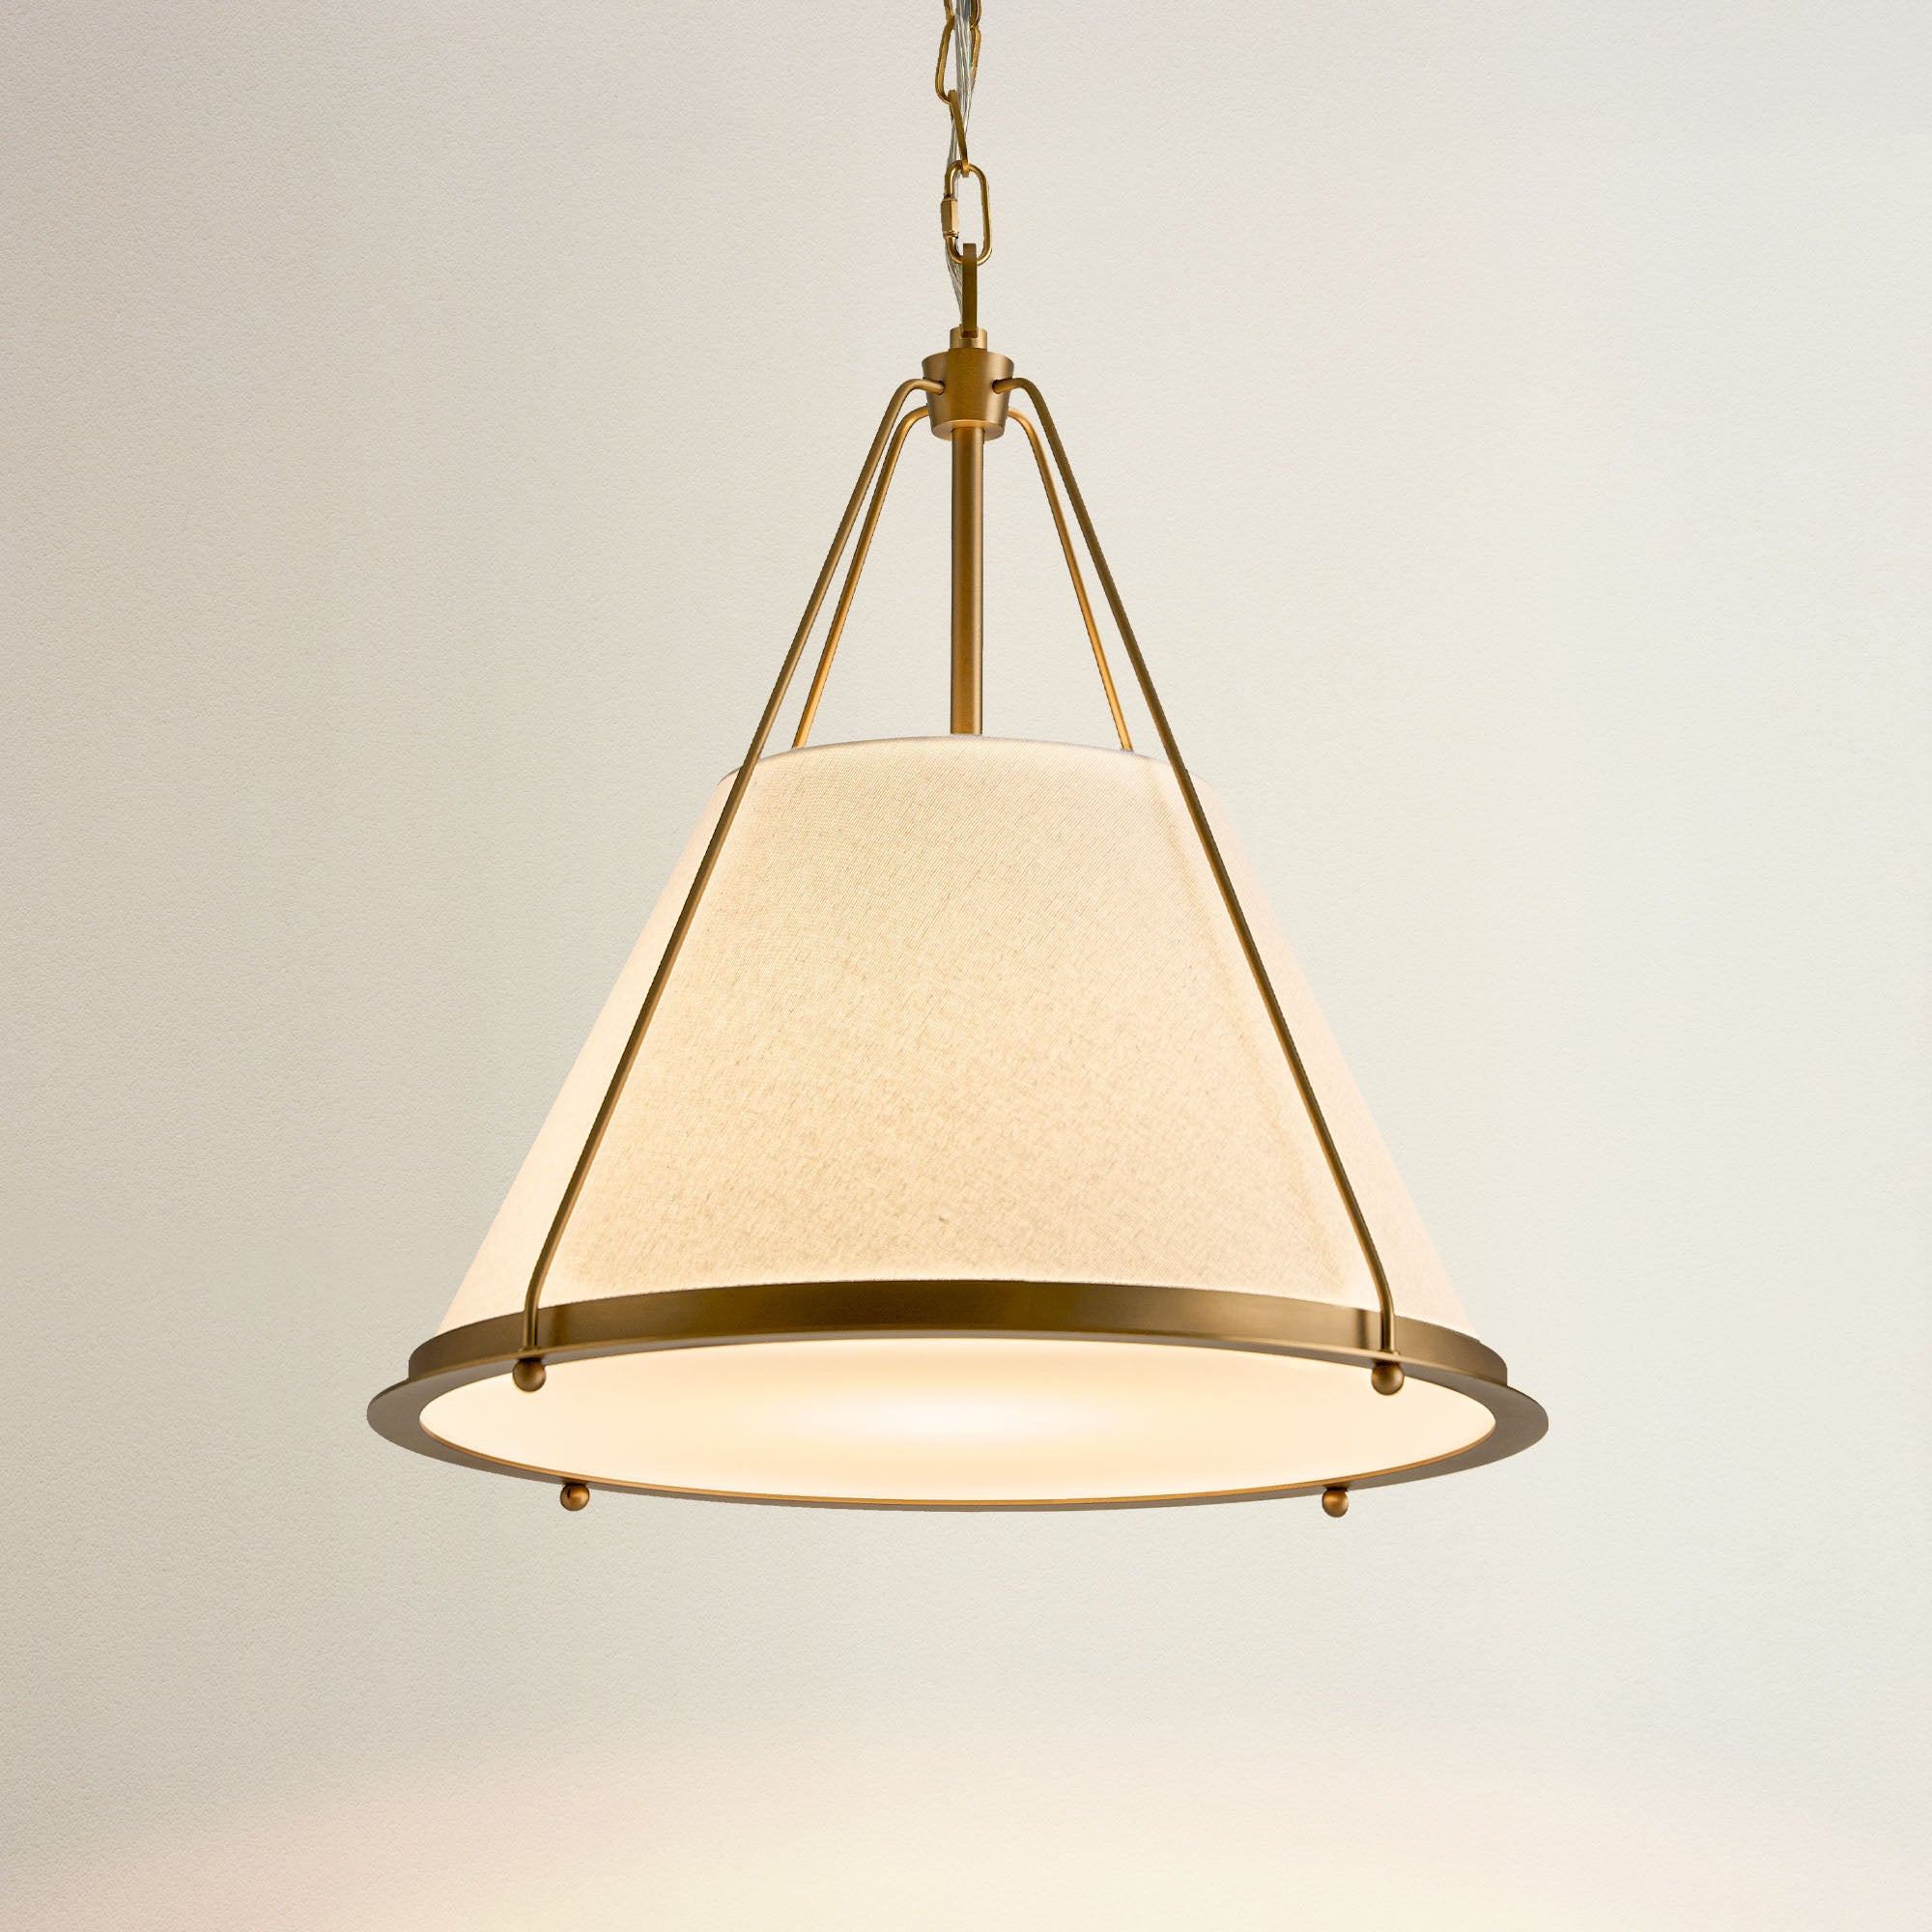
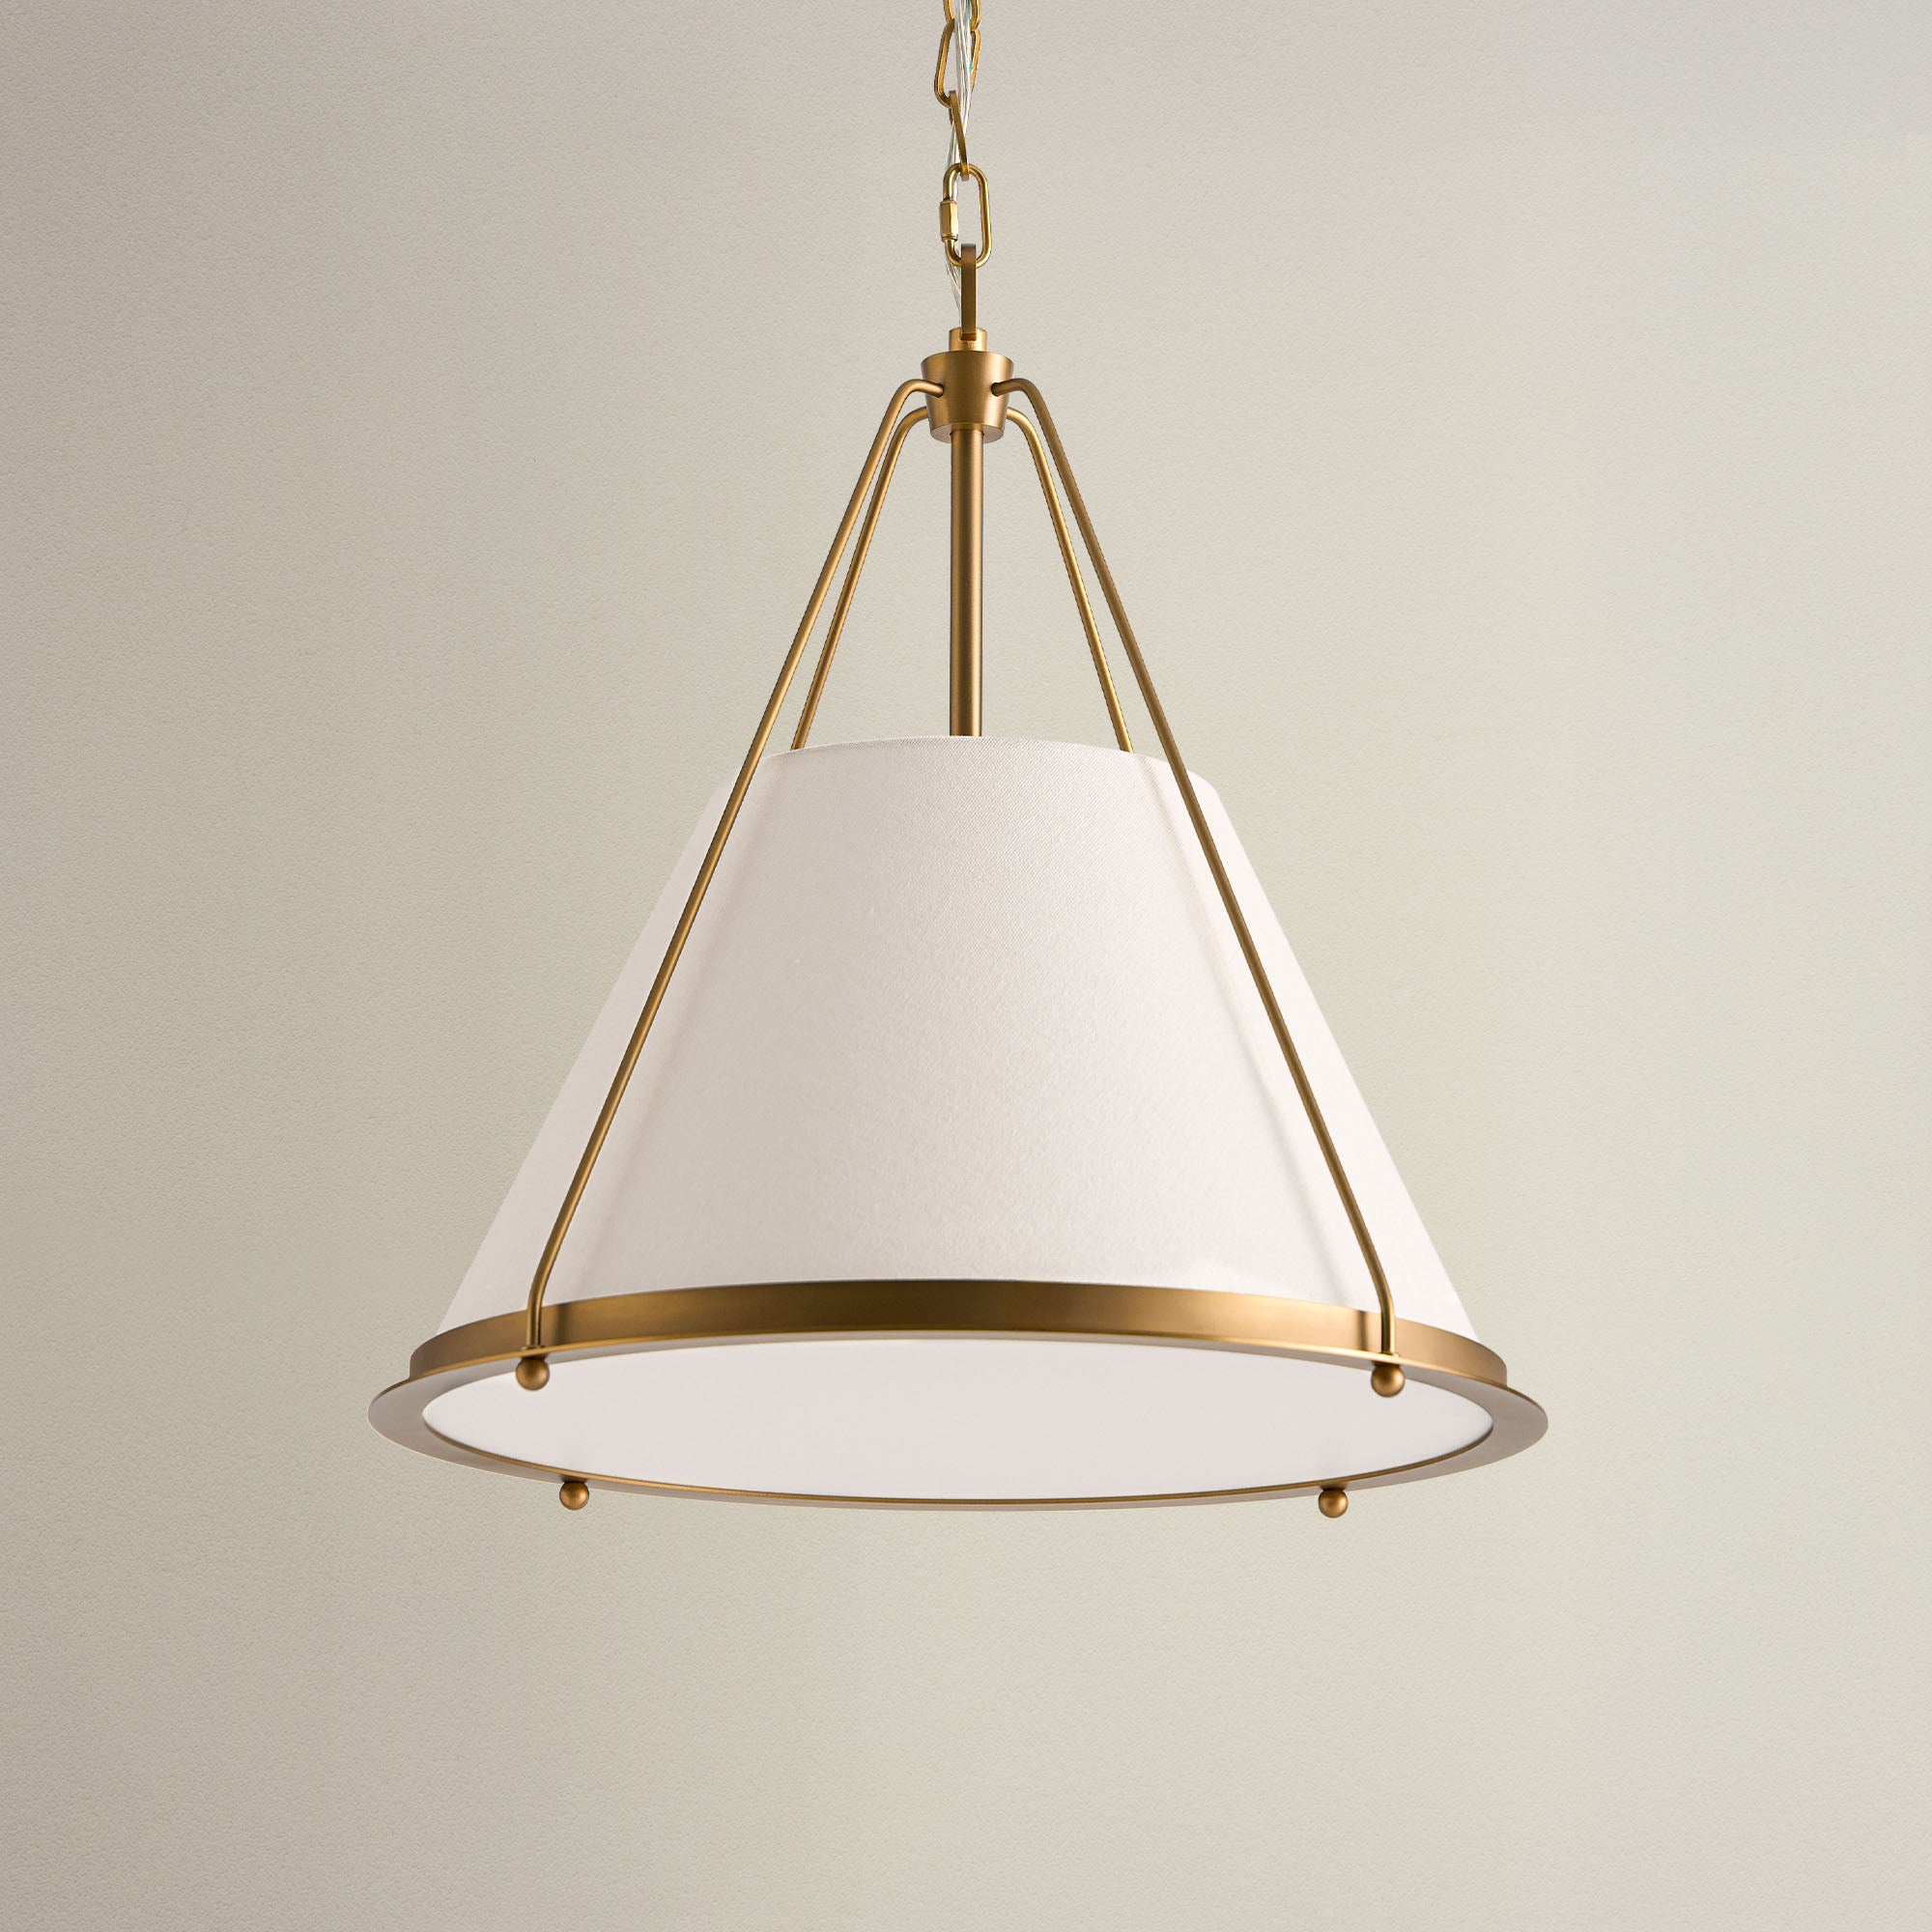
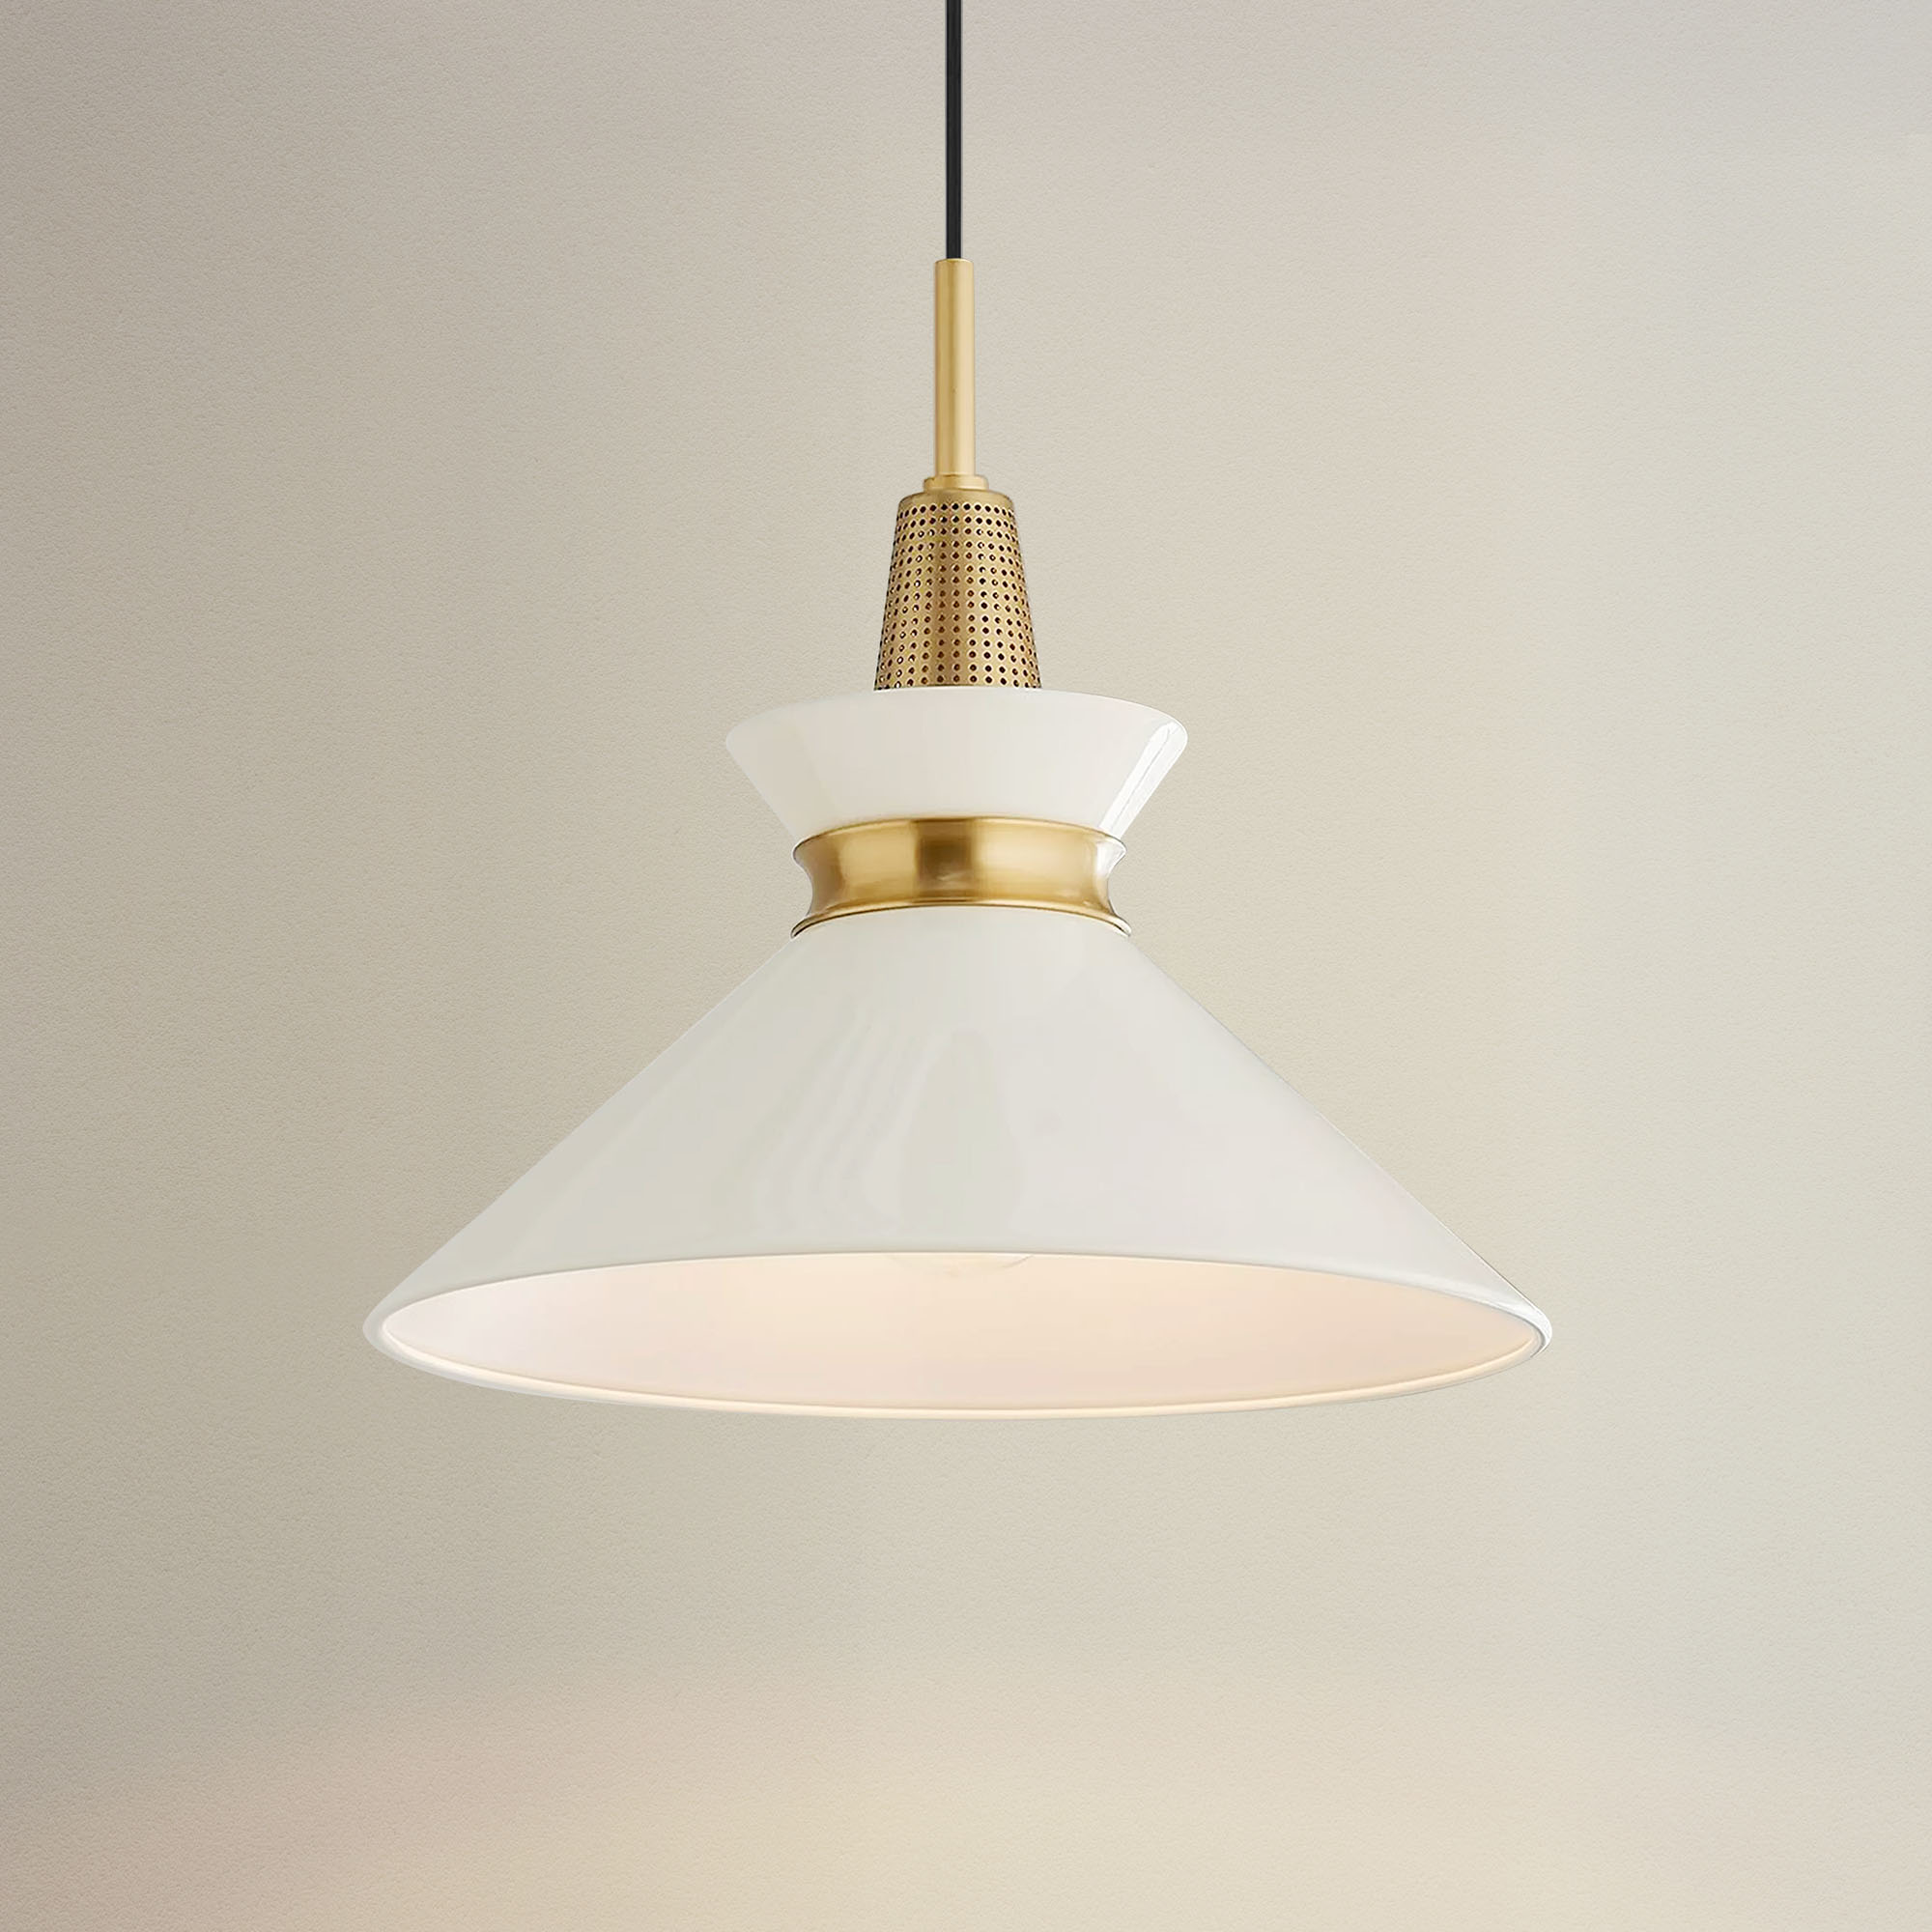
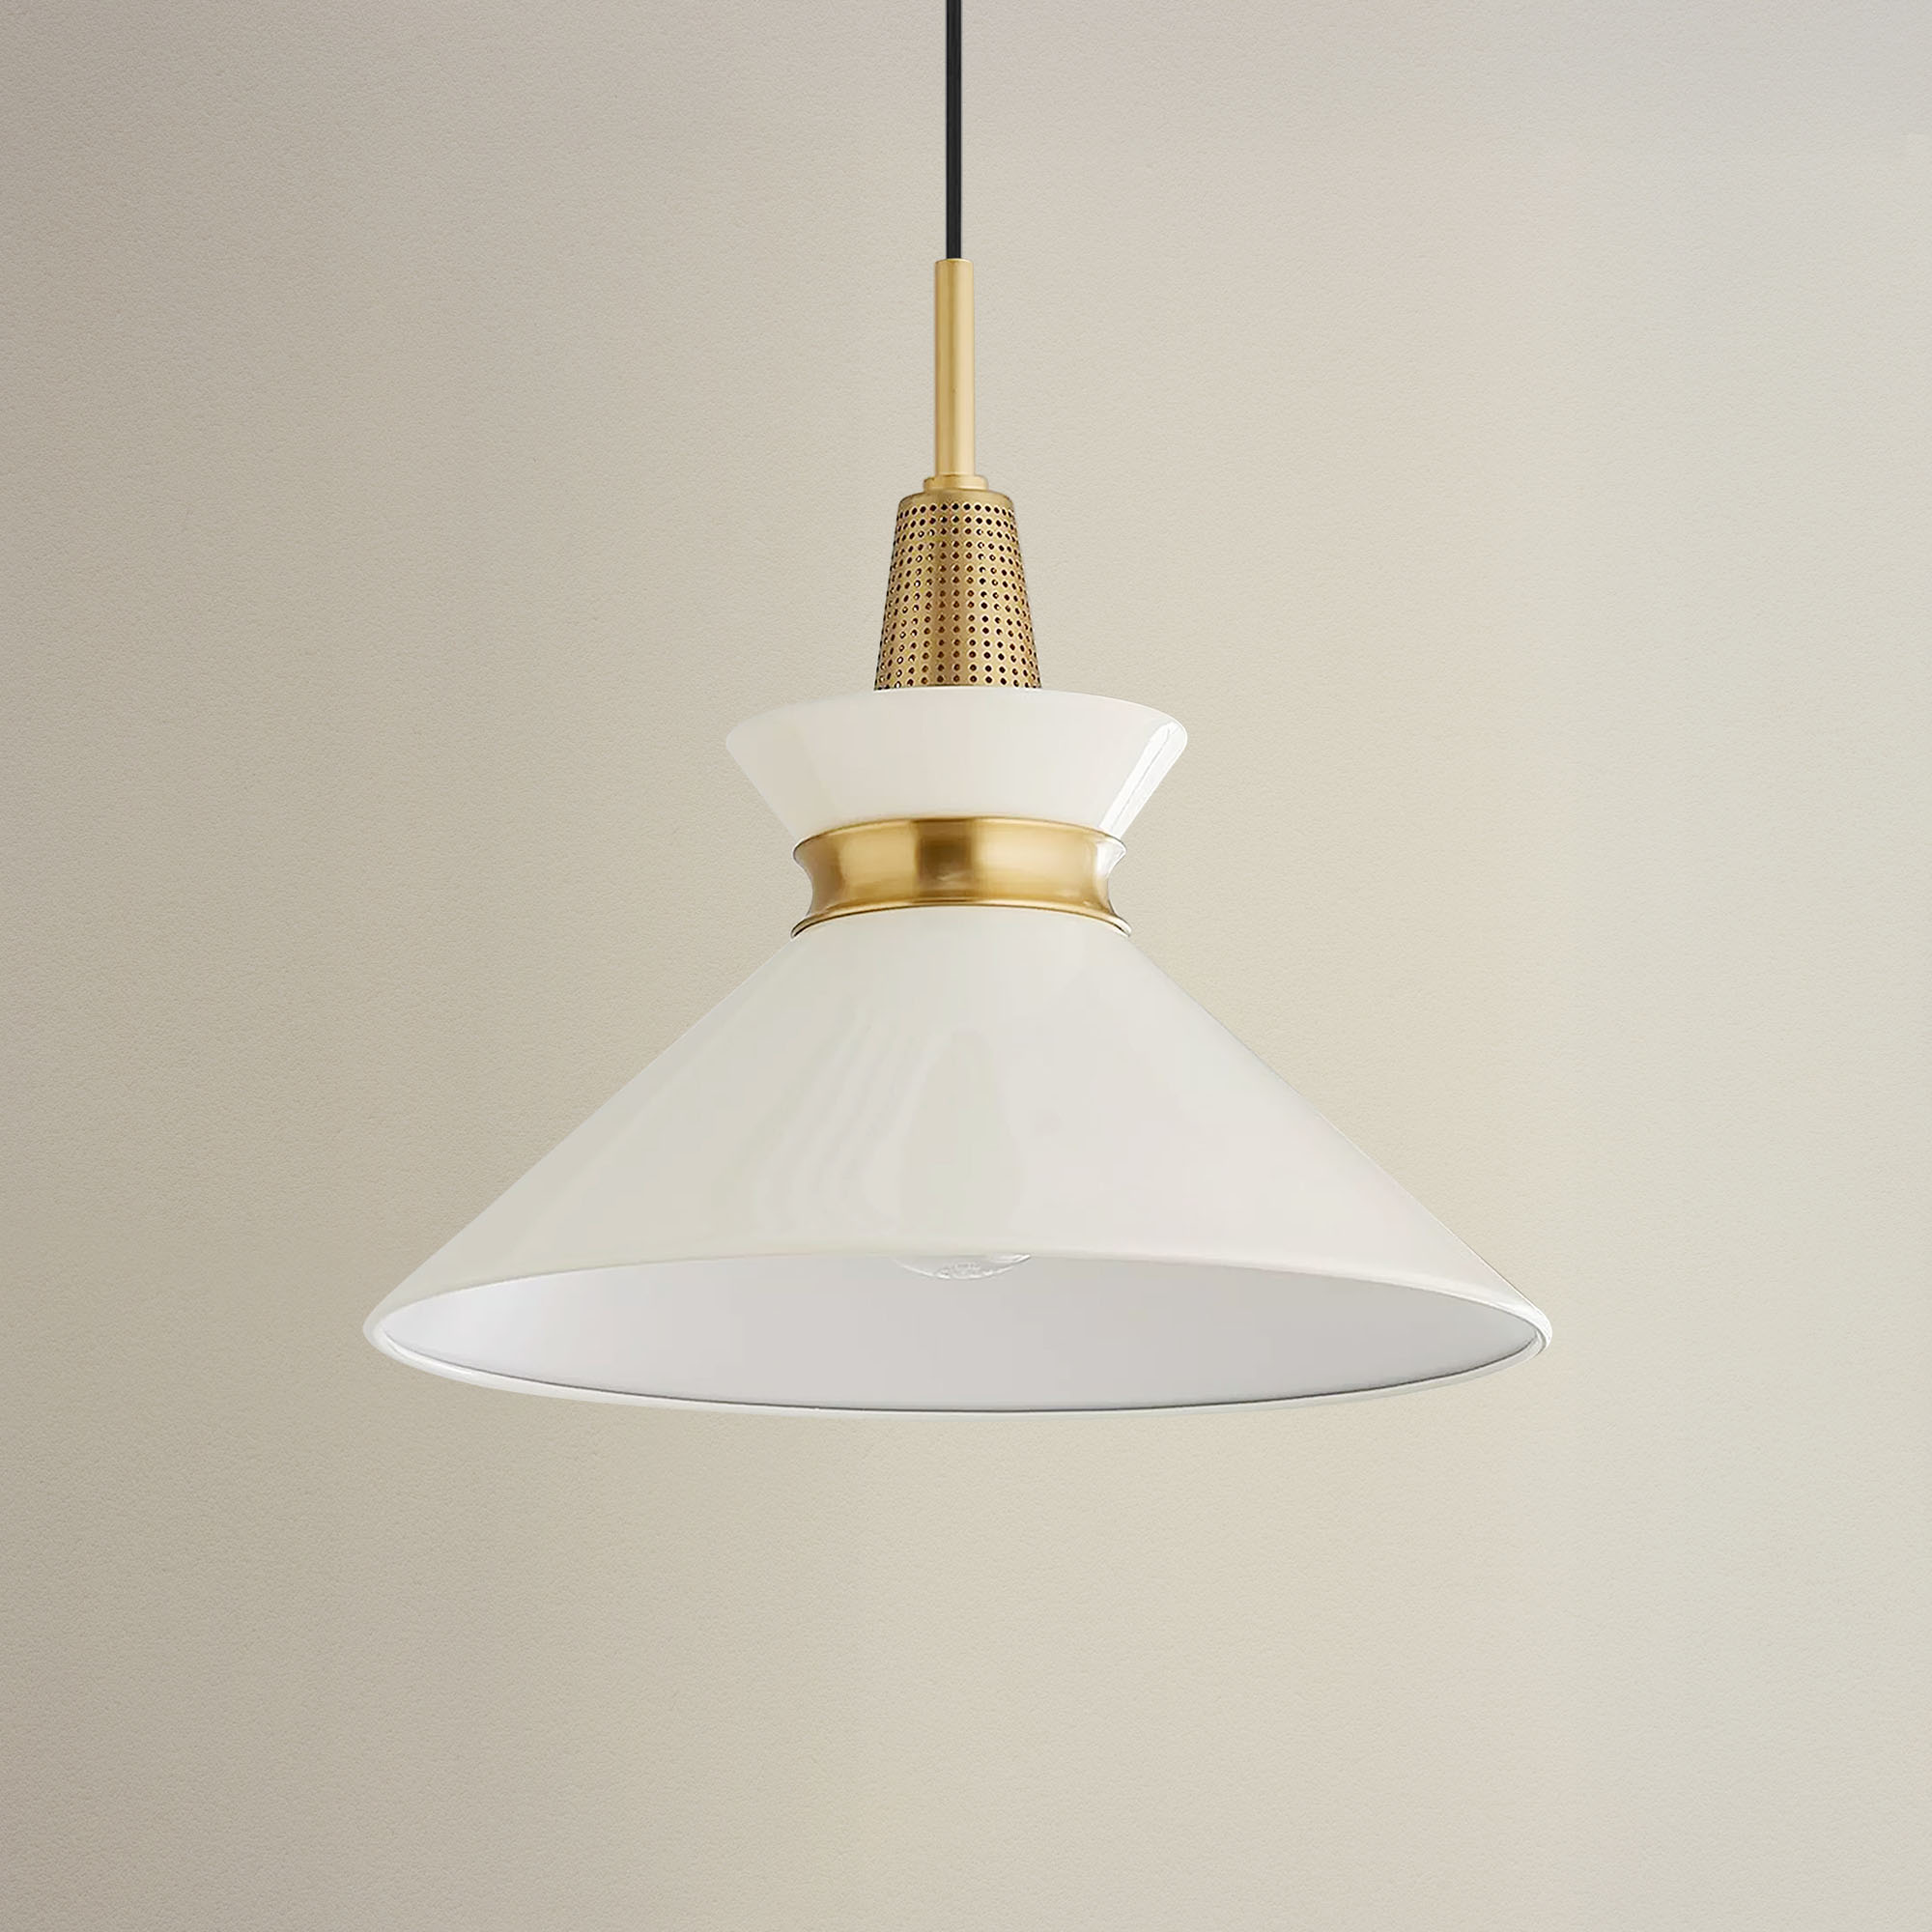
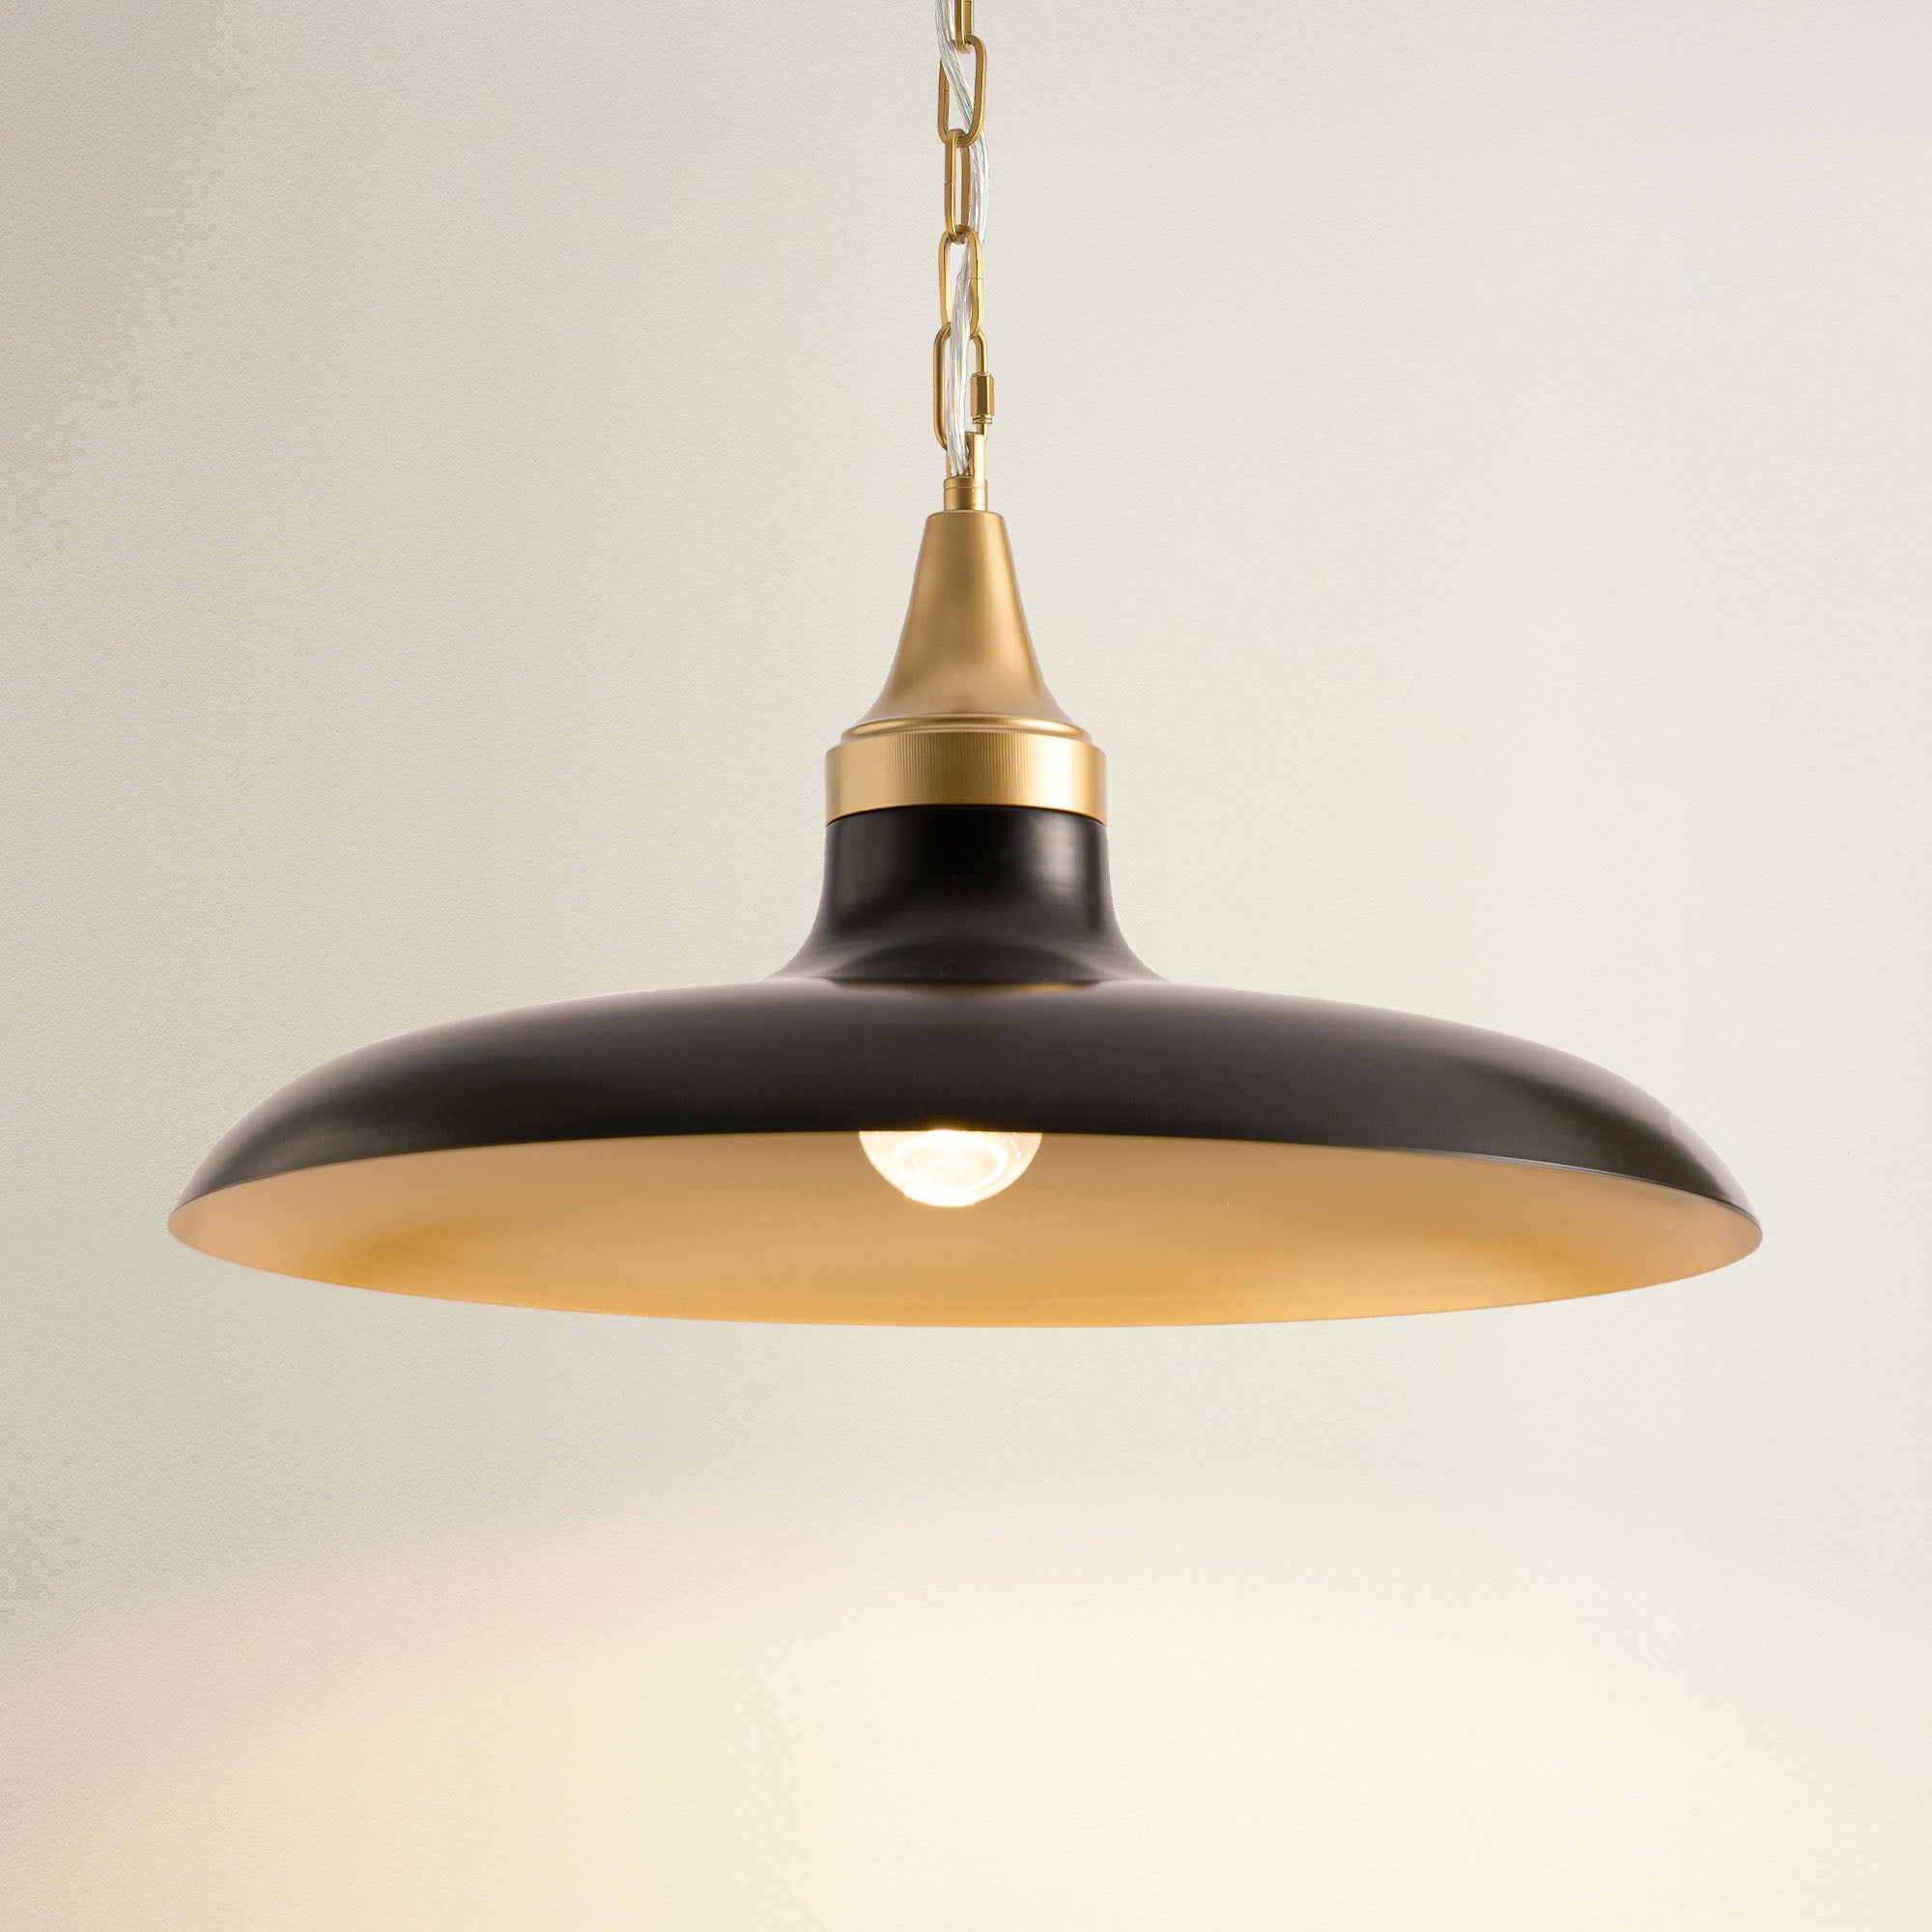
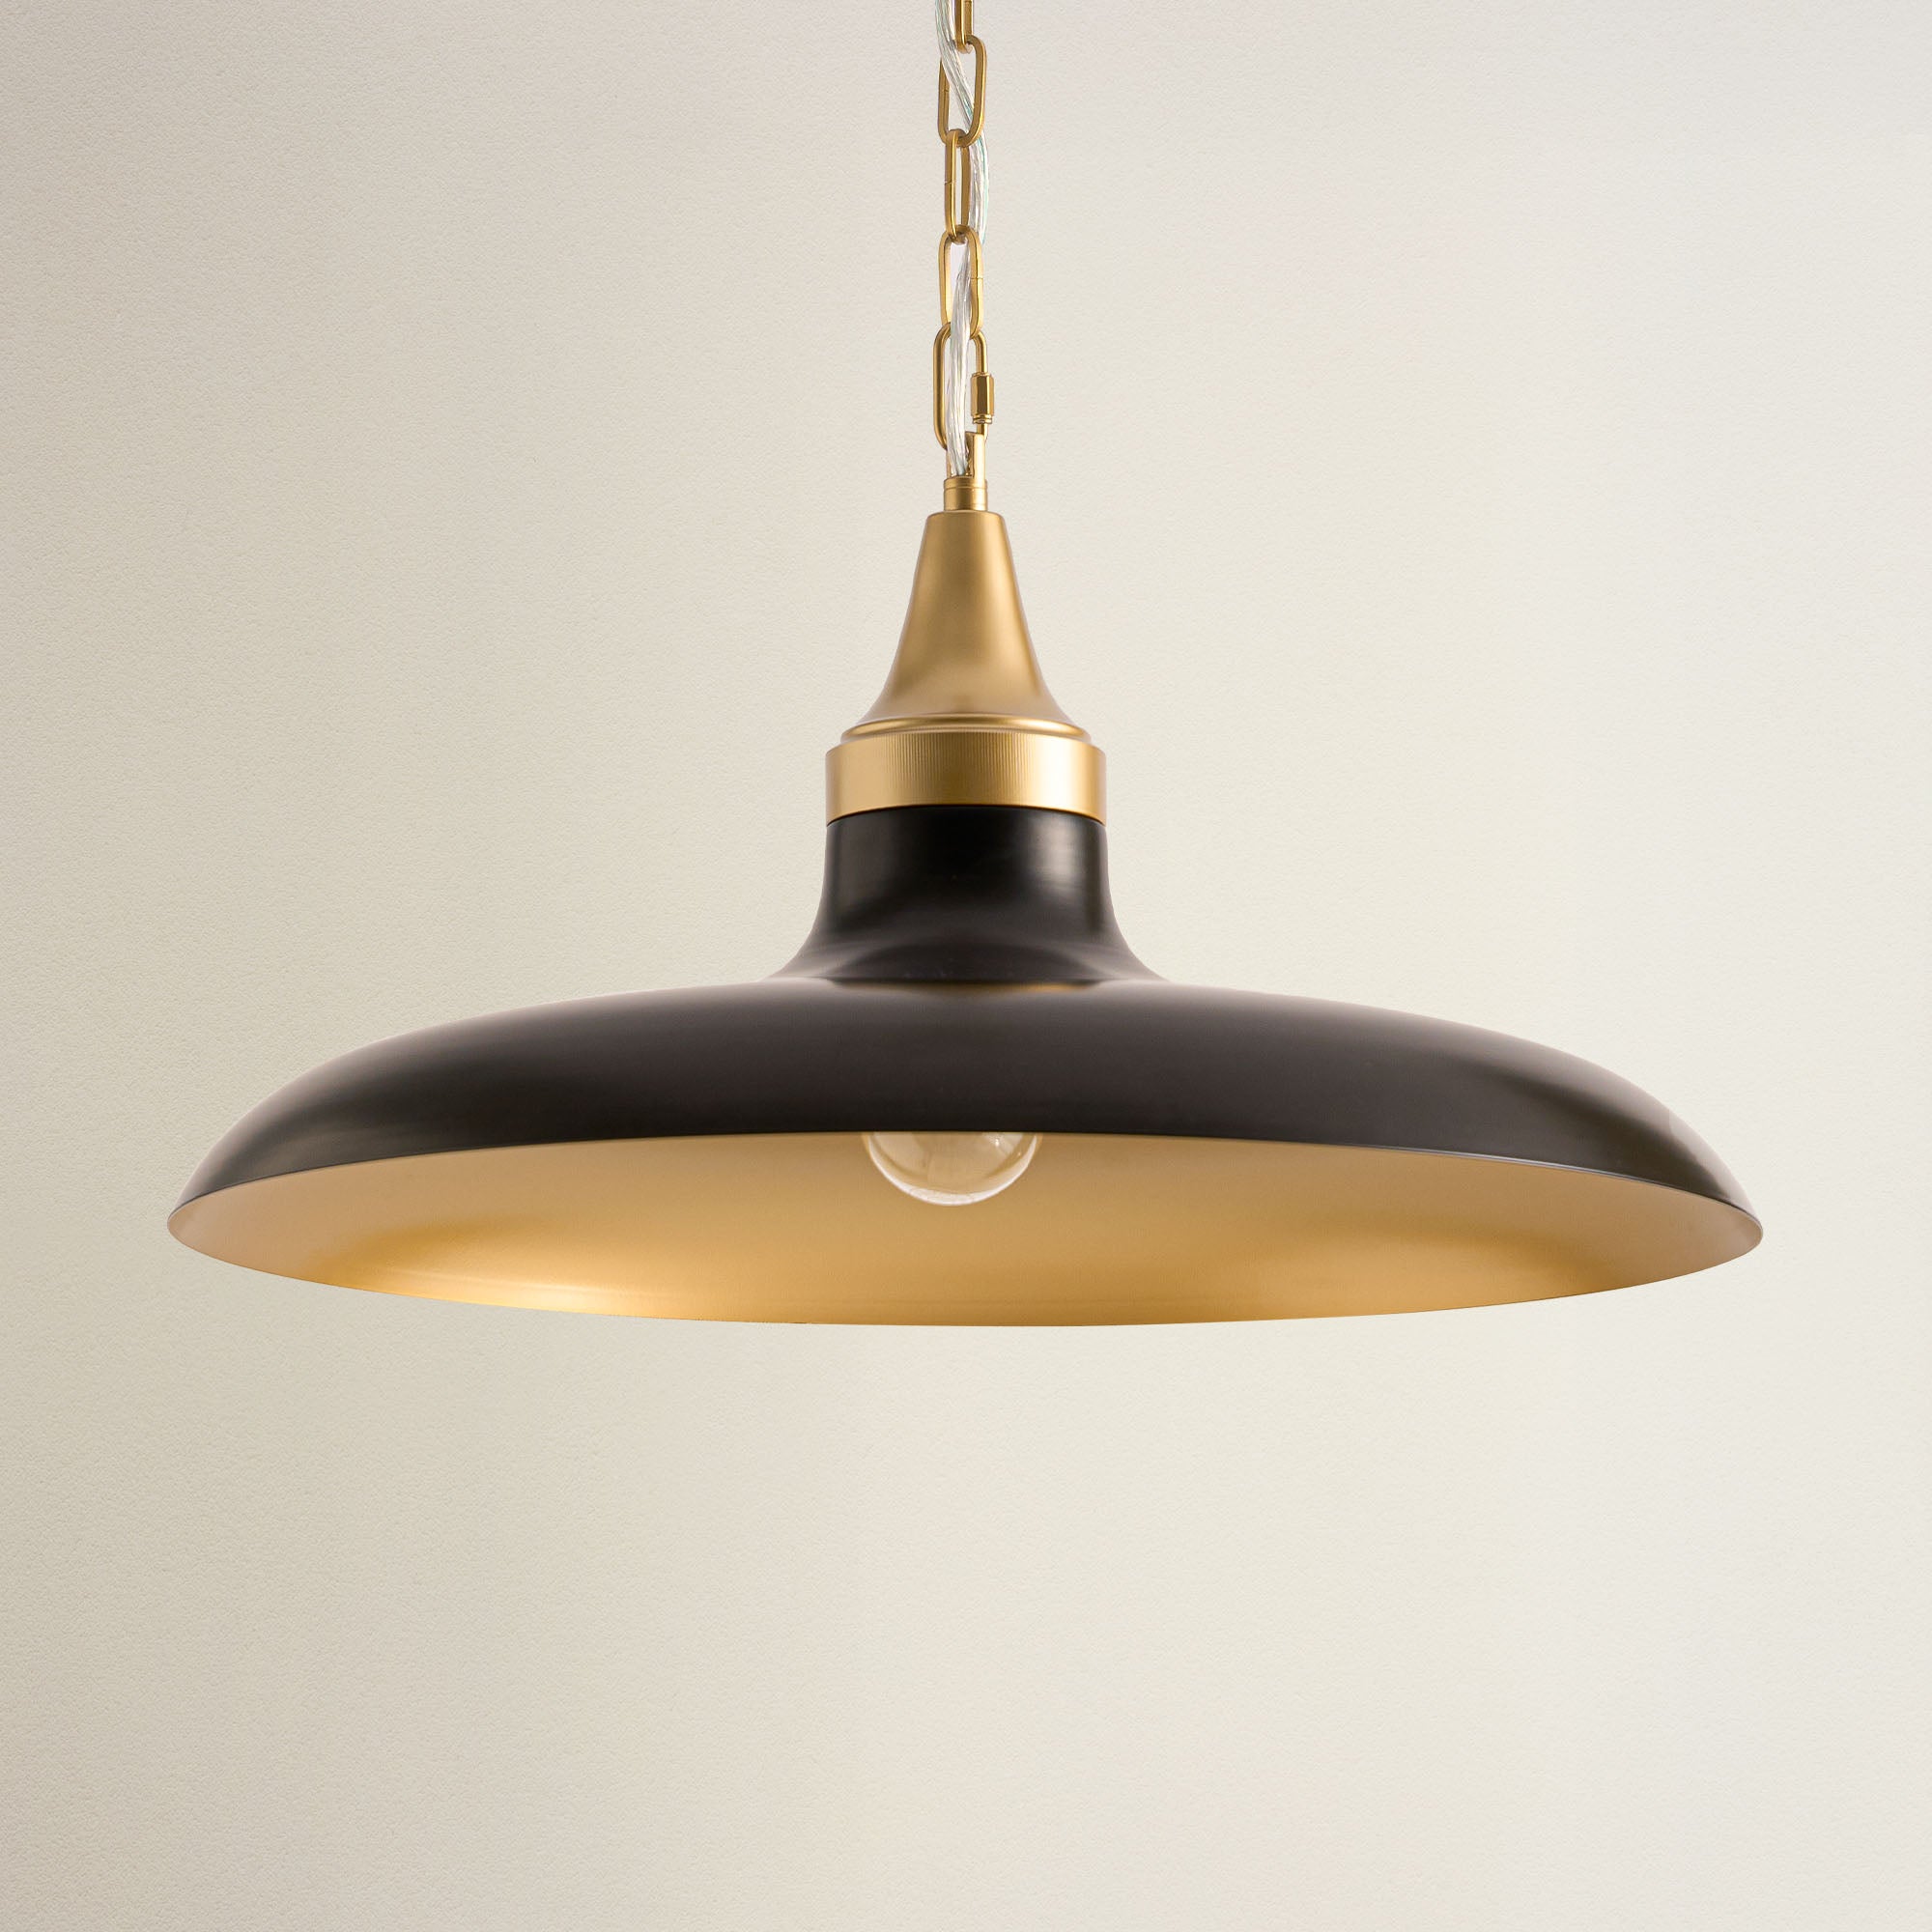
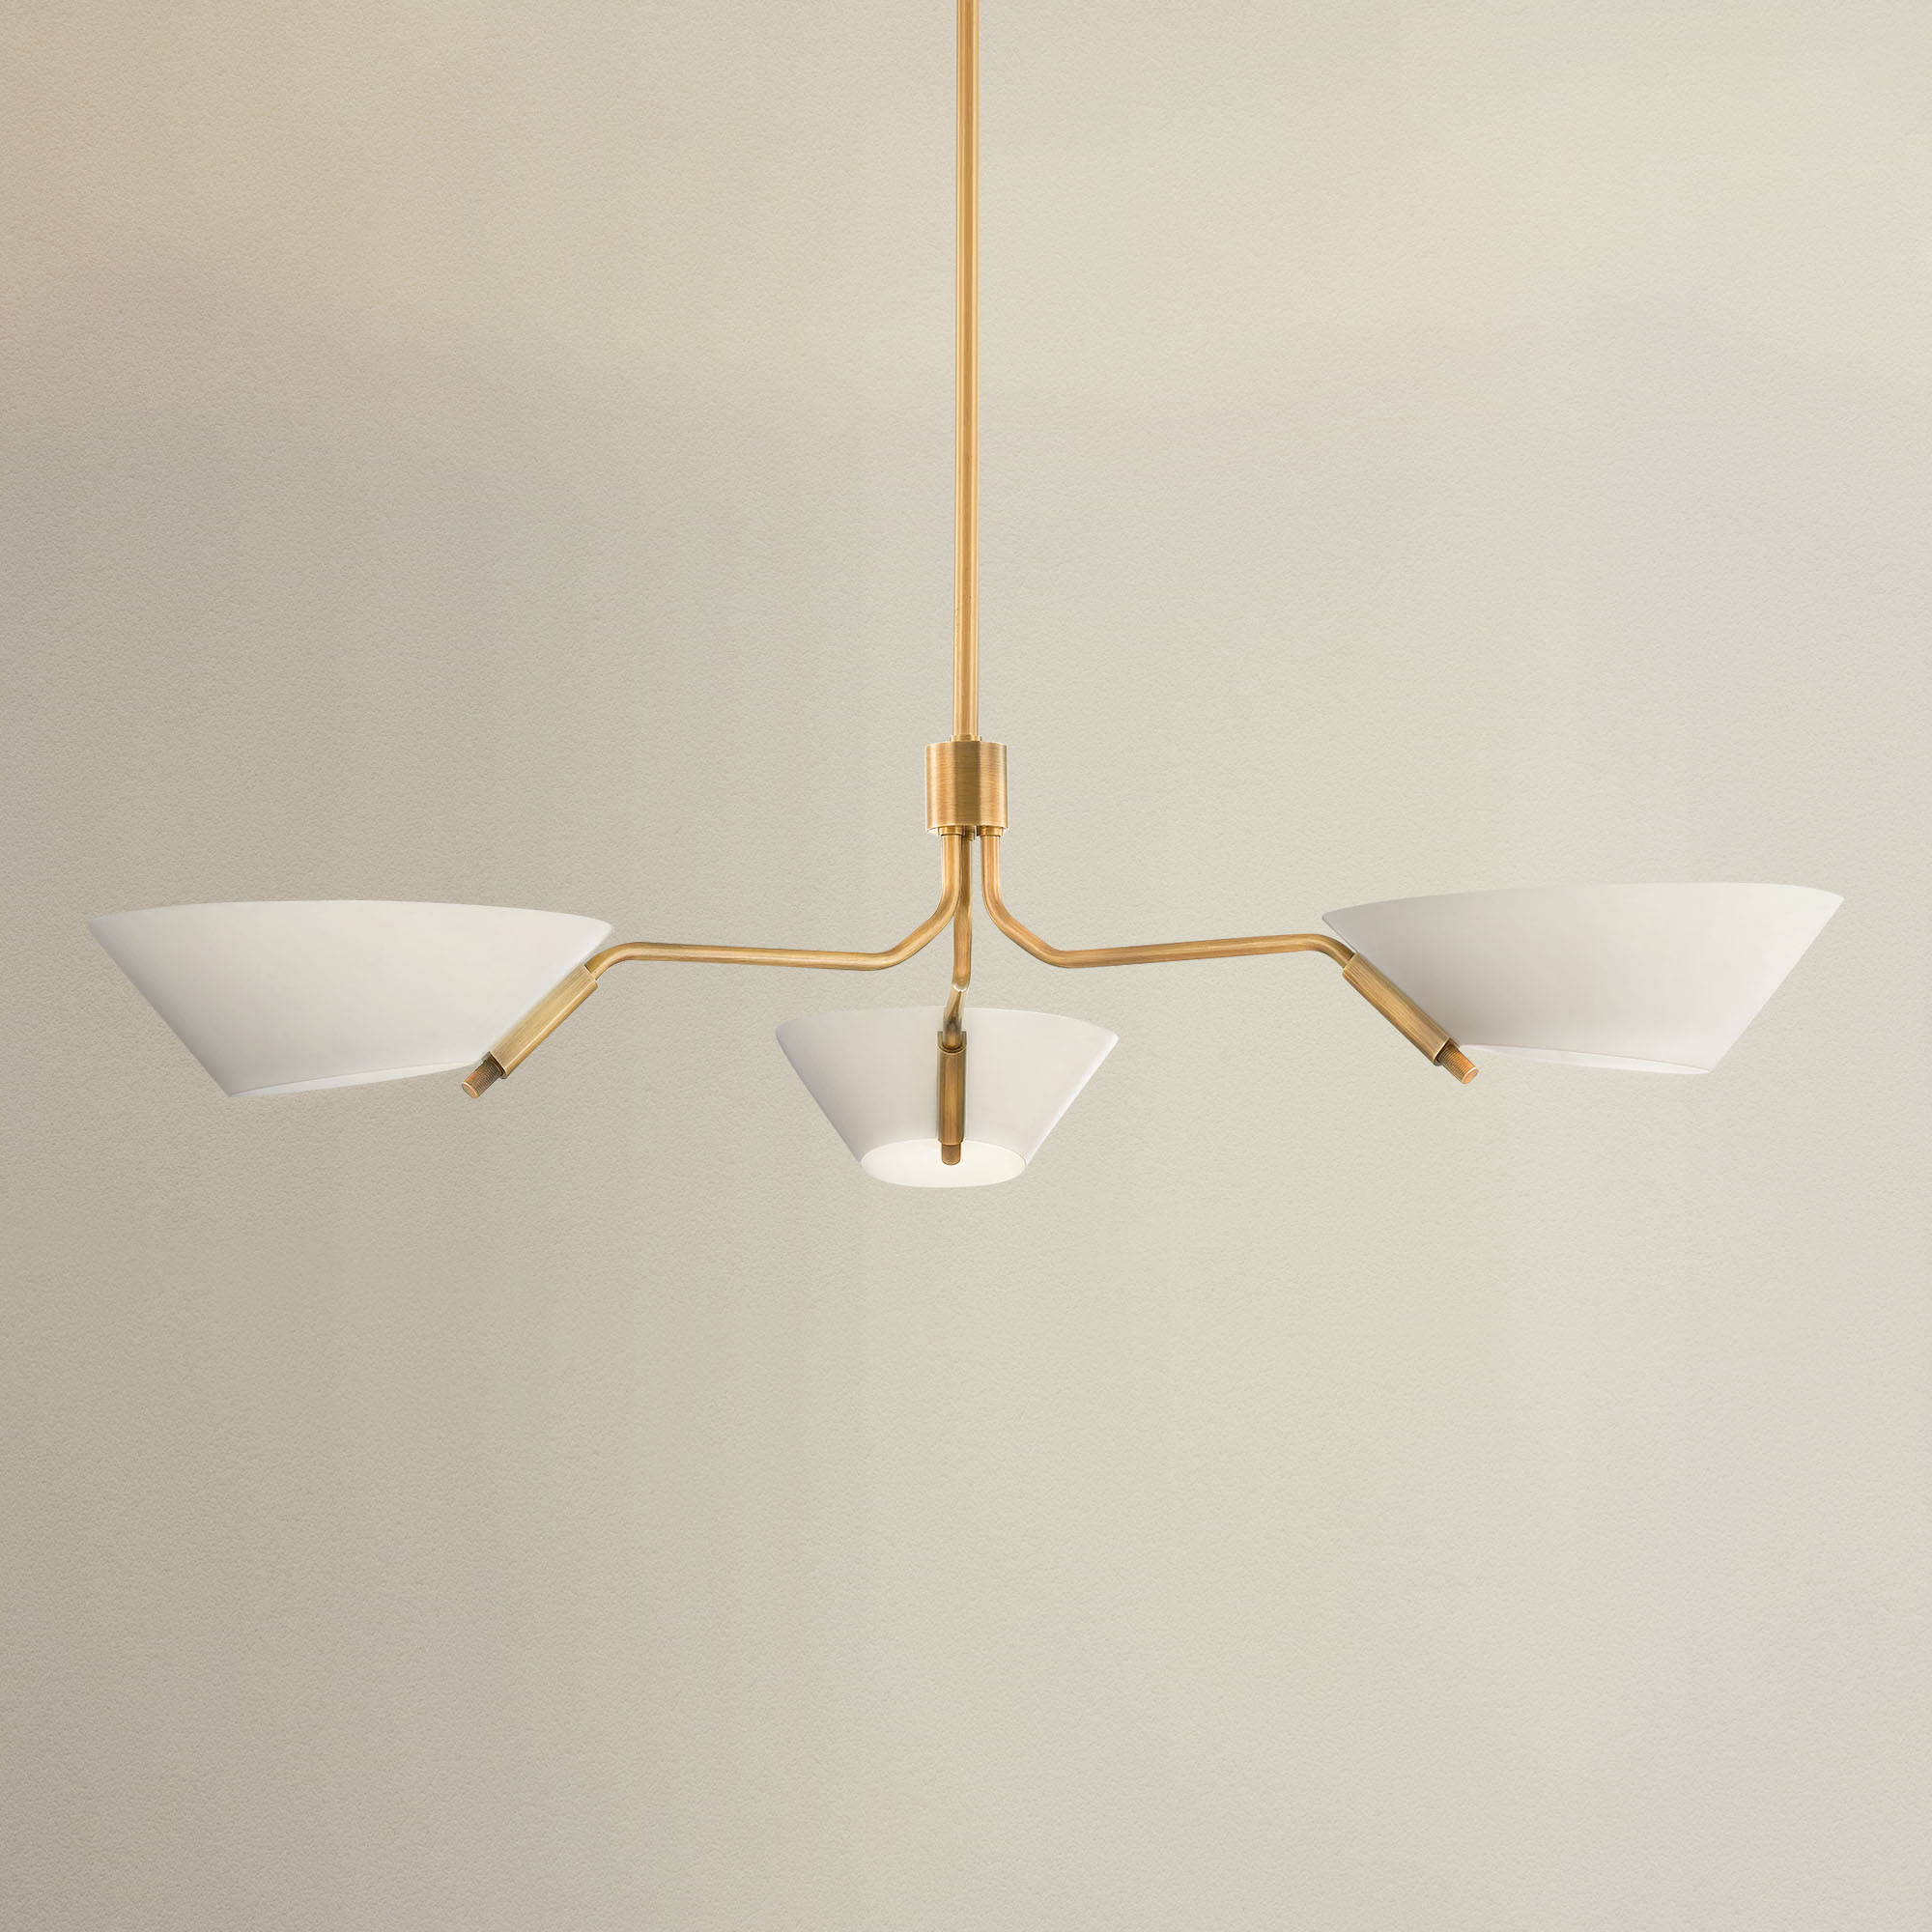
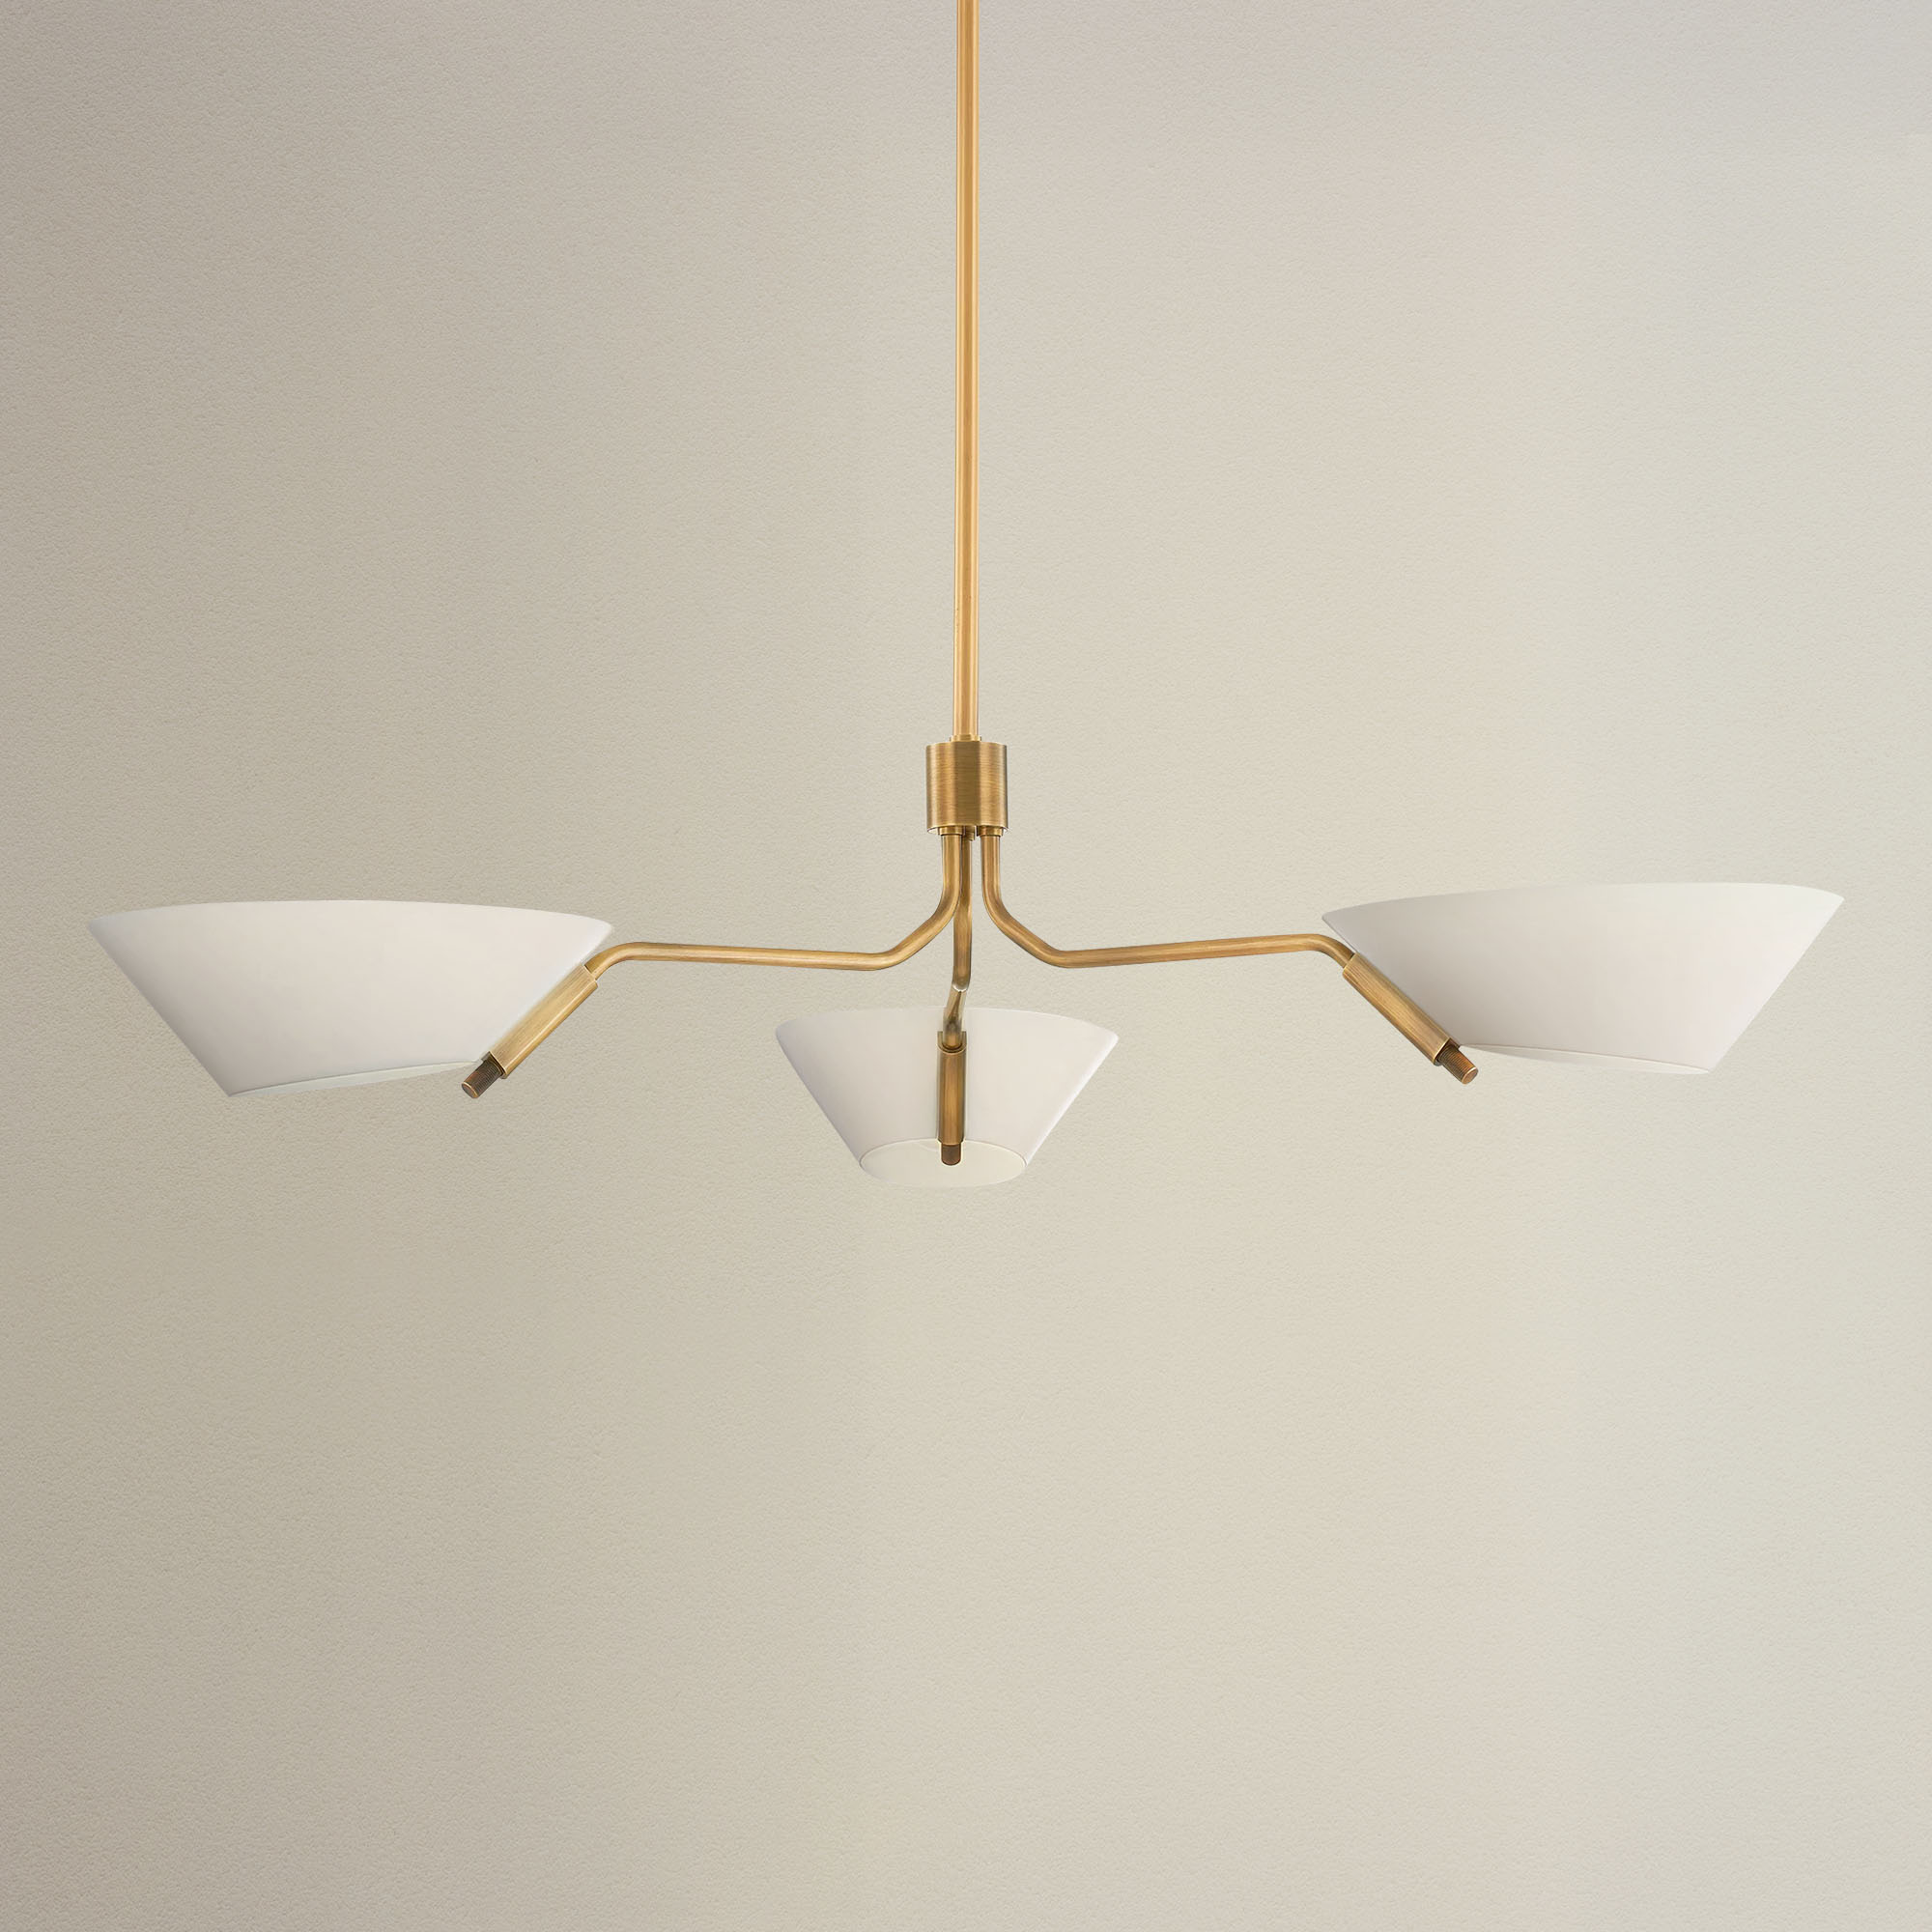
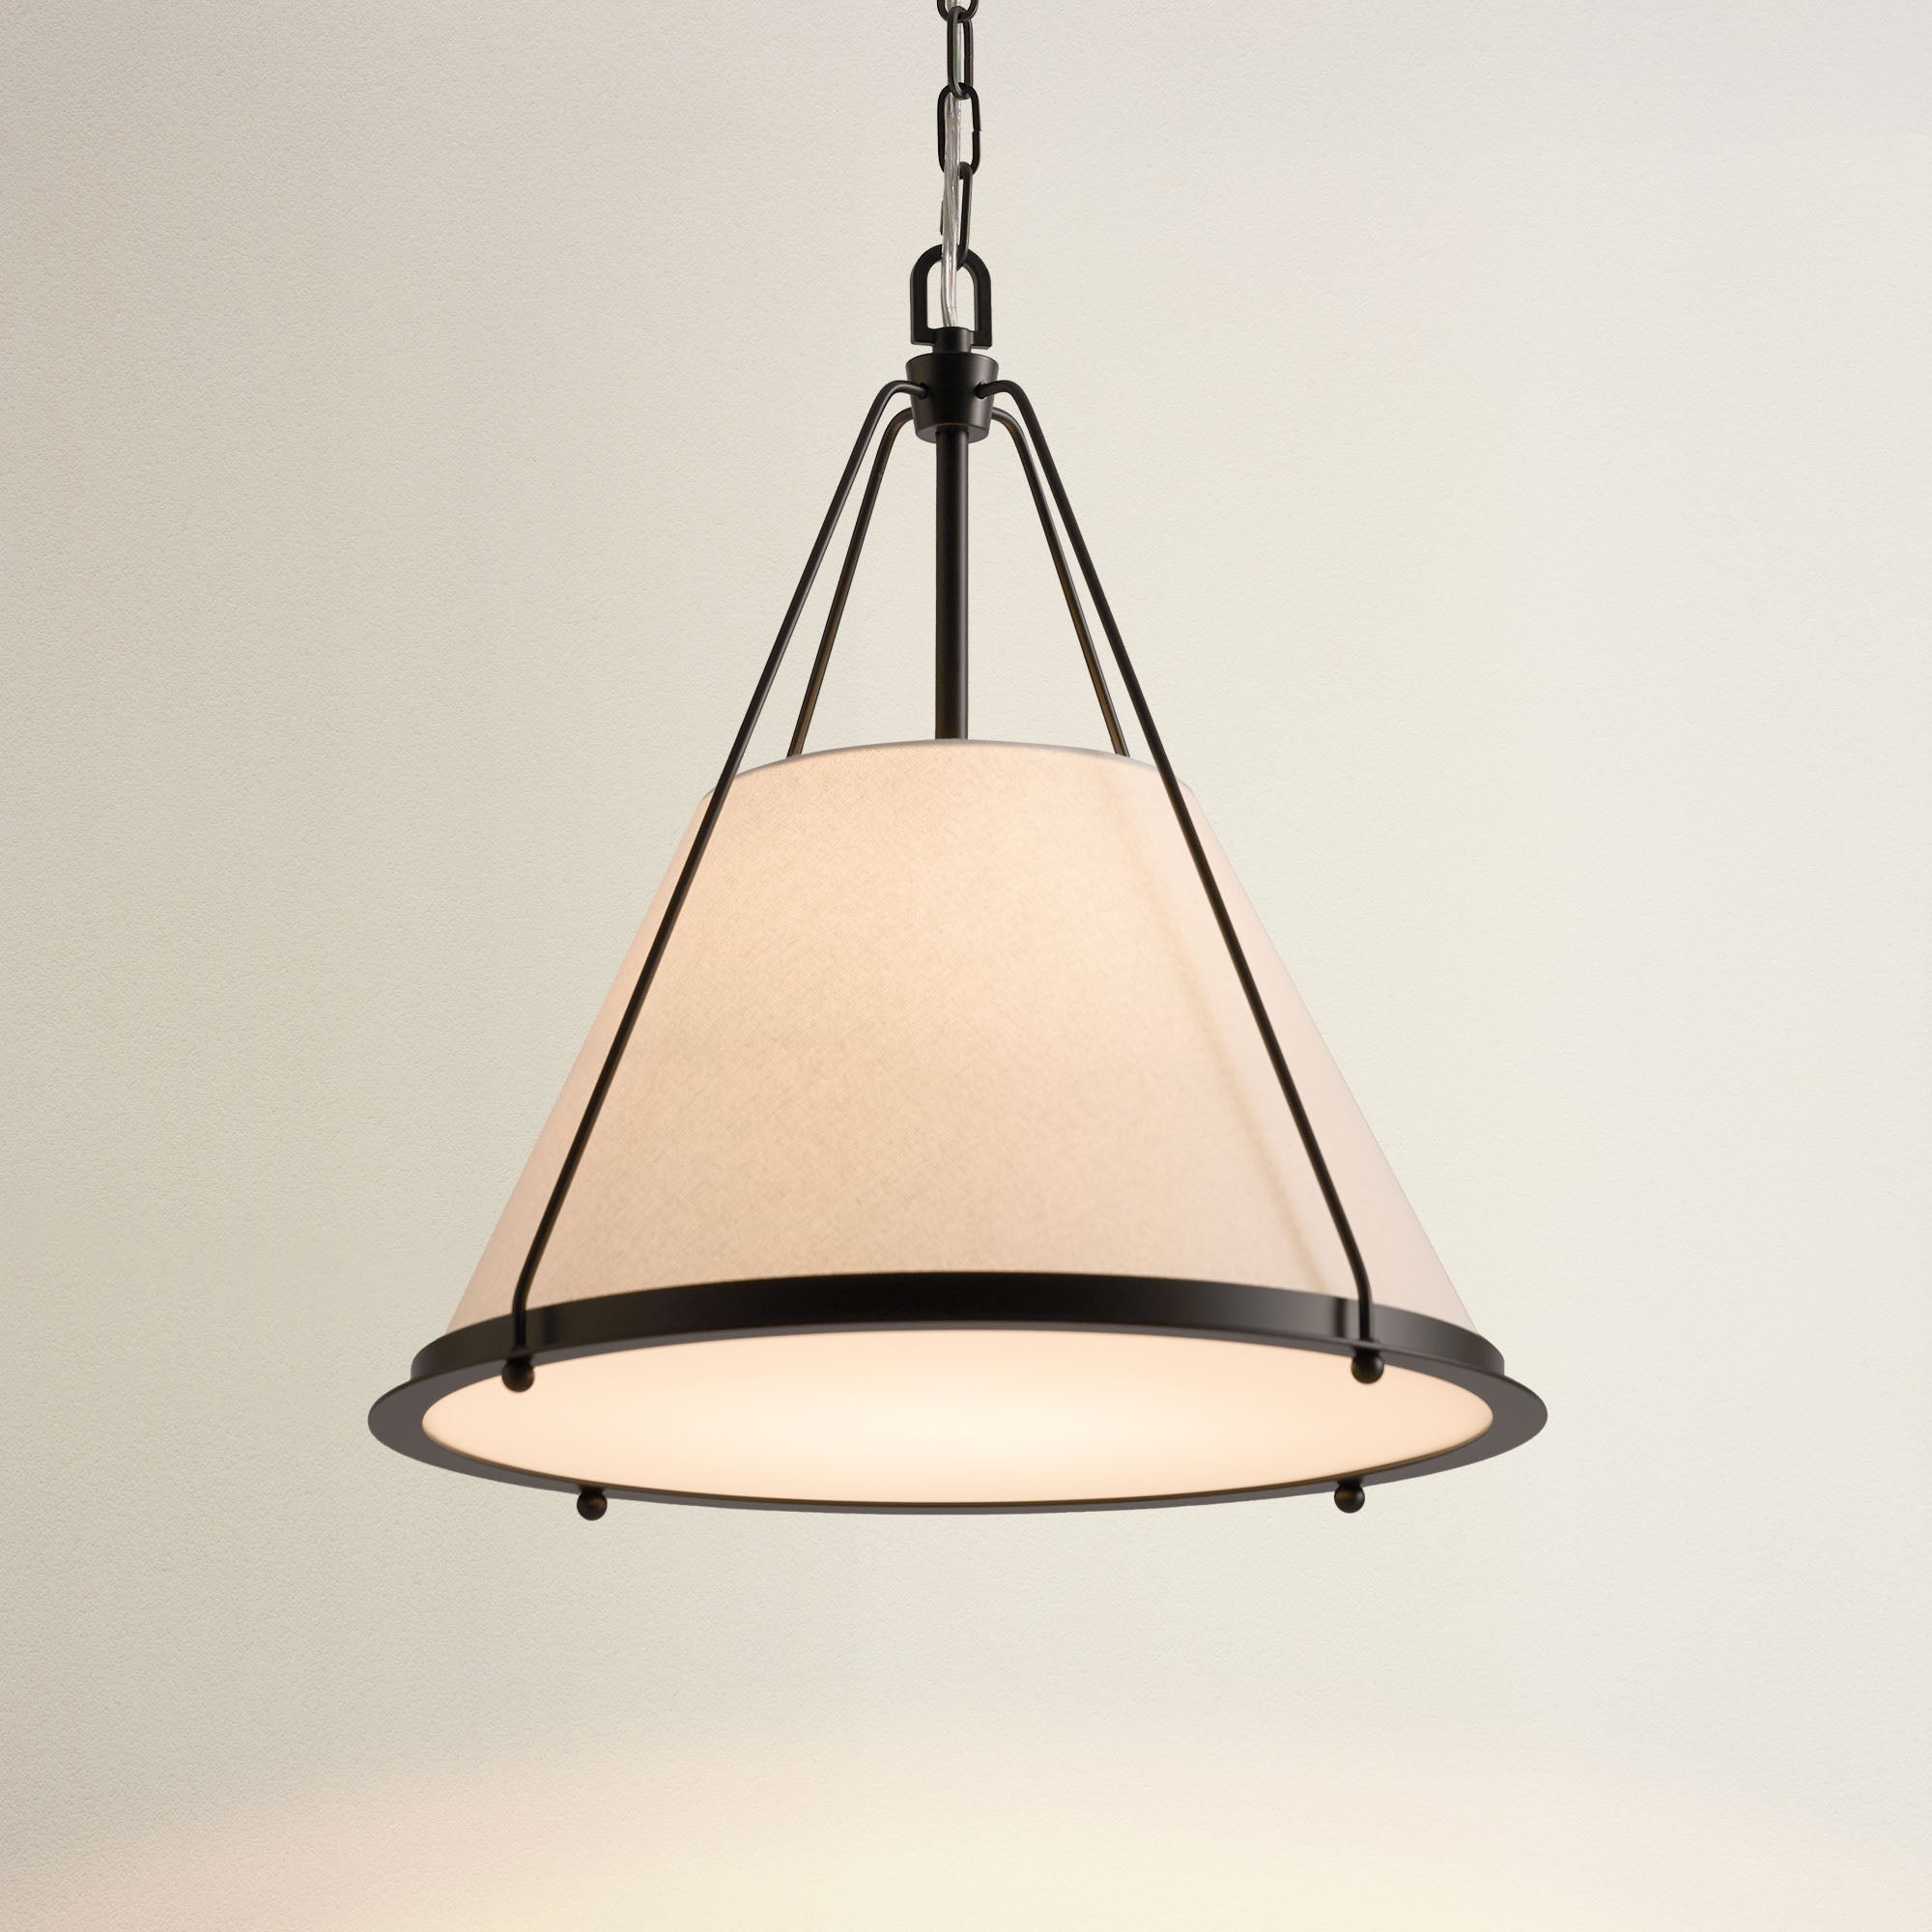
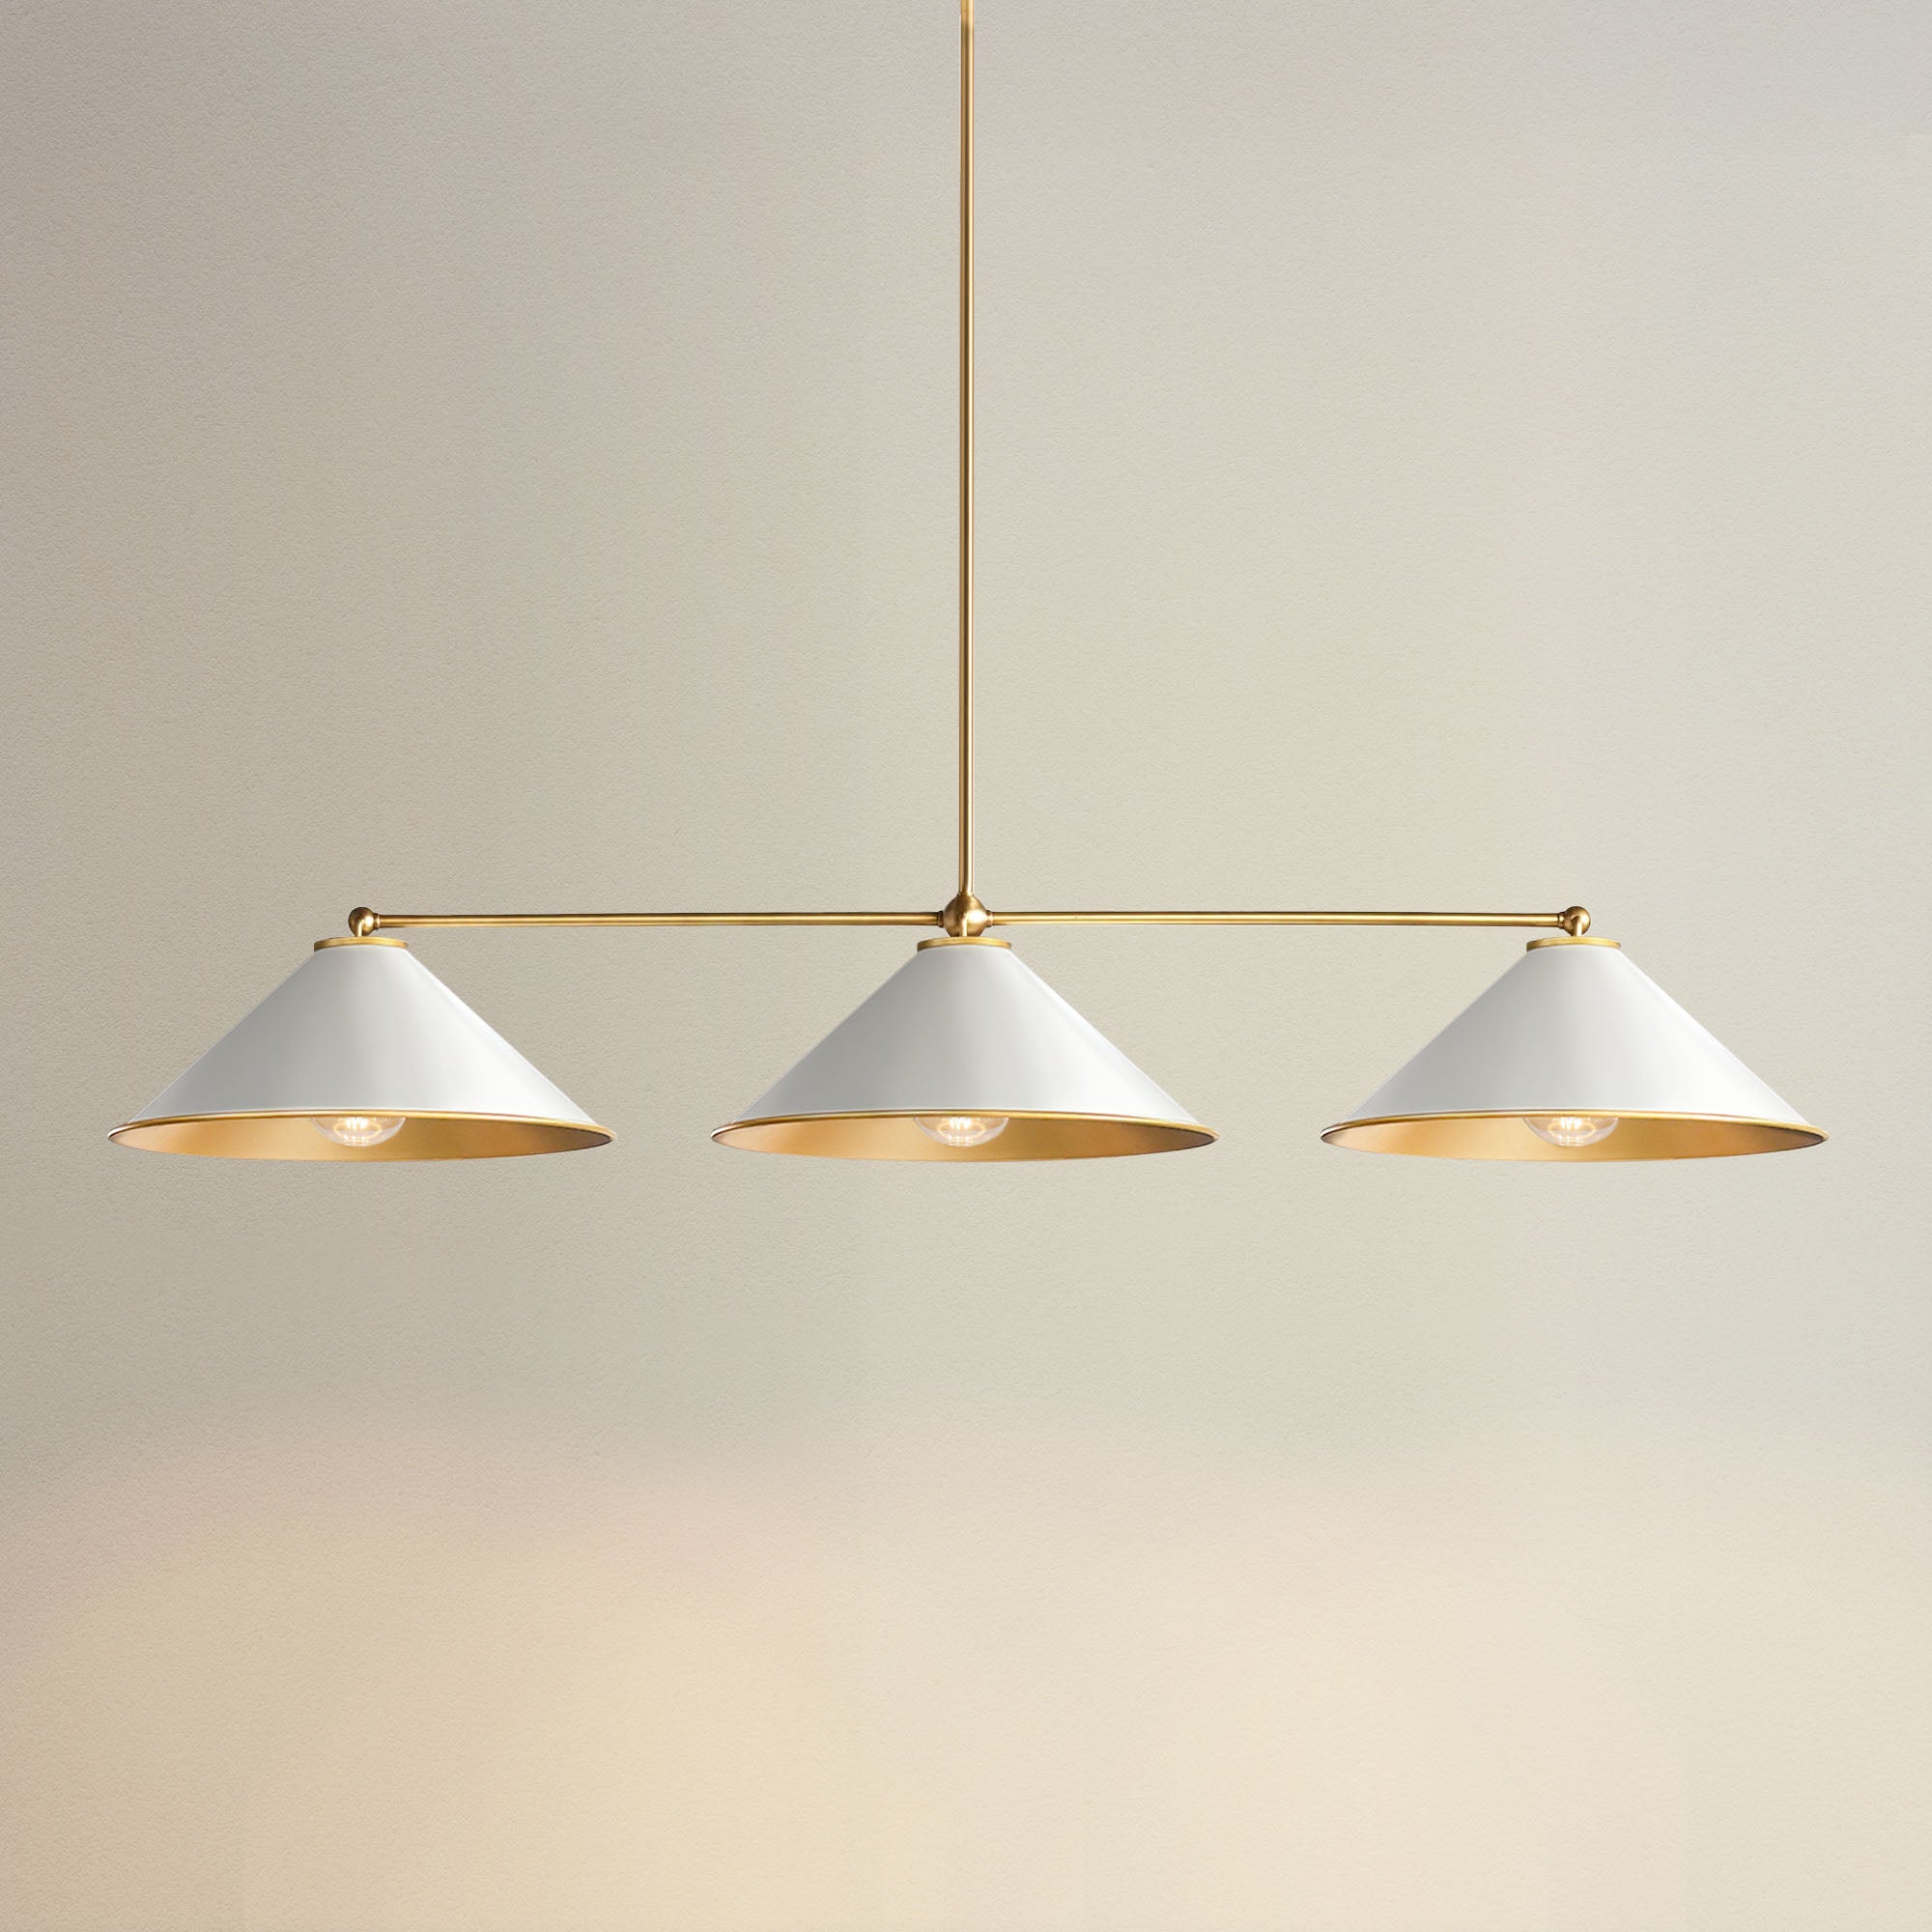
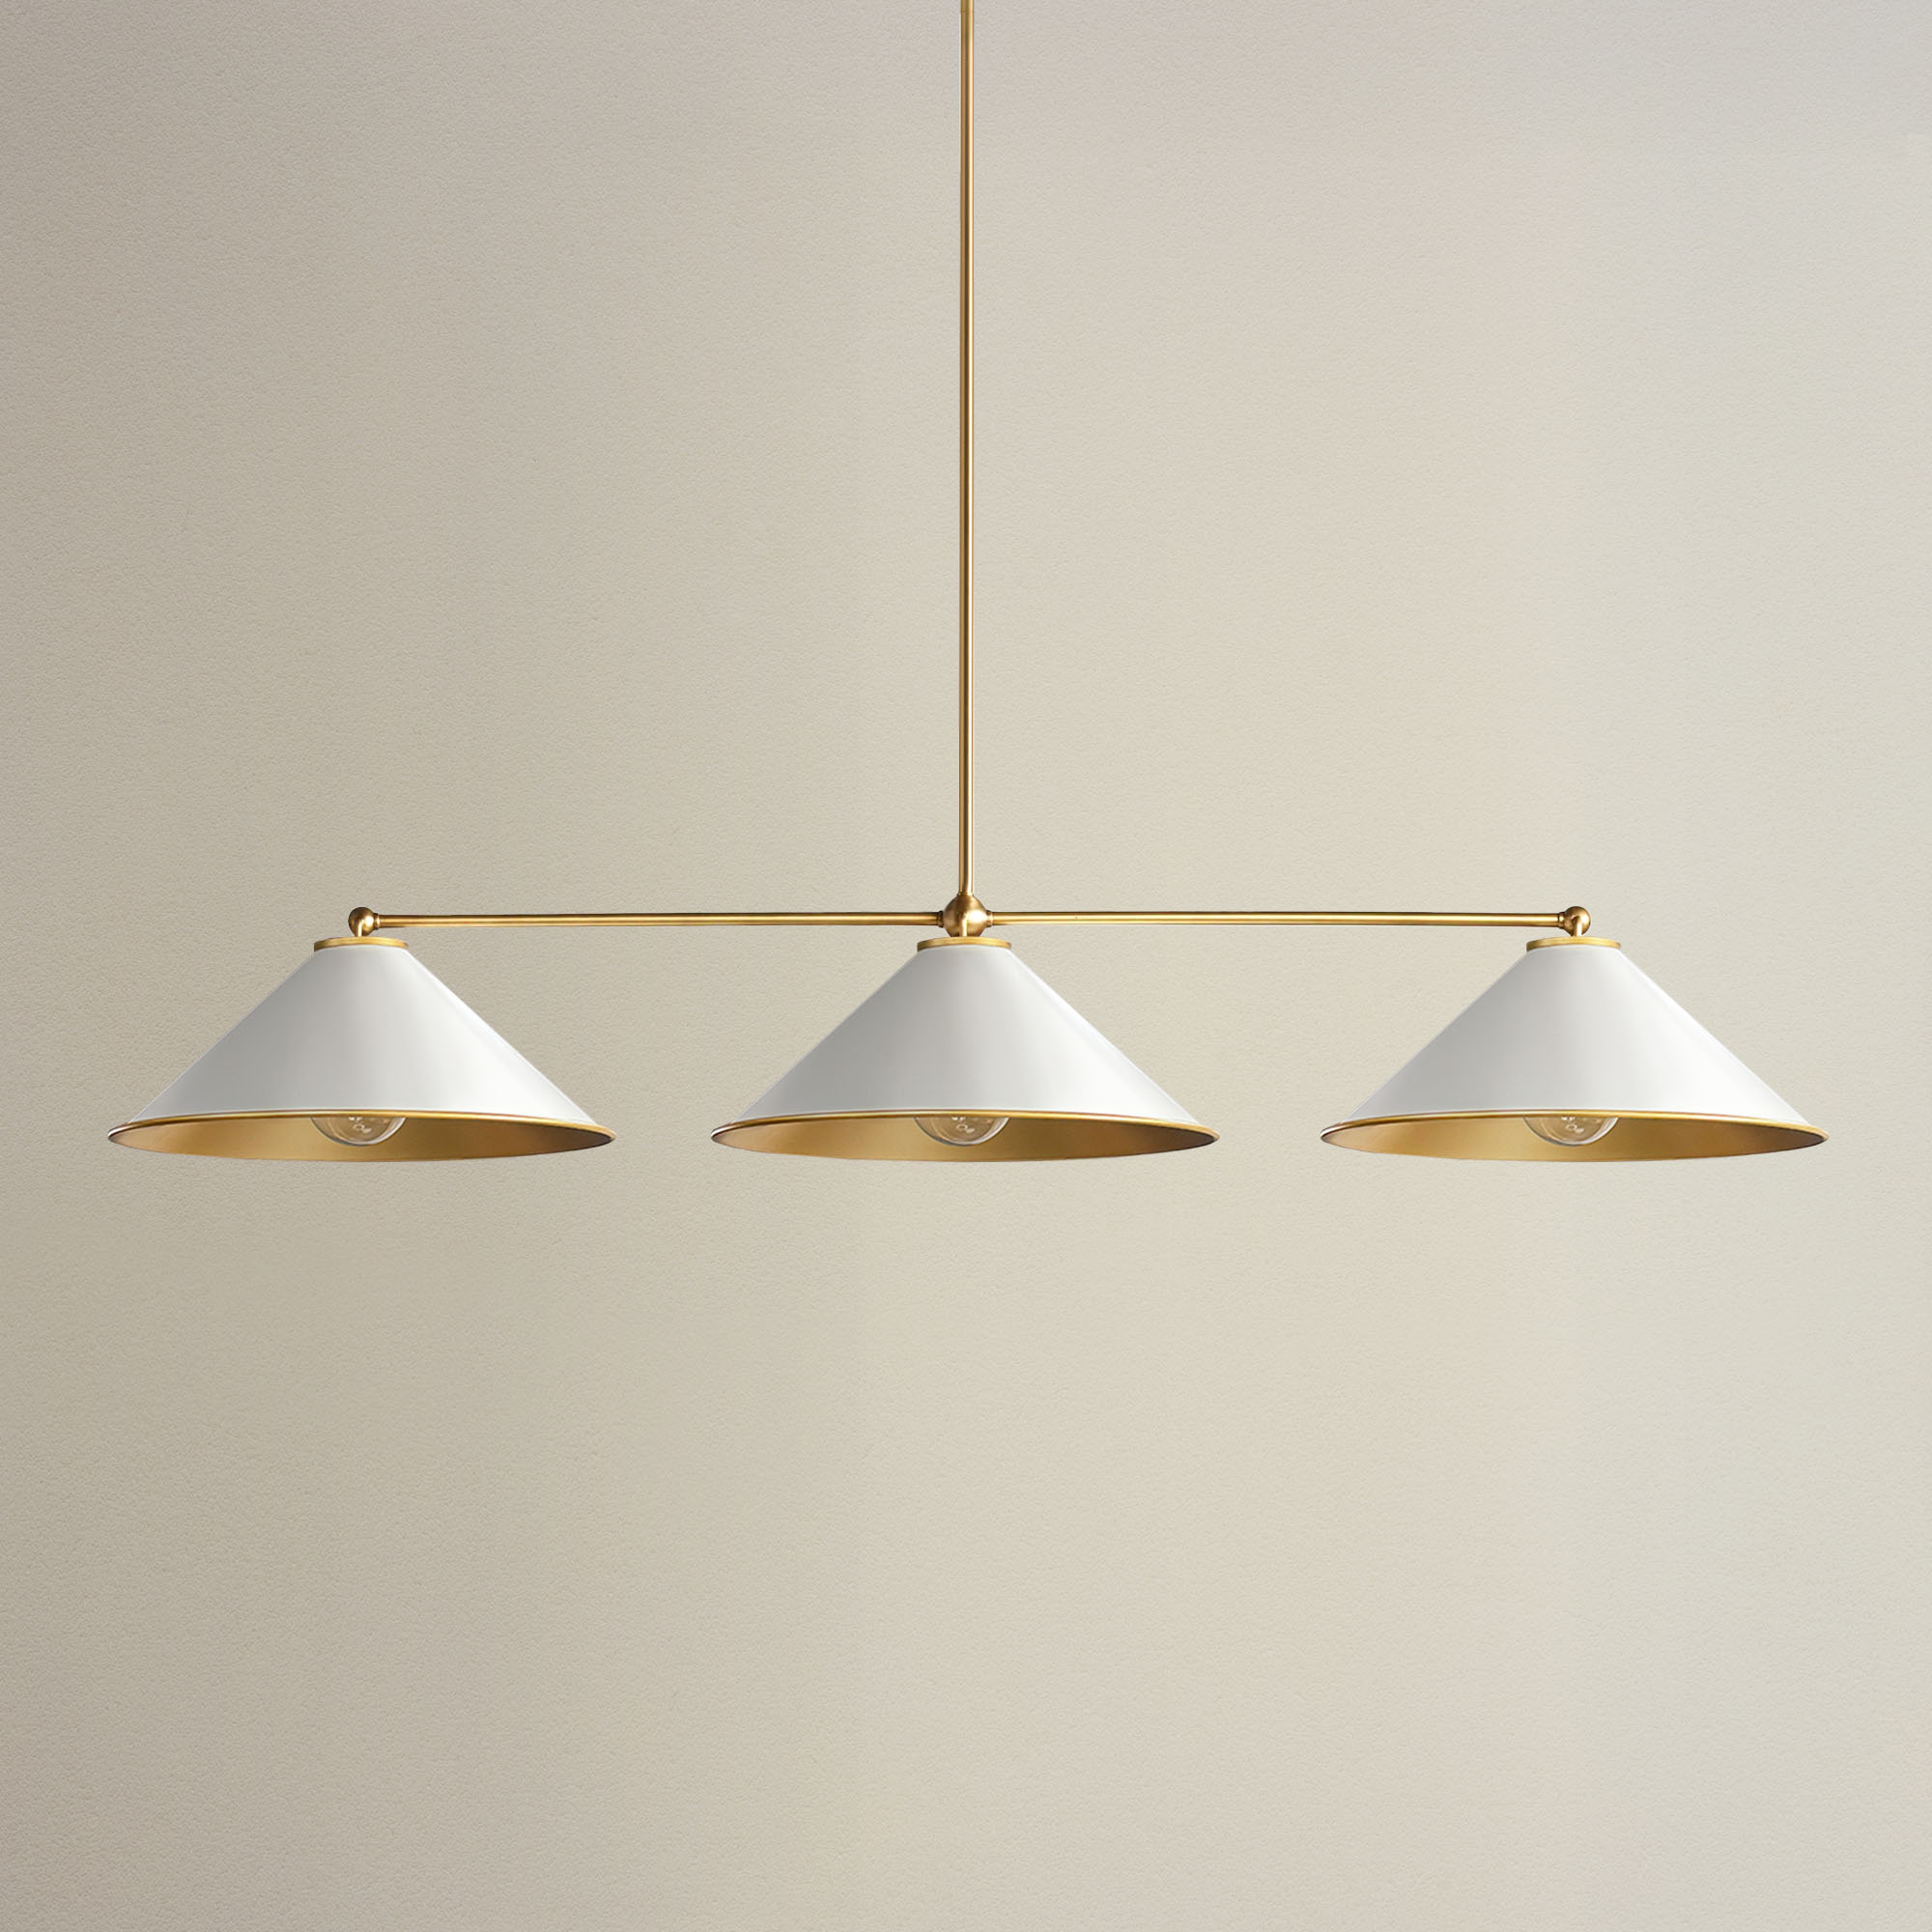
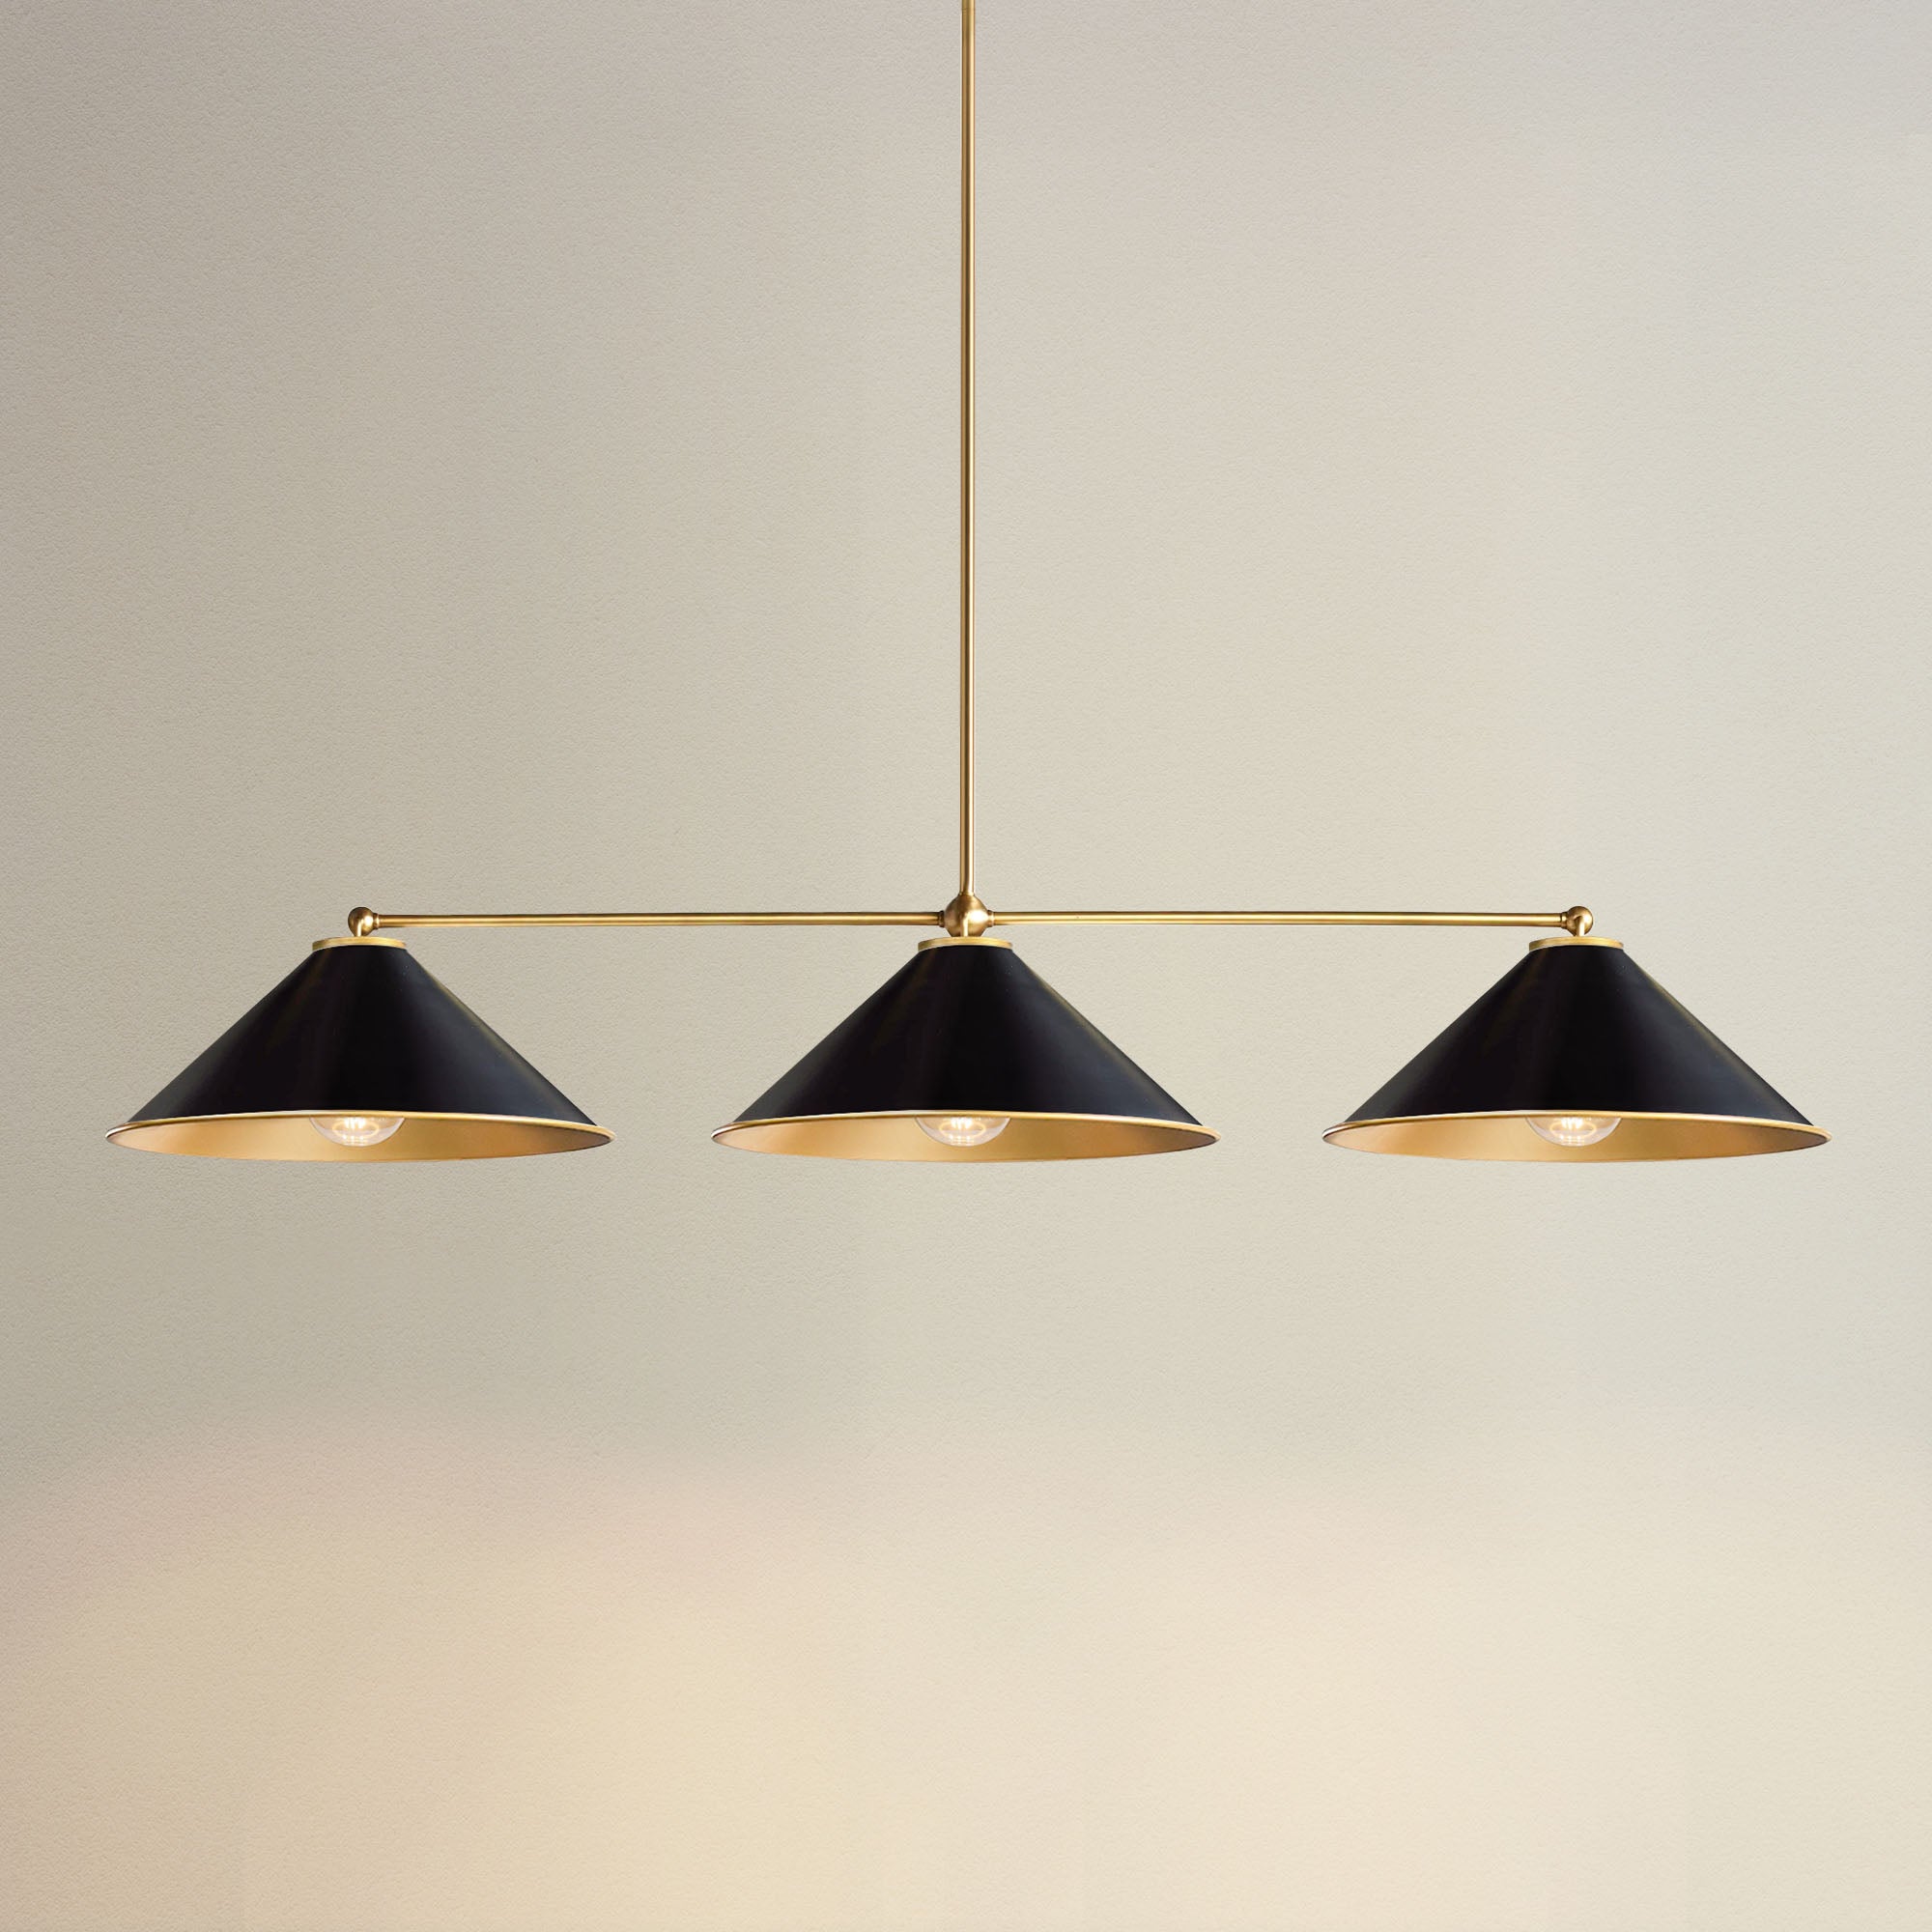
- New light fixture – the one you’re installing; consider bathroom-appropriate designs for humidity resistance. For tips on picking the right fixture, check out how to choose the right pendant lights for bathrooms.
- Wire nuts: To secure the wire connections (typically included with new fixtures).
- Electrical tape: For additional insulation over wire connections.
- Mounting bracket: Usually comes with the new light fixture; it secures the fixture to the junction box.
- Electrical cable (if necessary): If you're running new wiring, ensure it matches the existing gauge (14-2 or 12-2).
- Screws and anchors: For mounting, if not included with the fixture.
- Light bulbs: These are compatible with your new fixture, especially if they require a specific type.
Safety Gear
- Work gloves – to protect your hands while handling electrical wires.
- Safety goggles – to protect your eyes from dust and debris, especially when drilling.
Having all of these tools and materials ready will ensure a safe, efficient, and successful installation of your bathroom light fixture.
Refresh your space for the season. Click to explore new arrivals.
45-Day Return
45-Day Return
45-Day Return
45-Day Return


45-Day Return
45-Day Return
45-Day Return
45-Day Return
45-Day Return
45-Day Return
45-Day Return

45-Day Return
How to install a bathroom light fixture
Now that you have gathered all the necessary parts, let's dive into the installation process. Whether you’re a seasoned DIYer or a beginner, you’ll gain the confidence to create a beautifully lit space tailored to your style. Let’s brighten up your bathroom!
Turn off the power and test
First things first, safety! Go to your breaker box and turn off the power to your bathroom. Then, double-check using a voltage tester on the wires to ensure there’s no power running through them.
Many people assume that any light fixture will work fine in a bathroom, but that’s actually a big misconception. With the high moisture levels from showers, bathroom fixtures must be specifically rated for damp or wet environments.
Look for fixtures with an IP (Ingress Protection) rating of at least IP44. This rating means they’re designed to safely handle water splashes and steam, protecting electrical components and extending the life of your light fixture.
If you're replacing an existing fixture, check out this guide on how to change a bathroom light fixture for detailed steps.
Disconnect quick-connect wires
Now that the power’s off, you can start by carefully disconnecting any quick-connect wires from the old fixture. These connectors usually make it easy to hook up the fixture without additional wiring.
Connect bare wires using wire nuts
With the new fixture ready, begin connecting the bare wires.
Match each wire by color:
- Black to black
- White to white
- Green (or bare copper) to ground
Secure each pair of wires with a wire nut, twisting it onto the wires until snug.
Looking to go beyond basic lighting? Explore bathroom pendant lighting ideas for added design inspiration.
Secure bare wire connections with electrical tape
For extra security, wrap each wire connection with electrical tape. This adds protection and helps keep everything firmly in place.

Ensure a safe and secure installation with electrical tape. Source: Rowabi.
Install the mounting plate and align the screws
Position the mounting plate (usually included with your fixture) over the electrical box and align the screws. This plate is what secures the fixture in place. When choosing your new fixture, take a look at a collection of pendant lights for bathrooms to find the perfect style.
Attach the mounting plate to the electrical box
Align the mounting plate and screw it tightly onto the electrical box. Make sure it’s level and stable for the fixture installation.
Reconnect quick-connect wires
With the mounting plate in place, reconnect the quick-connect wires from the new fixture, following the manufacturer’s instructions for easy setup.
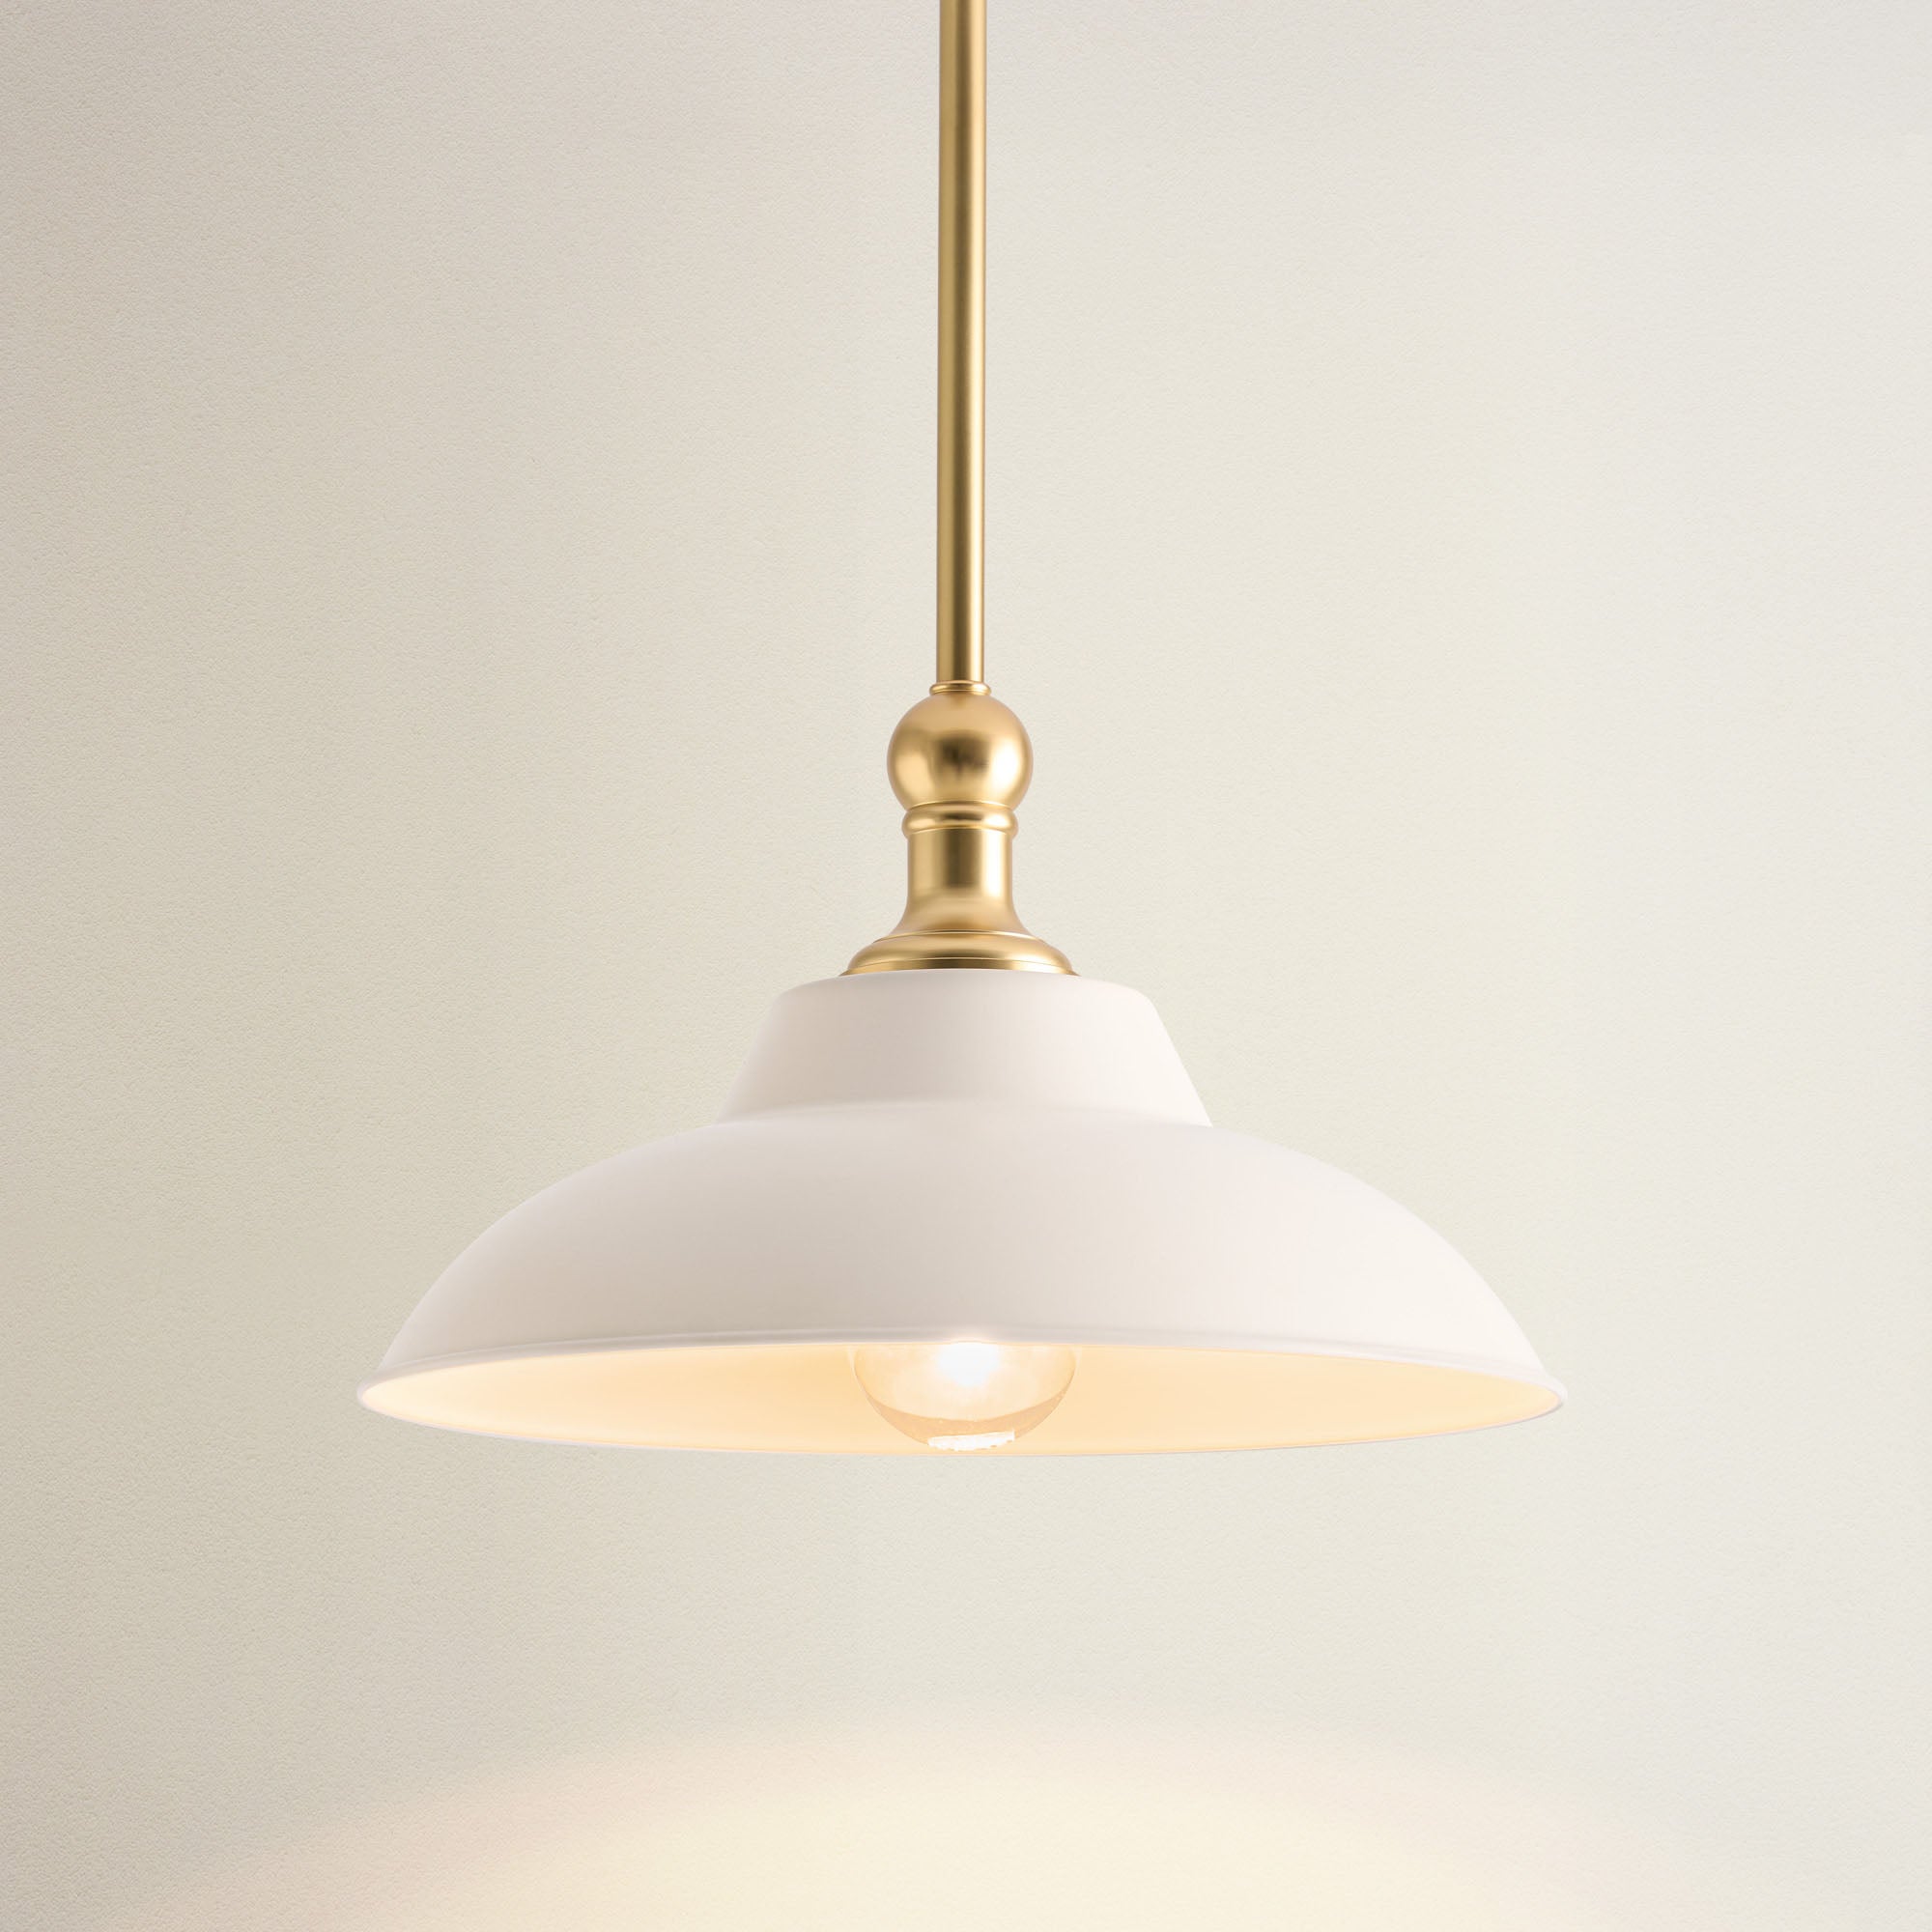
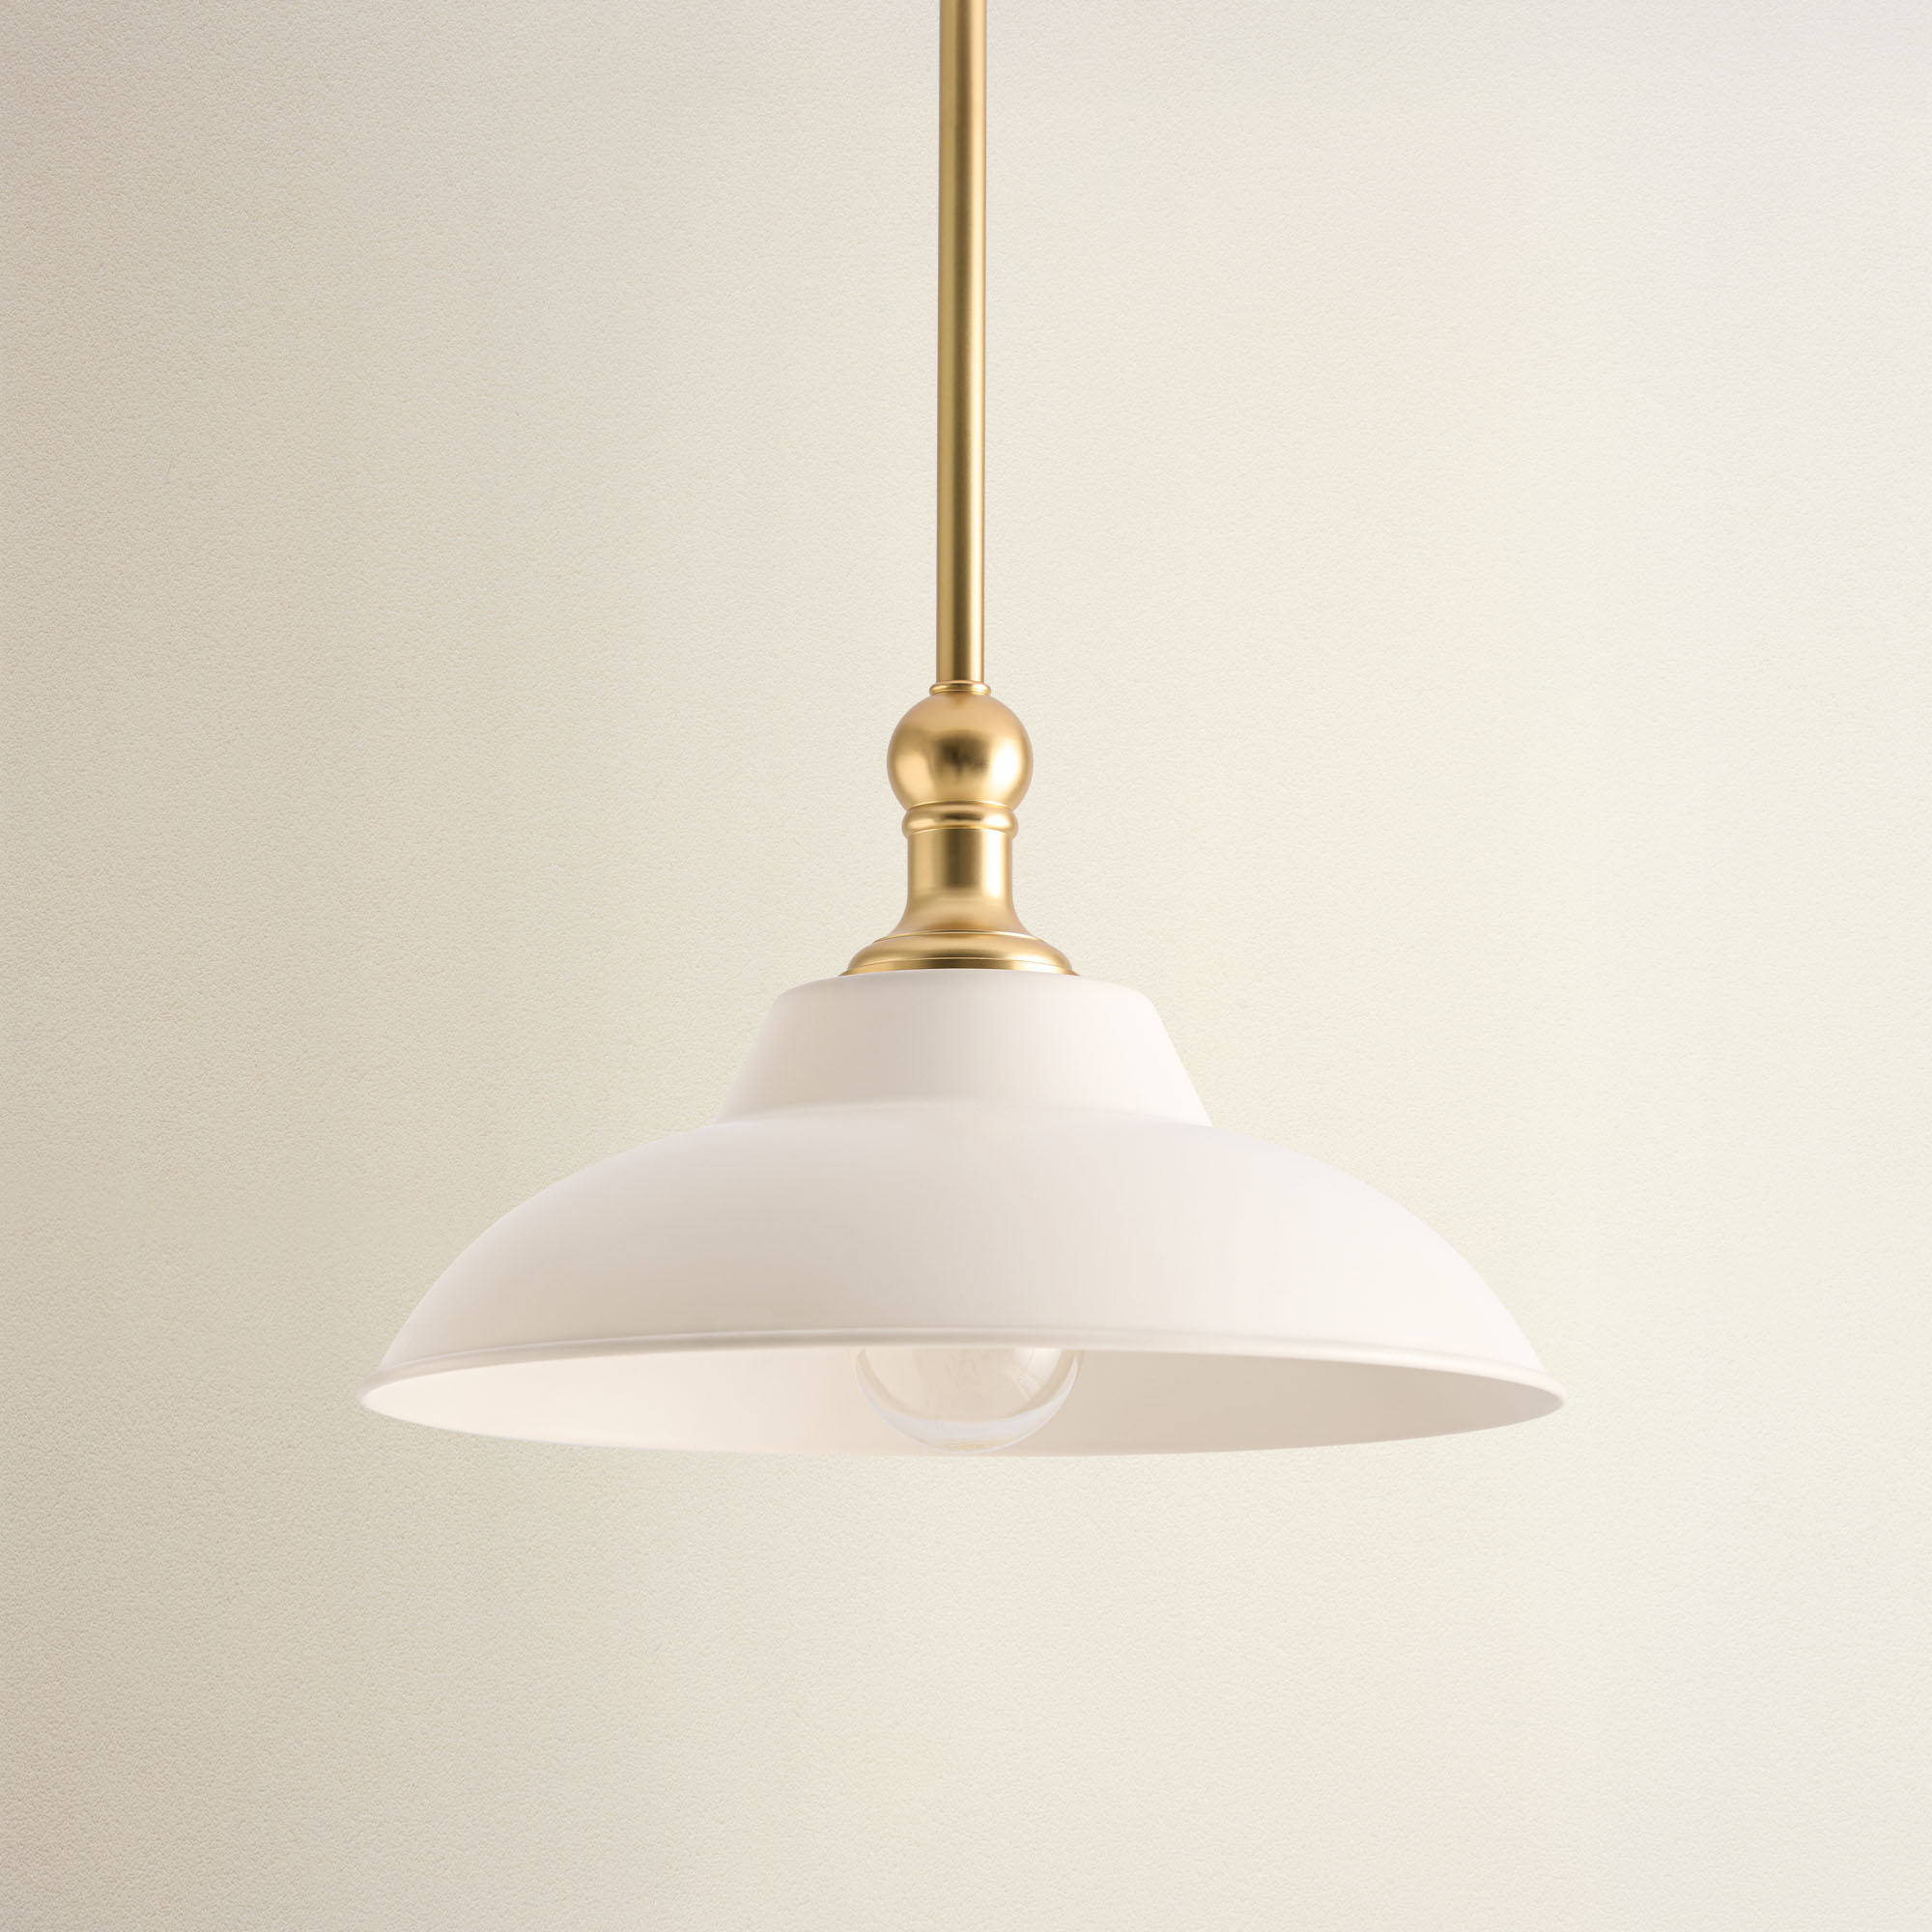
Attach light fixture to mounting plate
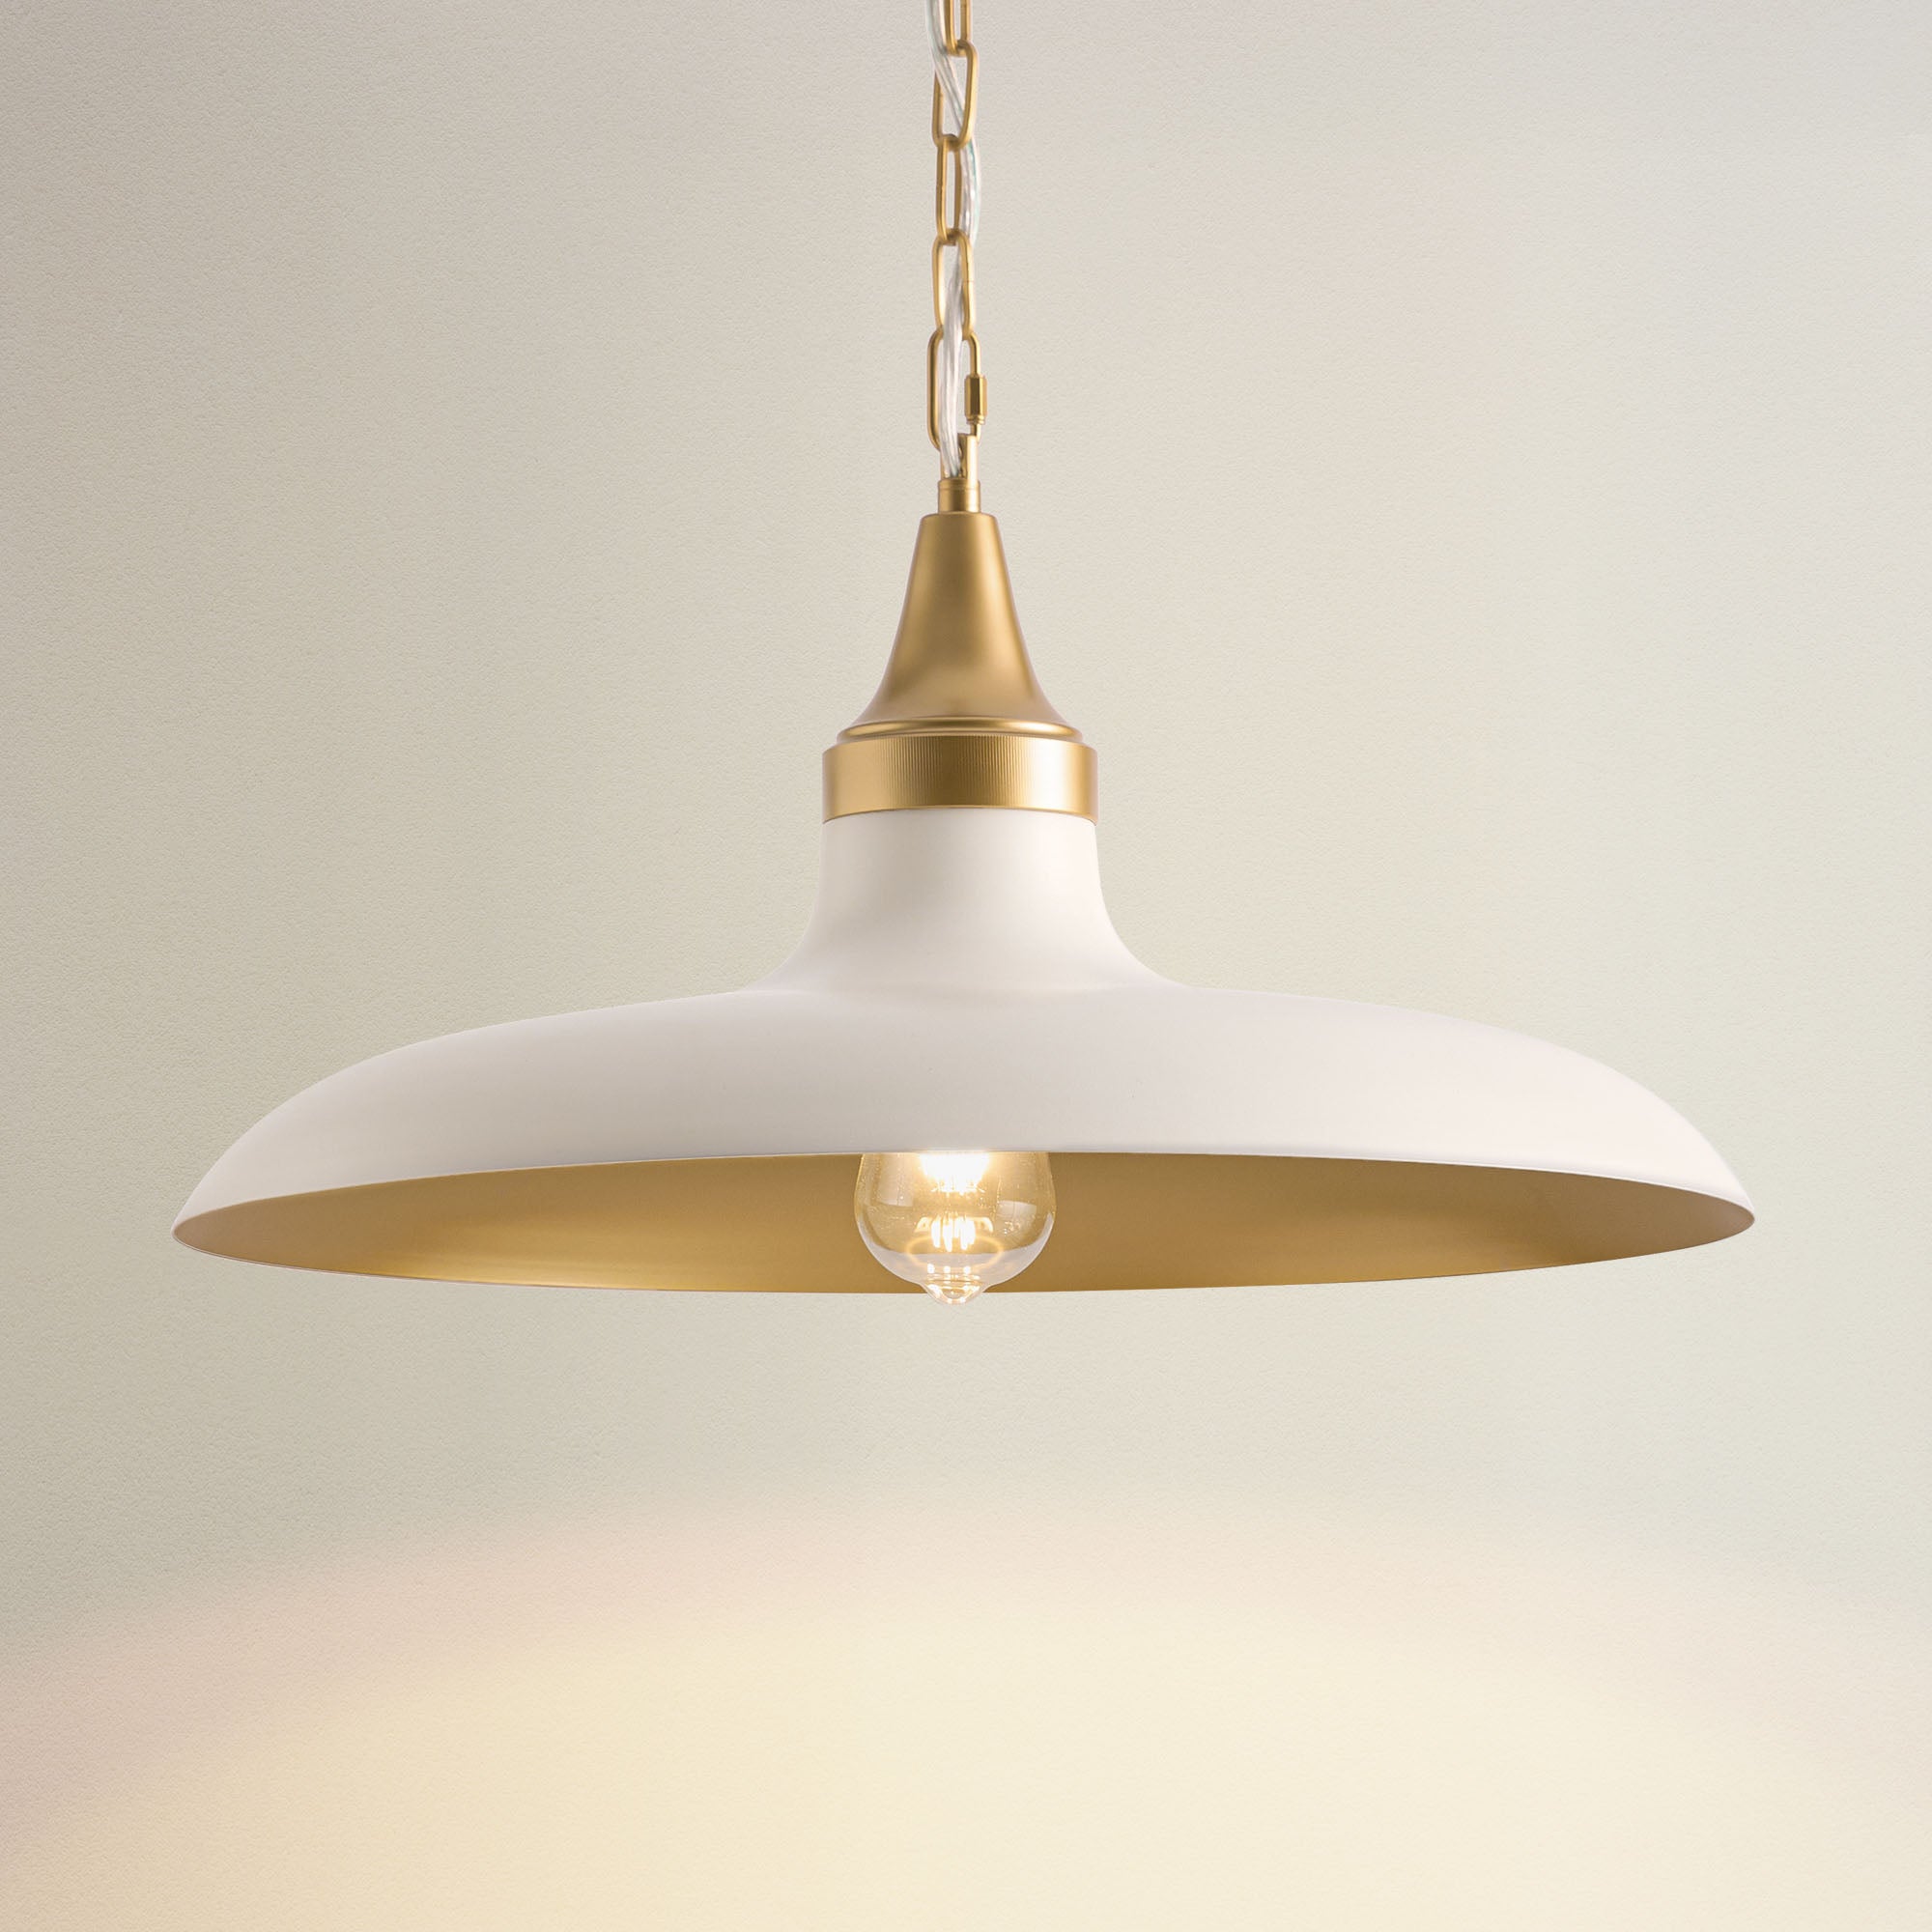
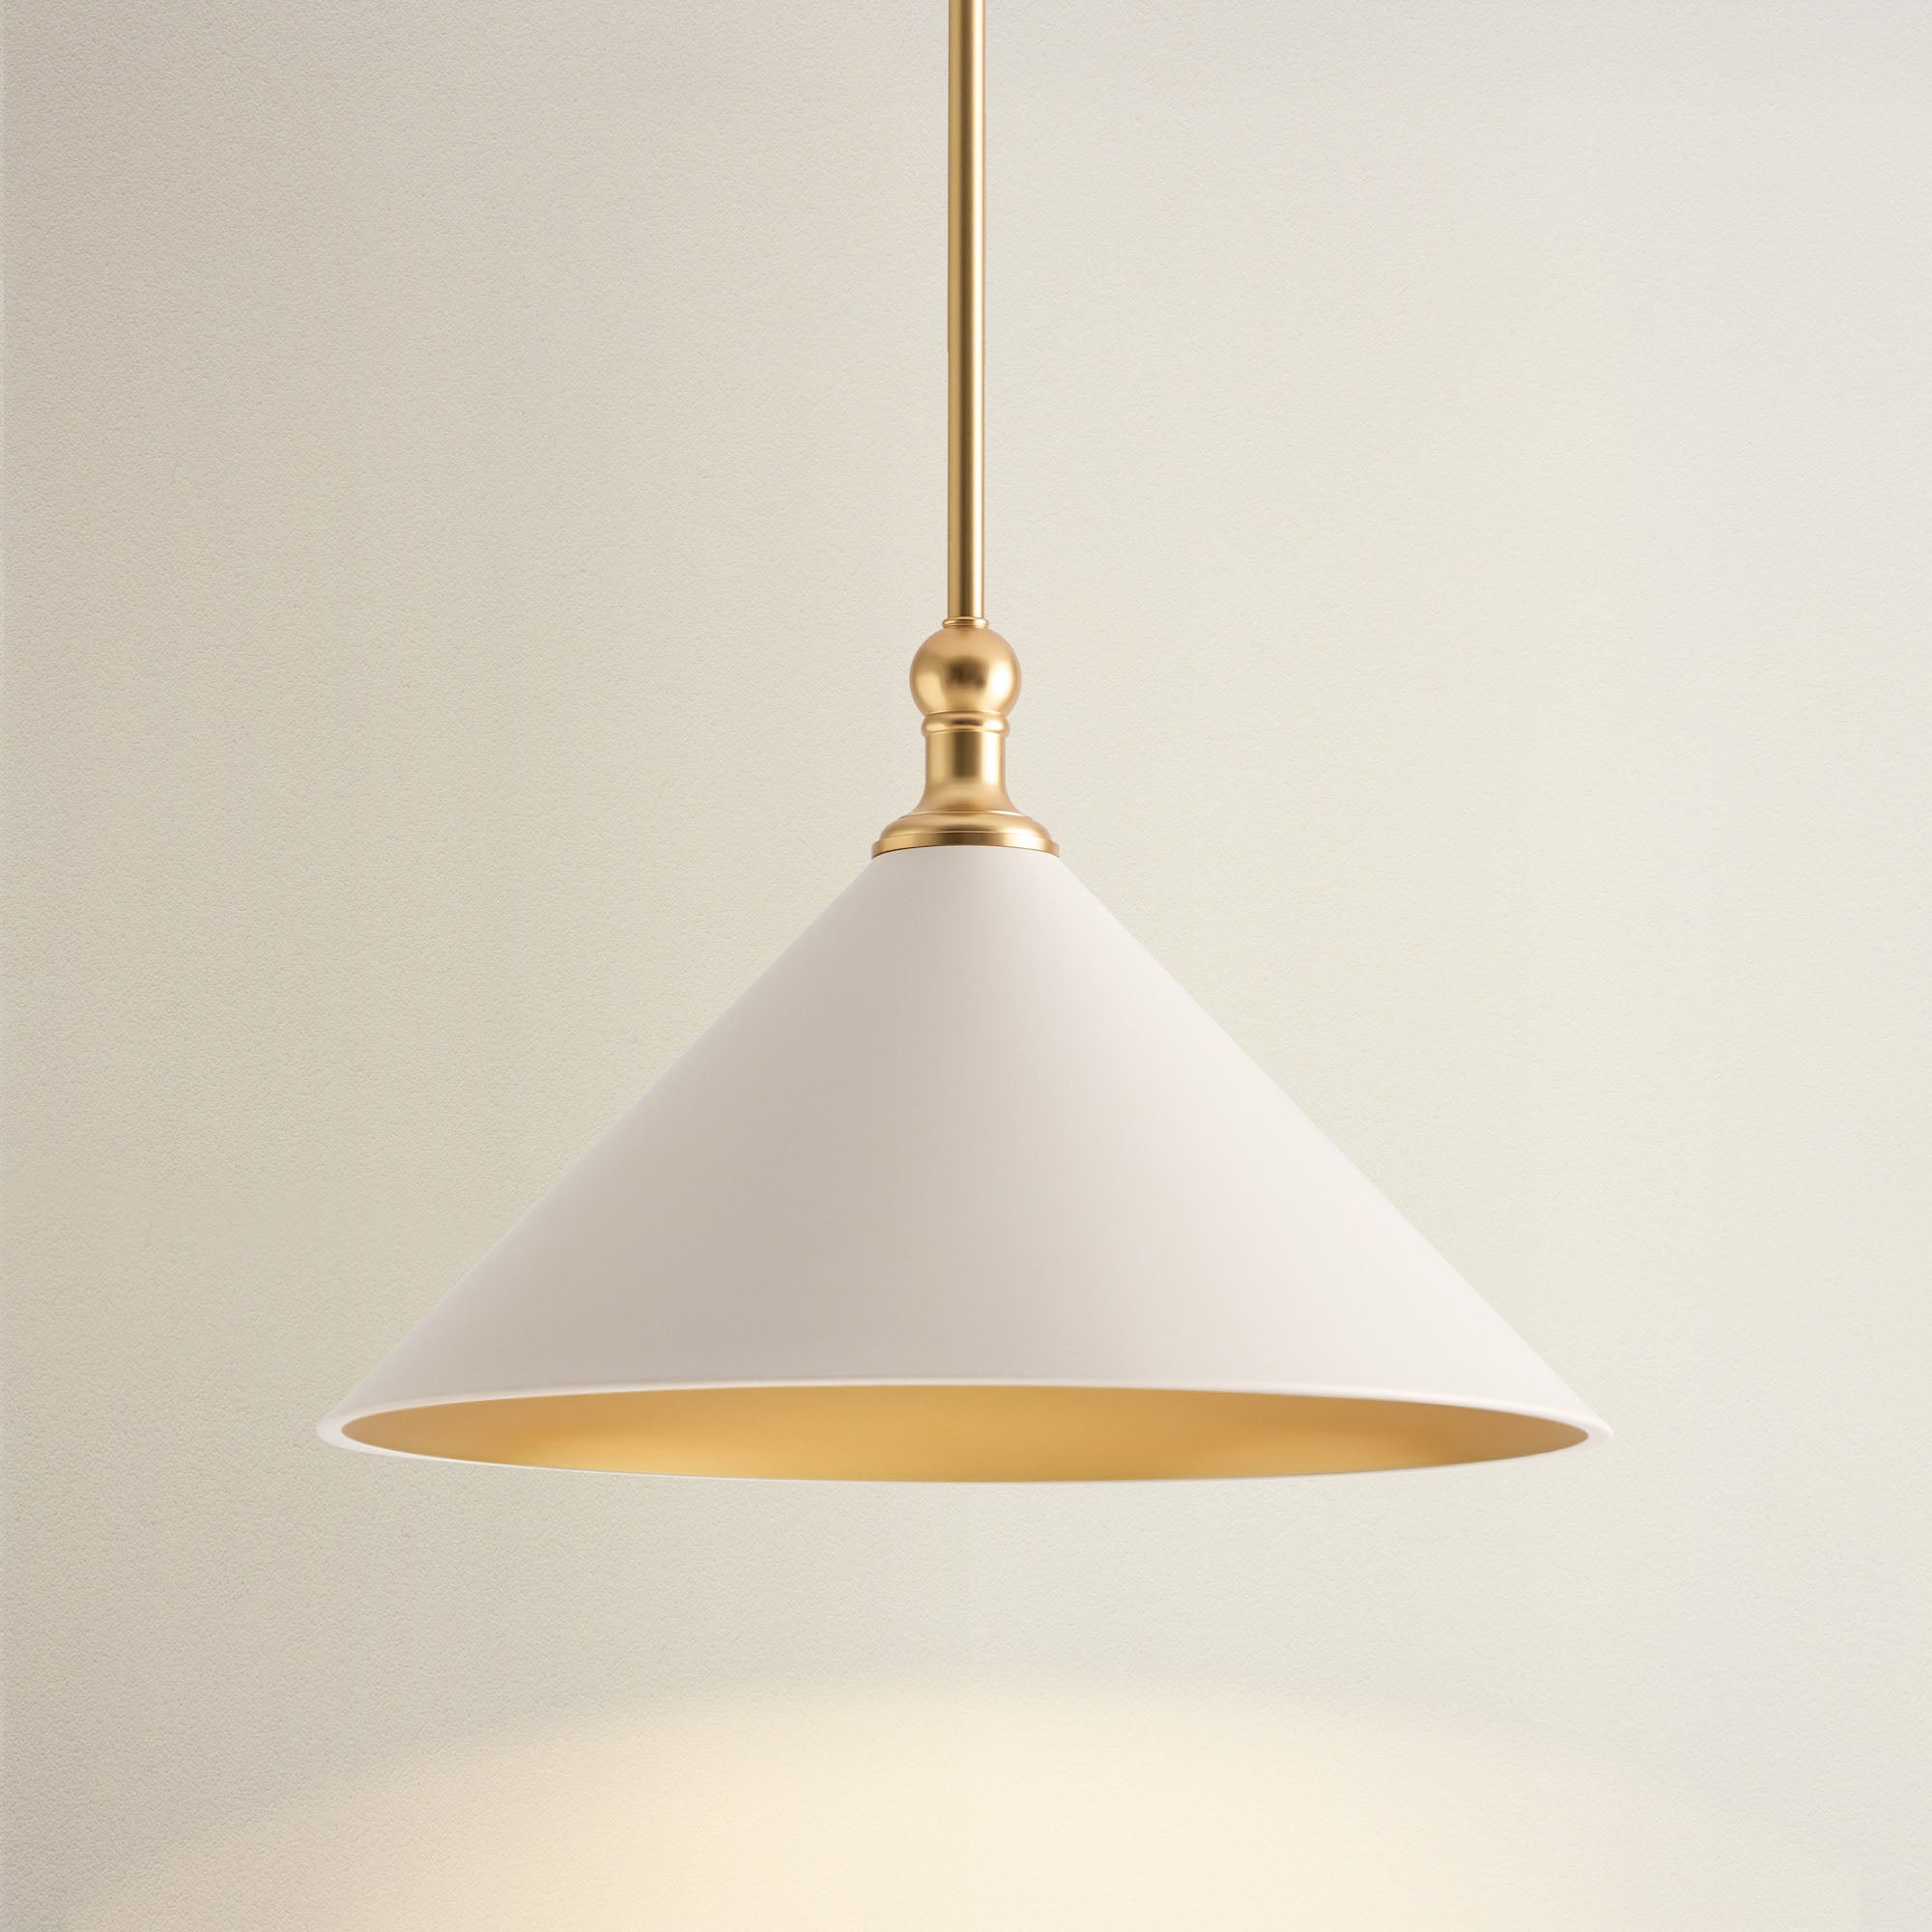
Carefully attach the fixture to the mounting plate by following the instructions. Make sure it’s securely in place and level, as this is the final attachment. Not sure about style? Bathroom lighting trends can help you choose the best look for your space.
Install globes
If your fixture has glass globes or shades, attach them now. They usually twist or screw onto the fixture, so follow the instructions to avoid over-tightening.
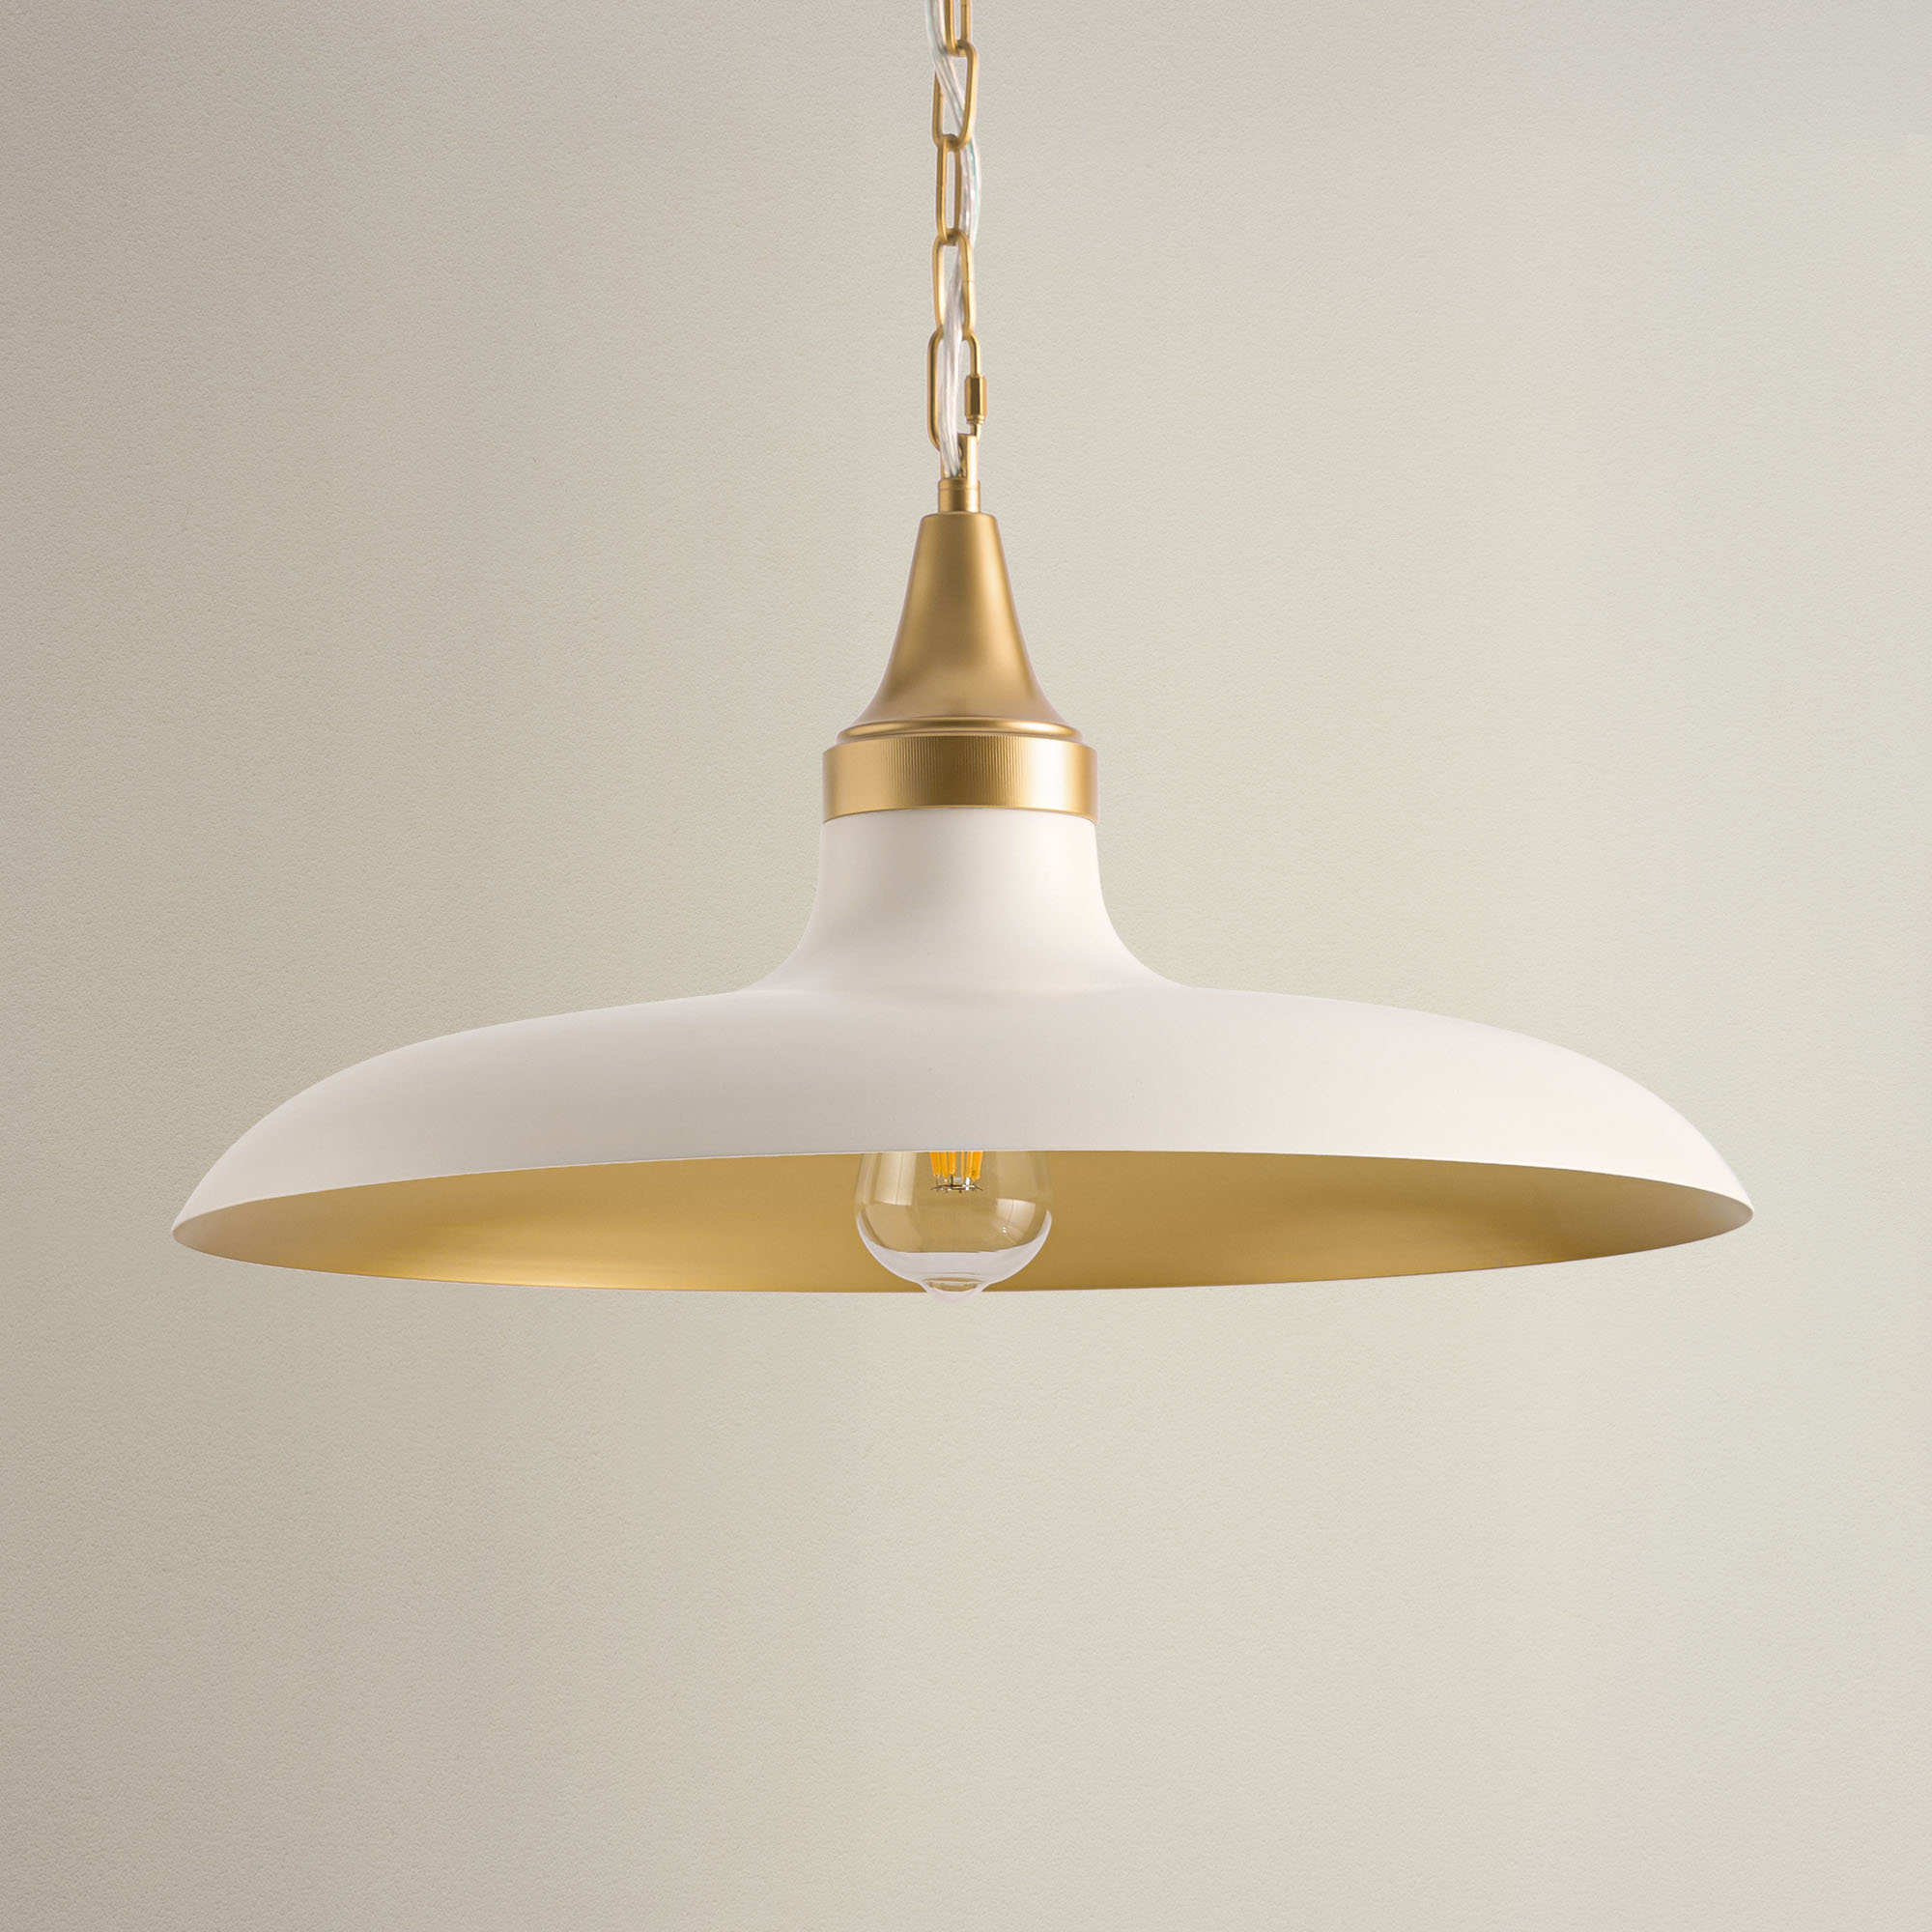
Install light bulbs and restore power
Finally, screw in the light bulbs, making sure they’re compatible with your fixture. Then, head back to the breaker and restore power. Flip the light switch, and voilà—you’ve successfully installed a new bathroom light fixture!

It's time to turn up the brightness. Source: Rowabi.
If you ever need to replace a bathroom vanity light, this guide on how to replace bathroom vanity light offers step-by-step help.
Tips for installing a bathroom light fixture
Before you finish up, here are some helpful tips to ensure a successful installation:
- Choose the right fixture: Ensure your new fixture is rated for bathroom use, especially near the shower or sink. Look for an IP rating of at least IP44 to ensure it can handle moisture and splashes.
- Prep your workspace: Clear the area of any water and moisture before starting. Use a stable step stool or ladder if you’re working at height.
- Check fixture height: For vanity lights, position the fixture about 75-80 inches from the floor for balanced lighting. For pendant lights, ensure they’re high enough to avoid contact with water and don’t obstruct movement.
- Level the fixture: Use a level to ensure it is straight before securing it. This will prevent the need to reposition and ensure a polished look.
- Test connections before finalizing: Before fully securing the fixture, check all wire connections are snug. Loose wires can cause flickering or outages, so give them a gentle tug to confirm they’re secure.
- Don’t rush installation: Keep aligning the mounting plate and attaching the fixture securely. Rushing can lead to mistakes that are tricky to fix afterward.
- Choose compatible bulbs: Use bulbs that match the fixture’s recommended wattage to avoid overheating and extend the life of both the bulb and the fixture.
By following this guide, you’ll be well on your way to a beautifully lit bathroom that reflects your personal style!
Conclusion
Updating your bathroom light fixture is a straightforward yet impactful way to enhance the overall look and feel of your space.
By following this guide, you’ve not only learned how to install a bathroom light fixture safely but also discovered tips for choosing the right one that complements your style and withstands the bathroom’s unique environment.
So, roll up your sleeves, trust your skills, and enjoy the transformative power of good lighting!


%20to%20the%20new%20mounting%20bracket%20before%20securely%20attachi...)
Leave a comment
This site is protected by hCaptcha and the hCaptcha Privacy Policy and Terms of Service apply.