


Full replacements, especially for heavy or large chandeliers, can easily run into the thousands. The final price depends heavily on fixture type, labor rates, accessibility (high ceilings), and whether new wiring or permits are required.
Key takeaways
1. Average Cost & Time: The average cost for professional replacement/repair is around $350. A standard installation takes about 1 to 1.5 hours.
2. Repair Costs:
- Minor Fixes: Simple issues like a flickering wire, buzzing, or replacing a bulb socket typically cost between $50 and $200.
- Complex Repairs: Fixing heavy chandeliers or detailed disassembly/reassembly runs higher, from $130 to $350.
3. Replacement Costs (Fixture + Labor):
- Simple Fixtures (Flush Mount/Ceiling): Range from $80 to $220.
- Pendant Lights: Typically cost between $100 and $300.
- Chandeliers: Range from $100 to $1,750 or more, depending on size, weight, and complexity.
- Recessed/Can Lights: Generally cost $100 to $400.
4. Key Factors Influencing Cost:
- Labor Rate: Electrician hourly rates typically run from $50 to $250+.
- Complexity/Weight: Heavy or large fixtures (like chandeliers) significantly increase installation labor costs.
- Accessibility: High or difficult-to-reach ceilings will increase labor time and cost.
- Additional Work: New wiring incurs high costs (e.g., $7–$10 per foot).
5. Repair vs. Replace:
- Repair is often the better choice for simple, isolated fixes.
- Replacement is recommended if the repair cost exceeds 50% of the cost of a new fixture or if the existing wiring is outdated and unsafe.
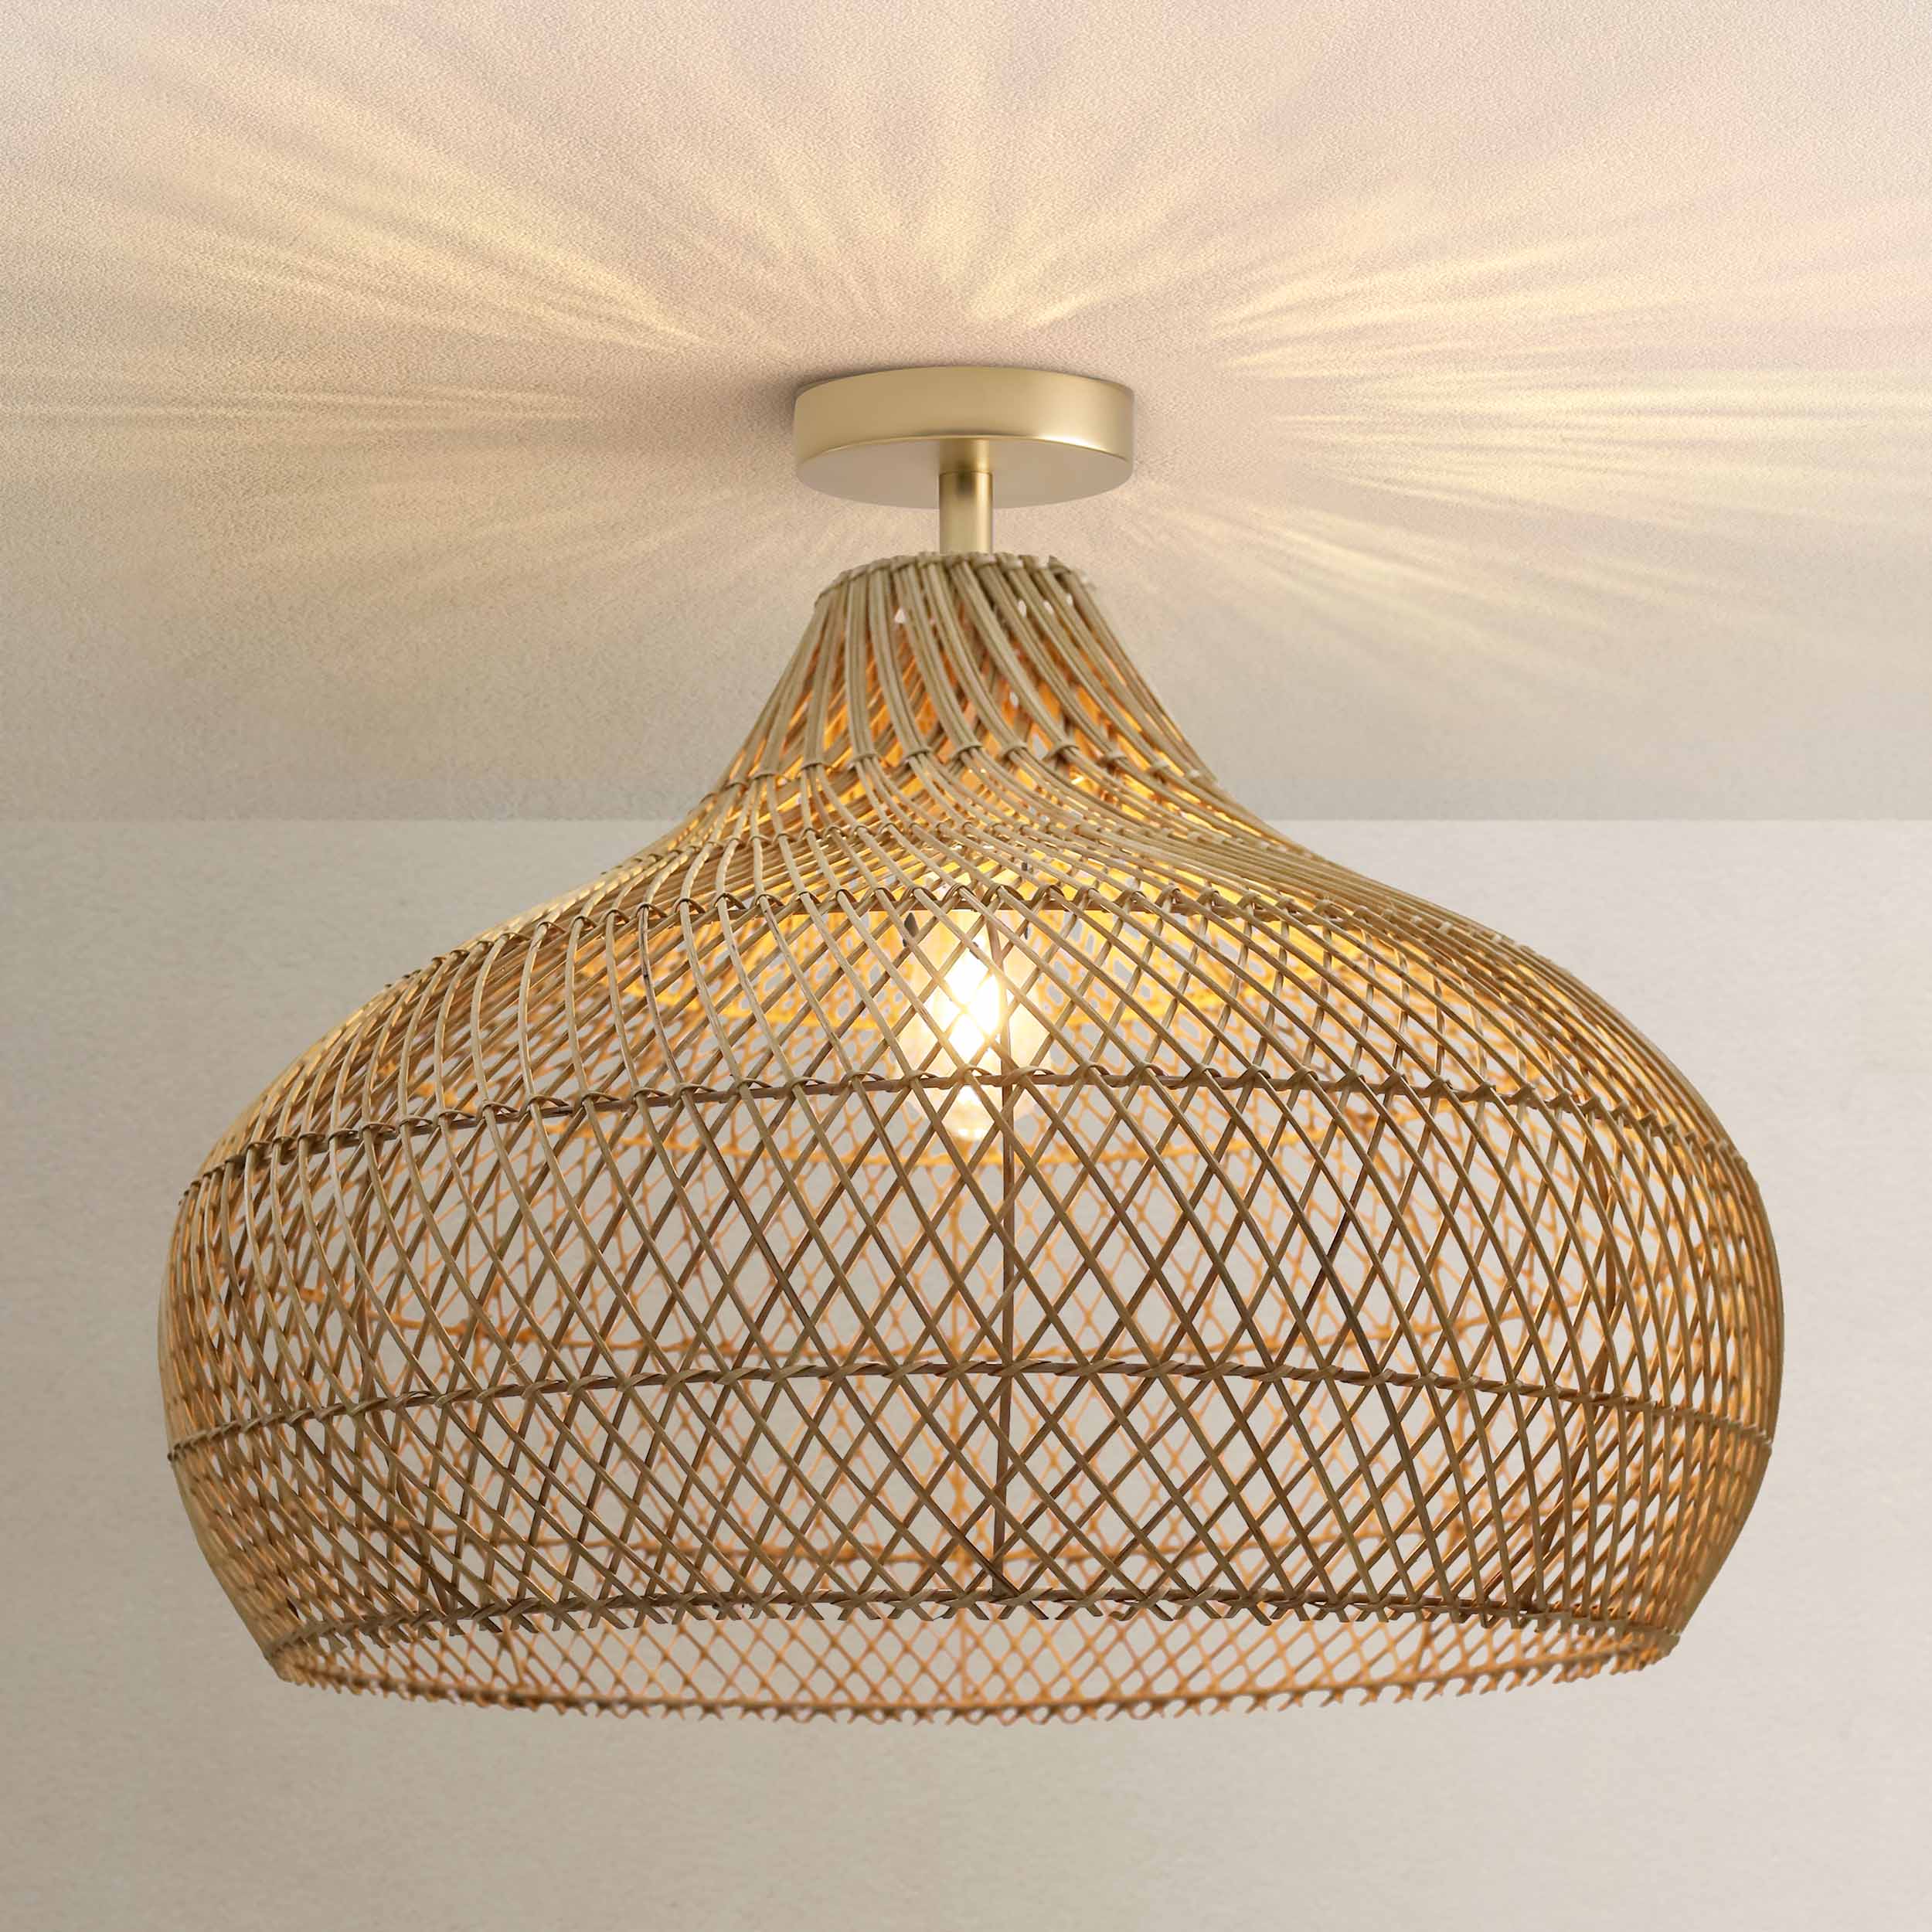
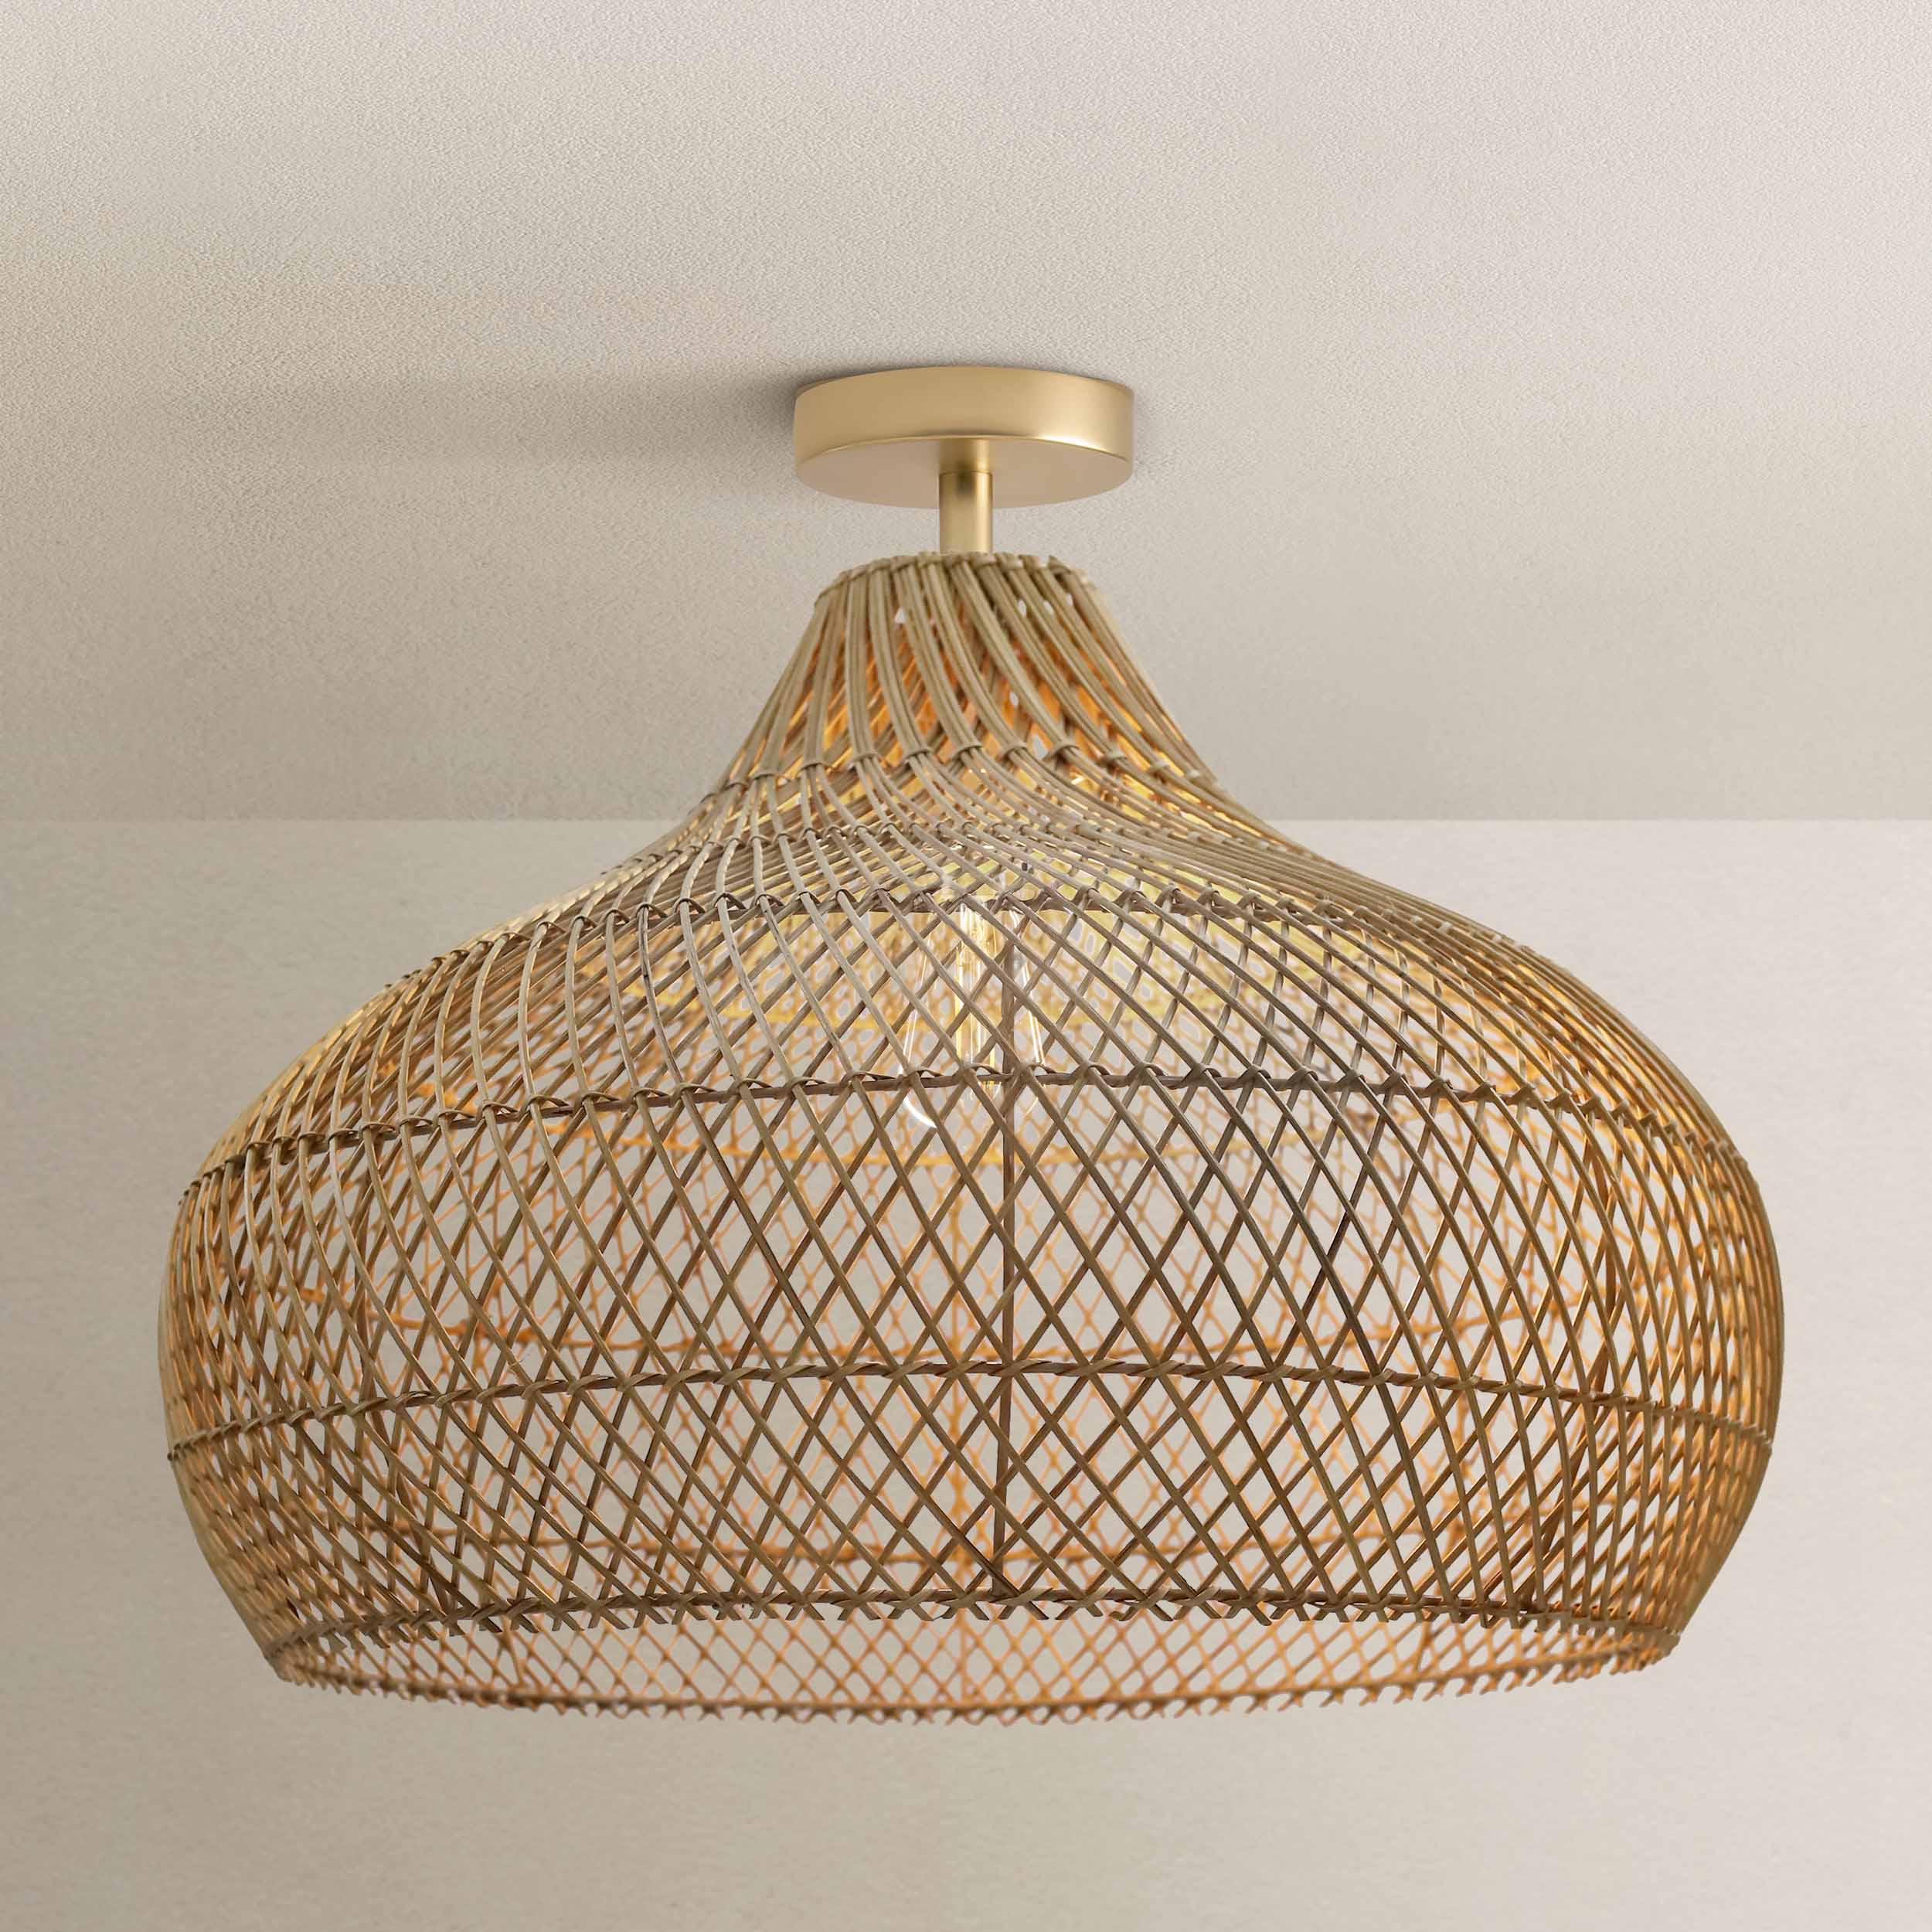
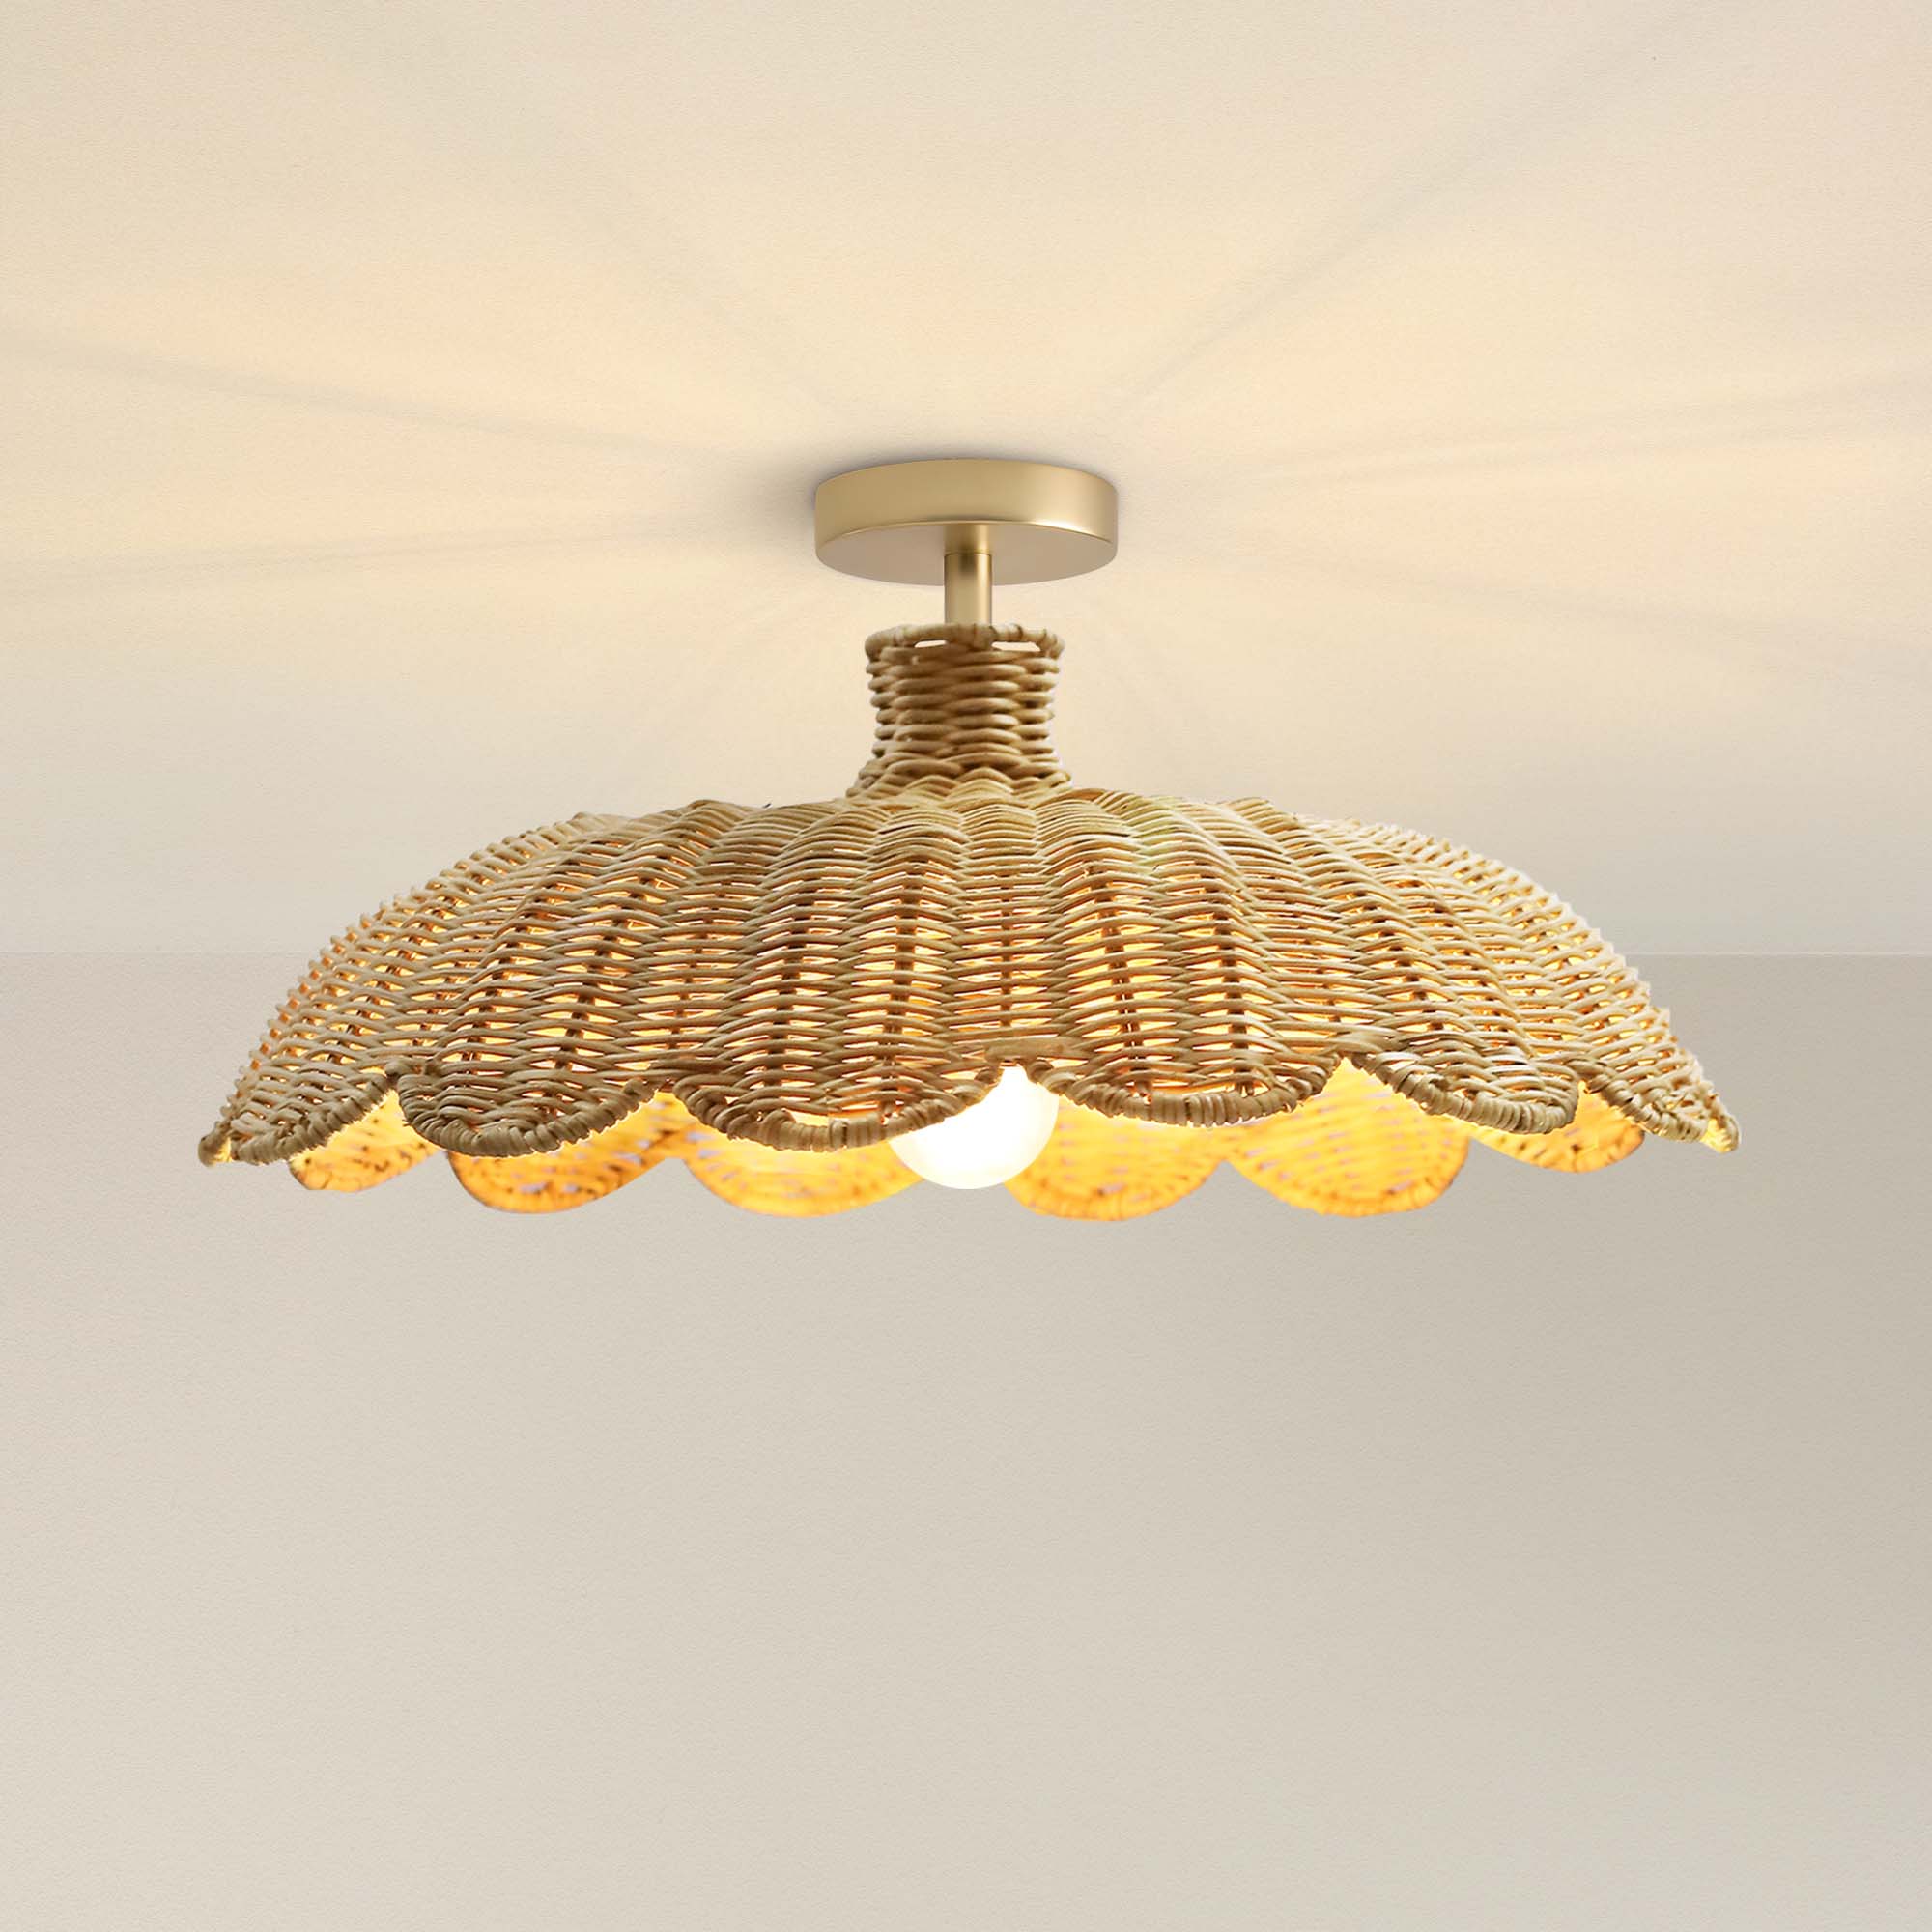
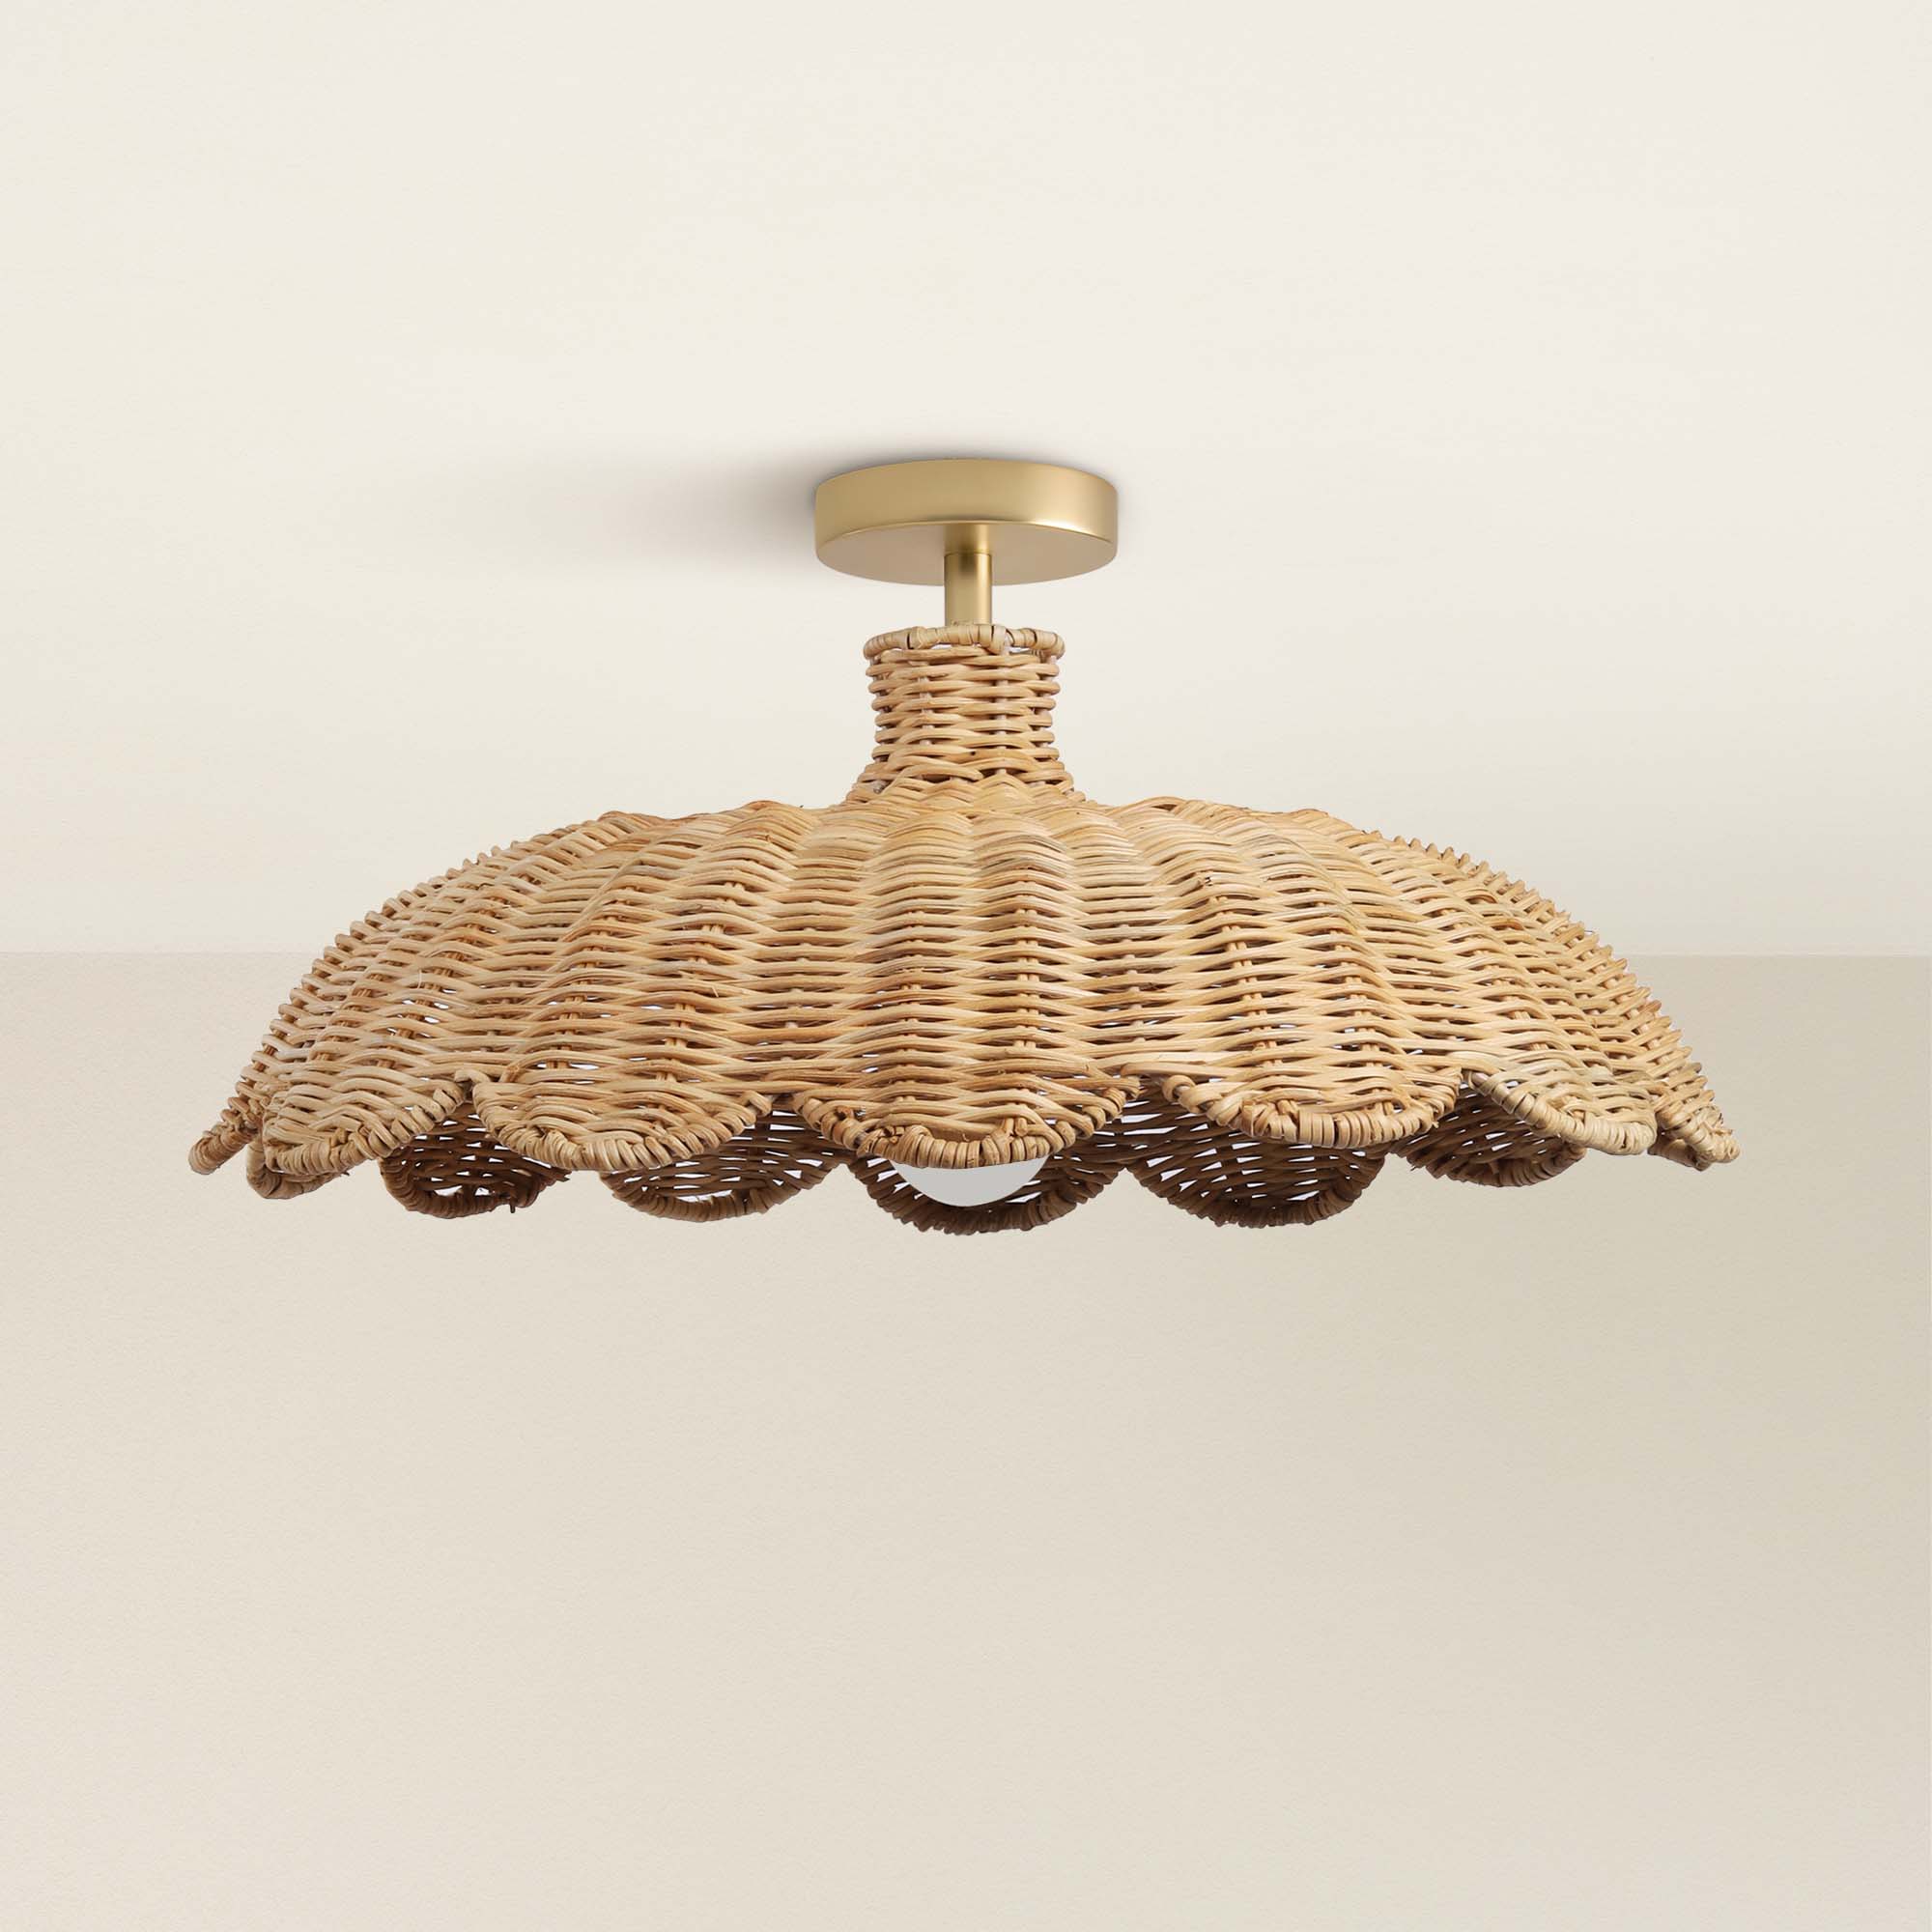
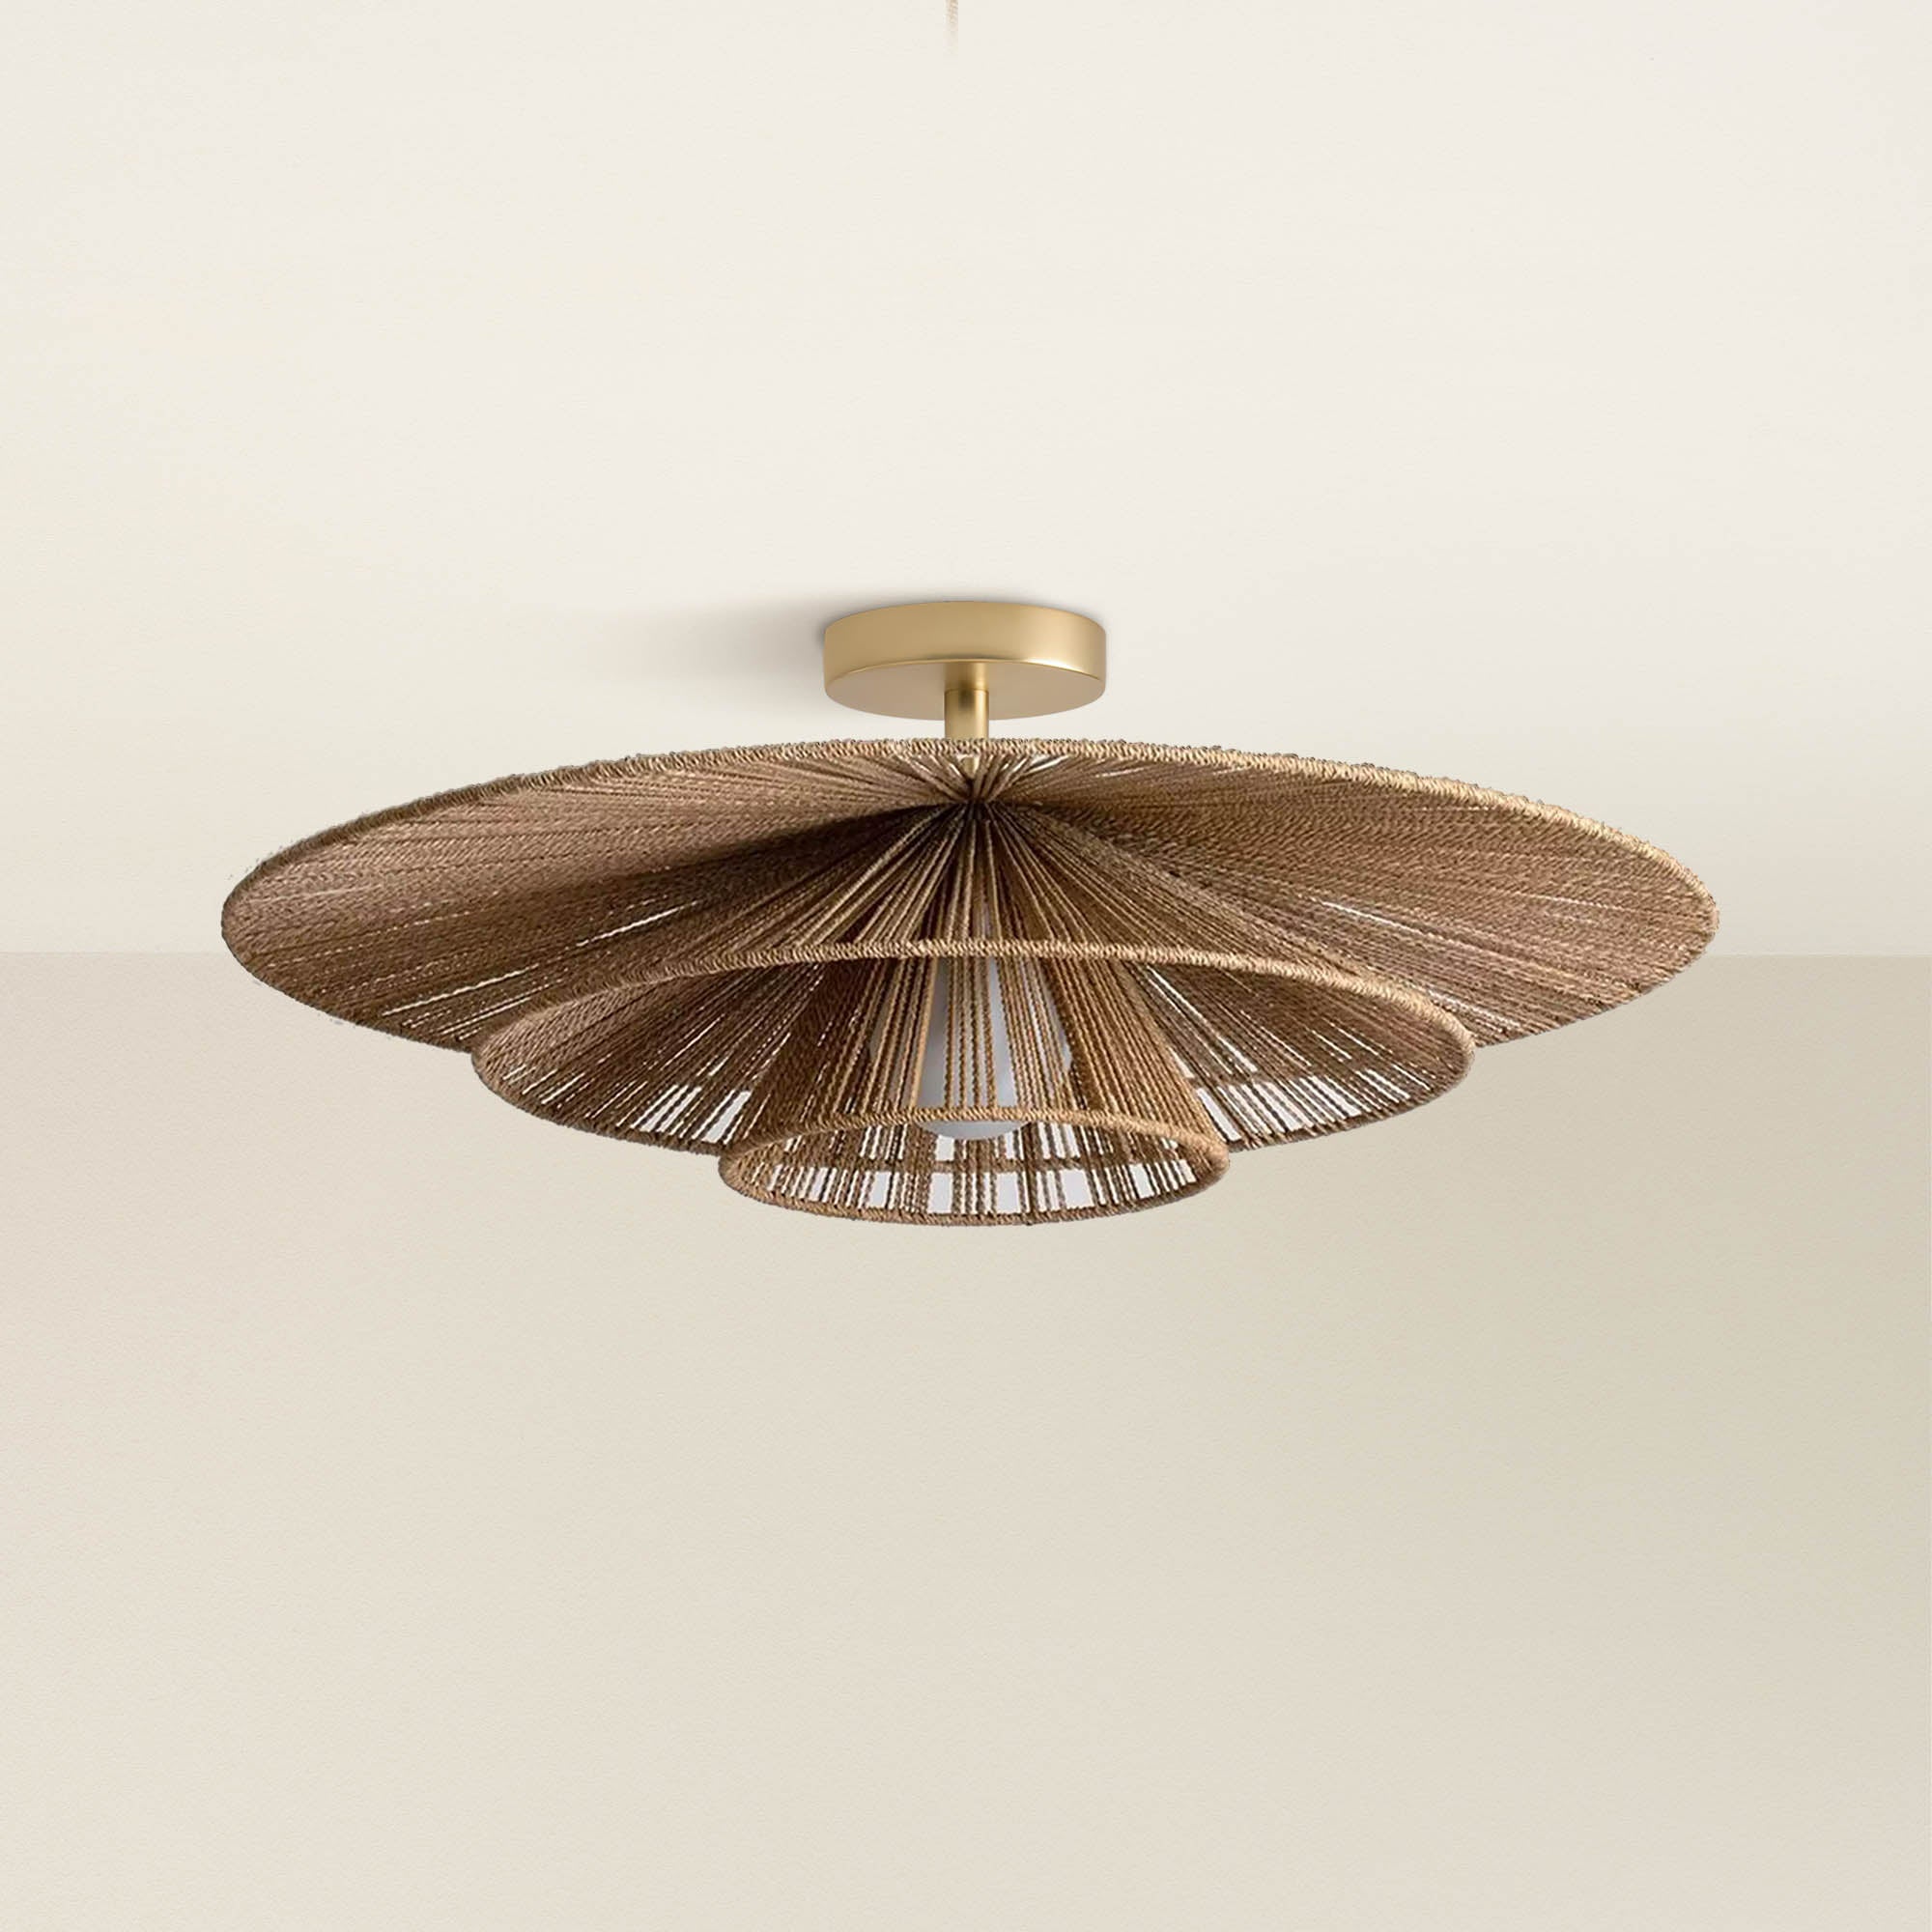
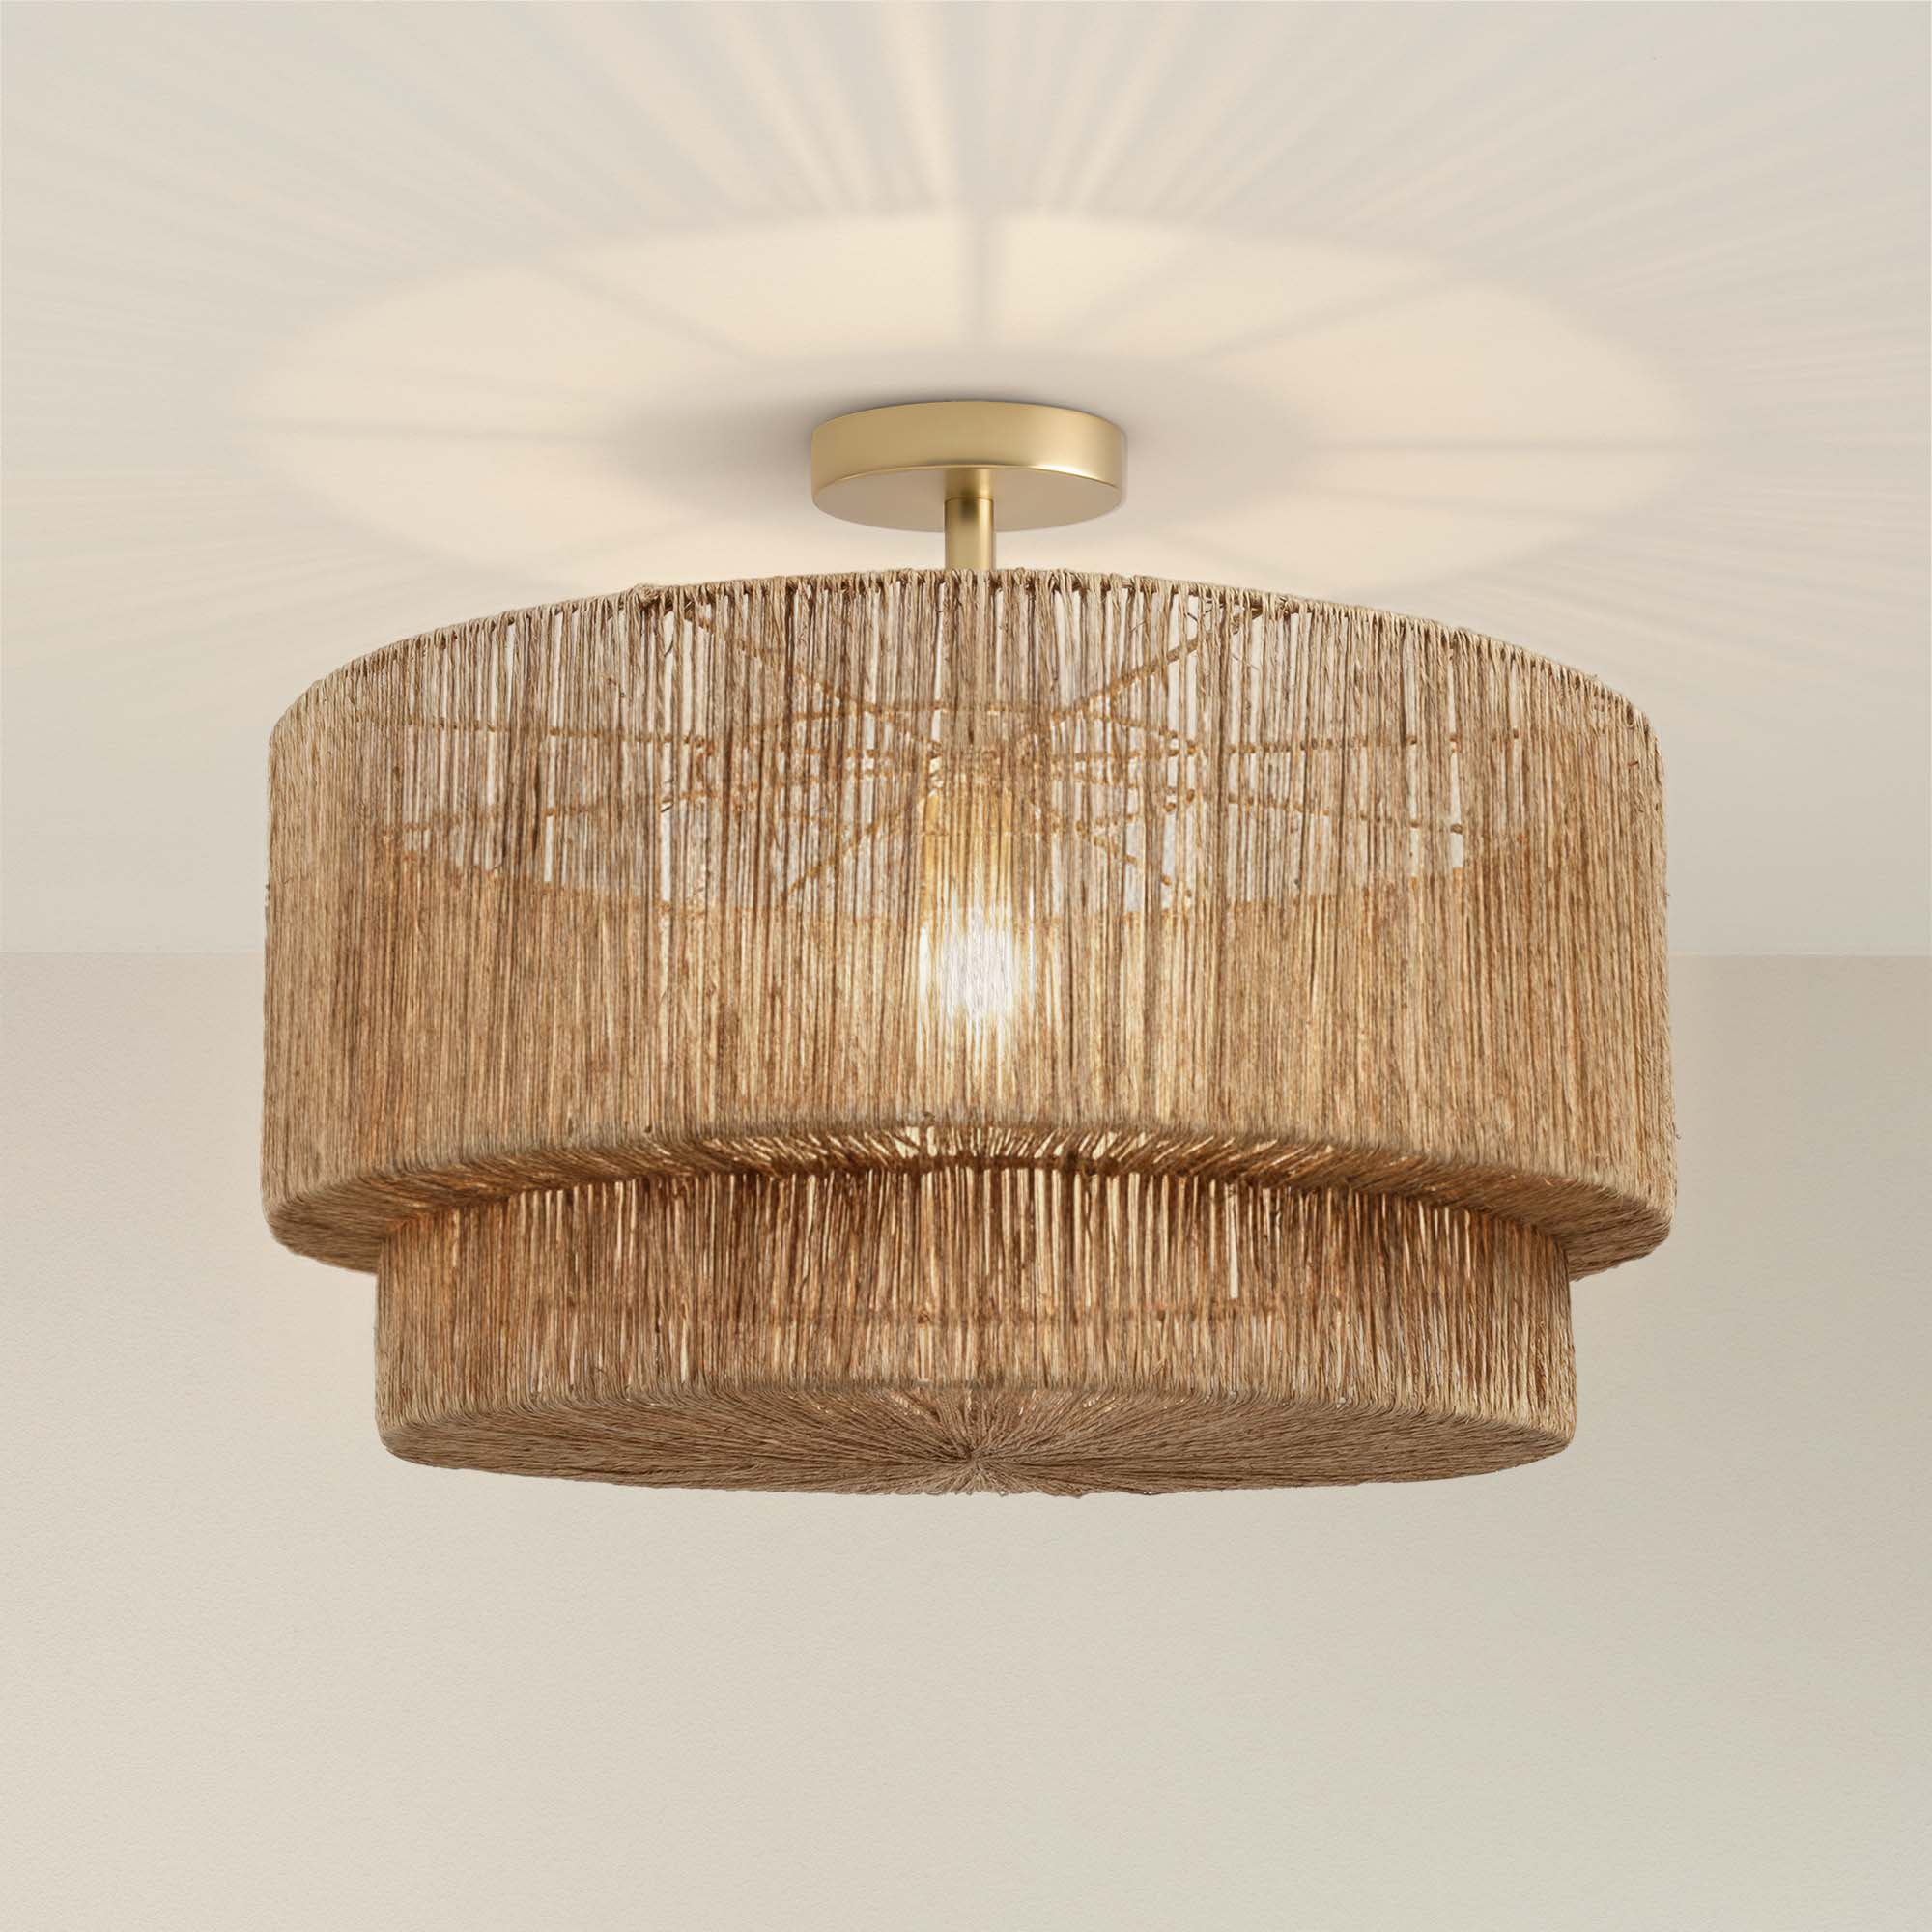
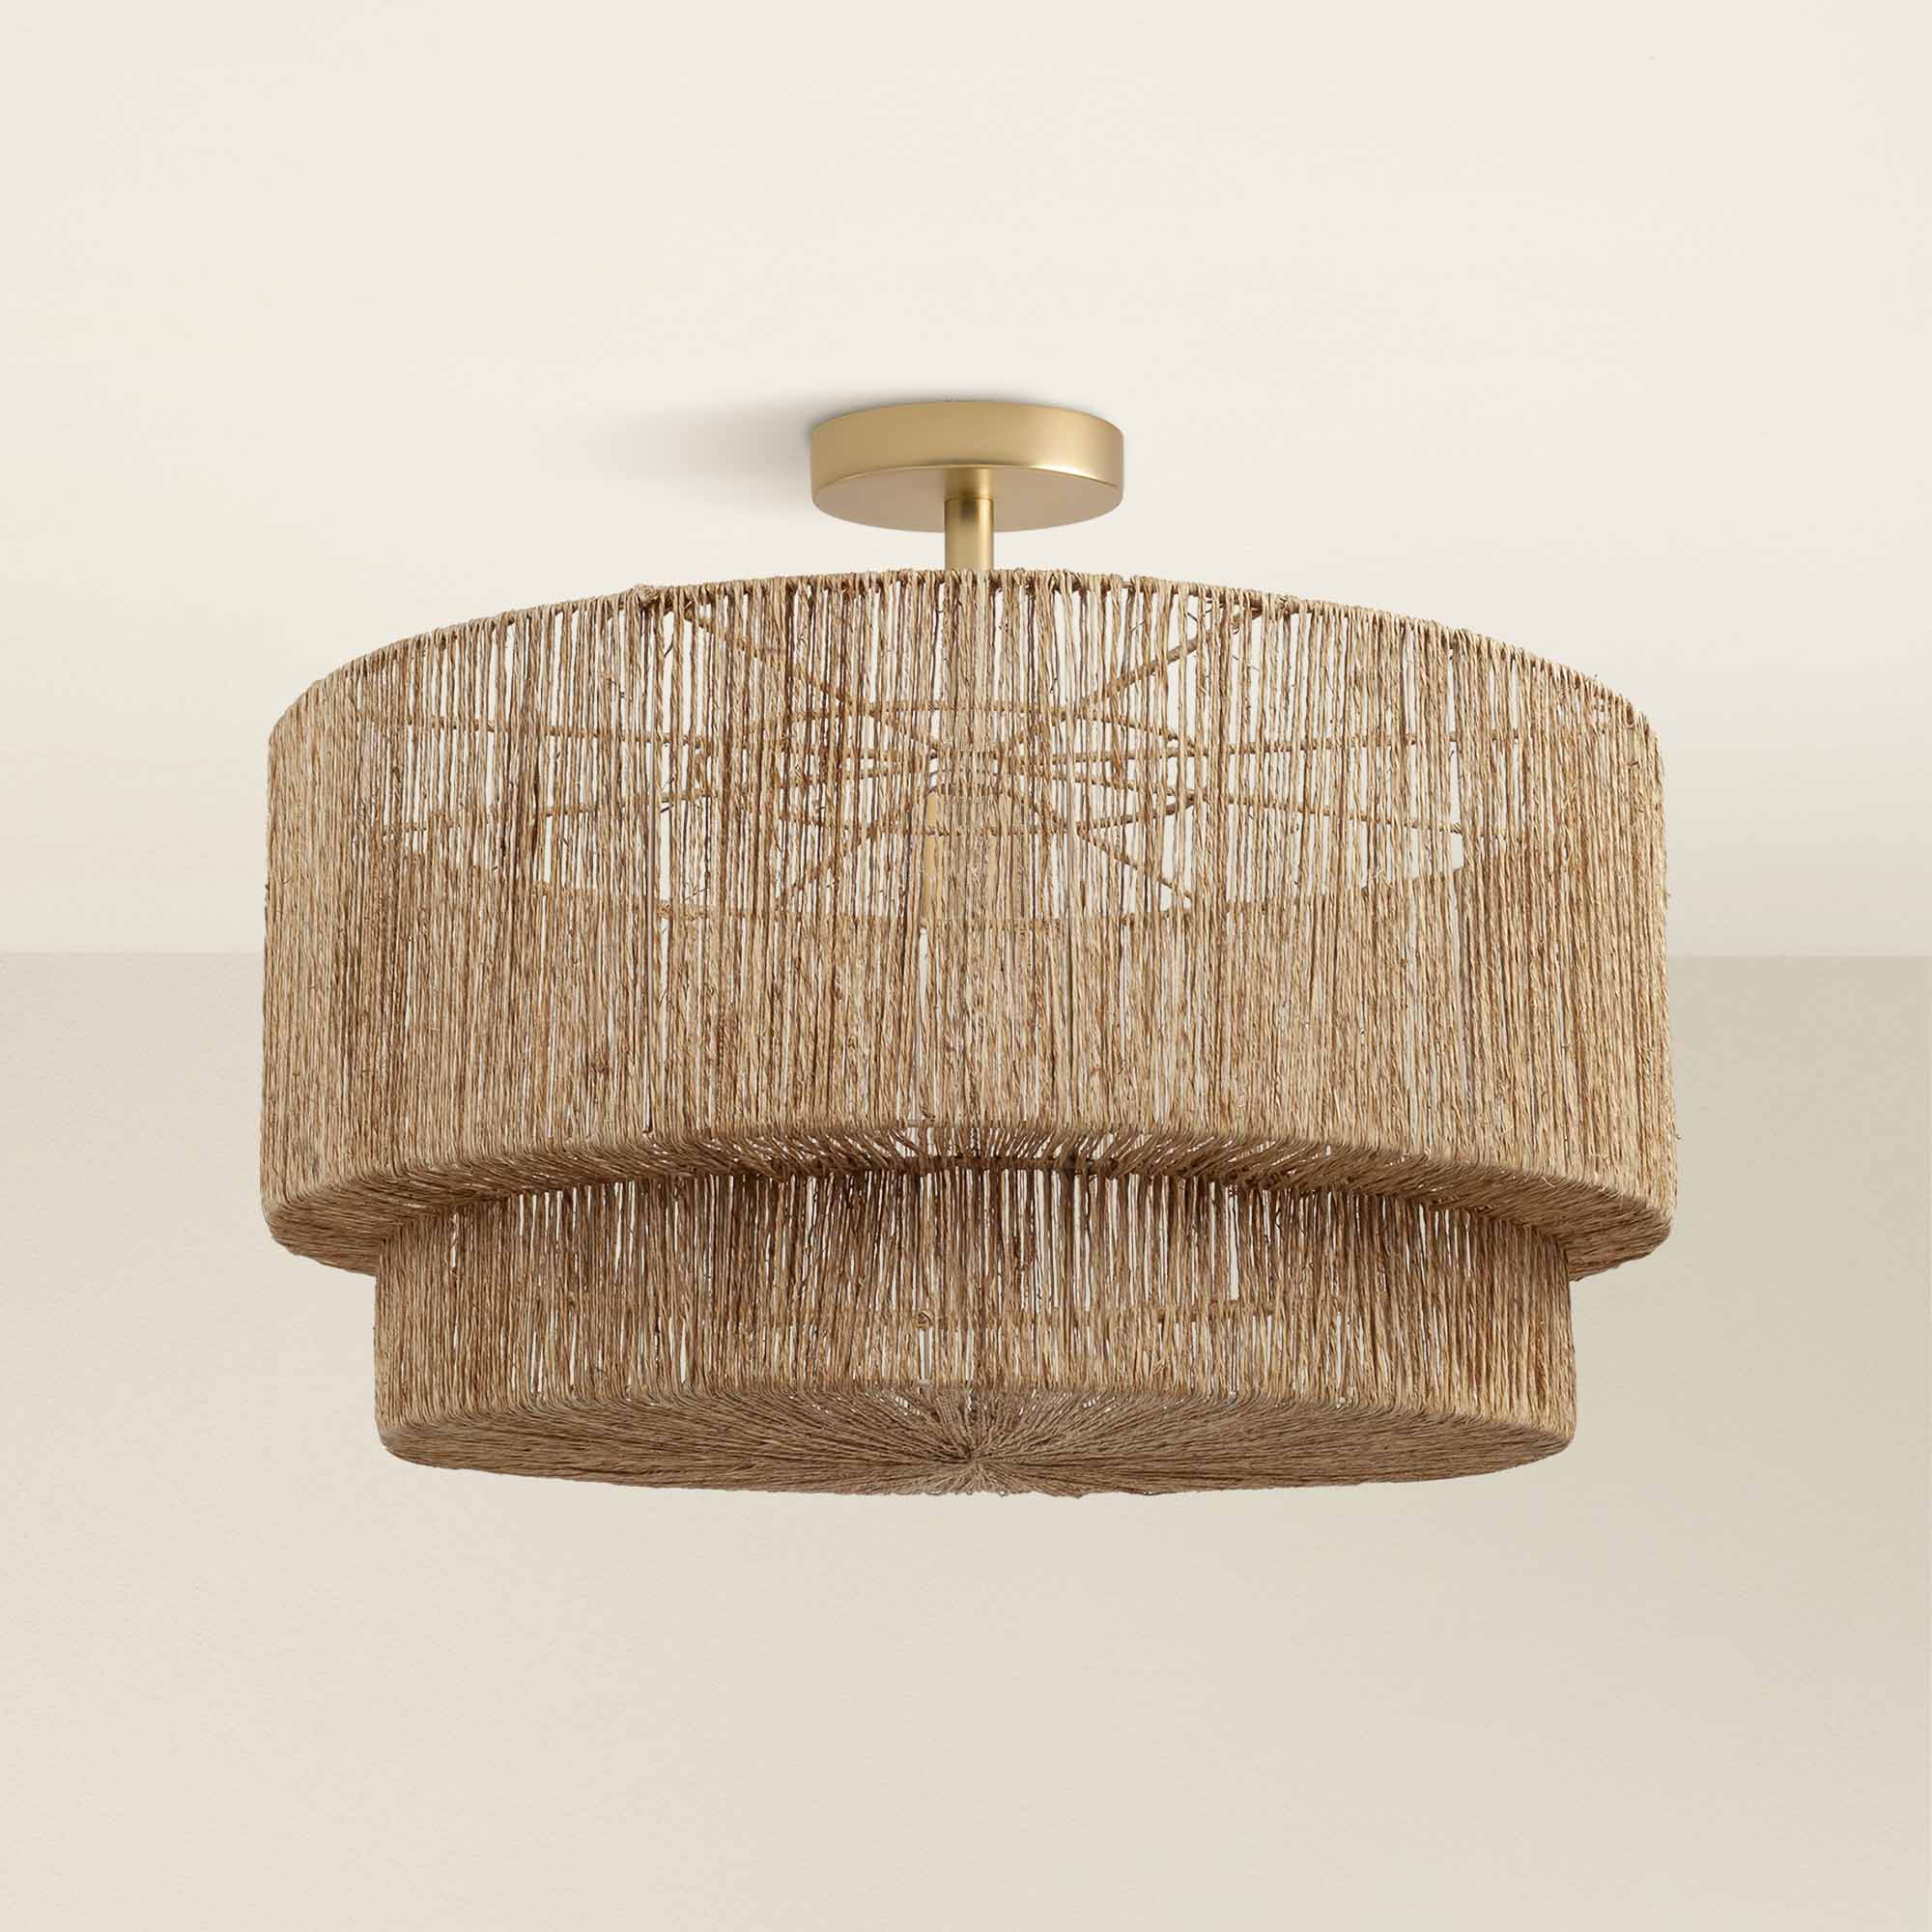
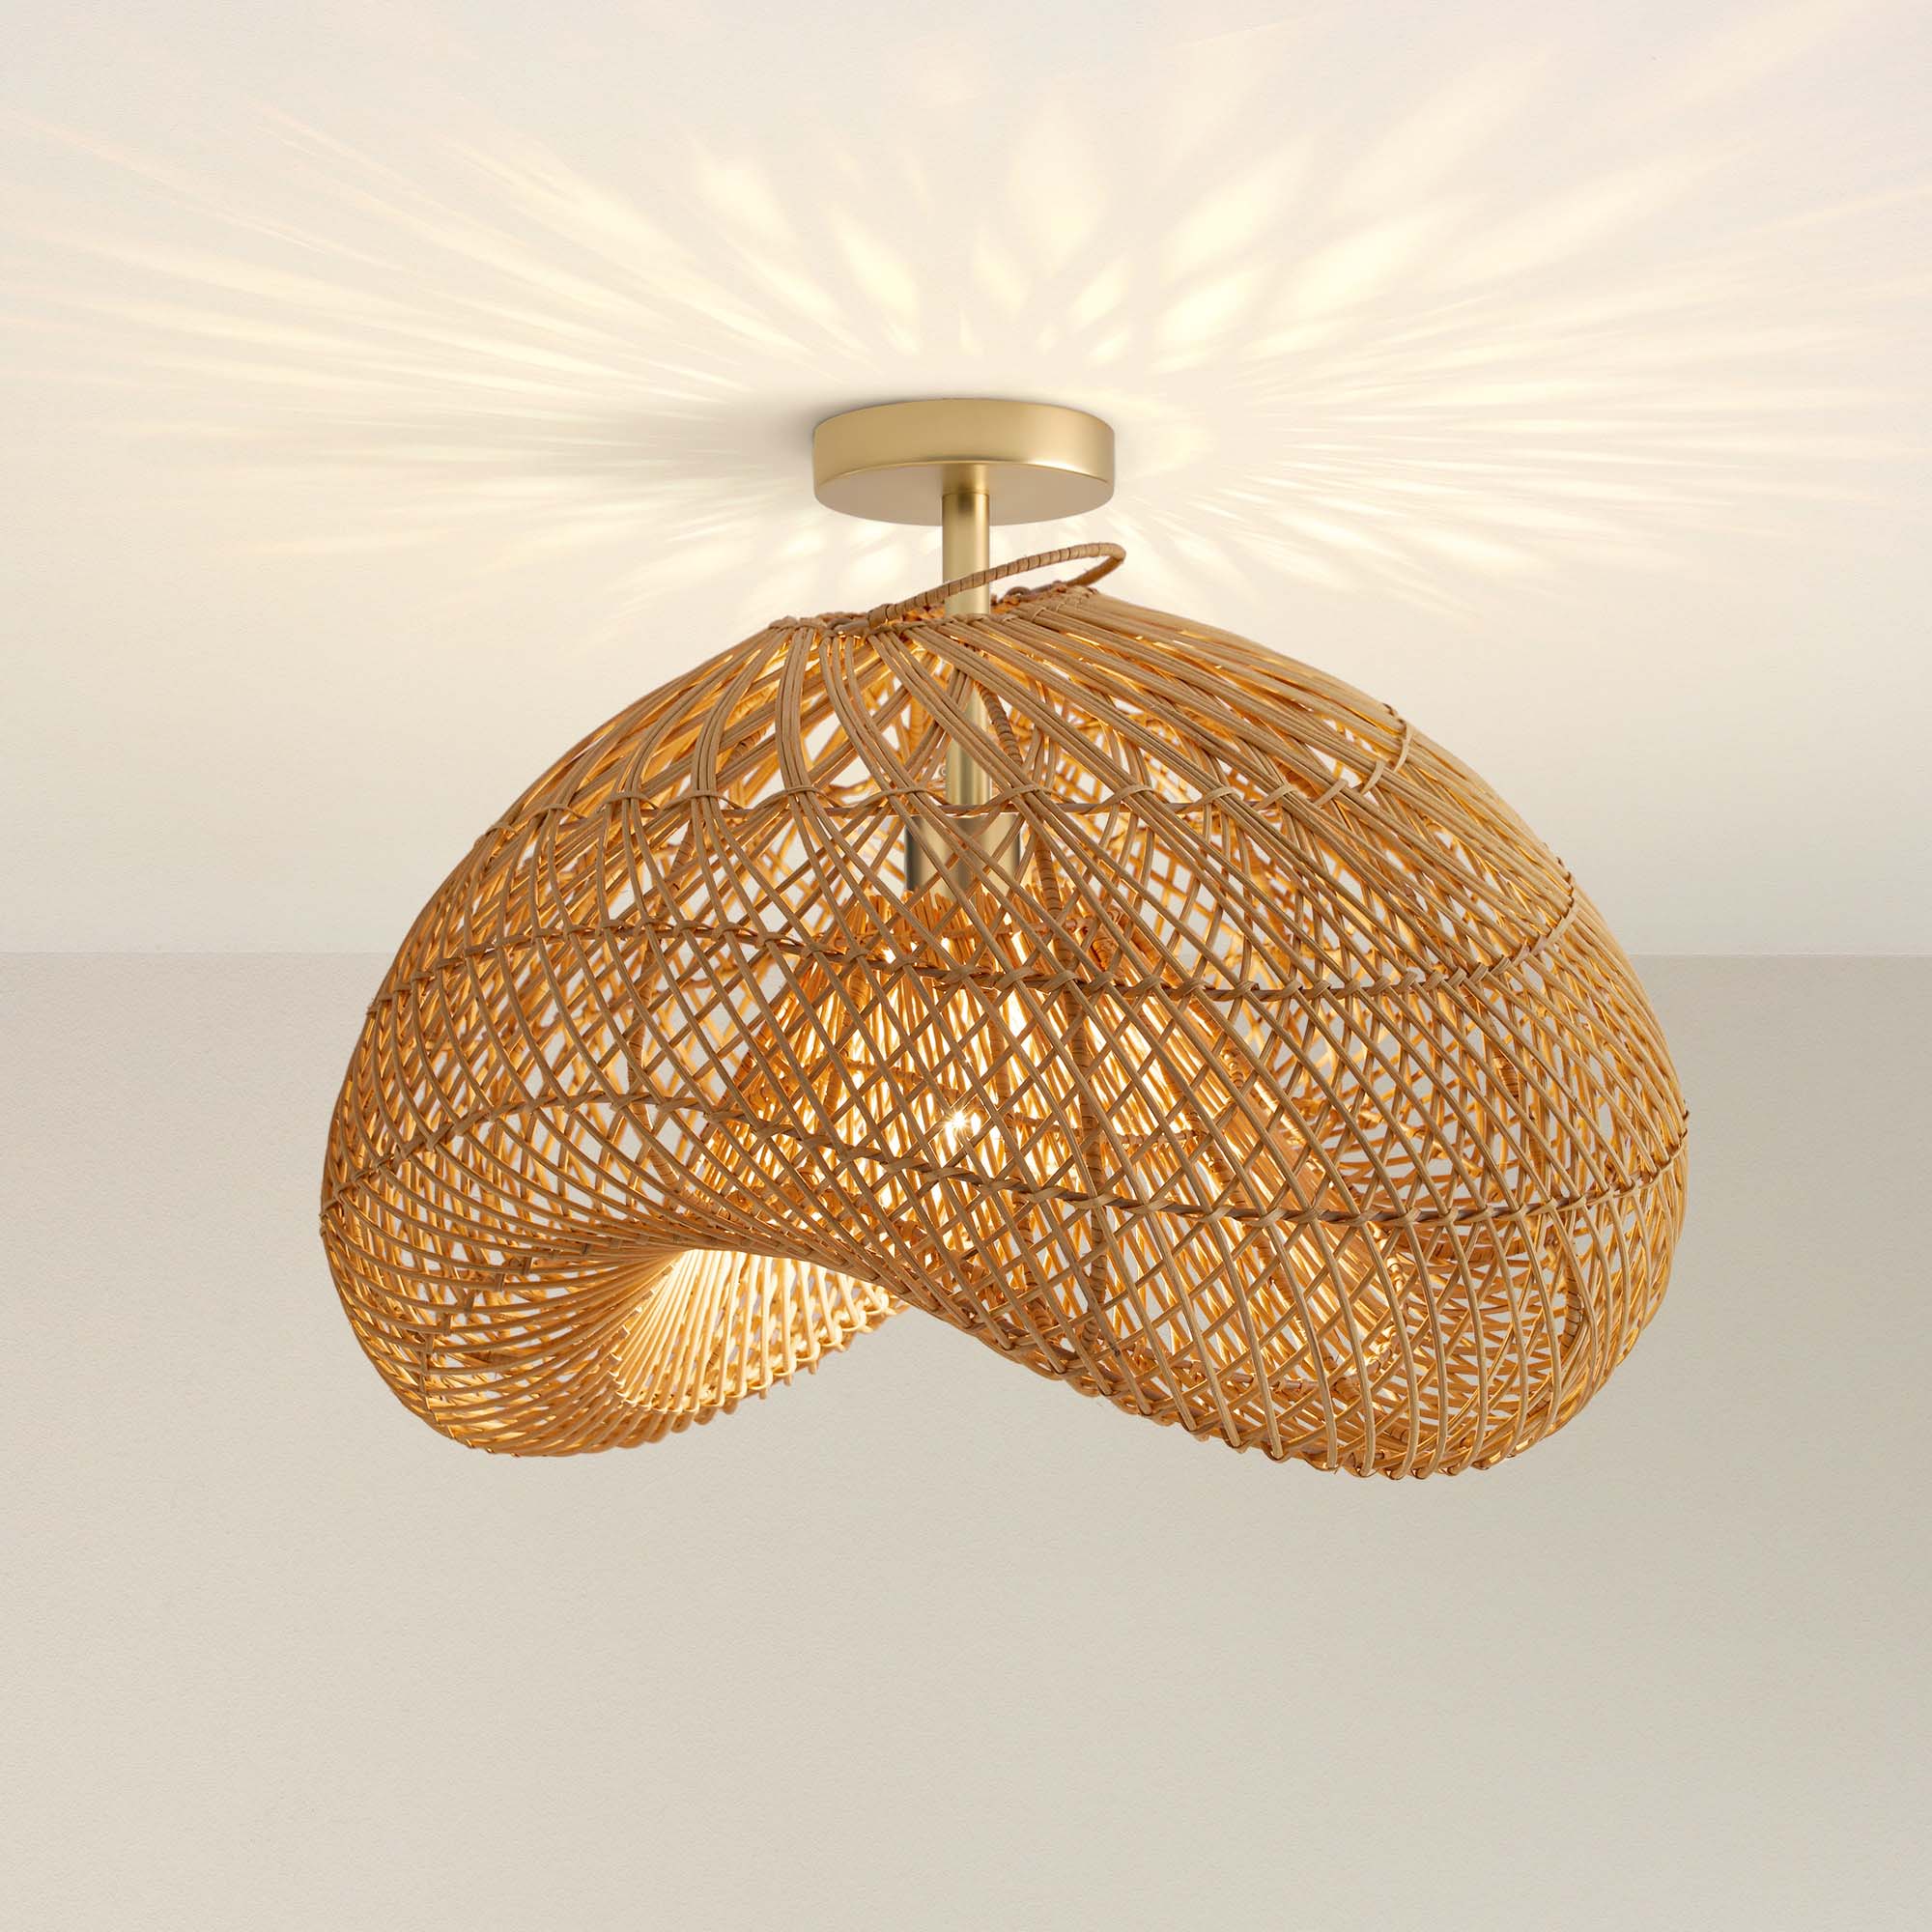
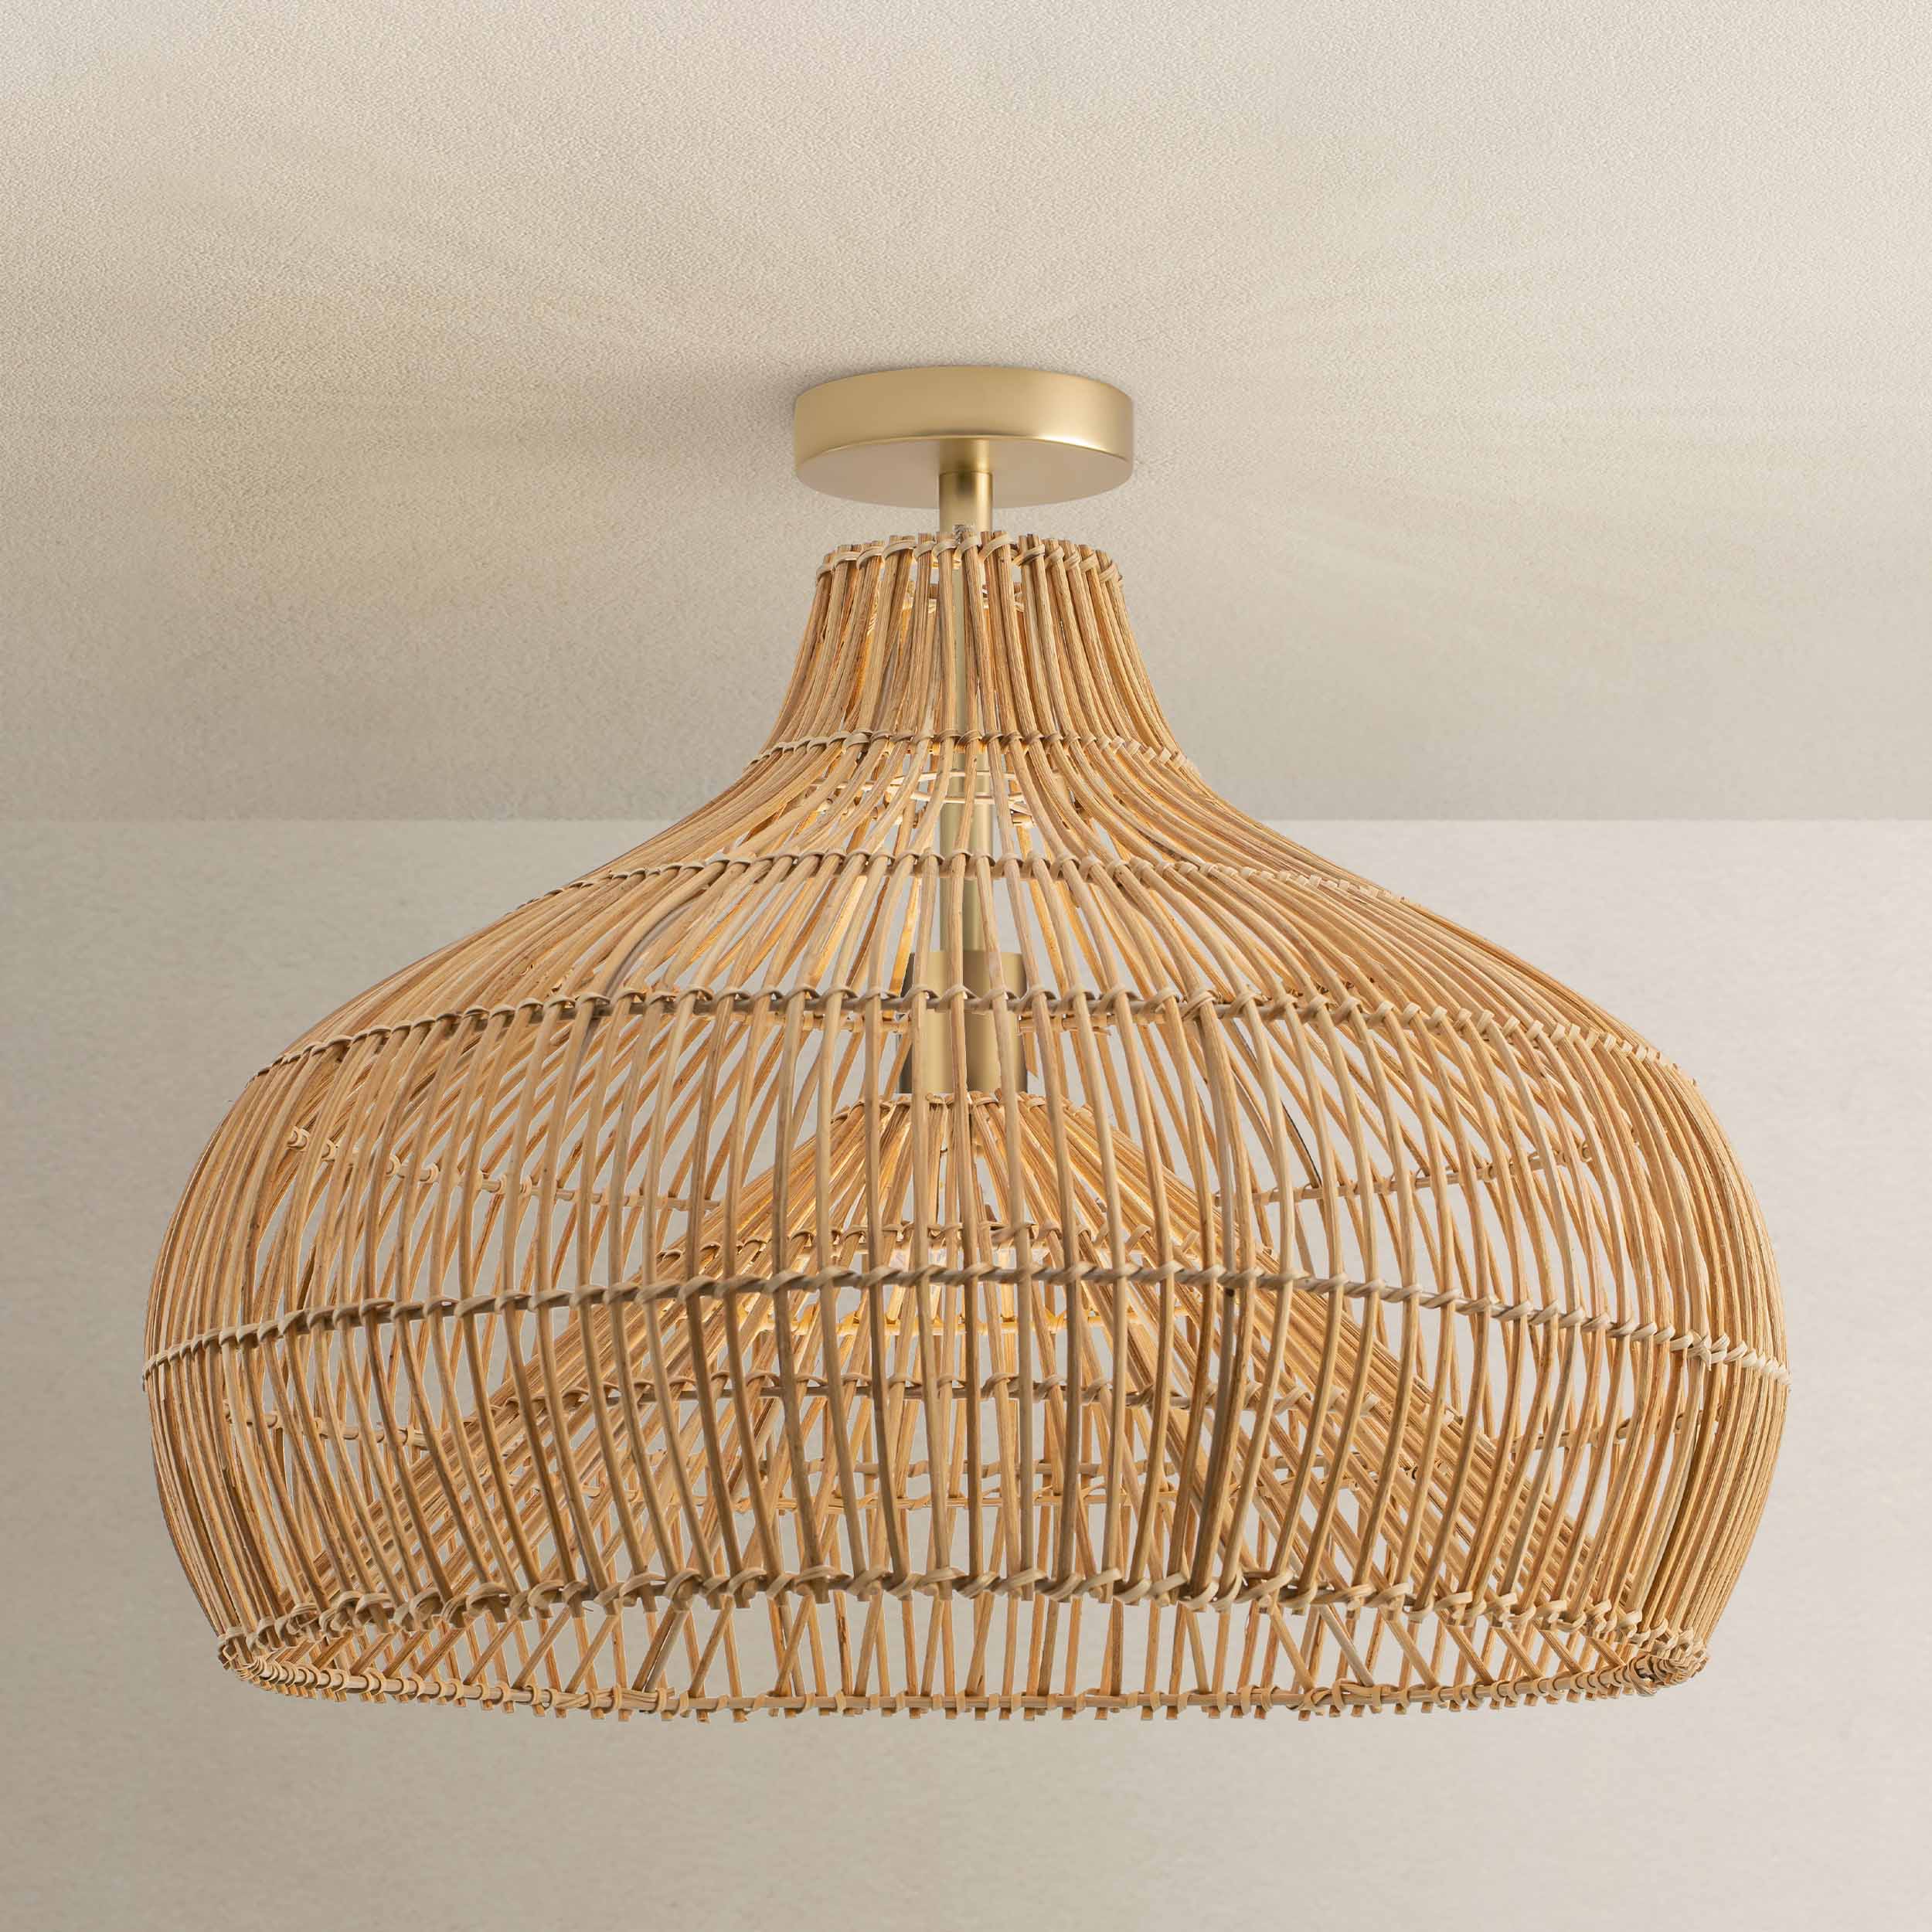
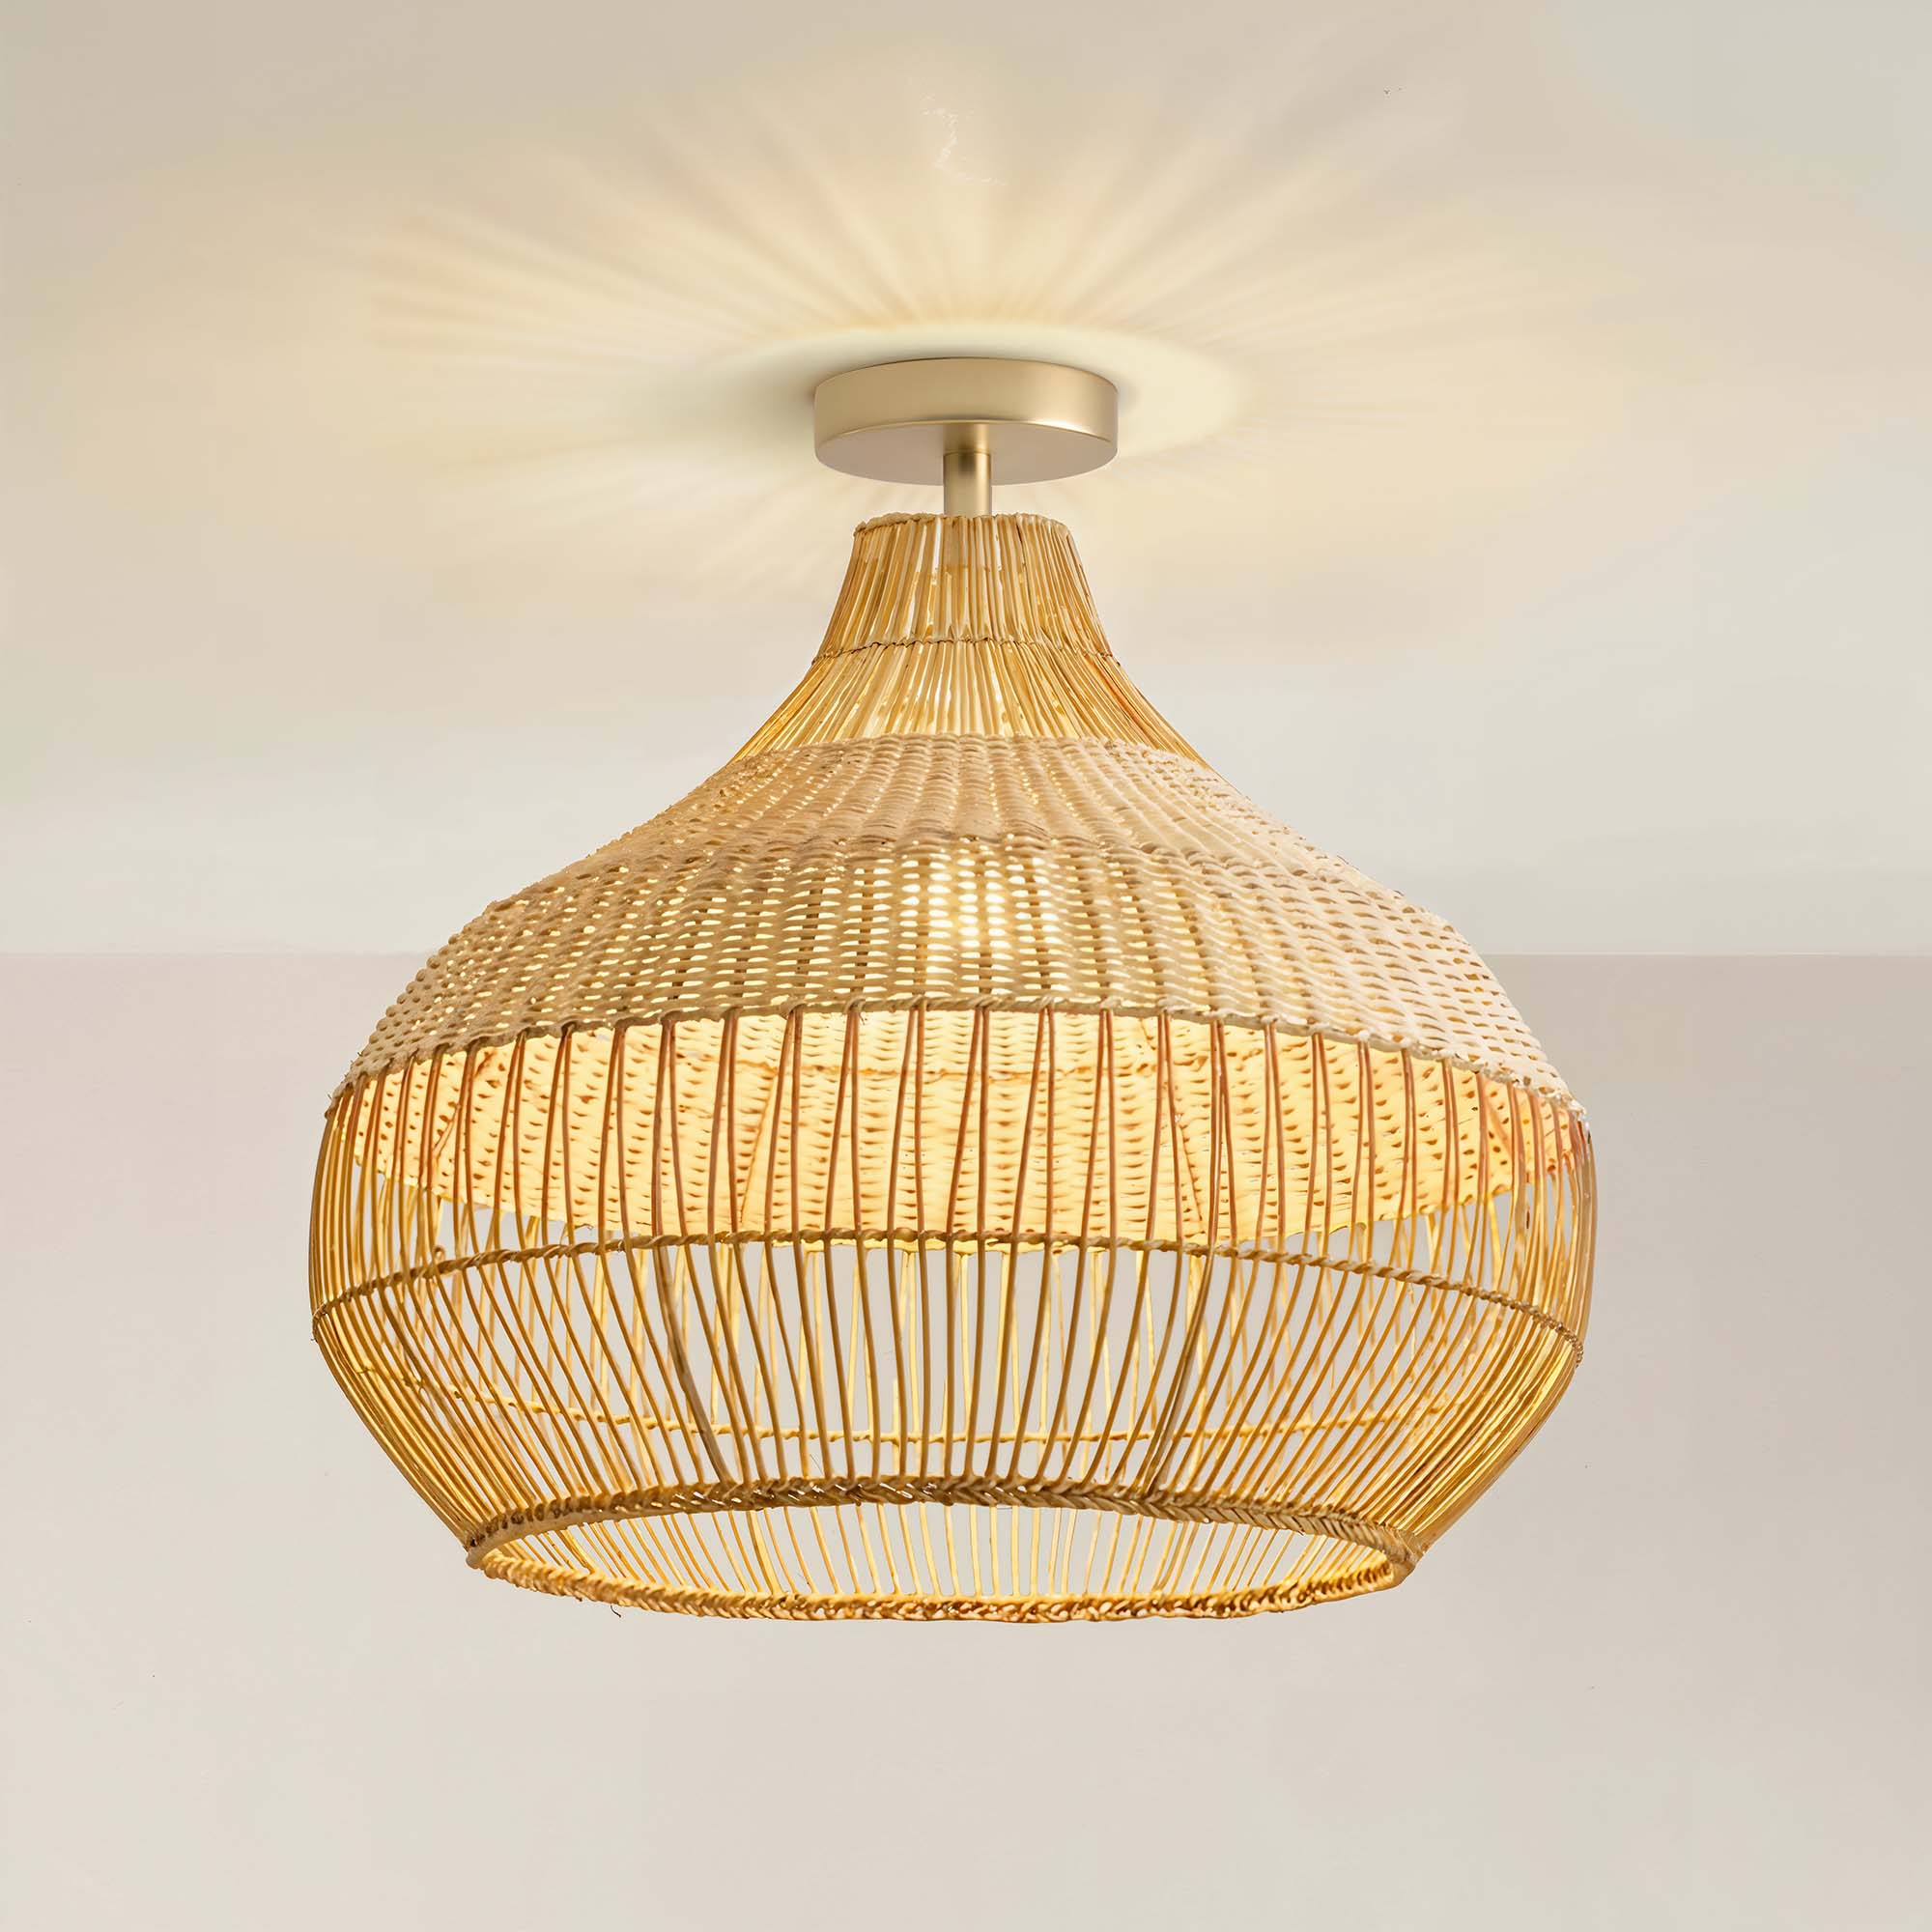
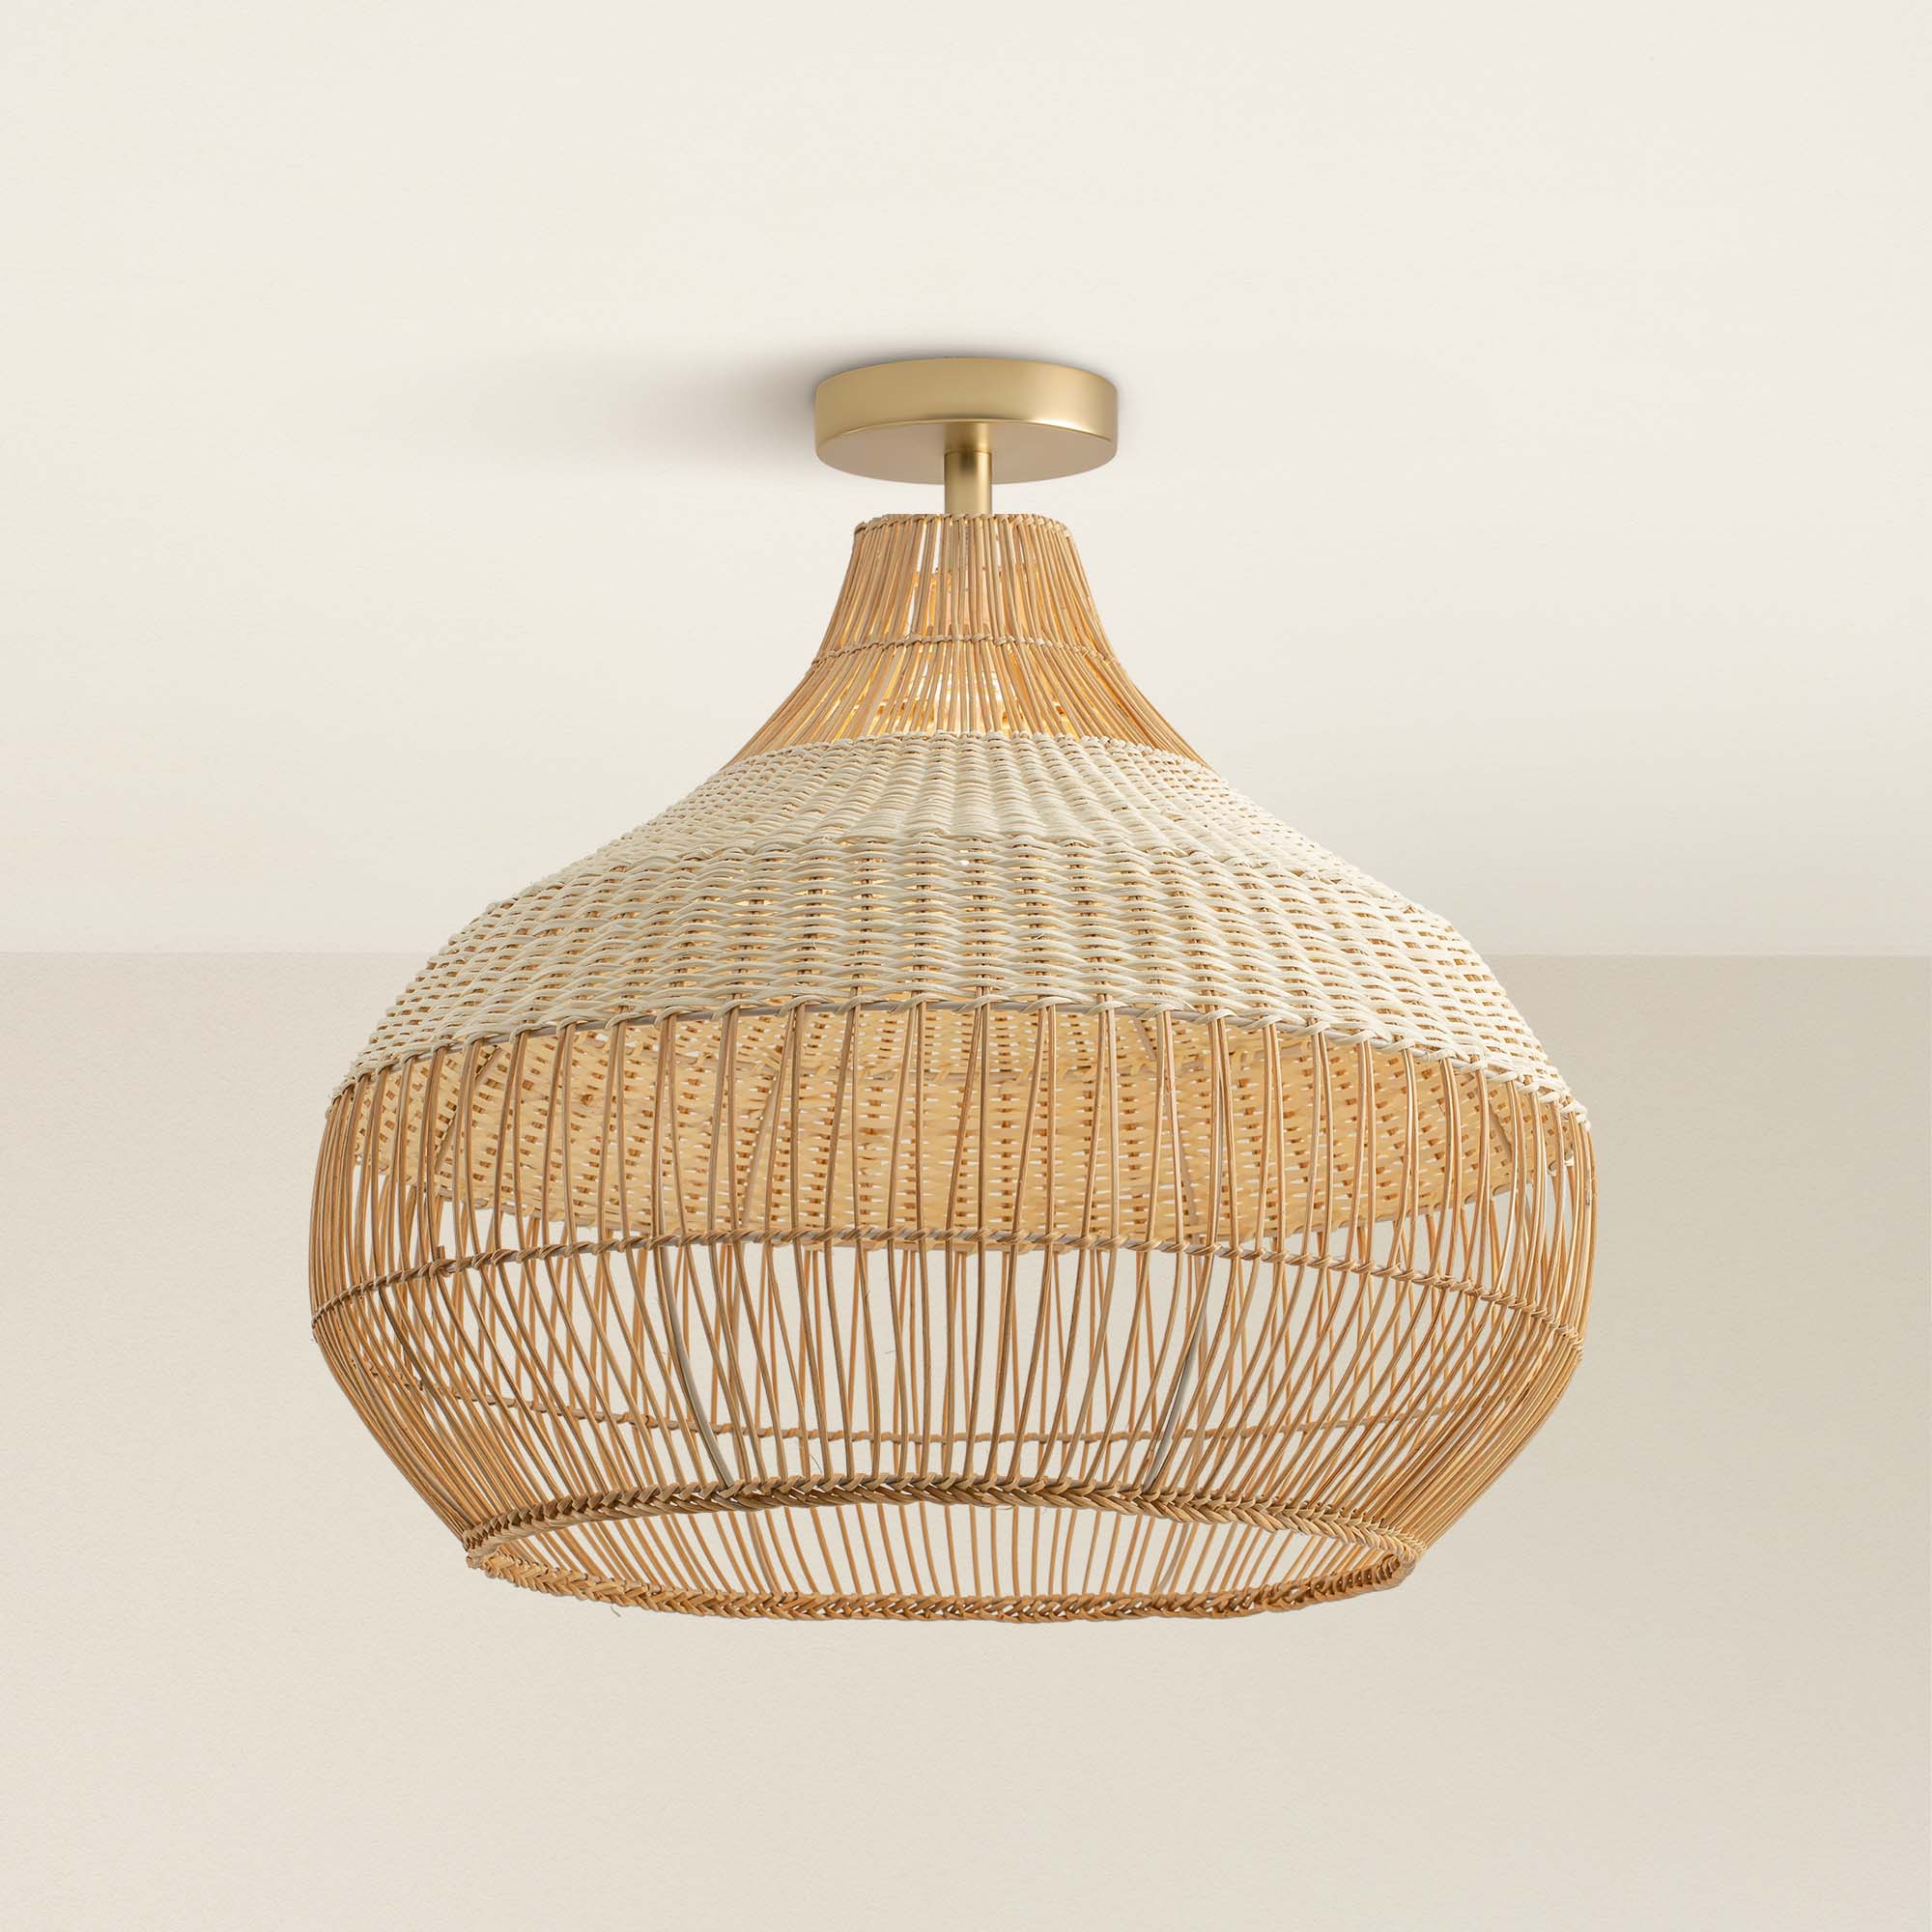
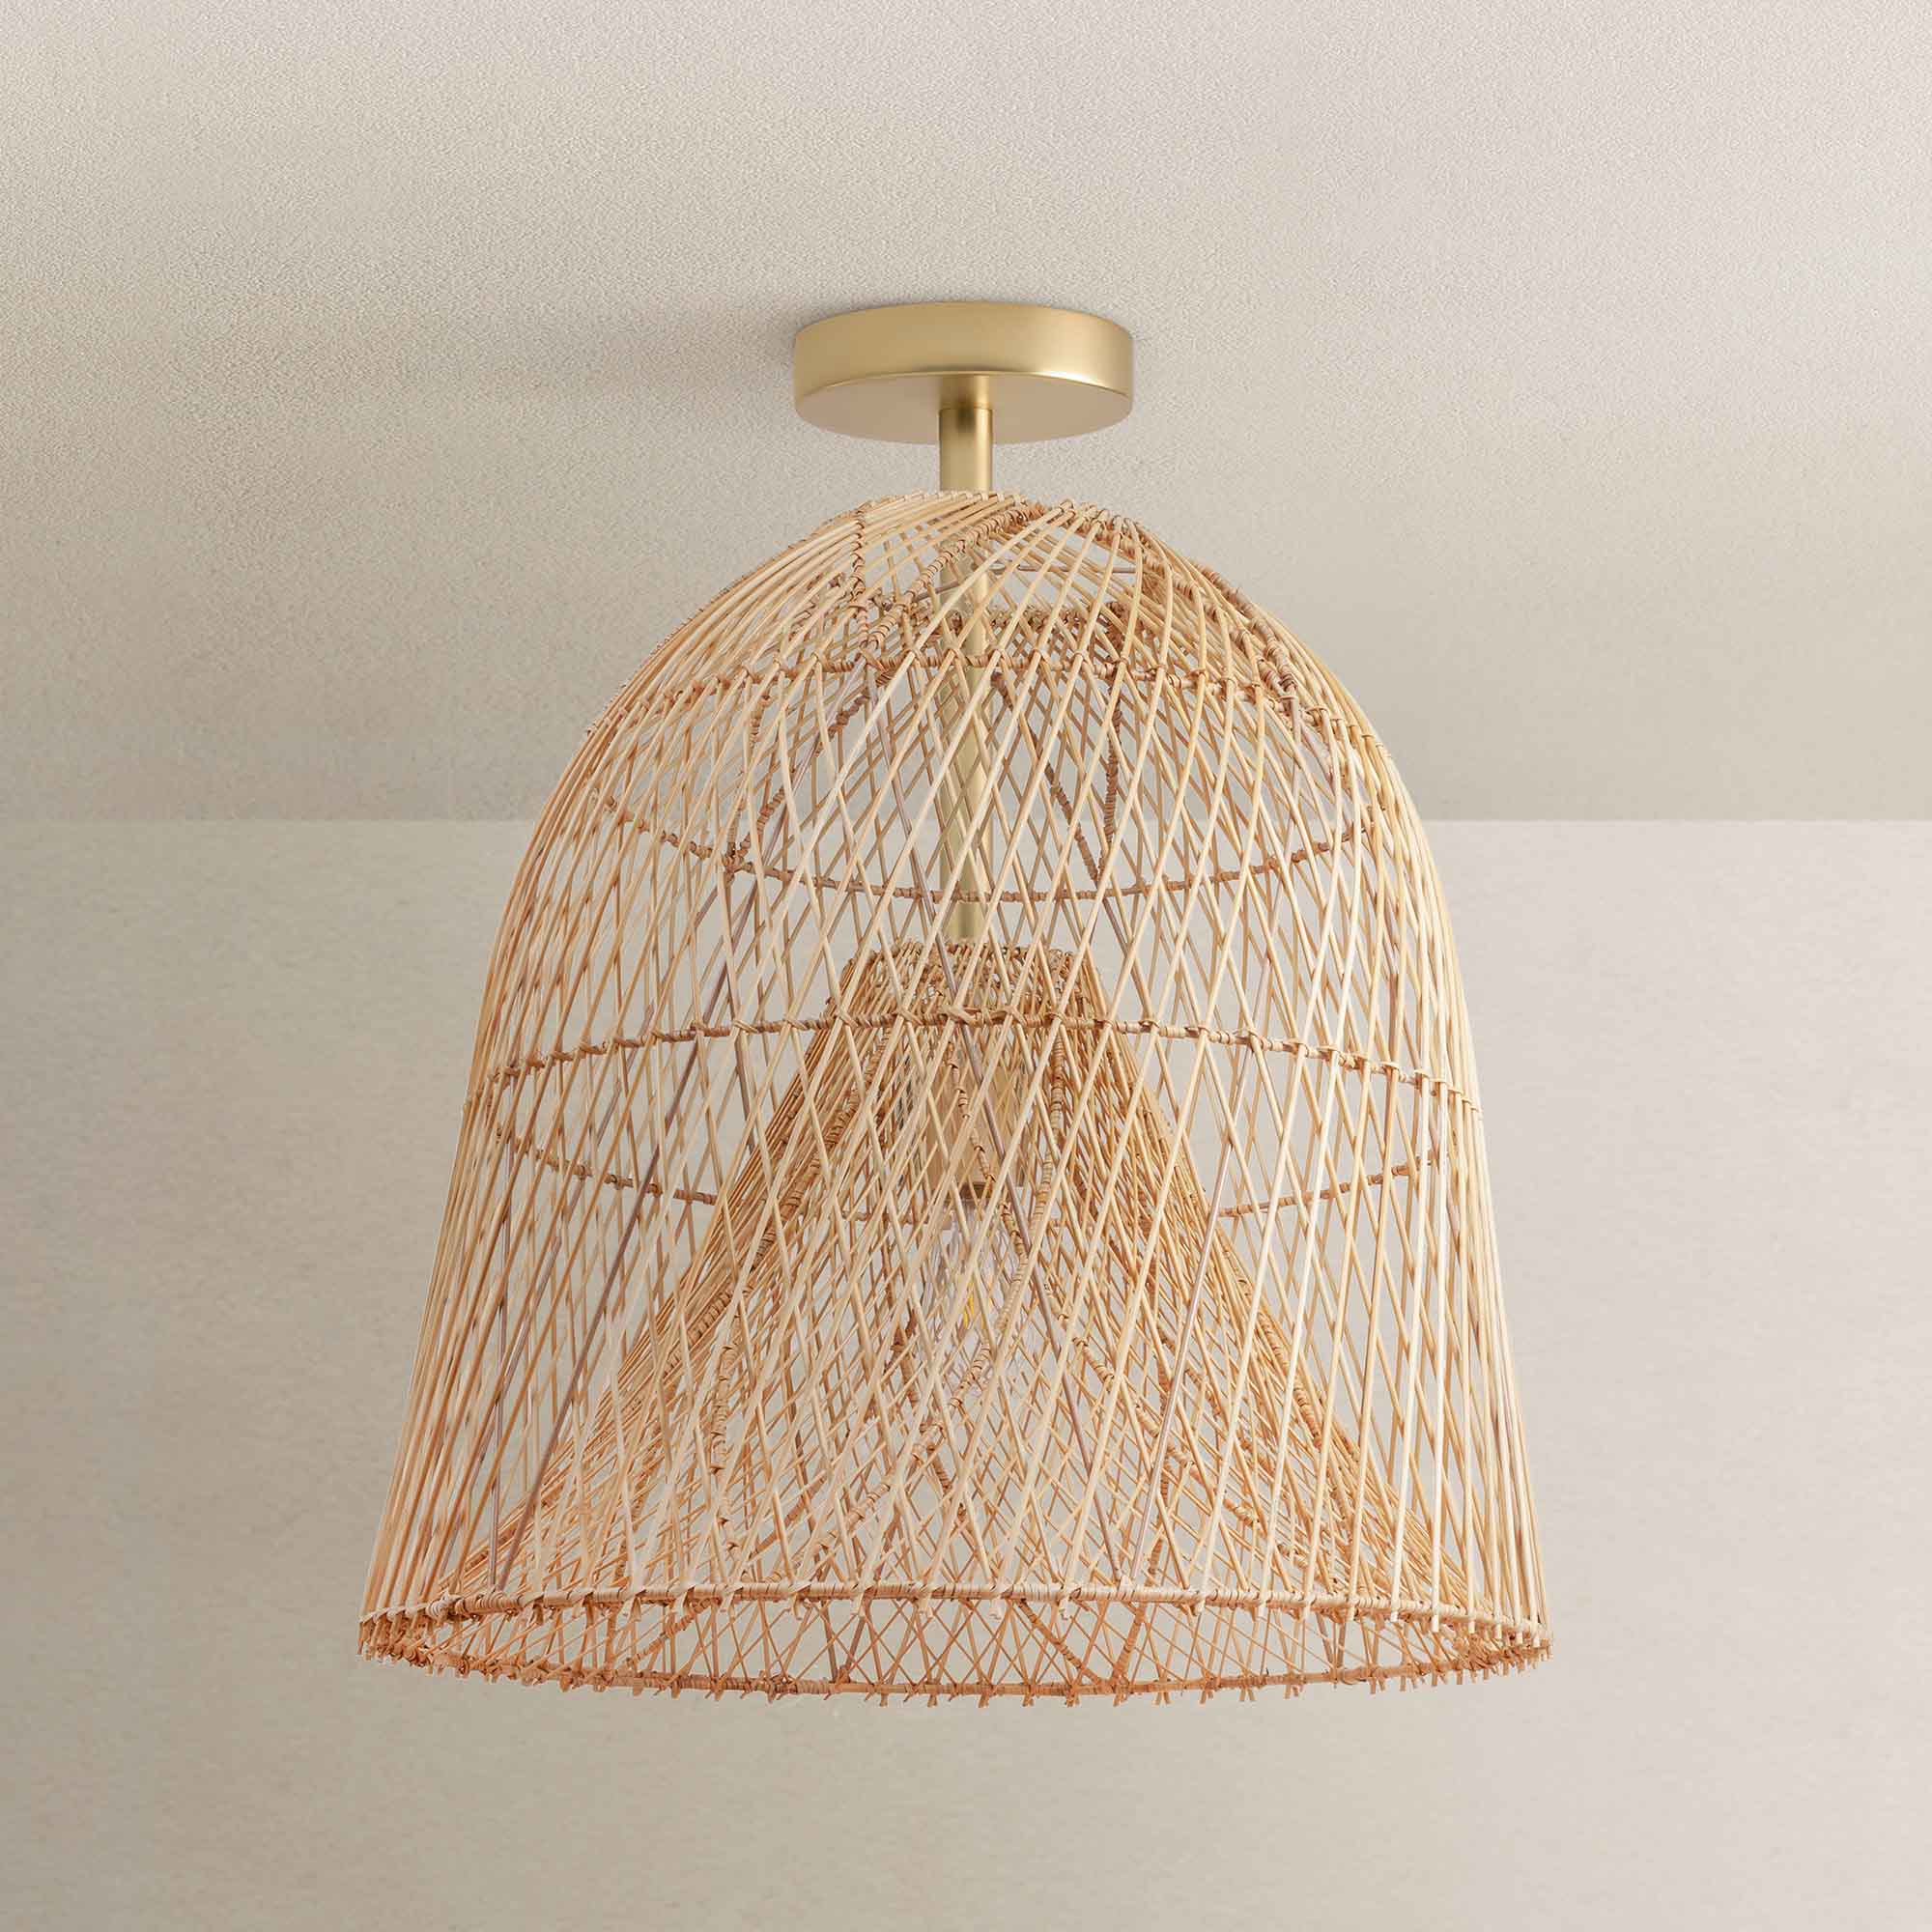
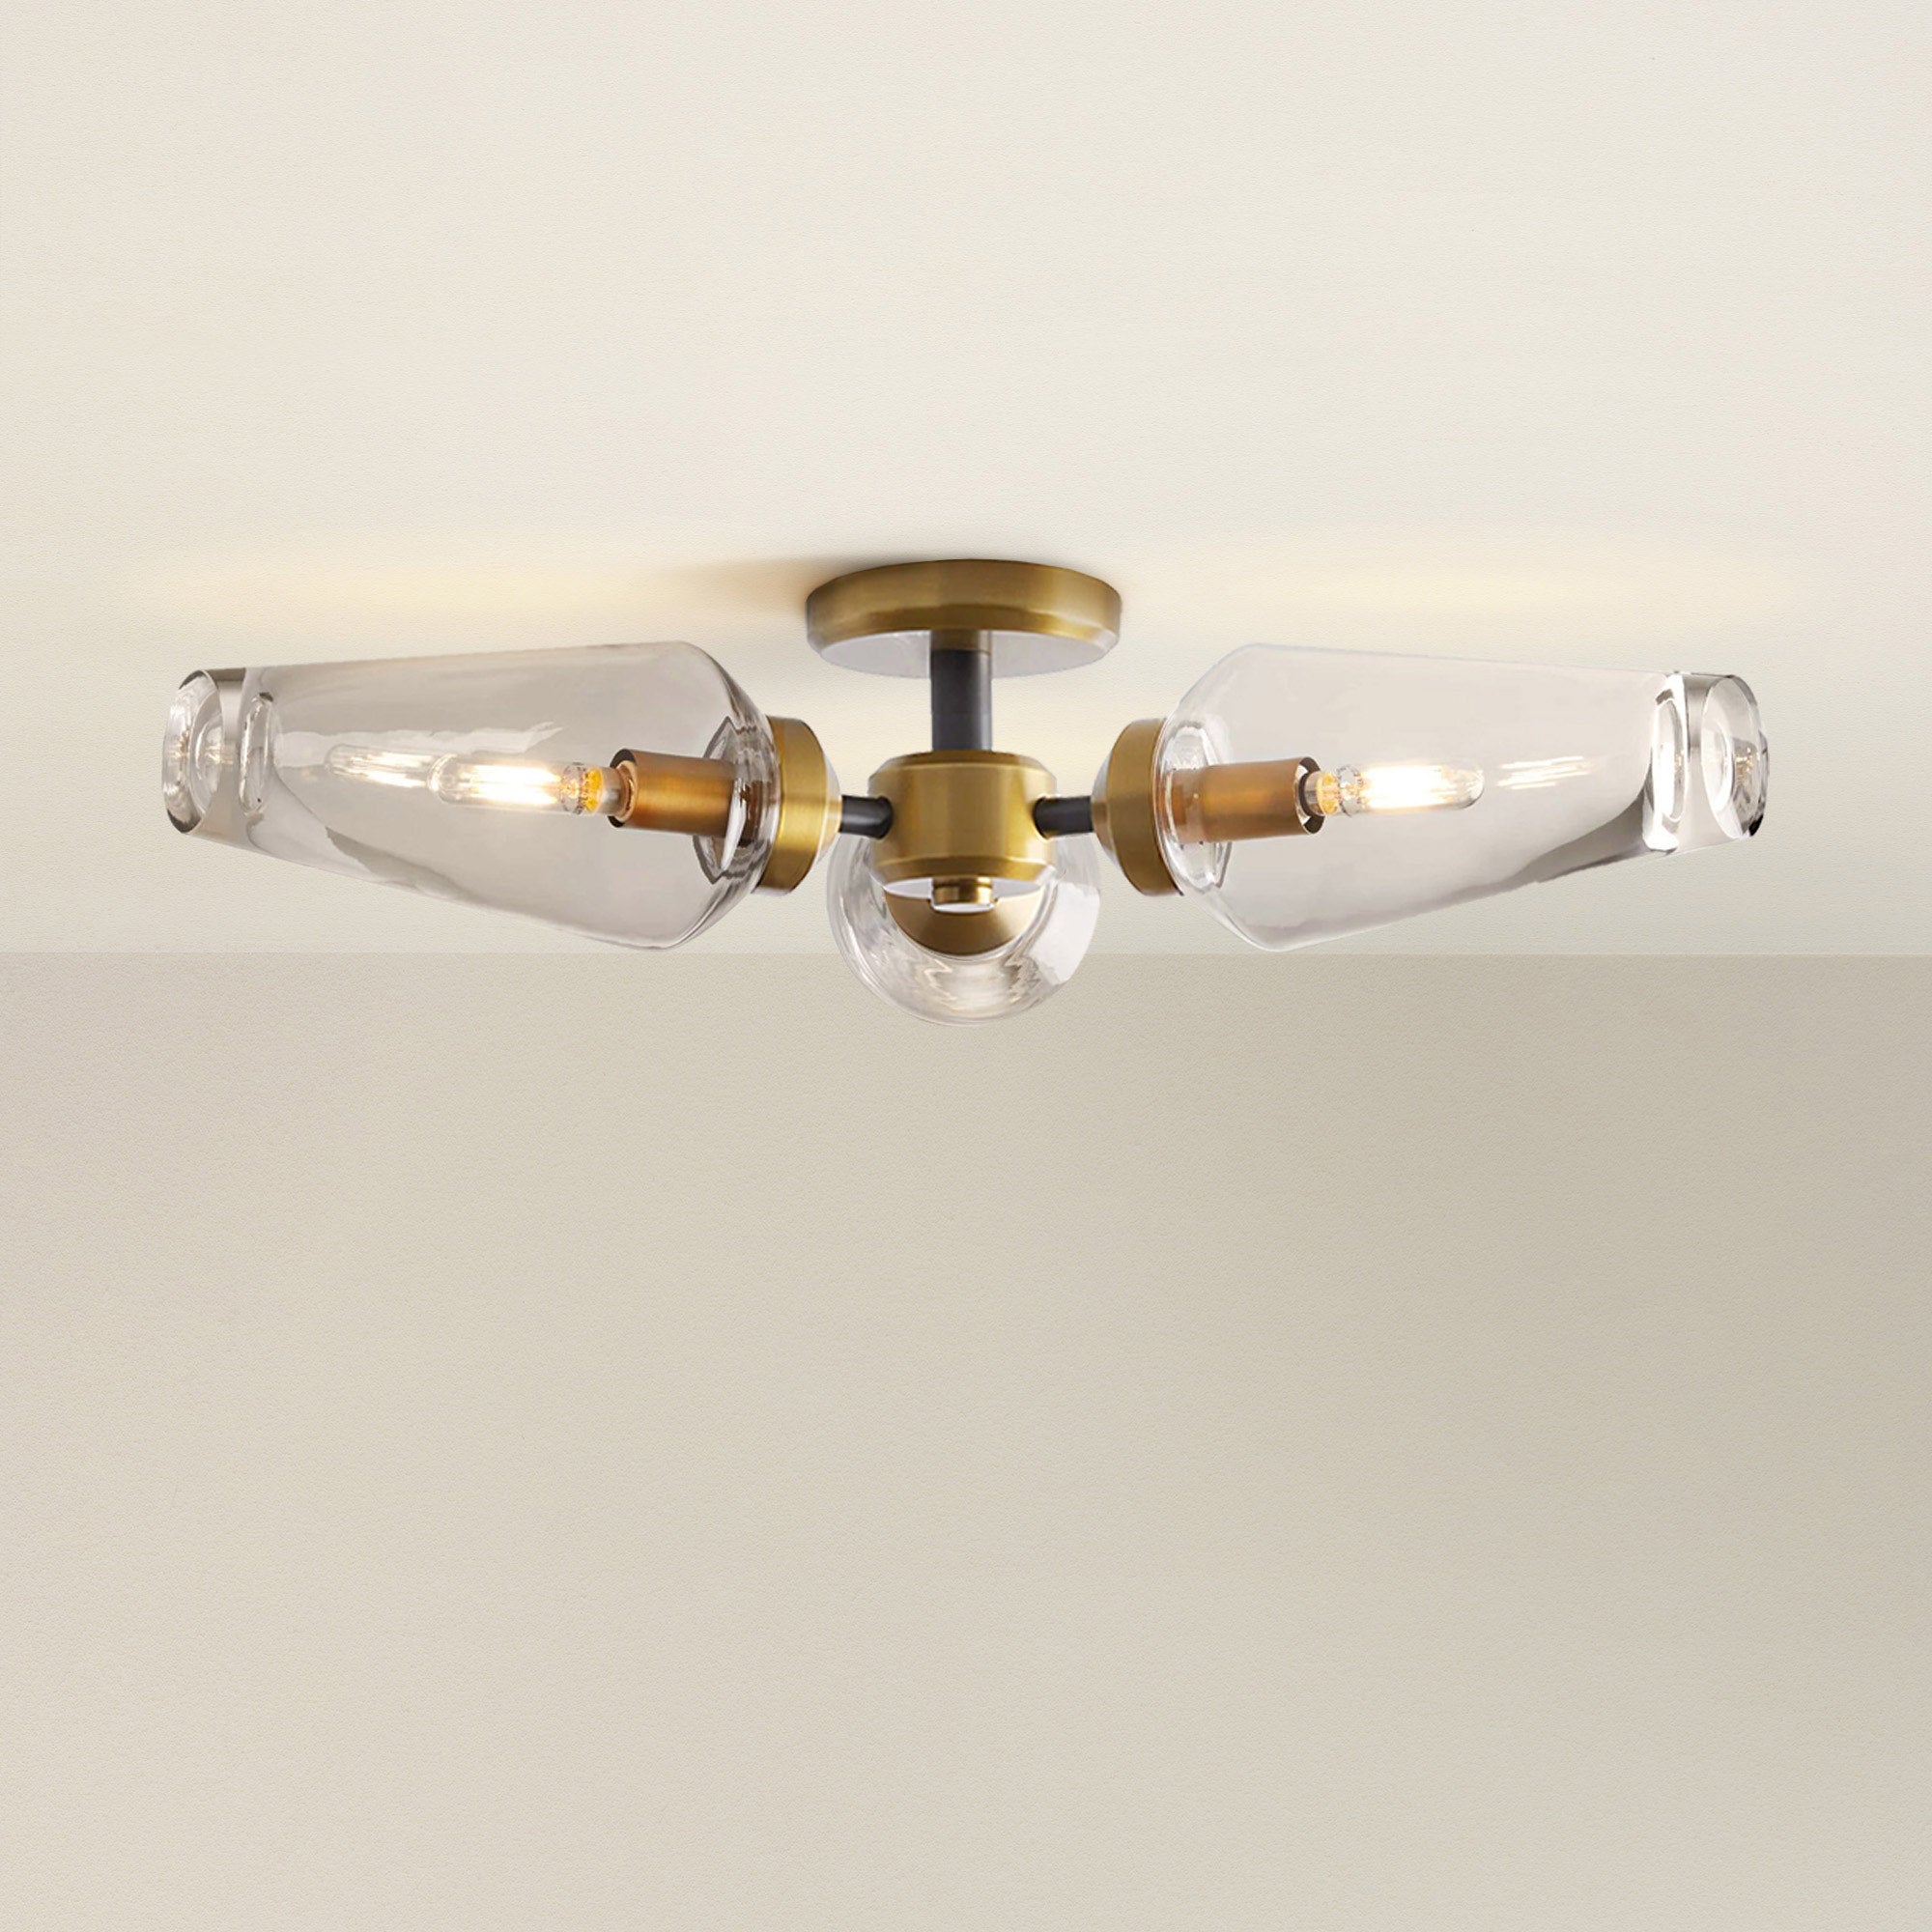
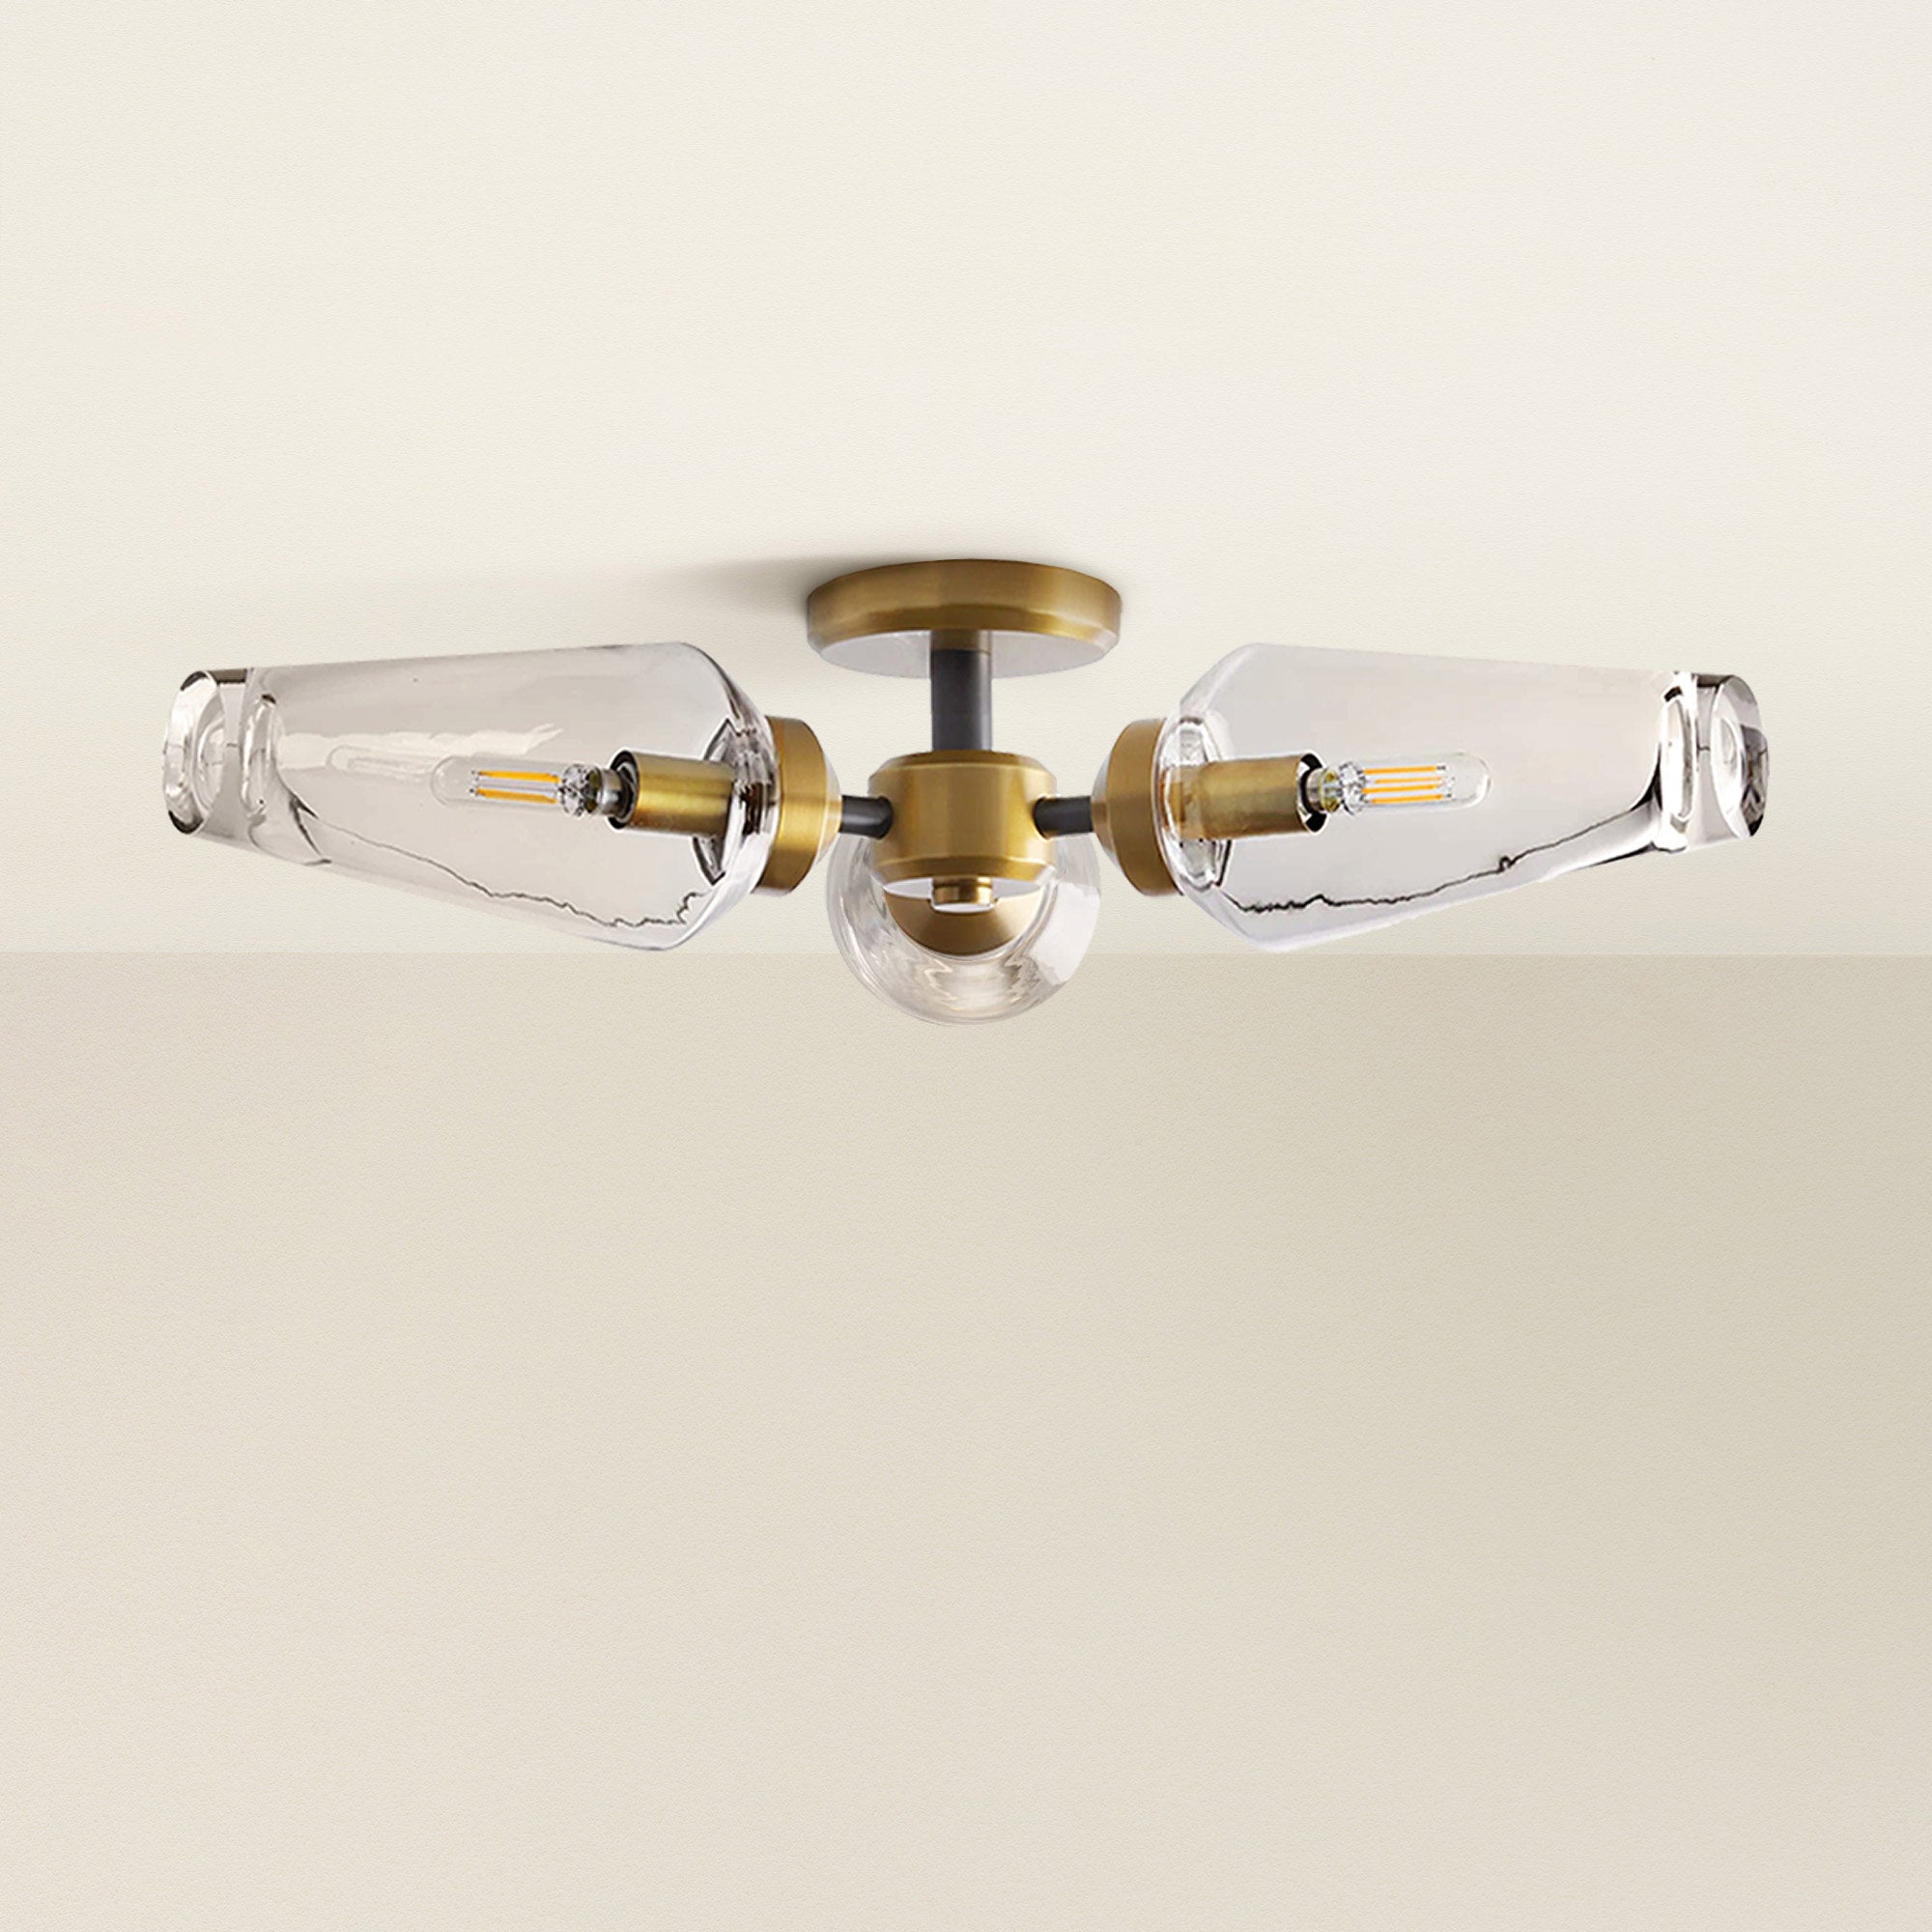
Choosing a ceiling light fixture
Before you replace your old light fixture, it’s essential to decide on the new ceiling light that will best enhance your space. The right light fixture can dramatically transform the look and feel of a room, adding both functionality and style.
Whether you’re aiming for ambient lighting to create a warm atmosphere, task lighting for focused activities, or accent lighting to highlight decor, there’s a vast array of options to explore.
Uncorver more: 25+ Modern Contemporary Ceiling Lights Ideas
What you'll need
Before you begin, gather the necessary tools and materials.
Tools
- Screwdriver: A flathead and a Phillips screwdriver may be required.
- Circuit tester: To ensure that the power is off before you start working.
- Step stool or ladder: This is for reaching the ceiling fixture safely.
Materials
- New ceiling light fixture: Choose one that fits your style and the room’s design.
- Wire connectors (wire nuts): To secure the wire connections.
- Electrical tape (if needed): For extra insulation on wire connections.
- Lightbulbs: Ensure they are compatible with the new fixture.
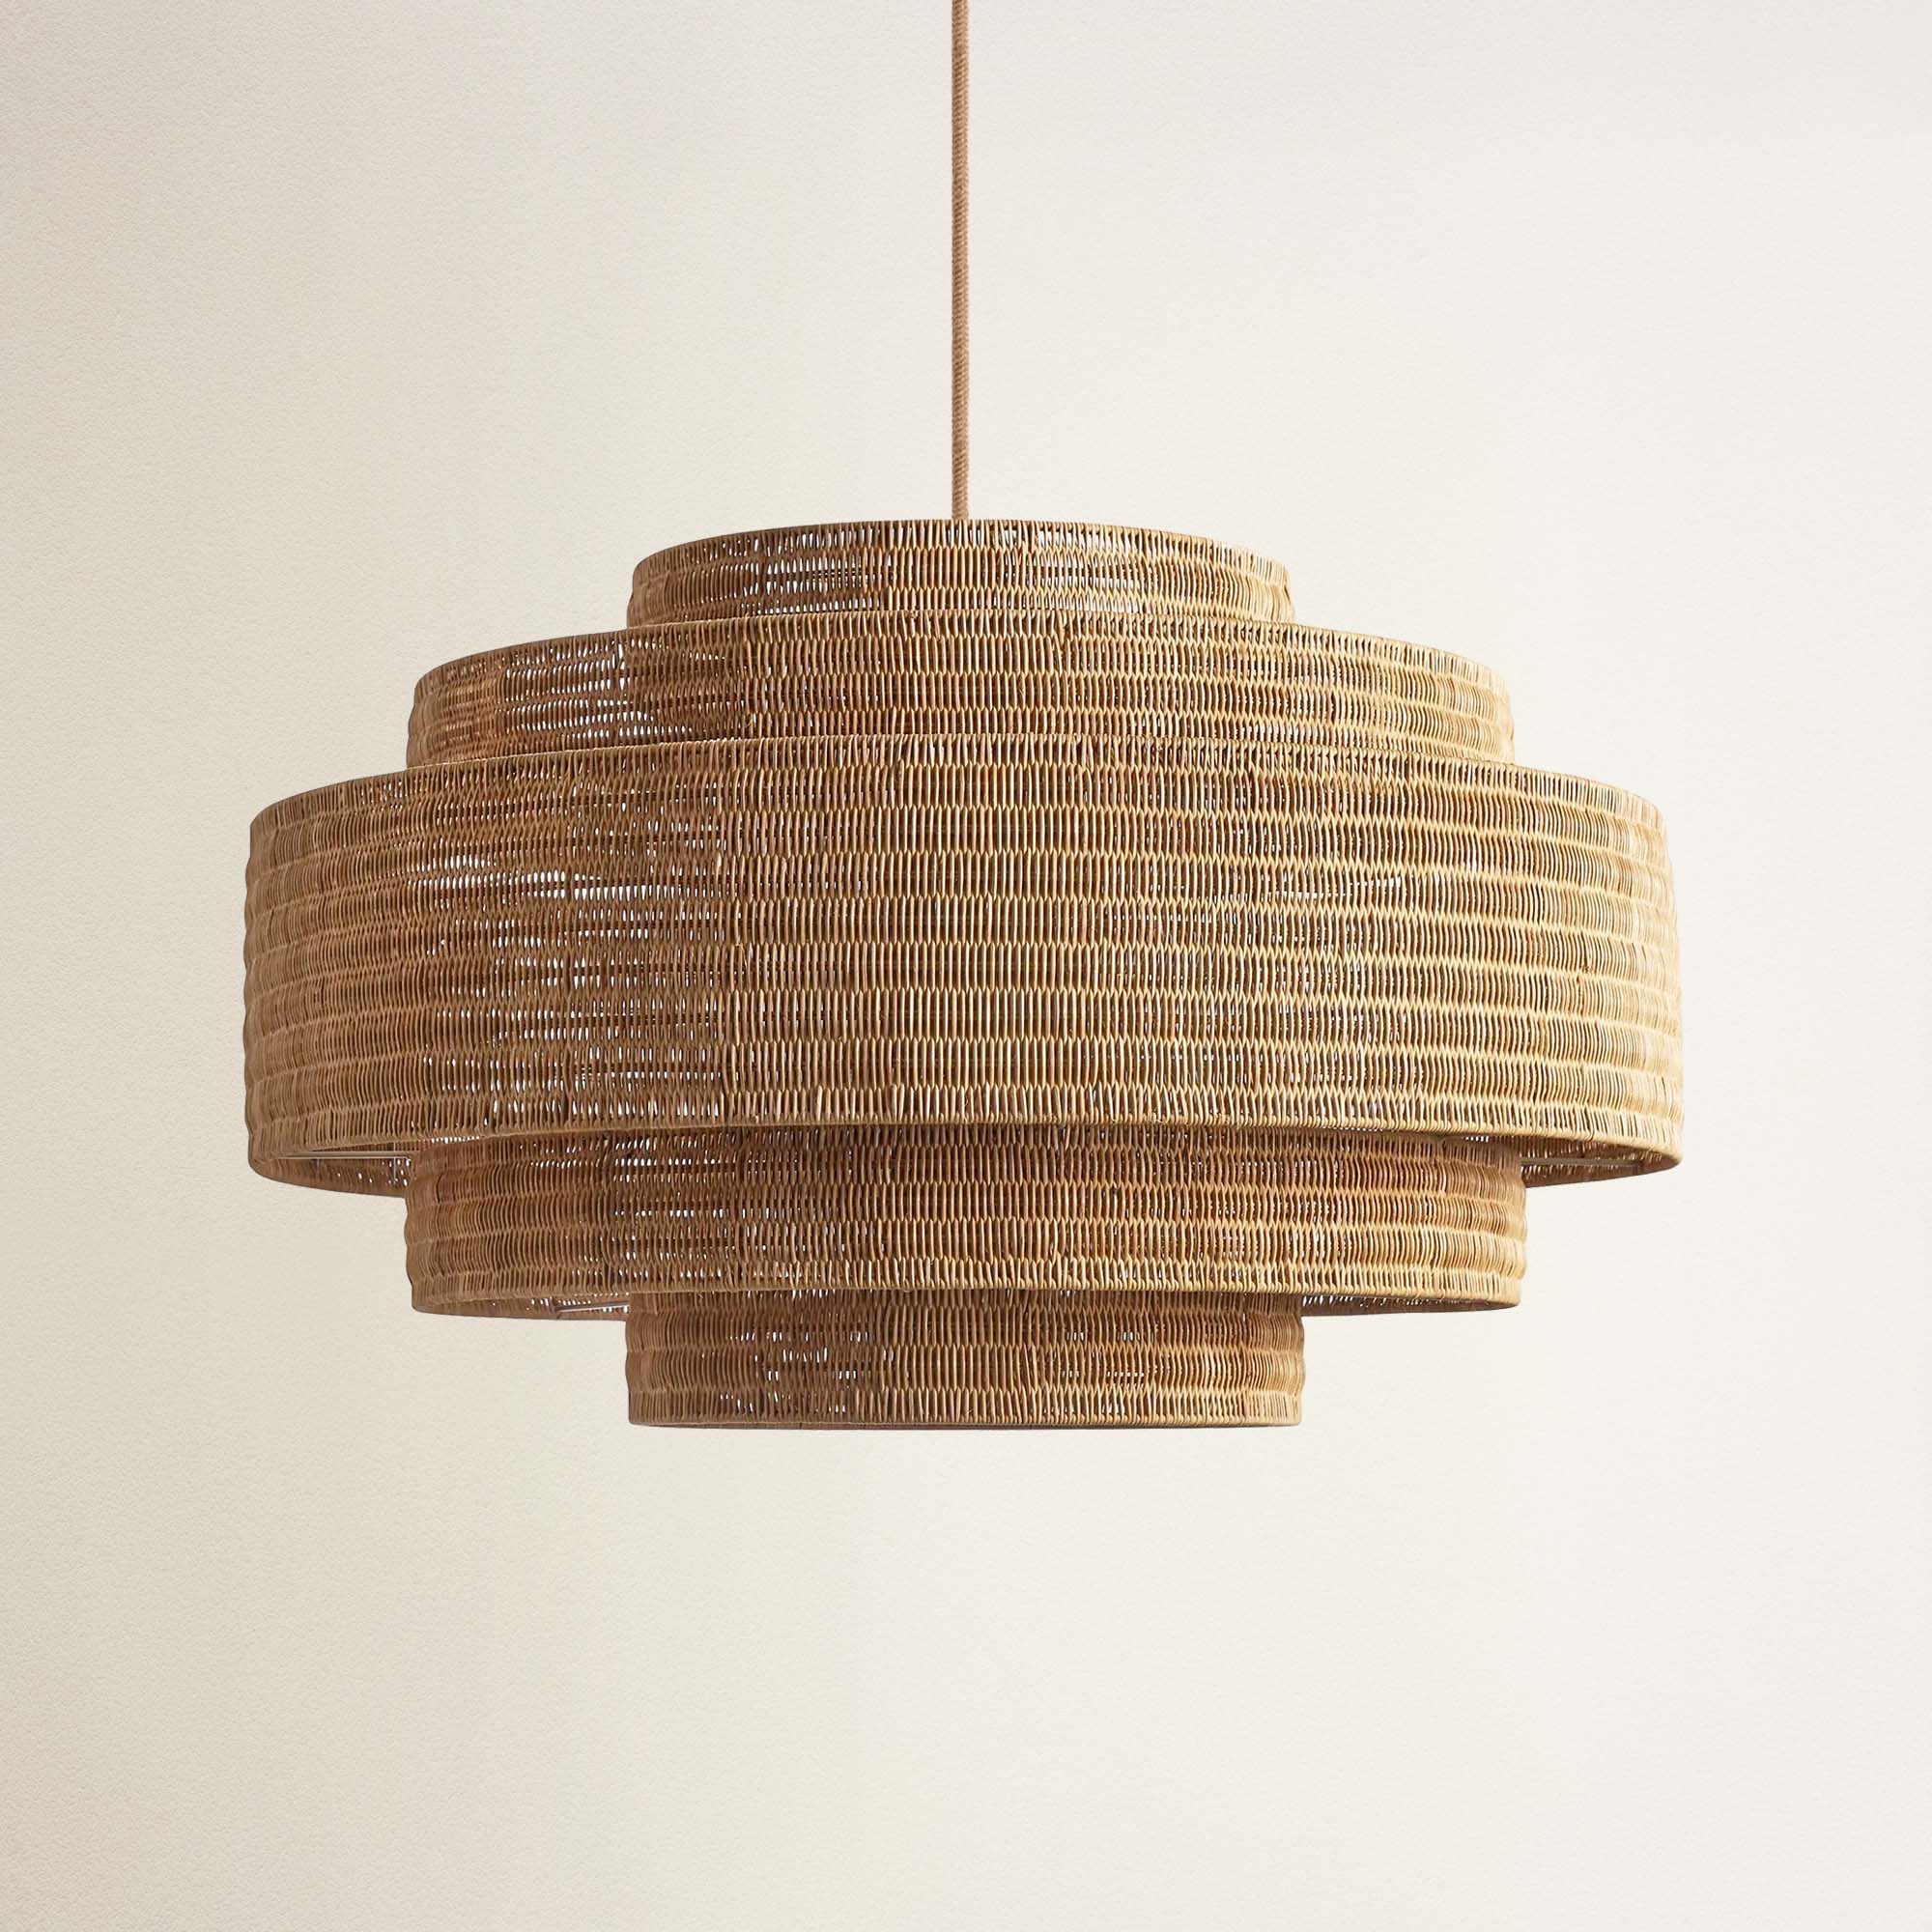
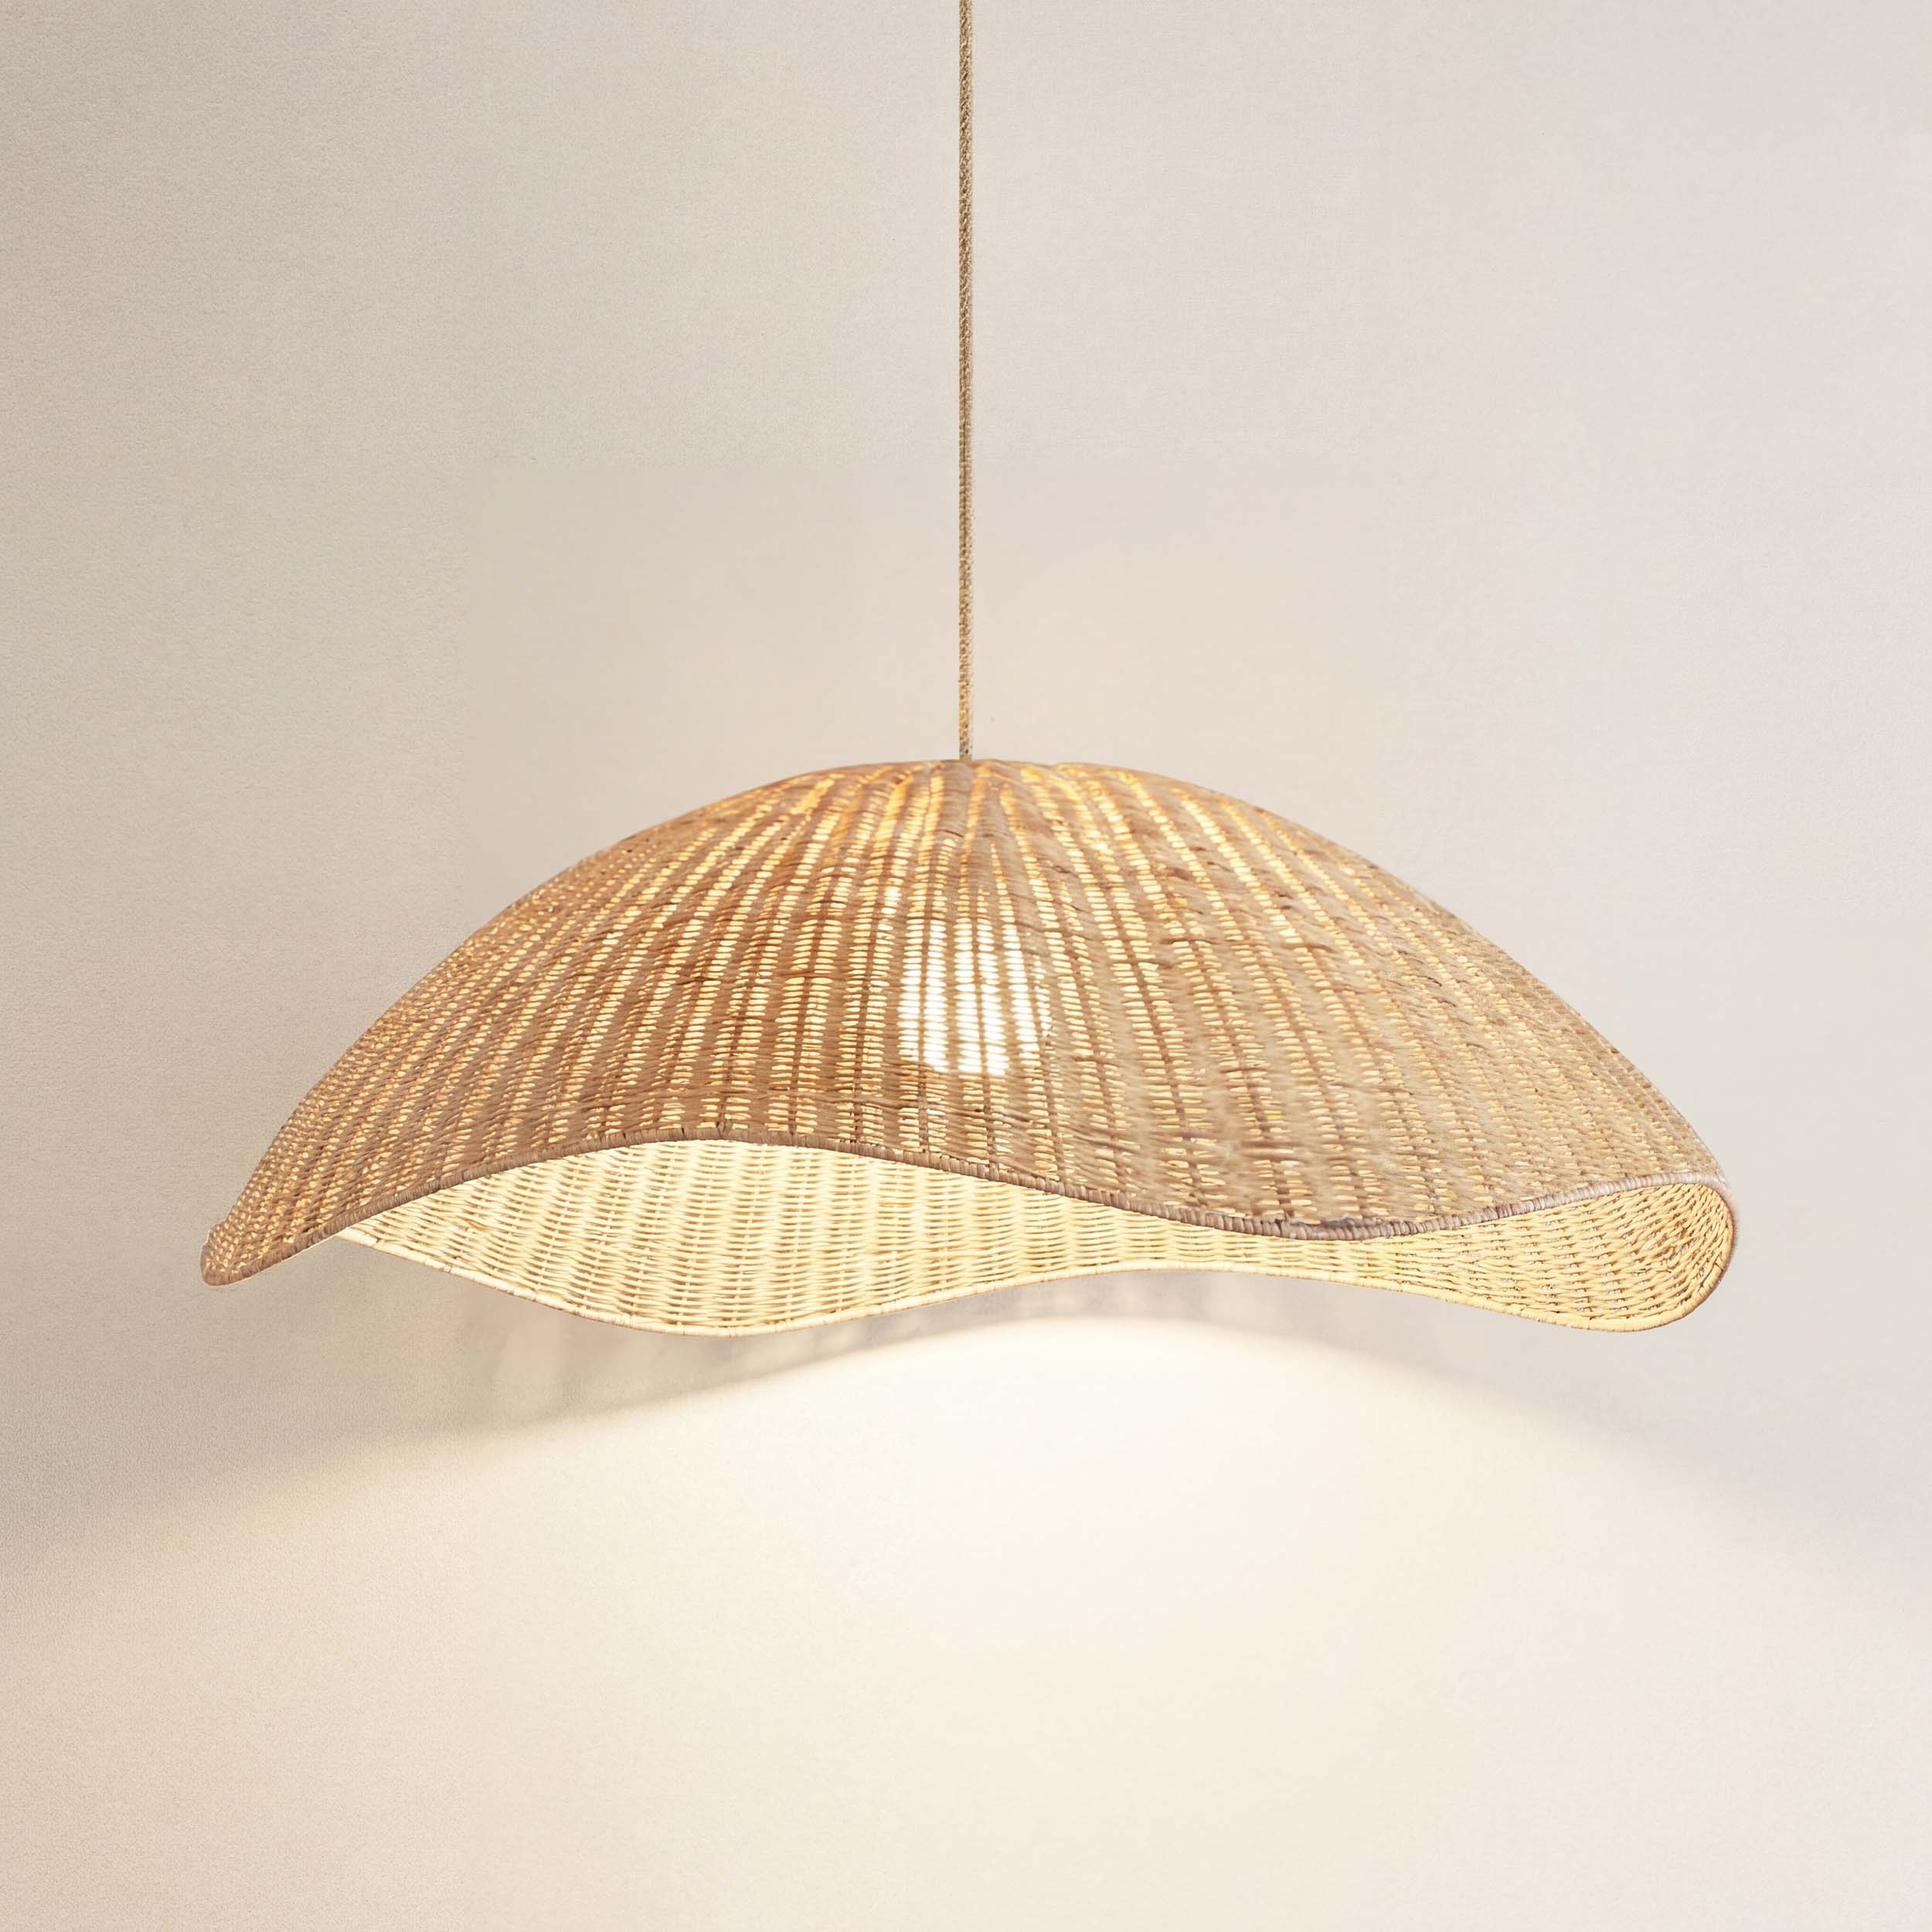
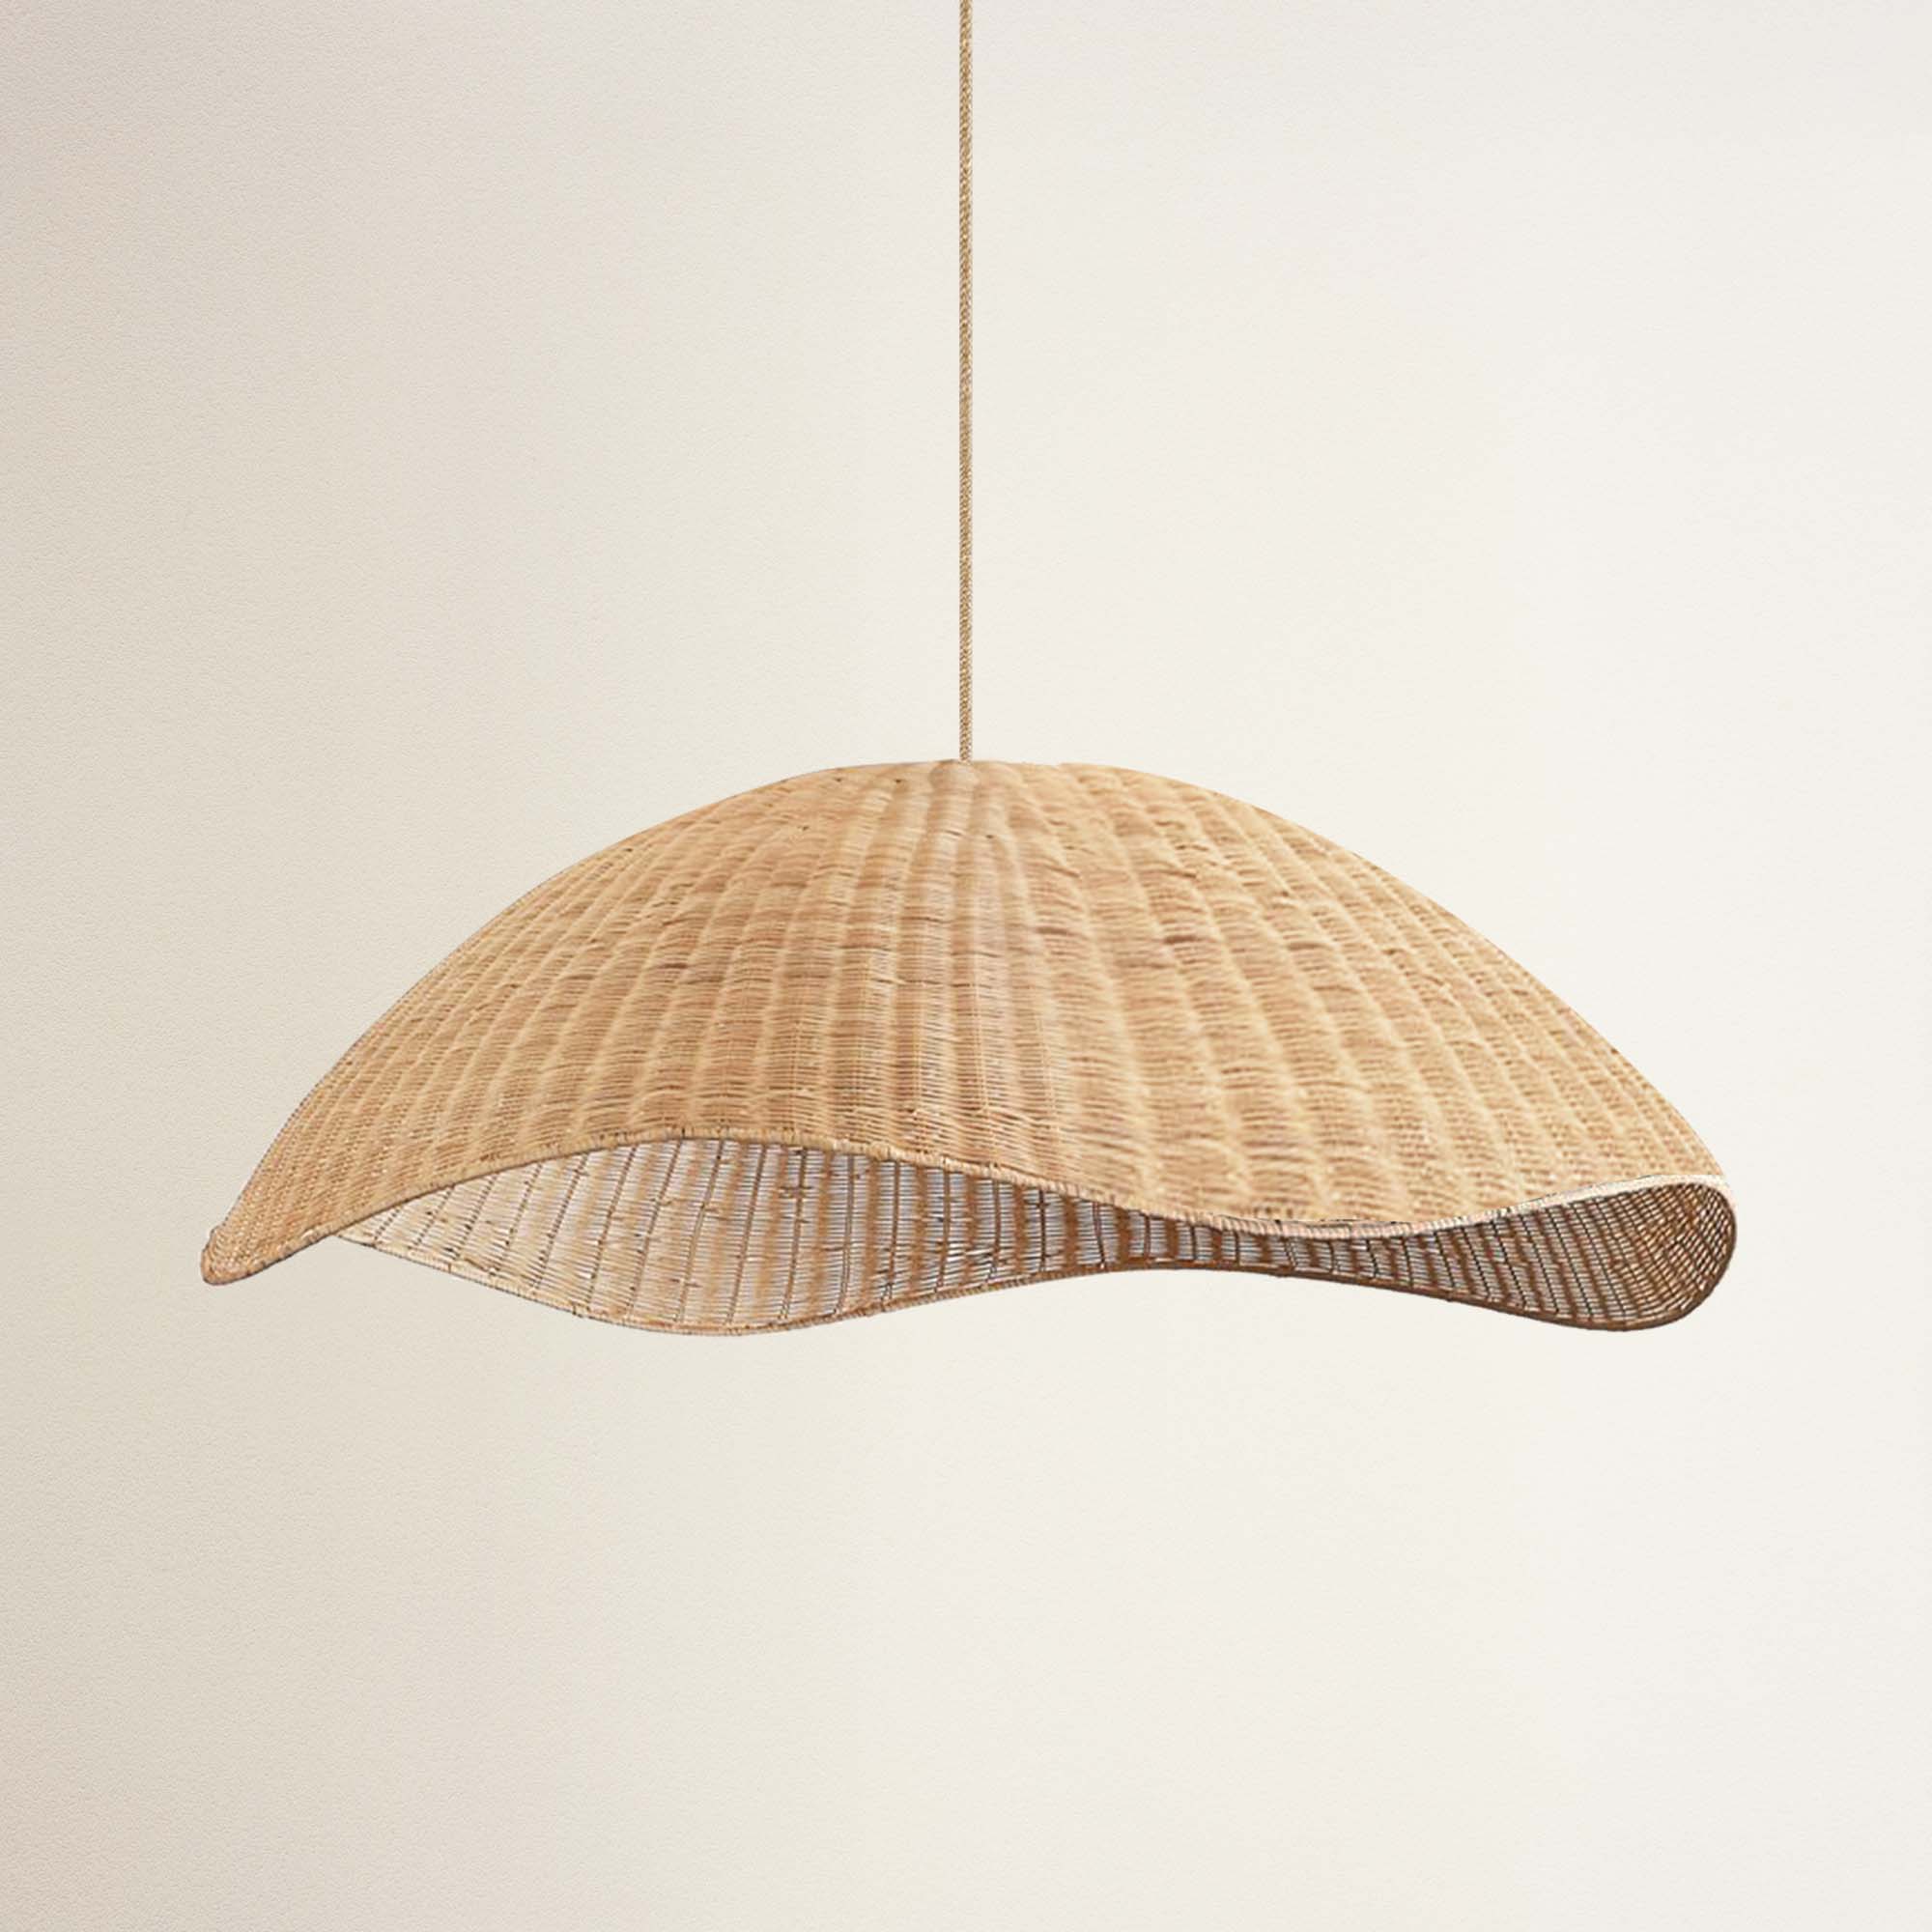
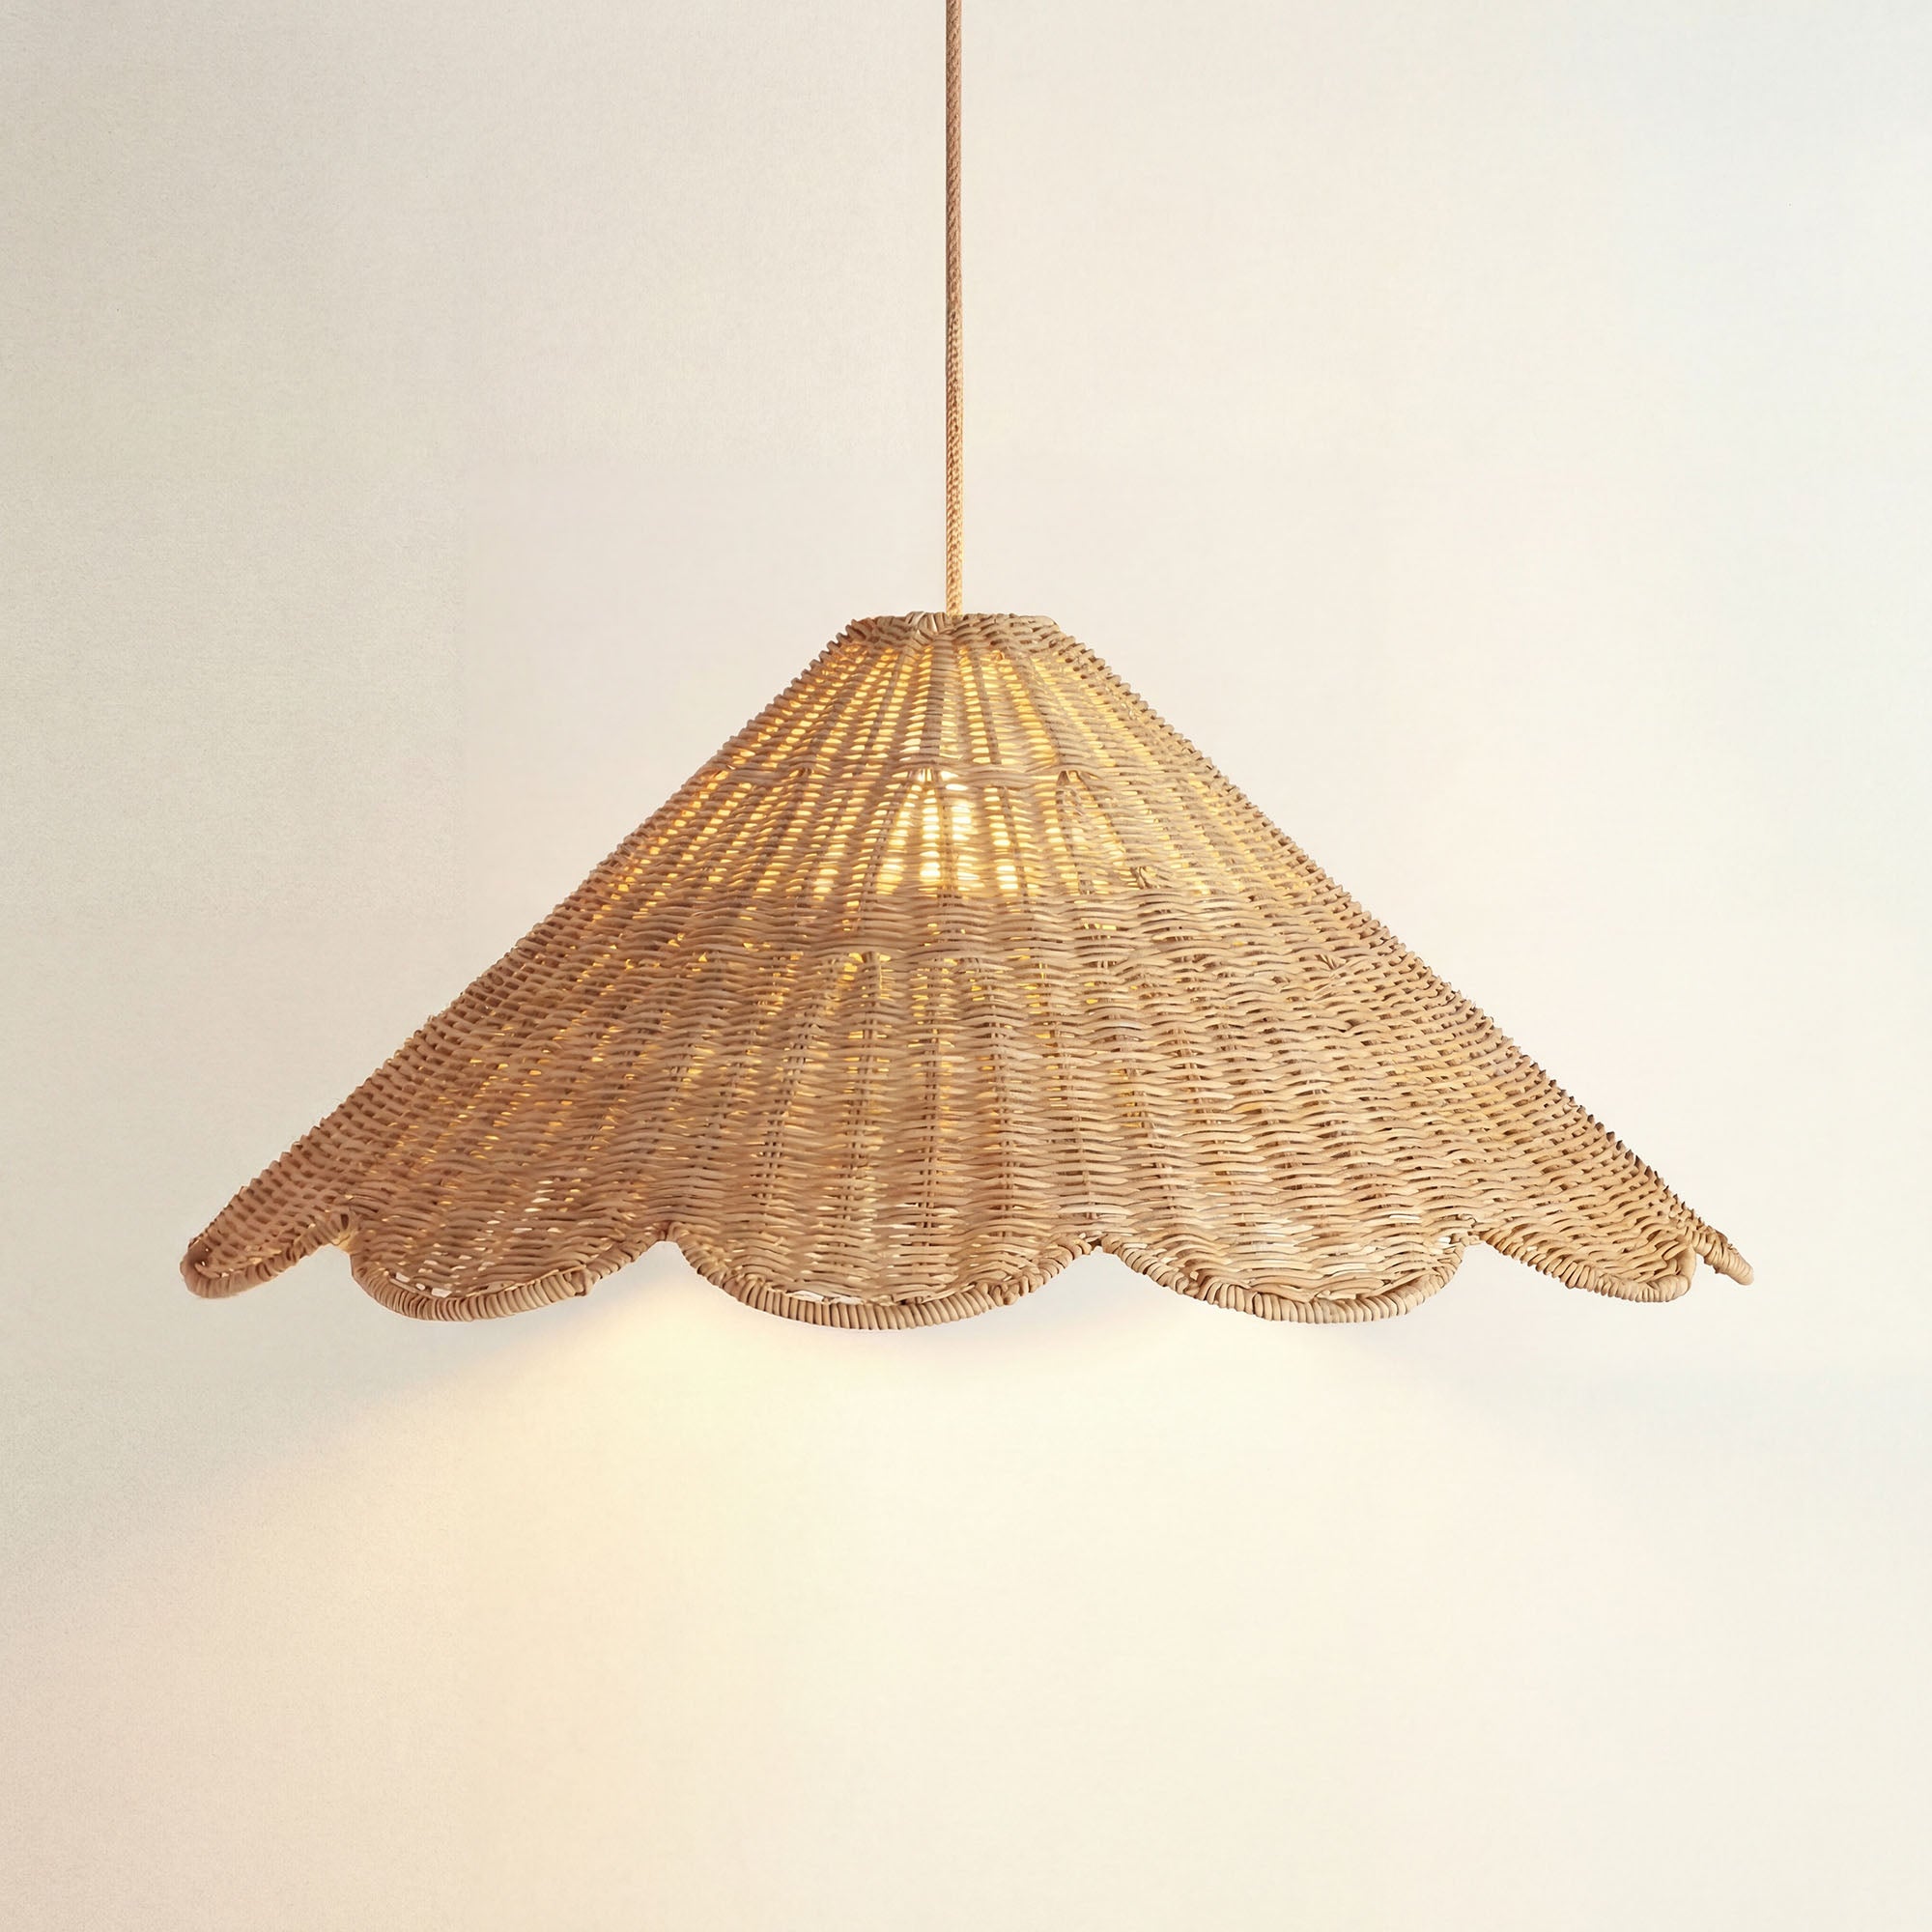
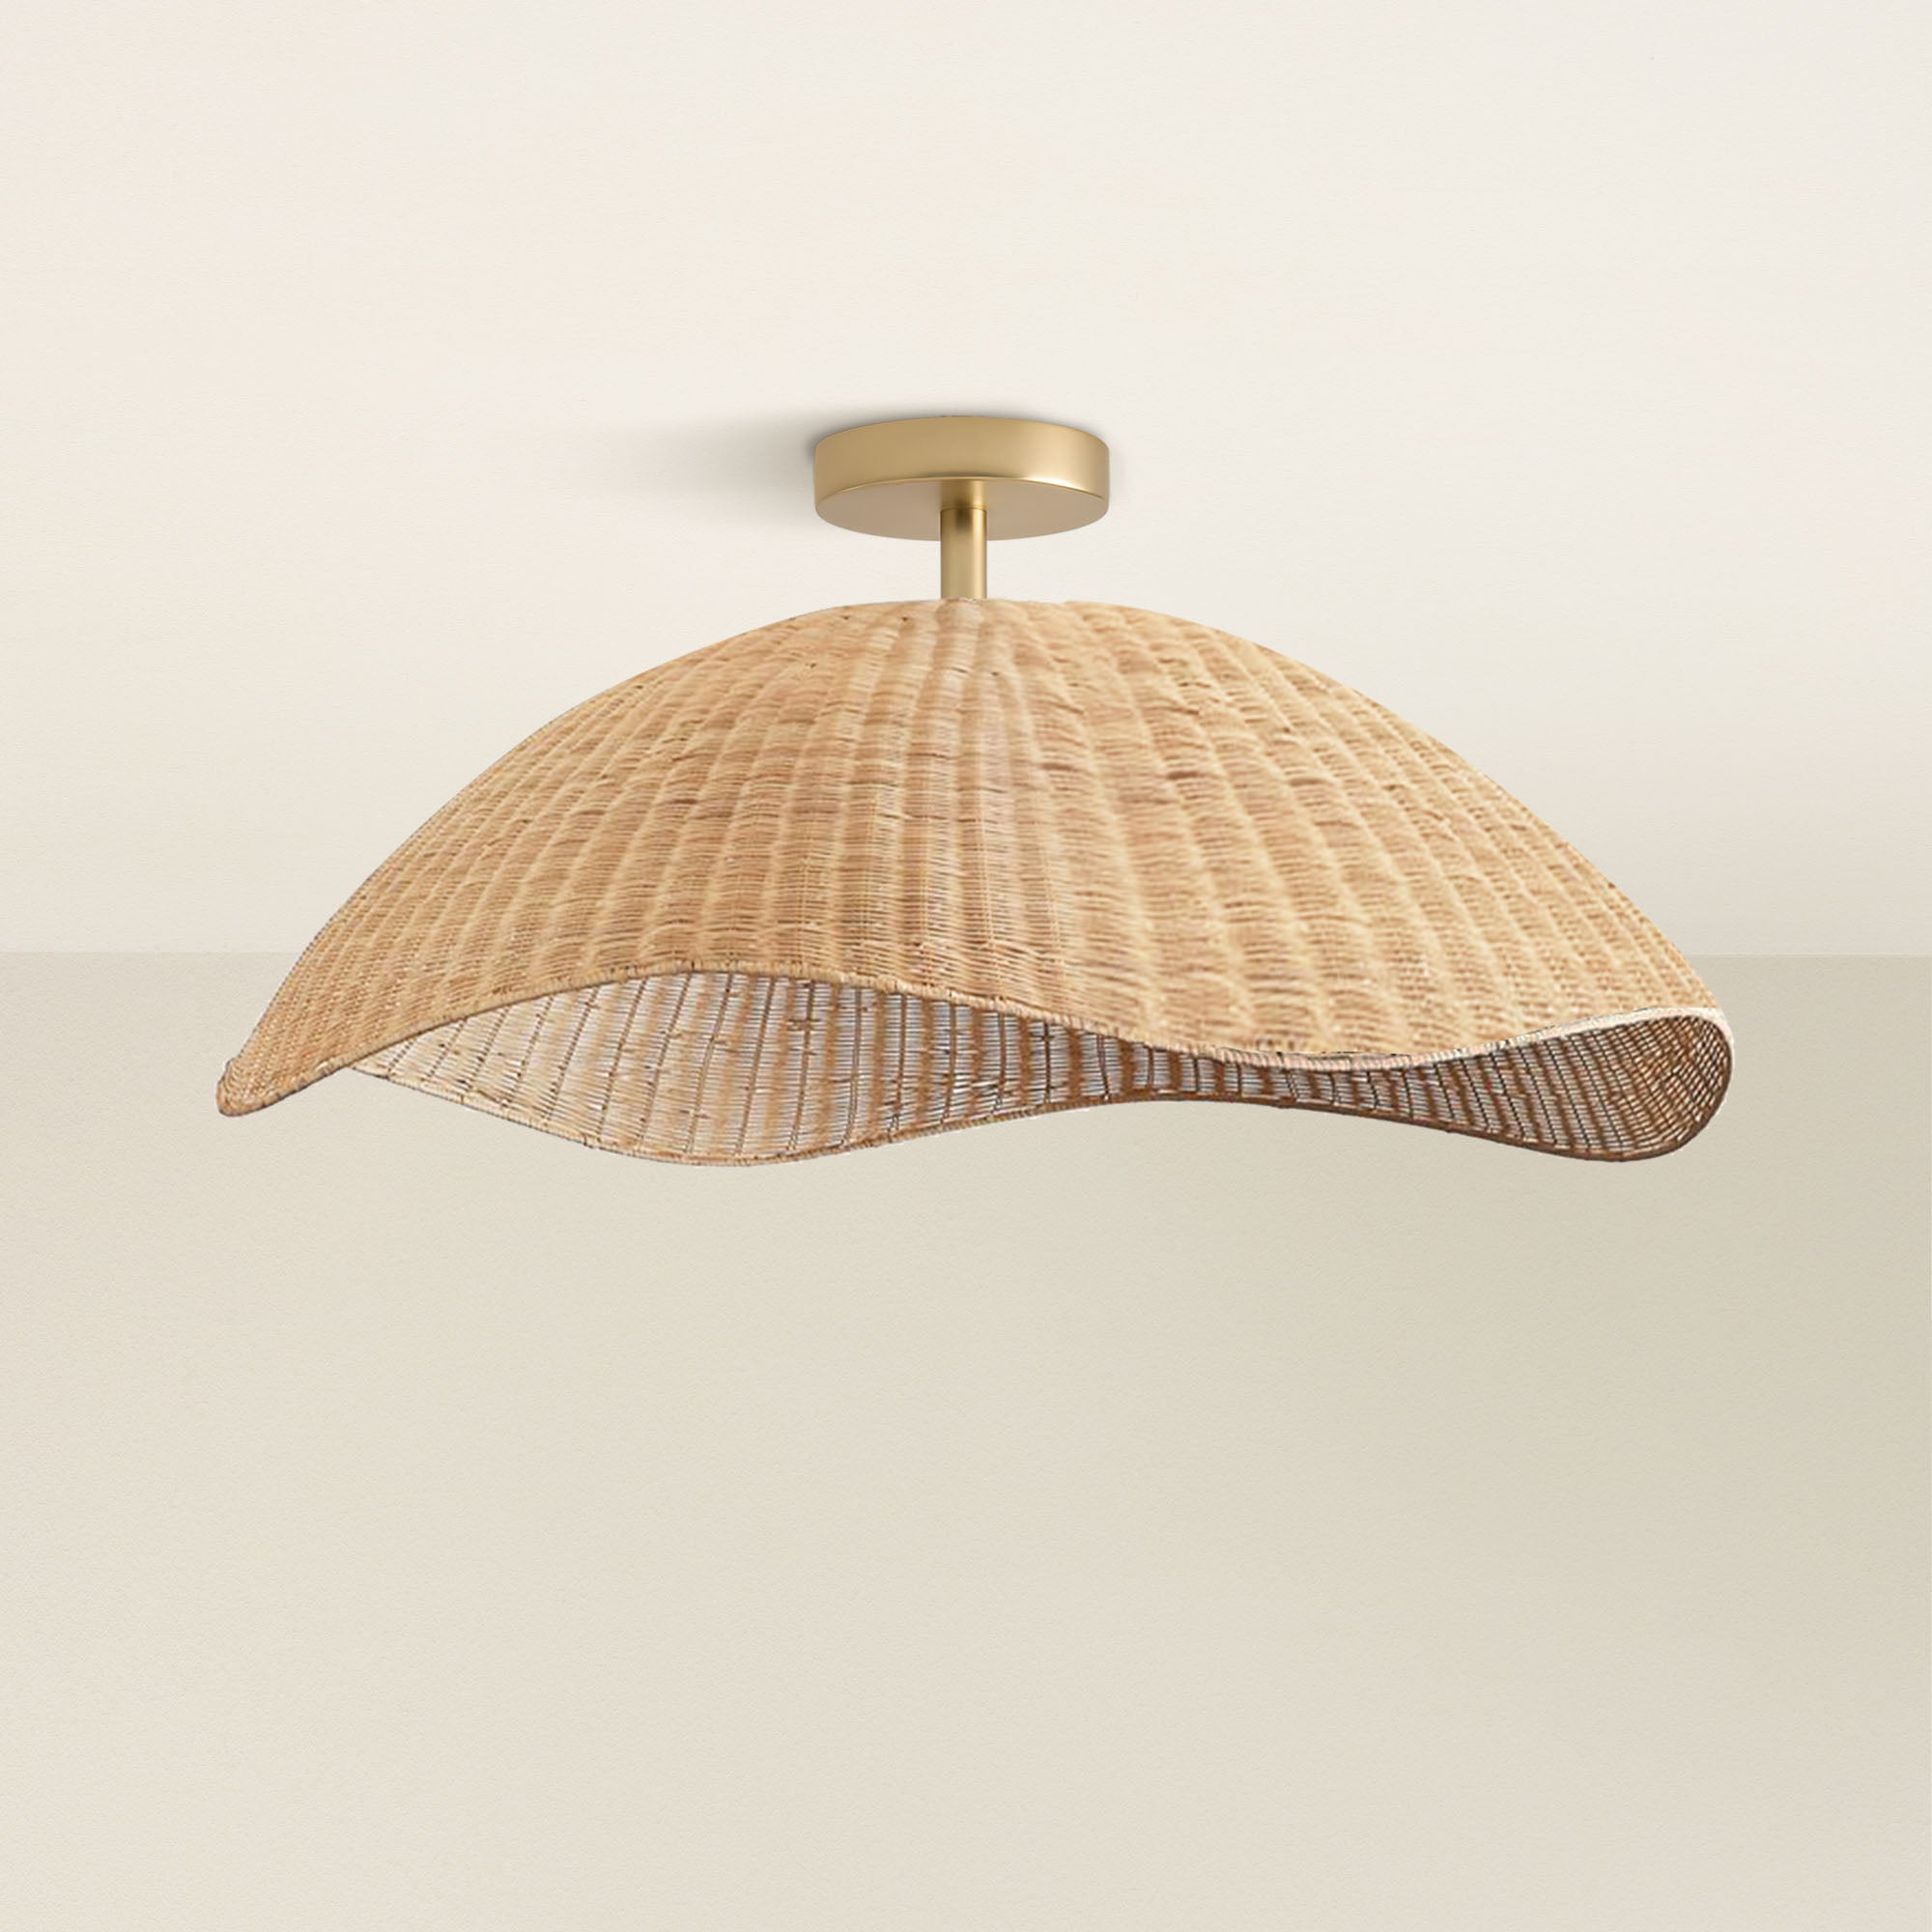
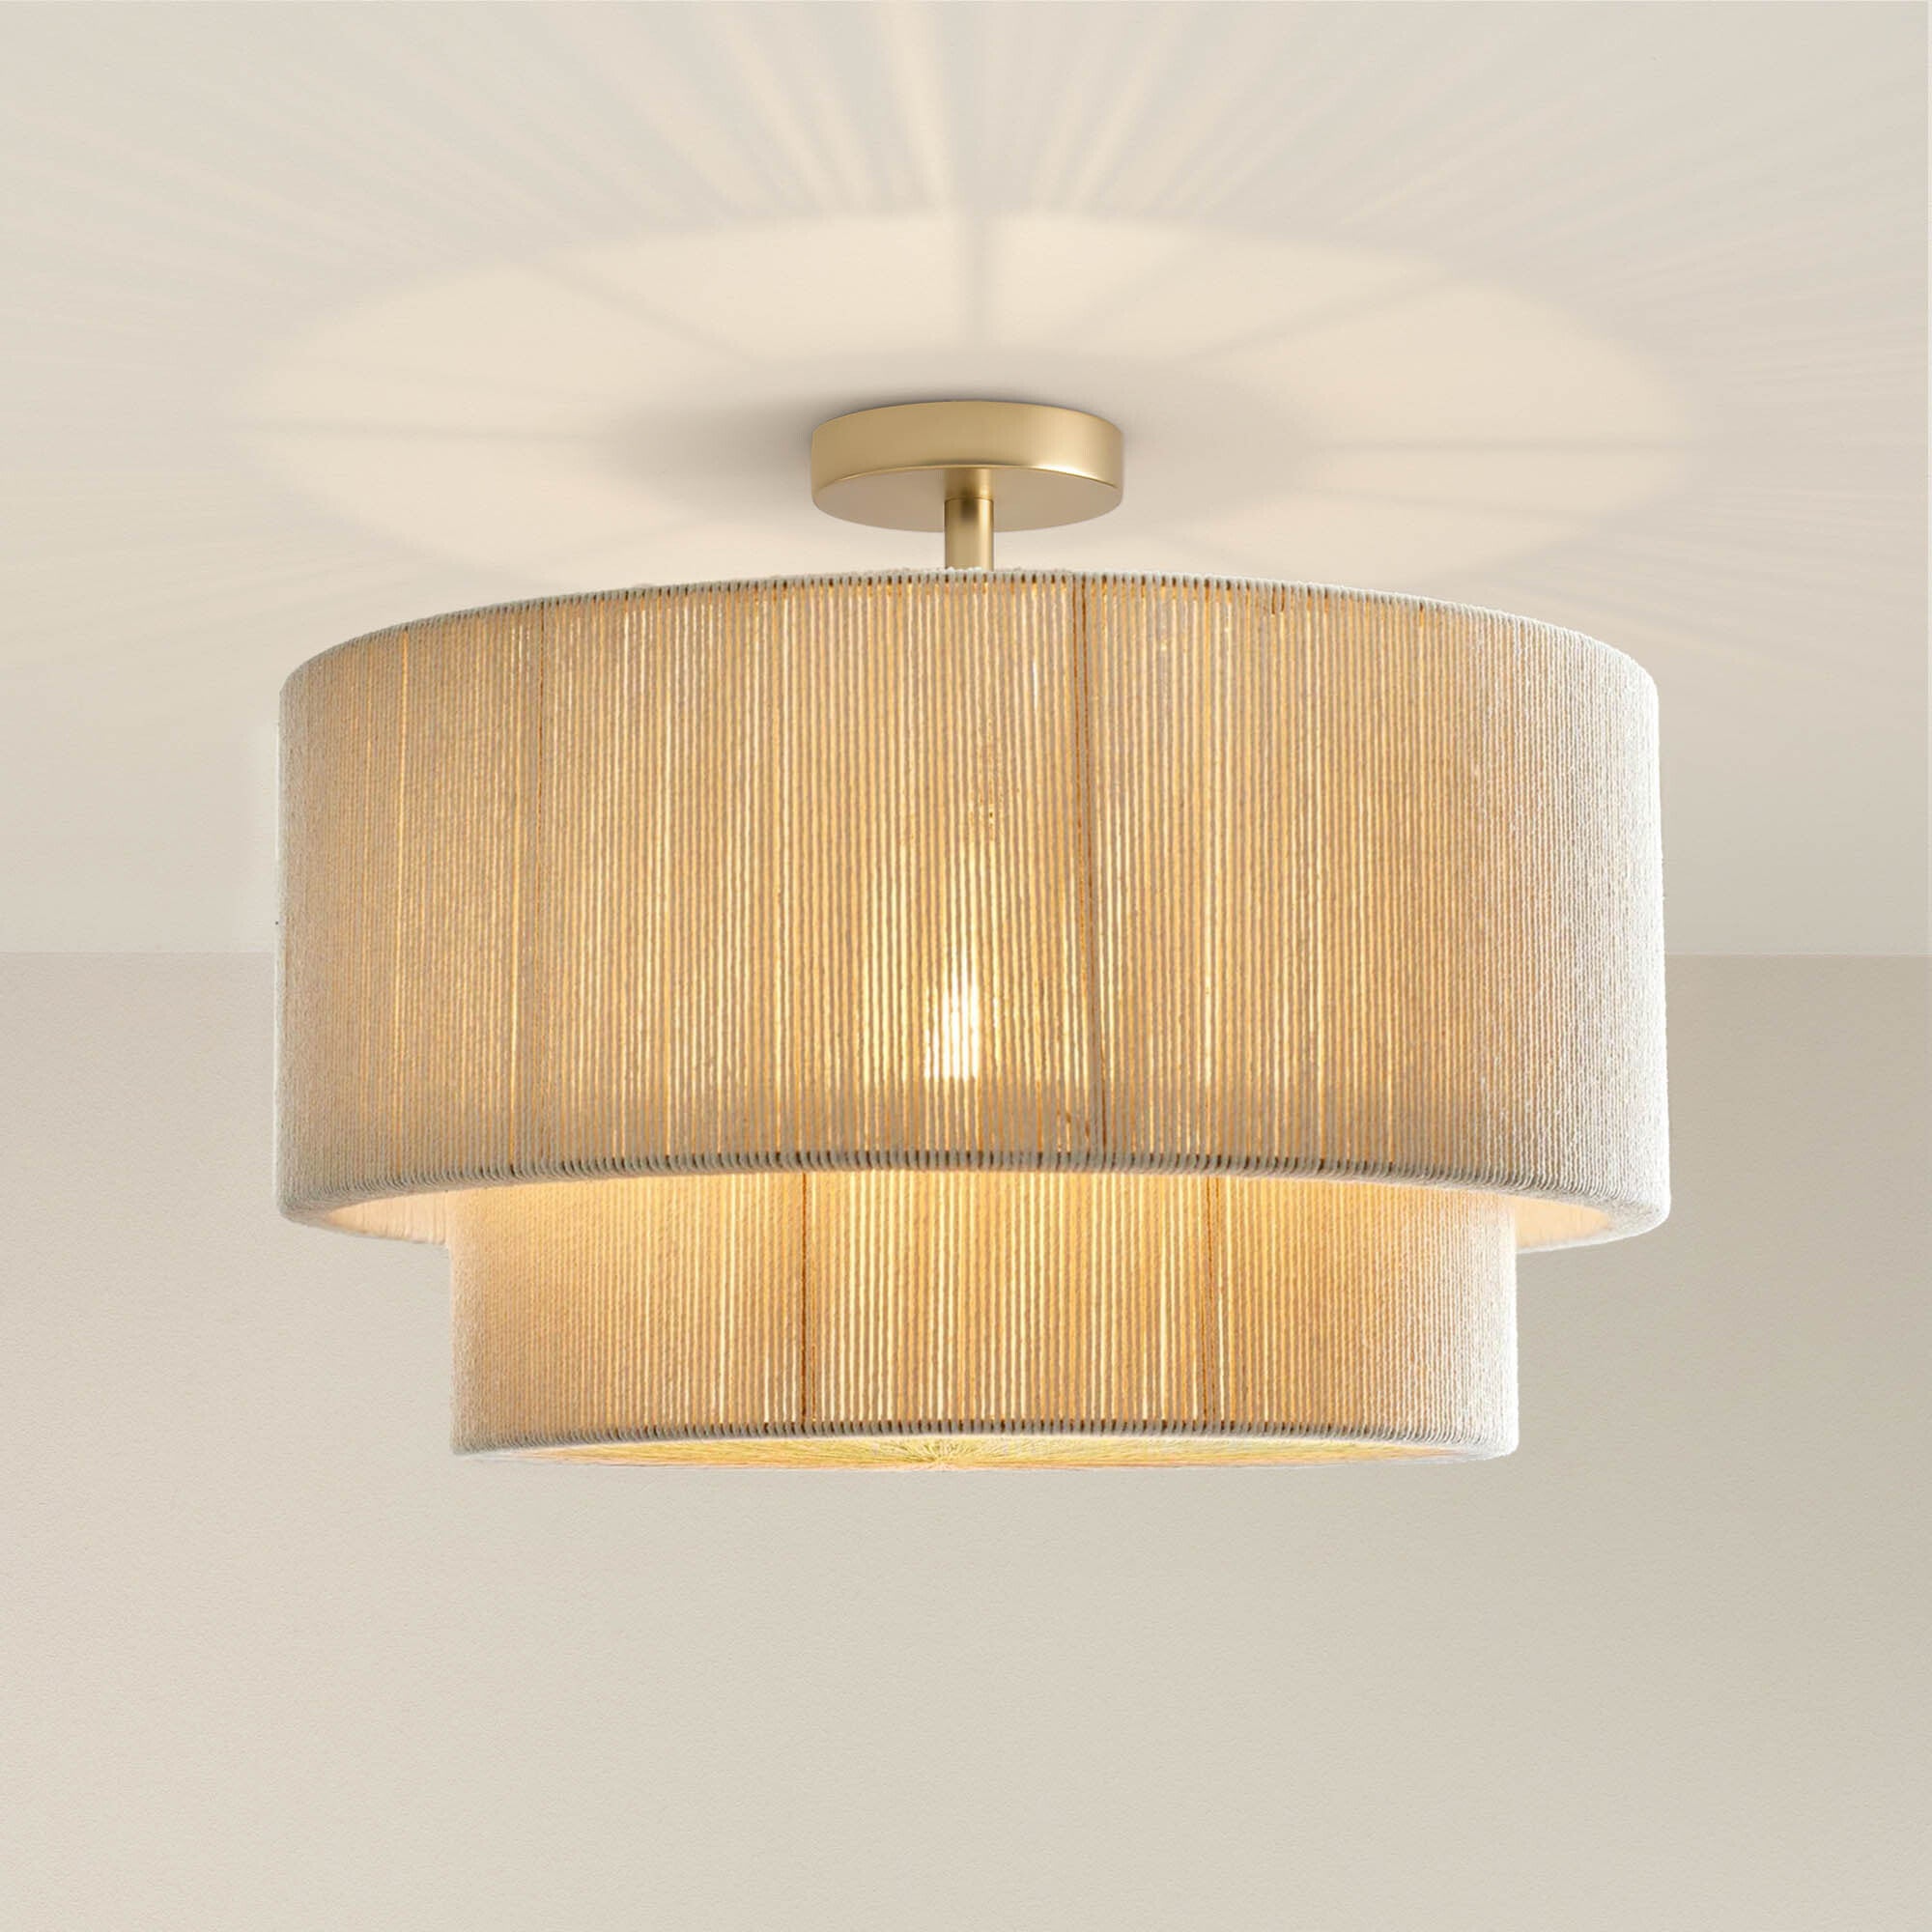
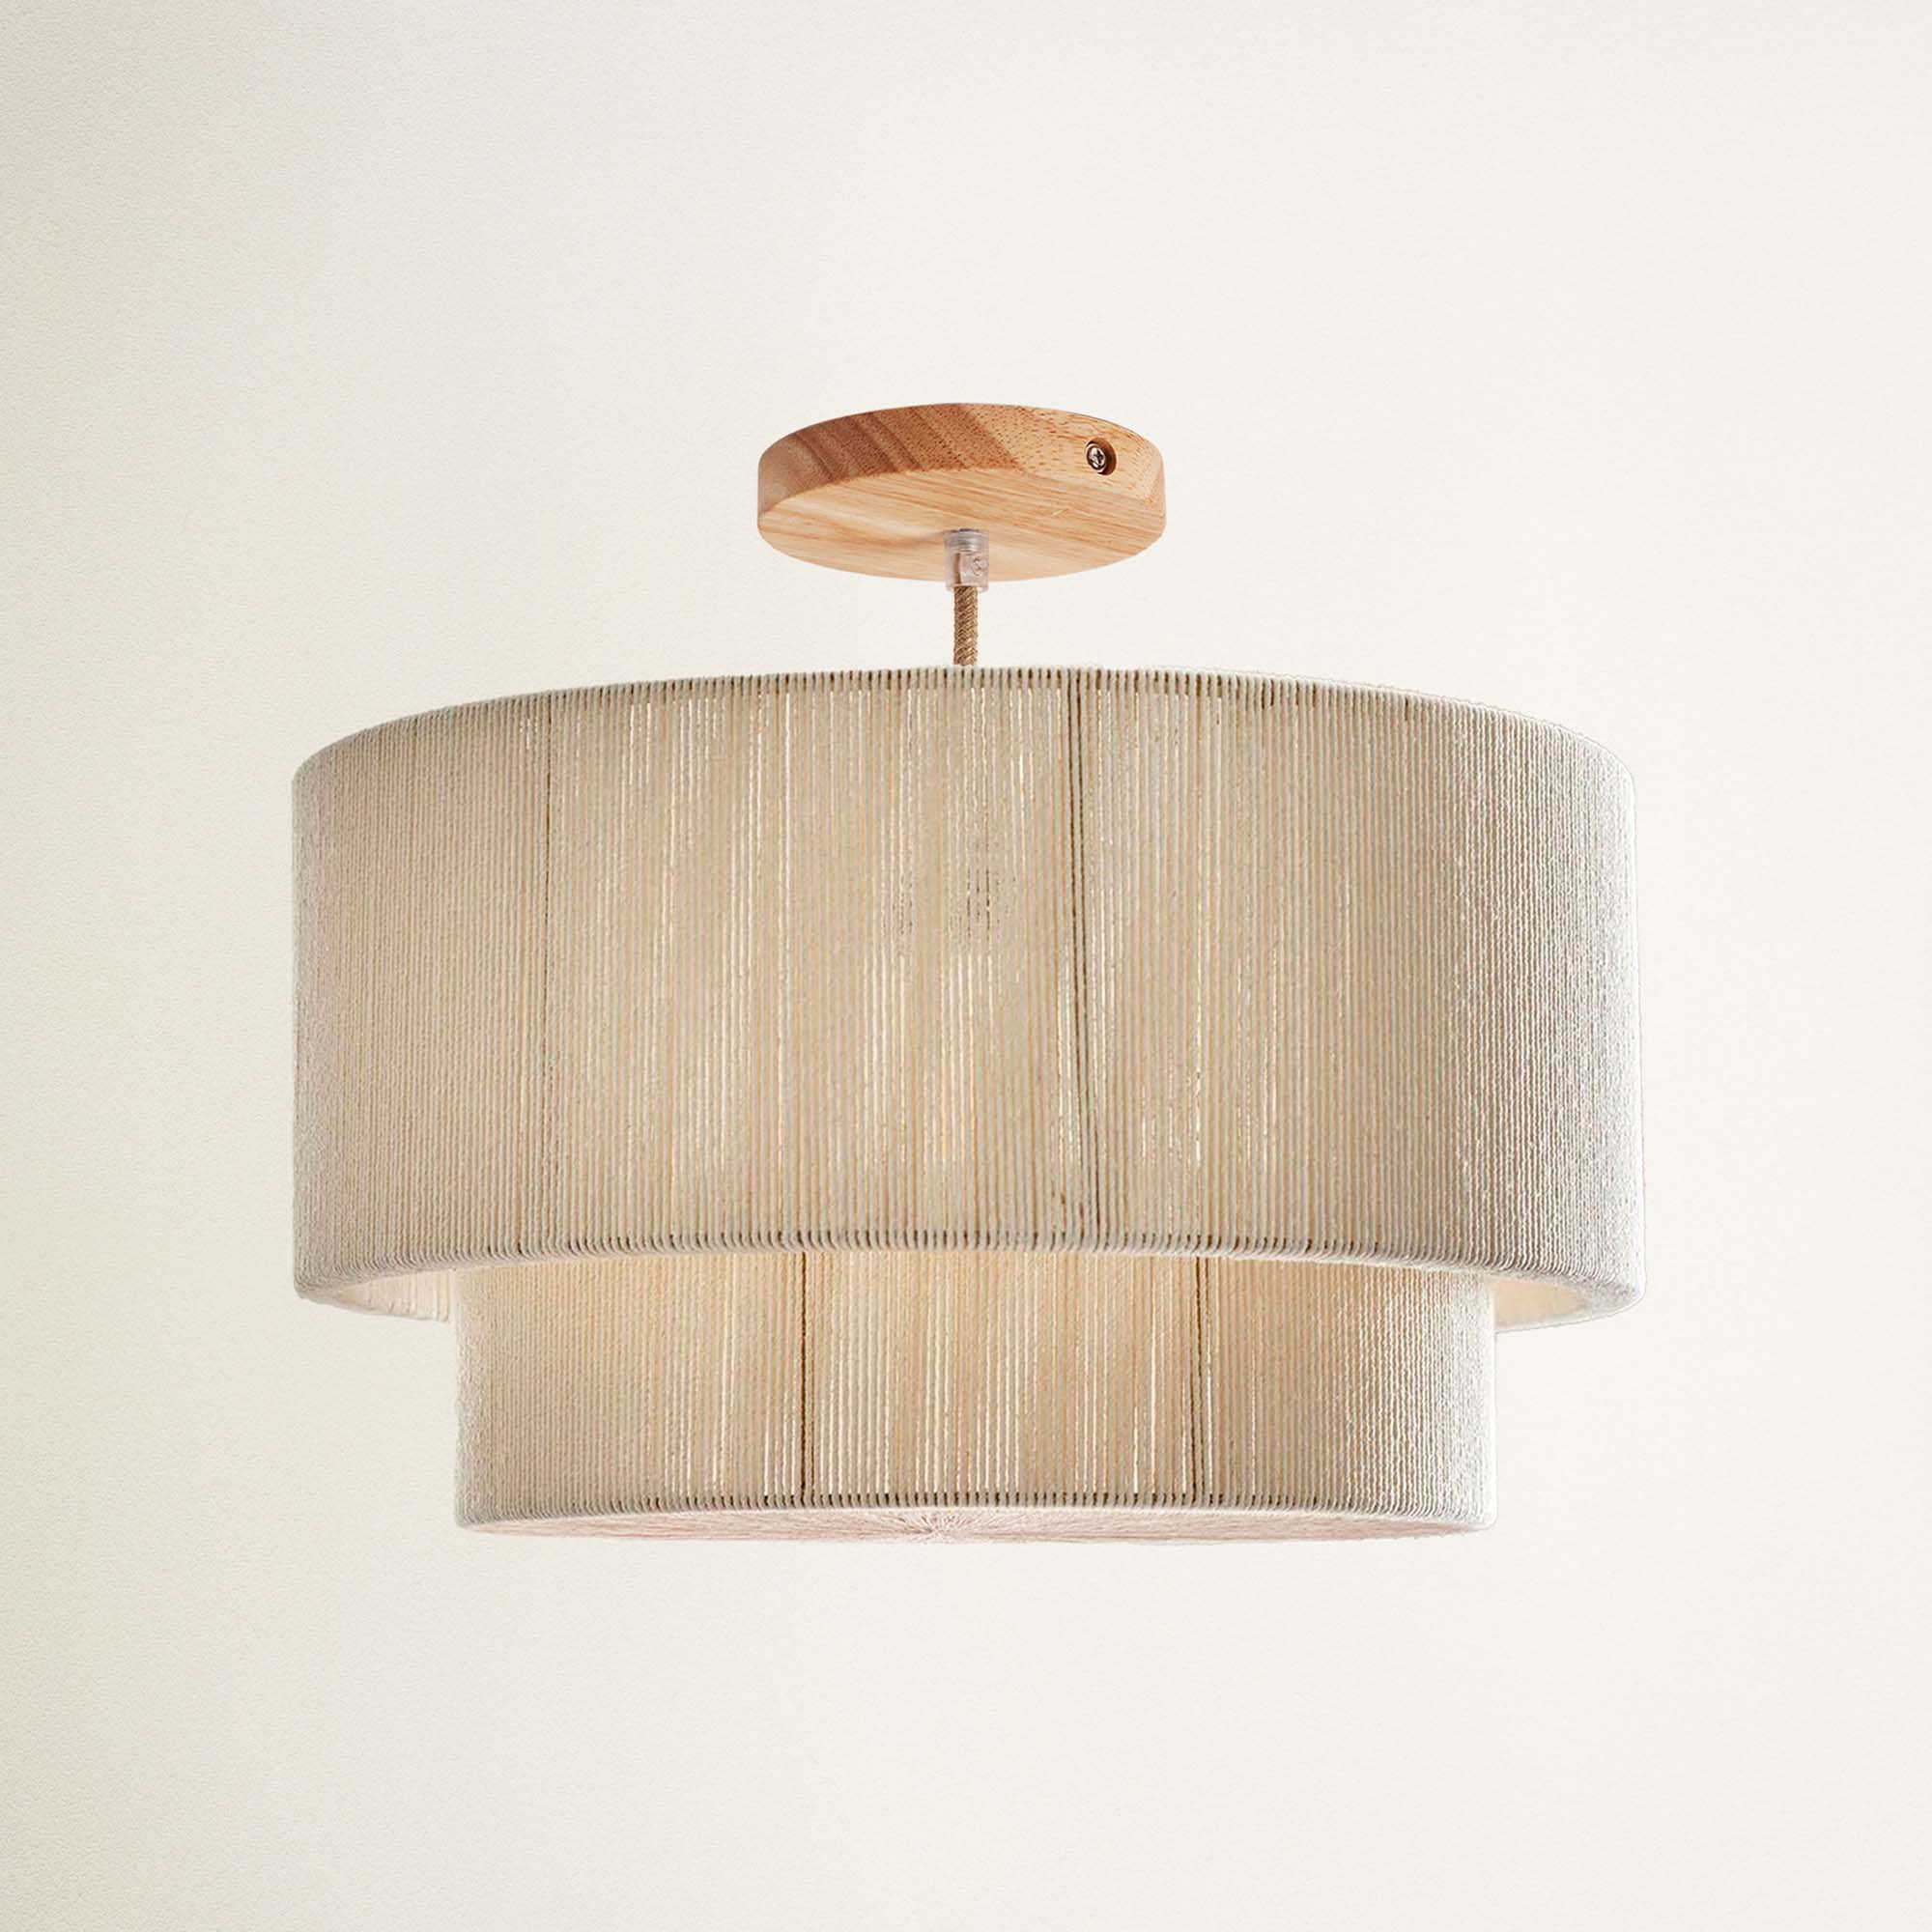
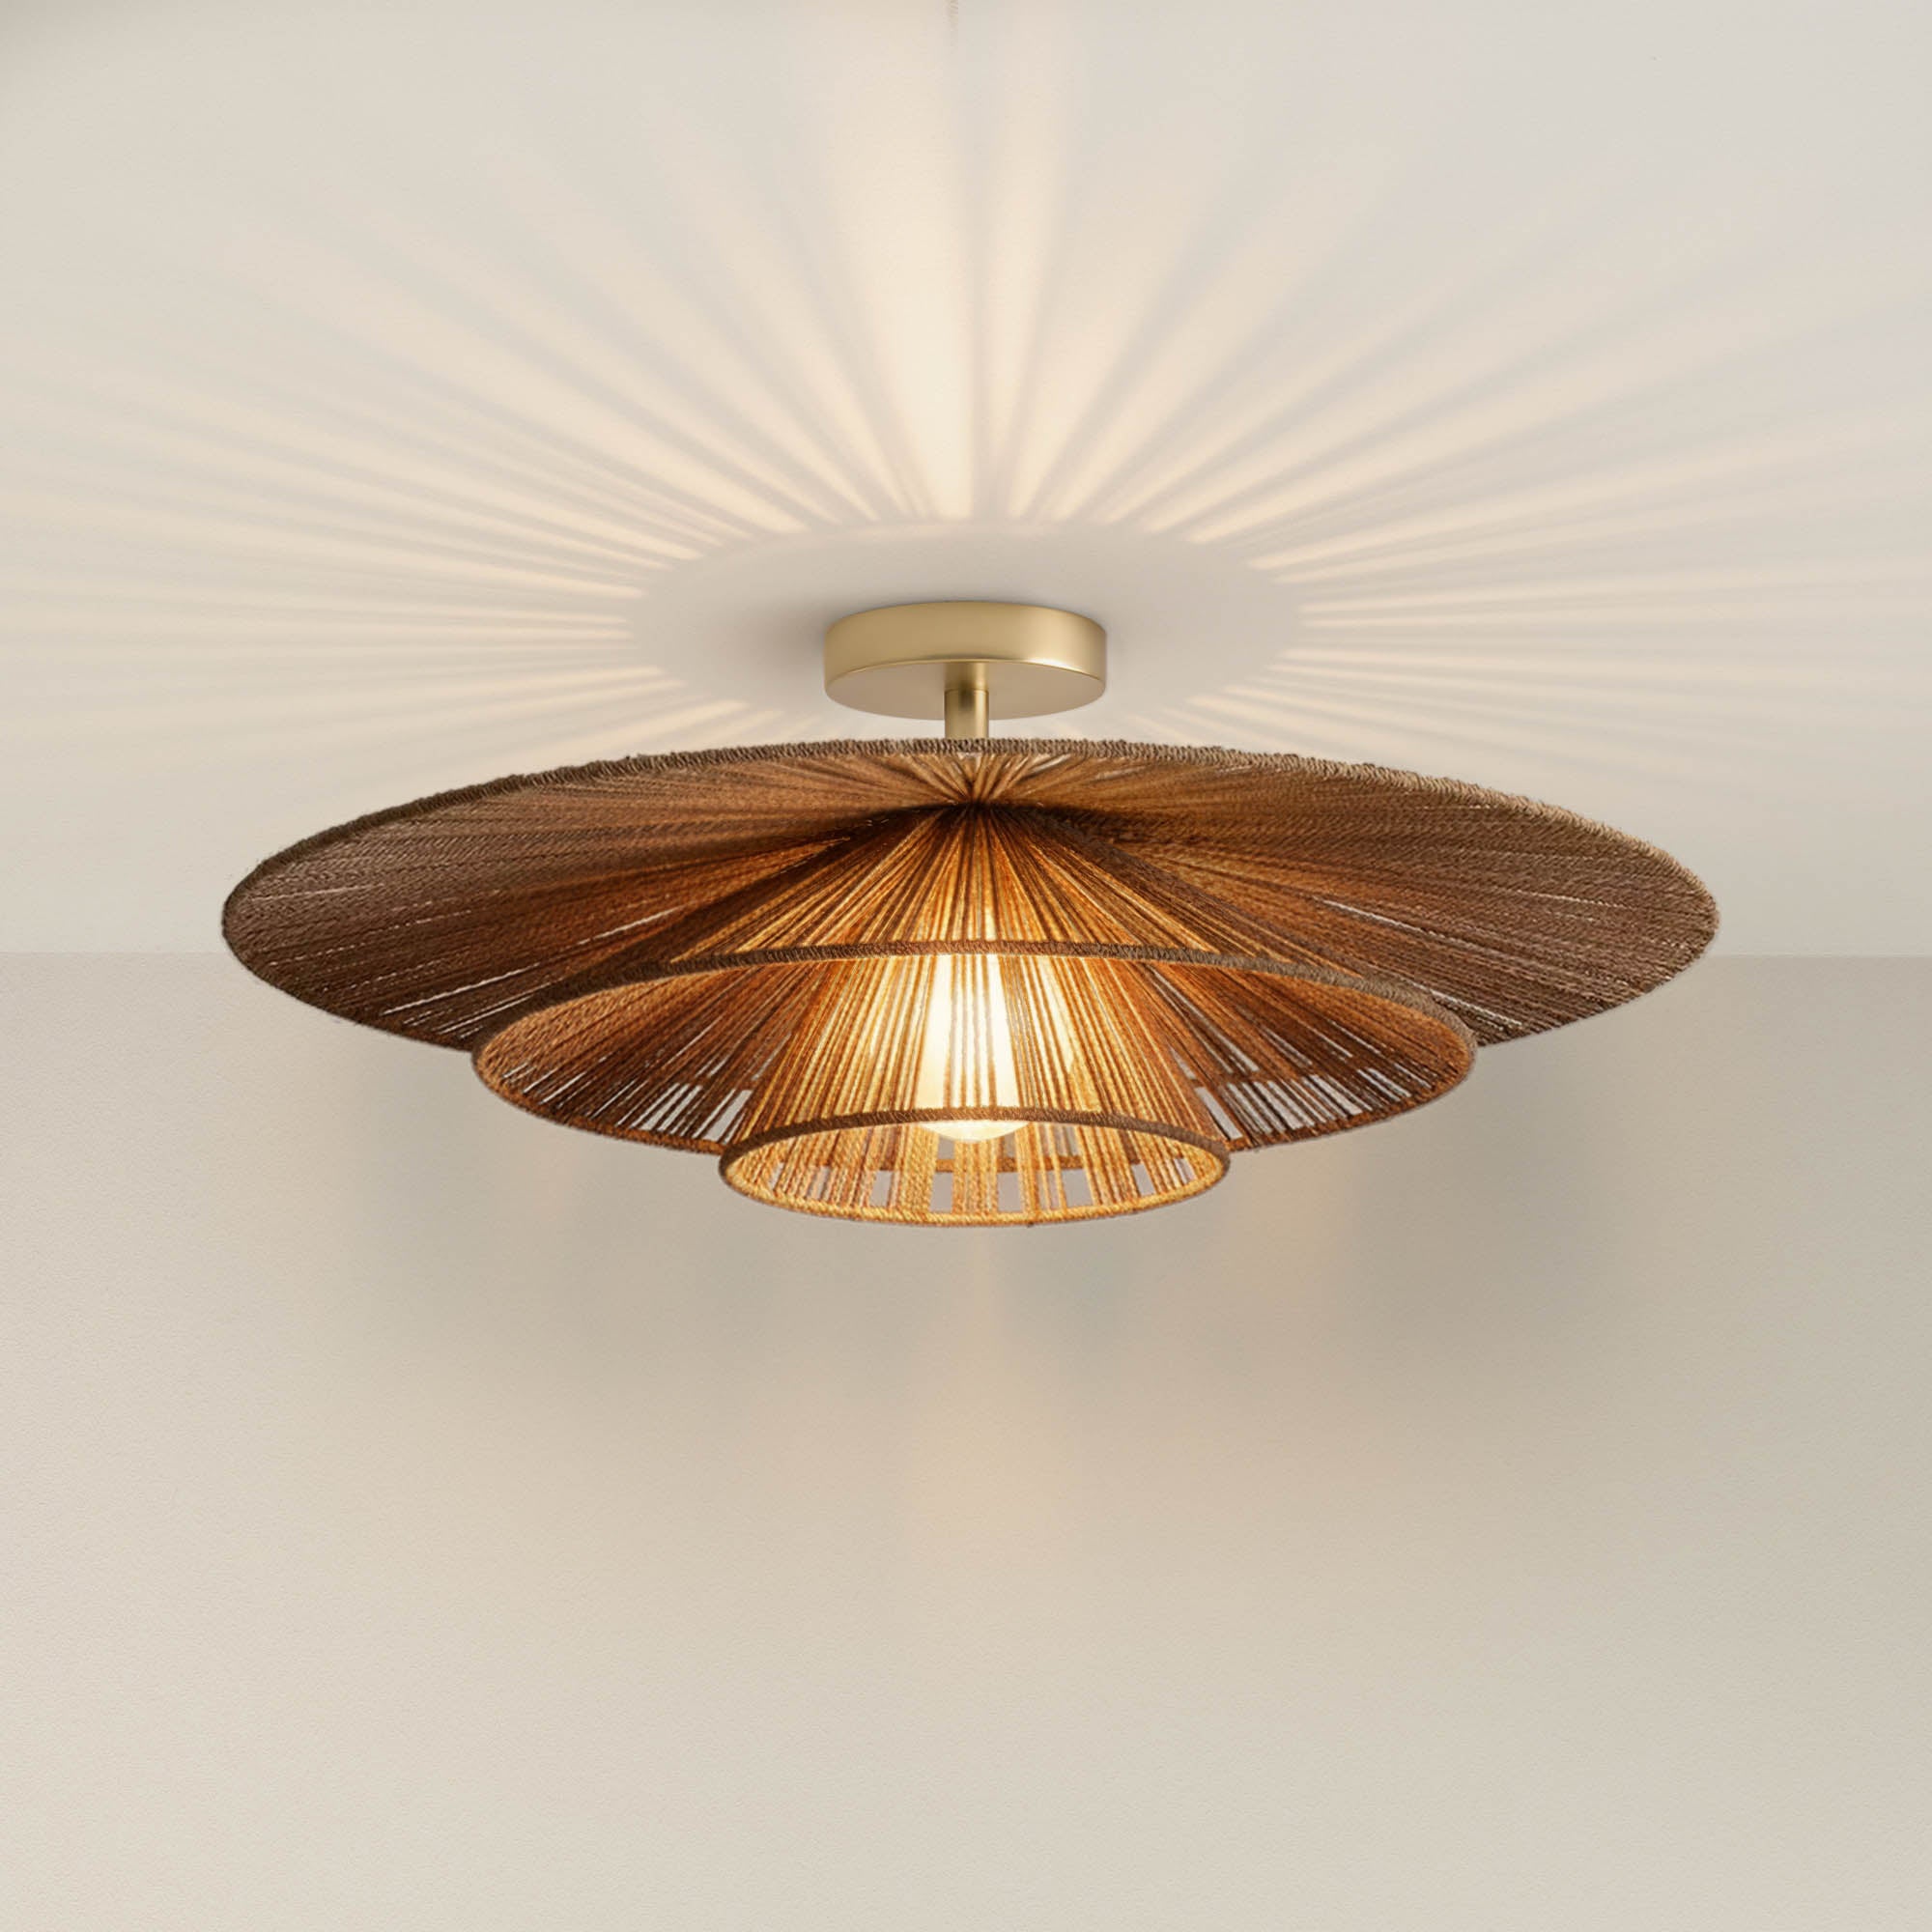
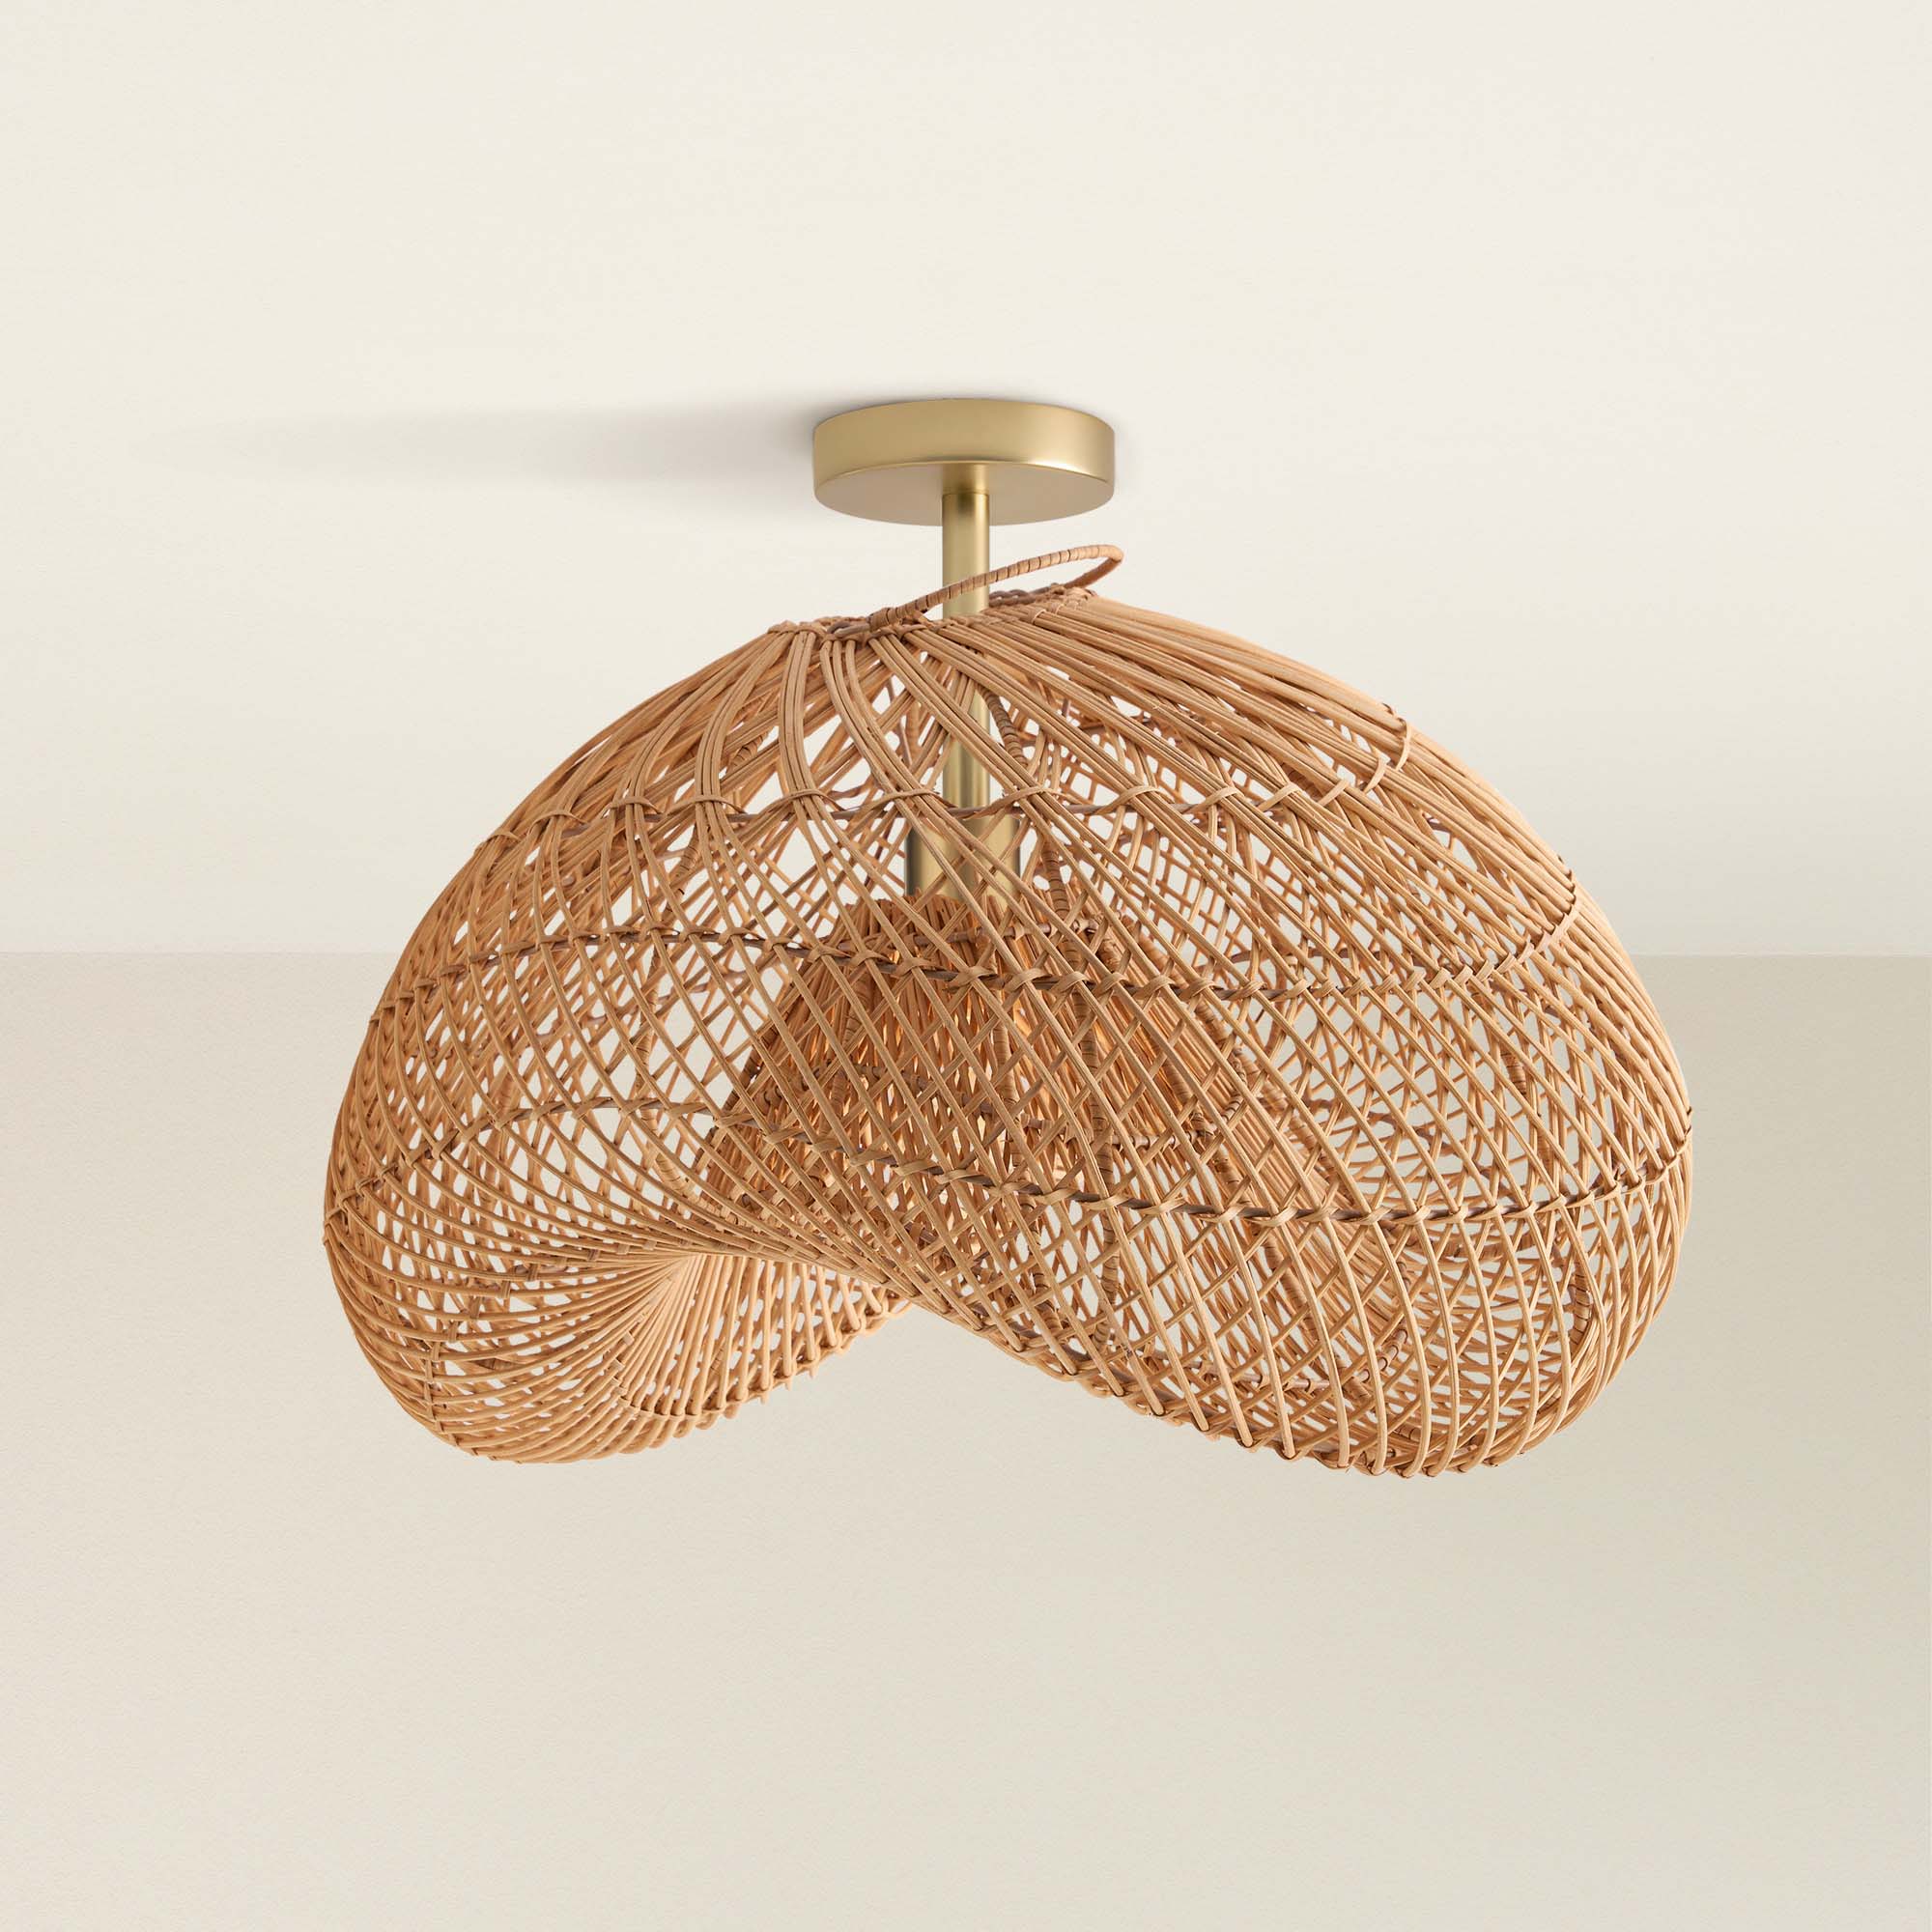
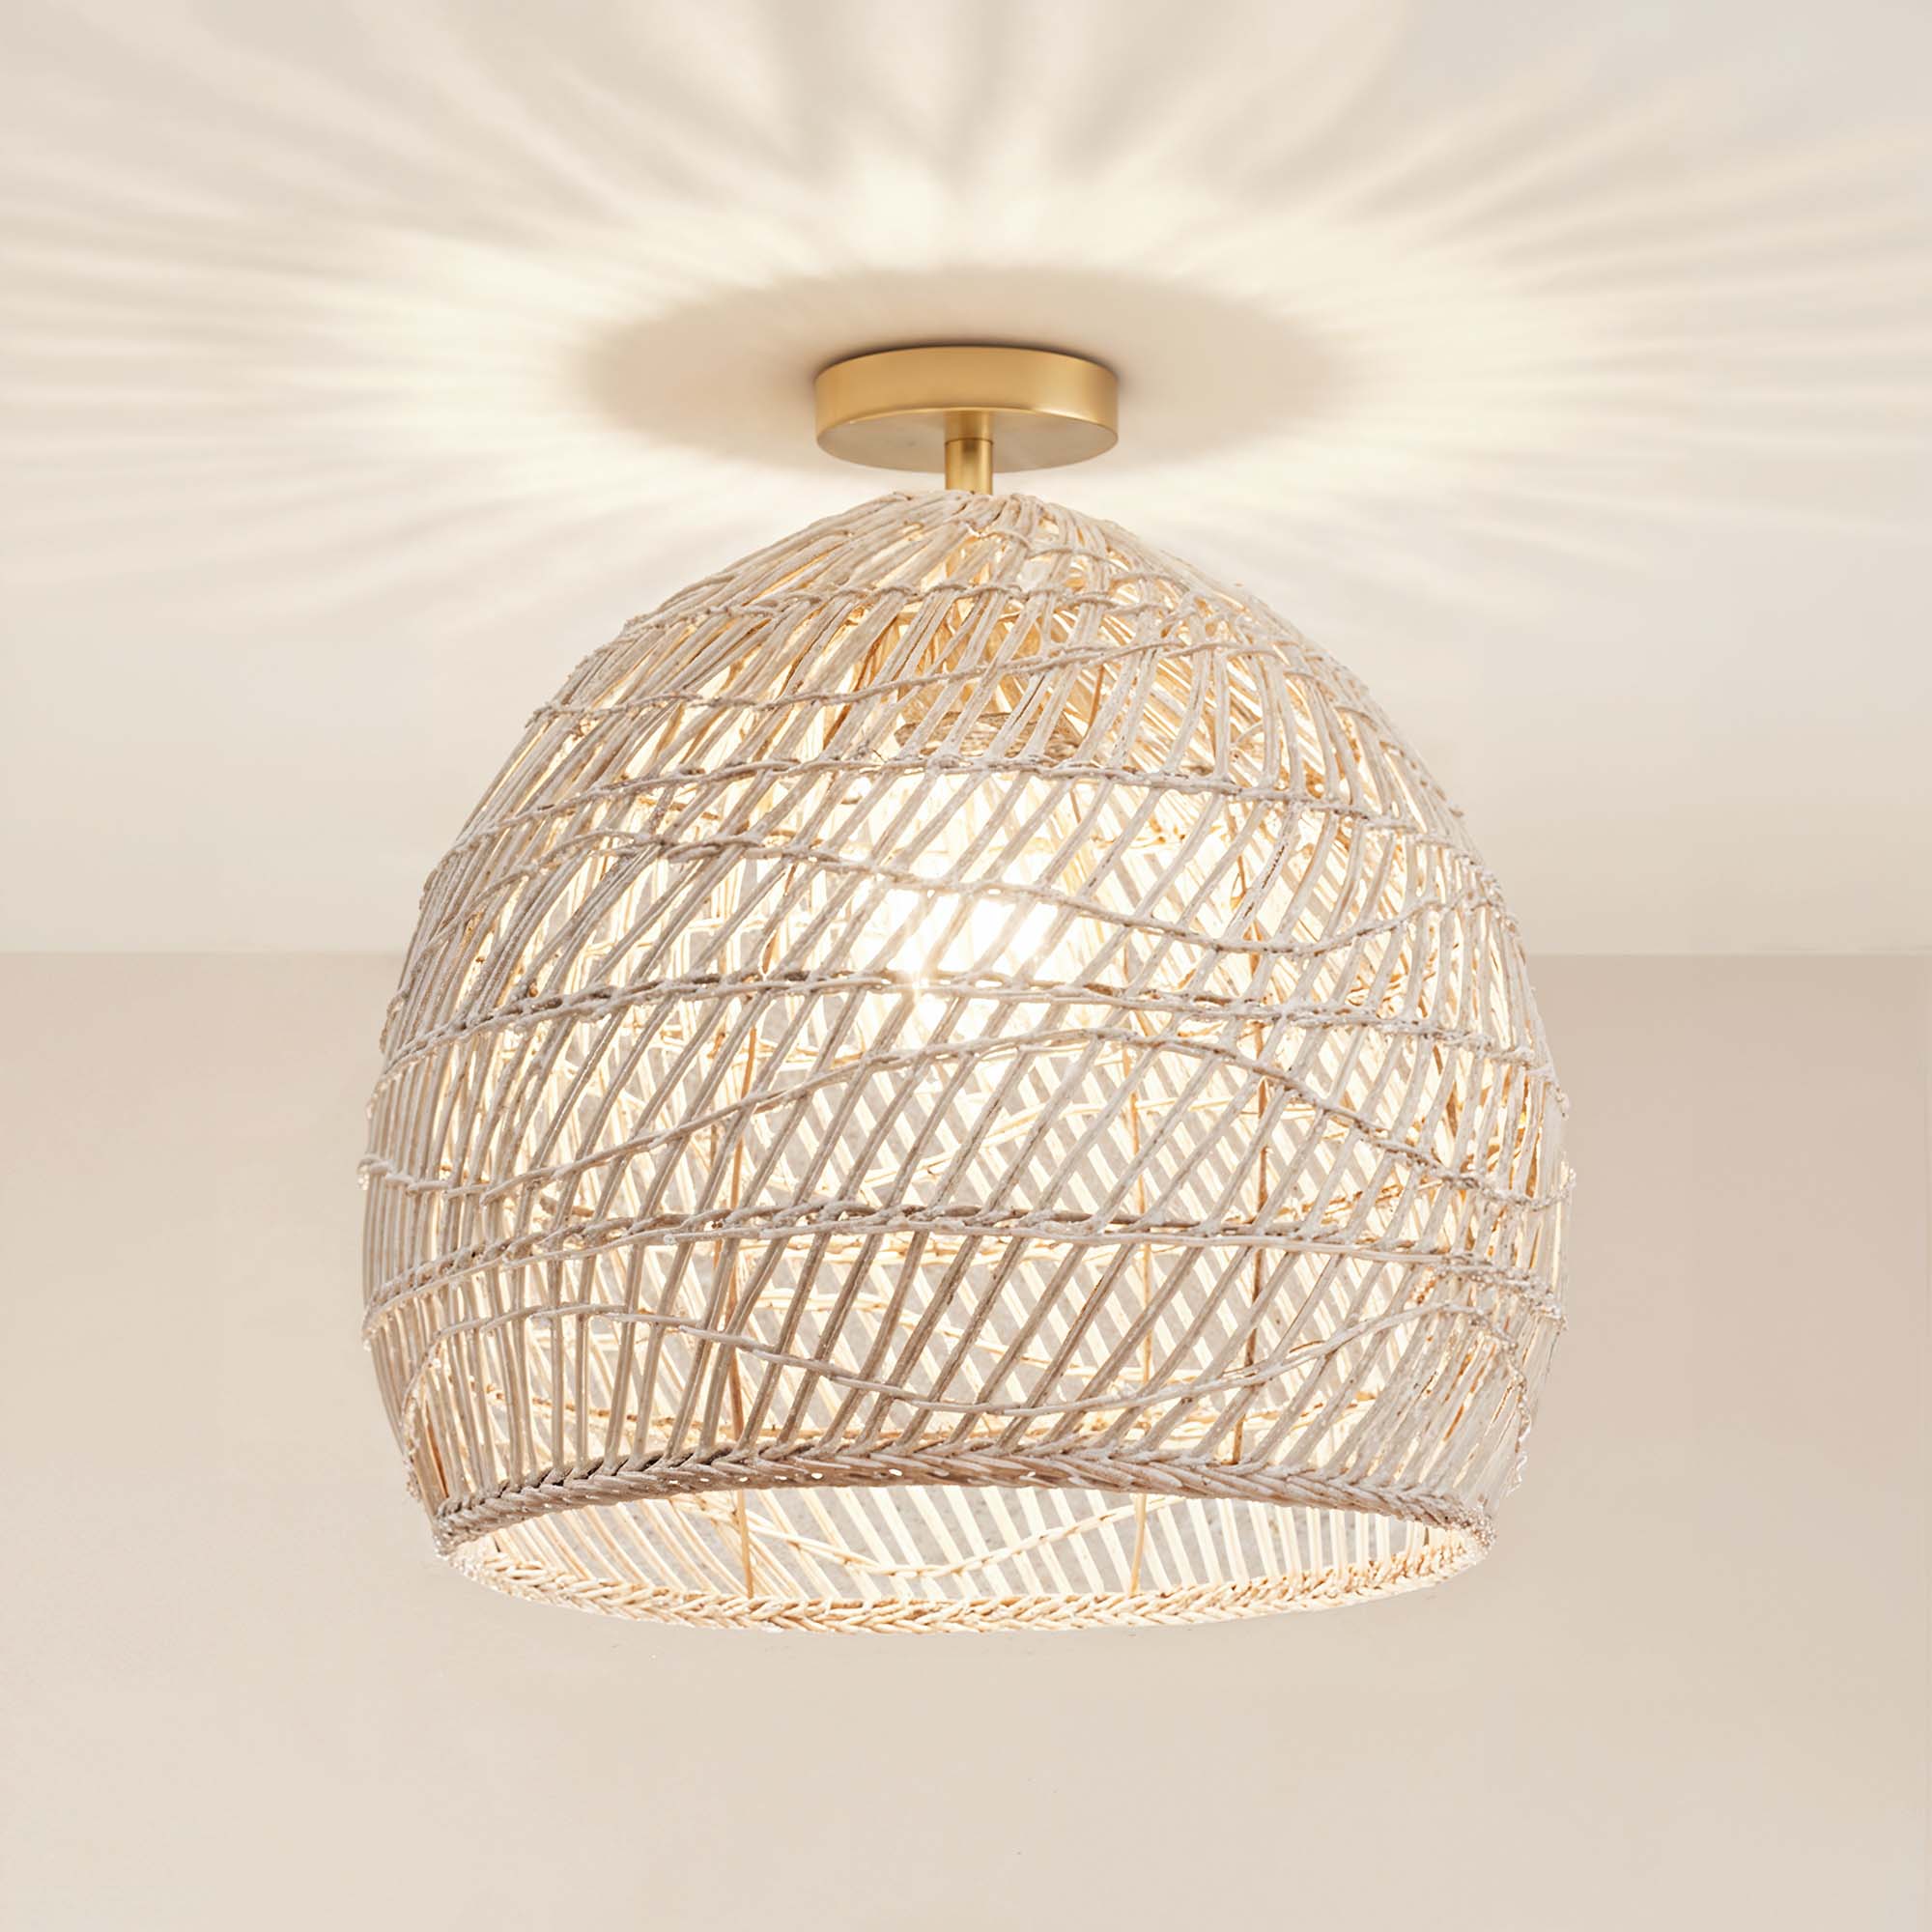
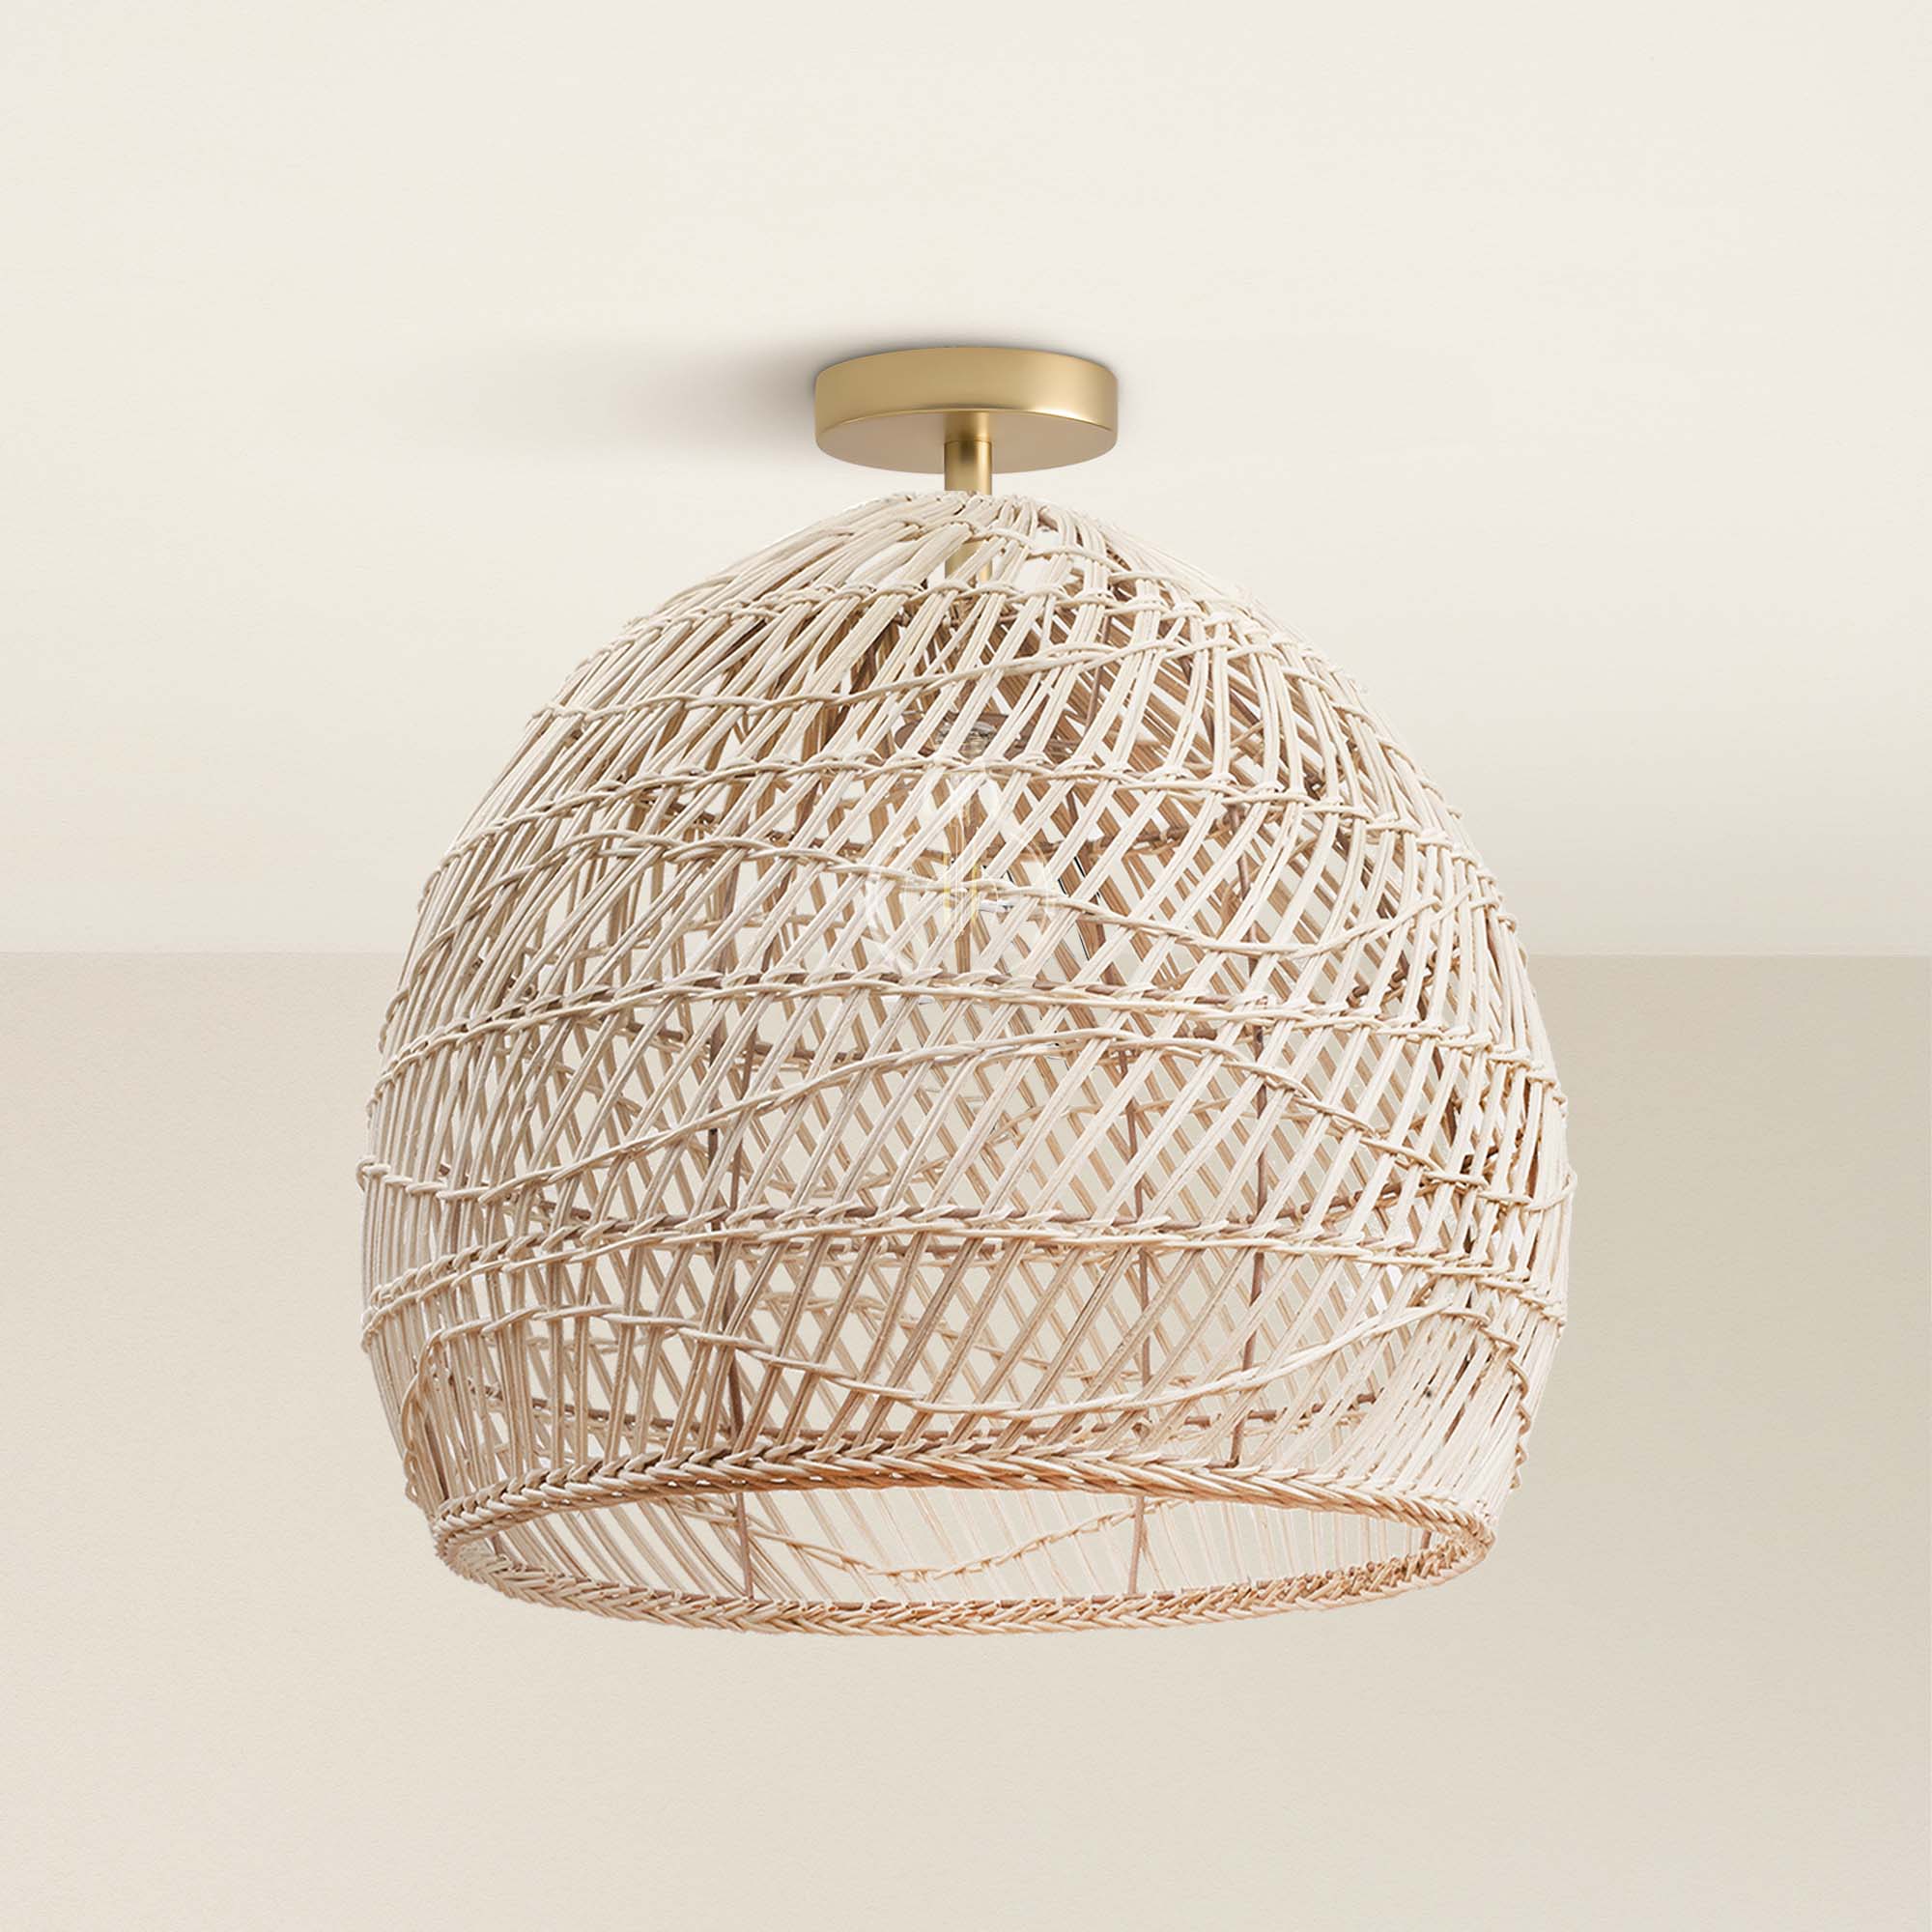
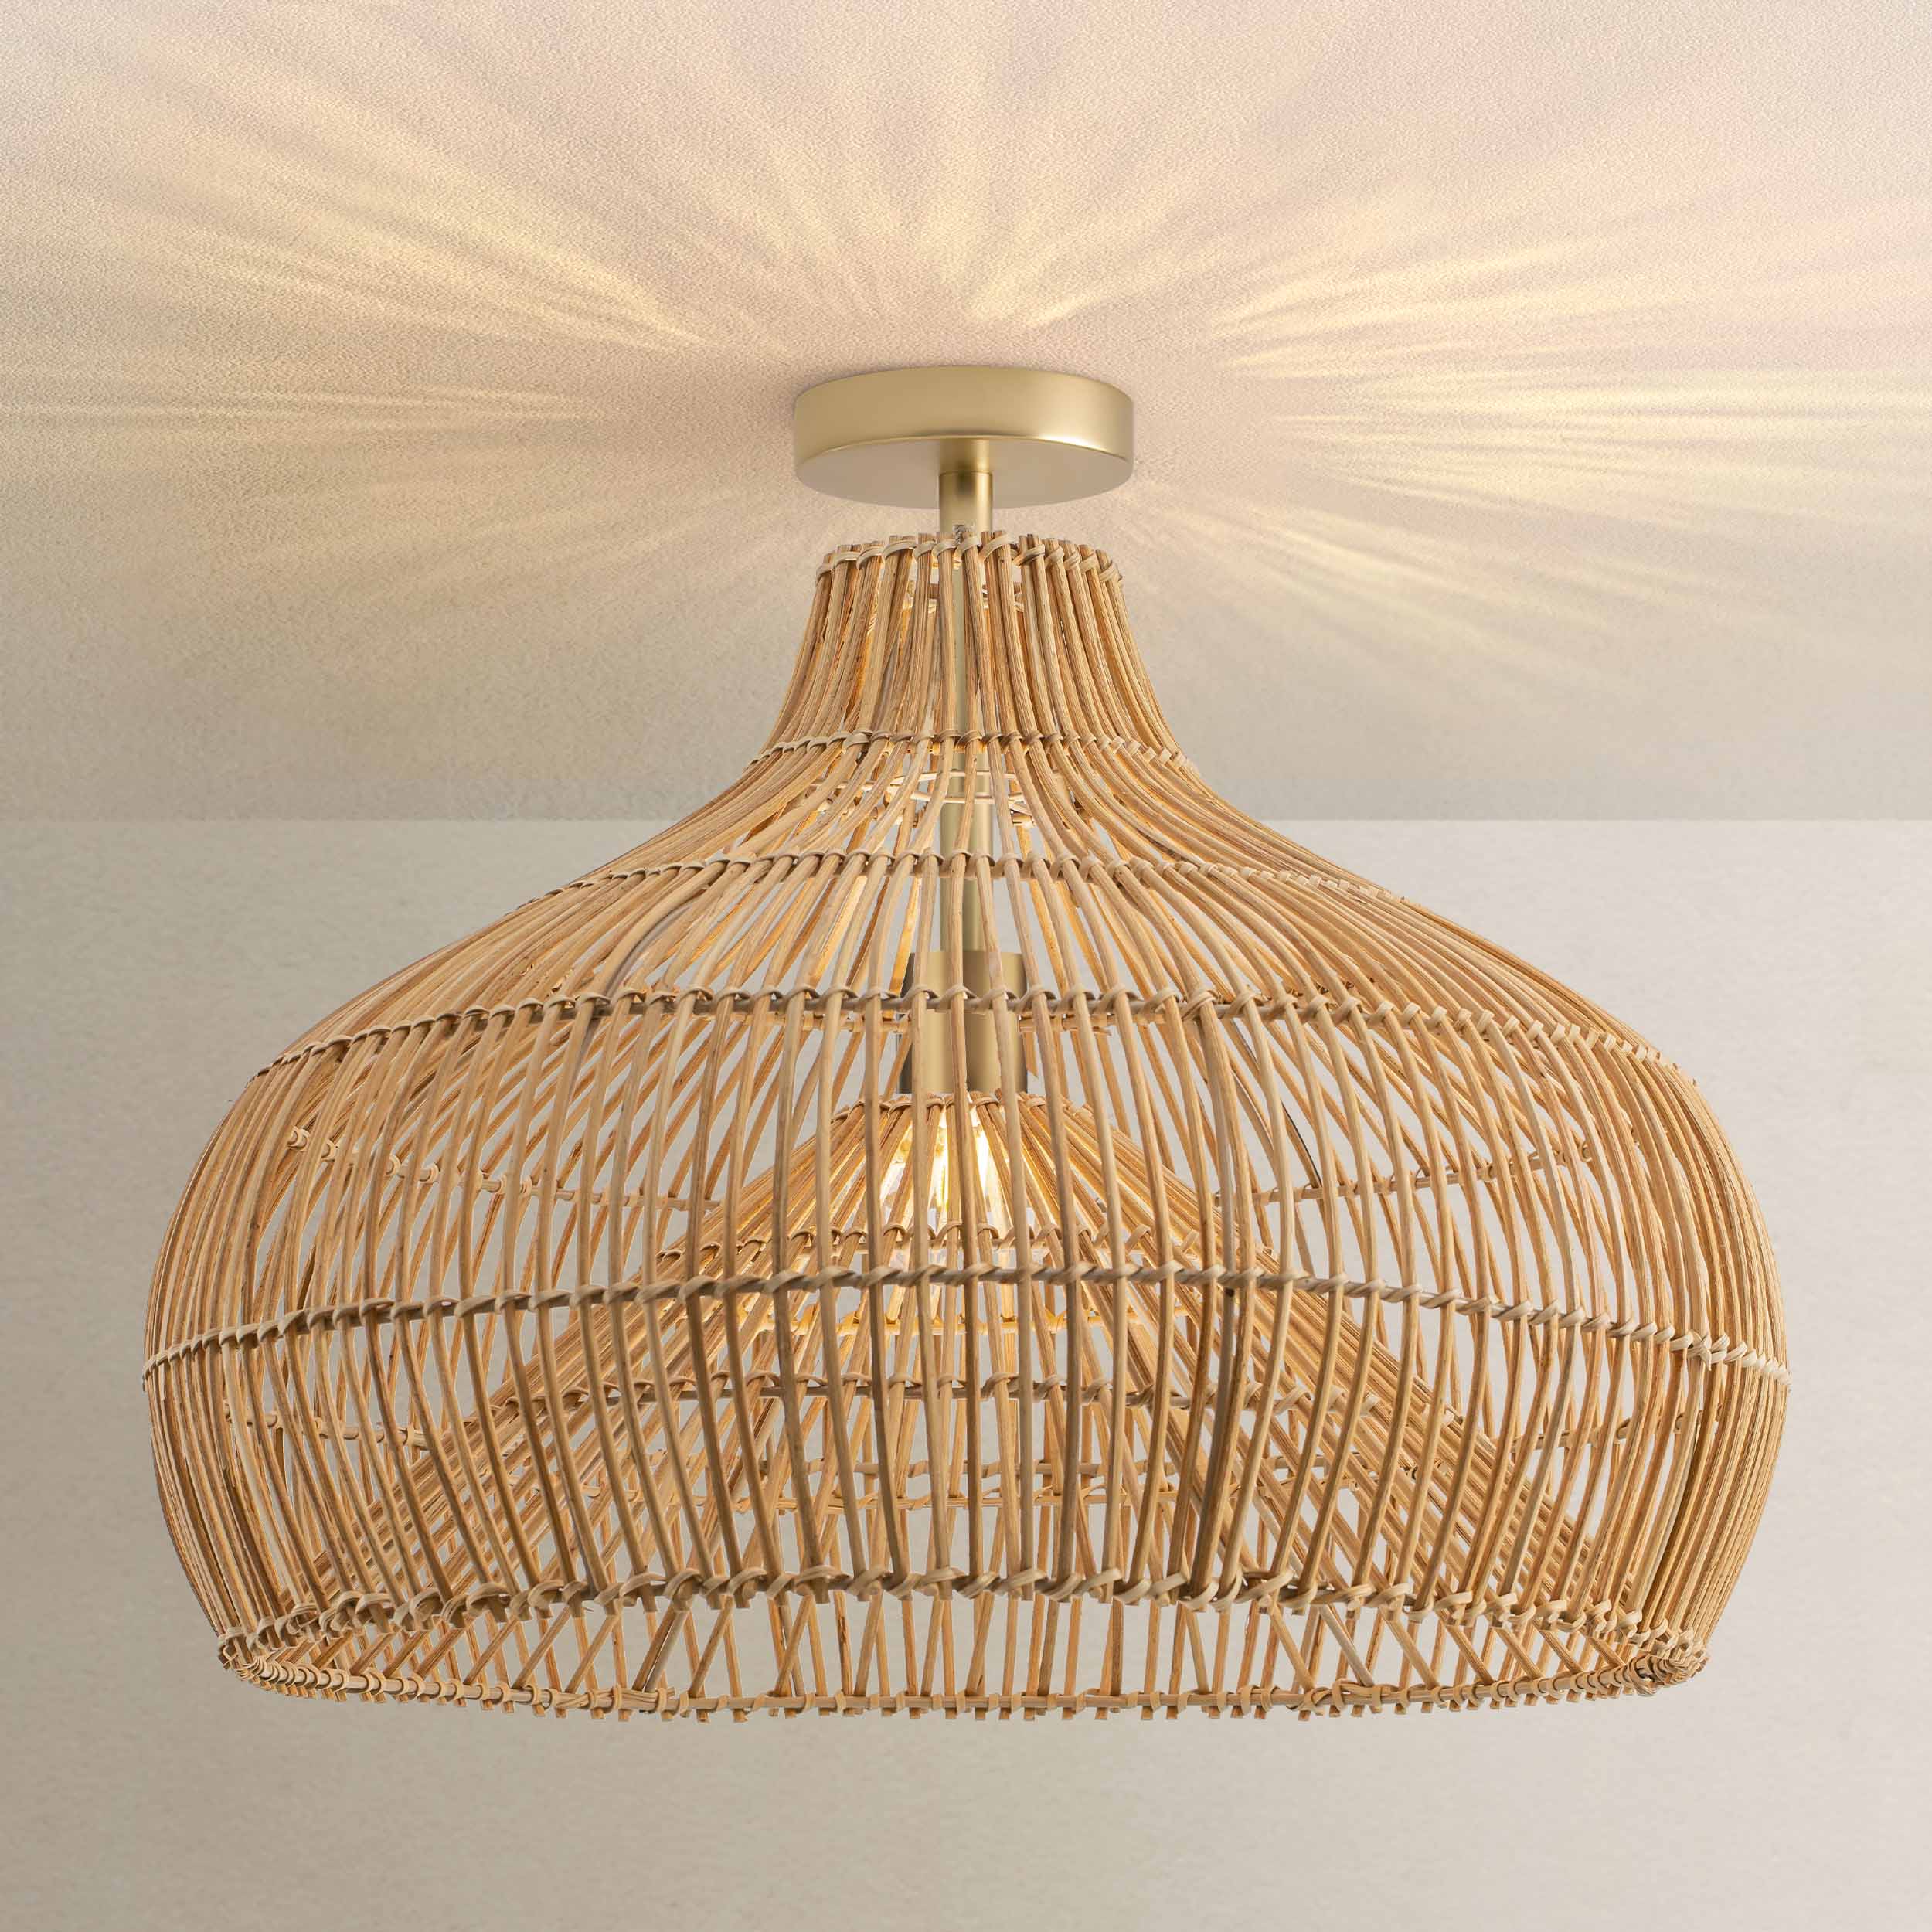
It's time for an upgrade. Find your perfect focal point.
45-Day Return
45-Day Return

45-Day Return
45-Day Return
45-Day Return
45-Day Return
45-Day Return
45-Day Return
45-Day Return
45-Day Return

45-Day Return
A step-by-step guide to replace a ceiling light fixture
In this comprehensive guide, we will walk you through each step, ensuring you feel confident and informed as you tackle this home improvement project.
Step 1: Turn off the power
To start the process, the first step is to turn off the power. Safety is paramount when working with electrical fixtures. Locate the switch that controls your light fixture and turn it off. To further ensure your safety, go to the circuit breaker panel and turn off the breaker corresponding to the light fixture.
This precaution will help prevent any electrical accidents while you work.
Step 2: Remove the shade or globe
Next, you will need to remove the shade or globe of the existing fixture. Depending on the design, carefully loosen any screws or unscrew the shade or globe, holding the fixture steady to prevent it from falling.

Be sure to hold the fixture steady to avoid dropping or damaging any parts. Source: Rowabi.
If you plan to reuse the lightbulbs, gently unscrew them and set them aside in a safe place. This step prepares the fixture for removal and makes it easier to access the components underneath.
Step 3: Unscrew the fixture
Once the shade is removed, locate the screws that hold the light fixture to the mounting base. Using your screwdriver, carefully loosen and remove these screws, then gently detach the fixture from the mounting base. At this point, it's important to handle the fixture carefully to avoid any damage or accidental drops.
 Source: Rowabi.
Step 4: Disconnect the wires
With the fixture removed, you will need to disconnect the wires. Before proceeding, use a circuit tester to double-check that there’s no power flowing to the wires.
After confirming that the power is off, carefully unscrew the wire connectors to detach the fixture’s wires from the ceiling wires, which are usually color-coded as black (hot), white (neutral), and green or copper (ground). This step ensures that the old fixture is completely disconnected from the power supply.
If necessary, the next step is to disconnect the mounting base from the ceiling box. Use a screwdriver to unscrew and detach the mounting base, making sure to keep all screws and components for later use. This will clear the way for the installation of the new fixture’s mounting base.
See the difference quality makes. View the Rowabi bestsellers.
Step 5: Disconnect the mounting base
If necessary, the next step is to disconnect the mounting base from the ceiling box. Use a screwdriver to unscrew and detach the mounting base, making sure to keep all screws and components for later use. This will clear the way for the installation of the new fixture’s mounting base.
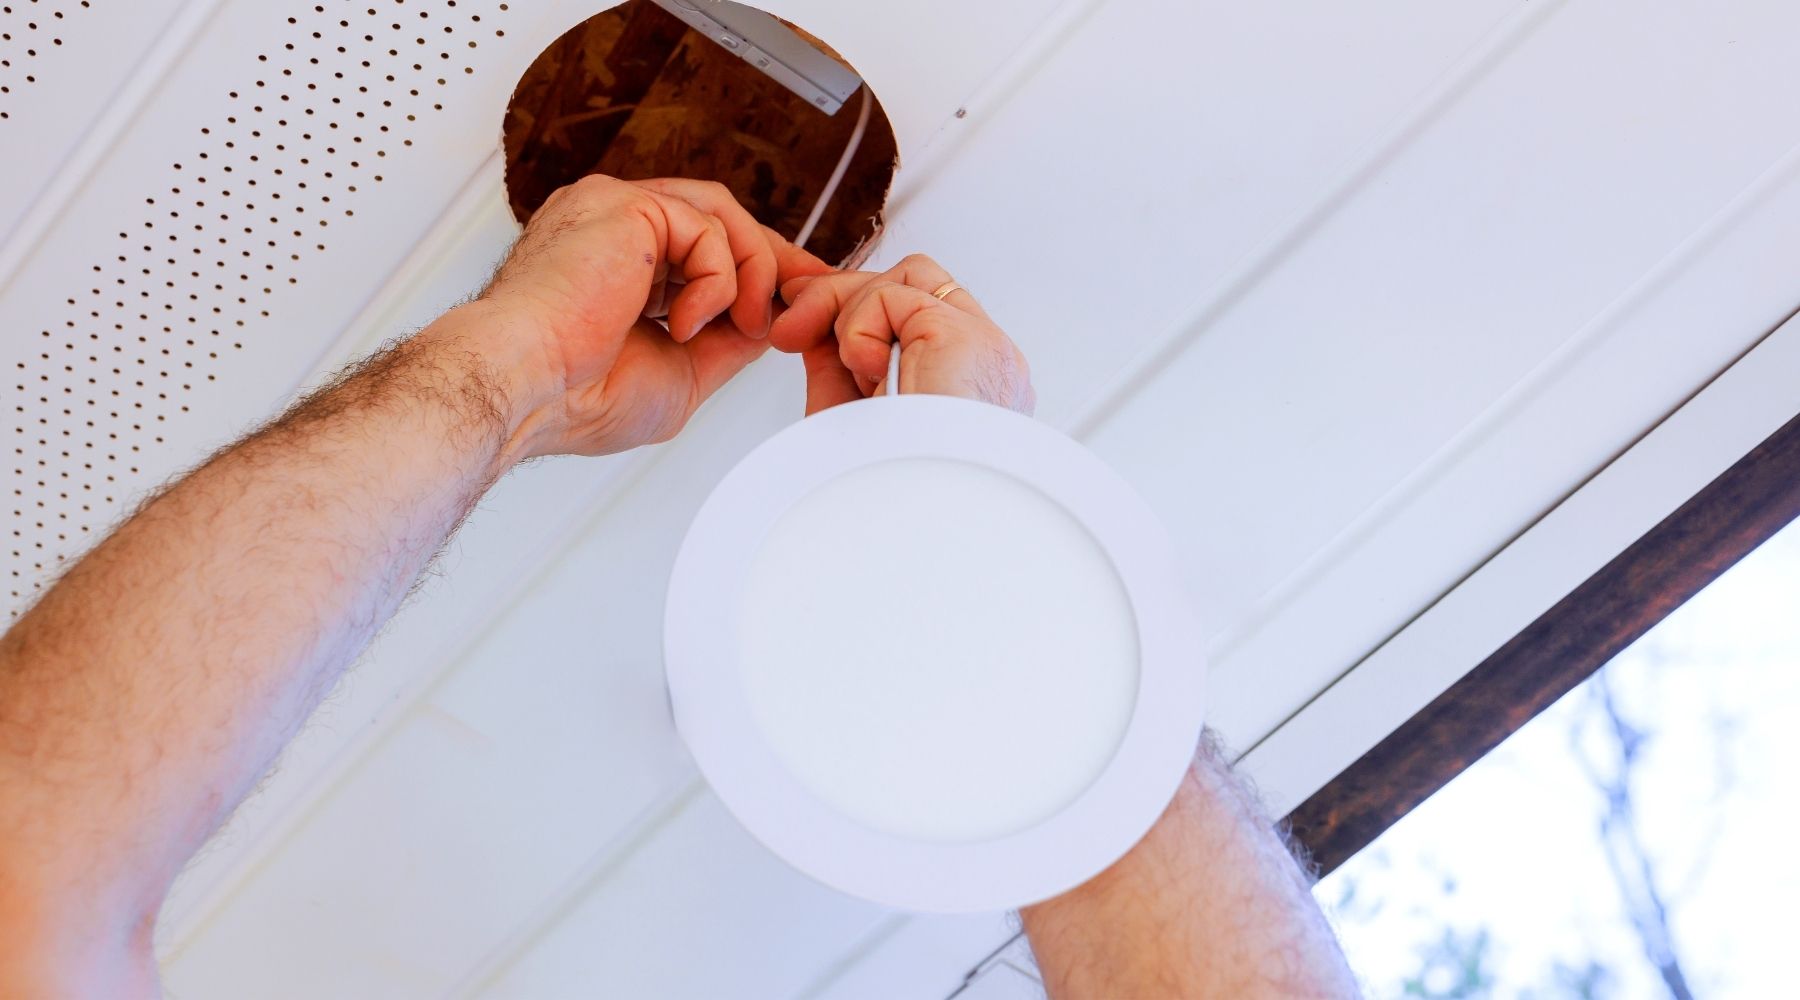
Step 6: Unbox the new ceiling fixture
Now, carefully unbox your new ceiling light fixture. Remove any plastic and hardware from the packaging, inspecting the fixture to ensure that all parts are intact and ready for installation.
Step 7: Install the mounting base
Once everything is ready, proceed to install the new mounting base if your fixture requires one. Follow the manufacturer’s instructions to securely attach it to the ceiling box, ensuring it is firmly in place.
Step 8: Connect the circuit wires
After the mounting base is installed, you will connect the circuit wires. Start by connecting the ground wire (green or copper) from the new fixture to the ceiling’s ground wire.
Next, connect the white (neutral) wires using a wire connector, followed by connecting the black (hot) wires in the same manner. These connections are crucial for the safe operation of your new fixture.
Step 9: Mount the fixture
Once the wiring is connected, attach the fixture to the mounting base. Ensure all screws are tightened securely and that the fixture is stable. This step is essential for both safety and aesthetics, as a securely mounted fixture will not only function properly but also look better in your space.
Step 10: Install the lightbulbs
After the fixture is securely mounted, it’s time to install the light bulbs. Screw in the light bulbs, making sure to refer to the fixture’s instructions regarding the appropriate wattage.
Choosing the right bulbs will help ensure optimal performance and longevity for your new fixture.
Step 11: Install the shade or globe
Finally, reattach the shade or globe, securing it according to the manufacturer’s instructions. This step completes the installation process and allows you to enjoy the updated look and improved lighting of your space.

Once the bulbs are in place, carefully reattach the shade or globe, securing it according to the manufacturer's instructions. Source: Rowabi.
Faqs: Change ceiling light fixture
How hard is it to replace a ceiling light fixture?
- Replacing a ceiling light fixture is generally a manageable task for most DIY enthusiasts. With basic tools and following step-by-step instructions, you can complete the job in about an hour. However, if you are unfamiliar with electrical work, it may be beneficial to consult a professional.
Do I need to turn off the power to change a light fixture?
- Yes, it is essential to turn off the power at the circuit breaker before changing a light fixture. This ensures your safety by preventing any electrical accidents while you work.
Is it safe to change a light fixture yourself?
- Changing a light fixture can be safe if you follow proper safety precautions, such as turning off the power and using insulated tools. However, if you are uncertain or uncomfortable with electrical work, hiring a licensed electrician is recommended.
How much does labor cost to replace a ceiling light fixture?
- Labor costs to replace a ceiling light fixture can vary based on location and the complexity of the job, typically ranging from $75 to $150. It’s advisable to get quotes from multiple electricians for the best price.
Conclusion
In conclusion, changing a ceiling light fixture is a straightforward and rewarding DIY project that can significantly enhance the ambiance of your space.
By following the step-by-step instructions provided, you can safely and effectively replace your old fixture with a new one that complements your home’s décor.


,%20and%20whe...)
Leave a comment
This site is protected by hCaptcha and the hCaptcha Privacy Policy and Terms of Service apply.