Skip to content

DISPATCH IN 48 HOURS

Shop in-stock lighting

LAST DEALS OF THE YEAR

Get Member Price

THE STORY BEHIND OUR LIGHTS

Explore the Journey

FREE SHIPPING ON ORDERS $200+

Shop Now

ROWABI LIGHTING
logo rowabi
Designer Lights Within Reach

Contacts

(346) 626-9399
customers@rowabi.com
1500 Brittmore Rd., Suite 303, Houston, Texas, 77043
mon-Fri: 10:00-18:00

DISPATCH IN 48 HOURS

Shop in-stock lighting

LAST DEALS OF THE YEAR

Get Member Price

THE STORY BEHIND OUR LIGHTS

Explore the Journey

FREE SHIPPING ON ORDERS $200+

Shop Now

Cart

Your cart is empty

Article: How To Layout Recessed Lighting In 4 Easy Steps?

How To Layout Recessed Lighting In 4 Easy Steps?

Written by Noah Miller Update

Achieving balanced, shadow-free lighting with recessed cans depends entirely on a smart layout plan. The fundamental principle for general ambient lighting involves basing all spacing calculations on your ceiling height. By dividing the height by two, you establish the optimal distance for lights both from the wall and from each other, ensuring uniform light coverage.

However, a successful design must also account for the room’s purpose, requiring closer spacing and higher illumination for task areas like kitchens. Let Rowabi guide you through the simple calculations needed to perfectly space your recessed lighting and transform your room's ambiance.

EXPLORE MORE:

Key takeaways

  • Determine Spacing (The 1/2 Rule): For general lighting, use the ceiling height divided by two to set the distance both between the lights and from the light to the nearest wall (e.g., 8-foot ceiling = 4-foot spacing).
  • Prioritize Function: Layouts must be adjusted for the room's use; Kitchens require a denser grid (e.g., 3-4 feet apart) and more lumens compared to ambient spaces like living rooms.
  • Address Task Areas: Install additional recessed lights directly above key work surfaces, such as kitchen islands or office desks, to provide focused illumination.
  • Maximize Flexibility: Always install dimmers on your circuits, as it is easier to start with slightly too many lights that can be dimmed than to add fixtures later to fix a dim room.
  • High vs. Low Ceilings: Higher ceilings typically require closer light spacing or more powerful fixtures to prevent dark spots, while lower ceilings benefit from slightly wider spacing to avoid feeling cluttered.

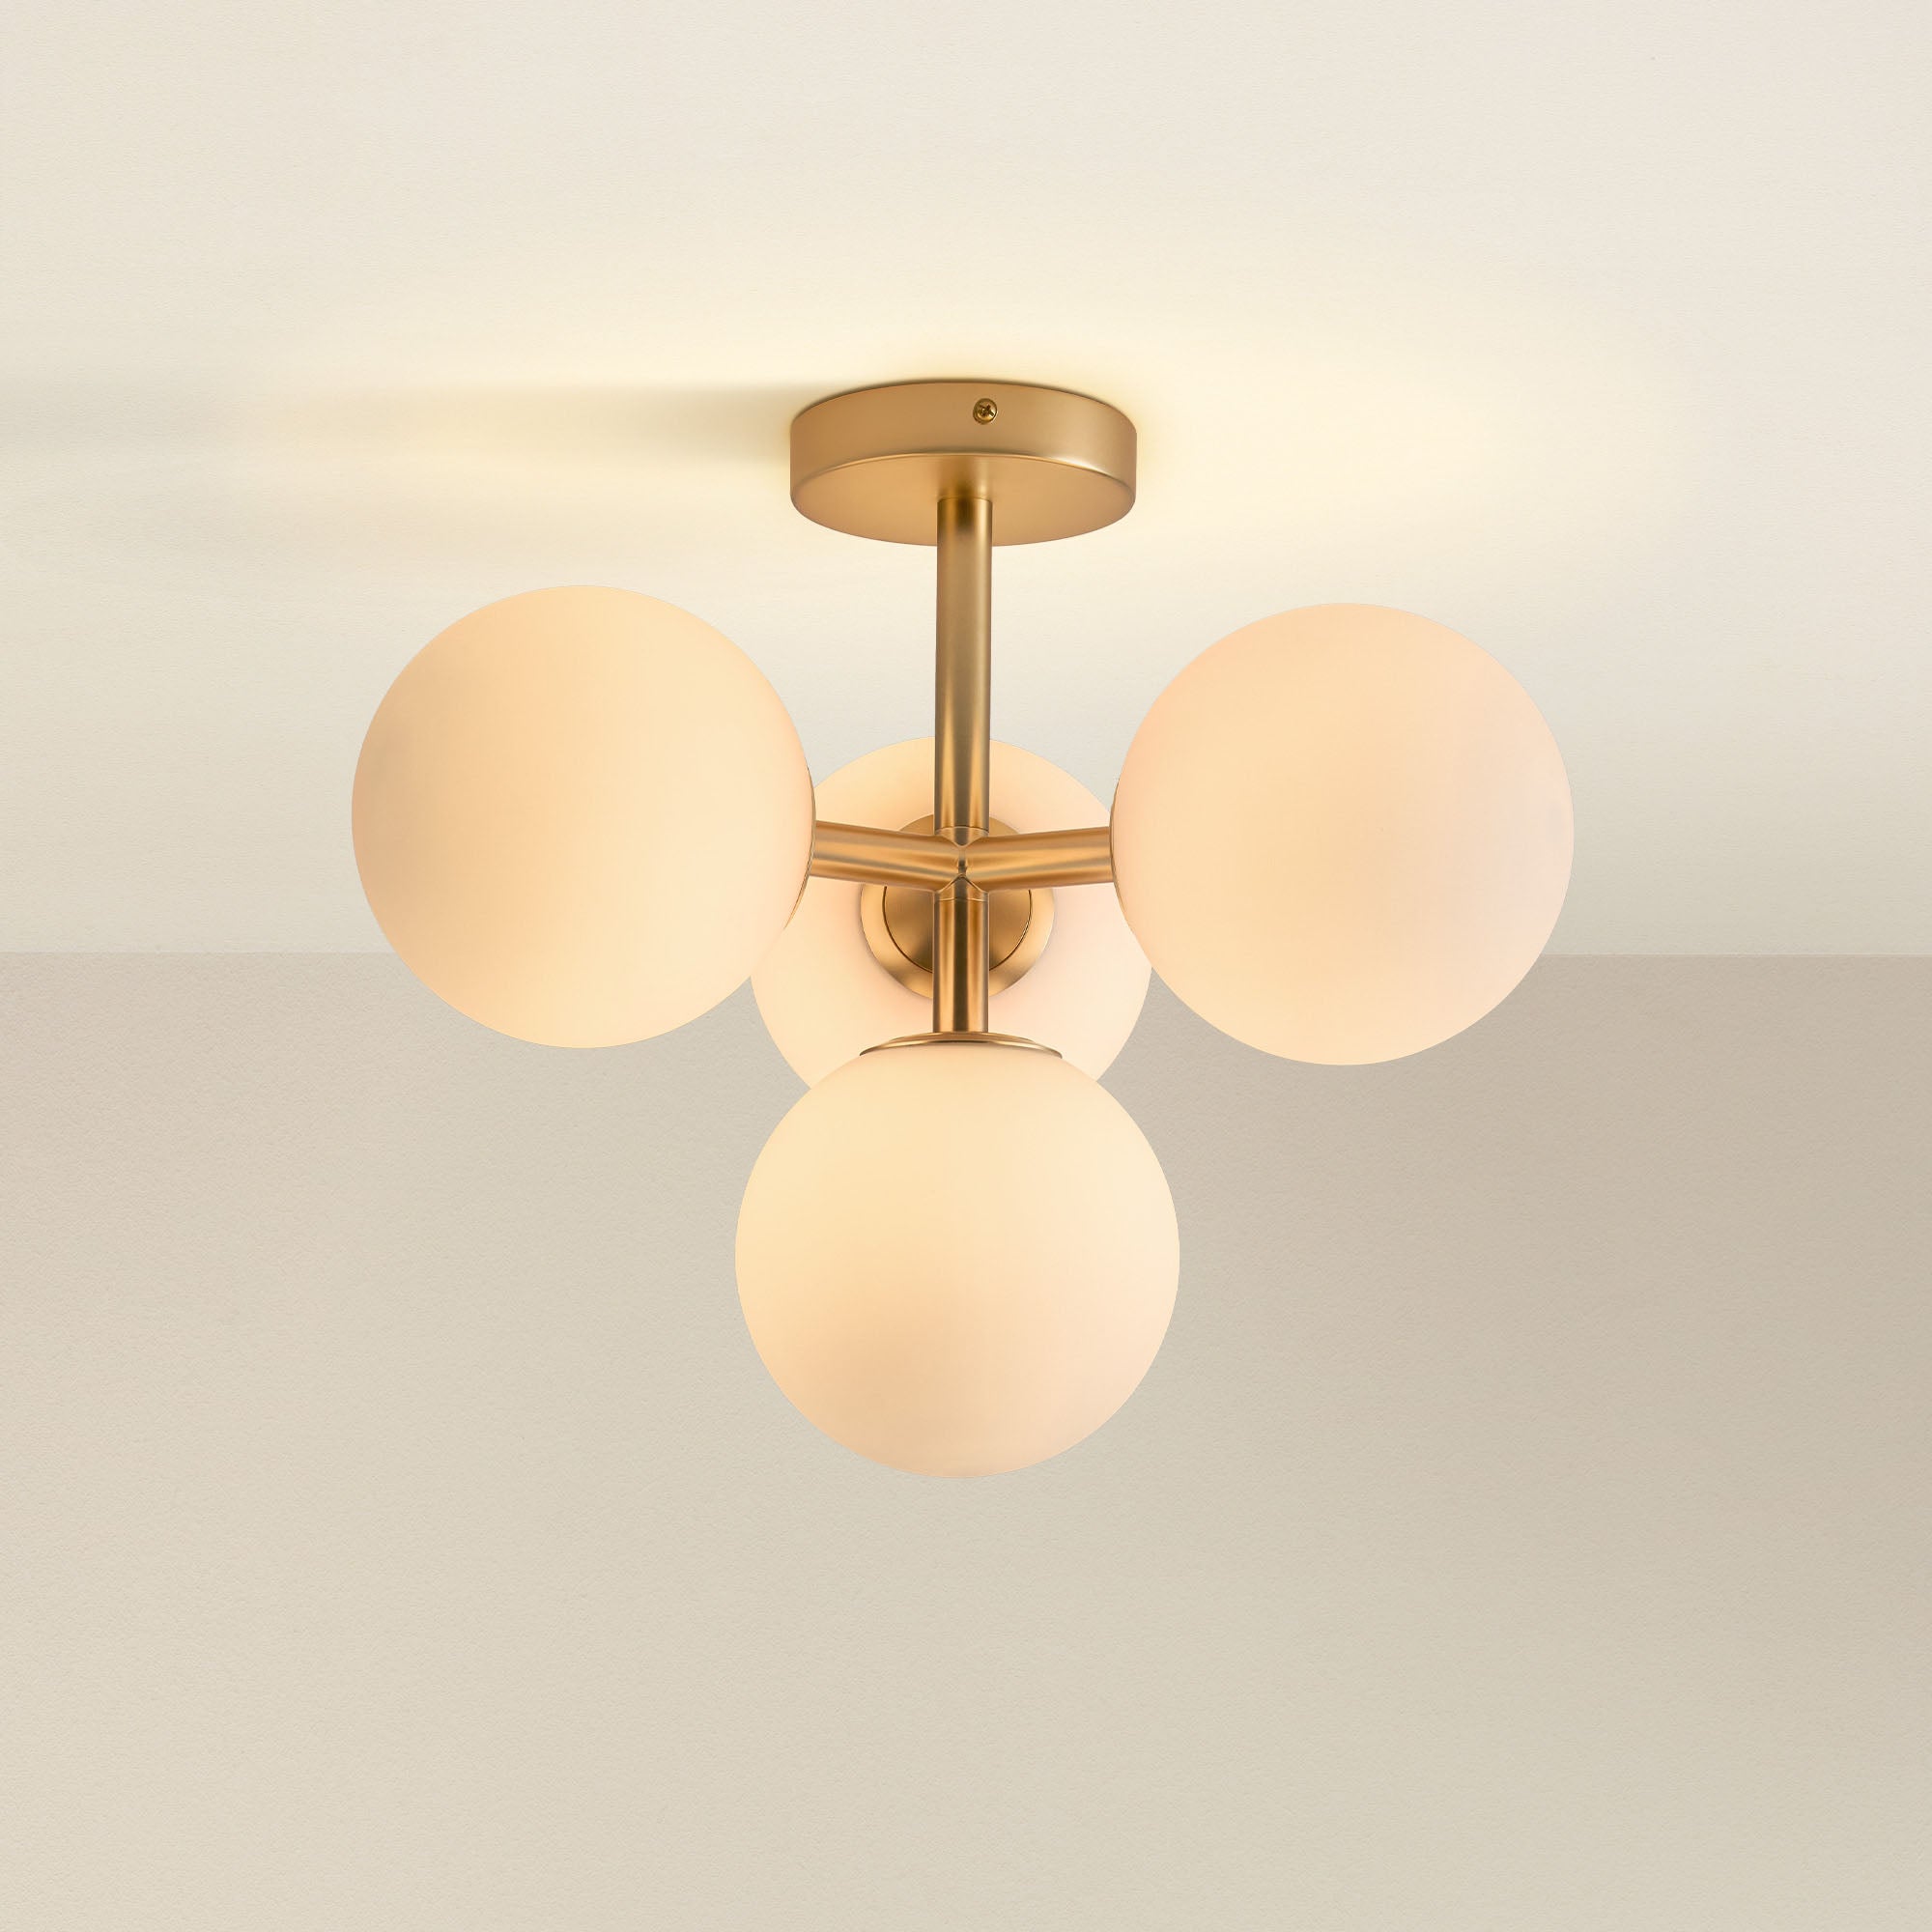
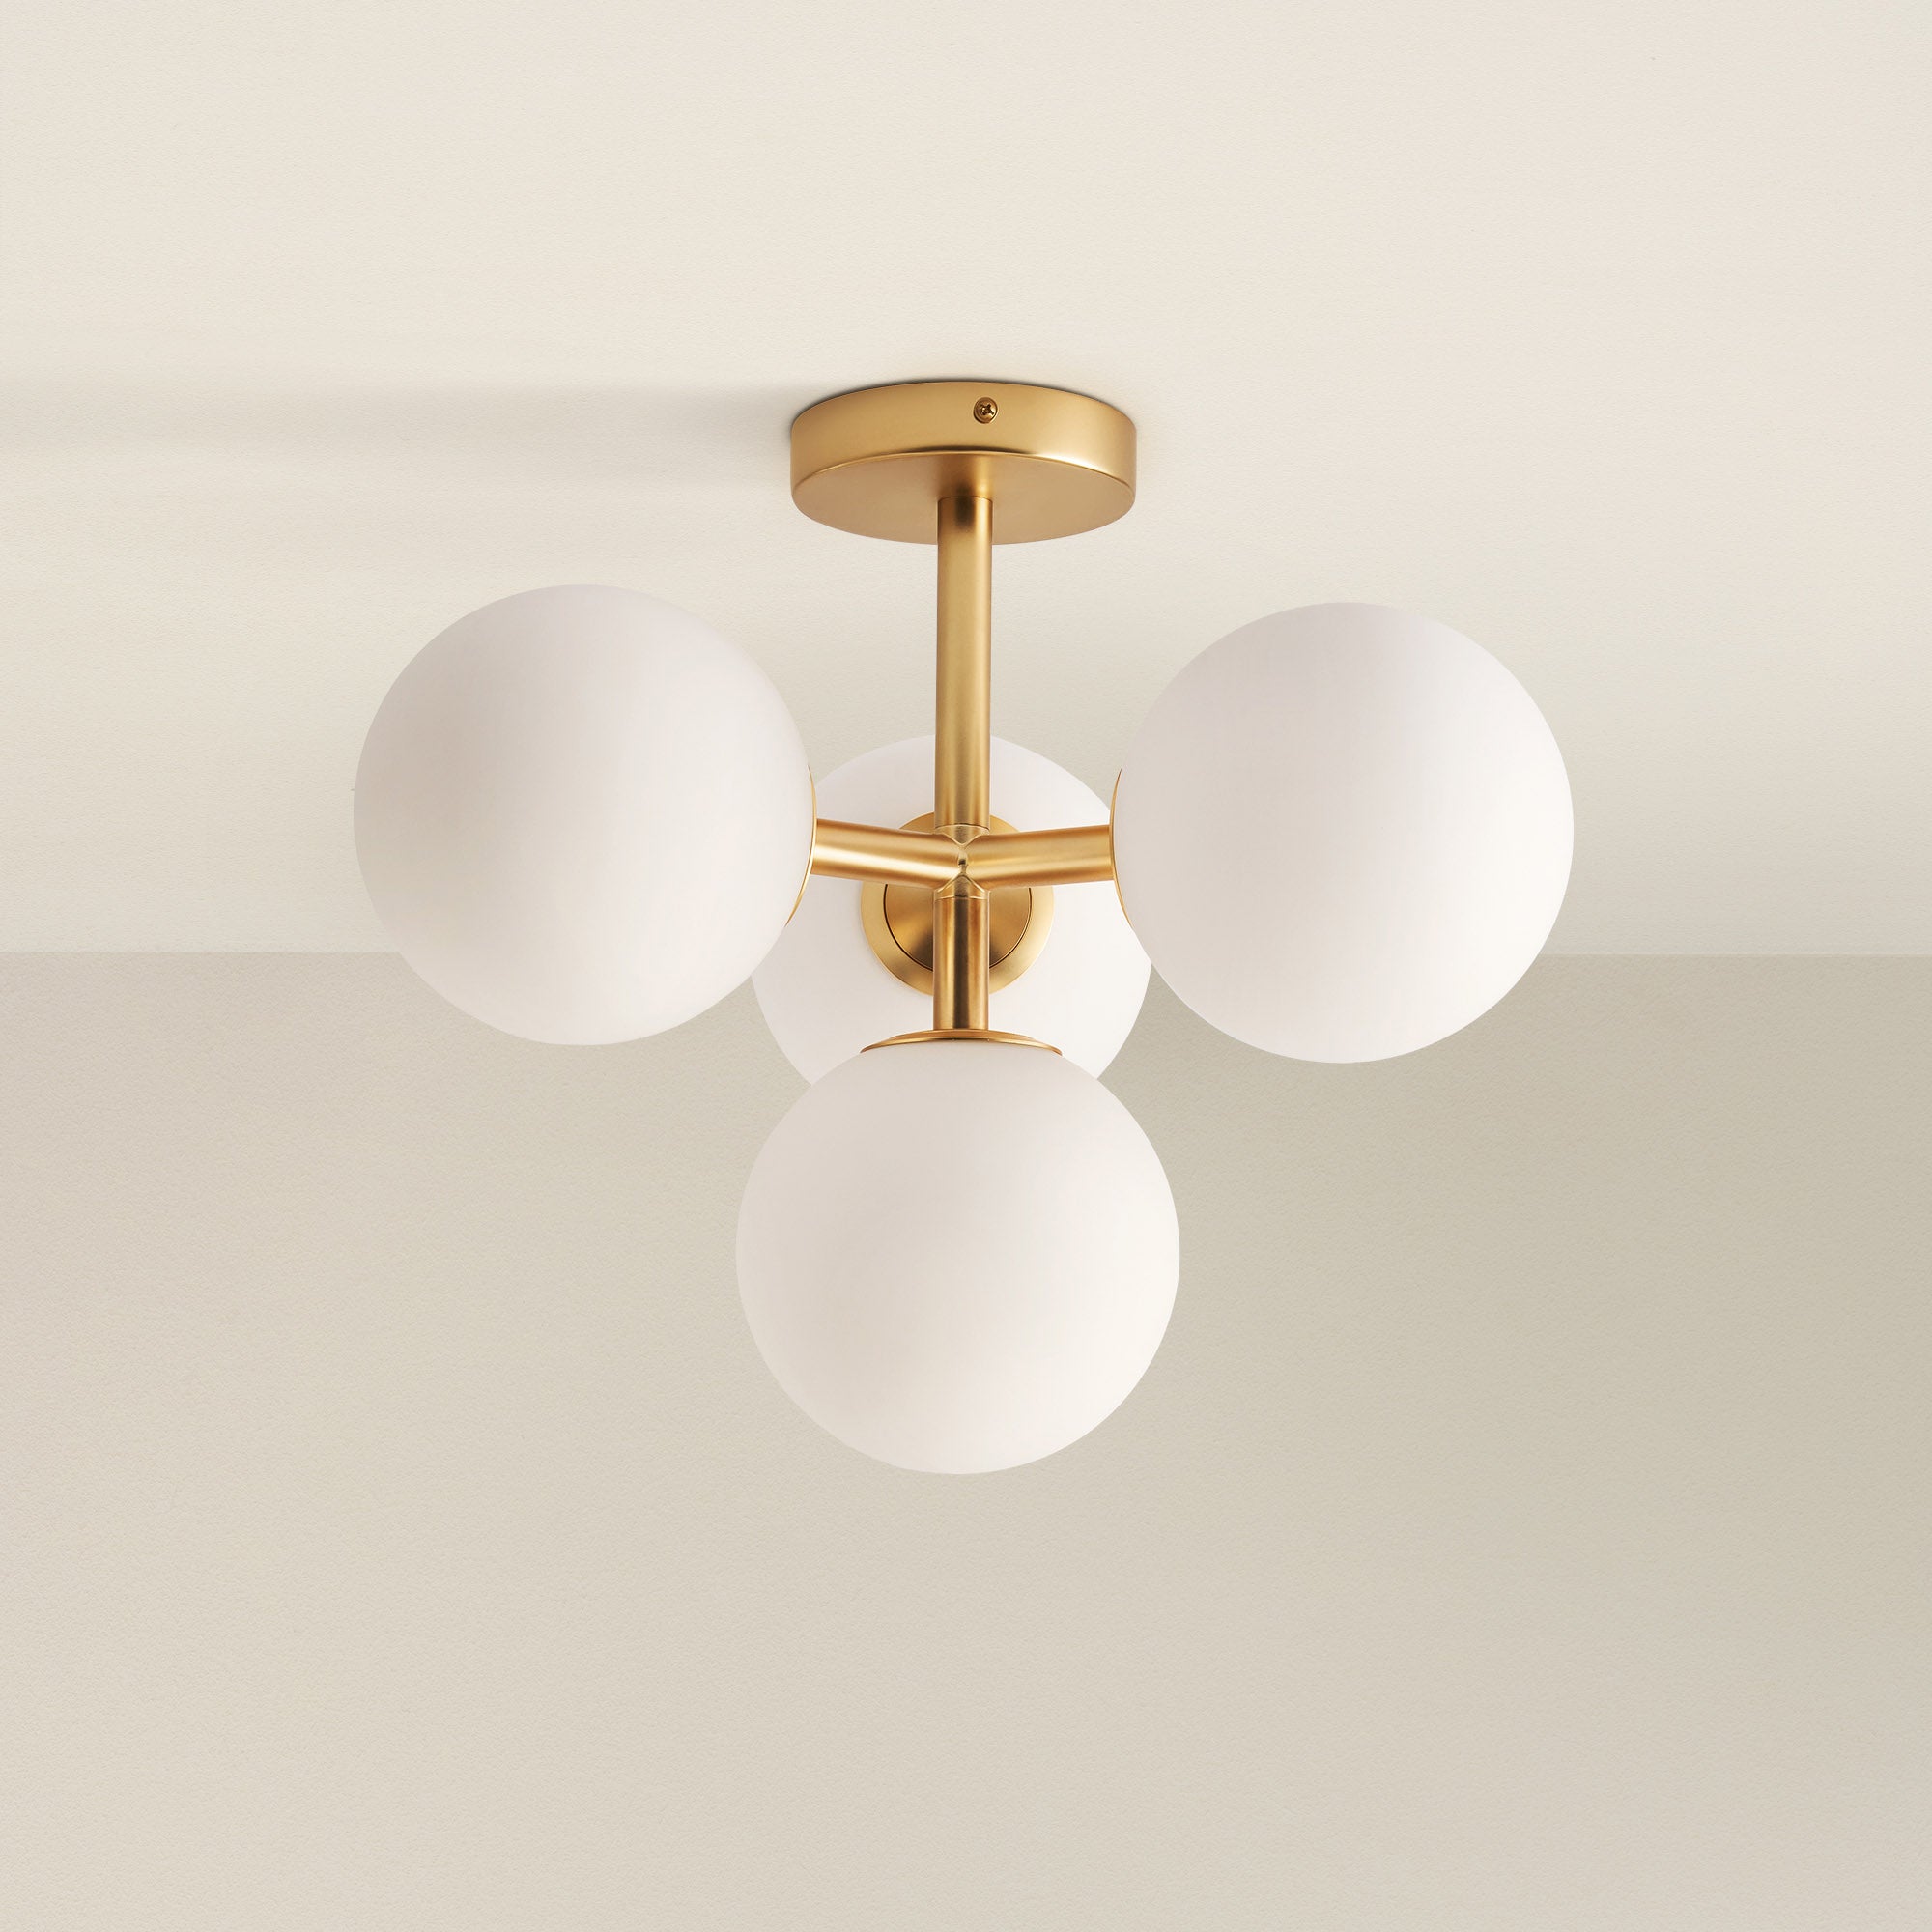
Source: Flixx Studio via Canva: https://www.canva.com/design/DAG36oP-OEw/j7Pg7vBArwLcGpyxs0e_rA/edit#

How to layout recessed lighting

Before diving into the steps, it’s important to consider how the right recessed lighting layout can transform your space. Whether you’re highlighting a focal point or creating balanced illumination, having a clear plan ensures a seamless and functional design. Check out our guide for how far should recessed light be from wall and how to install recessed lighting.

Plan your lighting

Start with the basics: ask yourself what you want to achieve with your recessed lighting. Are you aiming for general illumination, accent lighting, or task-specific brightness? Once you have a goal in mind, you’ll know where to focus your efforts (literally).

Select recessed lighting sizes and styles

  • Choosing recessed lighting housing: The type of housing depends on your ceiling setup. For insulated ceilings, go with IC-rated housing—it’s designed to prevent overheating by keeping the heat from the light fixture away from insulation. Remodeling houses are ideal if you’re retrofitting an existing ceiling, while new construction houses work best for unfinished ceilings.
  • Selecting recessed lighting trim: Trim style affects both functionality and aesthetics. Opt for baffle trims to reduce glare, eyeball trims for adjustable directional lighting, or decorative trims for added style. Match the trim to your room’s purpose and design.

Your dream home is waiting. Discover it now

Arden Multi-Light Flush MountArden Multi-Light Flush Mount
Sale price$240.00 Regular price$290.00

Free delivery between Dec 22 - 23 on orders $200+

45-Day Return

Aurora Flush MountAurora Flush Mount
Sale price$210.00 Regular price$260.00

Free delivery between Dec 22 - 23 on orders $200+

45-Day Return

Cadenza Flush MountCadenza Flush Mount
Sale price$300.00 Regular price$370.00

Free delivery between Dec 22 - 23 on orders $200+

45-Day Return

Everly Semi-Flush MountEverly Semi-Flush Mount
Sale price$130.00 Regular price$160.00

Free delivery between Dec 22 - 23 on orders $200+

45-Day Return

Lucerne Flush MountLucerne Flush Mount
Sale price$200.00 Regular price$240.00

Free delivery between Dec 22 - 23 on orders $200+

45-Day Return

Low StockSolace Flush MountSolace Flush Mount
Sale price$230.00 Regular price$280.00

Free delivery between Dec 22 - 23 on orders $200+

45-Day Return

Sketch your recessed lighting ideas

Grab a piece of paper or use a digital planner to sketch your room and figure out the ideal recessed lighting spacing and placement. This step helps you visualize how the light will distribute across the room.

Choose a focal point (or not)

If your room has a standout feature like a fireplace, artwork, or kitchen island, consider positioning your recessed lights to highlight it. For example, lights angled at 30 degrees toward the feature can create dramatic effects without overwhelming the space.

For general lighting, keep the recessed lighting layout uniform and balanced to ensure consistency across the room.

Follow the ceiling height rule of thumb

For optimal recessed light spacing, measure your ceiling height and divide by two. For example, an 8-foot ceiling would have lights spaced roughly 4 feet apart.

This spacing method provides a straightforward way to ensure even and balanced light distribution. The light coverage overlaps enough to avoid dark spots while preventing excessive brightness in concentrated areas.

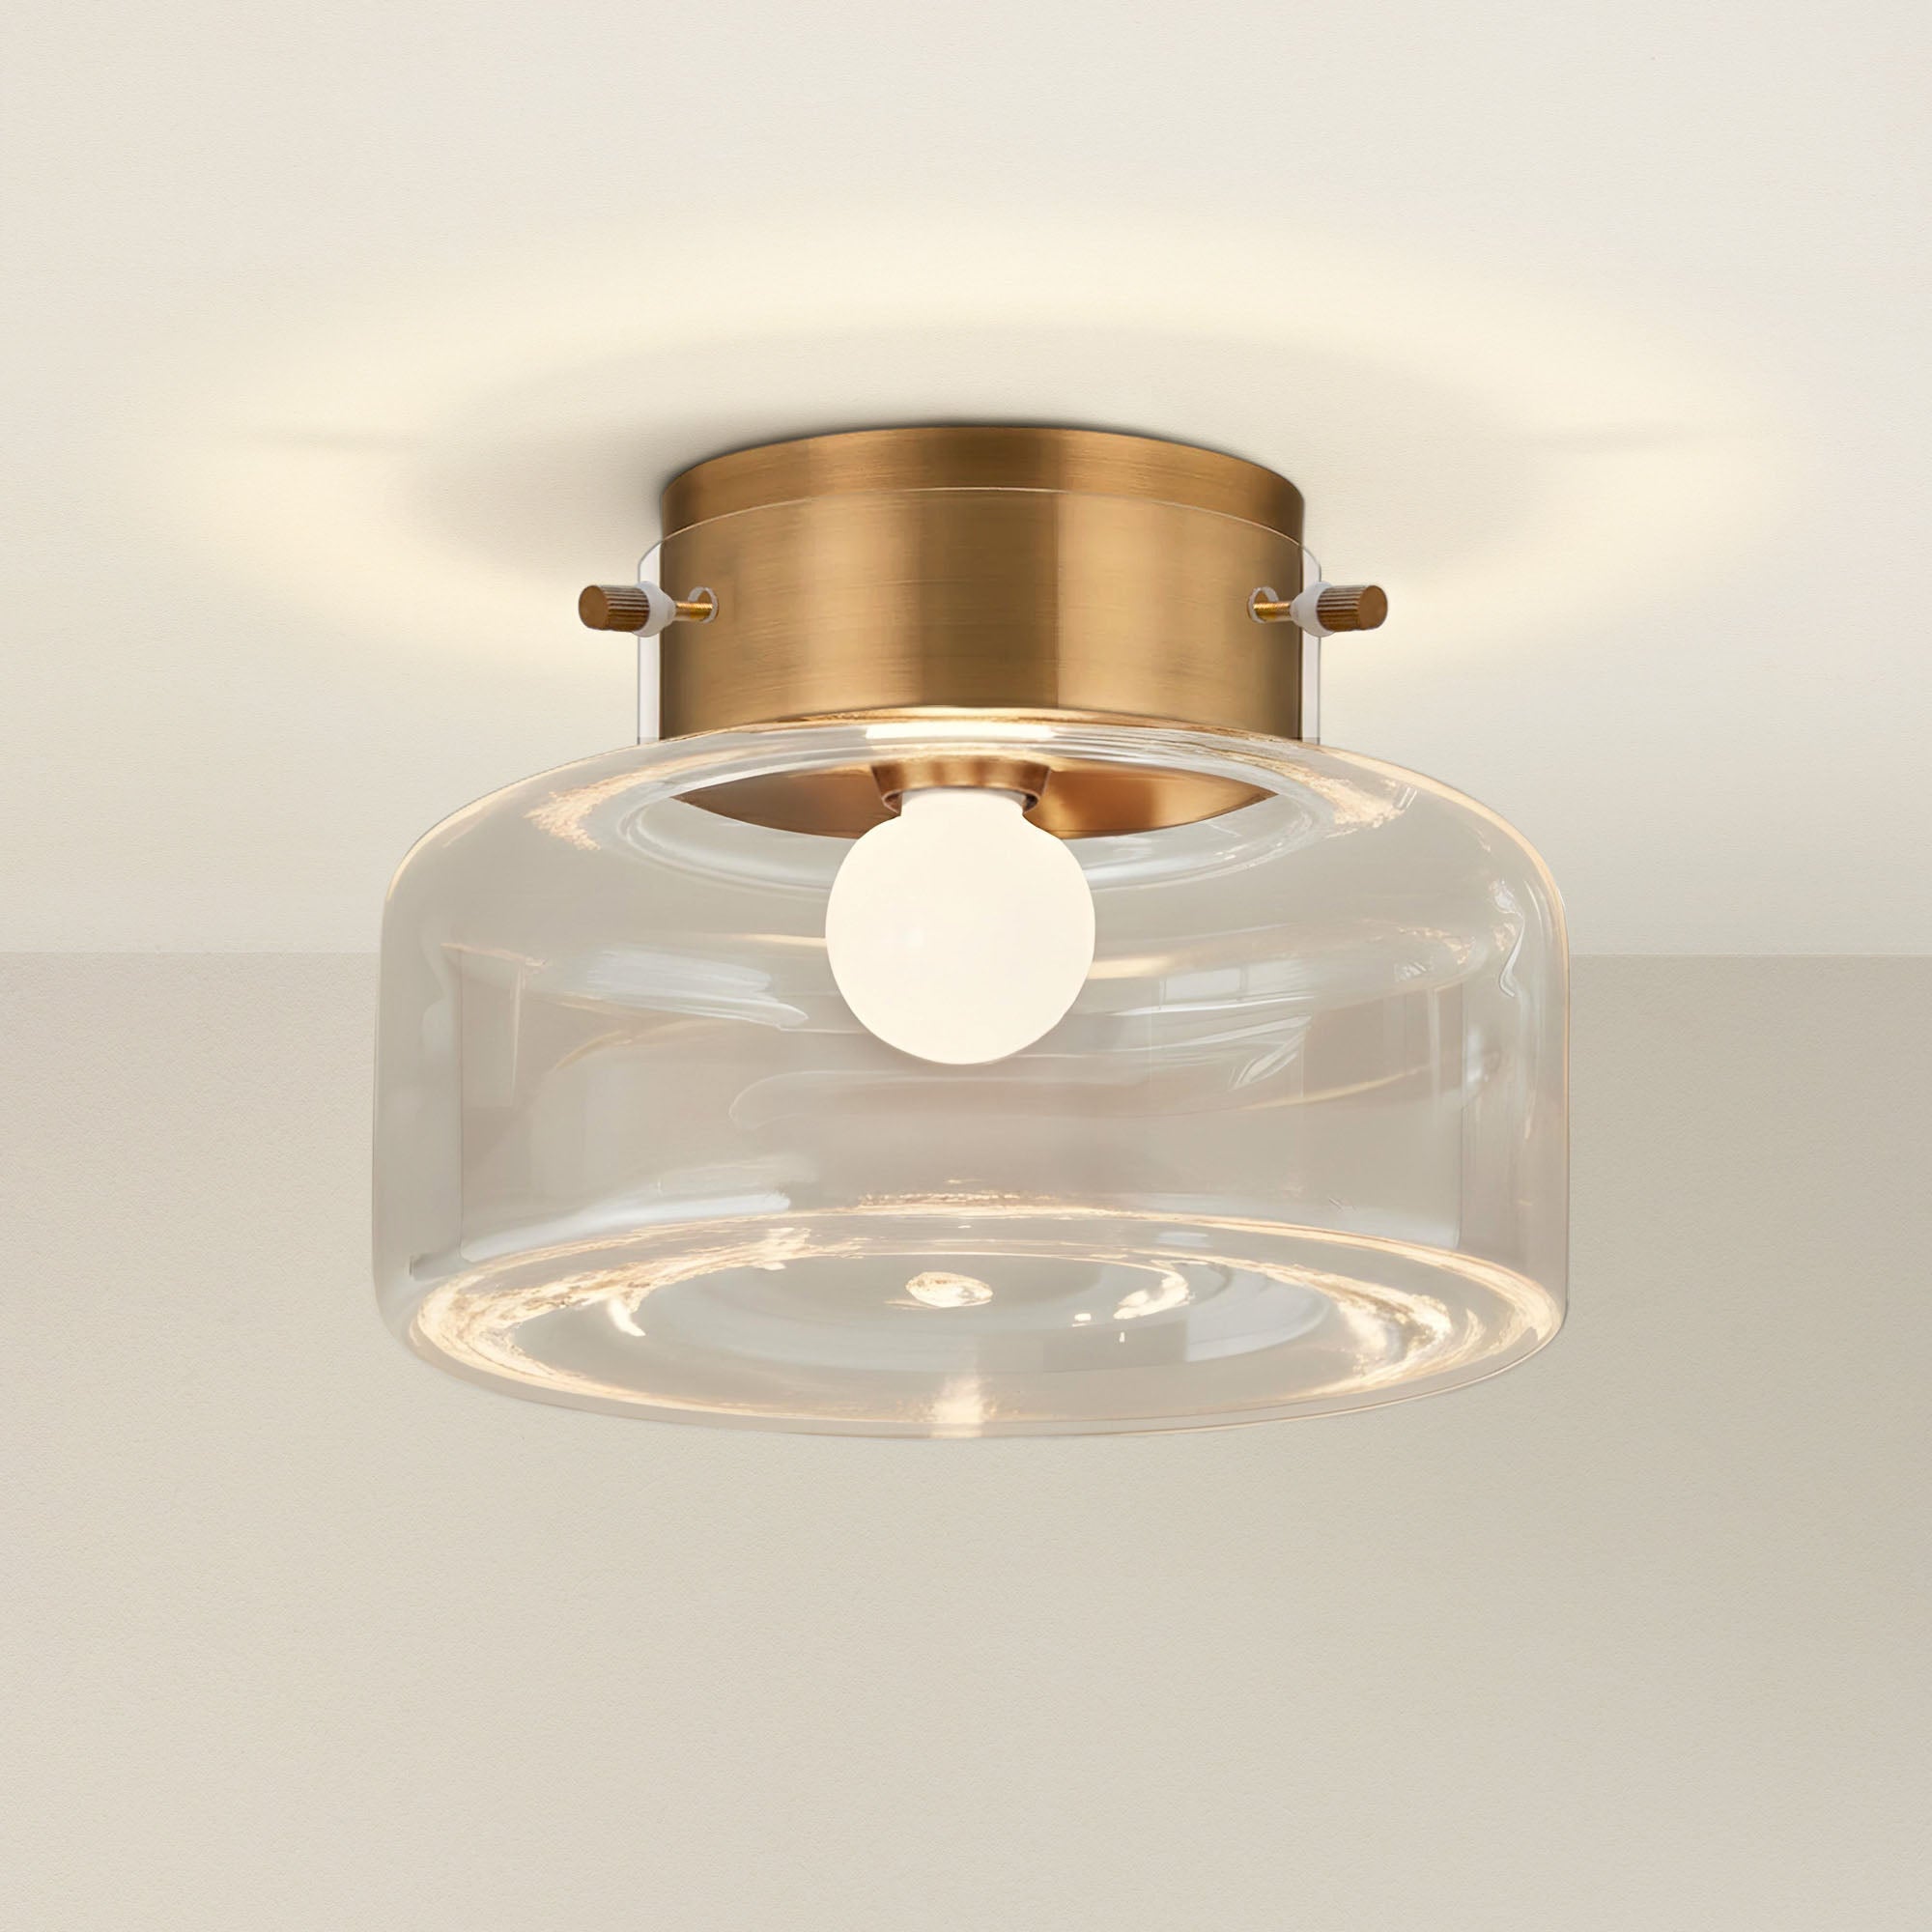
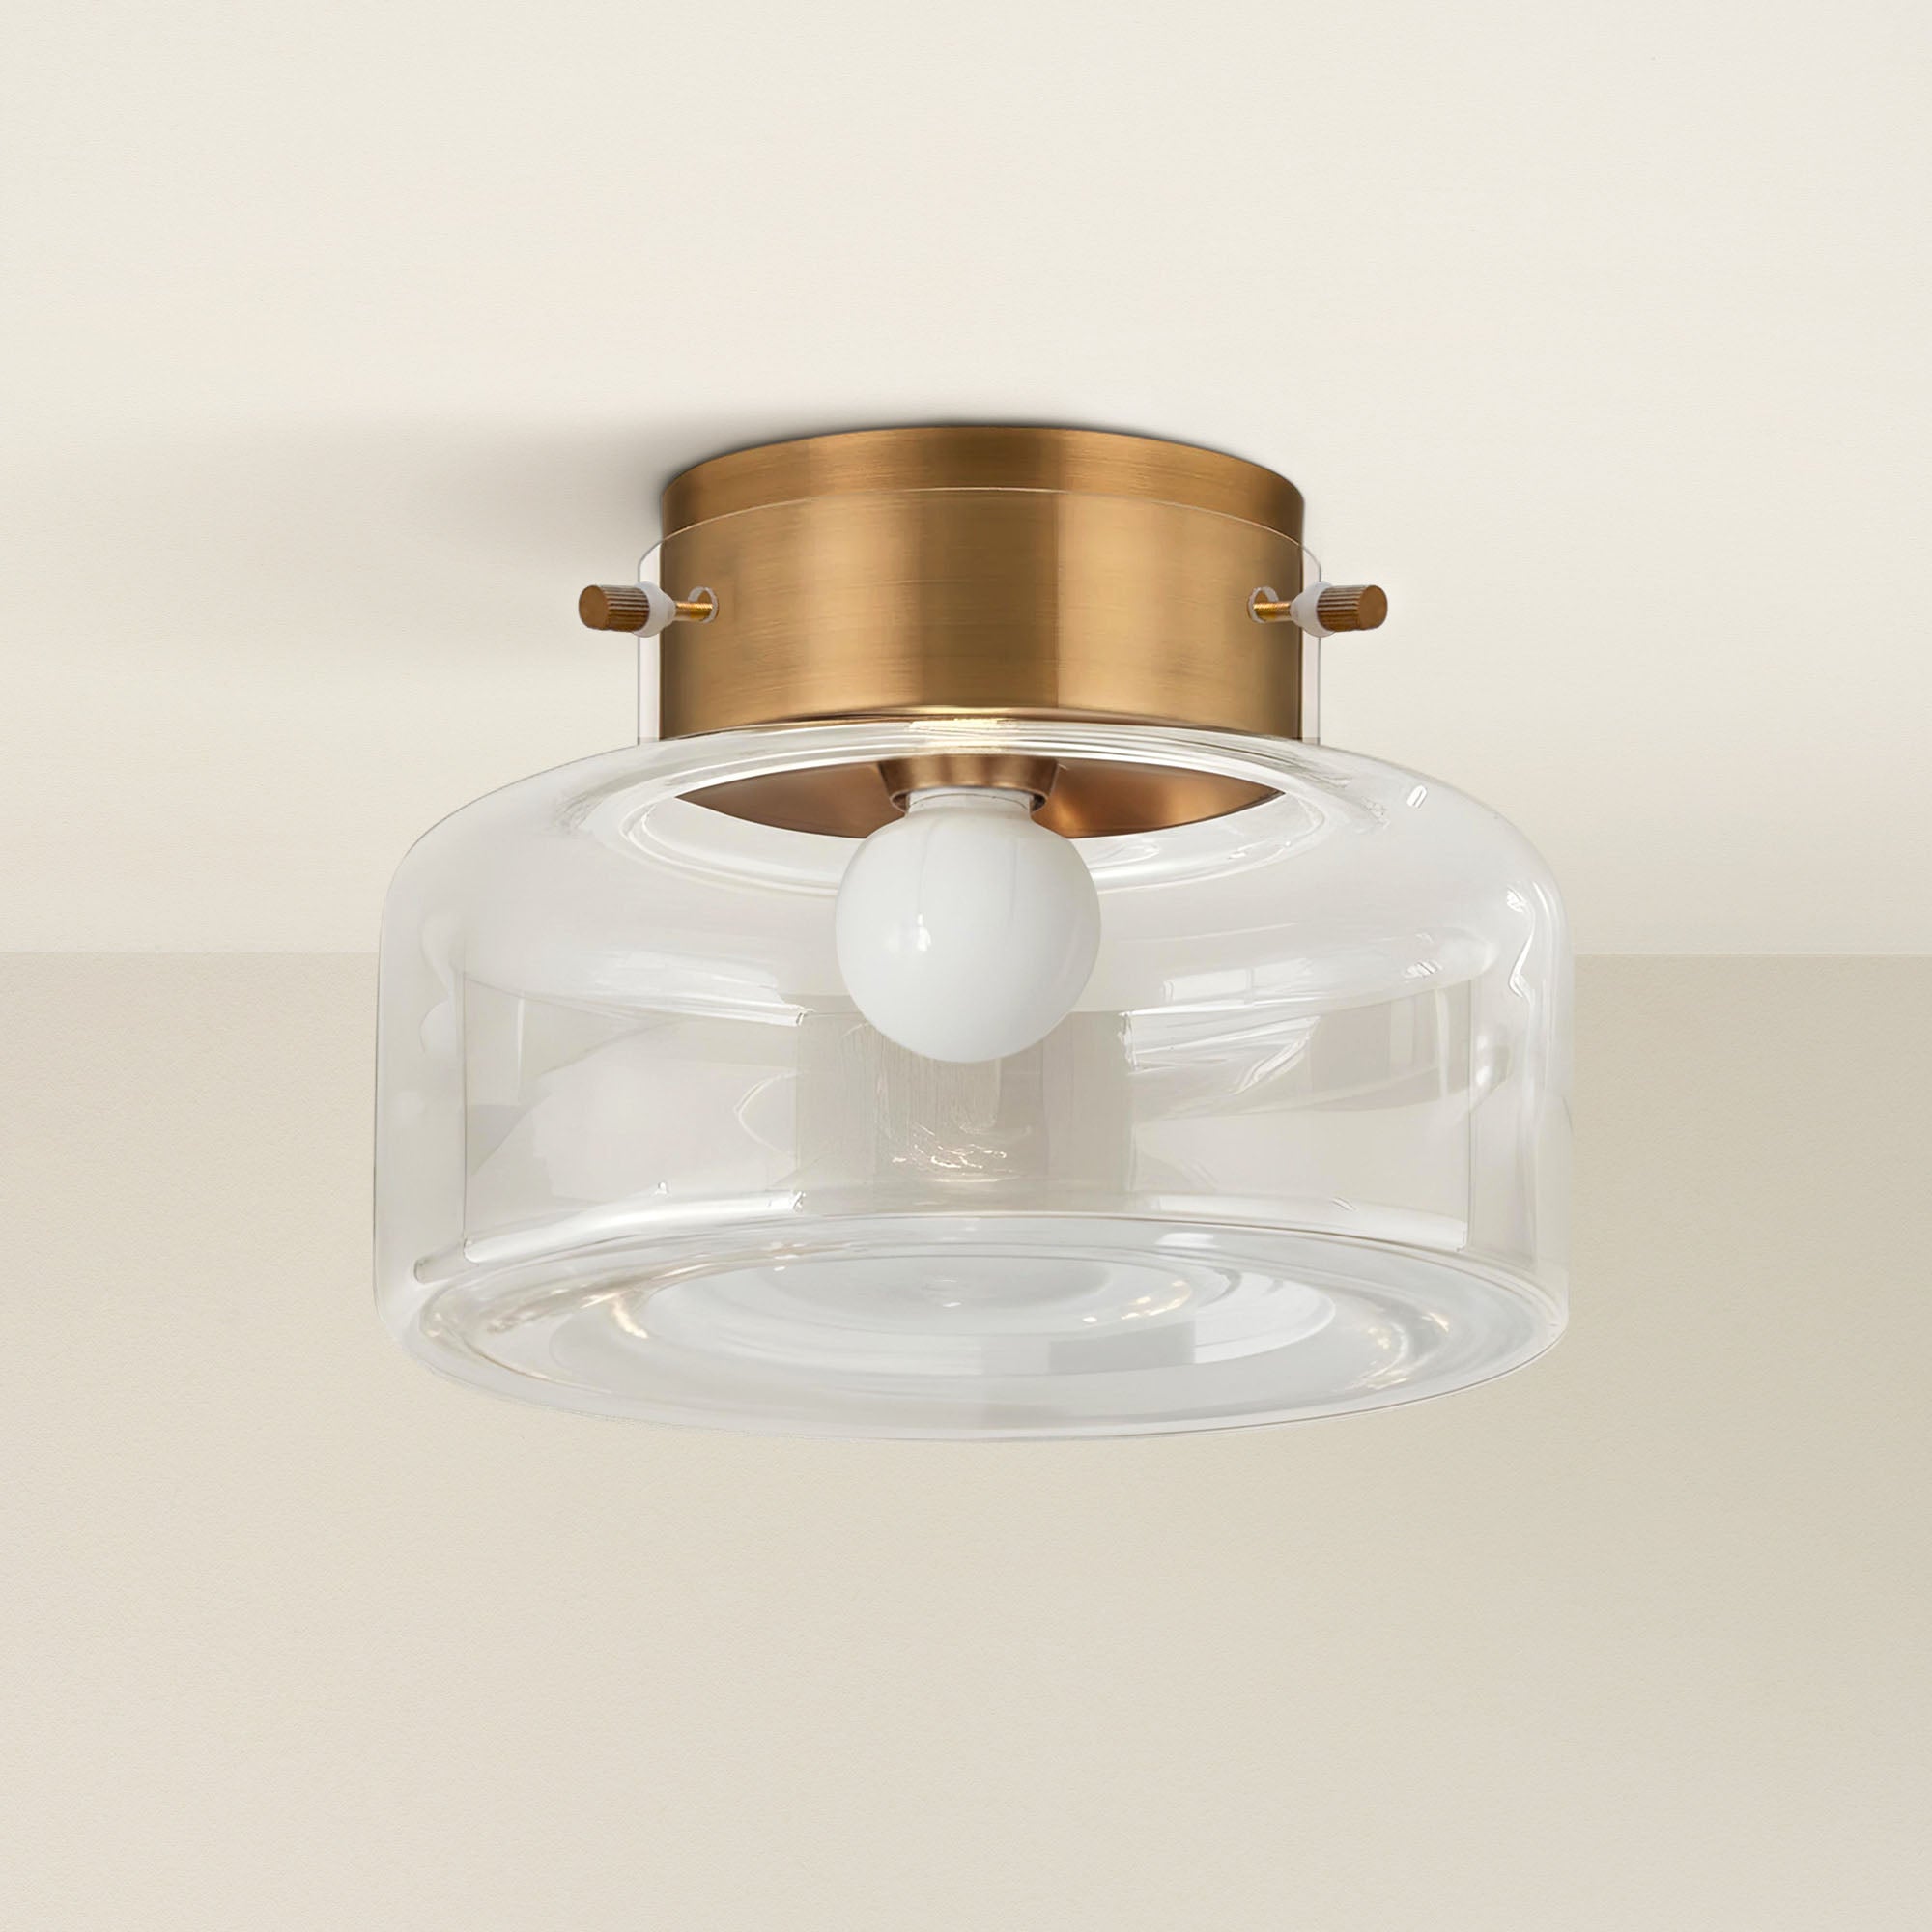
Source: PC Photography via Canva: https://www.canva.com/design/DAG36oP-OEw/j7Pg7vBArwLcGpyxs0e_rA/edit#

Avoid shadows in the corners

Recessed lights too far from the walls can leave dark corners. Aim to place lights about 1.5 to 3 feet from the walls to ensure even lighting. This distance works effectively because it allows the light beam to spread evenly across the wall surface, minimizing shadows while avoiding overly concentrated brightness near the edges.

Calculate the layout for your space

  • General living space: Space lights evenly to create a consistent glow throughout the room. Commonly, with 8-foot ceilings, lights should be spaced 4-5 feet apart. For larger rooms or higher ceilings, spacing can increase to 6-8 feet to maintain even illumination.

  • Highlighting a focal point: Position lights to accentuate your chosen feature, ensuring it stands out. For instance, angle recessed lights at 30 degrees toward a wall-mounted artwork to highlight its details without glare. Over a kitchen island, space lights 24-30 inches apart for uniform task lighting. Similarly, lights around a fireplace should be placed 2-3 feet away and angled to create a warm and inviting glow.

  • Wall-washing: Space lights about 2-3 feet from the wall and use wall-wash trims to create an even, soft glow across vertical surfaces. This technique works by angling the light beam at the wall, creating a 'washing' effect that enhances textures, reduces harsh shadows, and brightens the space. It's especially effective for highlighting textured walls, artwork, or accent colors while making the room feel larger and more inviting.

  • Adding recessed kitchen lighting: Place task lighting over work areas like countertops, sinks, or islands. This approach ensures optimal brightness for cooking and prepping, reducing shadows in critical areas. Additionally, recessed lighting creates a clean, modern look that enhances the kitchen's functionality and aesthetic appeal. Consider additional ambient lights for overall brightness to make the space feel inviting and cohesive.

Upgrade your lighting instantly. Click here to shop.

Best Seller
abyssal rattan pendant lightabyssal dinning room
Abyssal Pendant Light / 28" / 48" Natural Hardwire Sale price$283.50 Regular price$405.00

Free delivery between Dec 22 - 23 on orders $200+

45-Day Return

Recessed lighting tips

To tie everything together, remember that a thoughtful recessed lighting layout isn’t just about placement—it’s about creating a warm and inviting atmosphere tailored to your space. Here are a few additional tips to perfect your design:

  • Combine recessed lighting with other fixtures, like pendant lights or sconces, for layered illumination.
  • Use dimmer switches for flexibility; sometimes, you want full brightness, and other times, a soft glow.
  • Avoid over-lighting. Too many recessed lights can make a room feel clinical.
  • Test your recessed lighting layout with temporary light sources before cutting into the ceiling.

FAQs

How do you plan a recessed lighting layout?

  • Start by determining your lighting goals and sketching a layout based on room size, ceiling height, and desired brightness levels.

How do you determine the number of recessed lights needed in a room?

  • Measure the room’s square footage and ceiling height, then divide the space into zones. Use the ceiling height rule to calculate spacing.

How do you calculate how many recessed lights are needed?

  • For general lighting, multiply the room’s length and width in feet, then use 5 watts per square foot to estimate the total wattage needed. Divide by the wattage of your chosen bulbs.

Should recessed lights be wired in series or parallel?

  • Parallel wiring is the standard for recessed lighting, as it ensures consistent brightness across all fixtures.

How far apart should recessed lights be placed?

  • Use the ceiling height divided by two as a general guideline, and adjust spacing to eliminate shadows and ensure balanced lighting.

Conclusion

Recessed lighting spacing doesn’t have to be a daunting project. By planning your layout, choosing the right fixtures, and following these easy steps, you can create a beautifully lit space without calling in the pros. For high-quality fixtures and expert tips, check out Rowabi’s selection of recessed lighting. Brighten up your home and bask in the glow of a job well done!

Leave a comment

This site is protected by hCaptcha and the hCaptcha Privacy Policy and Terms of Service apply.

All comments are moderated before being published.

Read more

How to Change a Light Fixture | 9 Easy Steps

How to Change a Light Fixture | 9 Easy Steps

Swapping out an old or dated light fixture is one of the quickest and most impactful ways to refresh a room's aesthetic. While the task involves electrical components, it is a straightforward DIY p...

Read more
A Guide to Calculating the Amount of Light Needed in a Room

A Guide to Calculating the Amount of Light Needed in a Room

Choosing the perfect light fixture involves more than just aesthetics; it requires a precise calculation to ensure your room is neither blindingly bright nor too dim. The industry standard for dete...

Read more
Top