Gifting has never been easier
Perfect if you're short on time or are unable to deliver your gift yourself. Enter your message and select when to send it.
According to Rowabi's expert, Noah Miller, installing a flush-mount fixture is a simple DIY process that begins with strict safety measures. You must shut off the power at the circuit breaker and confirm the wires are dead using a voltage tester before starting.
The installation involves removing the old fixture, attaching the new mounting bracket to the electrical box, and connecting the wires via wire nuts by matching the colors: black to black, white to white, and ground to ground. Finally, the fixture's base is secured flush against the ceiling before the bulbs and cover are attached.
EXPLORE:
1. Before You Start (Safety & Tools)
2. Step-by-Step Installation
First and foremost, safety is key. Before you begin, head to your electrical panel and turn off the power to the room where you’ll be working. If you’re unsure which breaker controls your light, flip off the main power switch to be extra safe. You don’t want to risk a shocking situation!
Always double-check the light switch to ensure there’s no power running. Using a non-contact voltage tester is a good idea if you want to ensure there is no electricity flowing. Better safe than sorry!
Invest in enduring quality. Shop our handcrafted lighting.
Free delivery between Jan 6 - 7 on orders $200+
45-Day Return
Free delivery between Jan 6 - 7 on orders $200+
45-Day Return
Free delivery between Jan 6 - 7 on orders $200+
45-Day Return
Free delivery between Jan 6 - 7 on orders $200+
45-Day Return
Free delivery between Jan 6 - 7 on orders $200+
45-Day Return
Free delivery between Jan 6 - 7 on orders $200+
45-Day Return
Free delivery between Jan 6 - 7 on orders $200+
45-Day Return

Free delivery between Jan 6 - 7 on orders $200+
45-Day Return
Free delivery between Jan 6 - 7 on orders $200+
45-Day Return
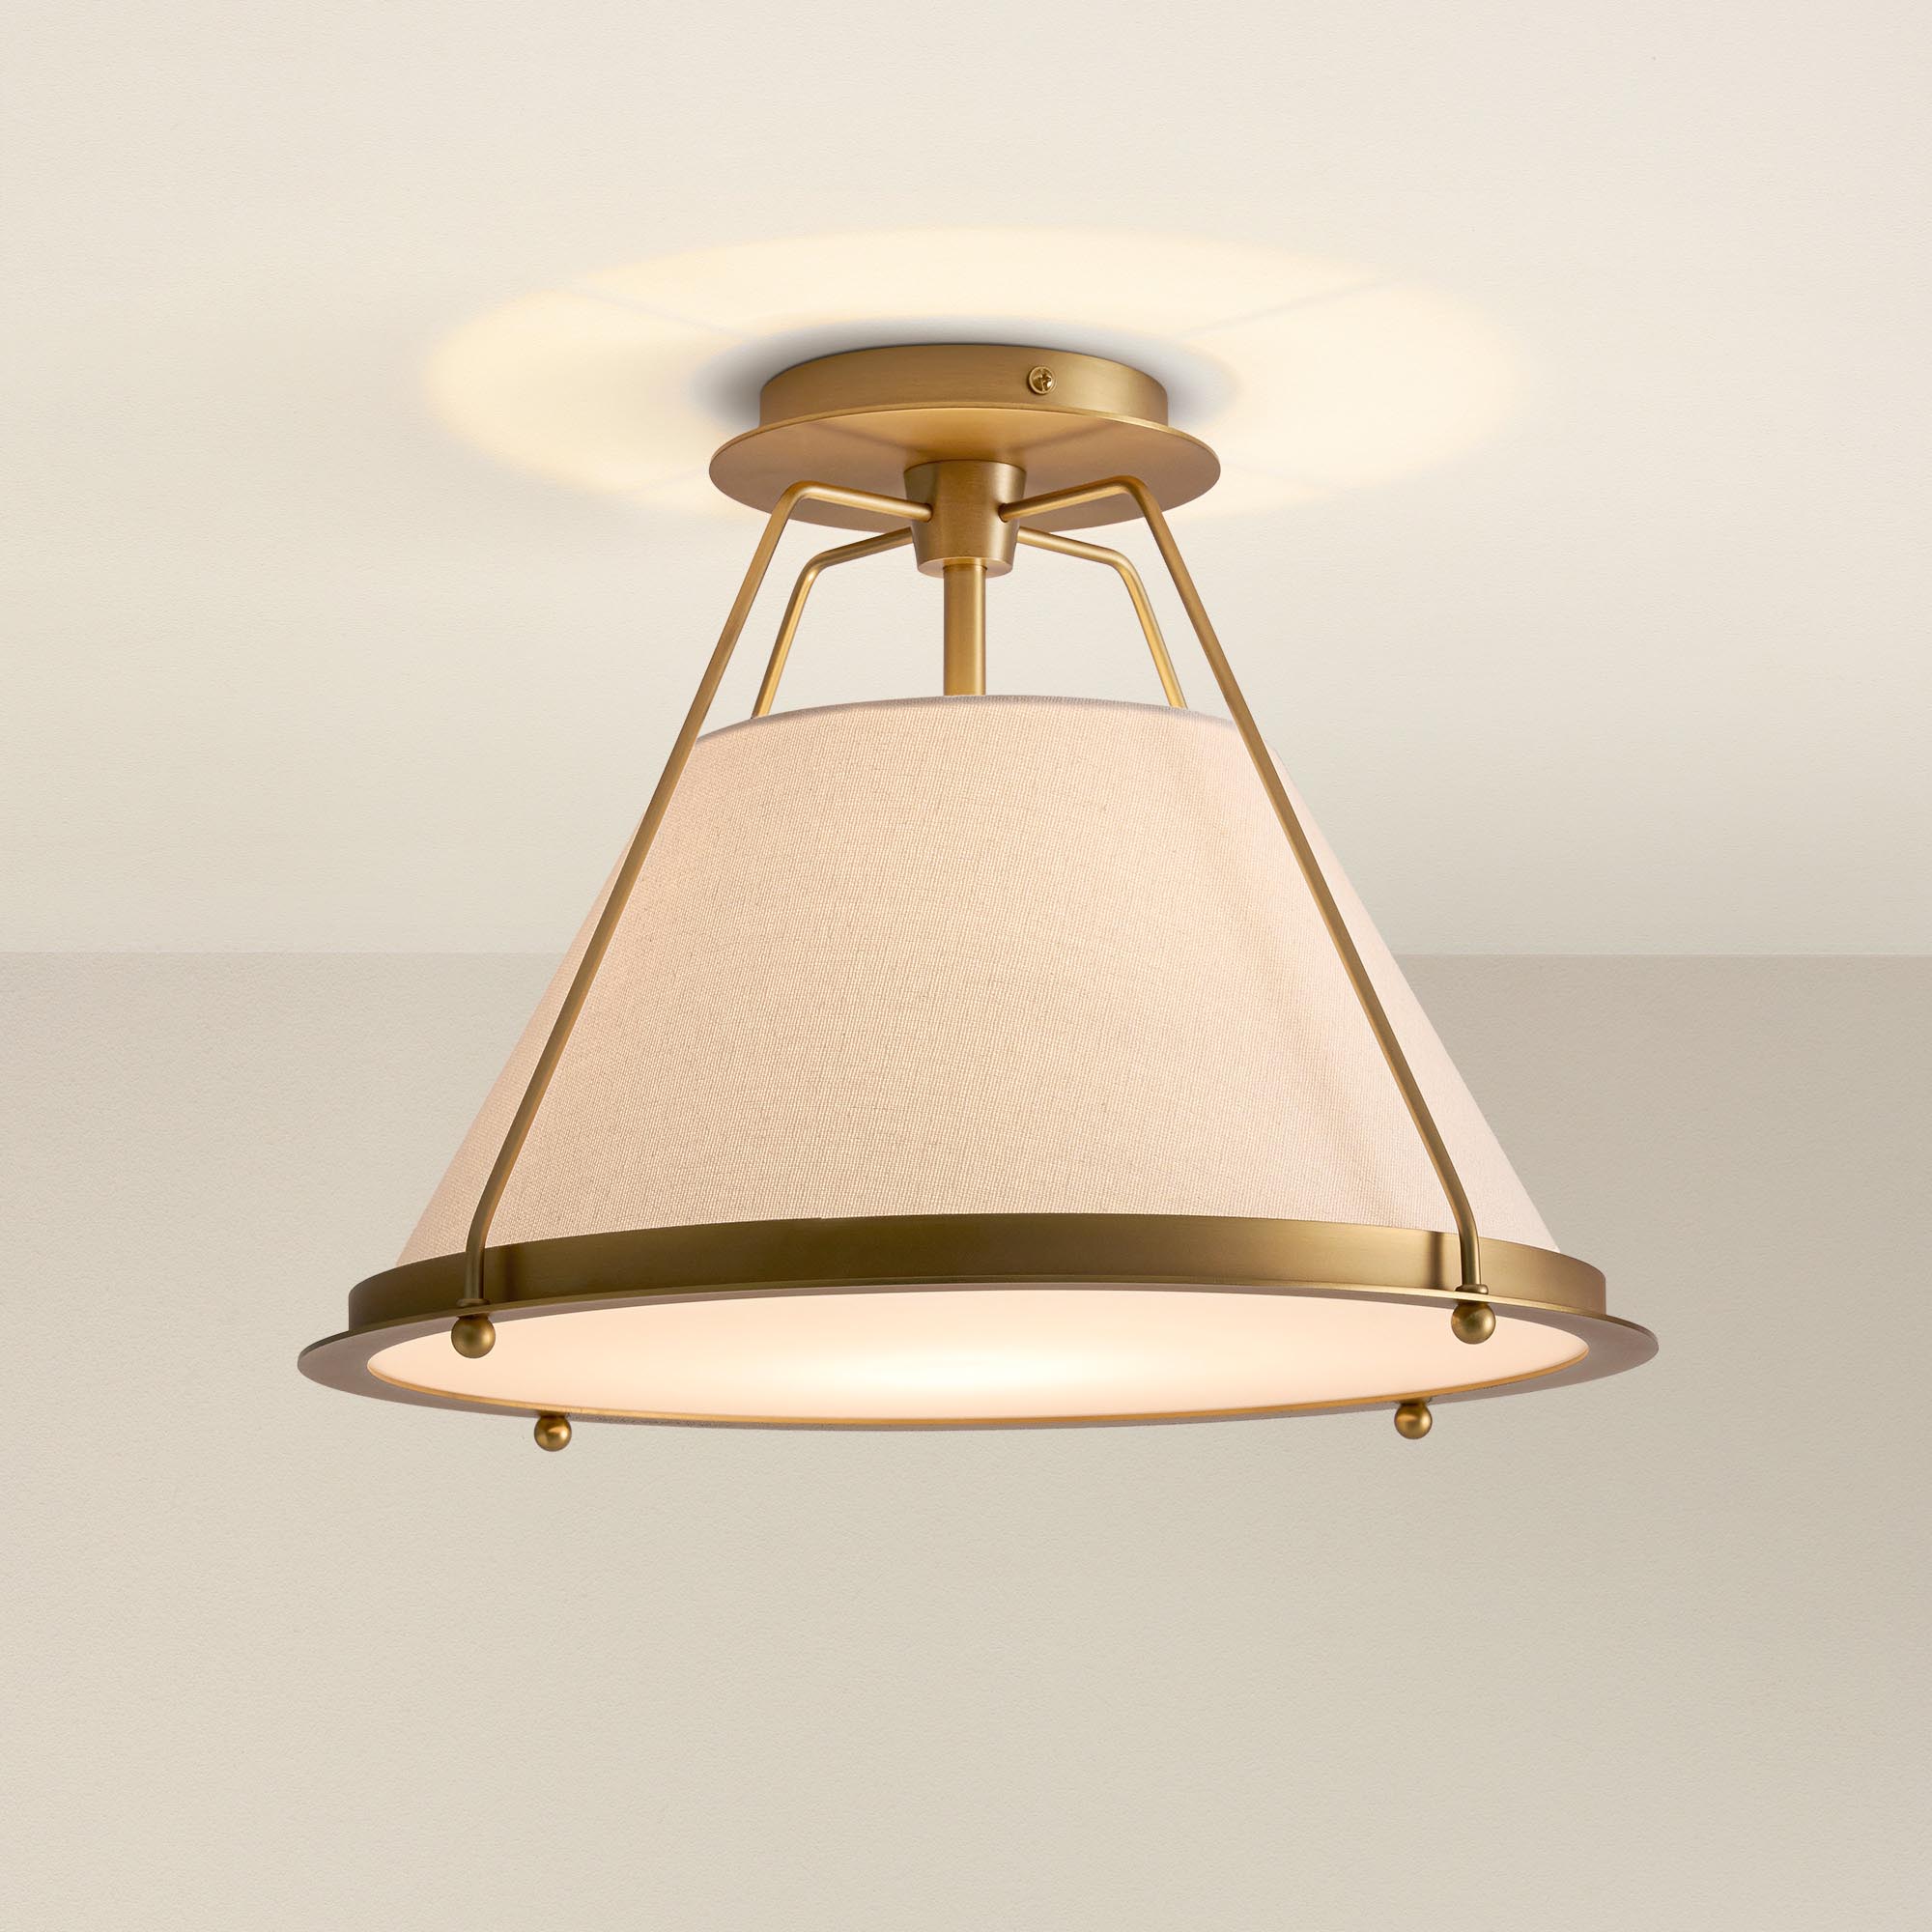
Now, let’s get to the fun part—installing that gorgeous flush mount light! Here’s what you’ll need:

Source: Rowabi
1. Turn off the power: This one’s a repeat, but it’s important enough to say twice! Double-check that the power is off before proceeding.
2. Remove the old fixture: Unscrew the old light fixture from the ceiling and gently lower it to the ground. You’ll likely see some wires attached, which brings us to the next step—don’t pull on them!
3. Prepare the new fixture: Take your new flush-mount light out of the box and check if it’s assembled correctly. You’ll need to attach the mounting bracket to the electrical box in the ceiling using screws. Make sure it’s tightly secured.
4. Install the mounting bracket: Line up the mounting bracket with the electrical box and secure it with the screws provided. This bracket will serve as the base for your new light, so make sure it’s firmly attached.
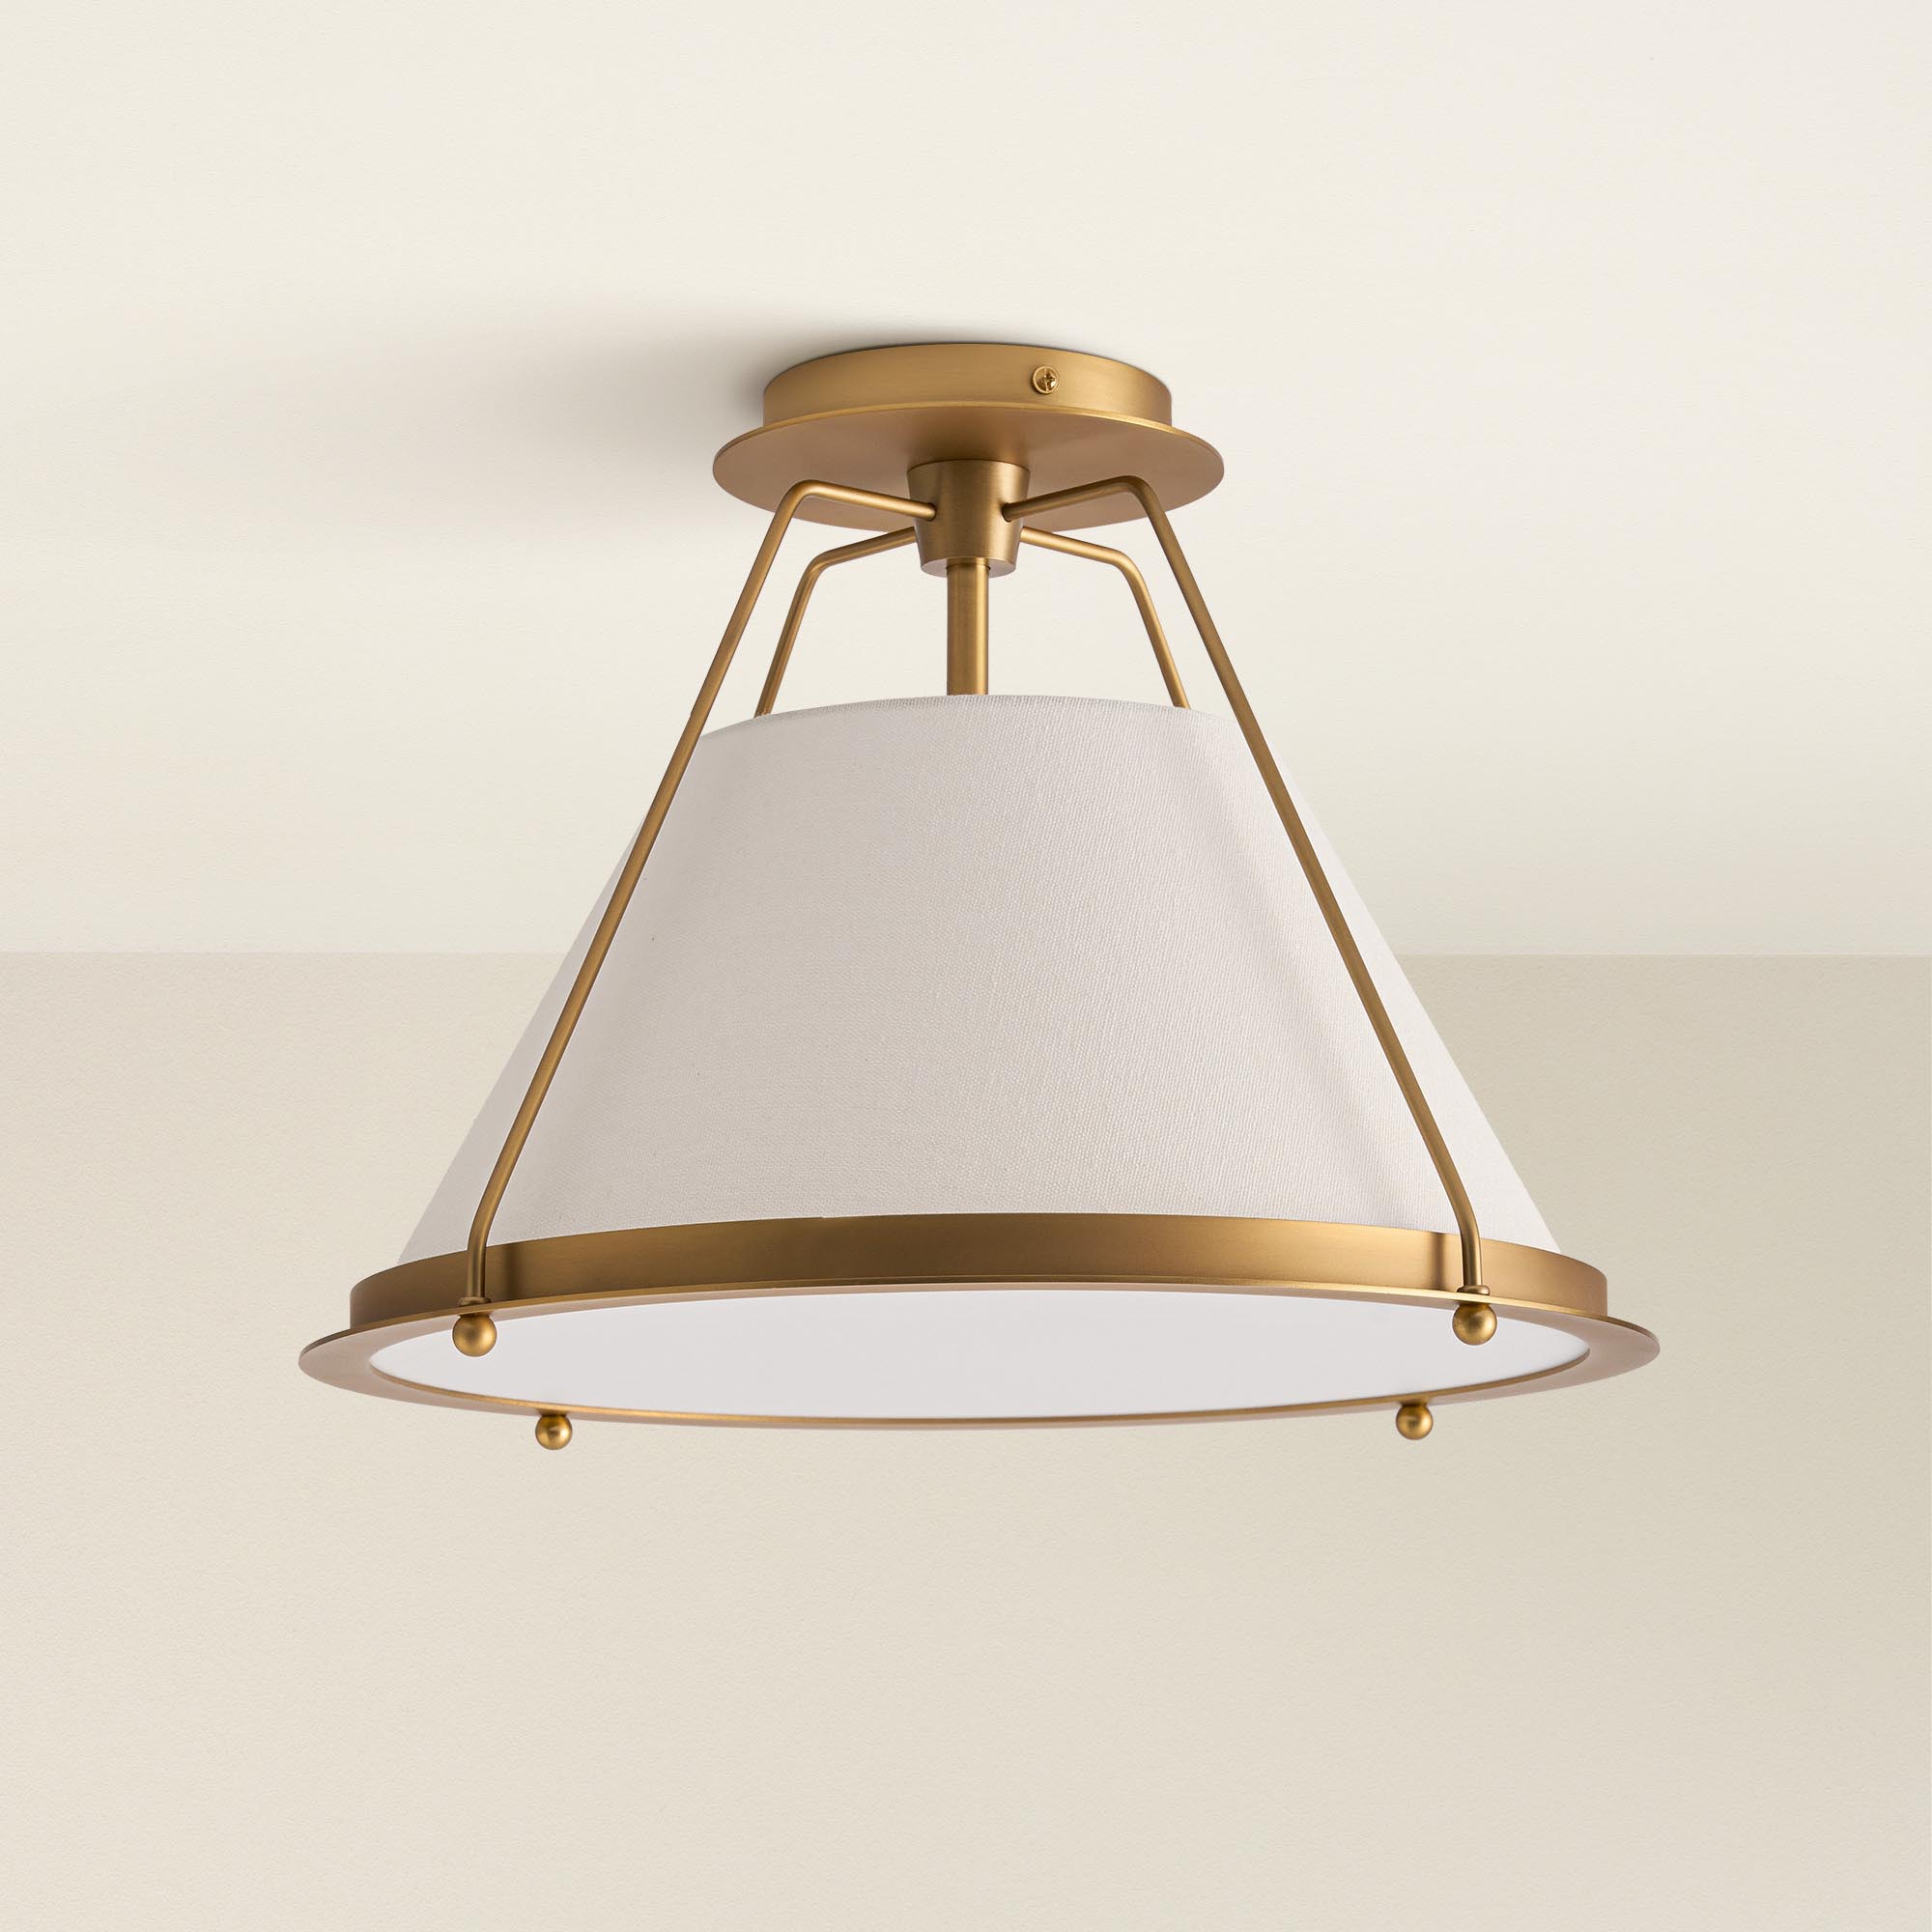
5. Attach the fixture: Now, connect the wires from the light fixture to the wires in the ceiling. Use wire nuts to twist the wires together—white to white (neutral), black to black (hot), and green or bare copper to ground. Once connected, tuck the wires neatly into the box and secure the fixture to the bracket.

Source: Rowabi.
6. Install the bulbs: Screw in the bulbs (make sure they’re the correct wattage for your fixture). If you're using LED bulbs, go ahead and install them. Make sure they’re tightly secured.
7. Turn on the power: Go ahead and turn the power back on at the breaker box. Then, flip the light switch, and voila! You’ve got yourself a brand-new flush mount light shining bright.
It's time for an upgrade. Find your perfect focal point.
Free delivery between Jan 6 - 7 on orders $200+
45-Day Return
Changing the bulb in your flush mount light is as easy as flipping the switch. However, here’s a pro tip: Before changing the bulb, ensure the power is turned off. Safety first! Once the power is off, unscrew the old bulb from the socket and replace it with a new one.
For LED fixtures, consult the manufacturer's instructions for specific guidelines on bulb replacement. It’s always a good idea to double-check that you're using the correct type of bulb to avoid any issues.
Here’s a little expert advice for you: when installing a flush-mount light in a room with a lower ceiling, opt for a fixture that's compact and doesn’t protrude too far. You want it to emit a great deal of light without feeling overwhelming in the space.

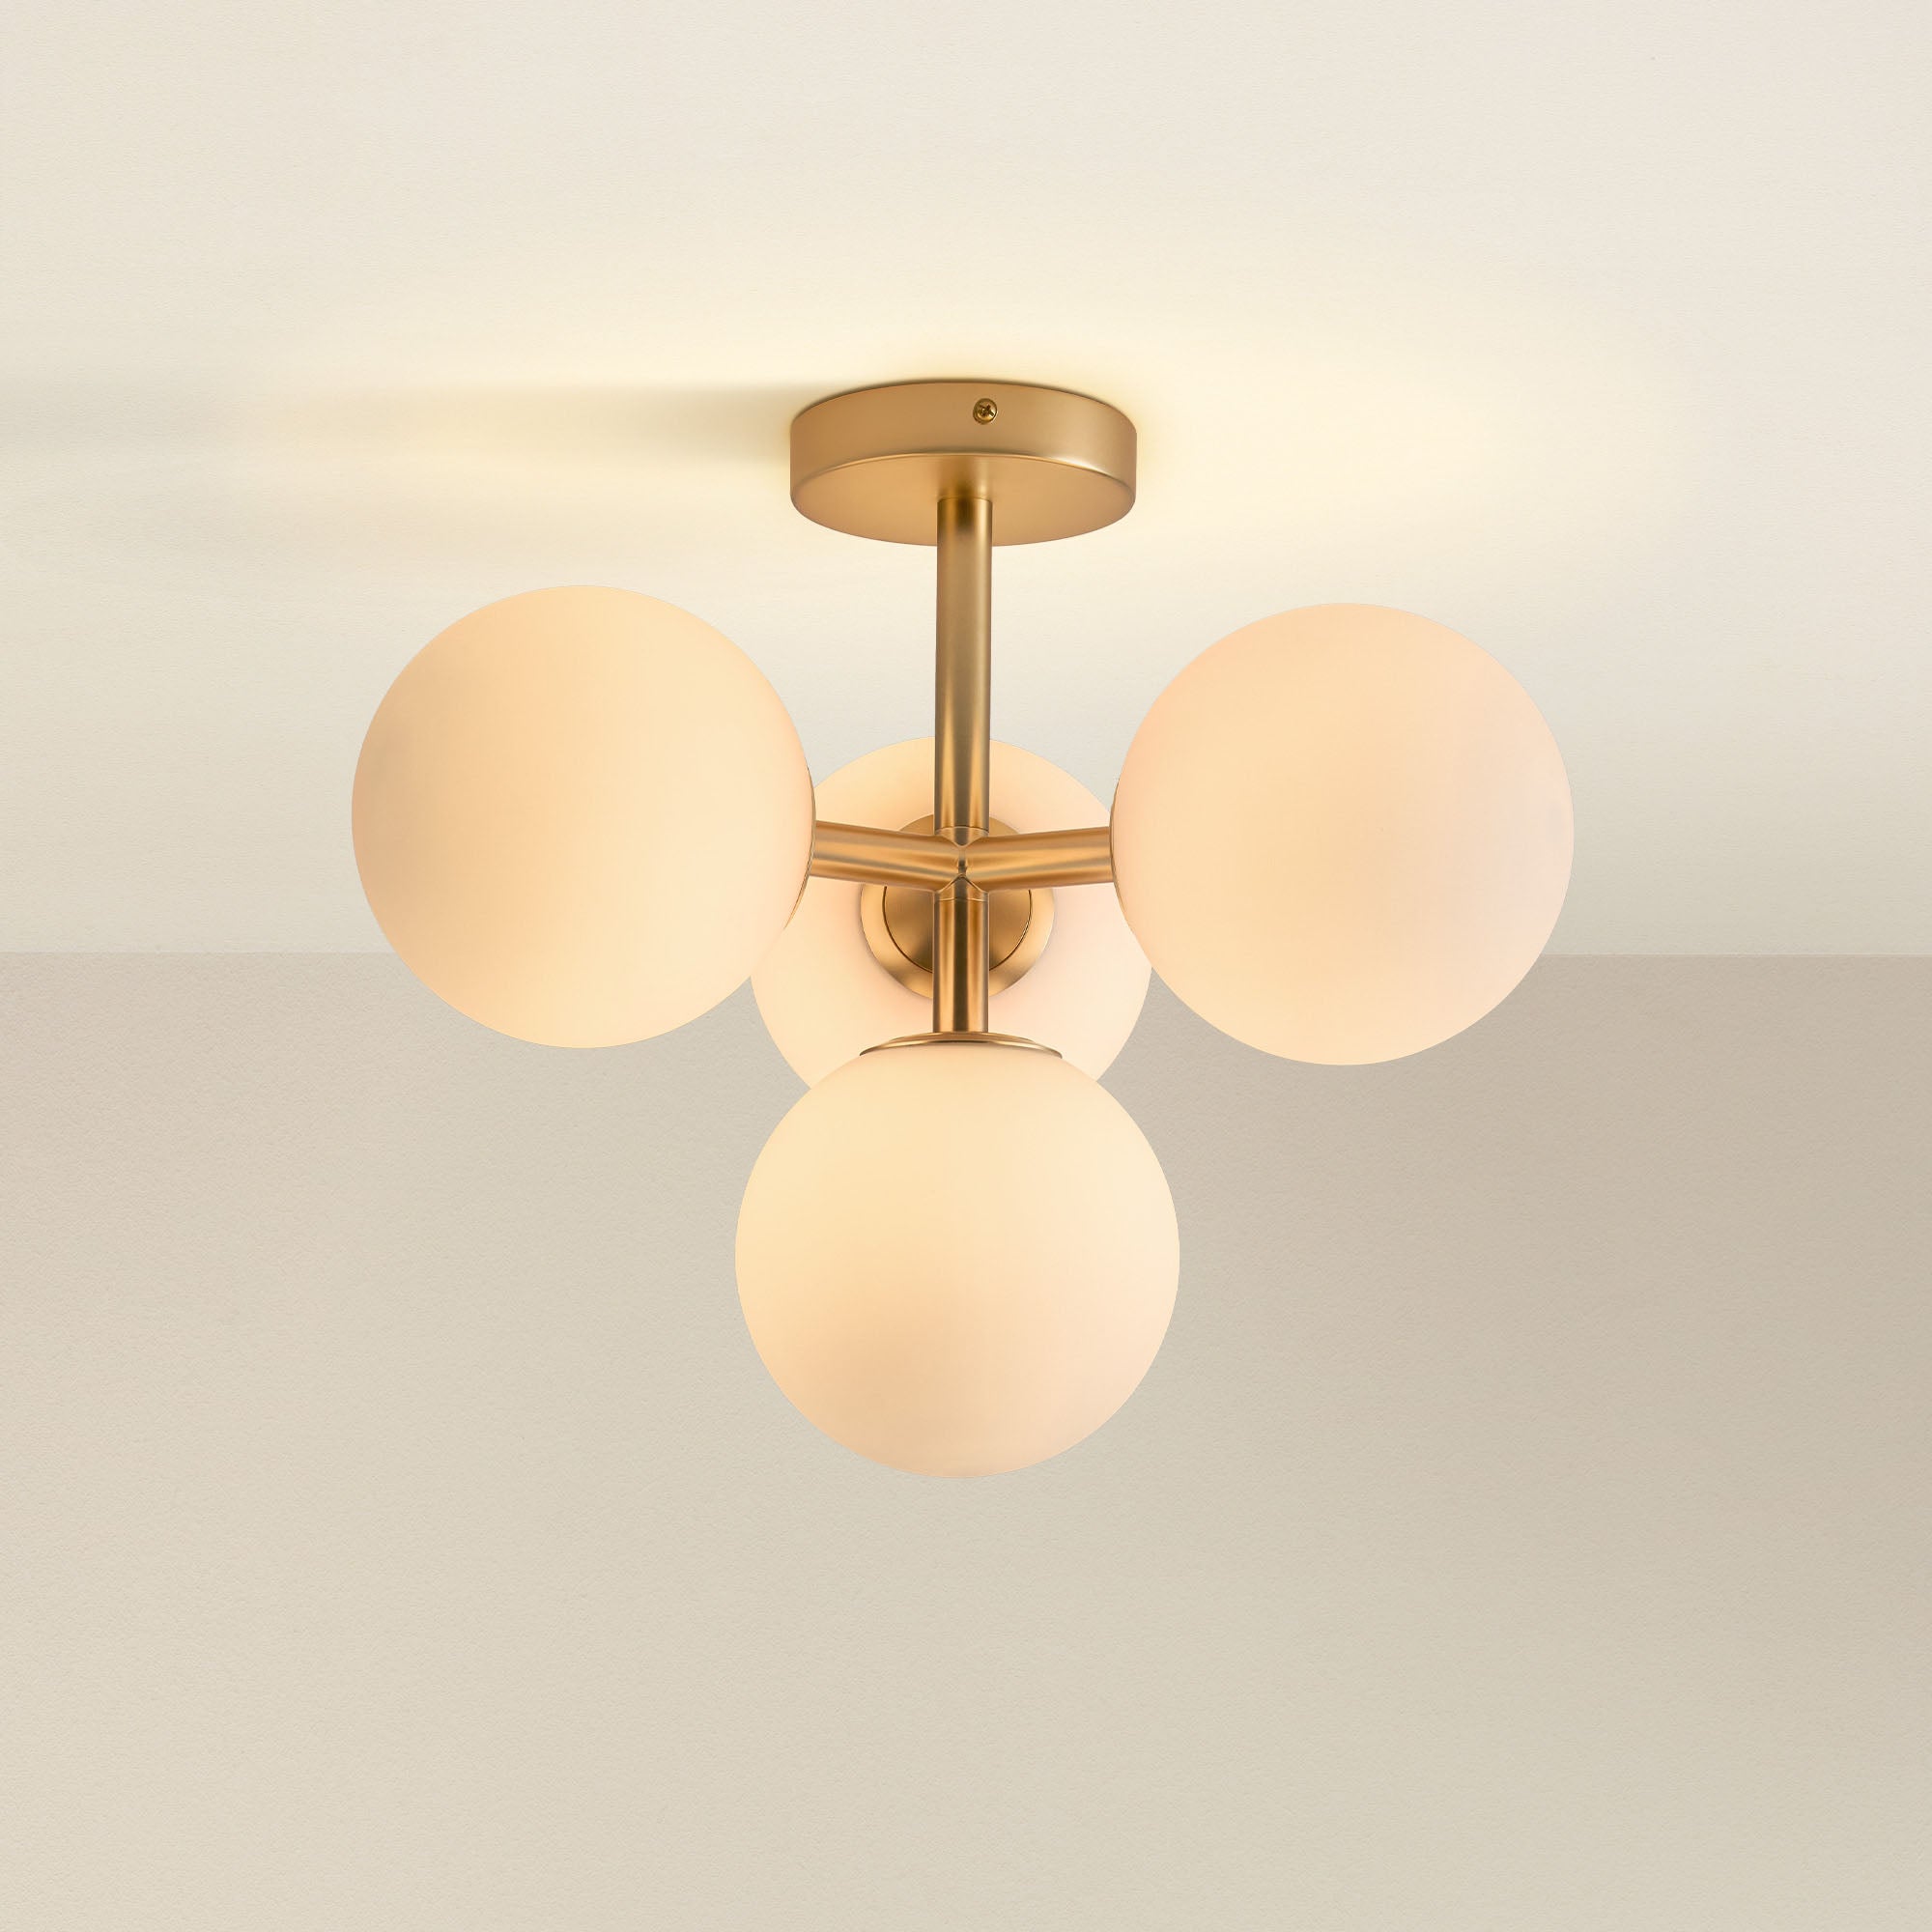
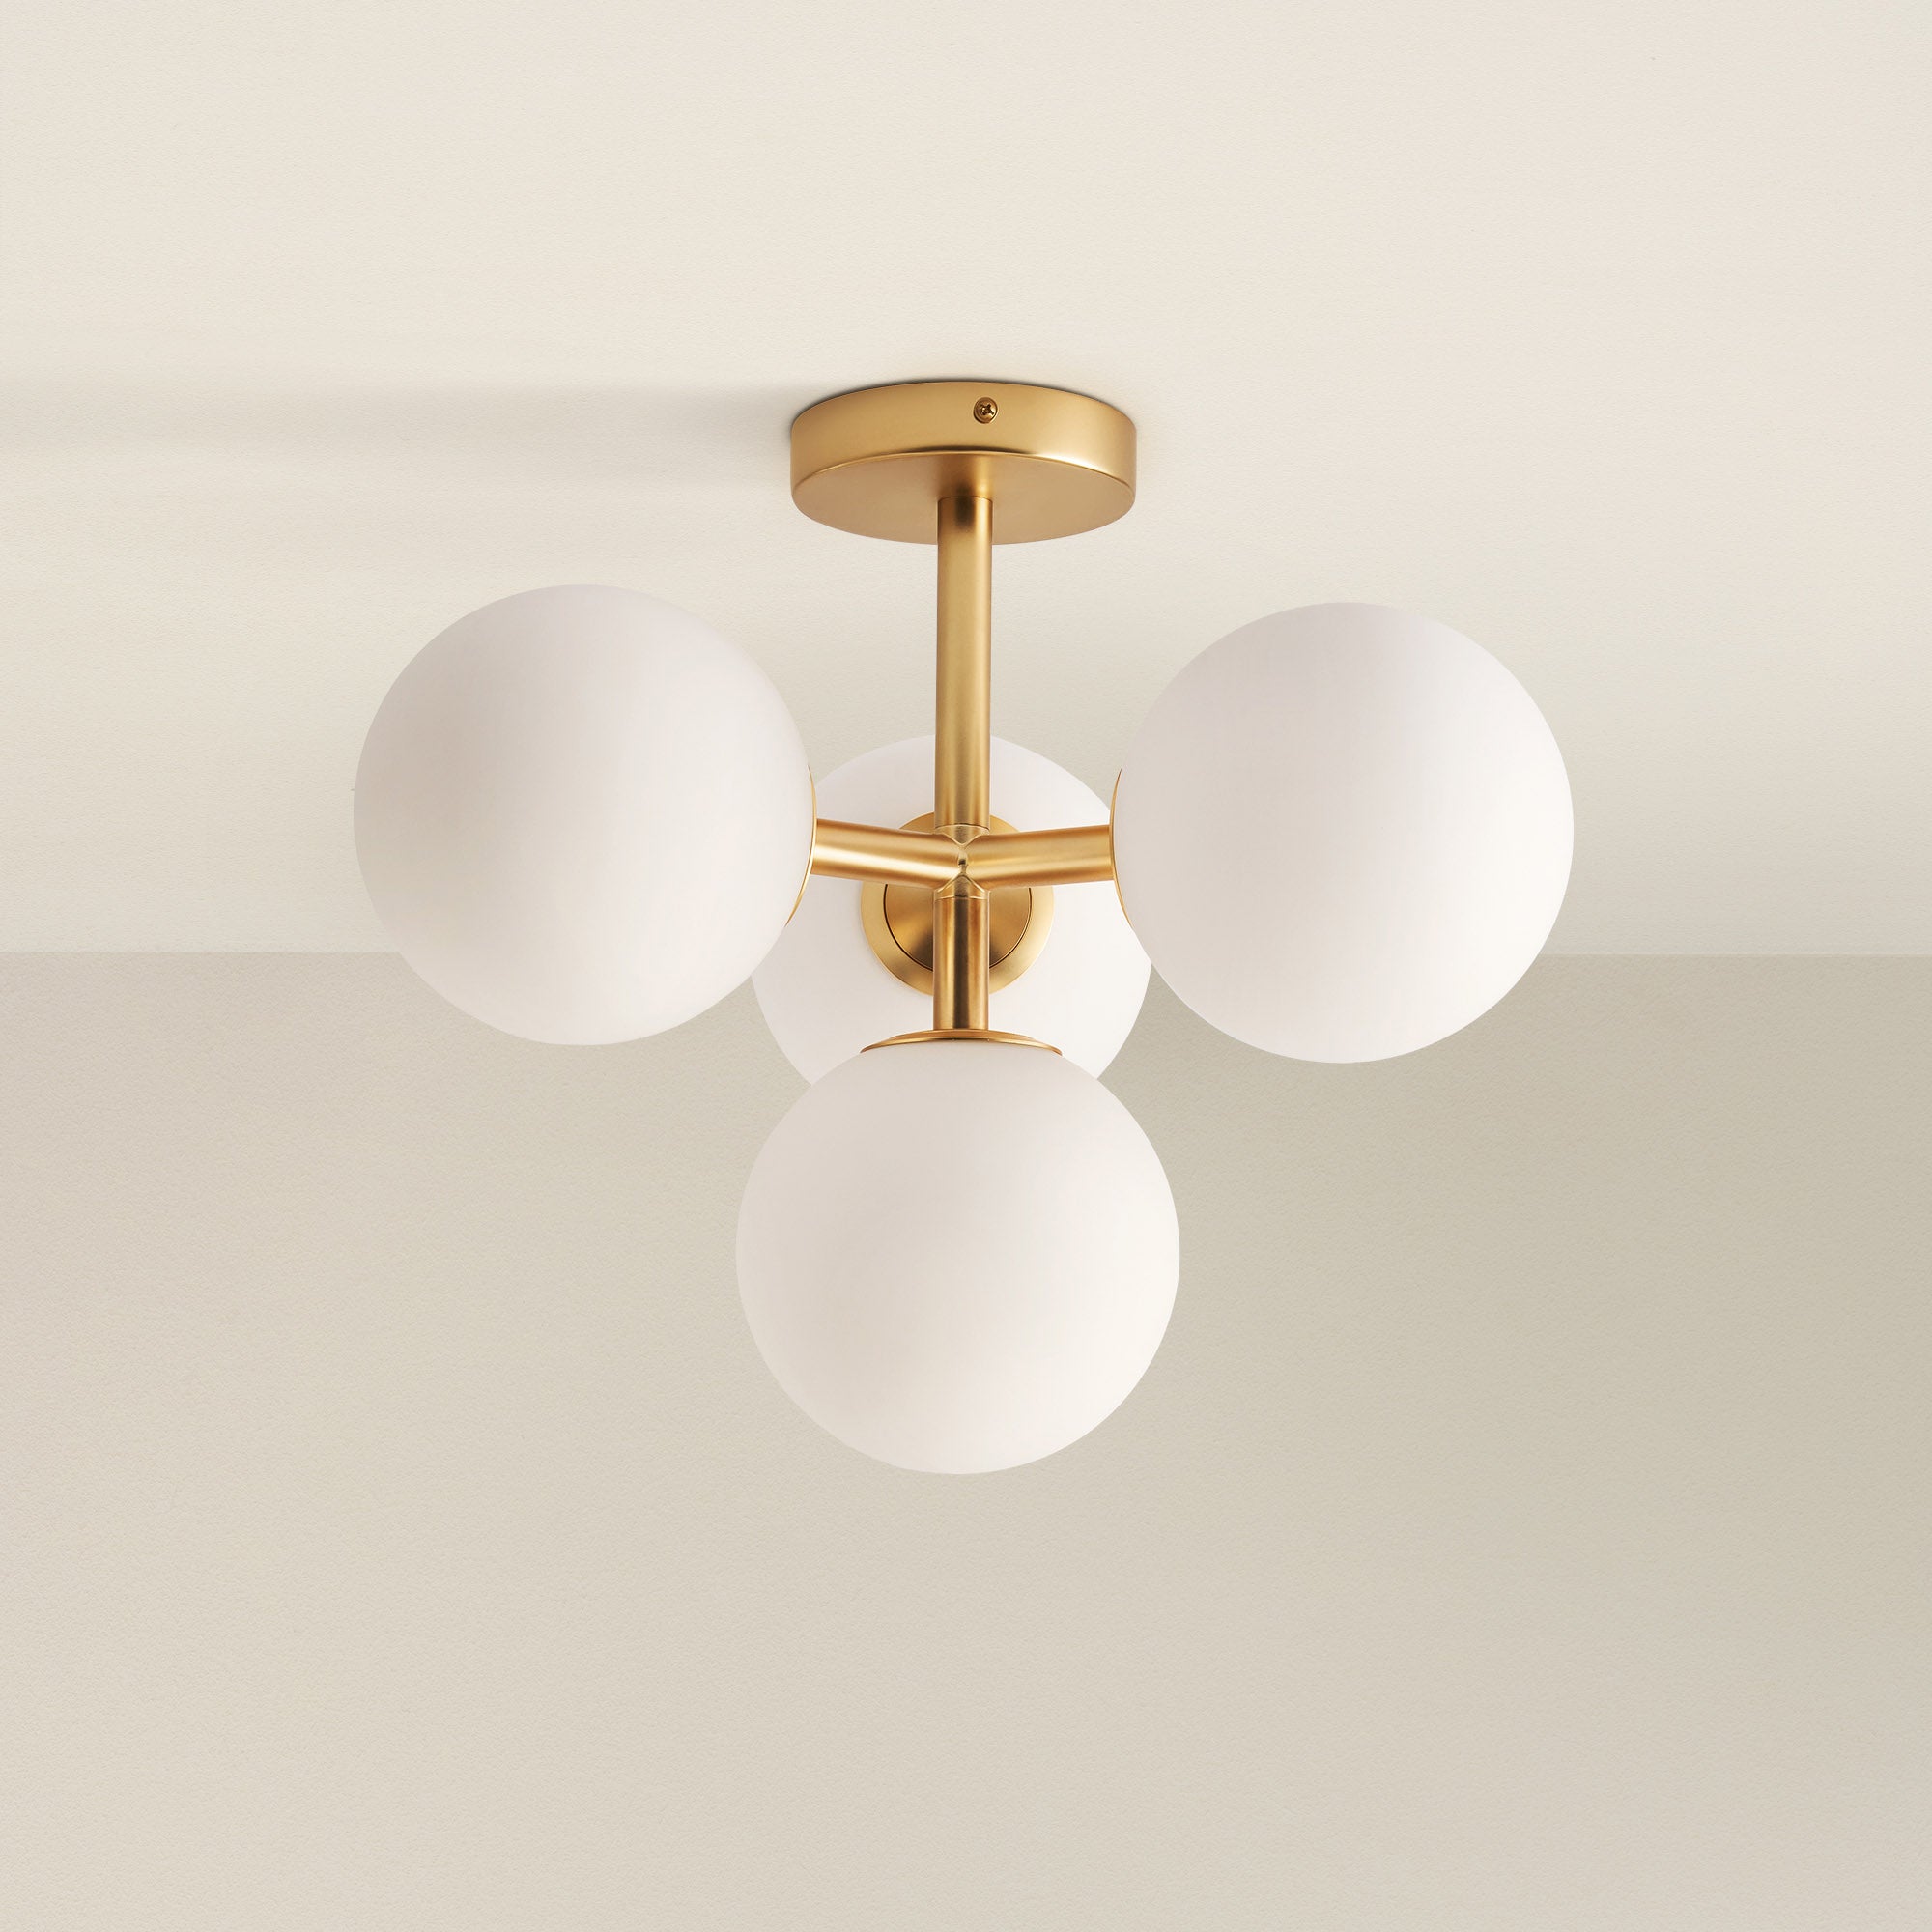
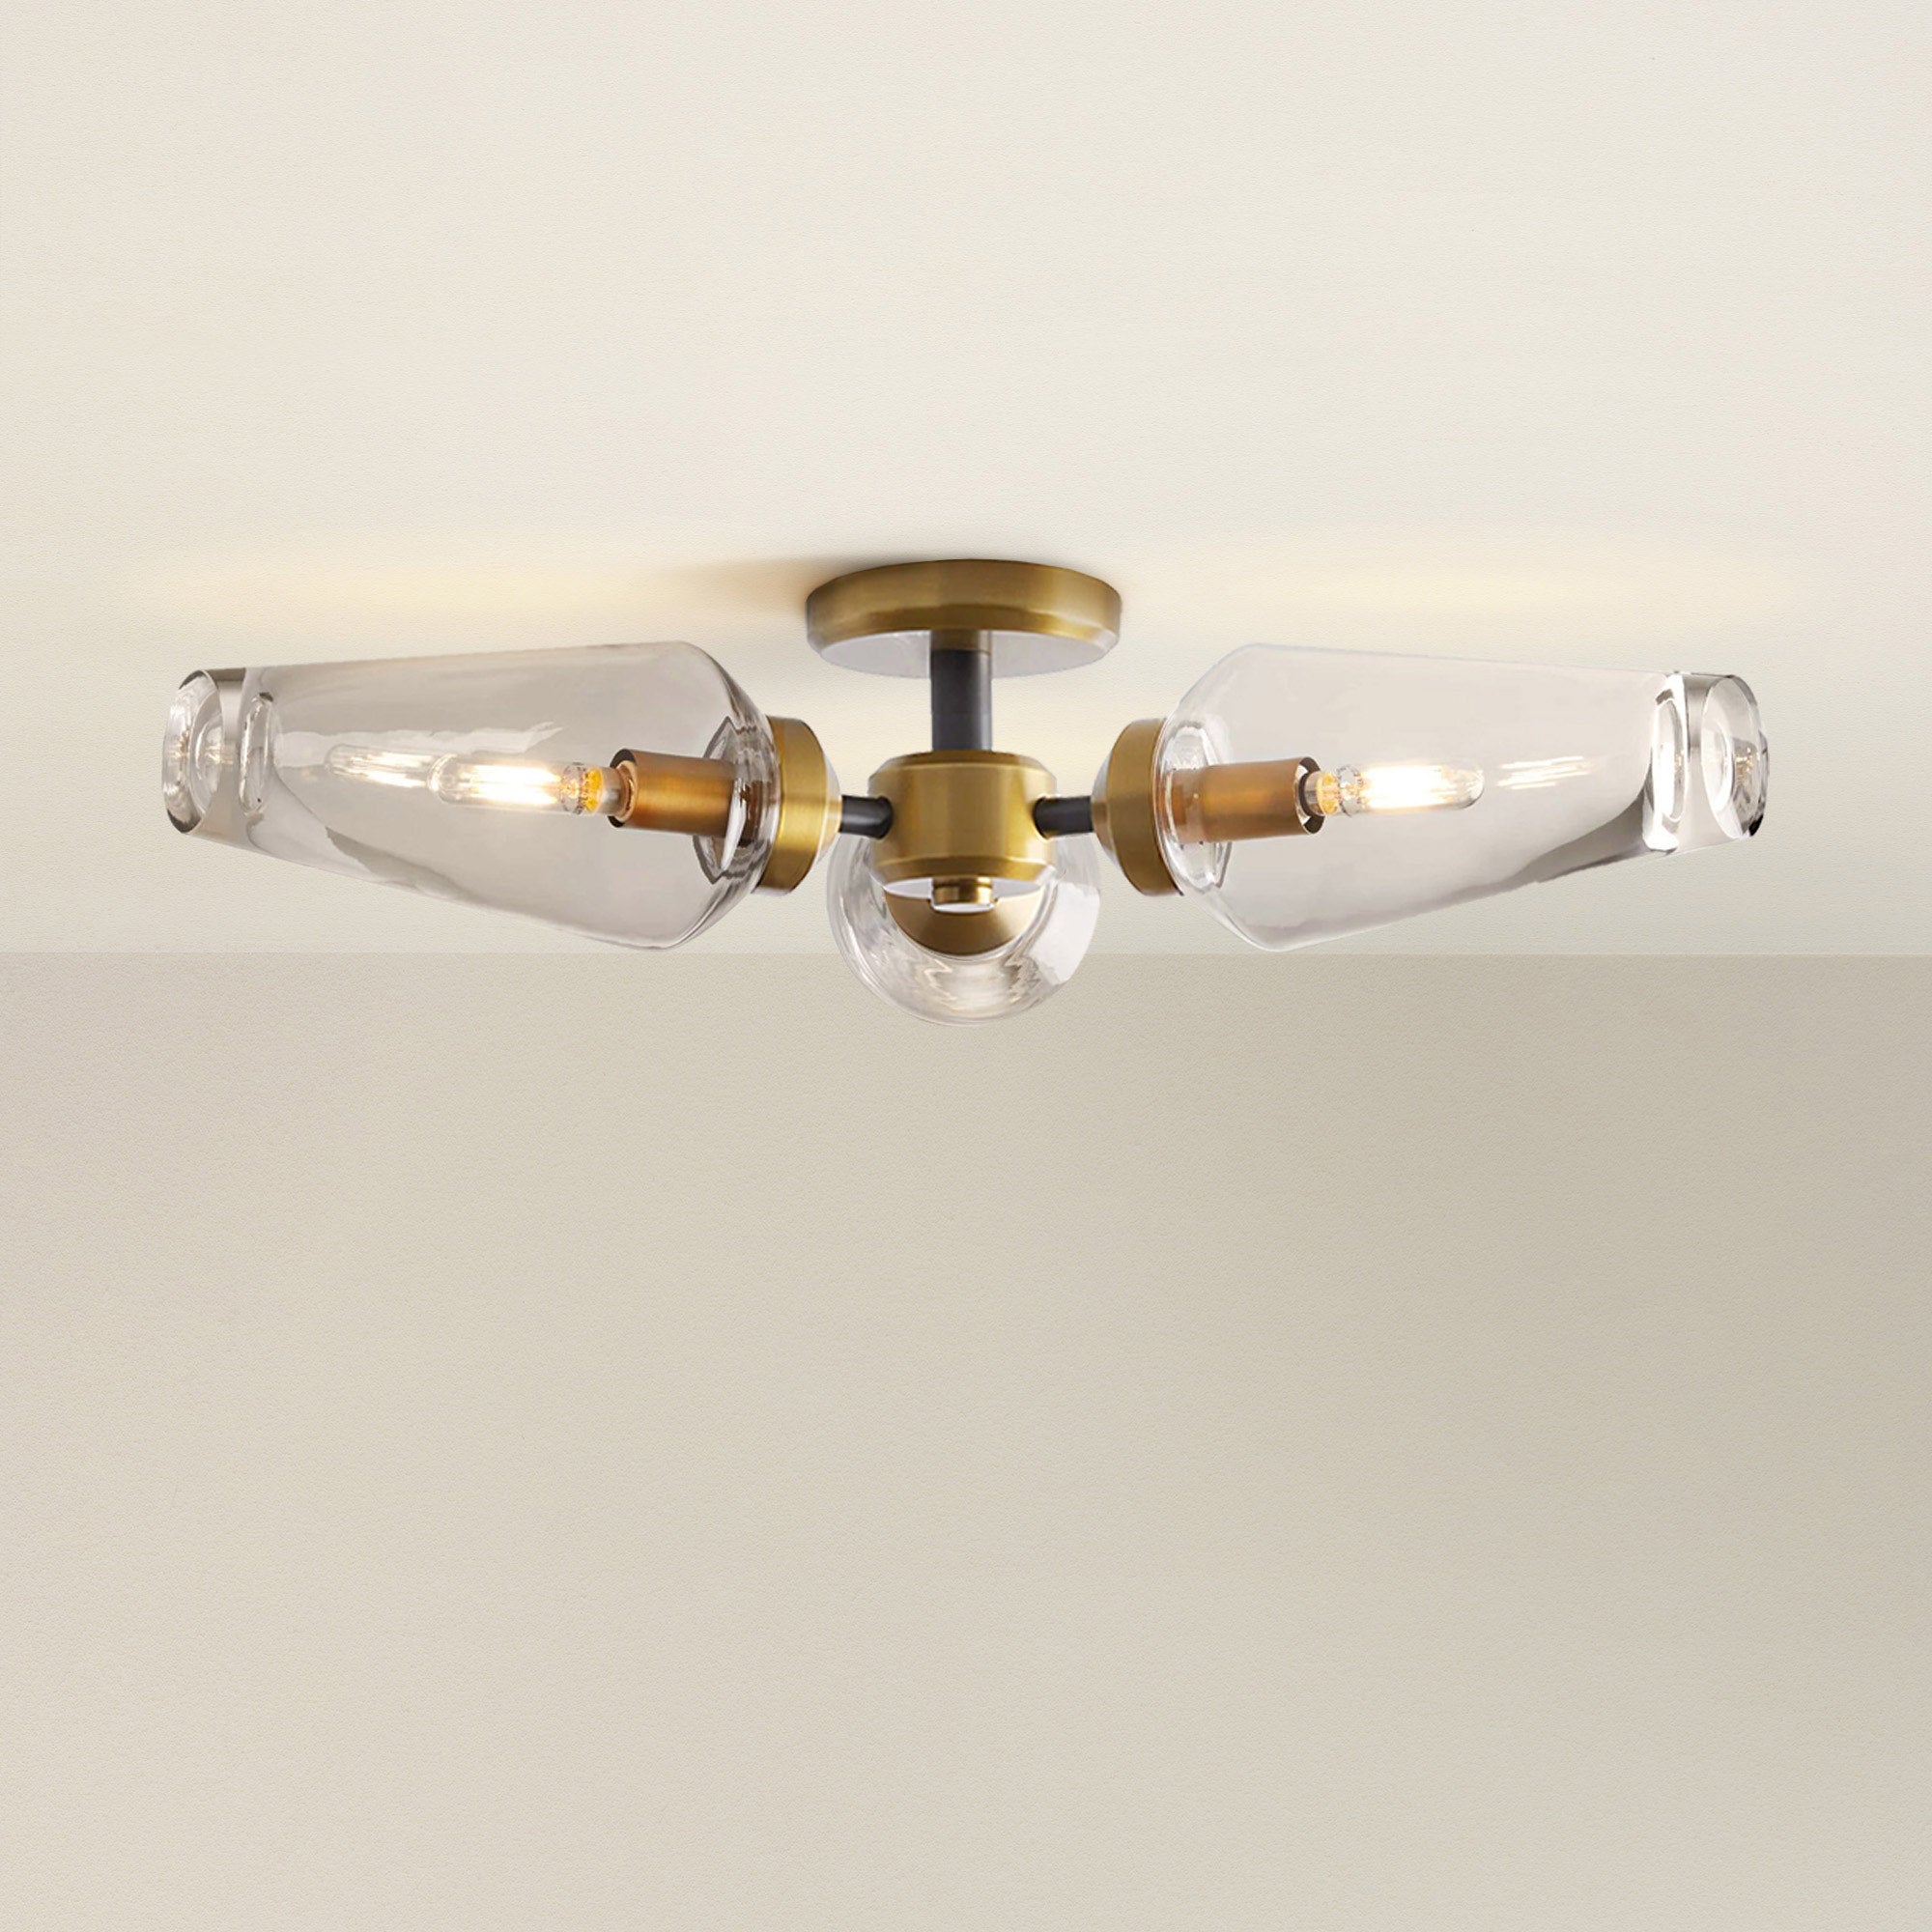
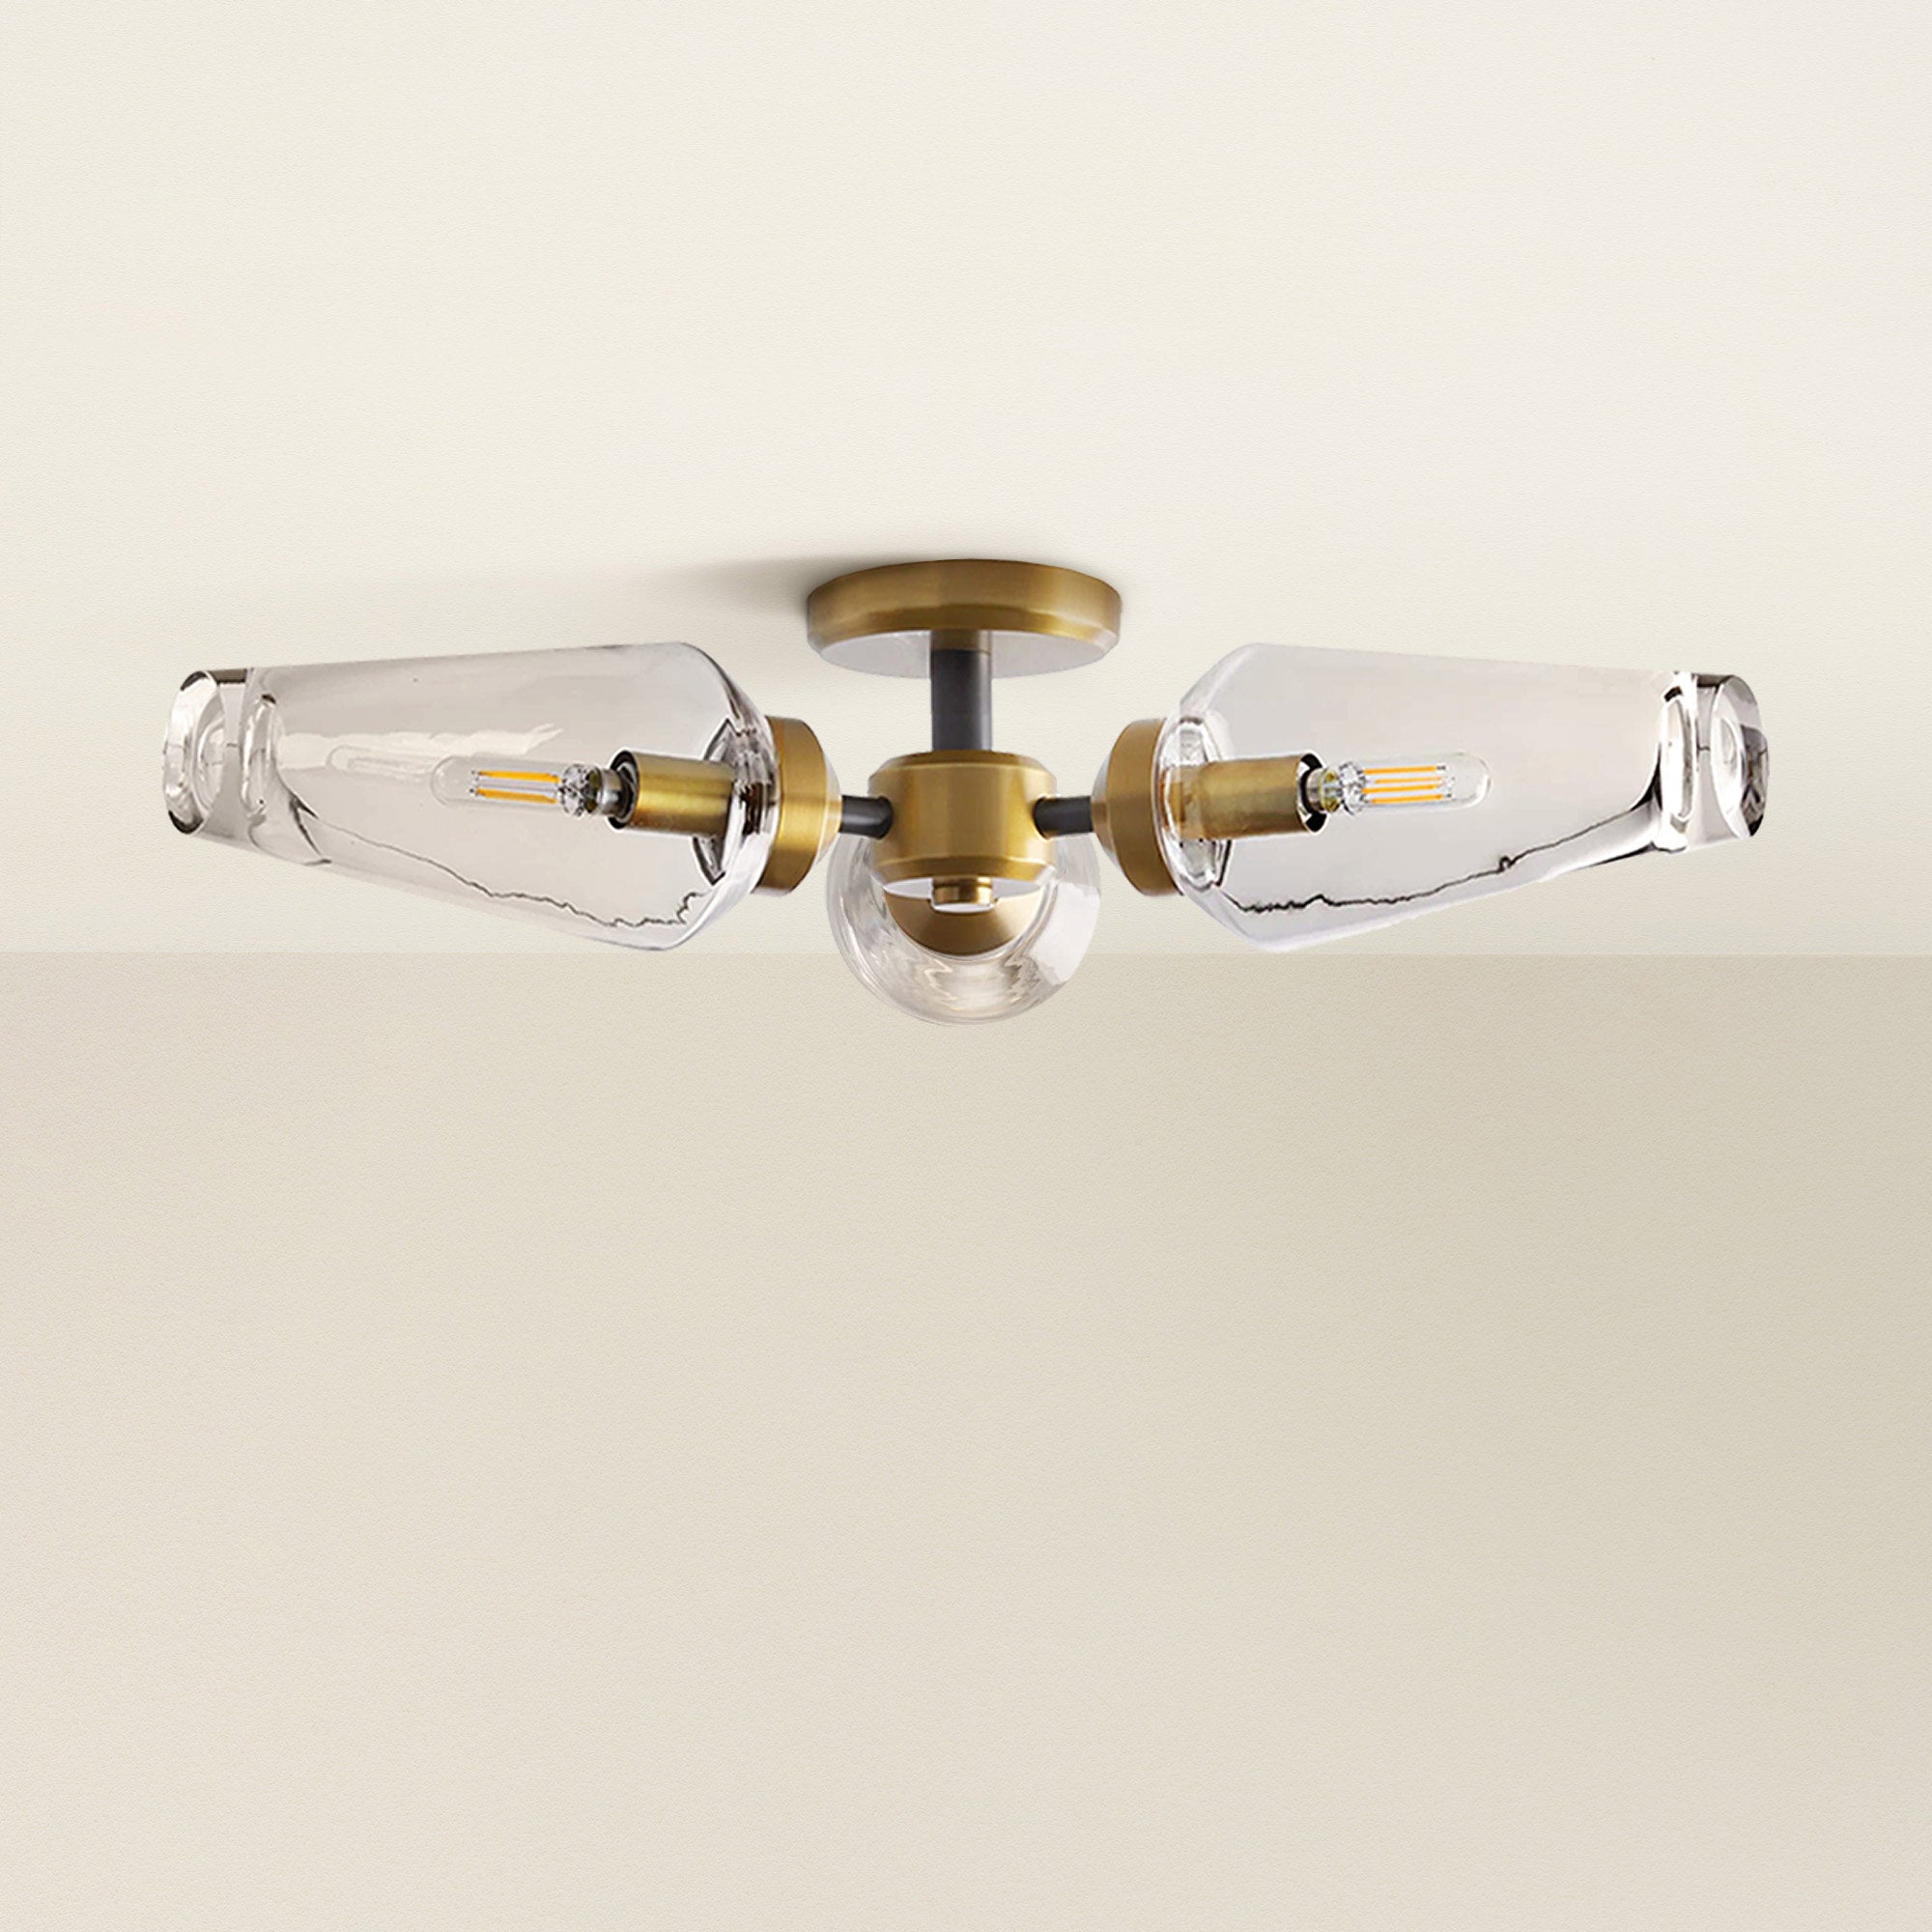
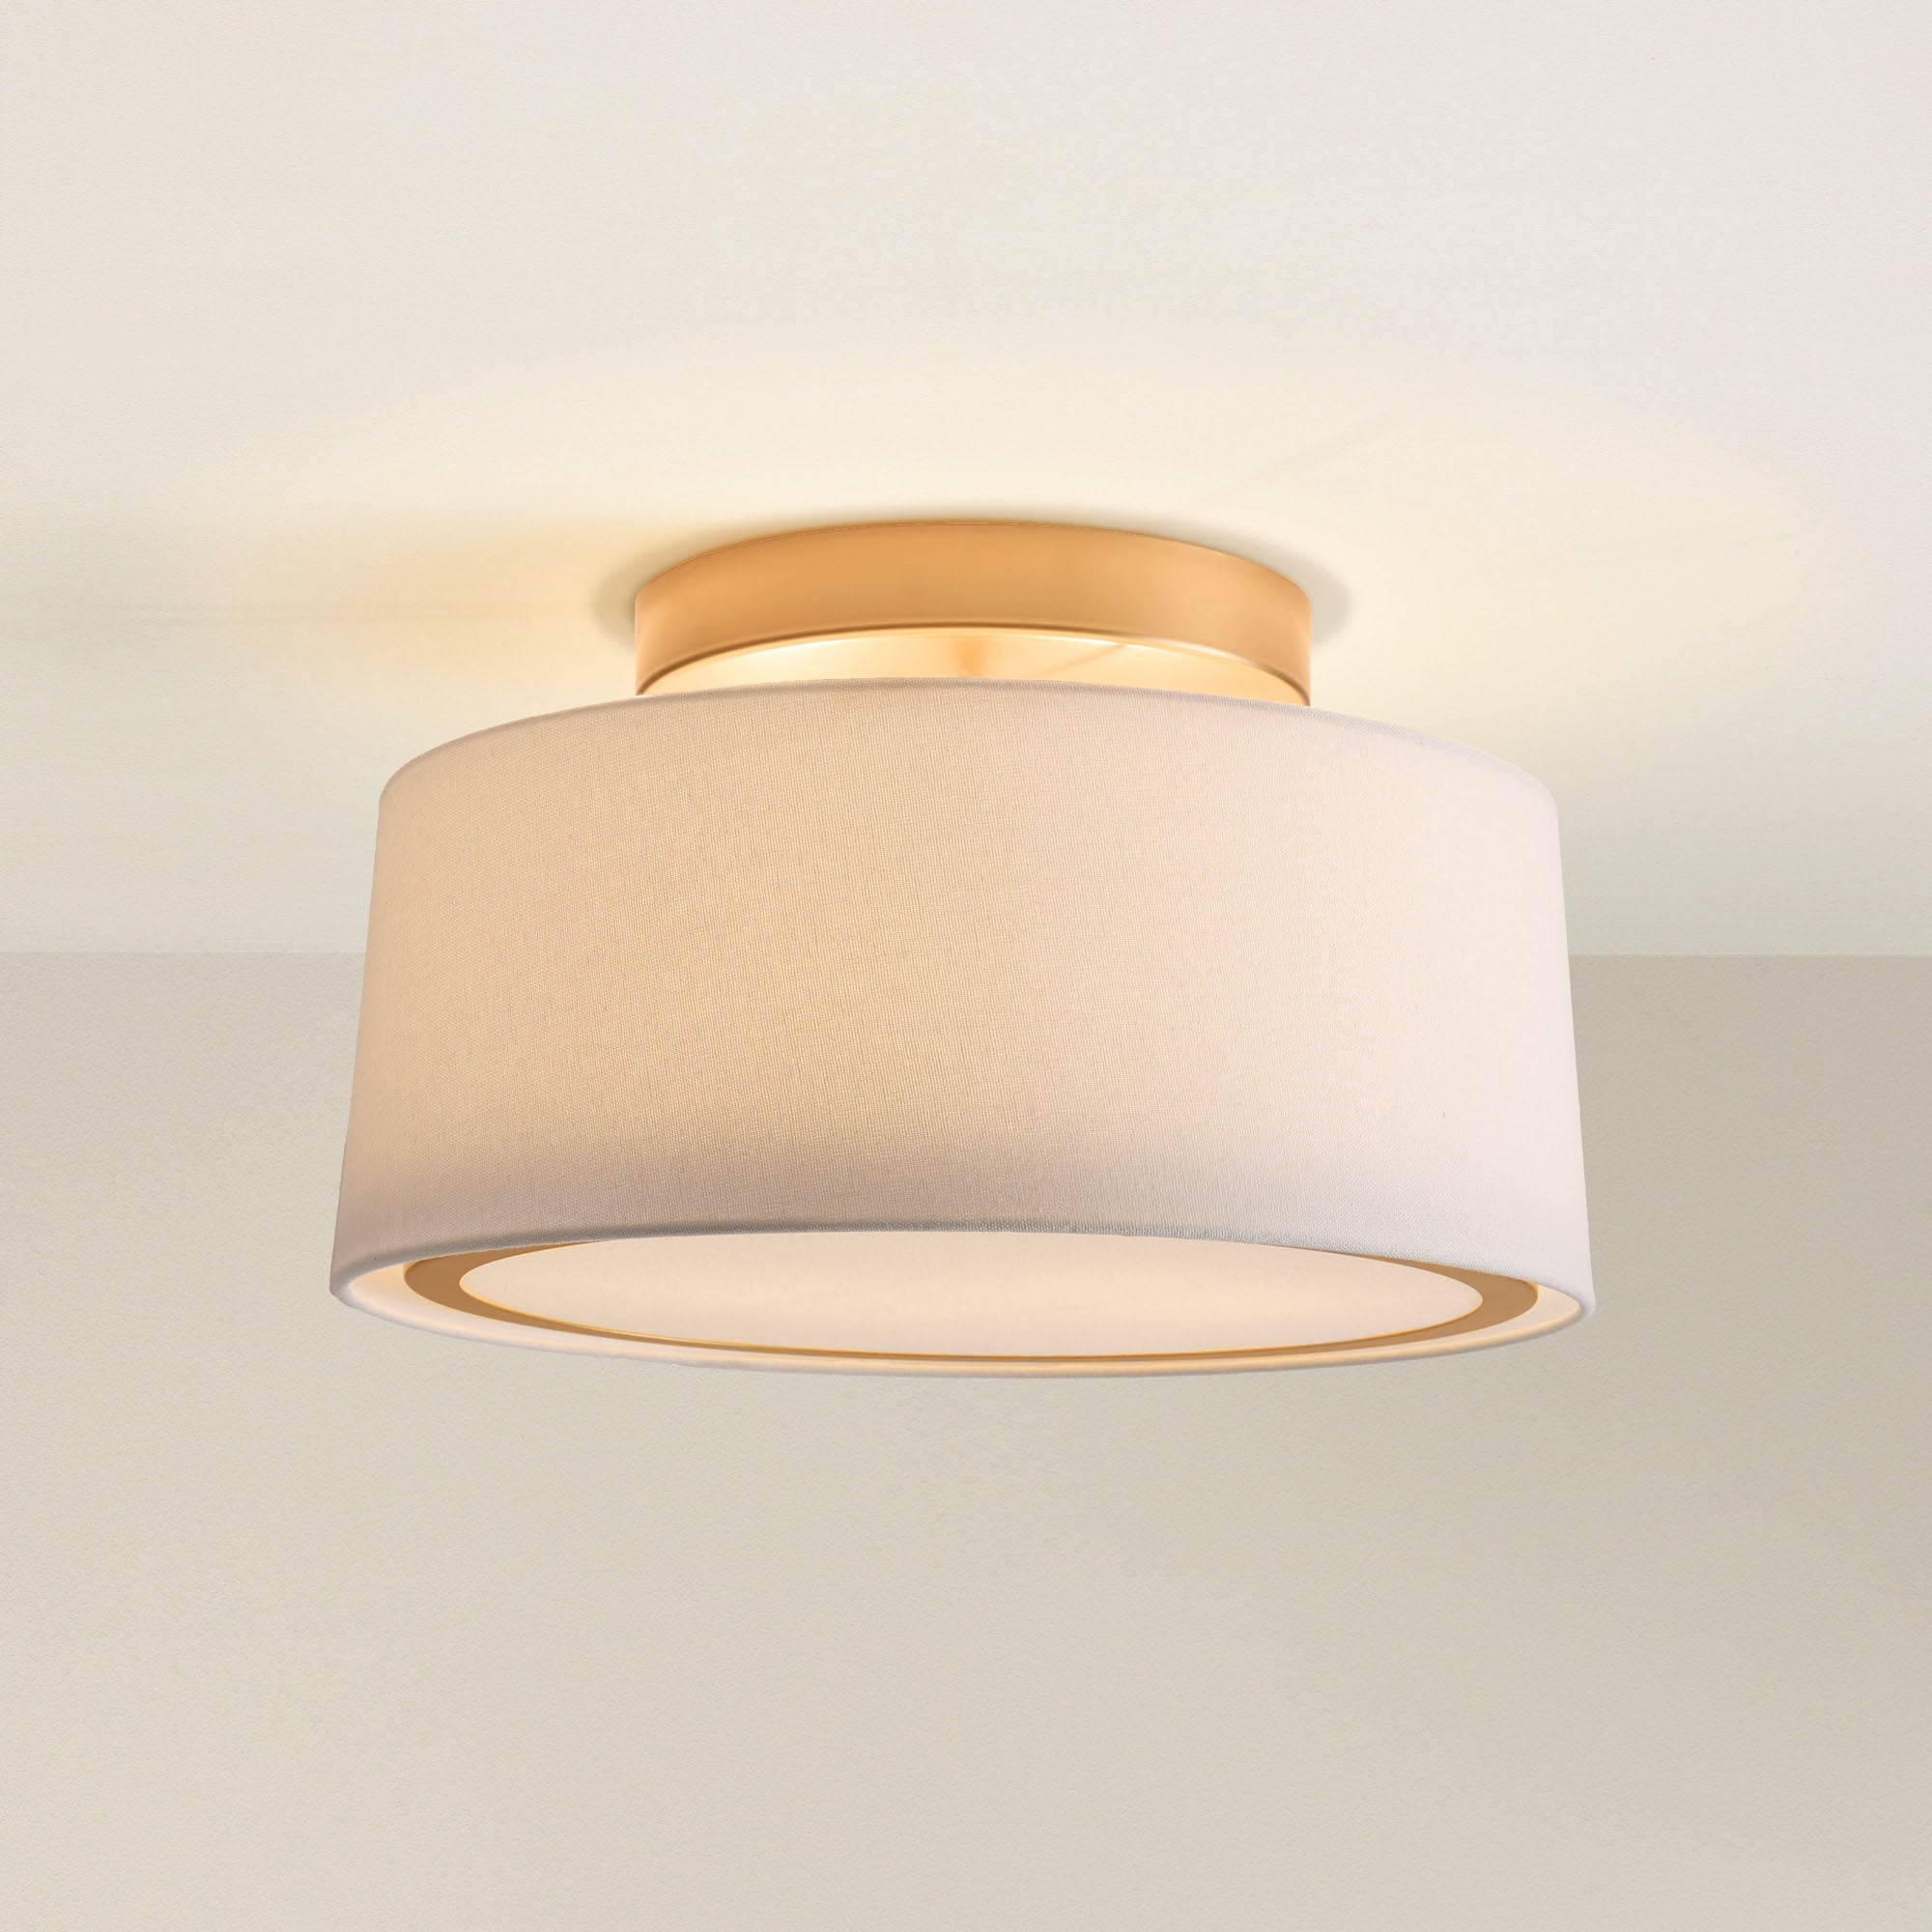
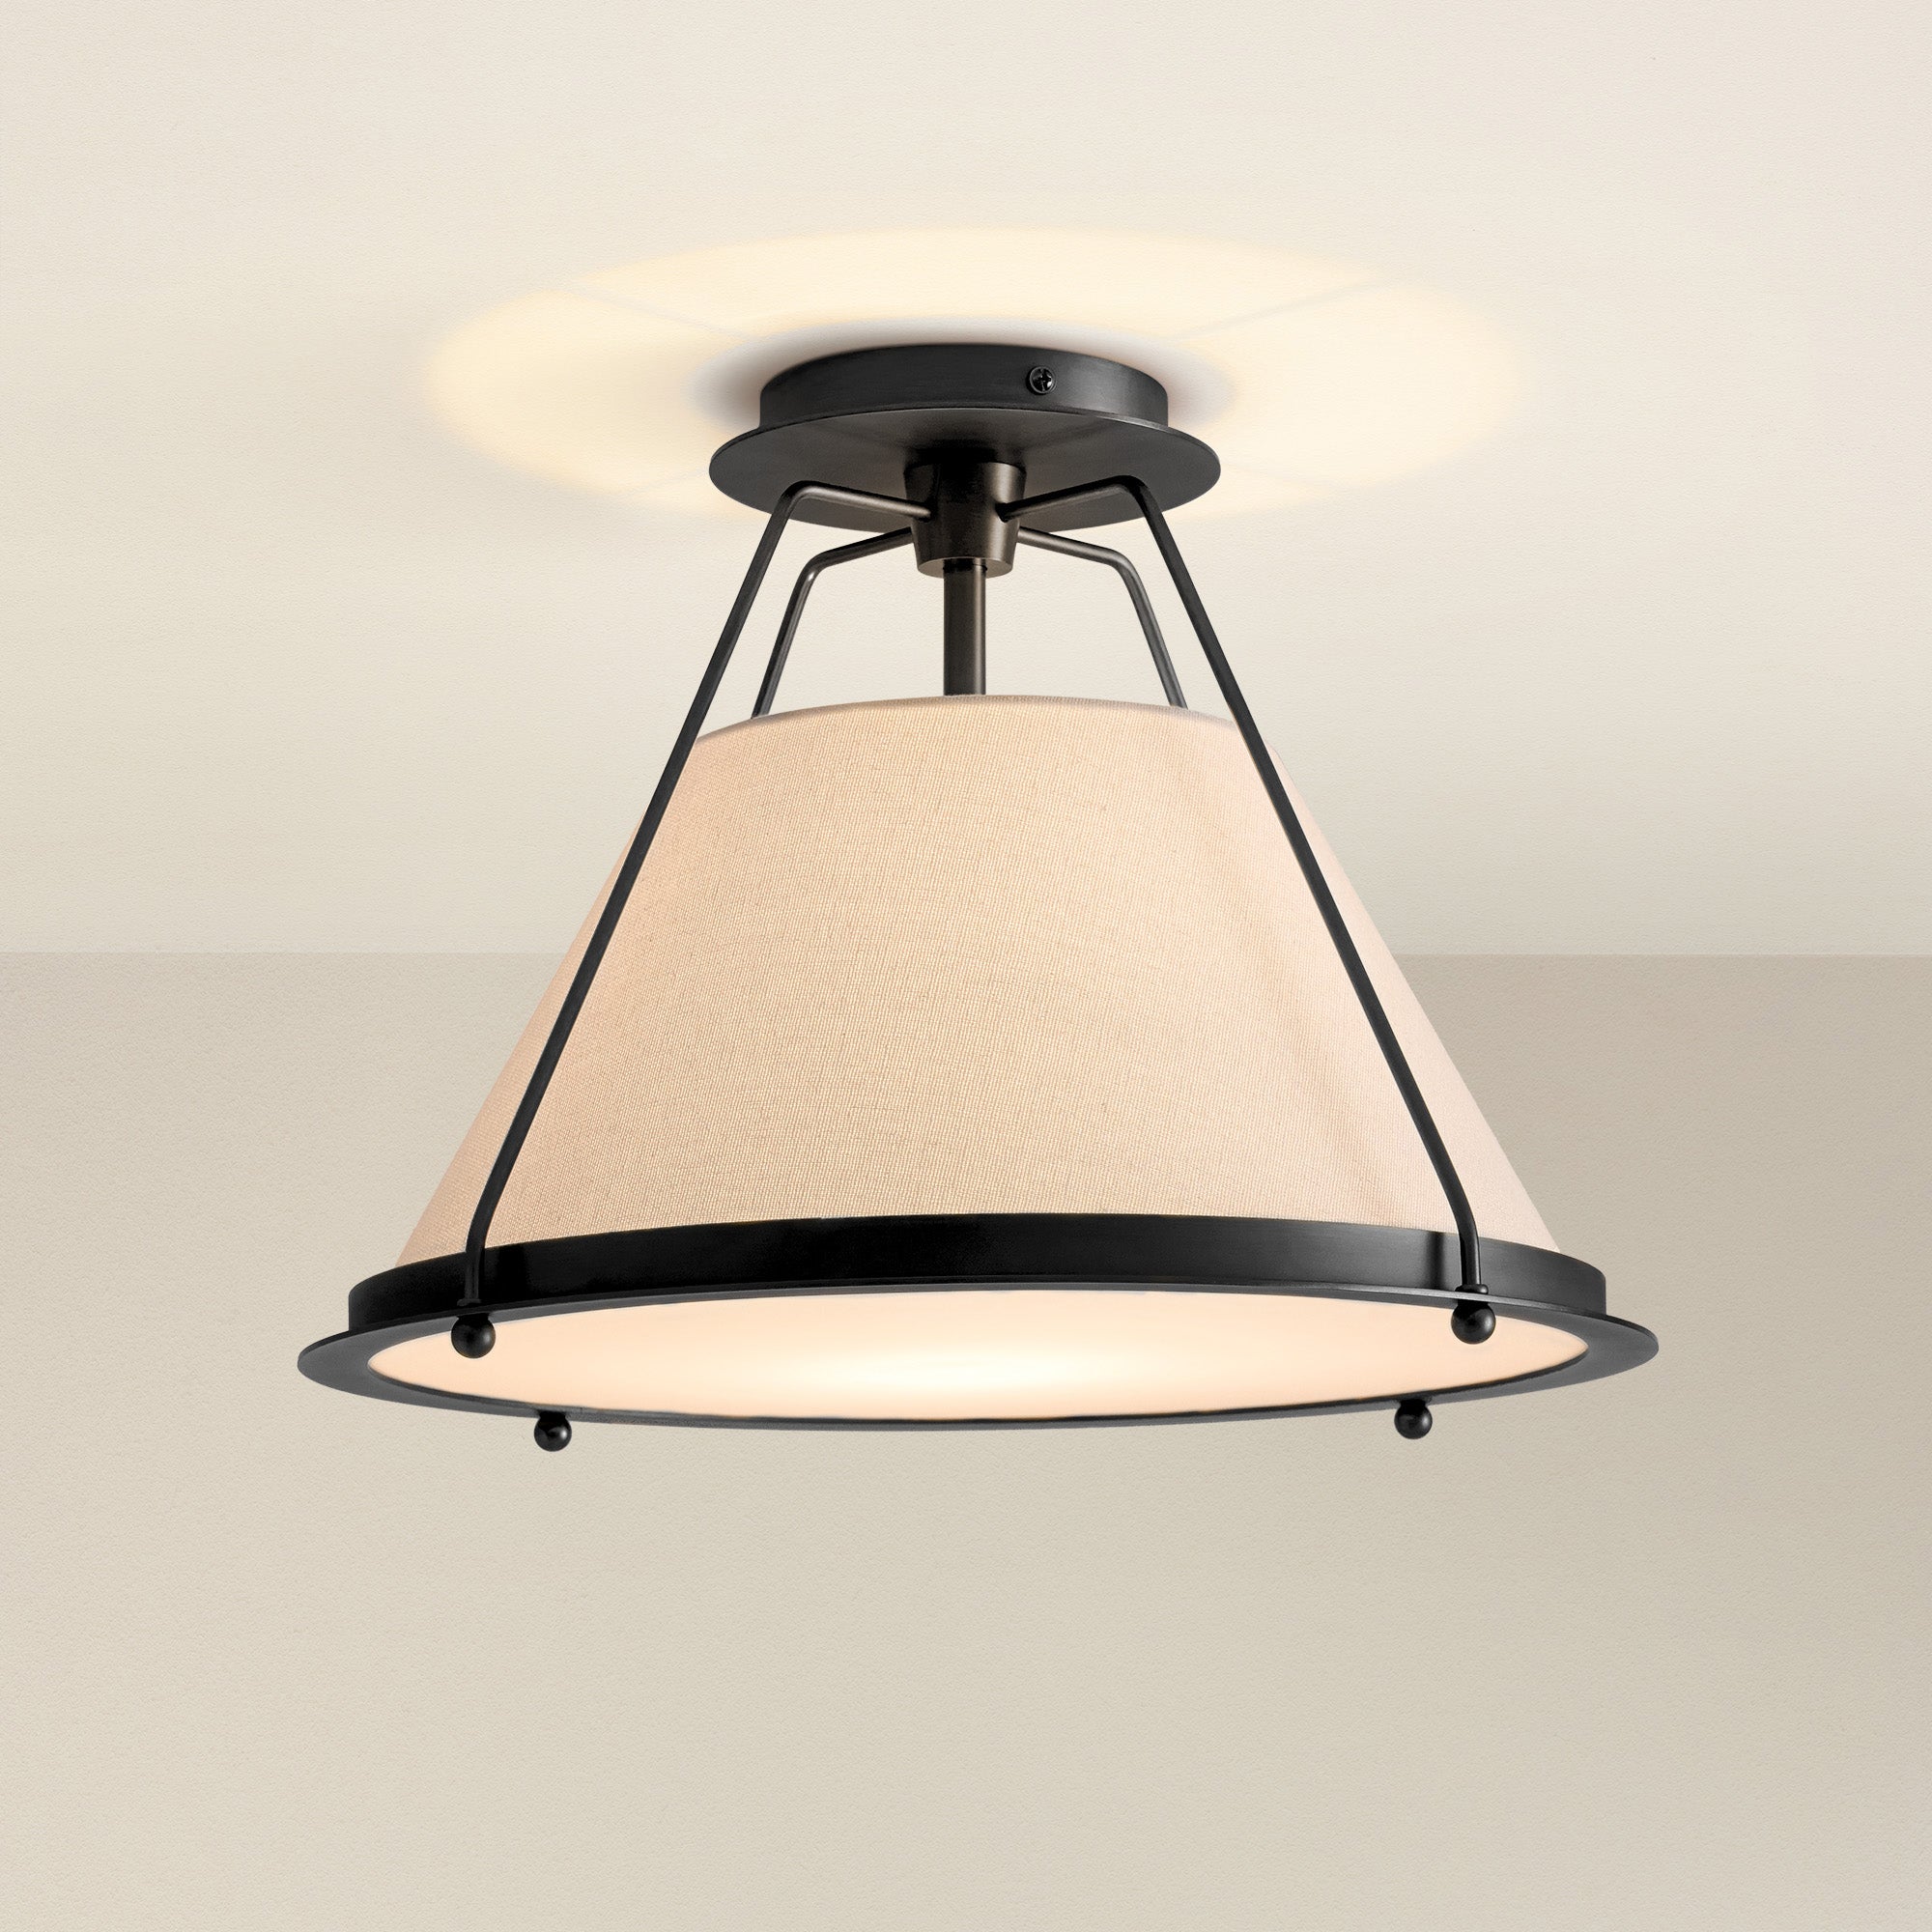
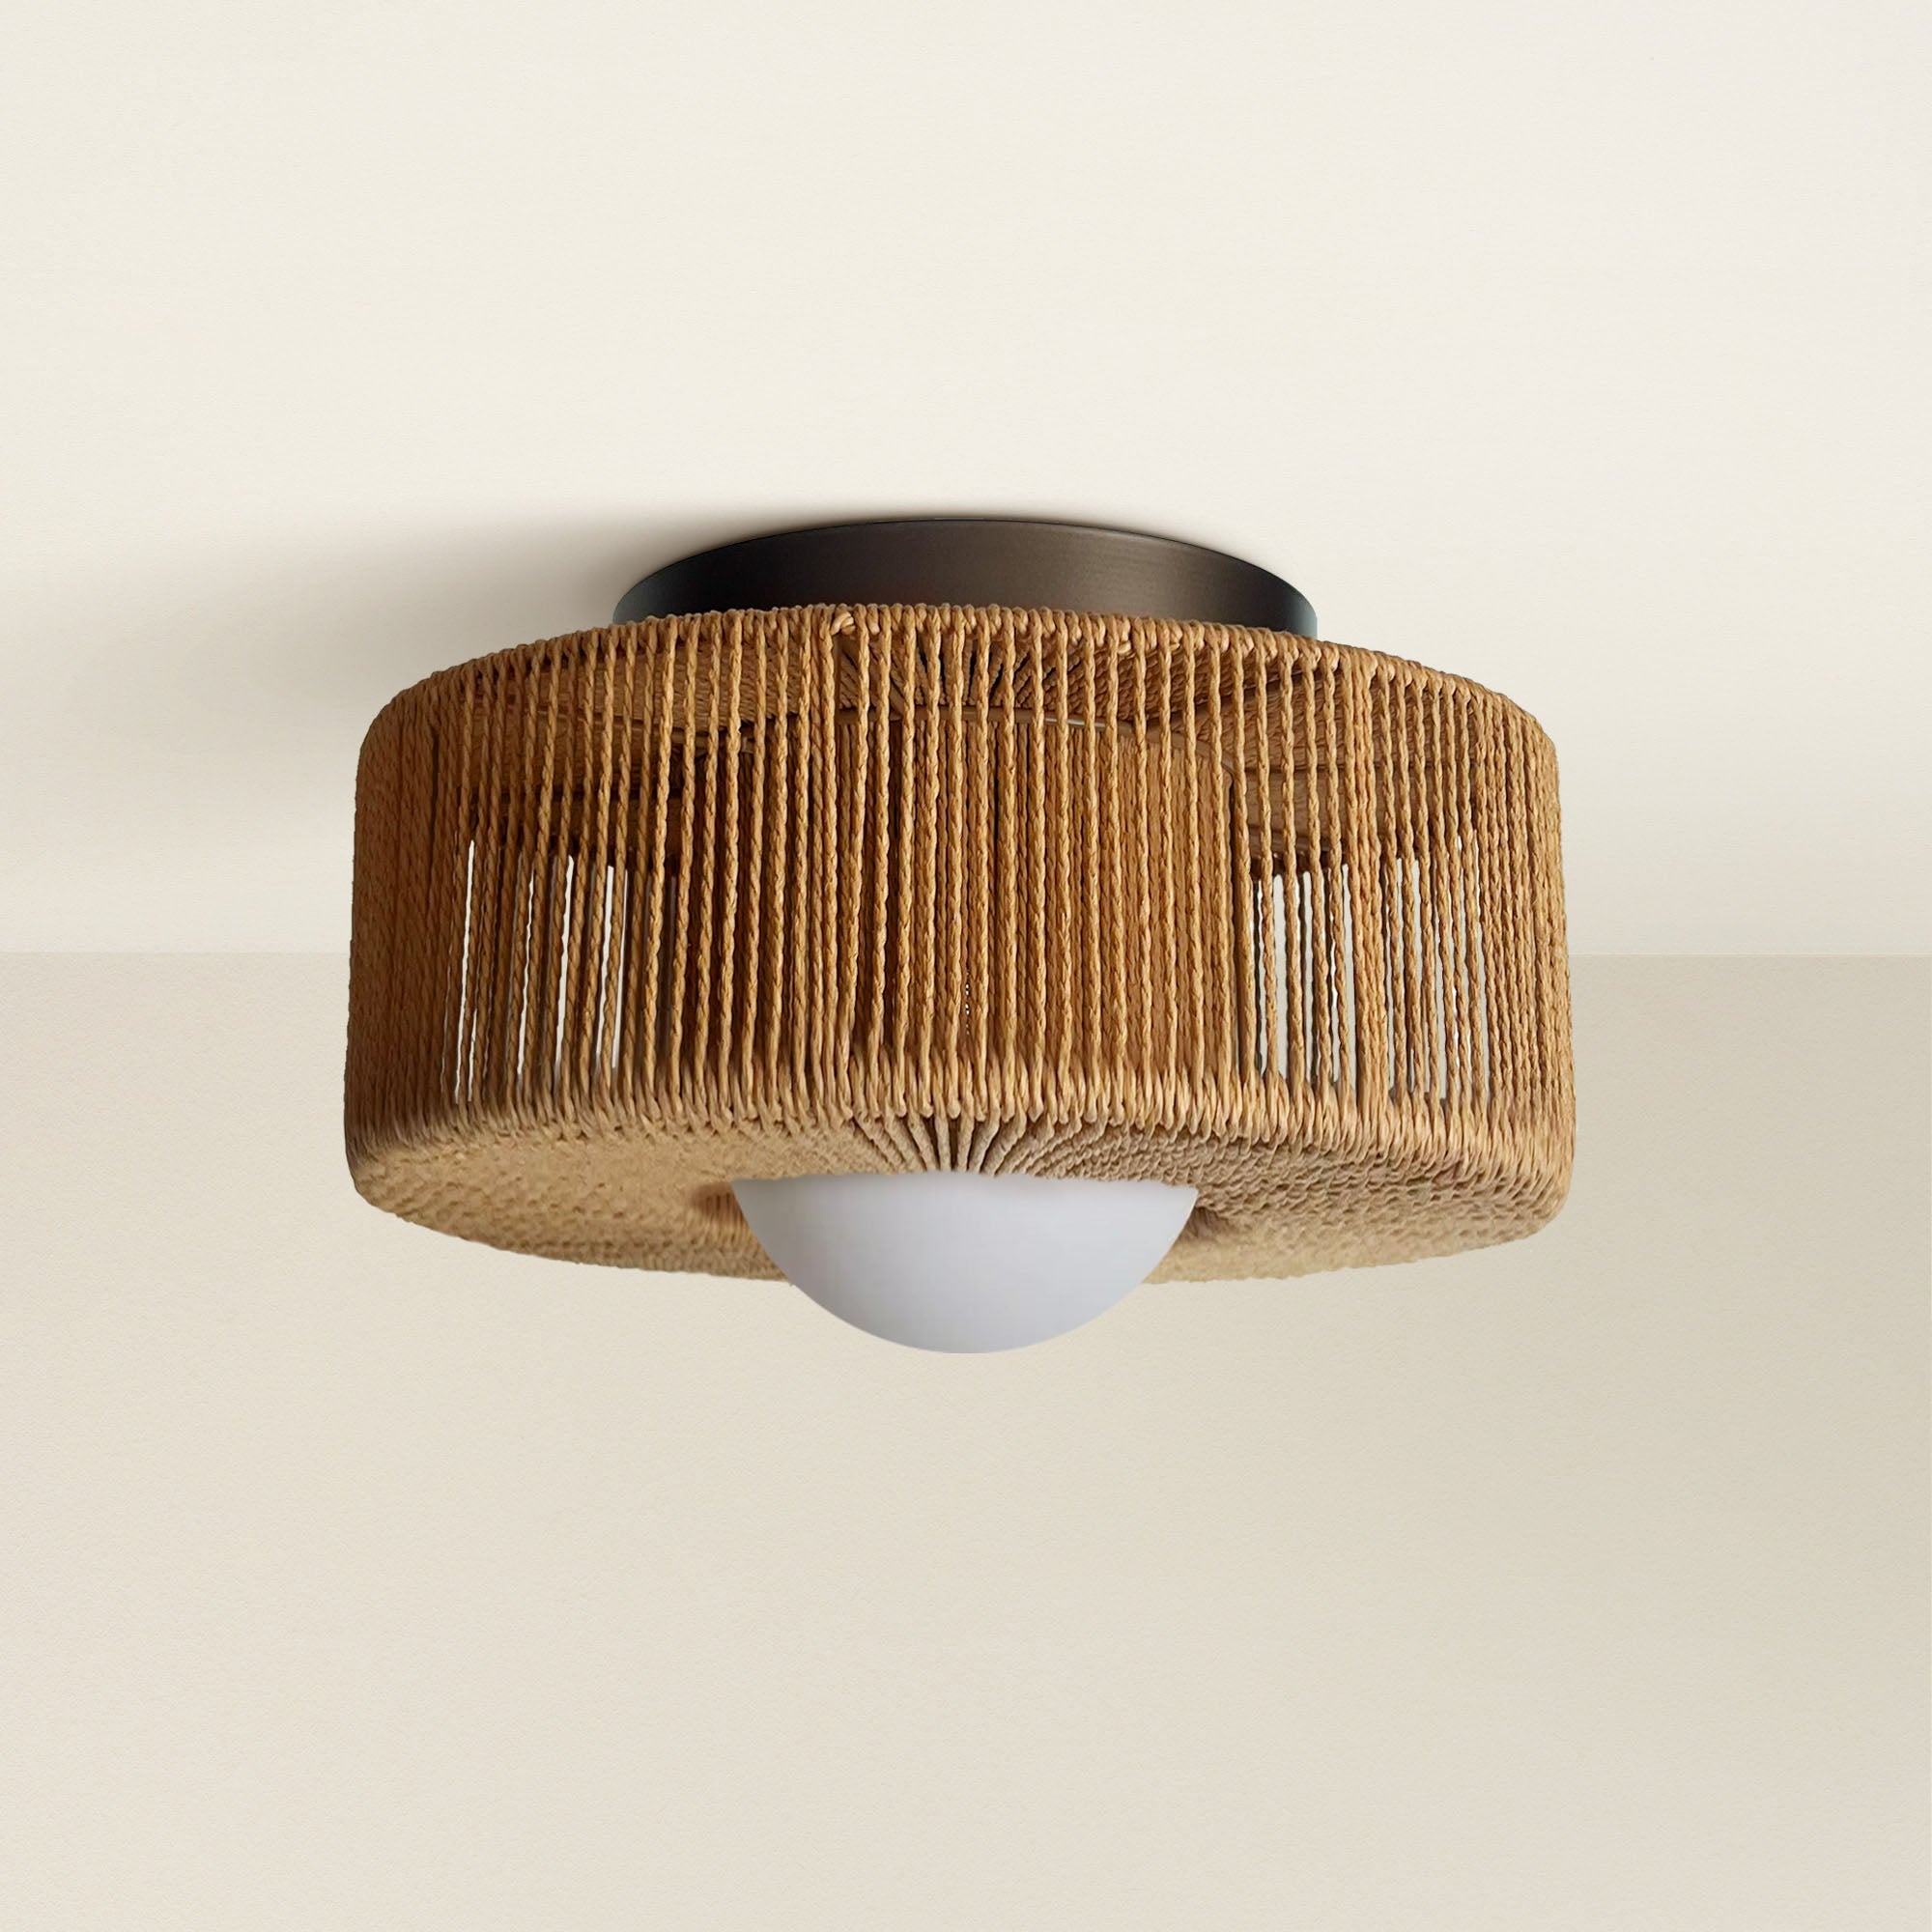
Crest Semi-Flush Mount by Rowabi
Additionally, if you’re working with a high ceiling, consider using a pendant-style flush mount to add elegance and illumination. Additionally, if you’re unsure which type of bulb to use, LED is always an excellent choice for long-lasting, energy-efficient lighting.
Is it difficult to install a flush-mount ceiling light?
How much does it cost to install a flush mount light?
What is the difference between a ceiling mount and a flush mount?
How long do flush mount ceiling lights last?
What is the difference between surface-mount and flush-mount lights?
Can you replace a flush mount with a pendant light?
How big should a flush mount ceiling light be?
And there you have it! You’re now ready to tackle the installation of your flush mount light like a pro. Replacing a flush mount light doesn’t have to be intimidating when you break it down into manageable steps. If you’re looking for high-quality, stylish fixtures to elevate your space, Rowabi has got you covered.

How To Replace Recessed Lighting with Flush-Mount Lighting
According to Rowabi's expert, Noah Miller, this conversion is a popular DIY project that provides a fresh look, provided safety is maintained. The process requires you to first shut off the power. ...
Read more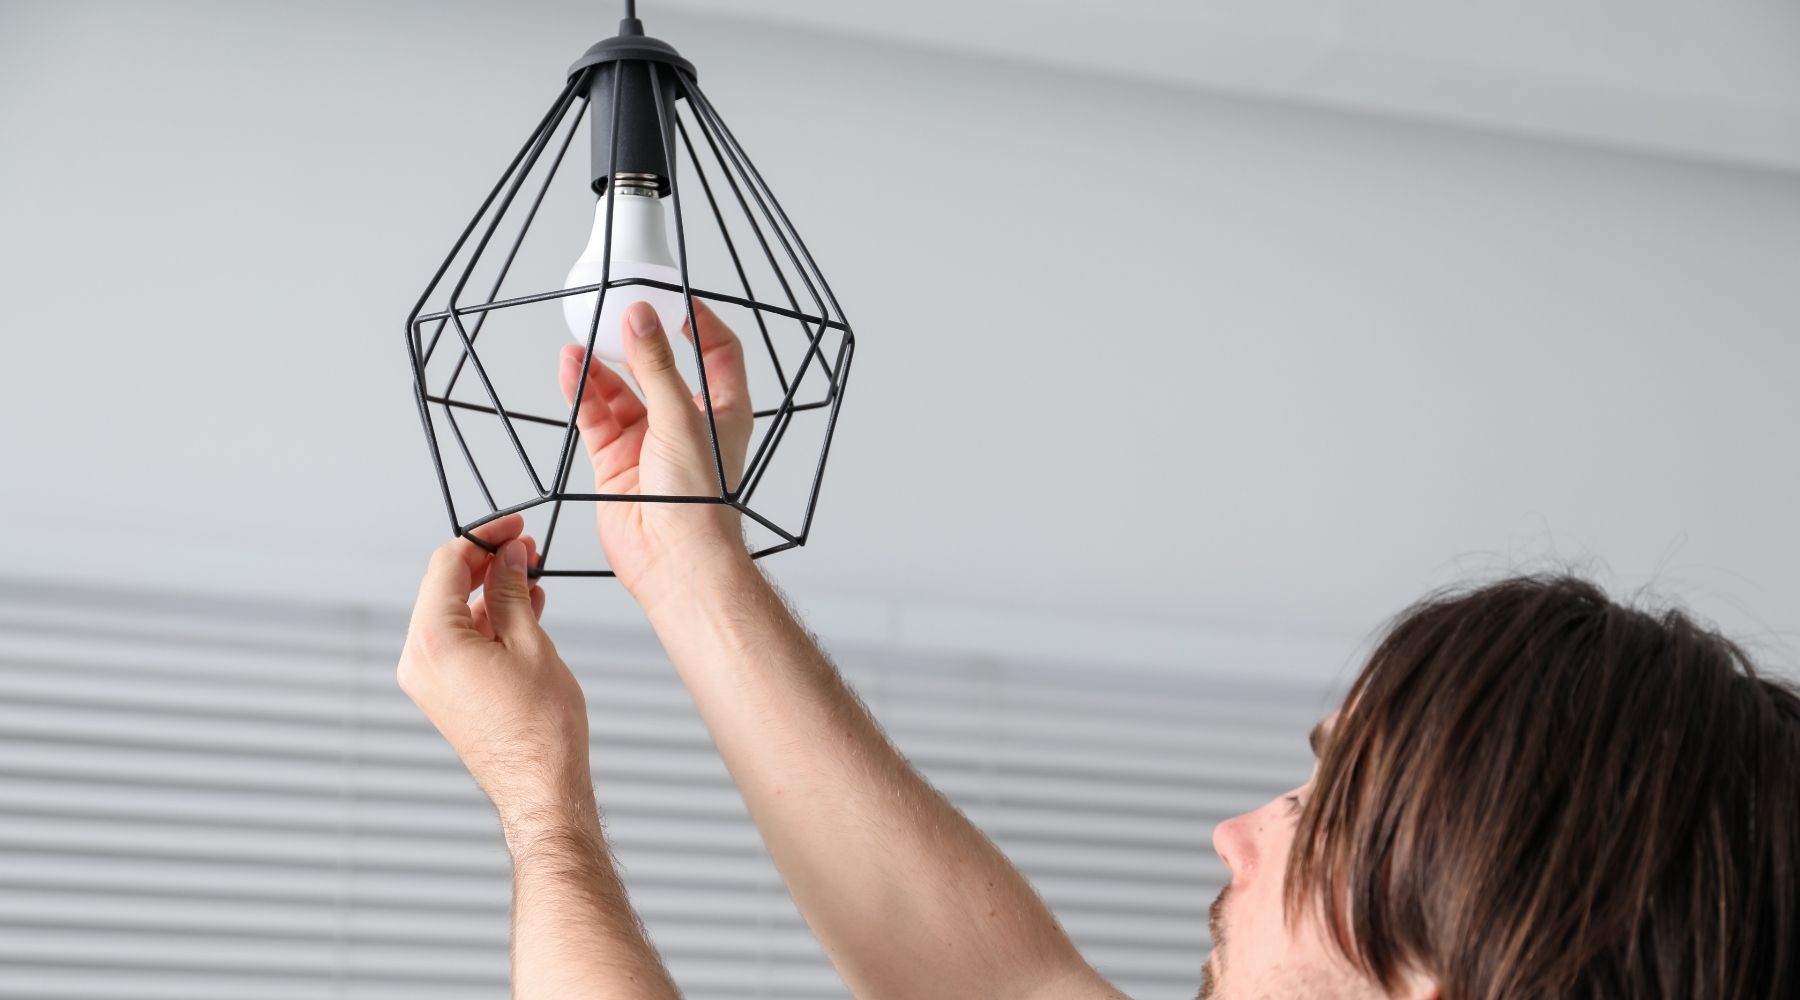
How-To: Replace Your Incandescent Light Bulbs with LEDs
Switching from old incandescent bulbs to modern LED lights is one of the easiest and most cost-effective home upgrades. Noah Miller, the home improvement expert for Rowabi, assures that the standar...
Read more
Leave a comment
This site is protected by hCaptcha and the hCaptcha Privacy Policy and Terms of Service apply.