Gifting has never been easier
Perfect if you're short on time or are unable to deliver your gift yourself. Enter your message and select when to send it.
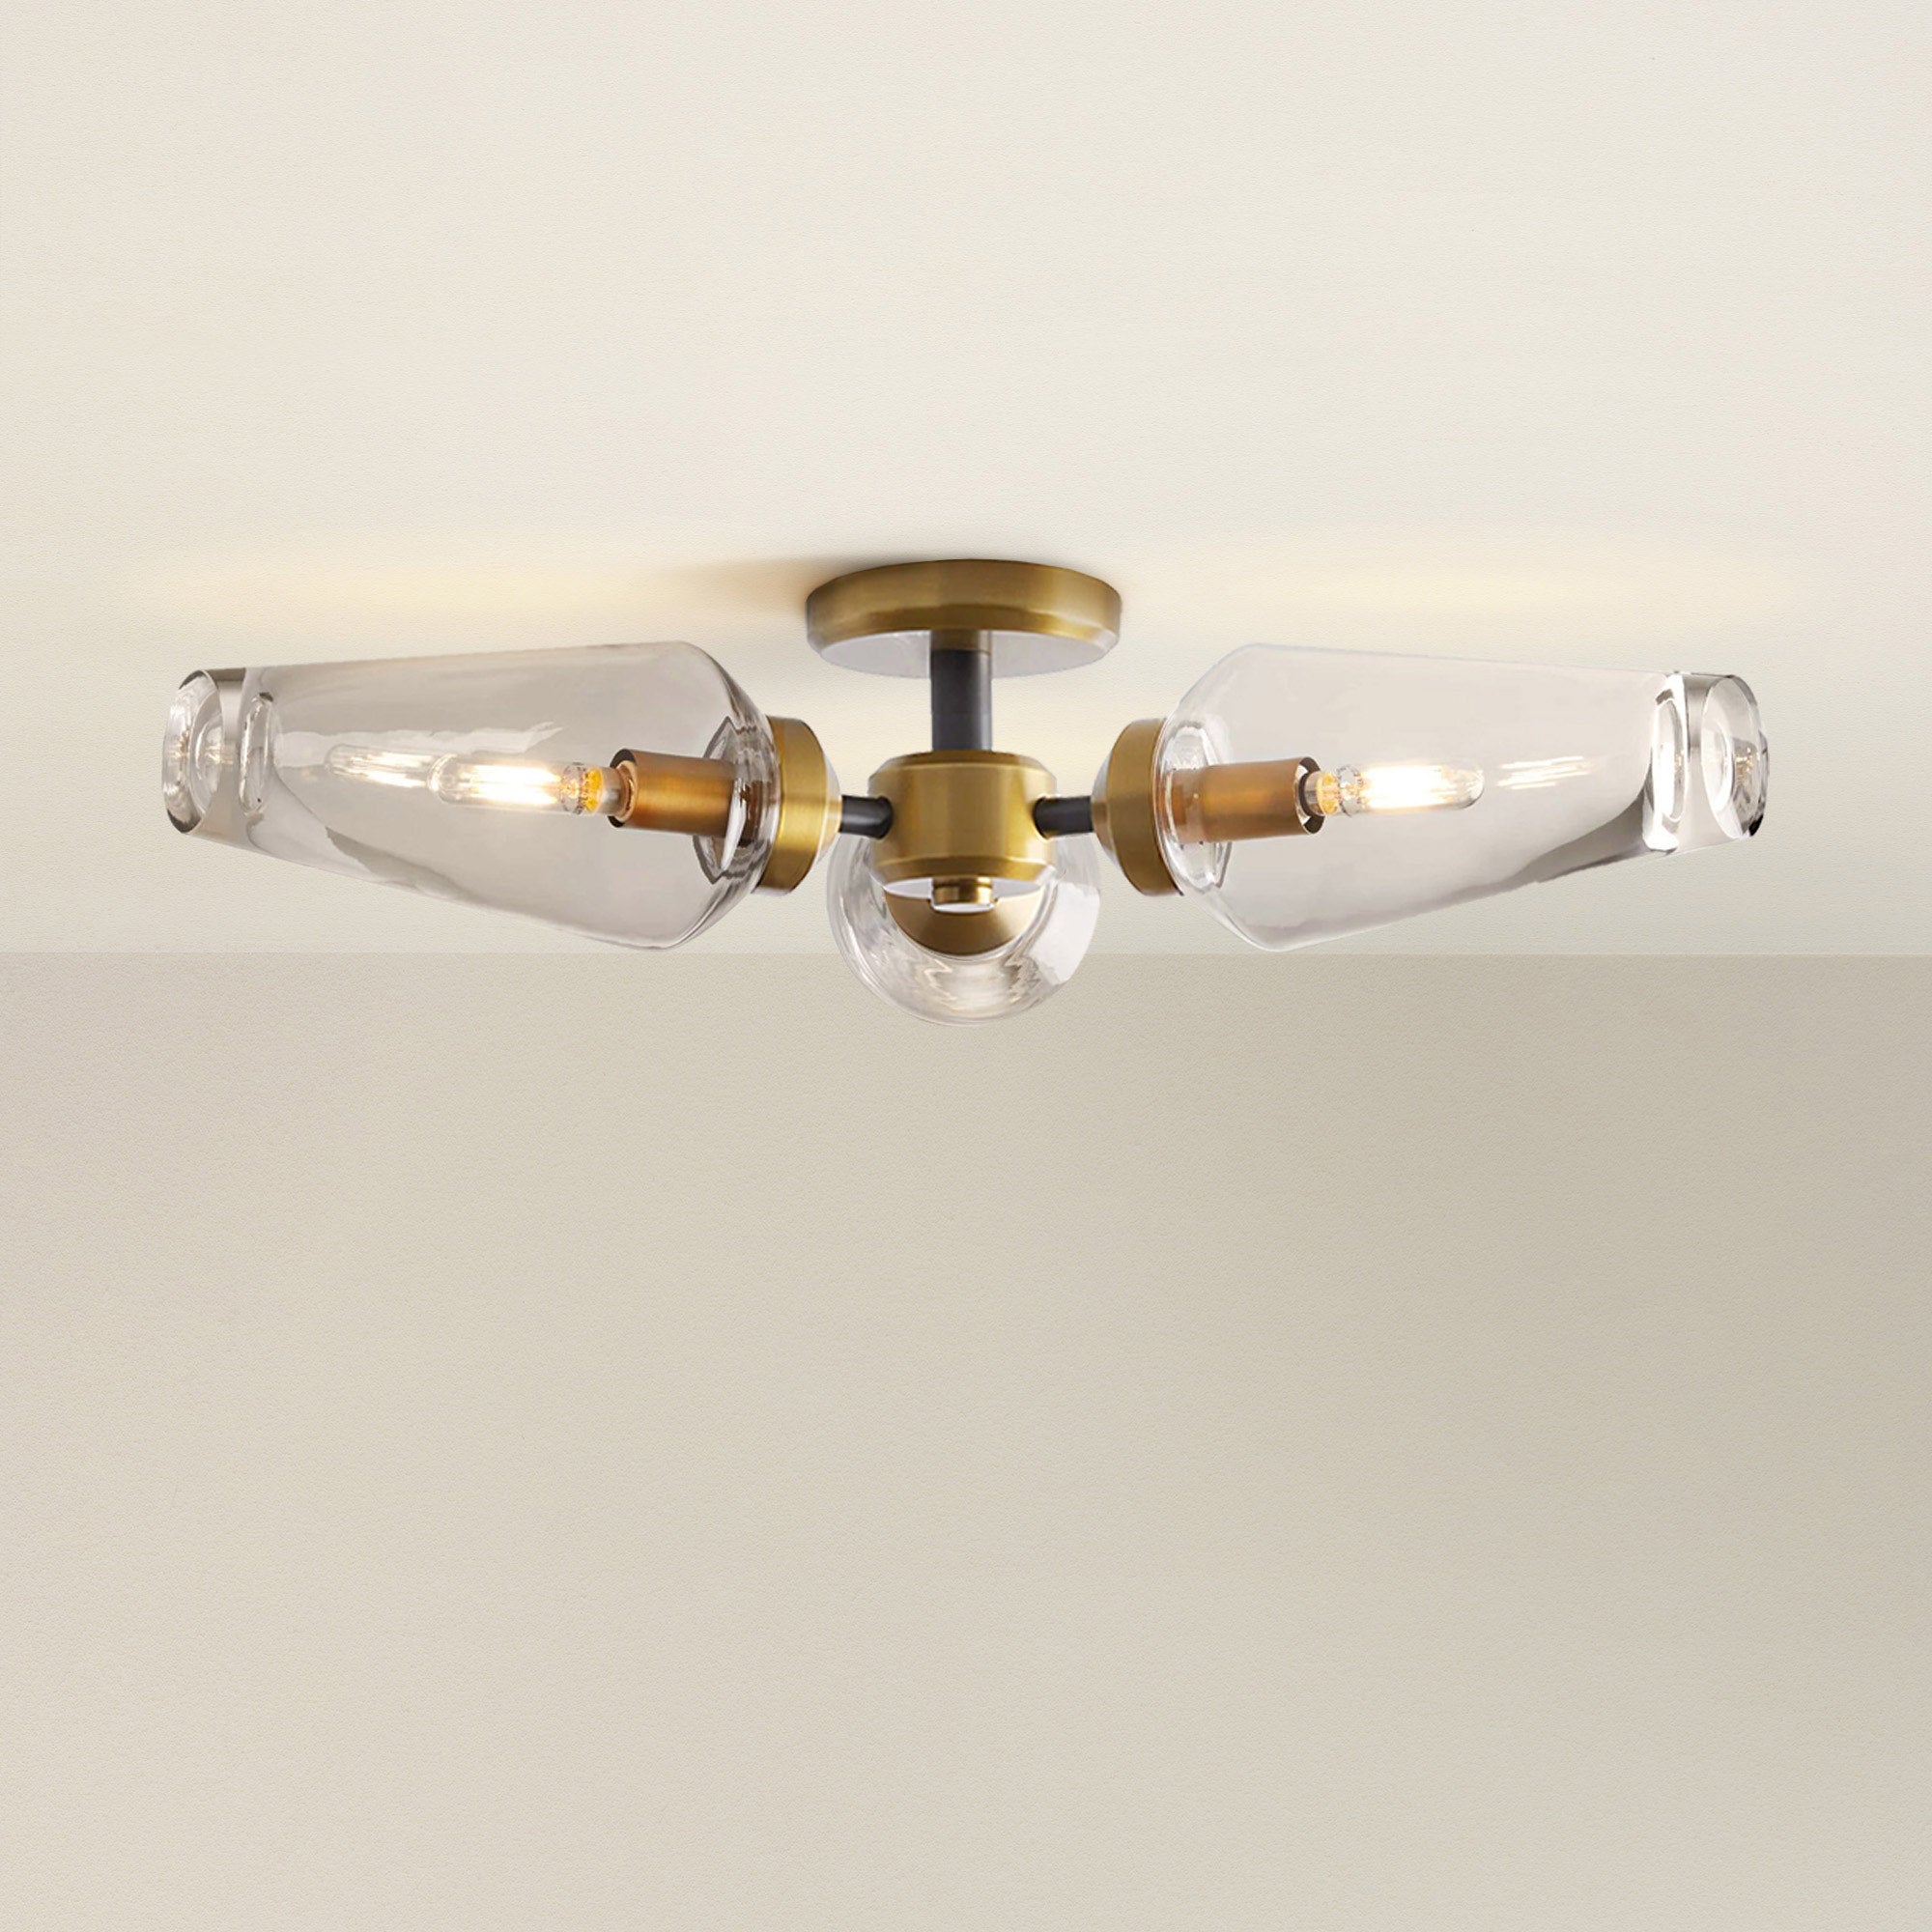
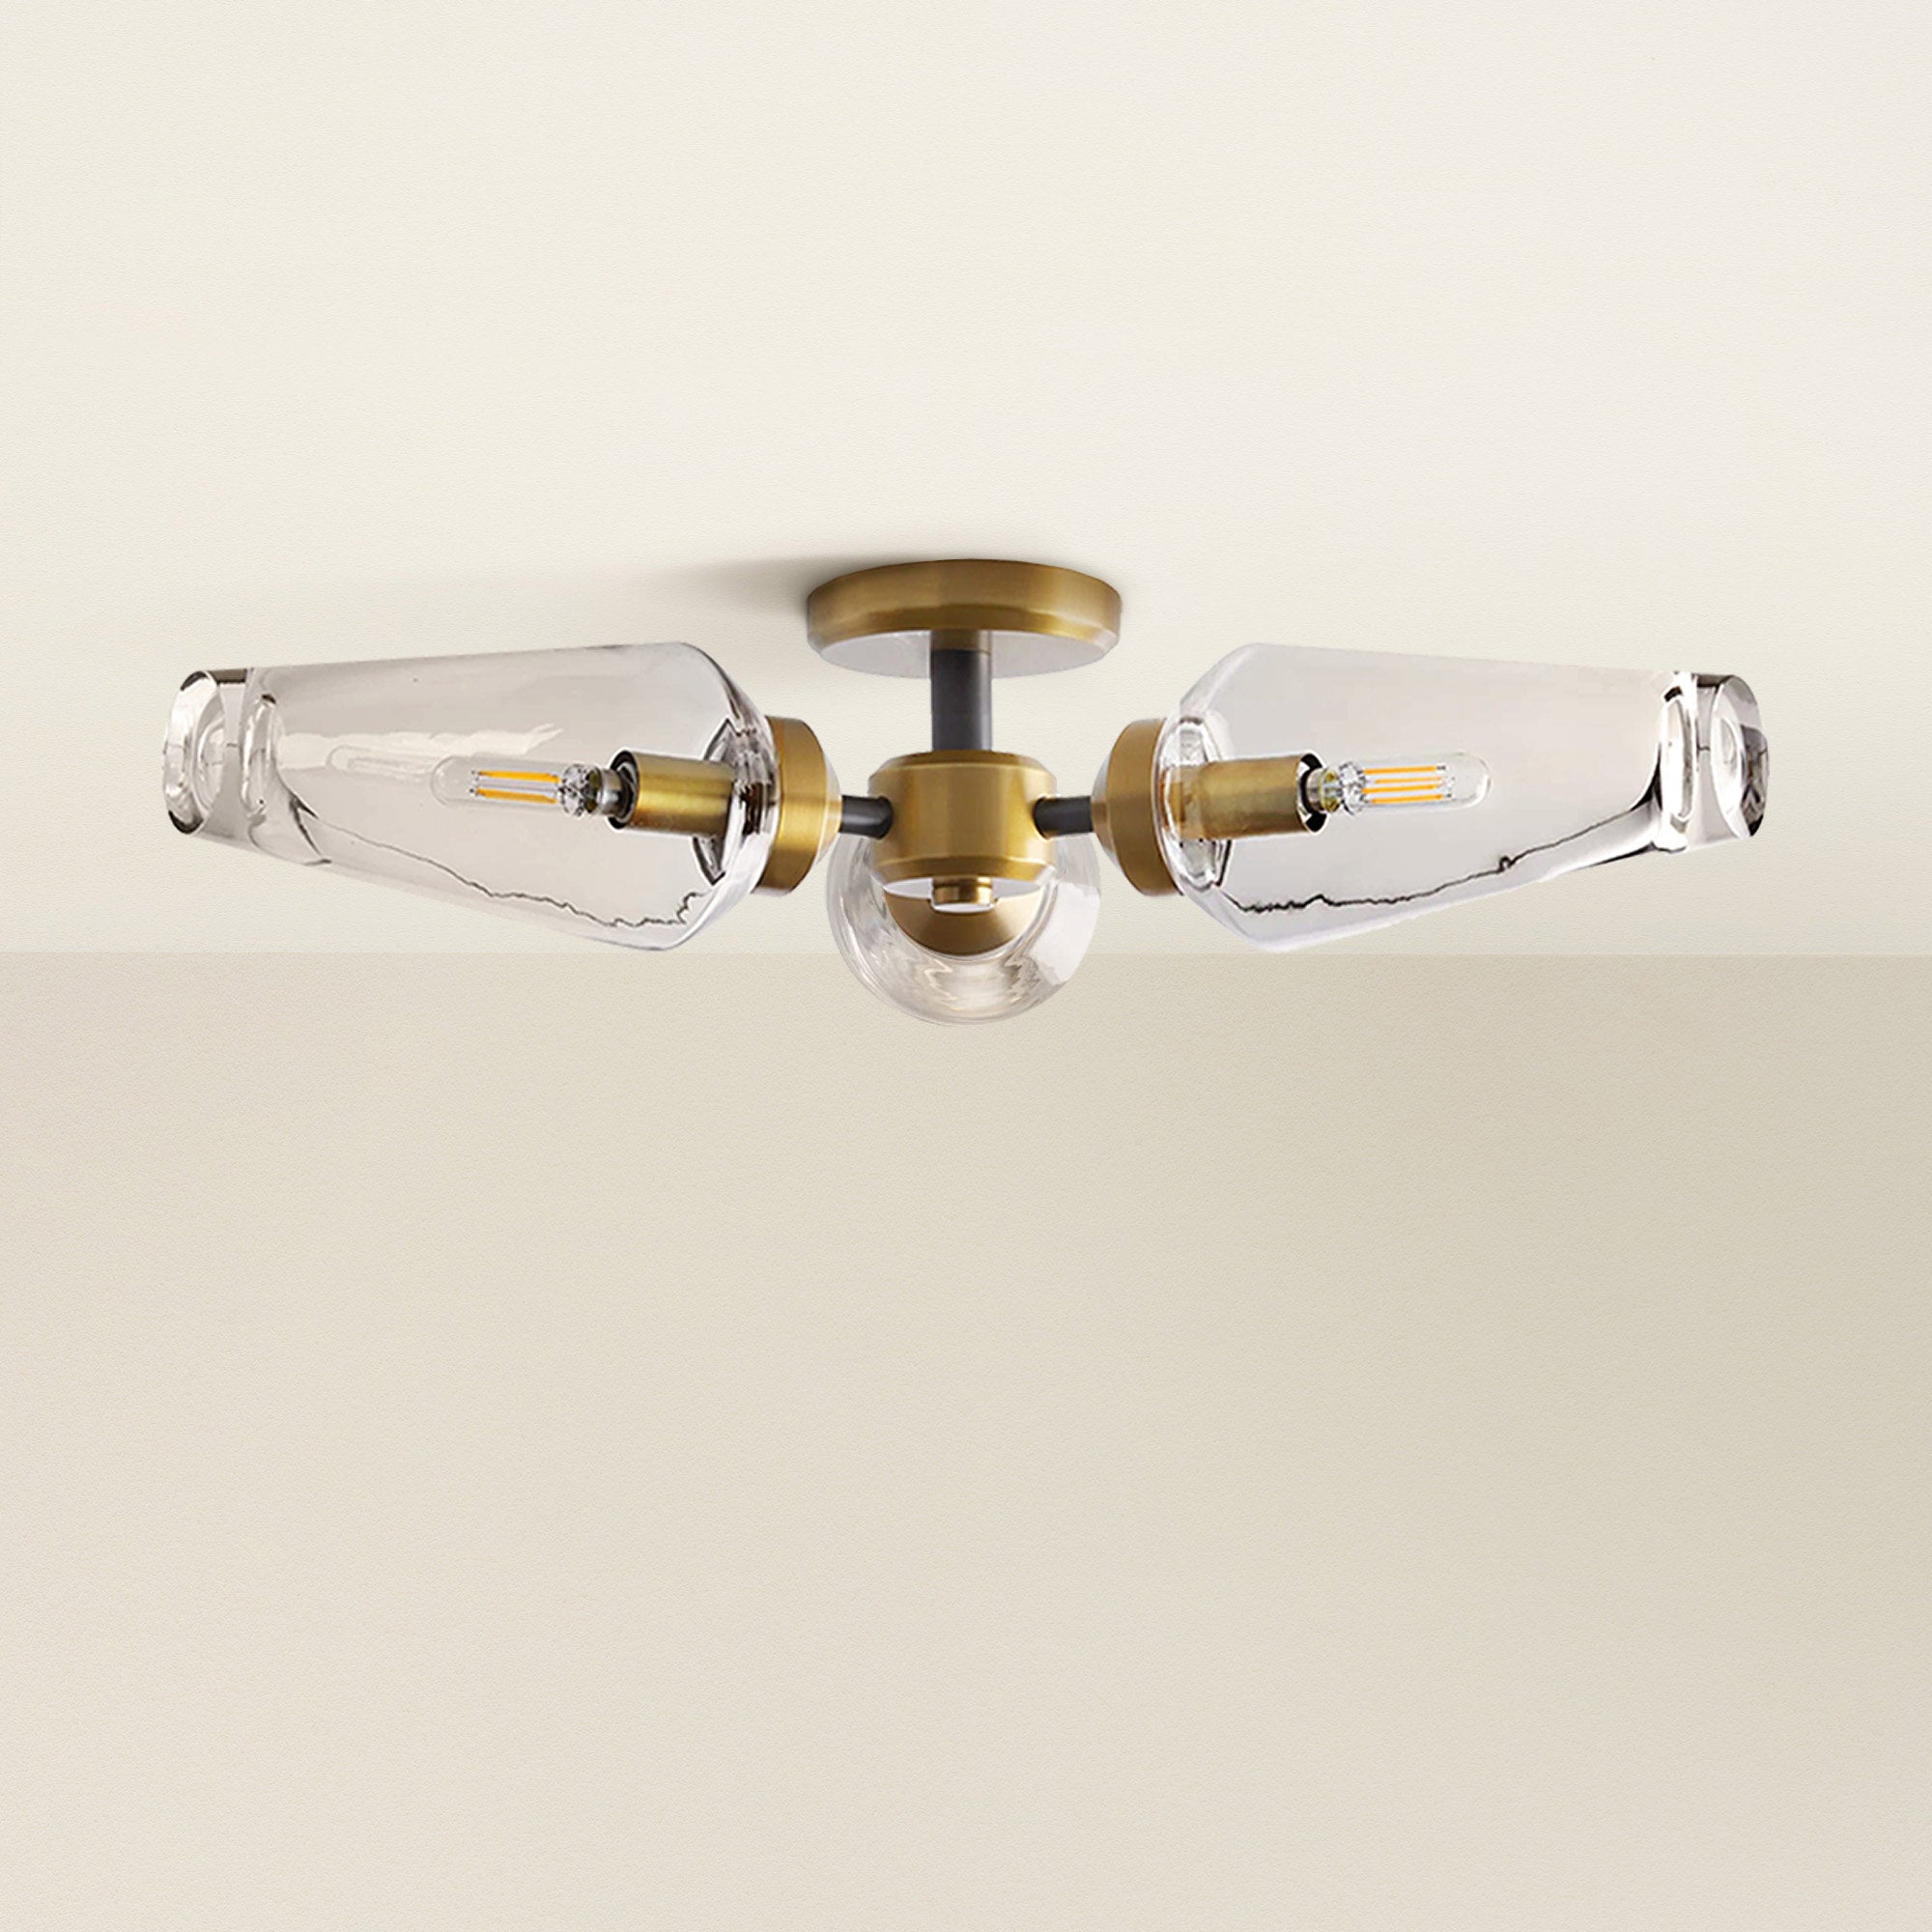
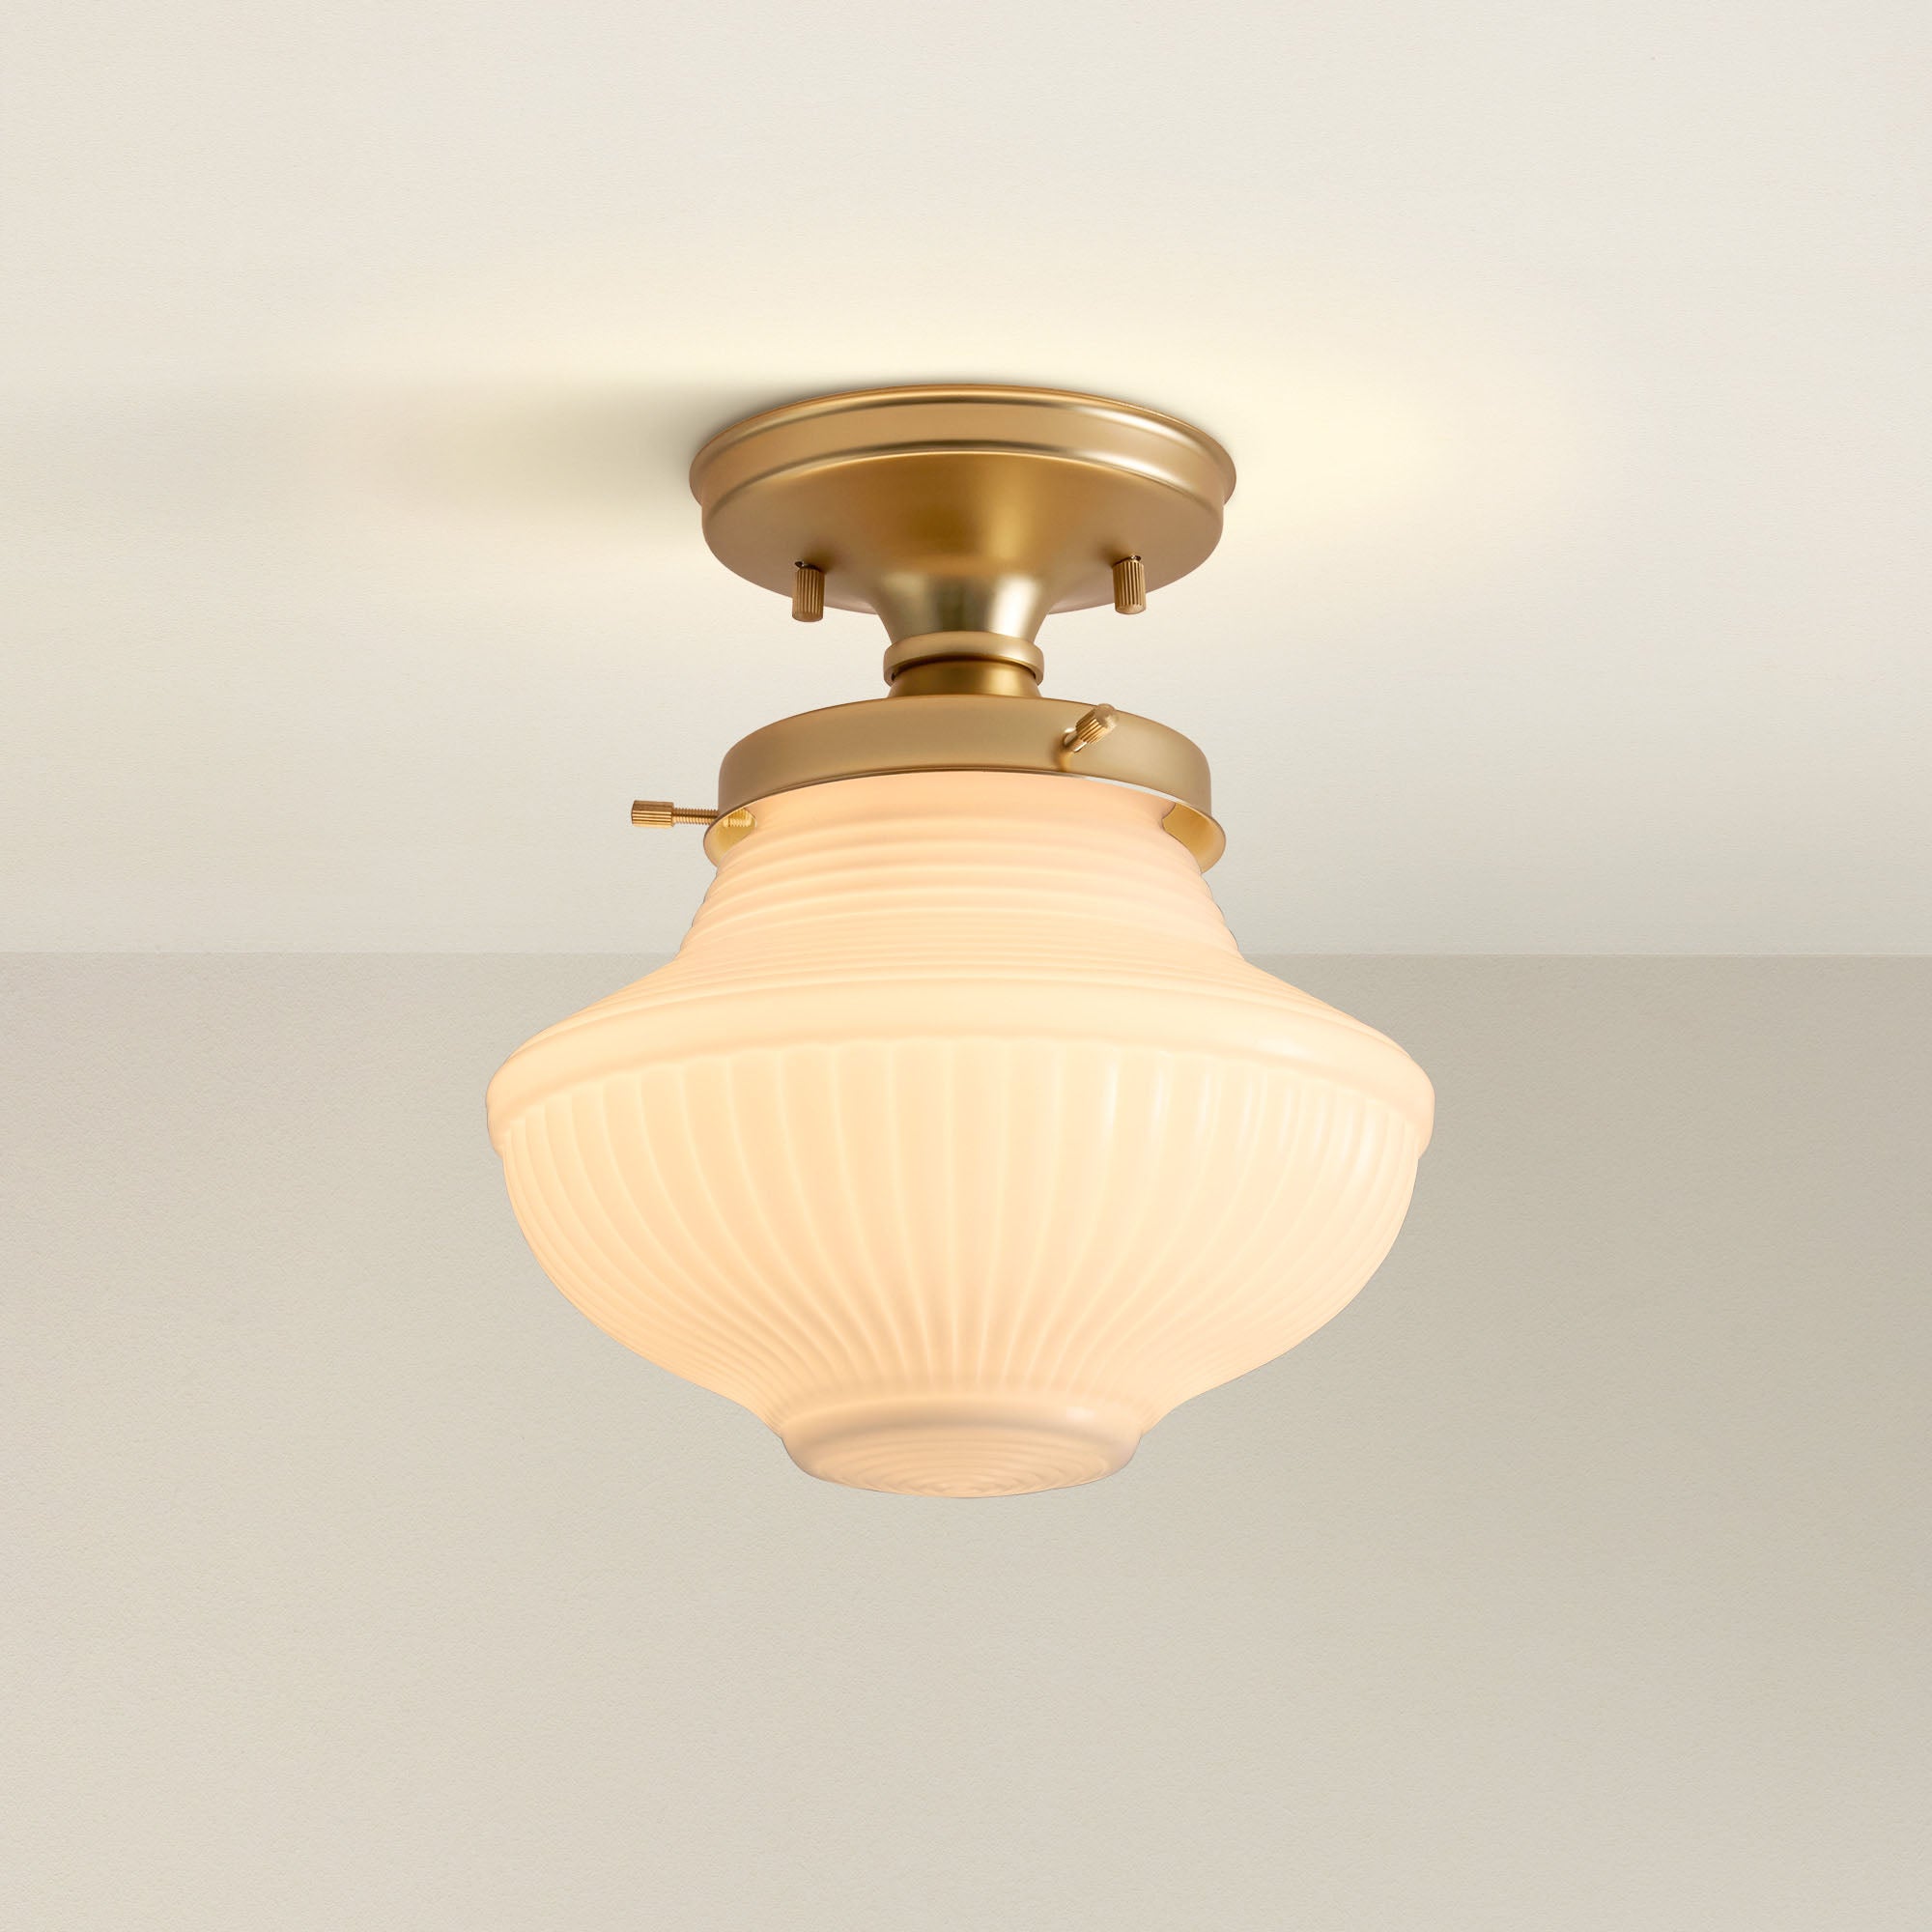
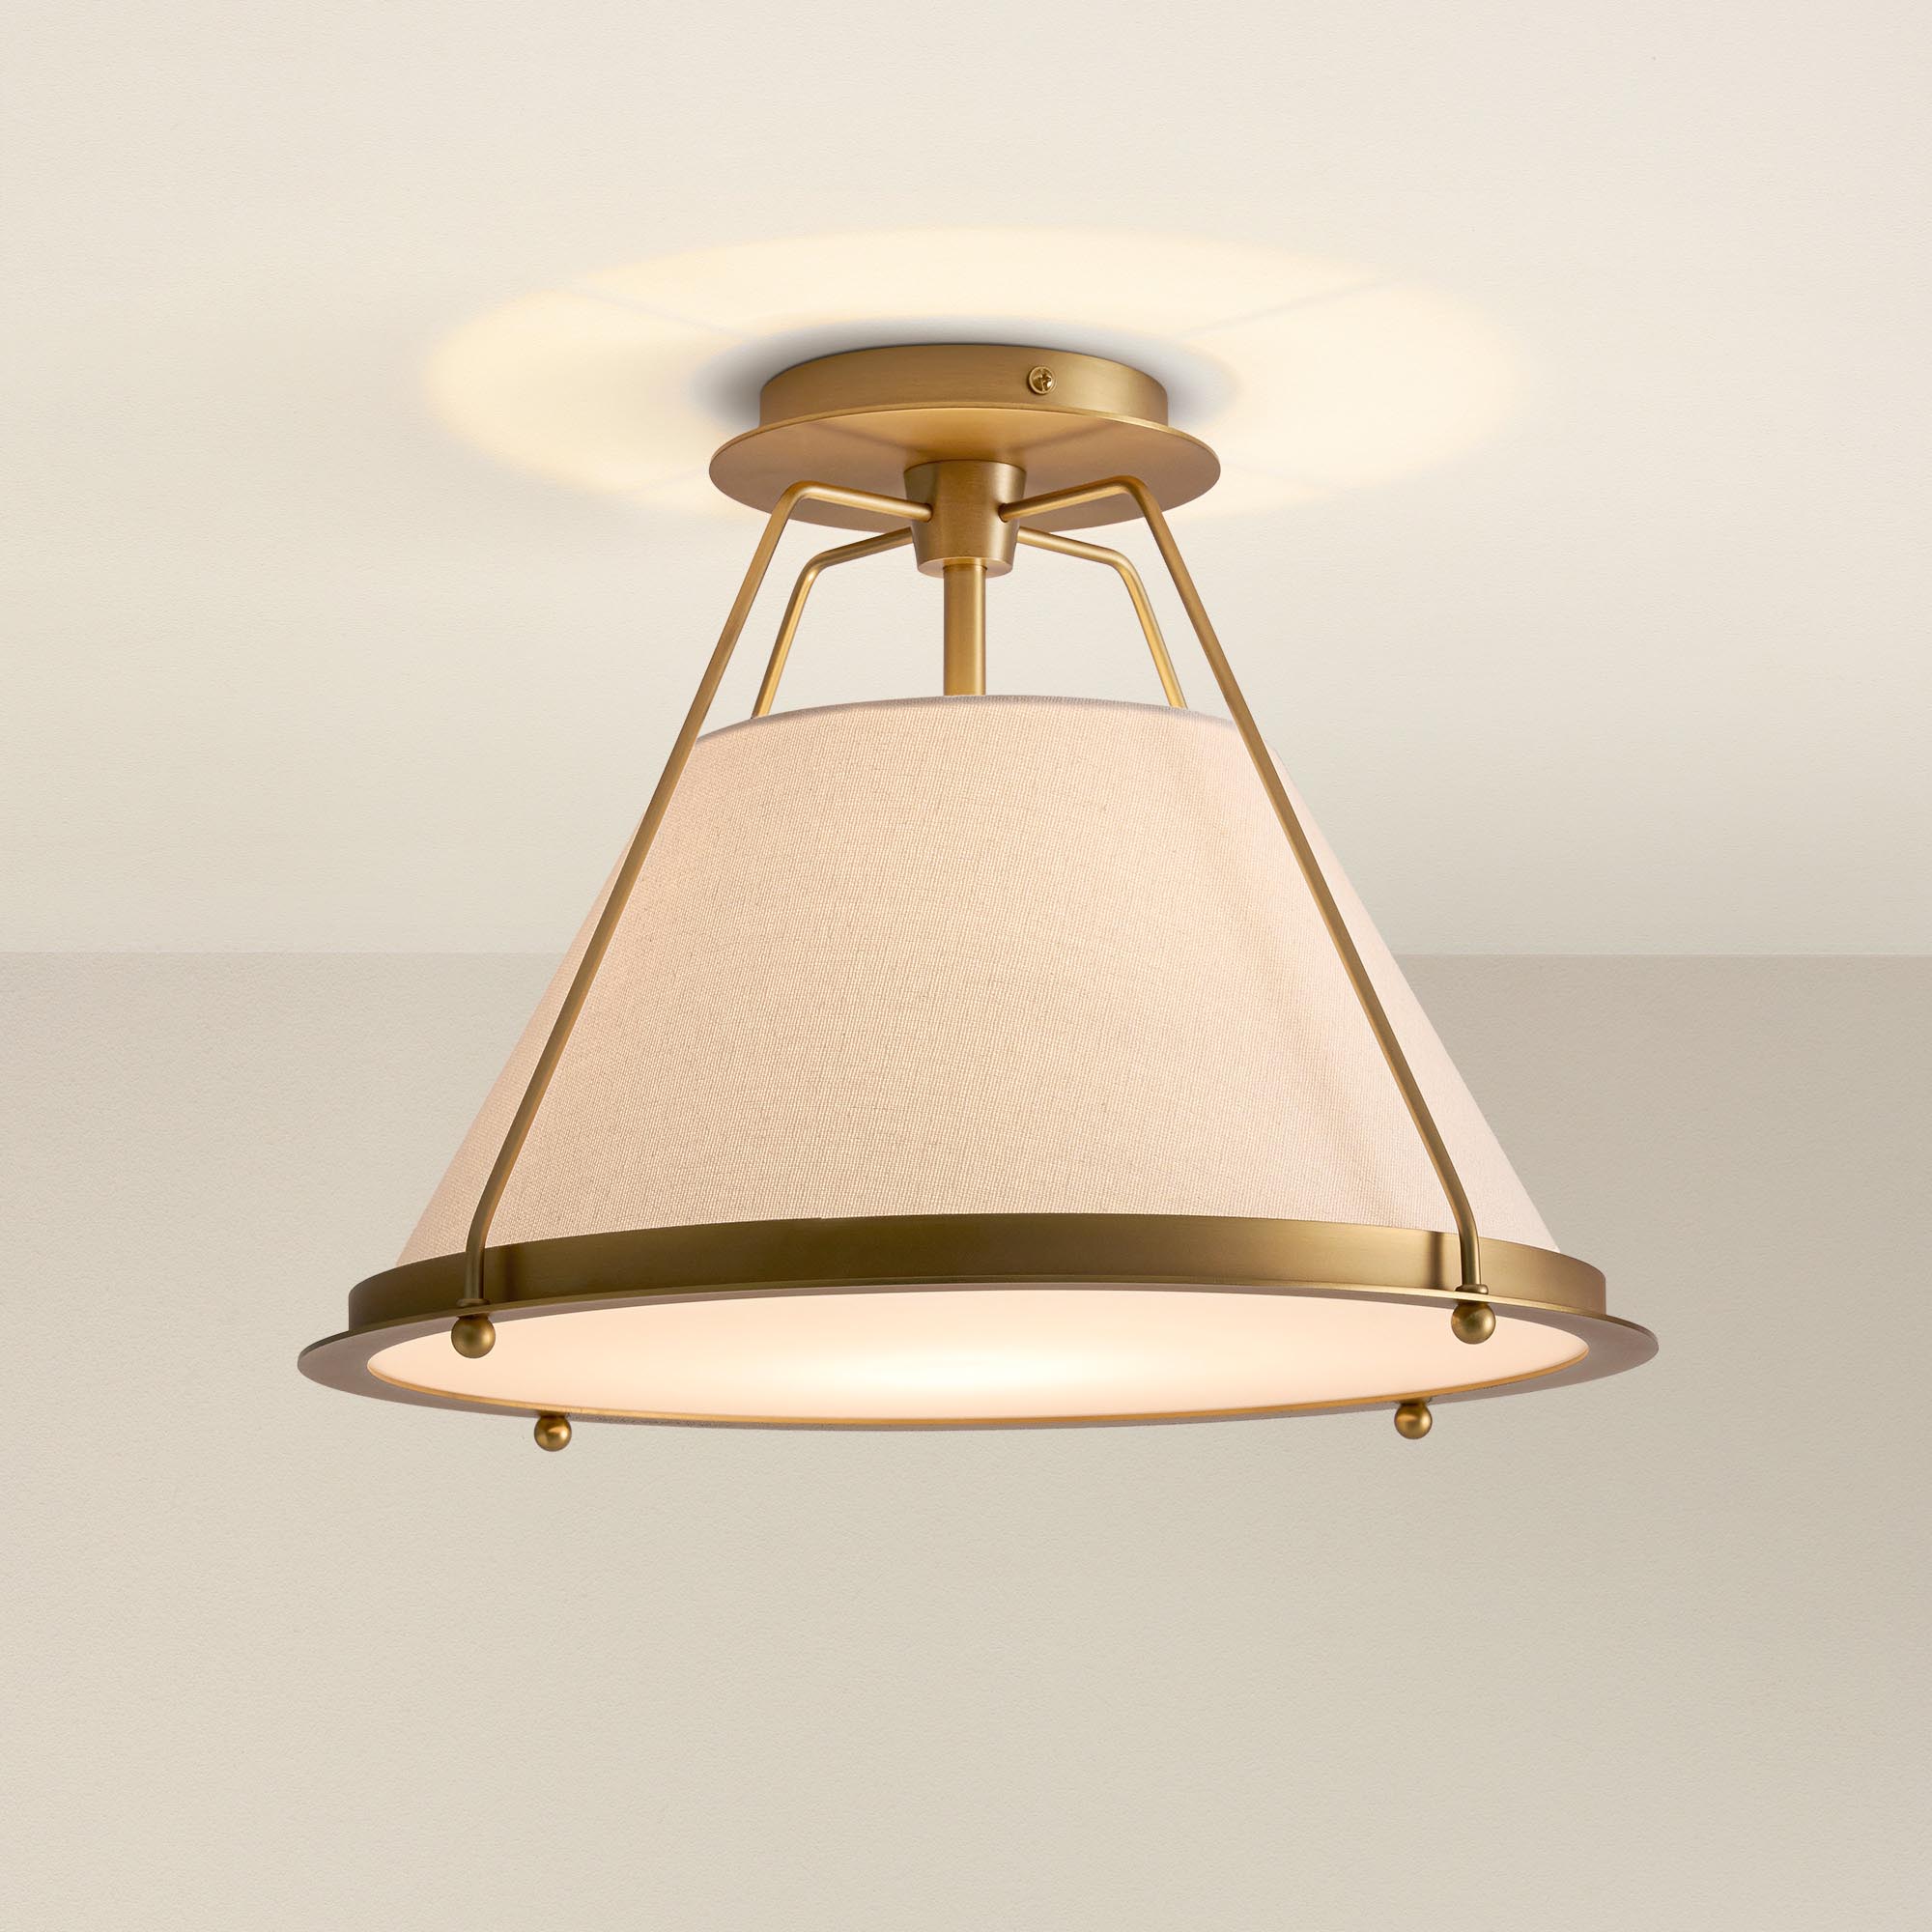
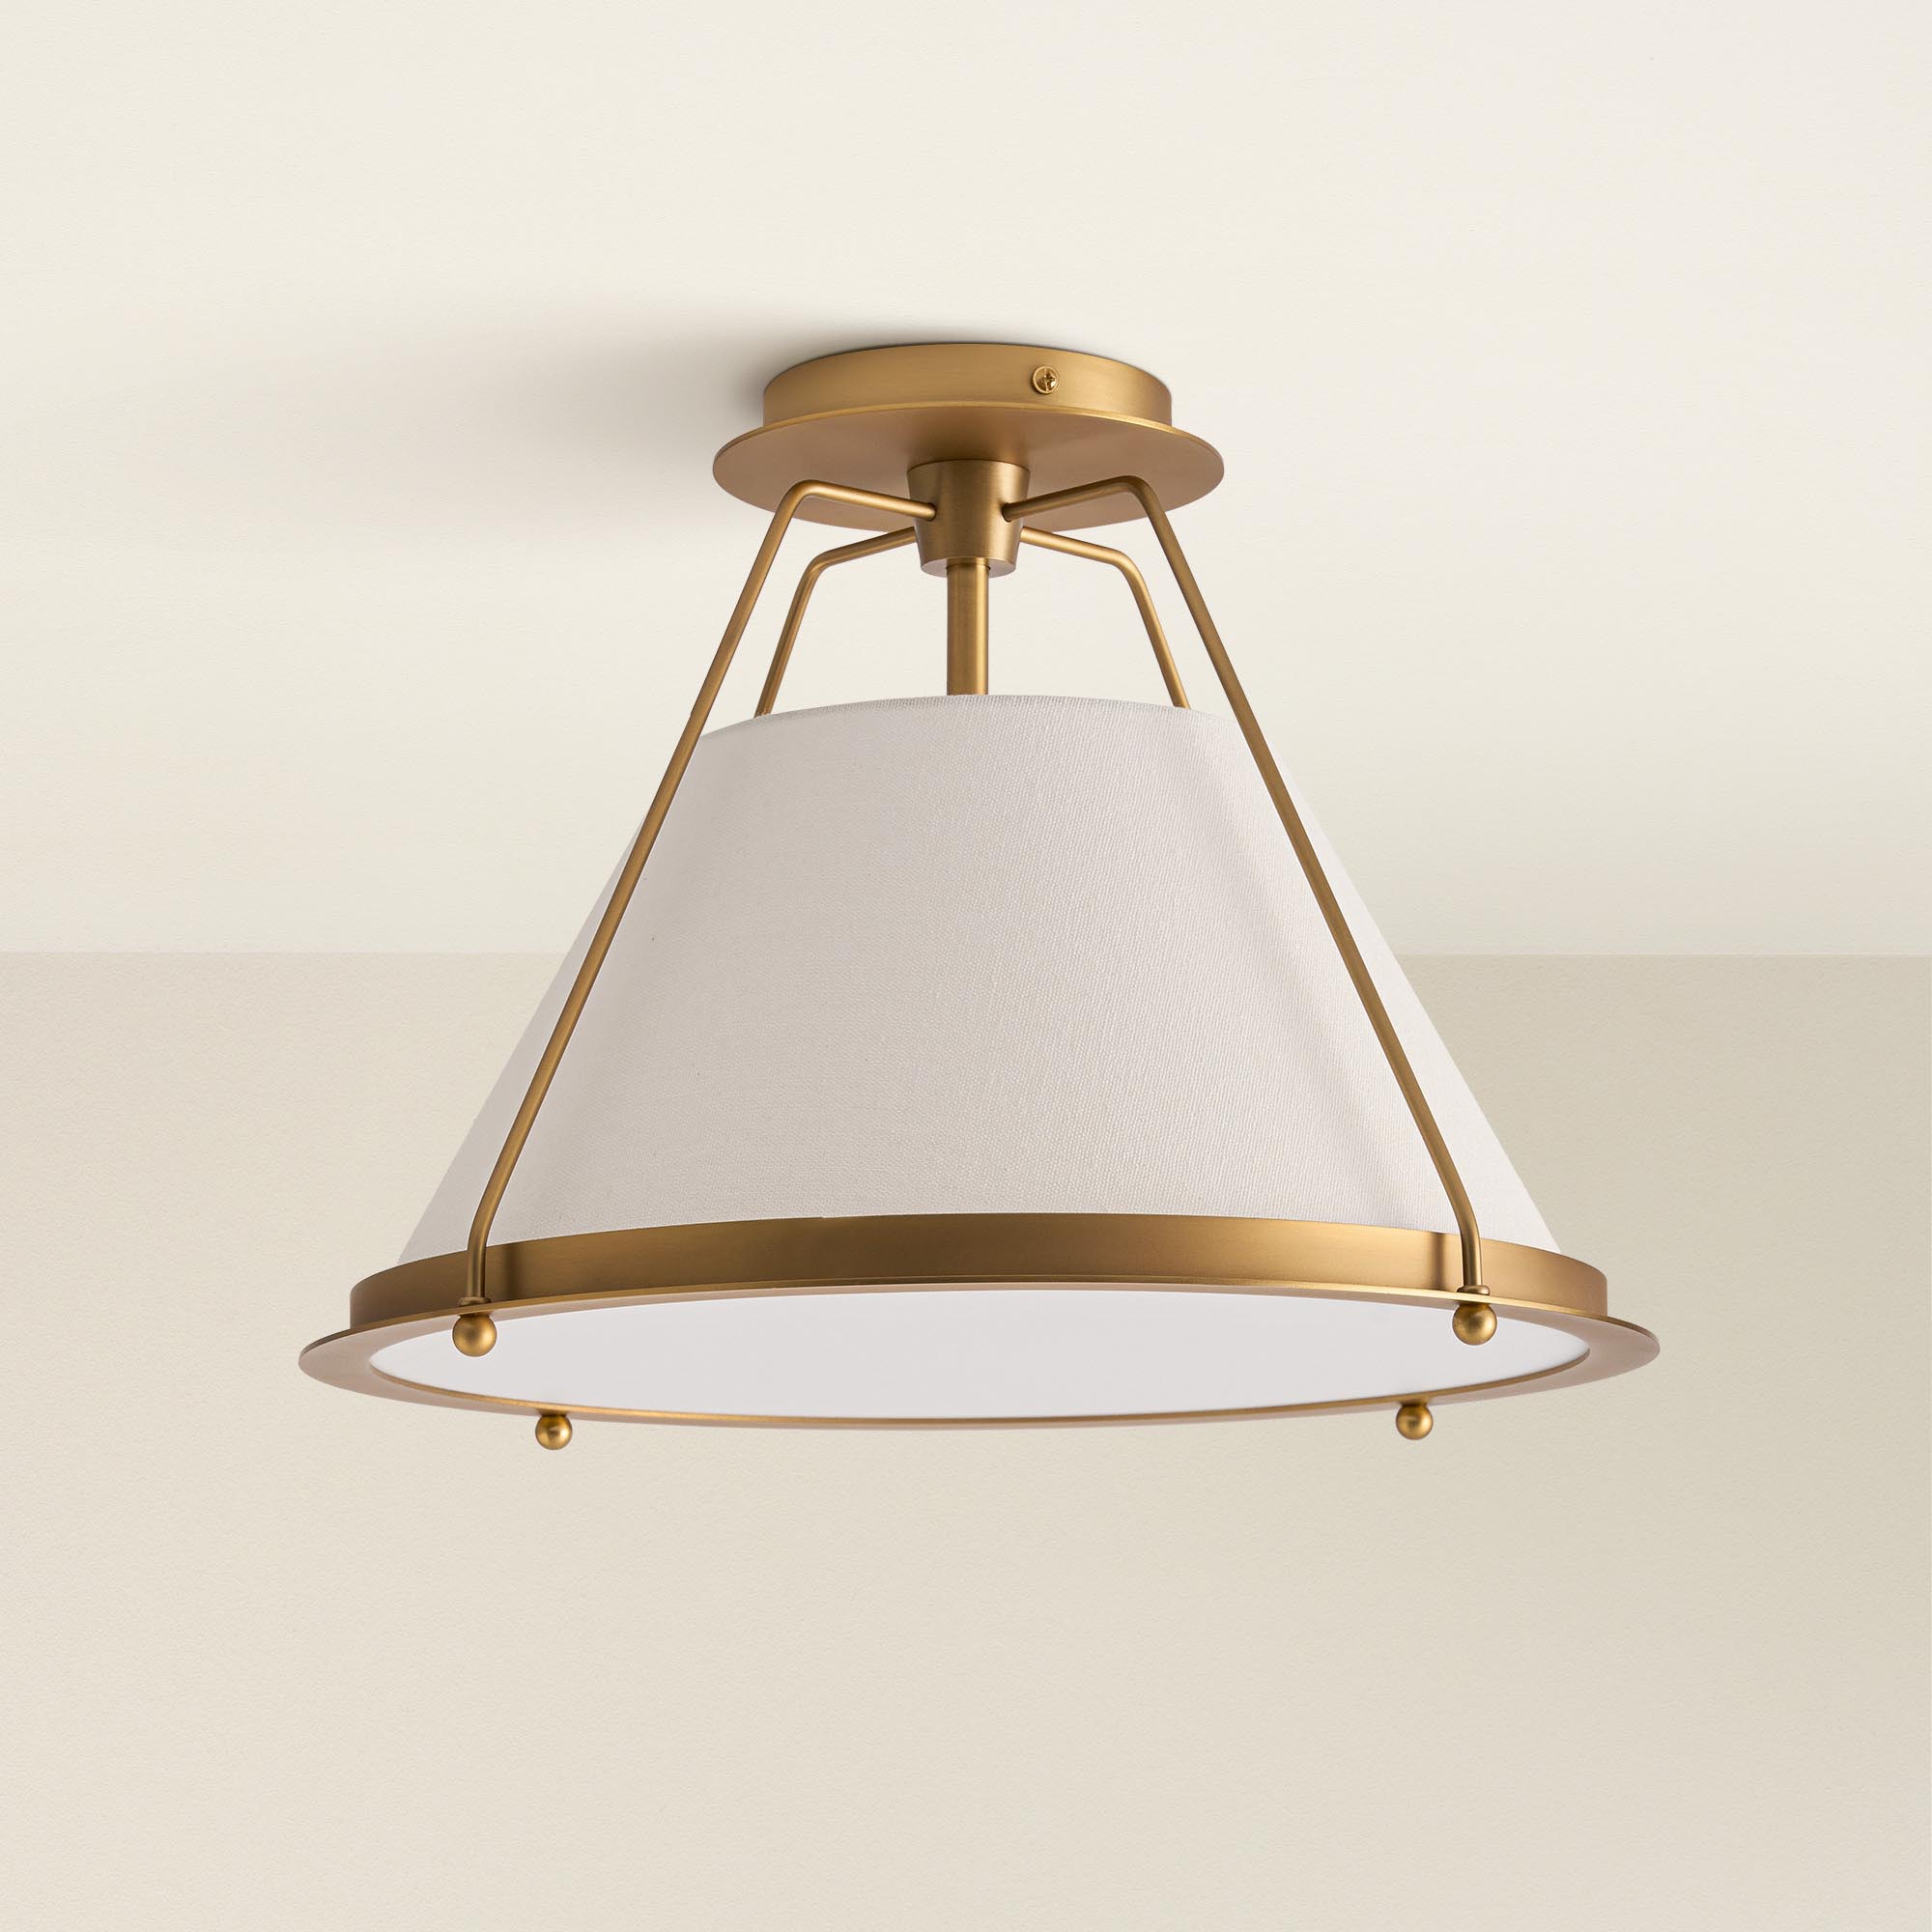
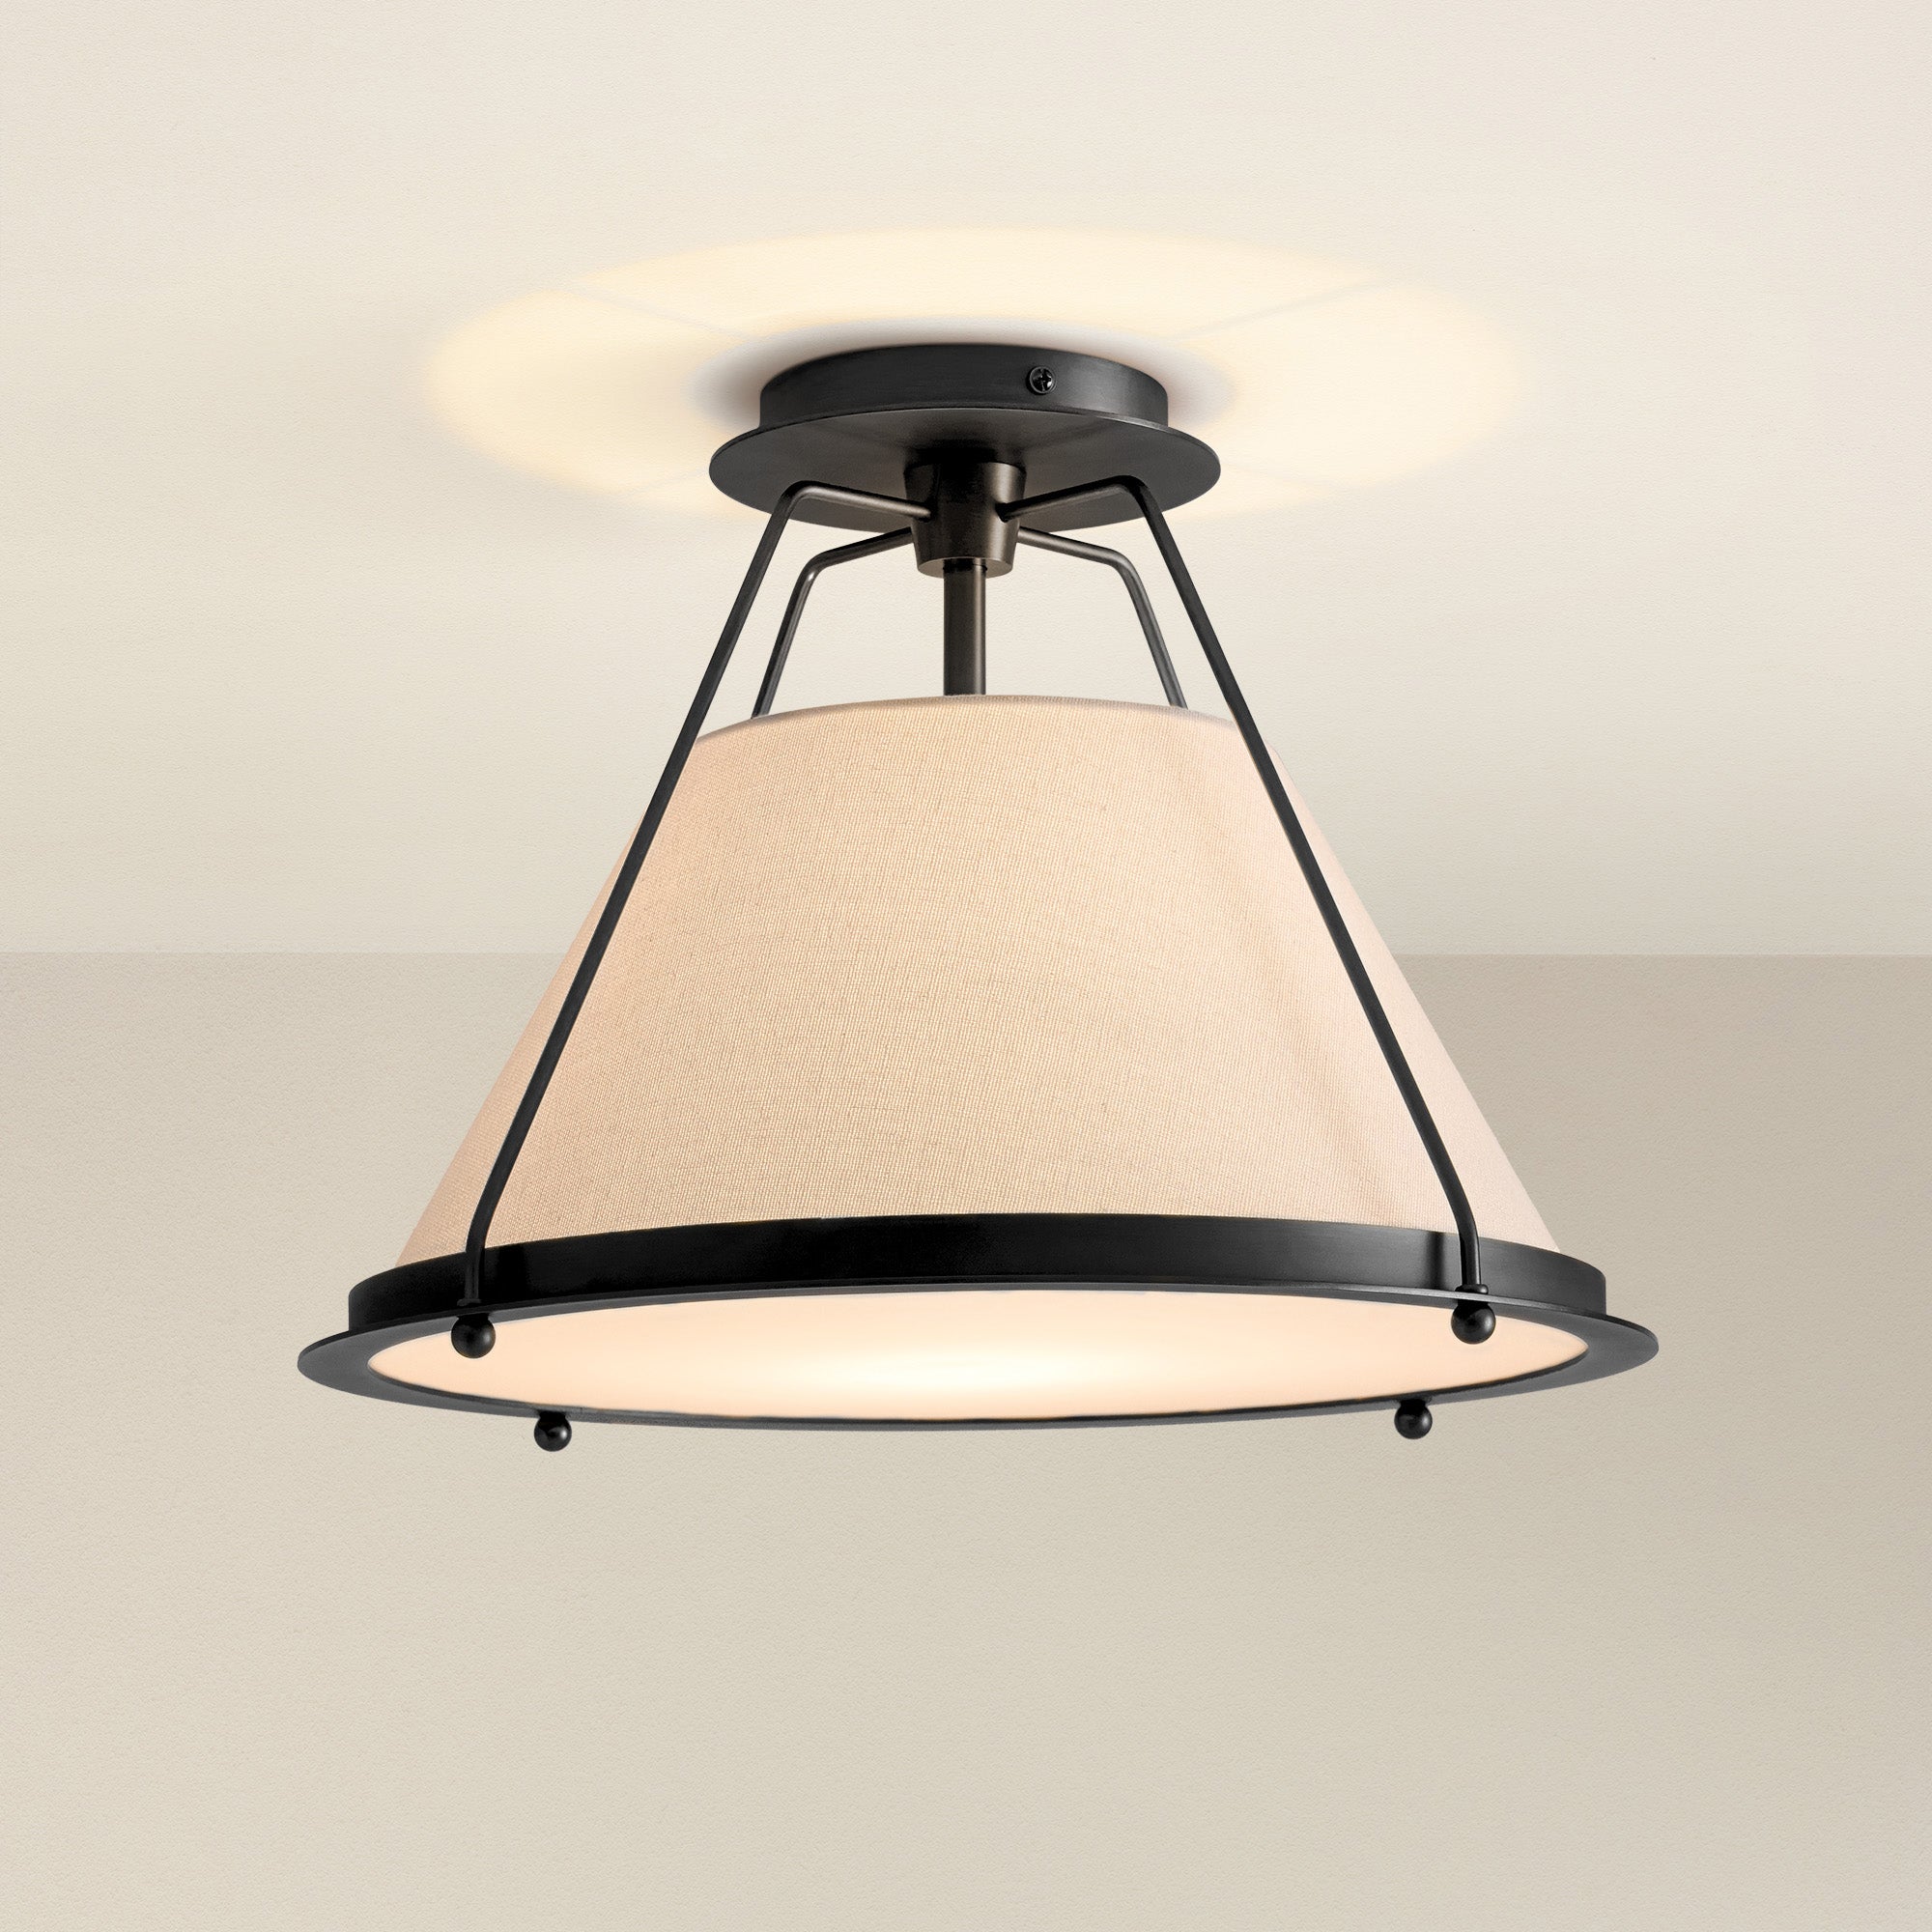
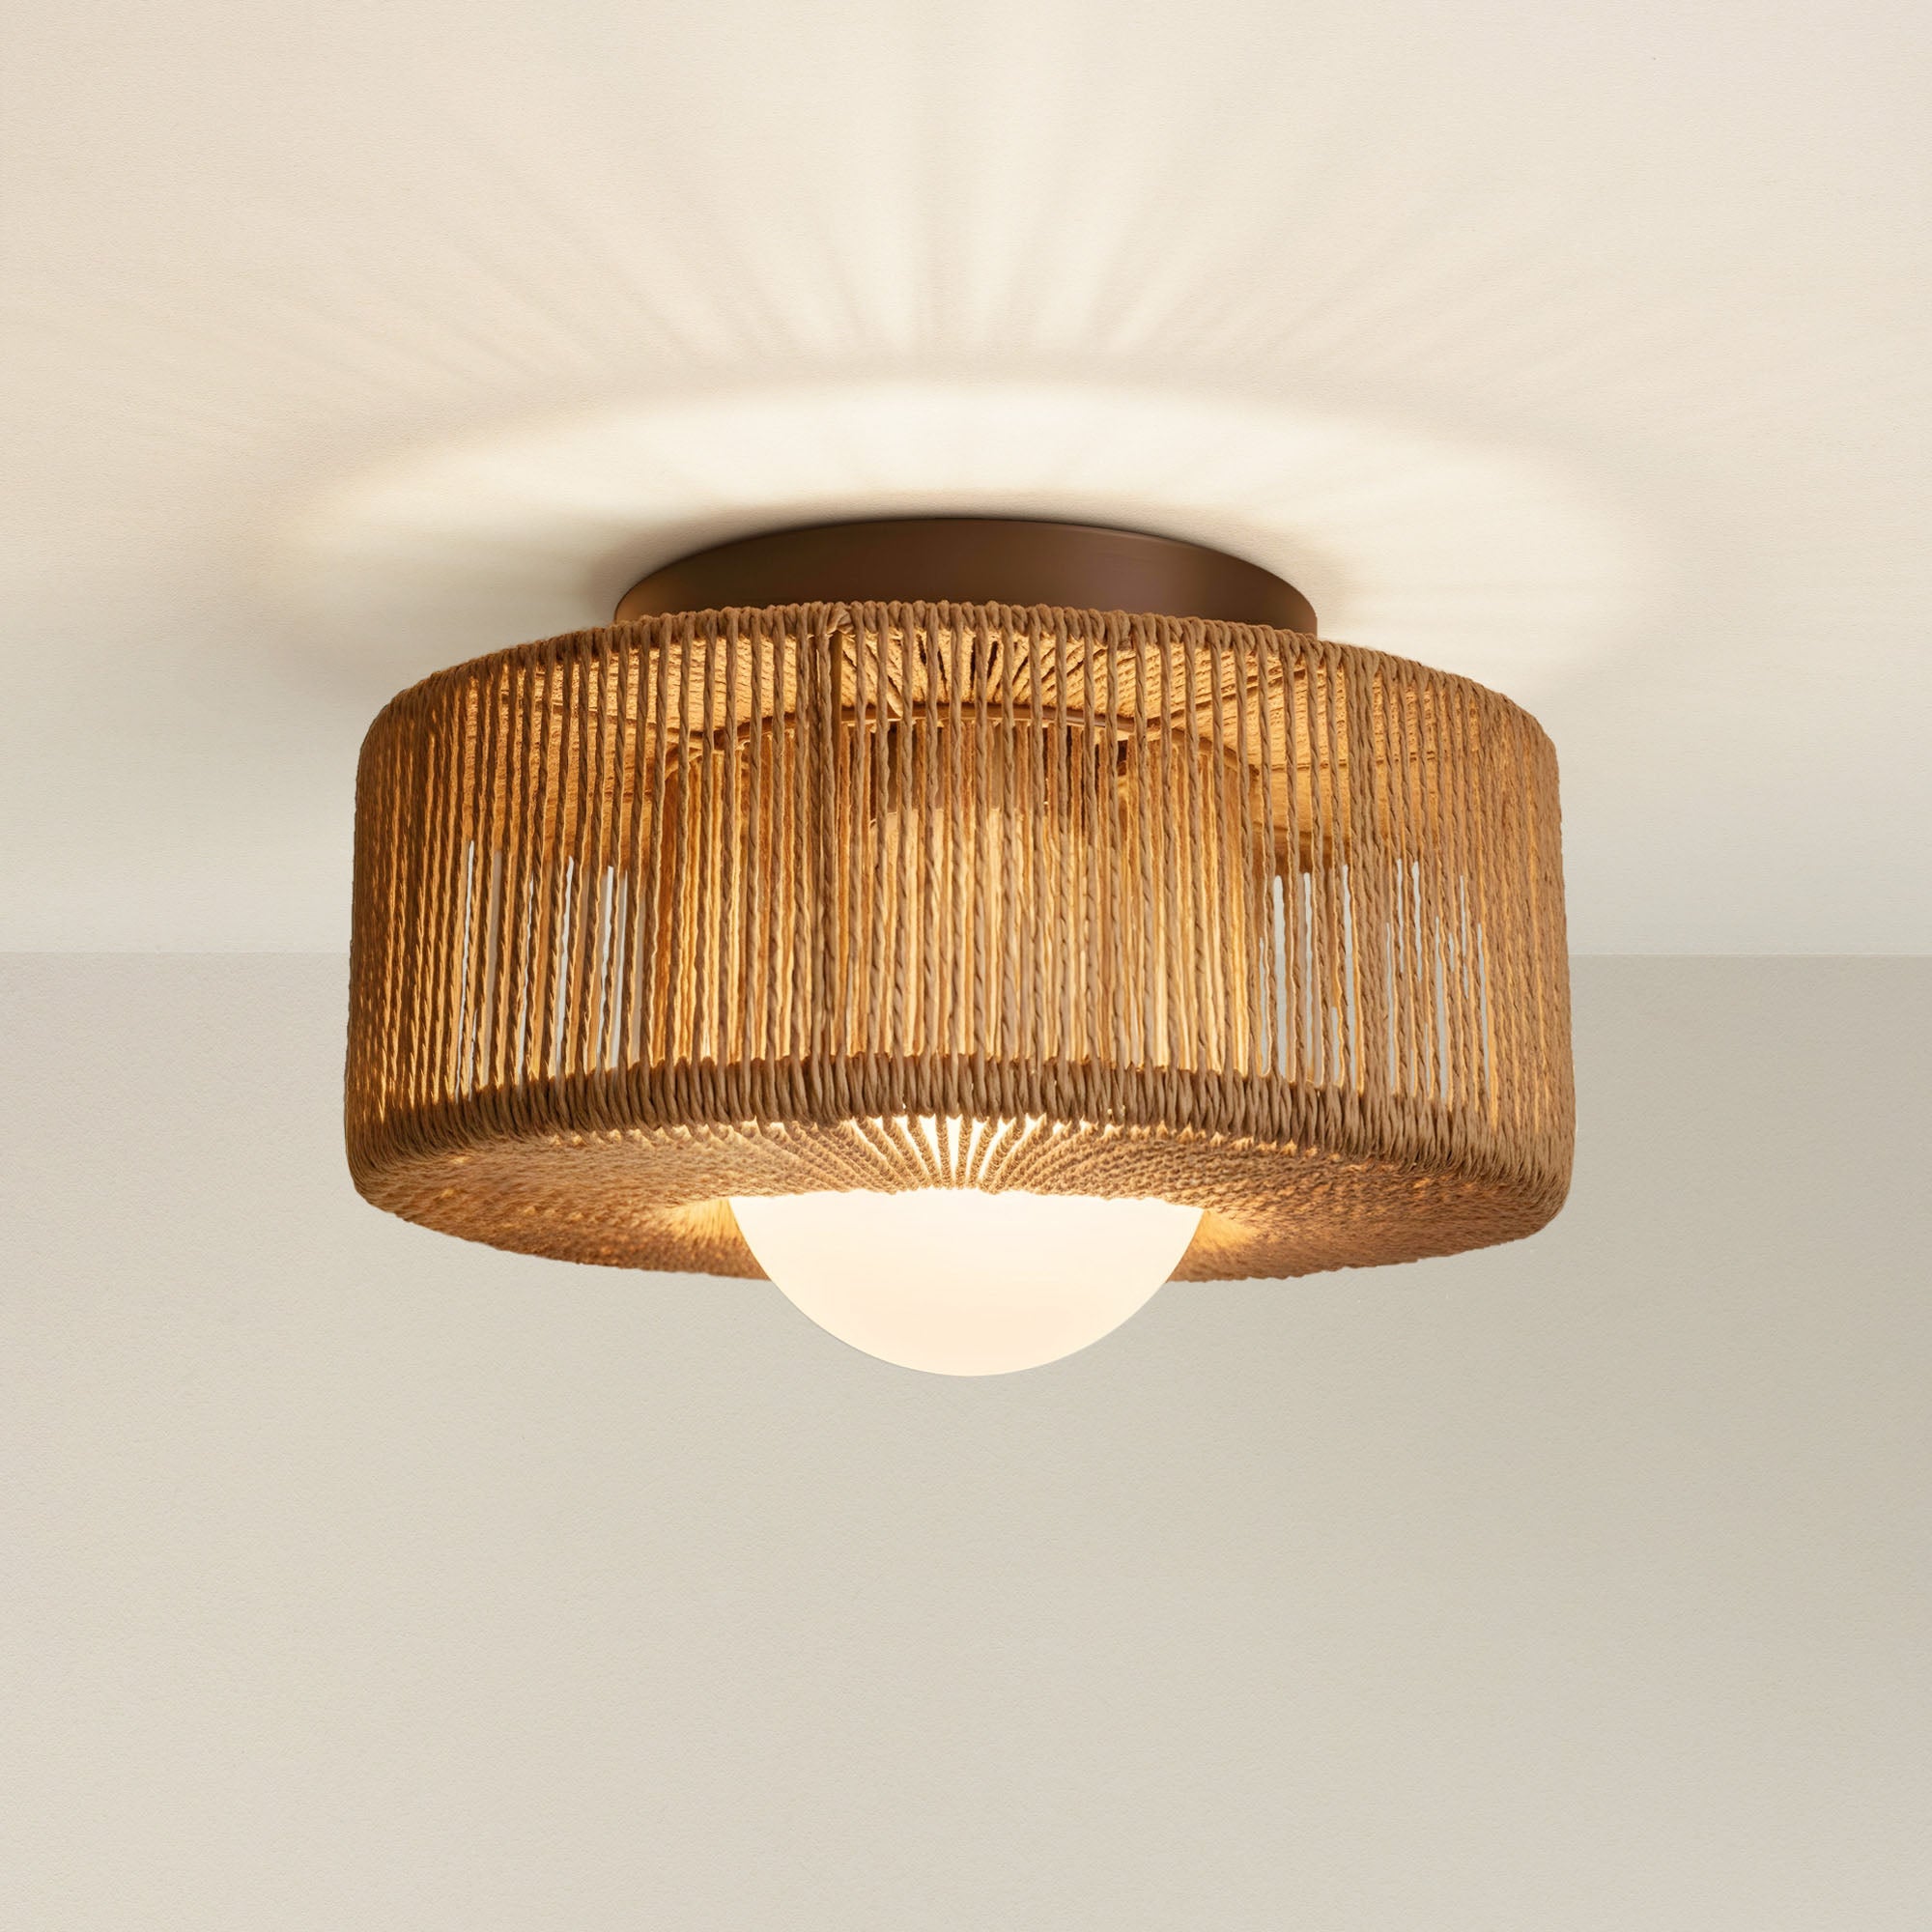
Replacing outdated recessed lights with a stylish flush-mount fixture is an accessible and impactful home upgrade, instantly adding character and better light diffusion to any room. This transformation requires safely deconstructing the existing setup, starting with cutting the power and removing the old can to access the junction box beneath the ceiling.
Fortunately, the process is streamlined by either using a simple converter kit or installing a new electrical box. By following standard wiring practices and securing the new fixture, you can easily achieve a refreshed look. Let Rowabi guide you through the straightforward steps of swapping your lighting for a cleaner, more updated aesthetic.
EXPLORE MORE:
Ready to replace that old recessed lighting with a stunning flush-mount? Here’s how to do it, step by step, without any stress!
Replacing recessed lighting with flush mount lighting is easier than you might think—kind of like changing your phone case, but for your ceiling! Follow these simple steps to update your lighting, and you’ll have a fabulous new look in no time.
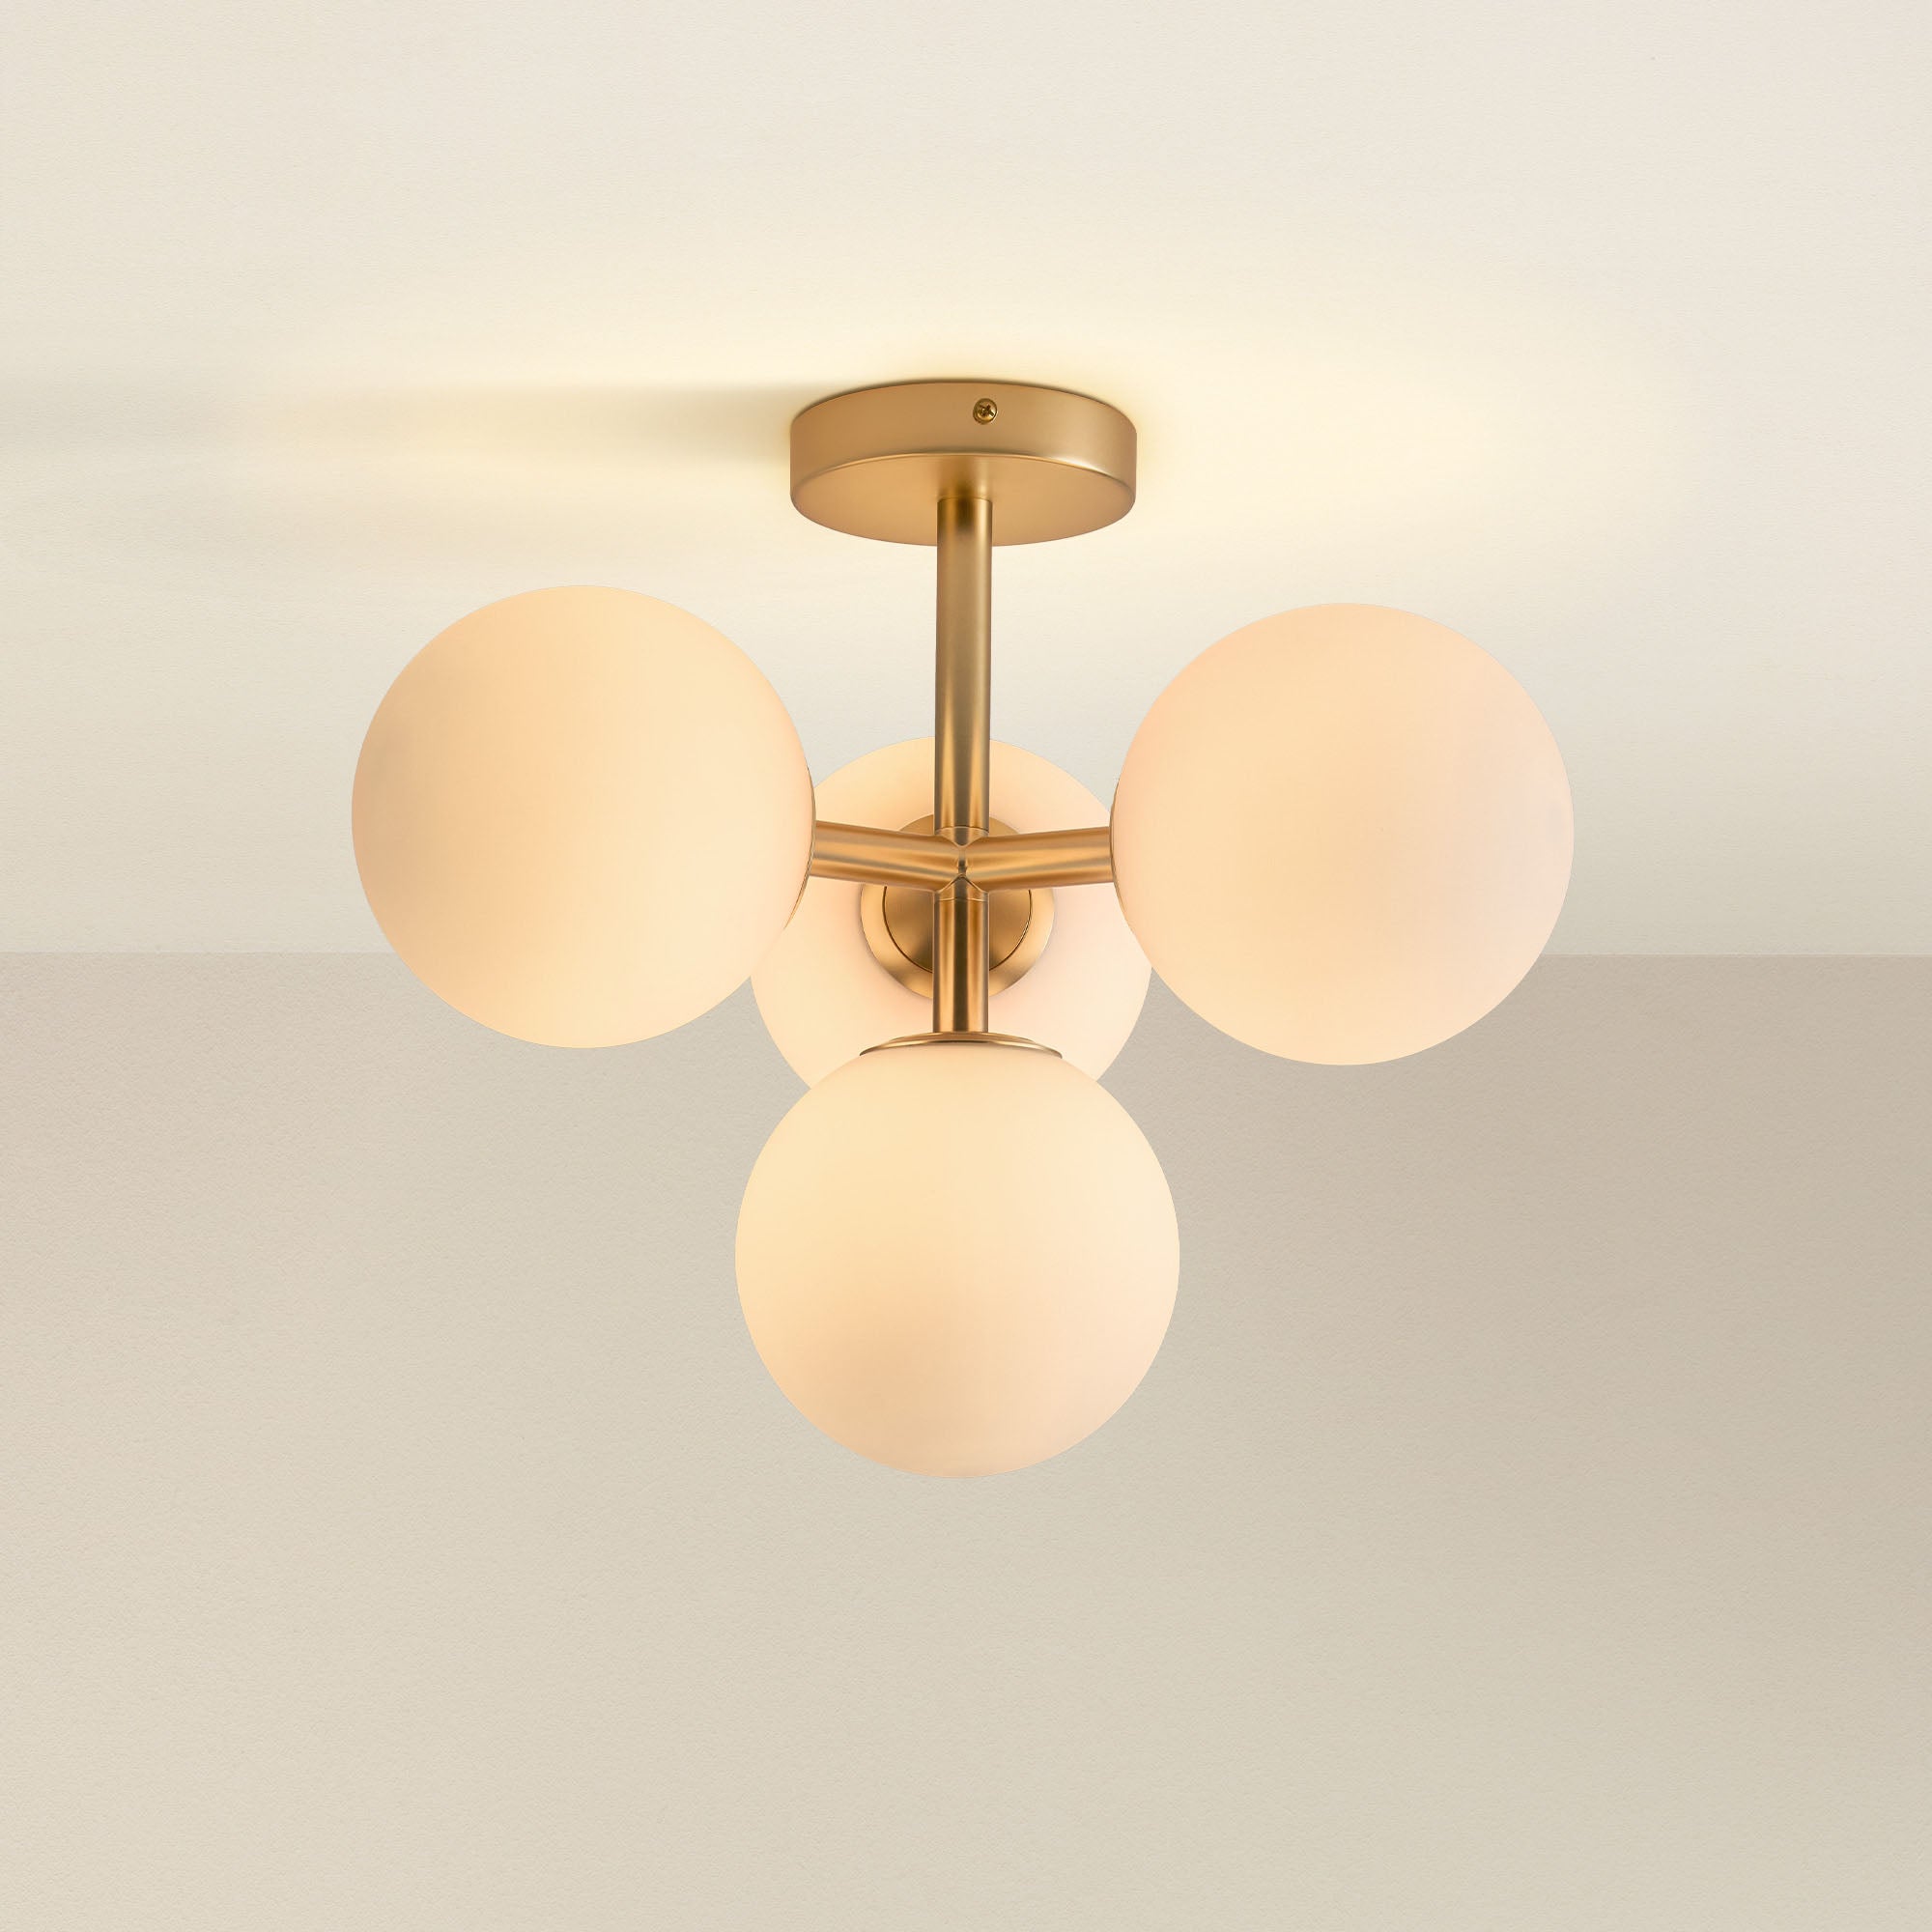
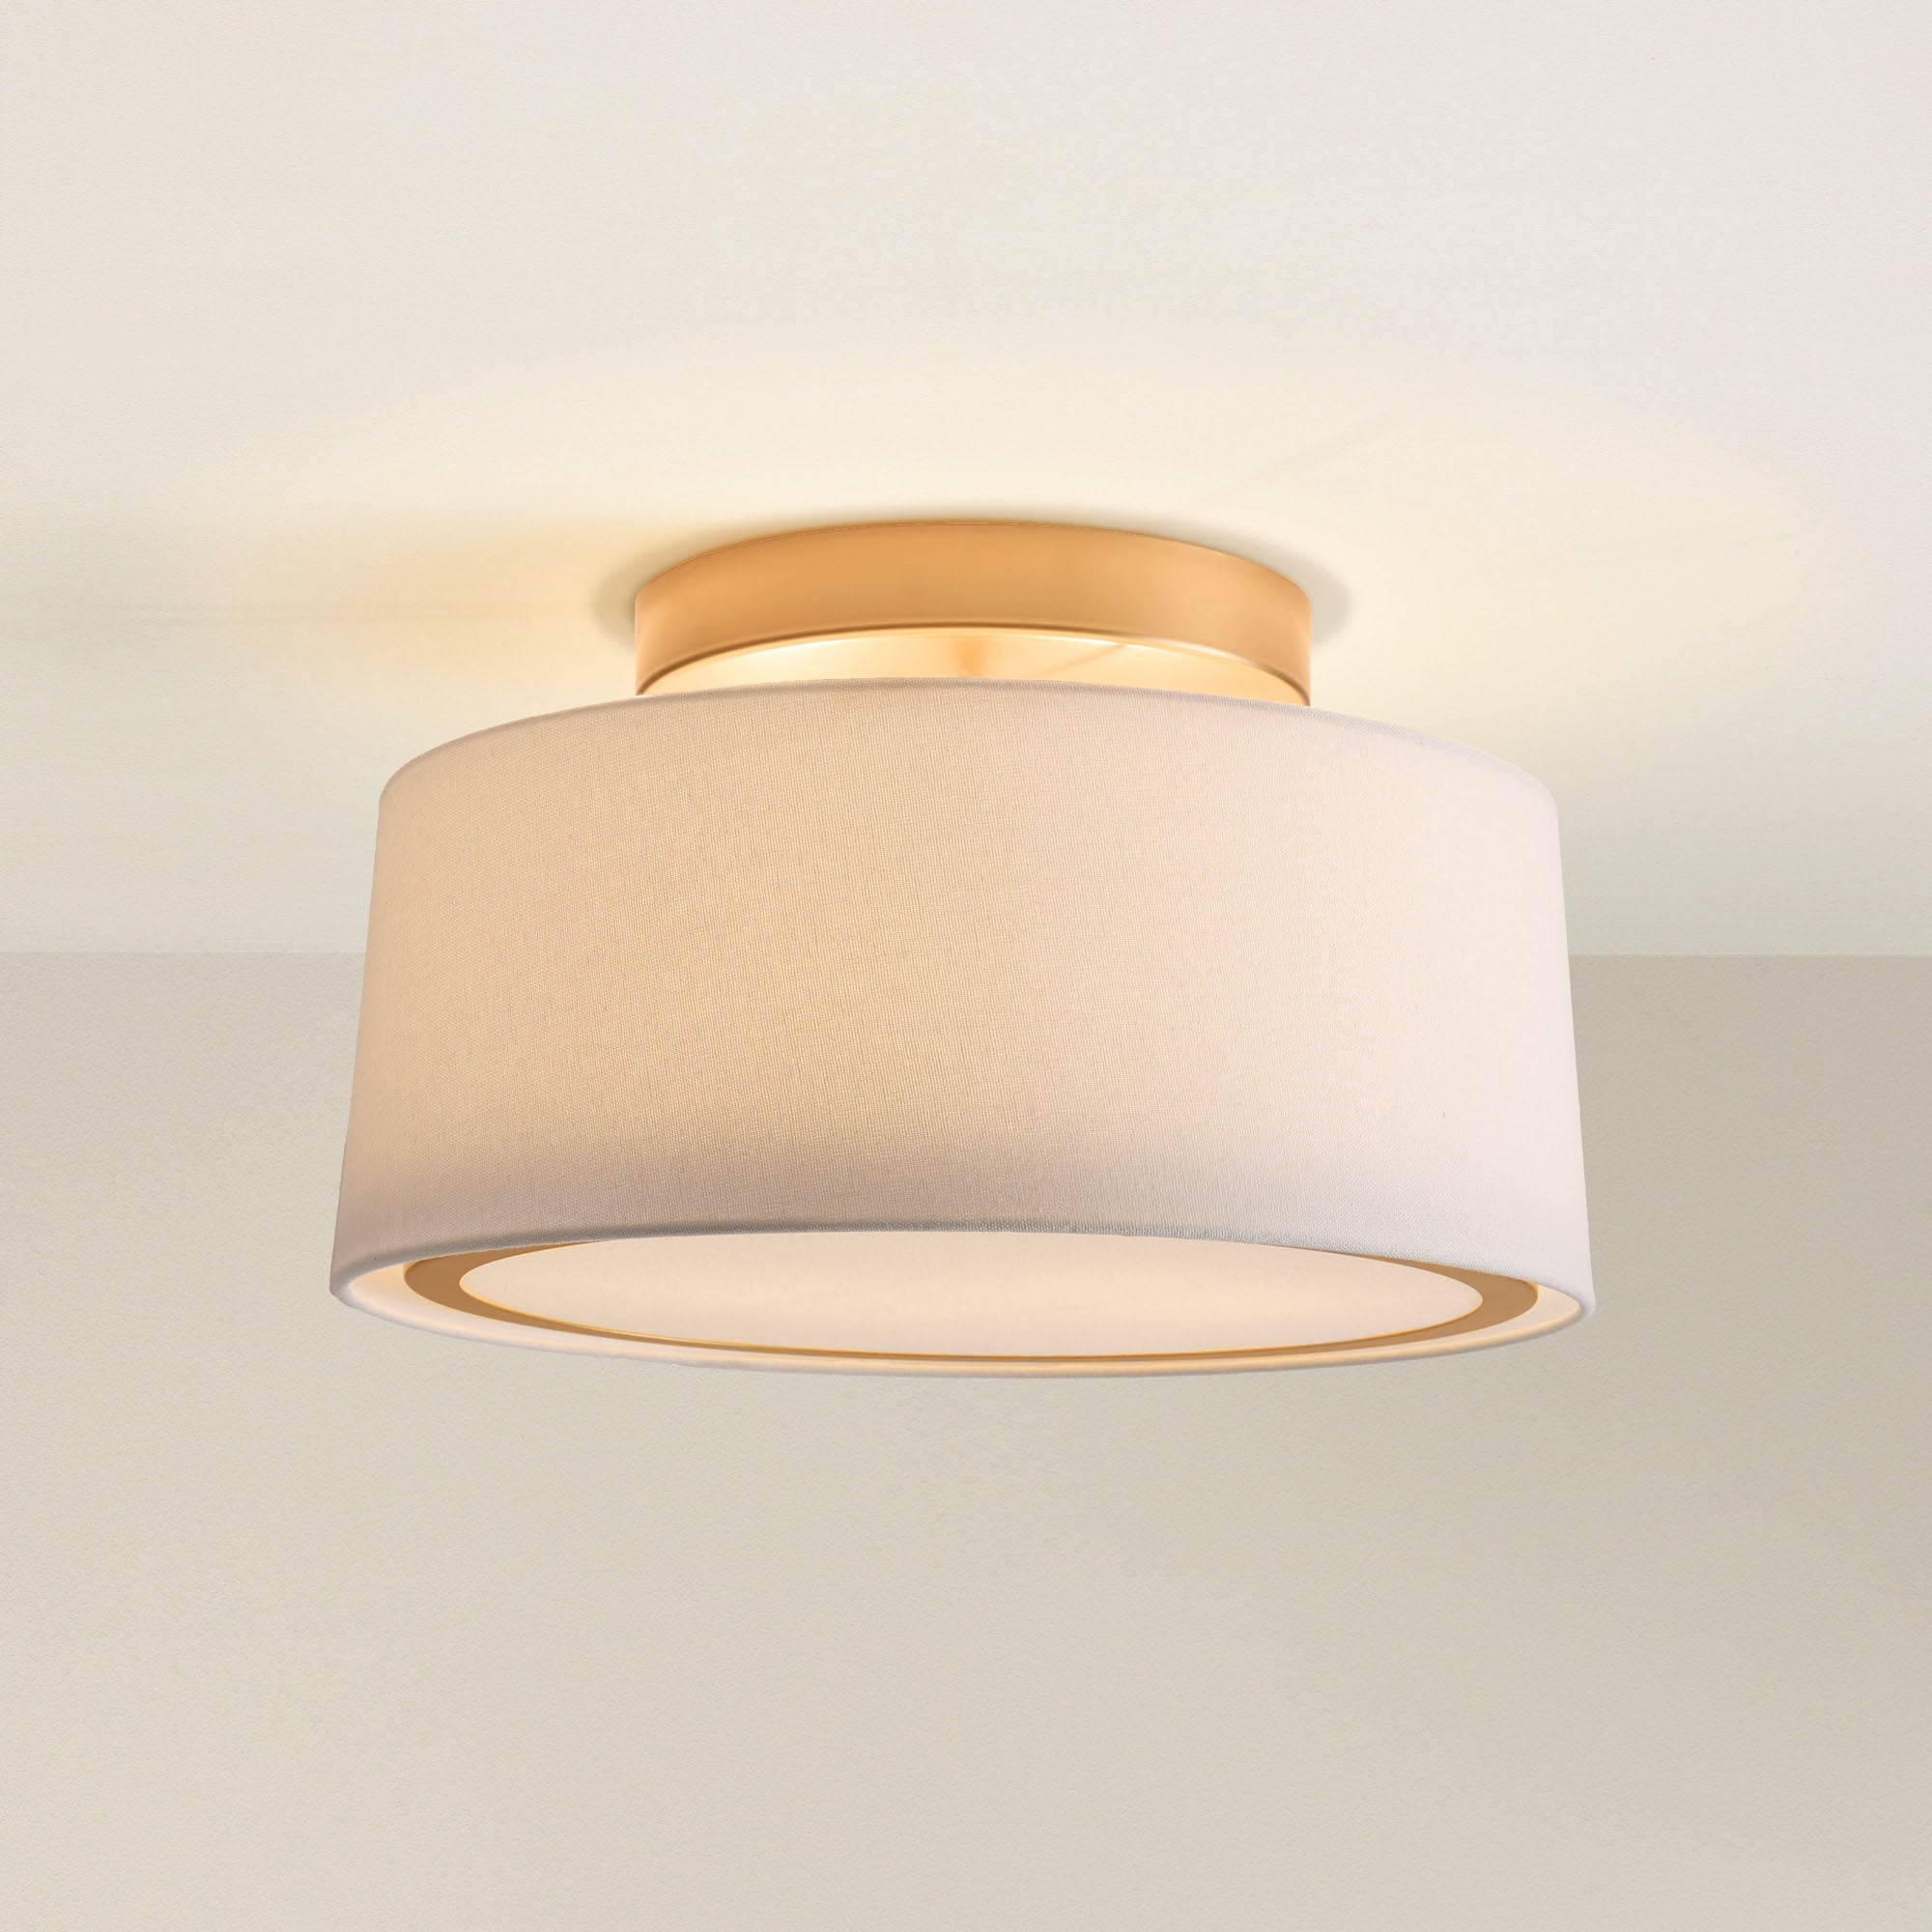
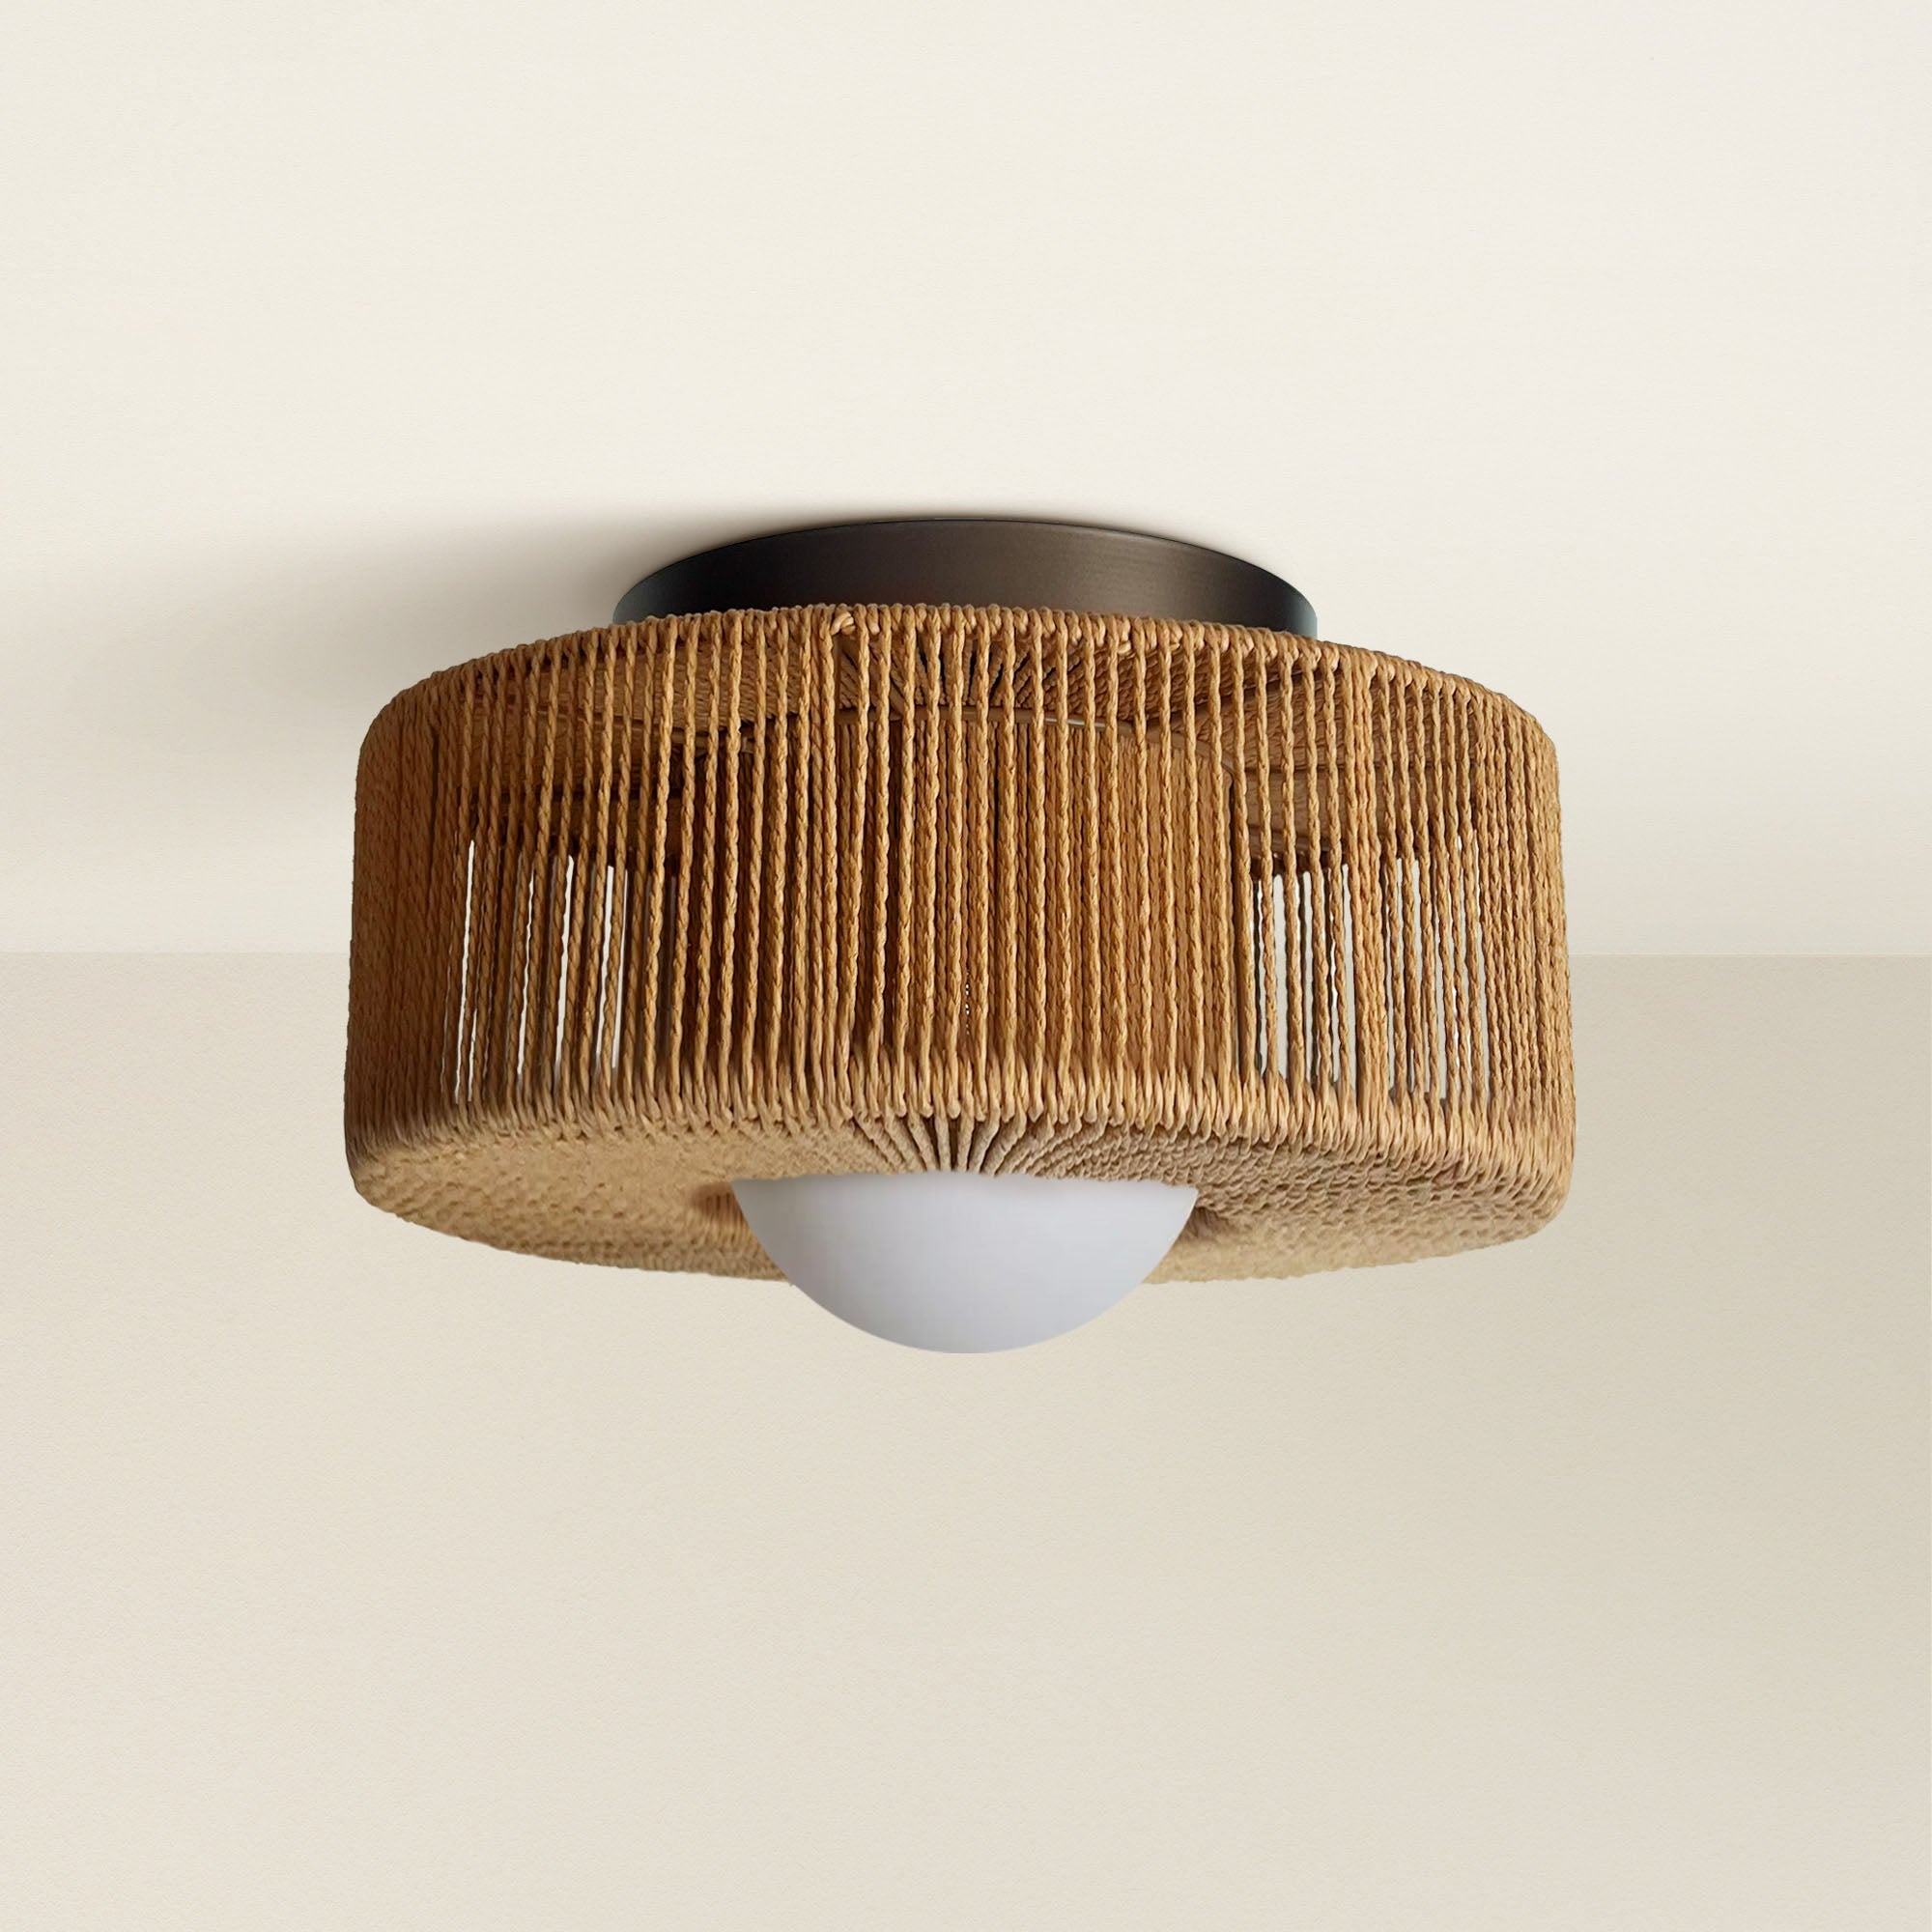
 Source: Rowabi.
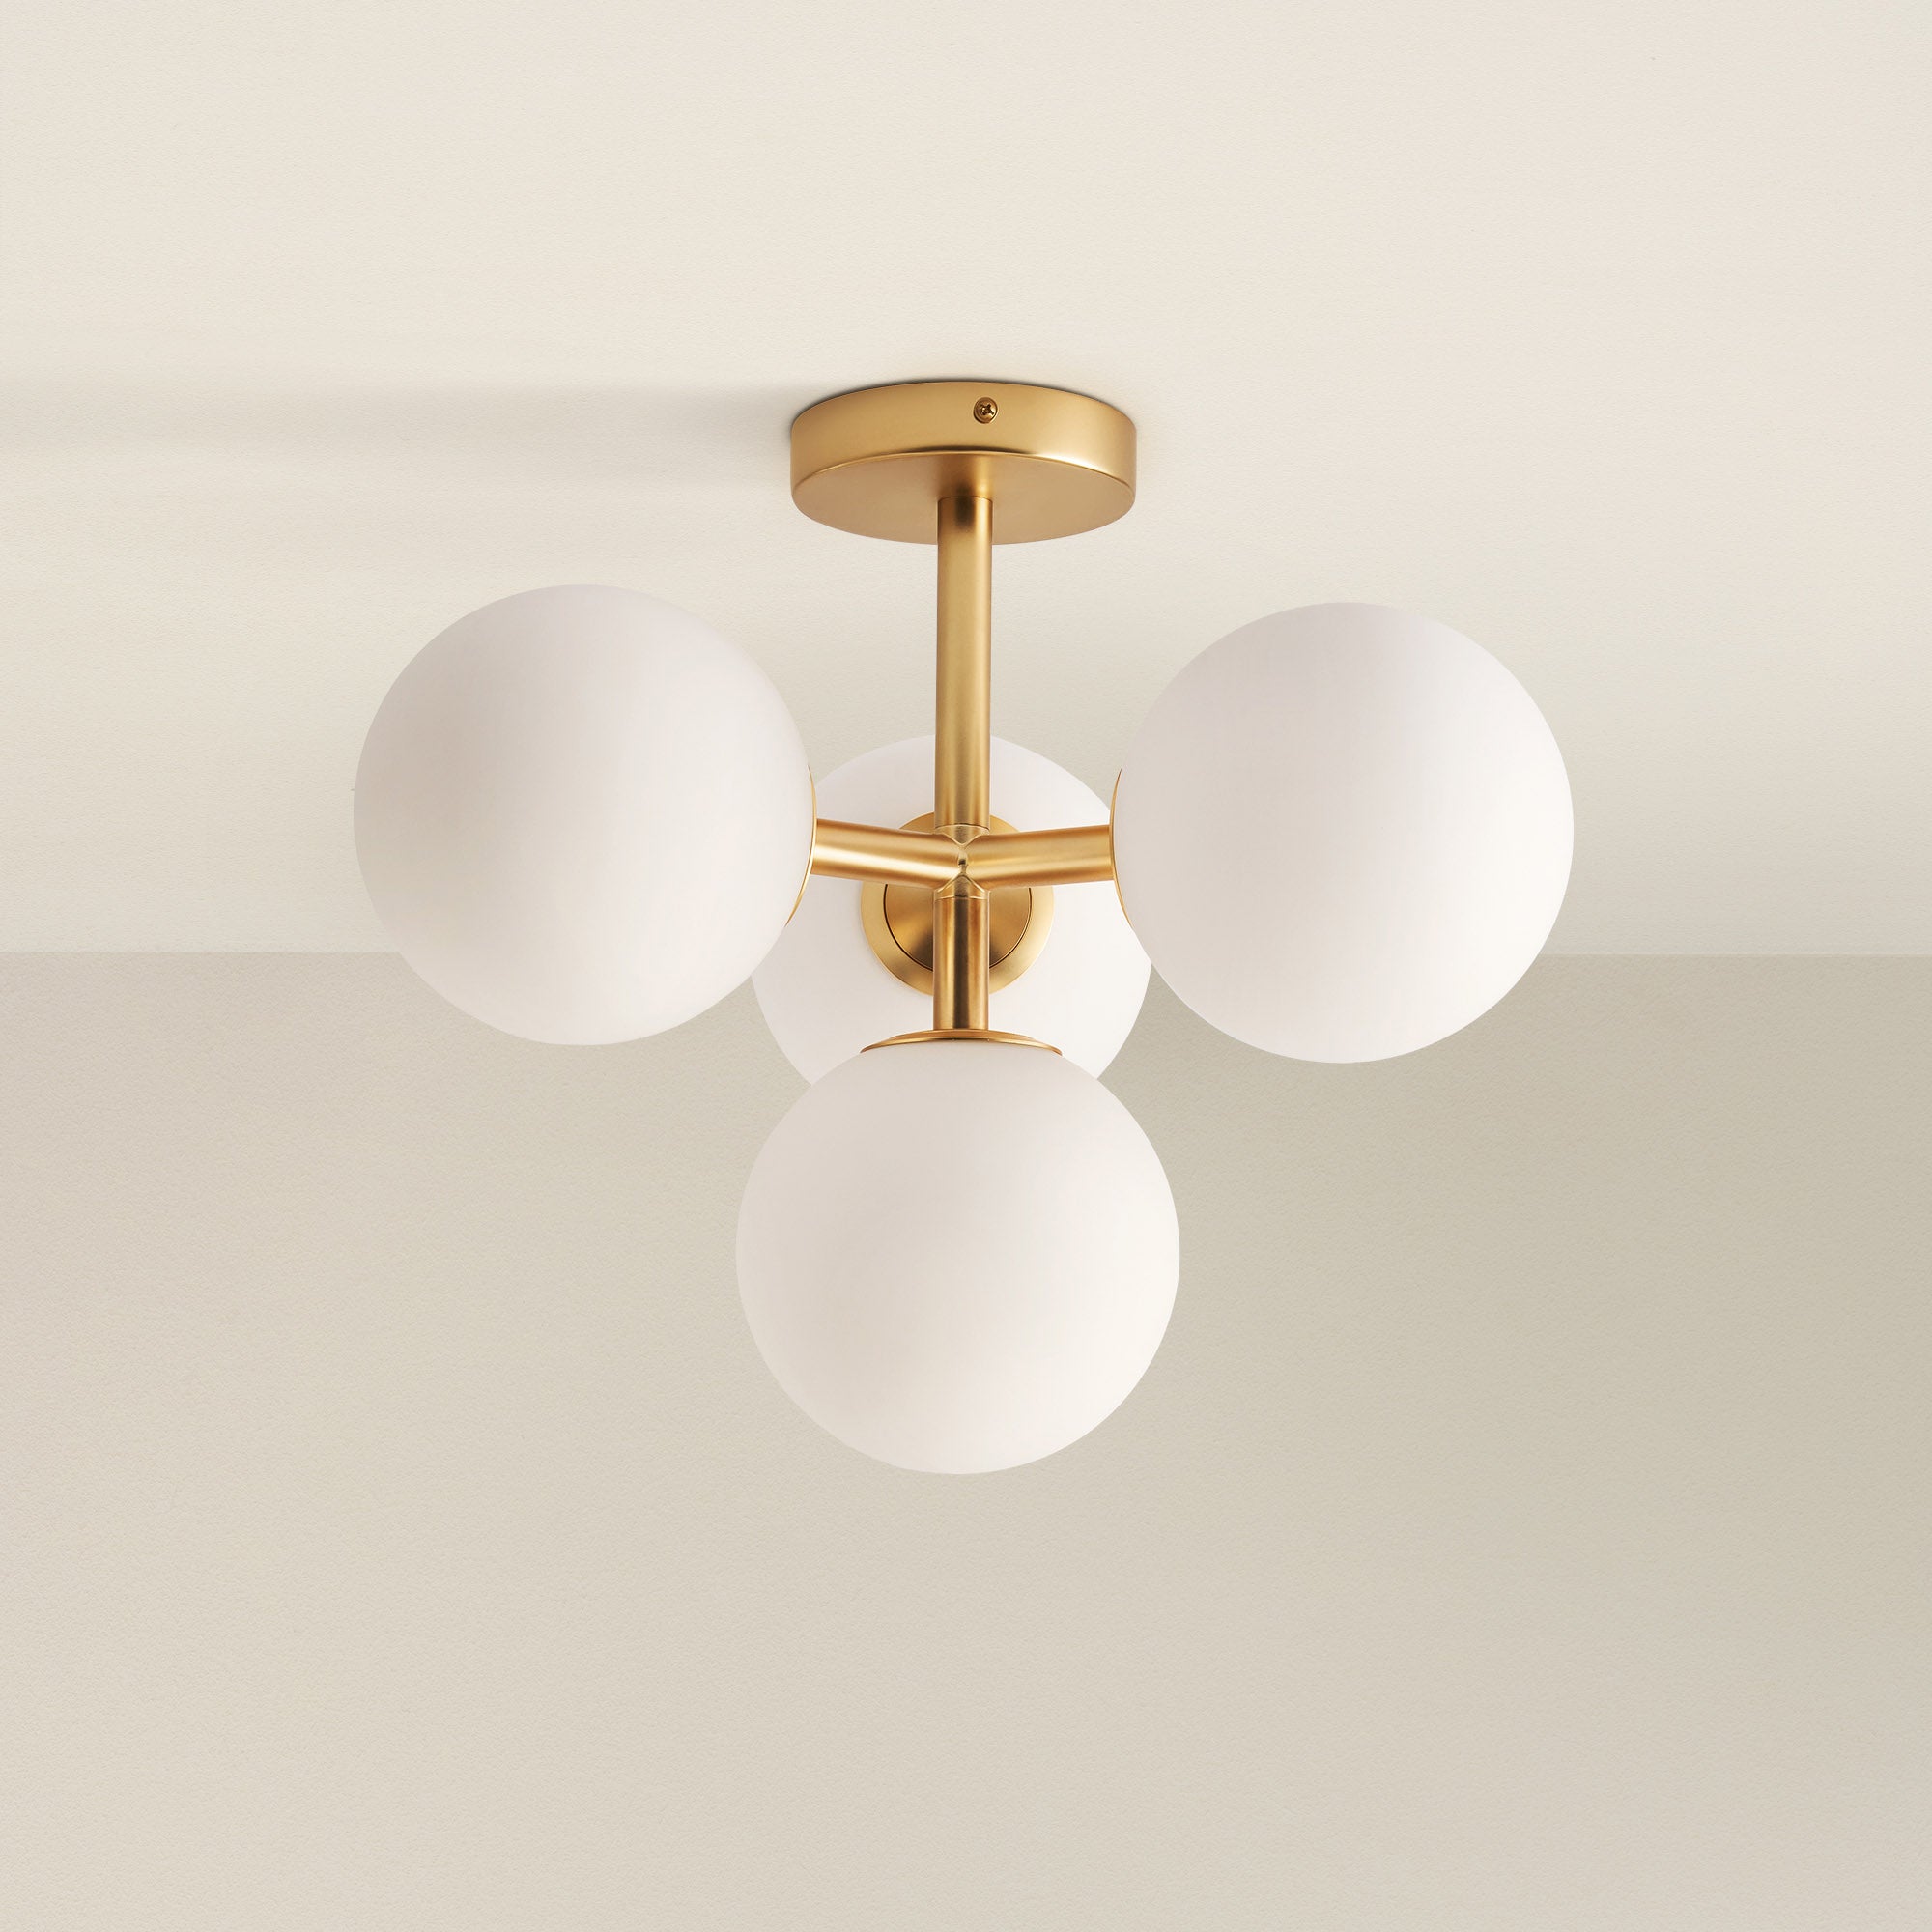
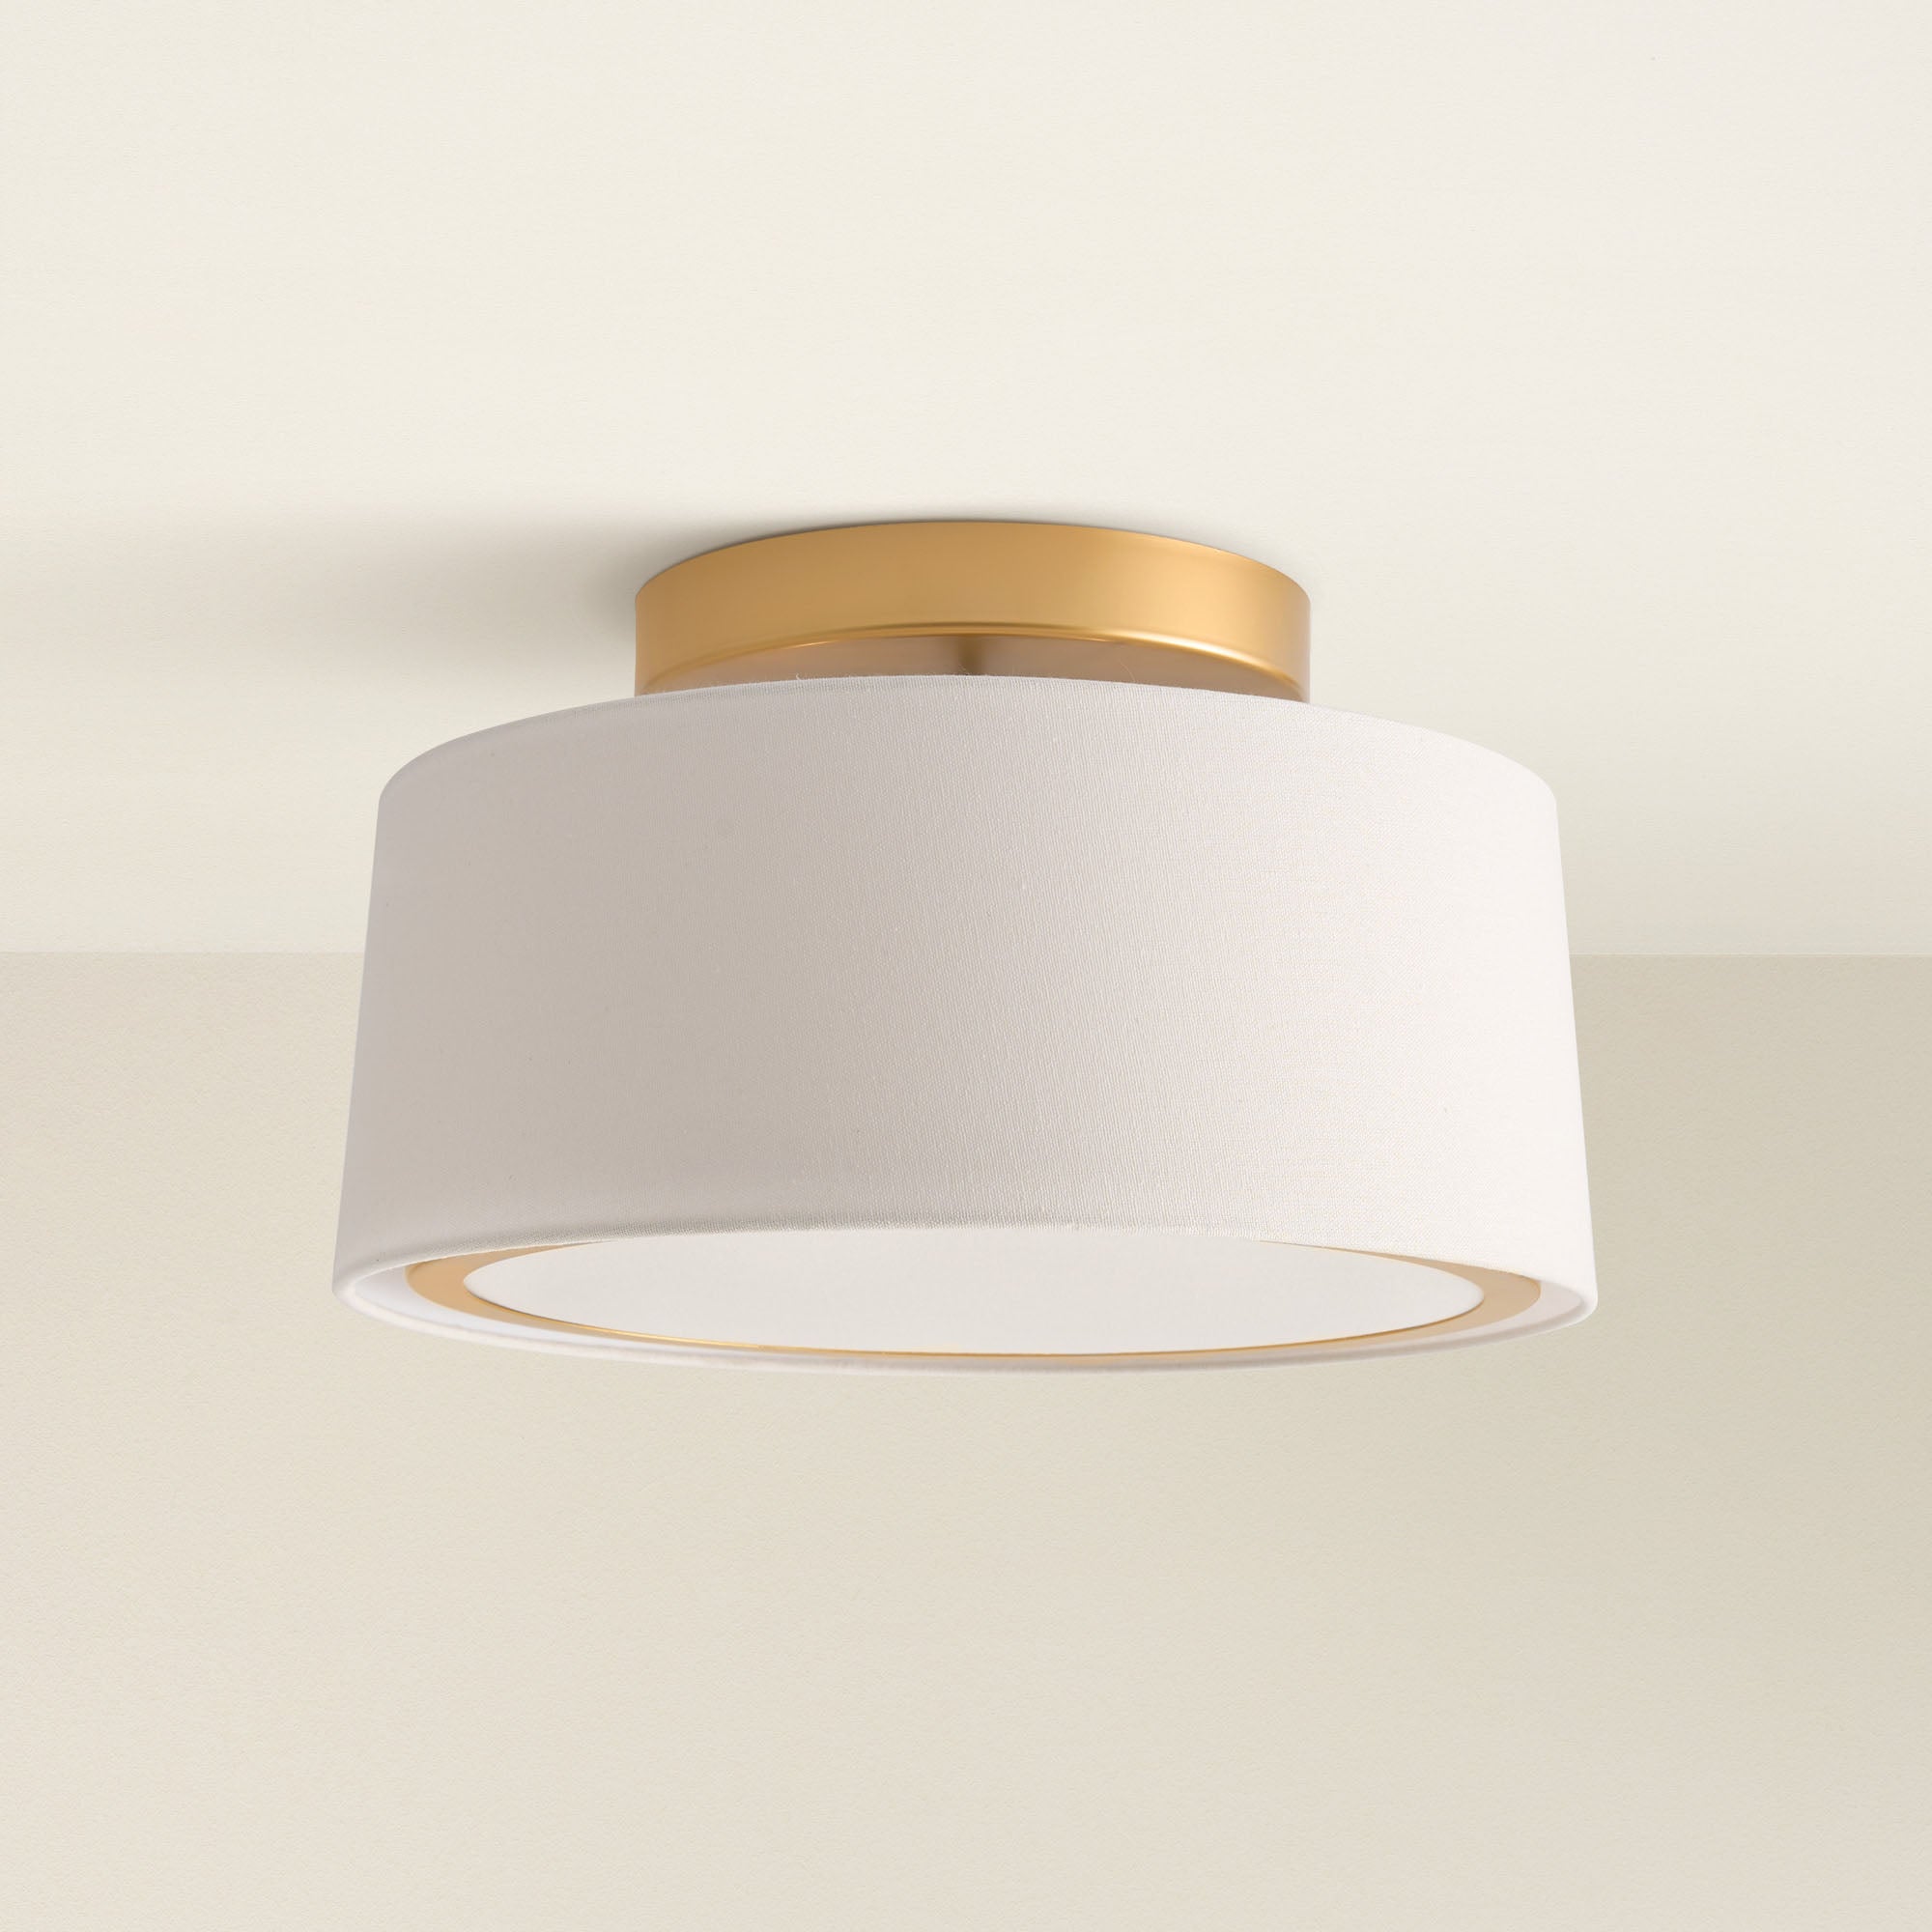
Before you get started, you’ll need the right tools and materials. Don’t worry; they’re not that complicated, but you want to ensure you’re prepared!
You’ll need:
You might also want drywall filler or ceiling paint if you need to patch any holes.
Let’s get to it, shall we? Here’s how you do it, step by step:
Safety first! Flip the circuit breaker to turn off the power before you start messing with any wires. Use your voltage tester to double-check—no one wants to get shocked while working on their ceiling!
Say goodbye to that old recessed fixture. Unscrew the cover and pull out the light. Depending on the design, you may need to disconnect the wires inside the can. Don’t panic—this is messy, but it’s a necessary evil!
Don't let your favorite piece sell out. Secure yours now.
Free delivery between Dec 22 - 23 on orders $200+
45-Day Return
Free delivery between Dec 22 - 23 on orders $200+
45-Day Return
Free delivery between Dec 22 - 23 on orders $200+
45-Day Return
Free delivery between Dec 22 - 23 on orders $200+
45-Day Return
Free delivery between Dec 22 - 23 on orders $200+
45-Day Return
Free delivery between Dec 22 - 23 on orders $200+
45-Day Return
Free delivery between Dec 22 - 23 on orders $200+
45-Day Return

Free delivery between Dec 22 - 23 on orders $200+
45-Day Return
Free delivery between Dec 22 - 23 on orders $200+
45-Day Return
Take a good look at those wires. You’ll want to ensure they’re in good condition and compatible with the flush mount fixture you’re installing. If everything looks good, proceed; if not, it might be time to consult a licensed electrician.
You must install a new junction box if your recessed can isn’t built for a flush mount light. This little guy will sit inside the recessed hole and properly support your new fixture.
Strip those wire ends like a pro! Connect the wires from the fixture to the wires in the junction box with wire nuts. Make sure everything’s connected securely—this is where safety really matters.

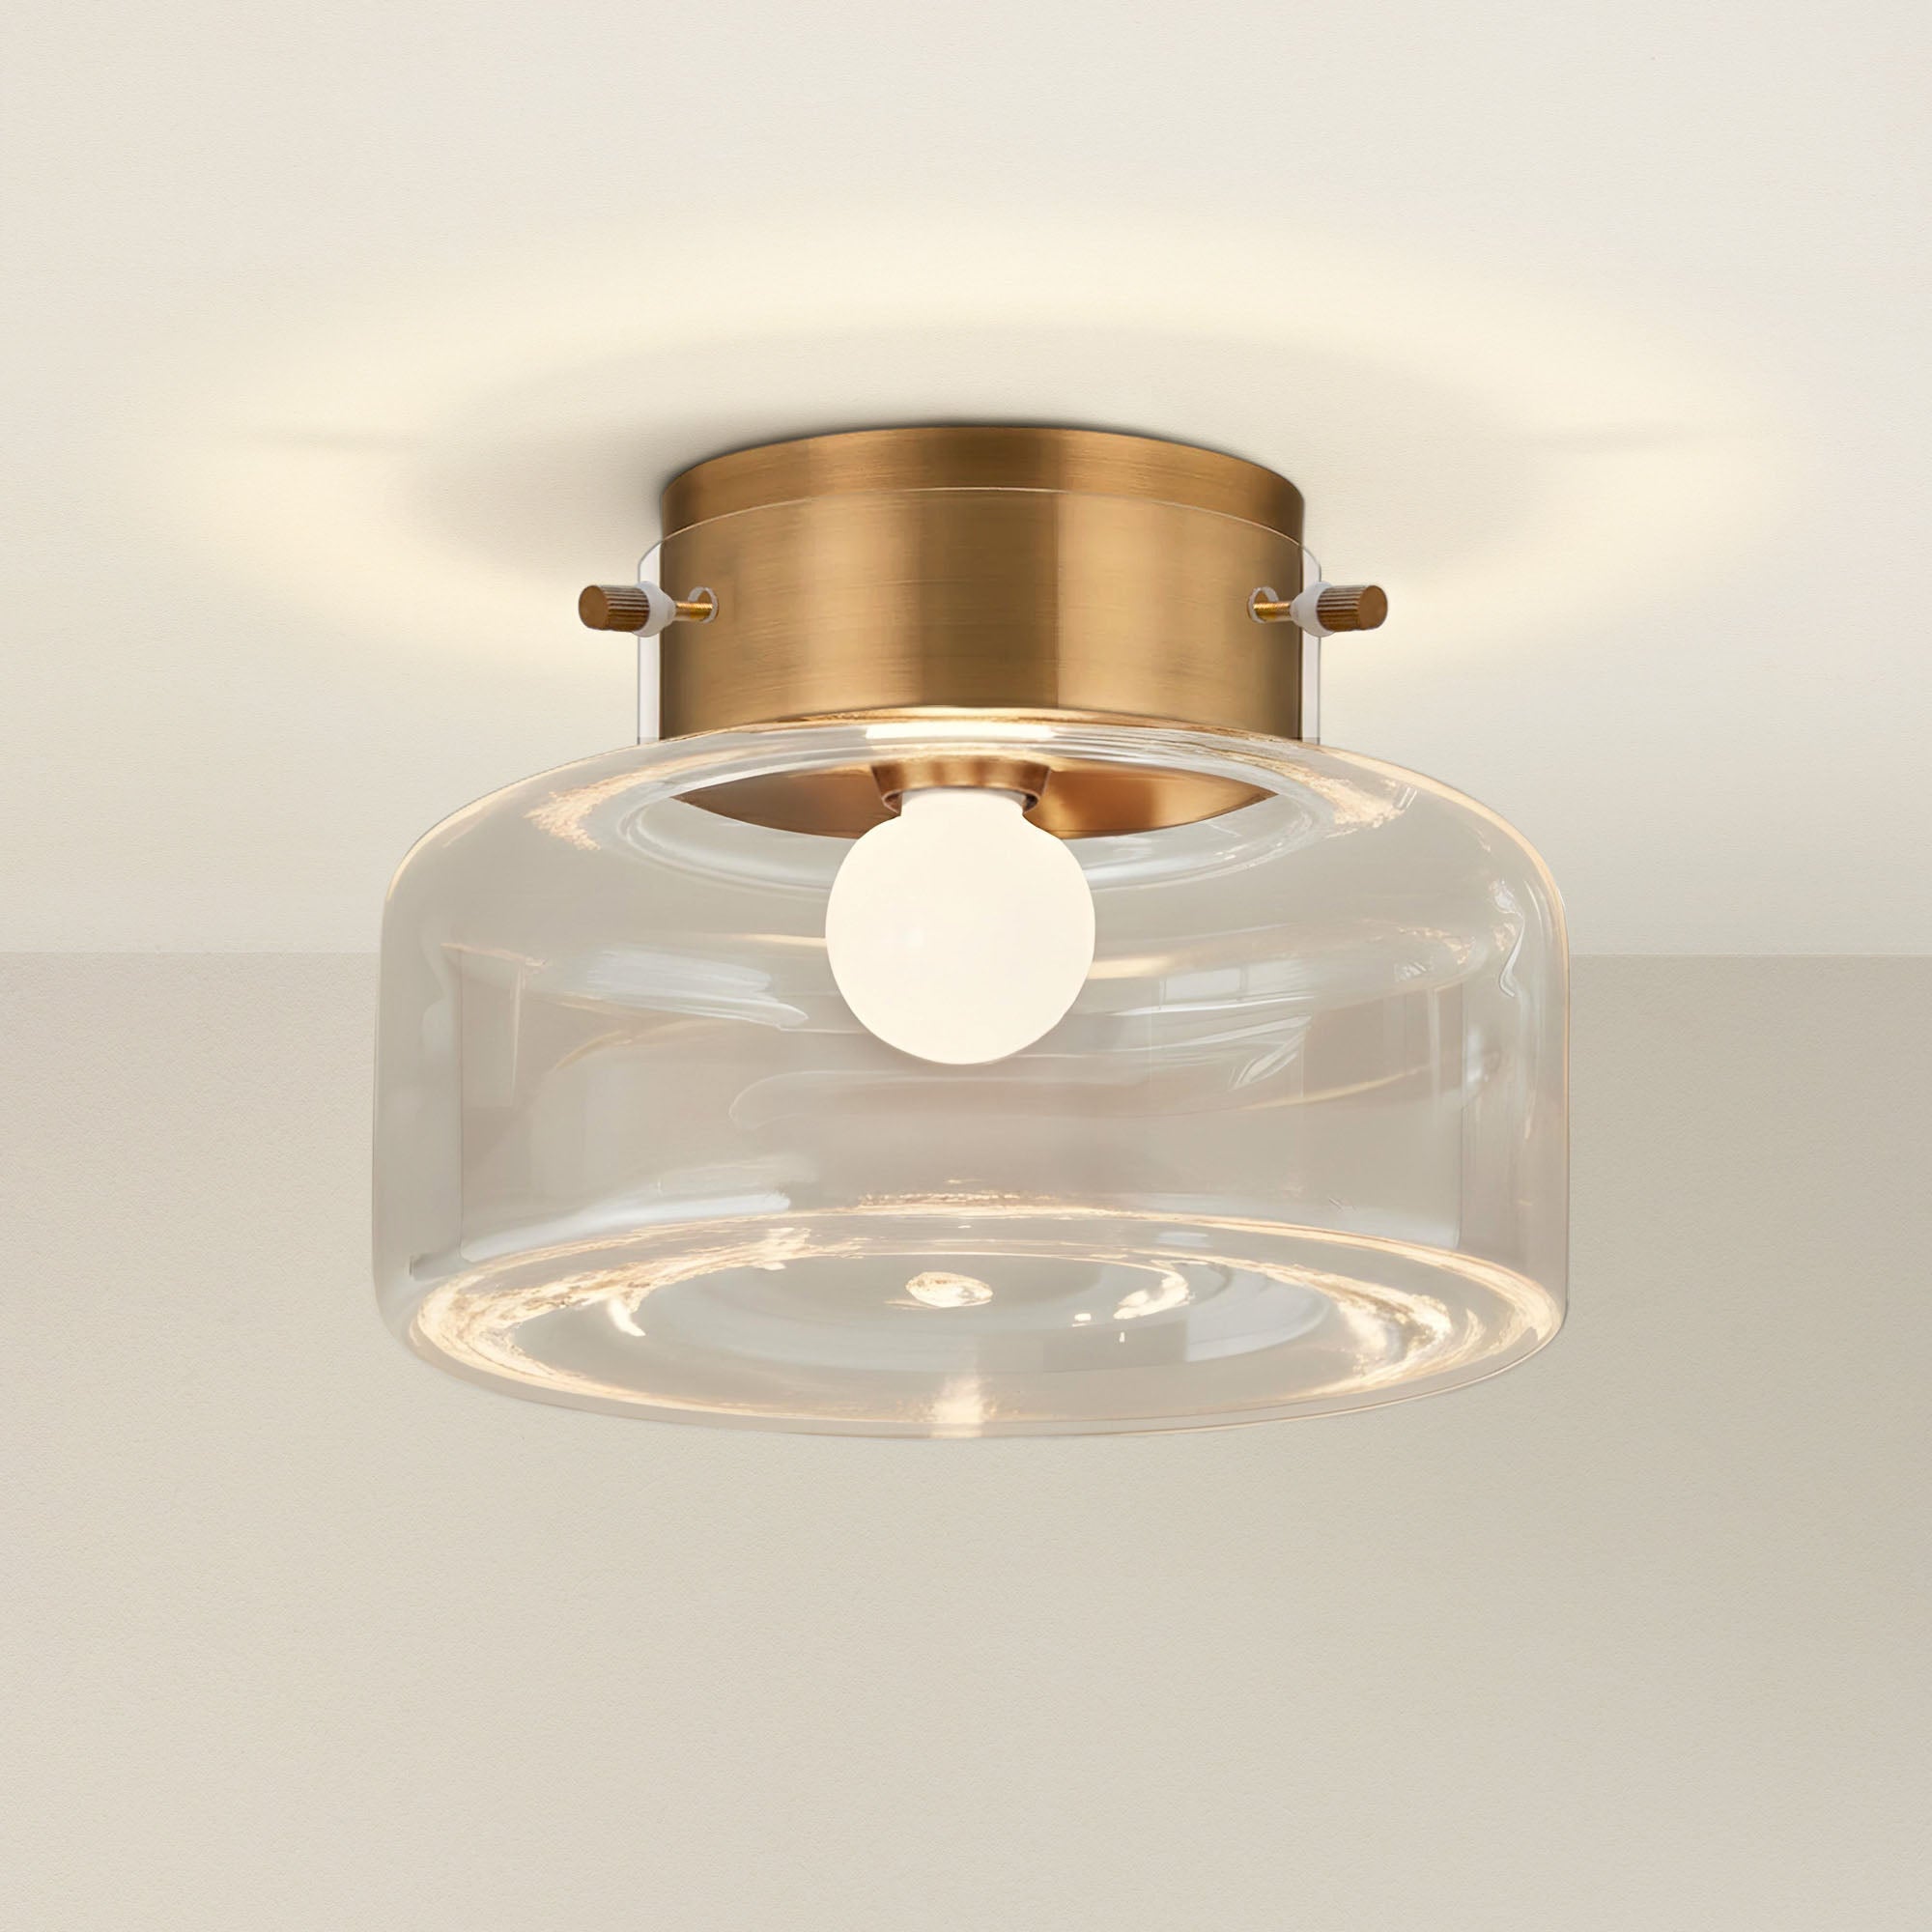
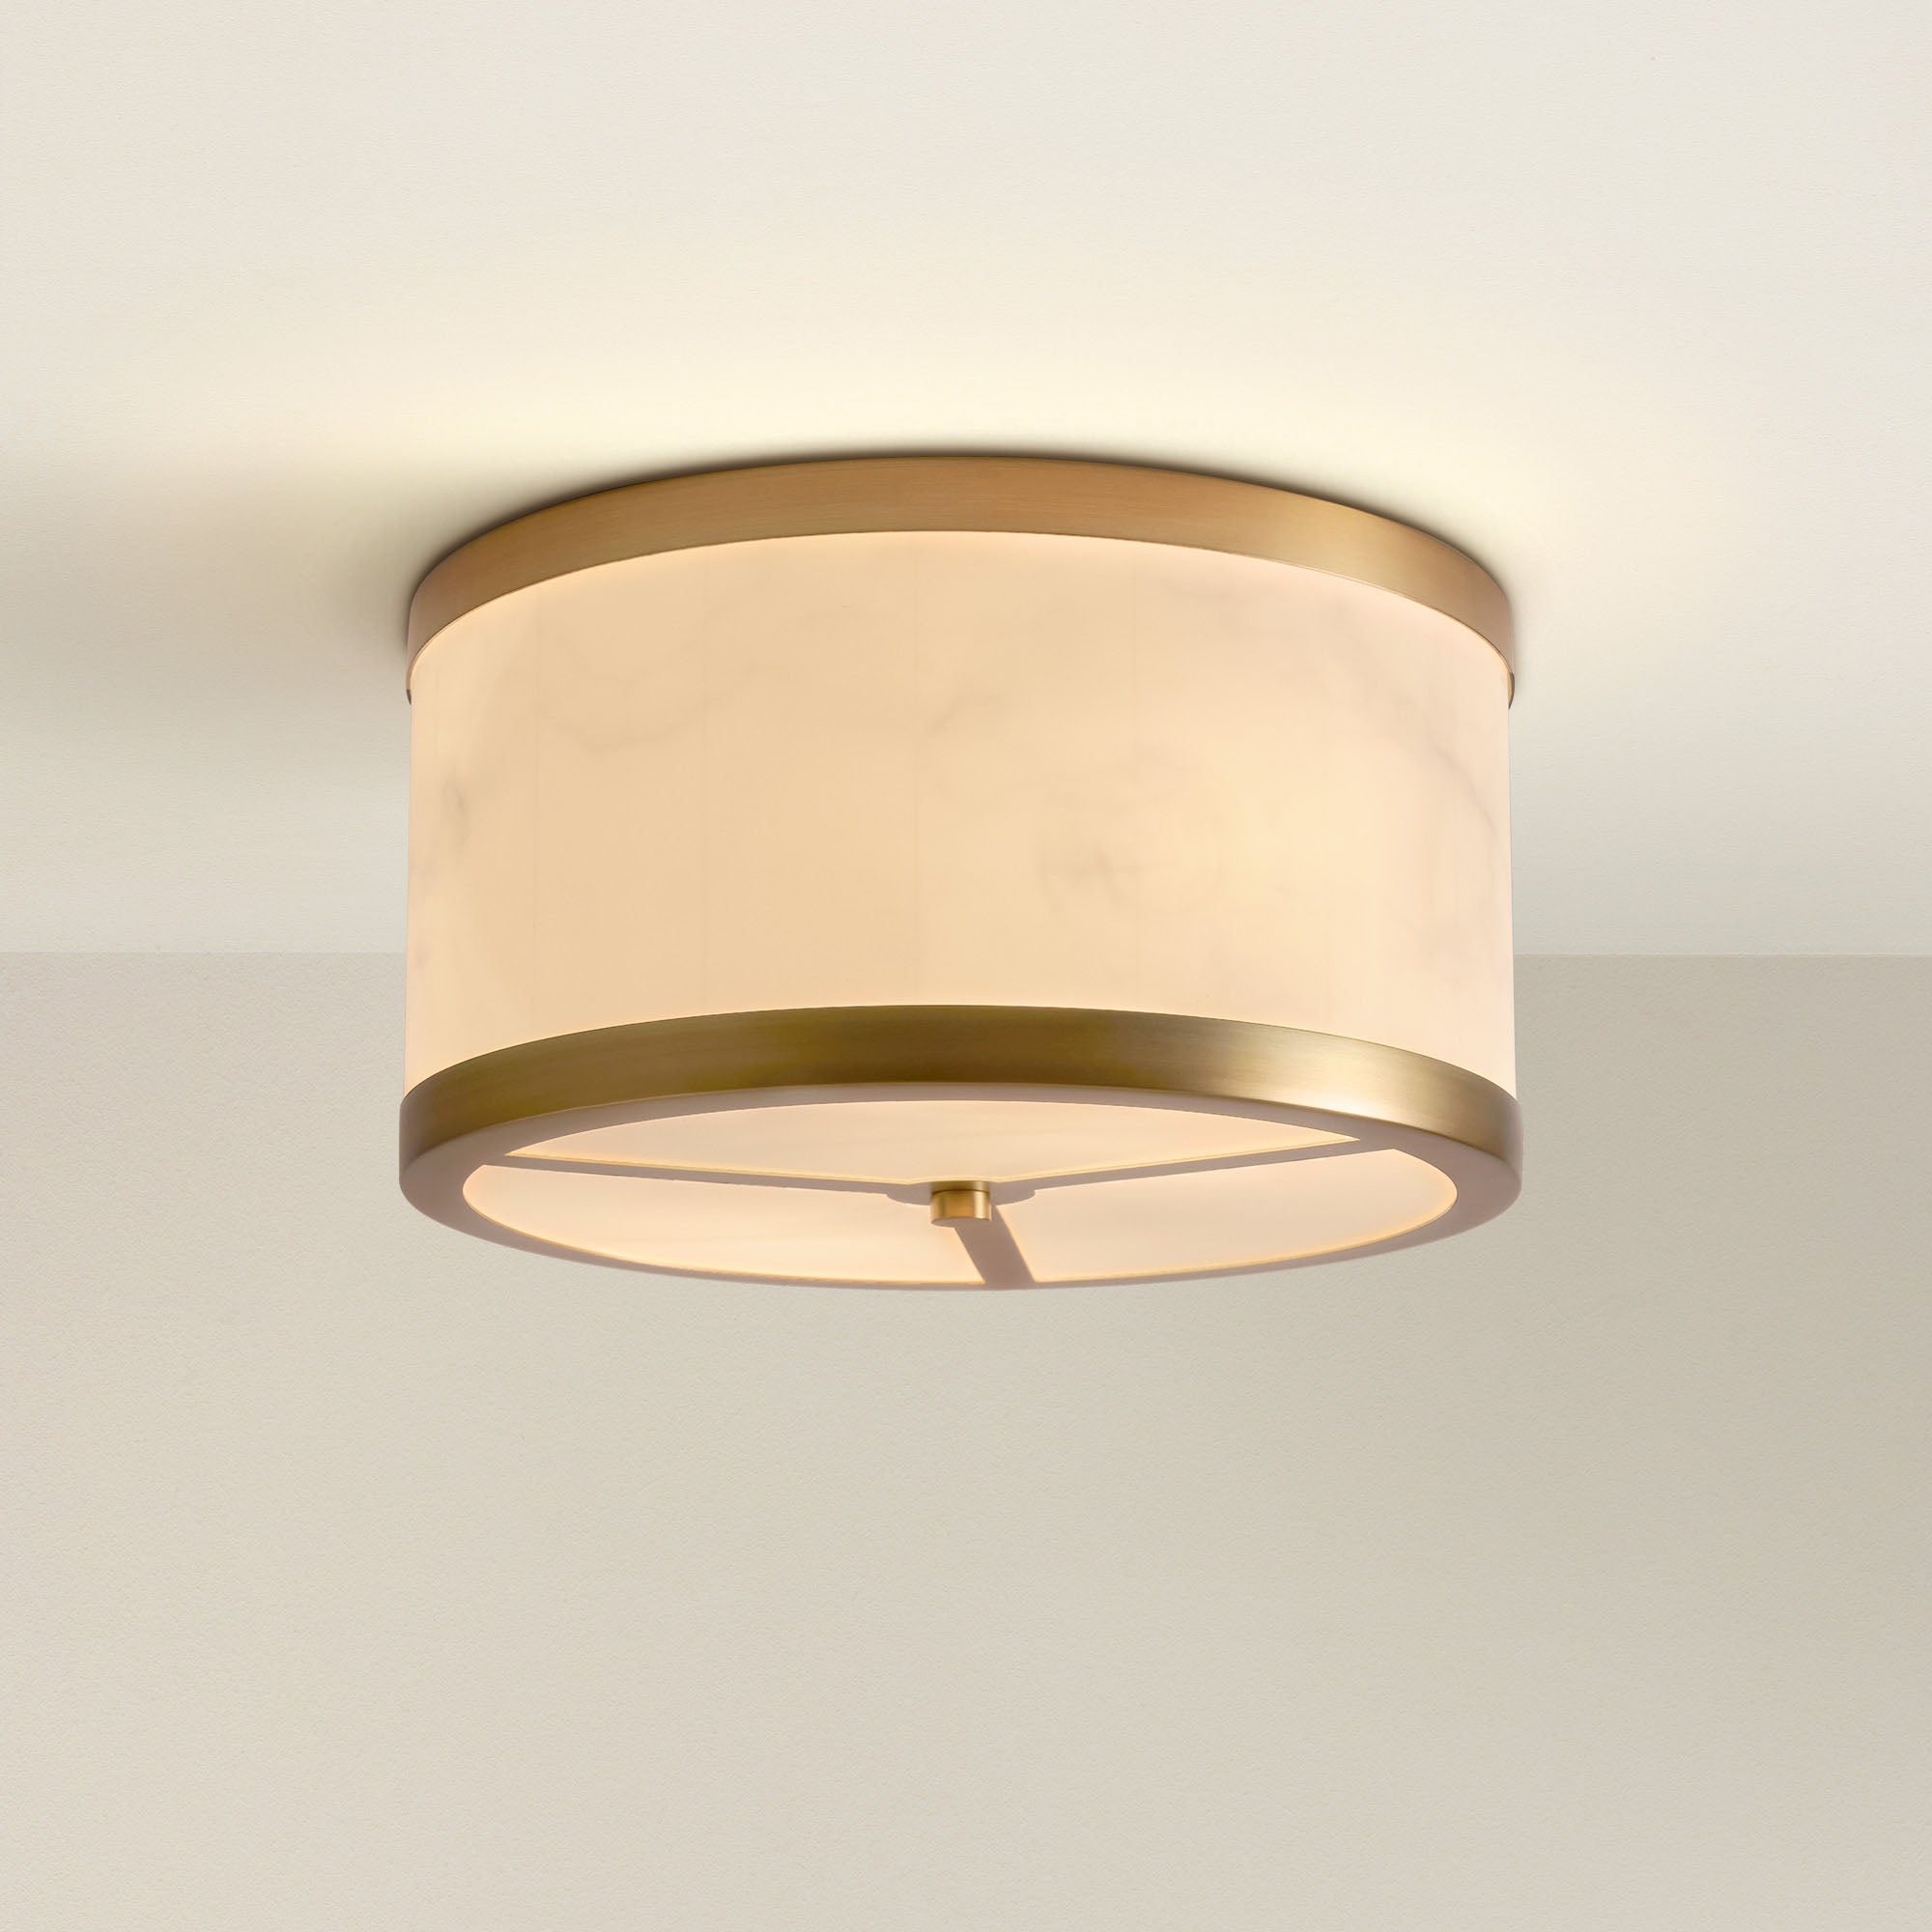
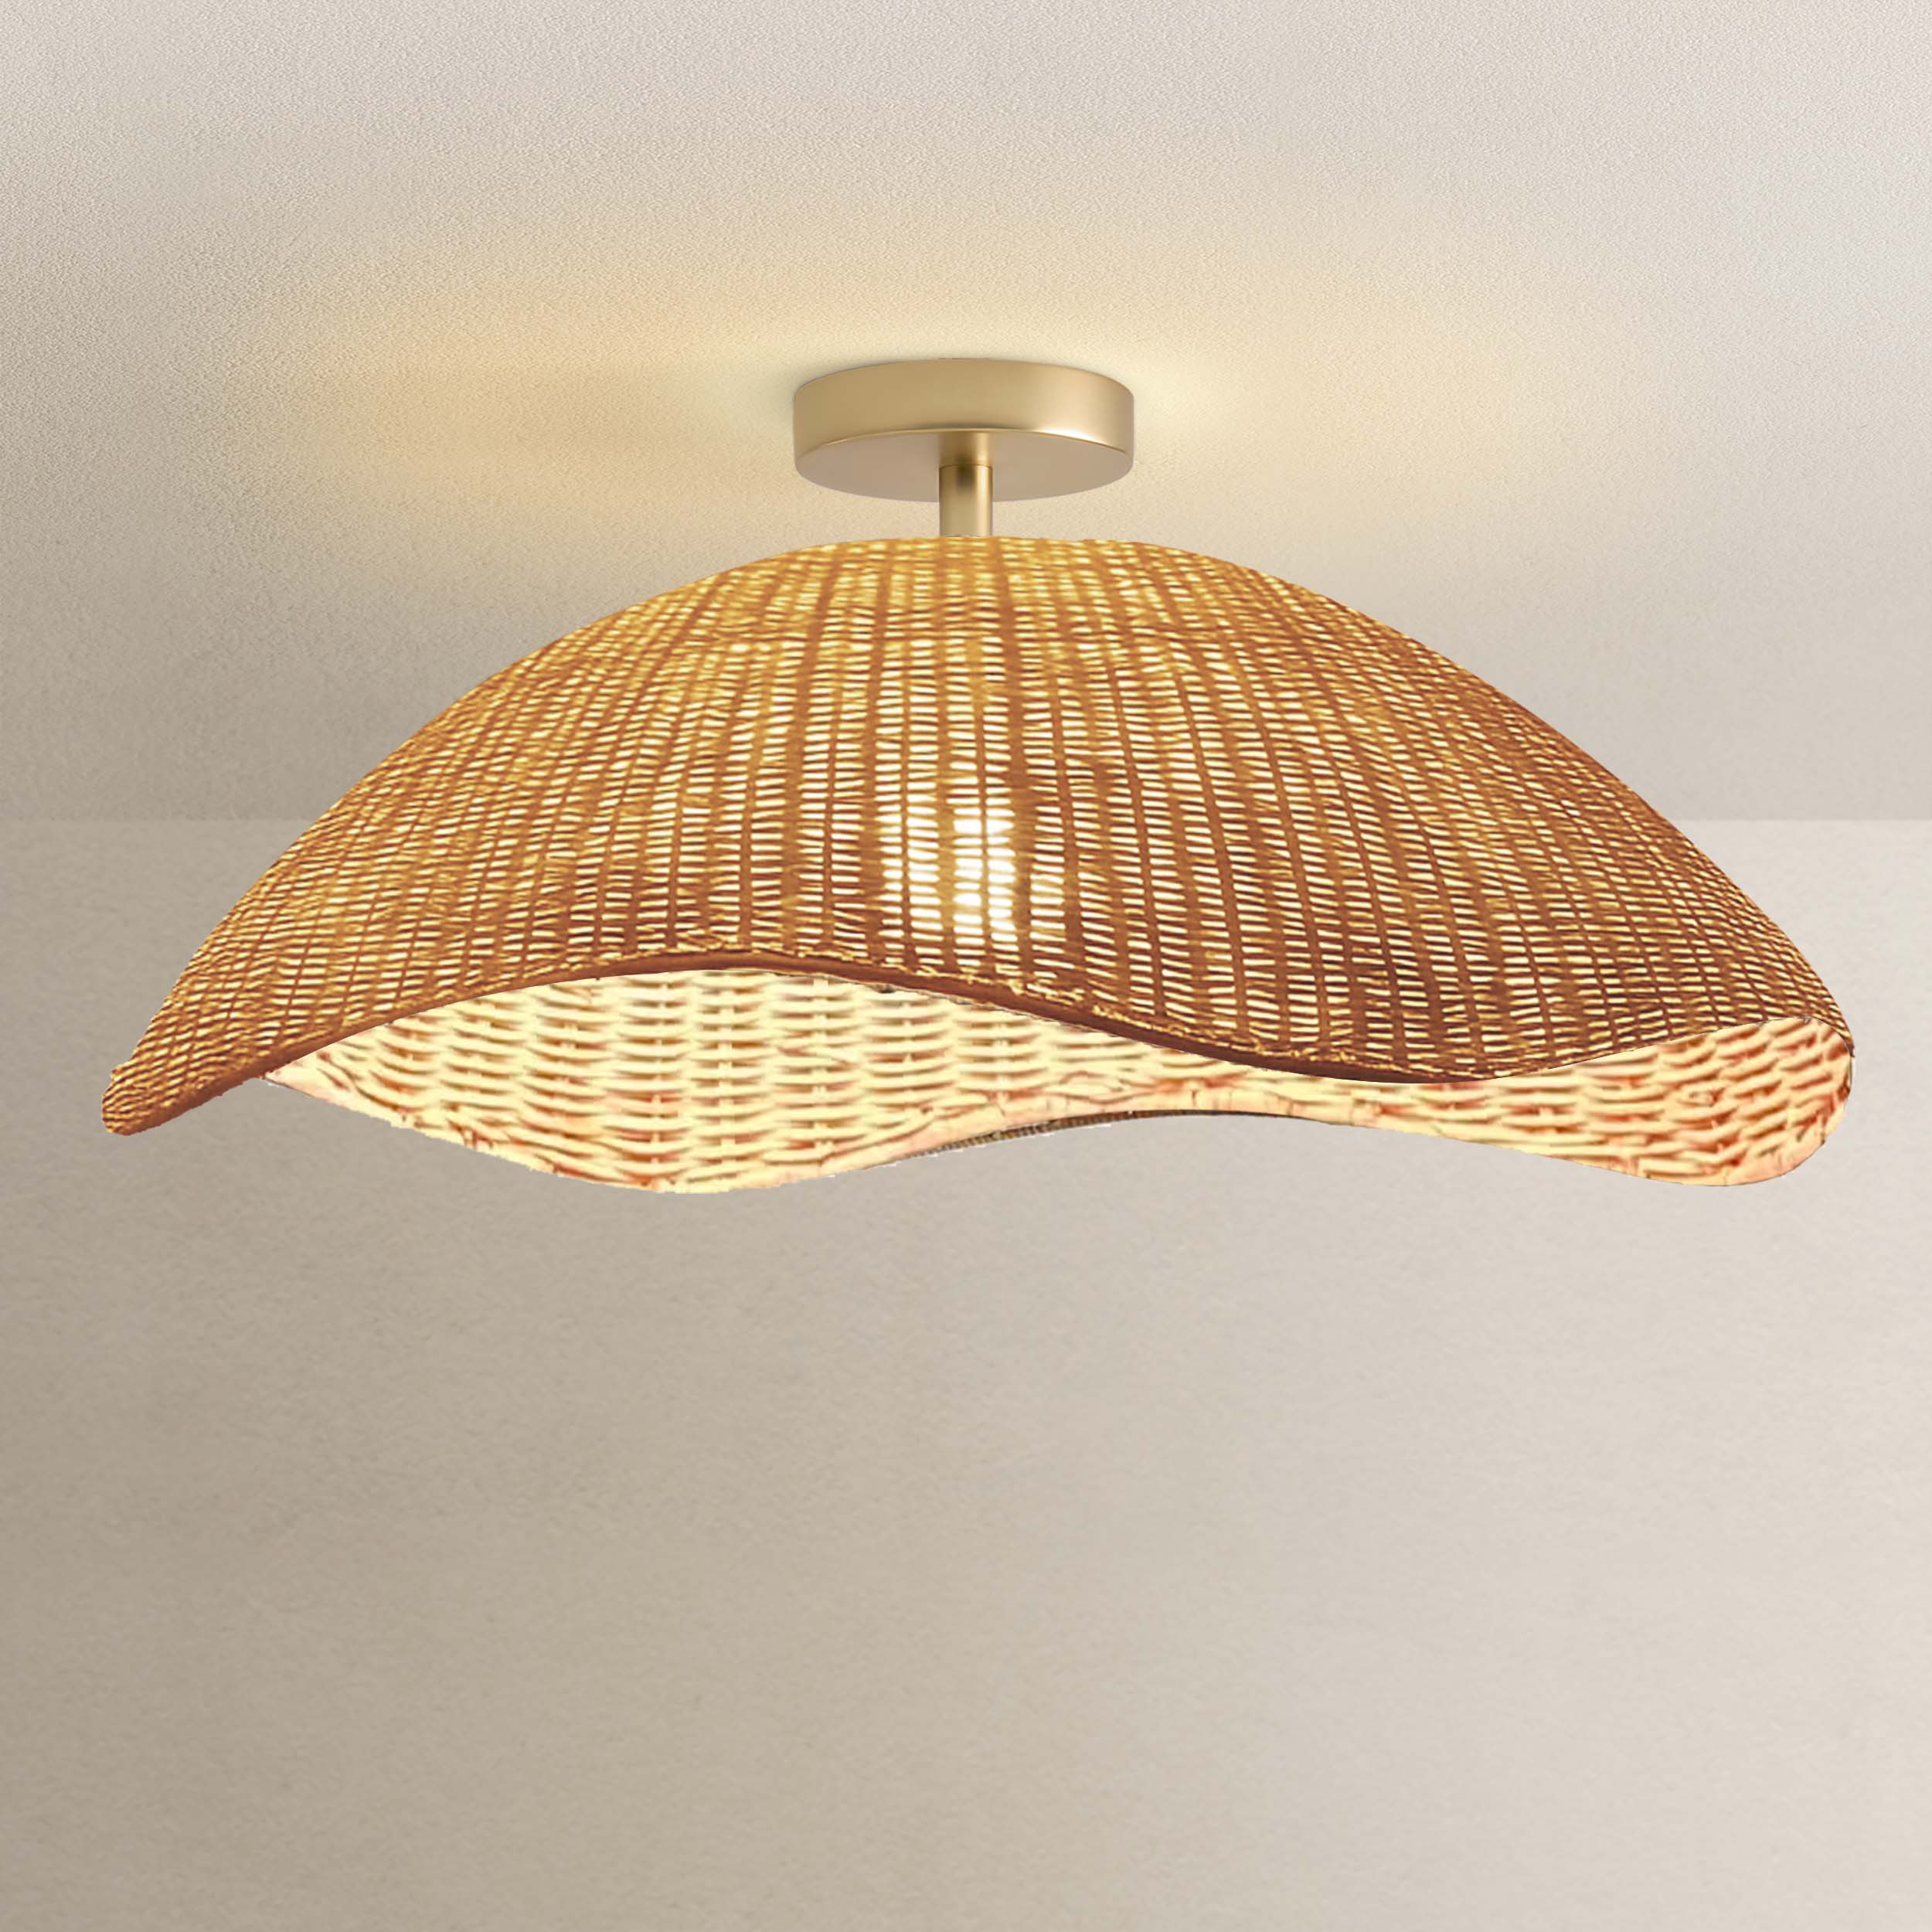
Source: Rowabi.
Now it’s time for the fun part—mounting the flush mount light! Secure the fixture to the junction box or can converter (depending on what you’re using). Tighten it in place, but don’t overdo it—there's no need to turn this into a wrestling match!
If your flush mount fixture has a cover or canopy, slap that baby on now to hide the wires and give it a nice polished look.
This is the easiest part—just screw in those energy-efficient LED bulbs and make sure they’re secure.
Flip the circuit breaker back on, and let there be light! The moment of truth has arrived. Check to make sure everything is working correctly.
Your next design centerpiece awaits.
Free delivery between Dec 22 - 23 on orders $200+
45-Day Return
Give your new fixture a quick test. Make sure it’s shining bright and not flickering. If everything is smooth, you’re in business!
Grab some drywall filler and paint if you had to make any holes or adjustments to the ceiling. This will ensure your ceiling looks just as gorgeous as your new light.

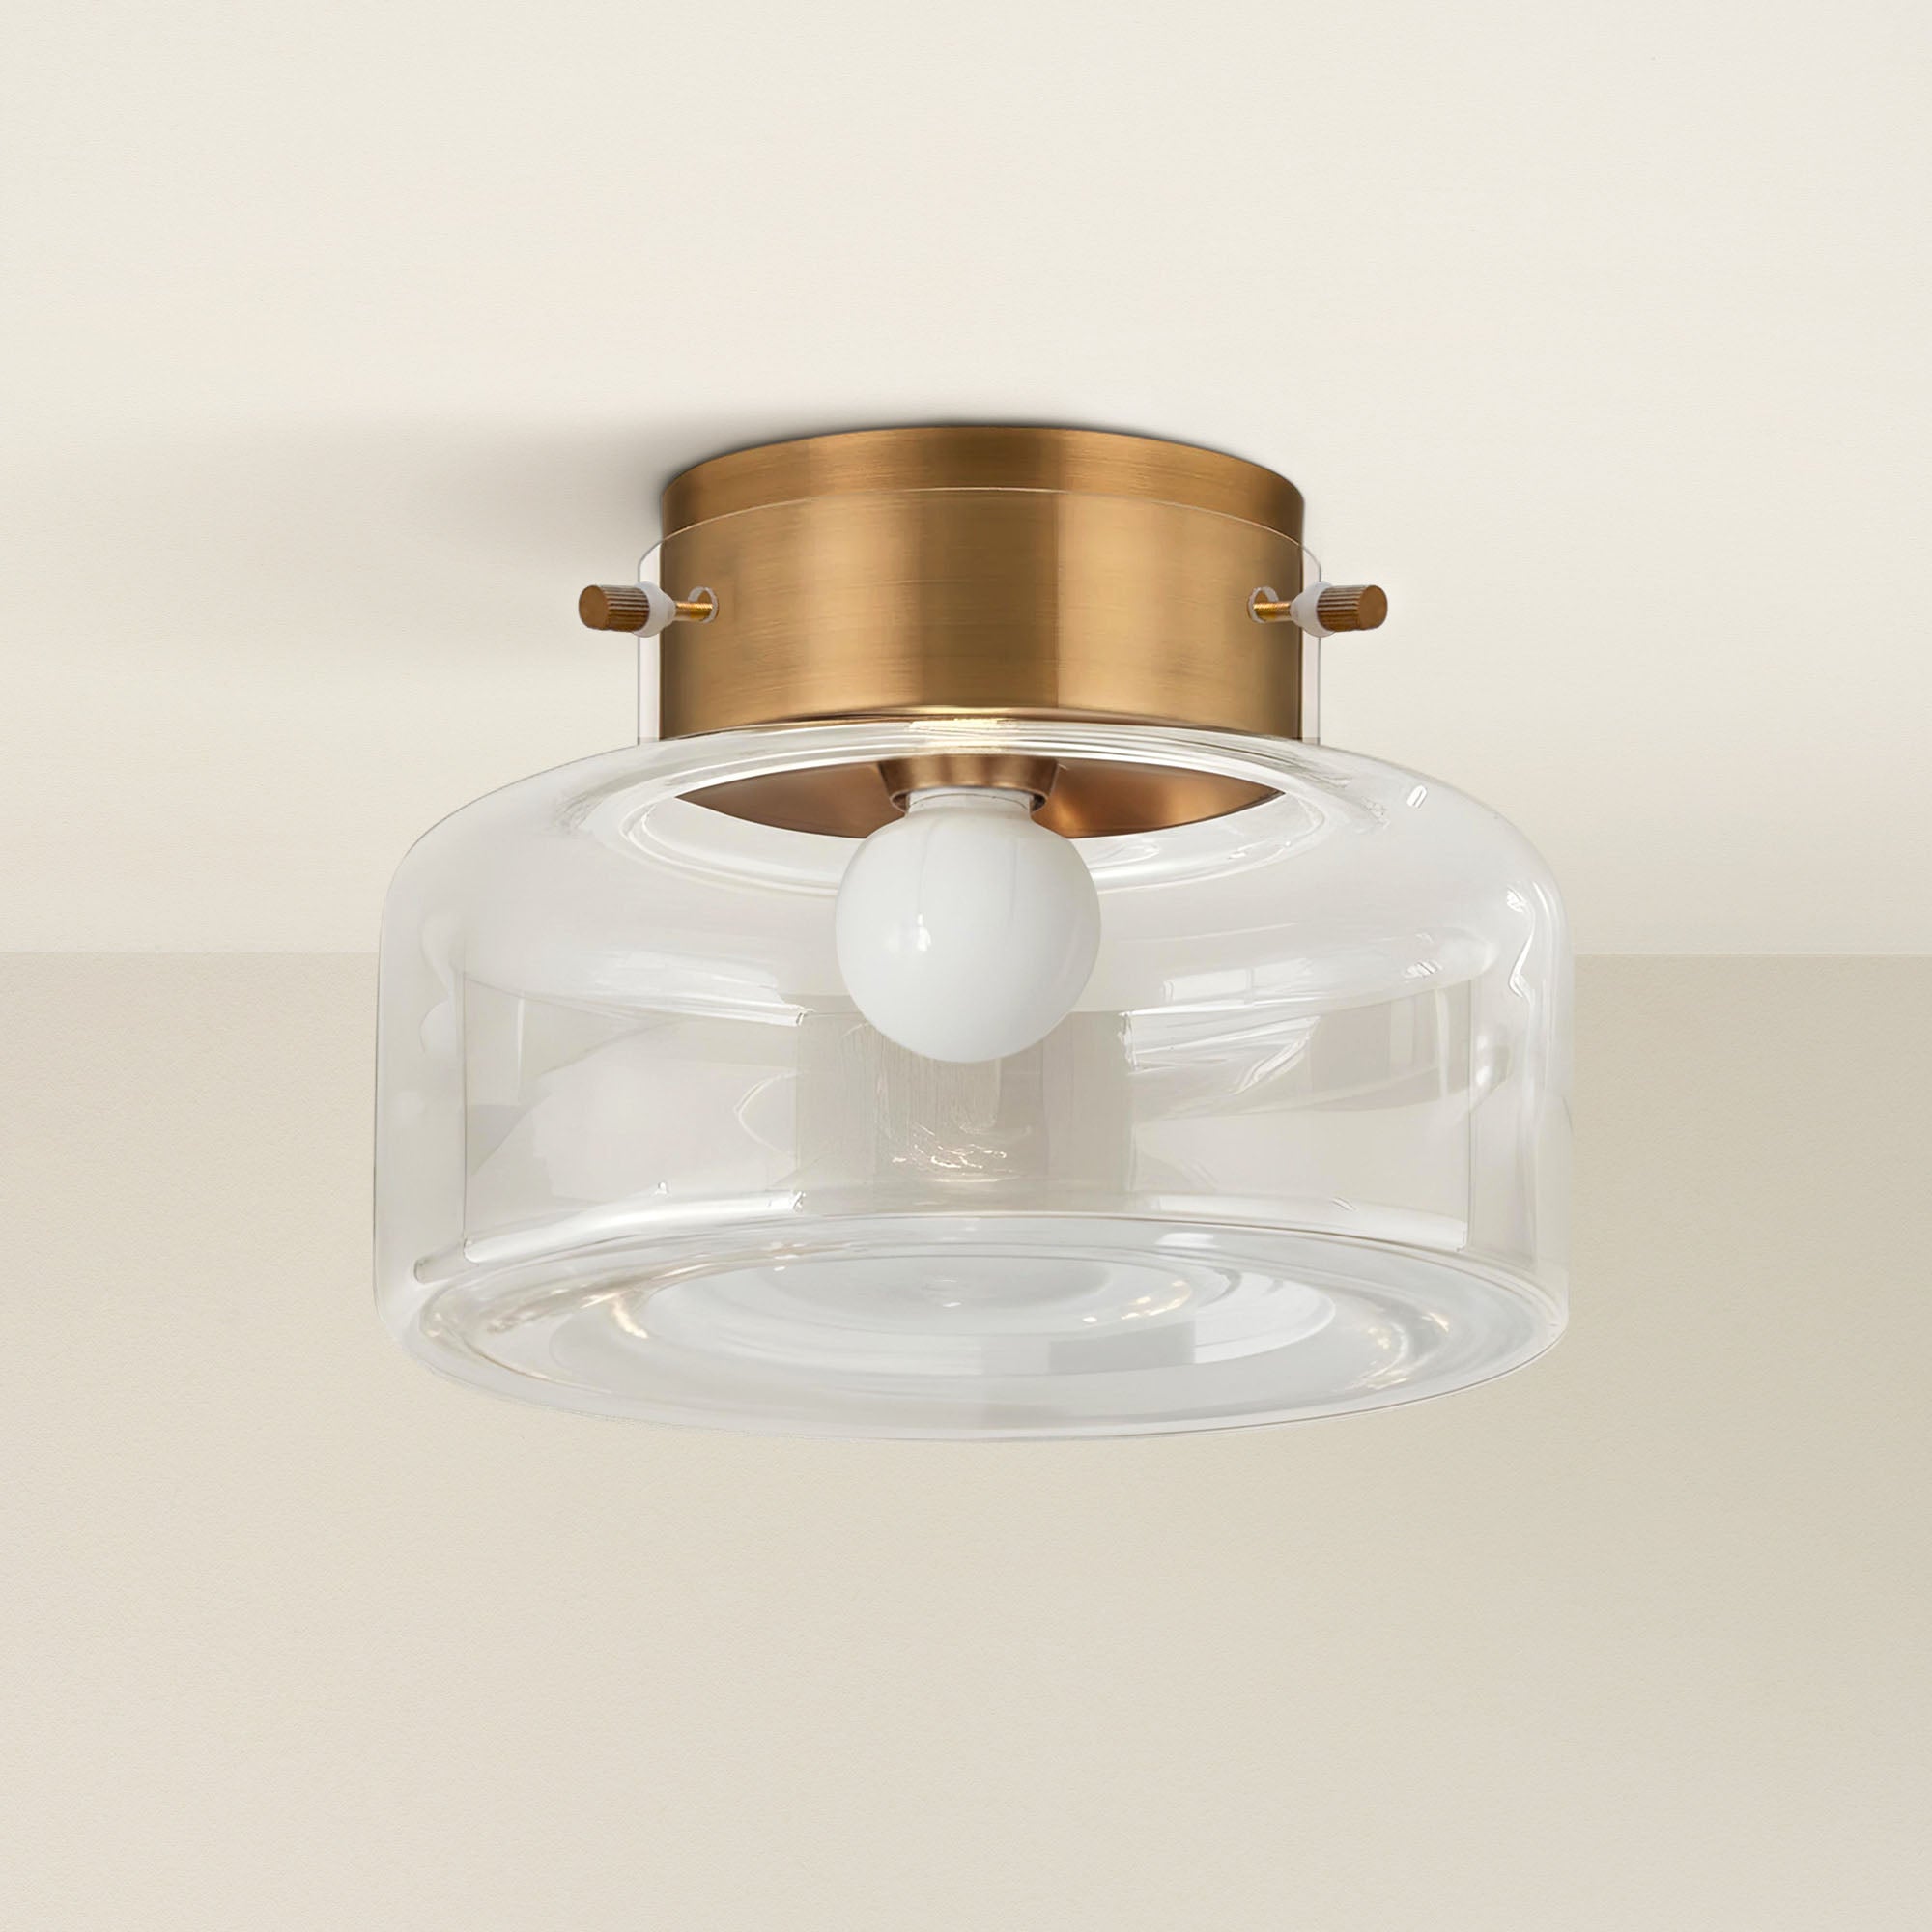
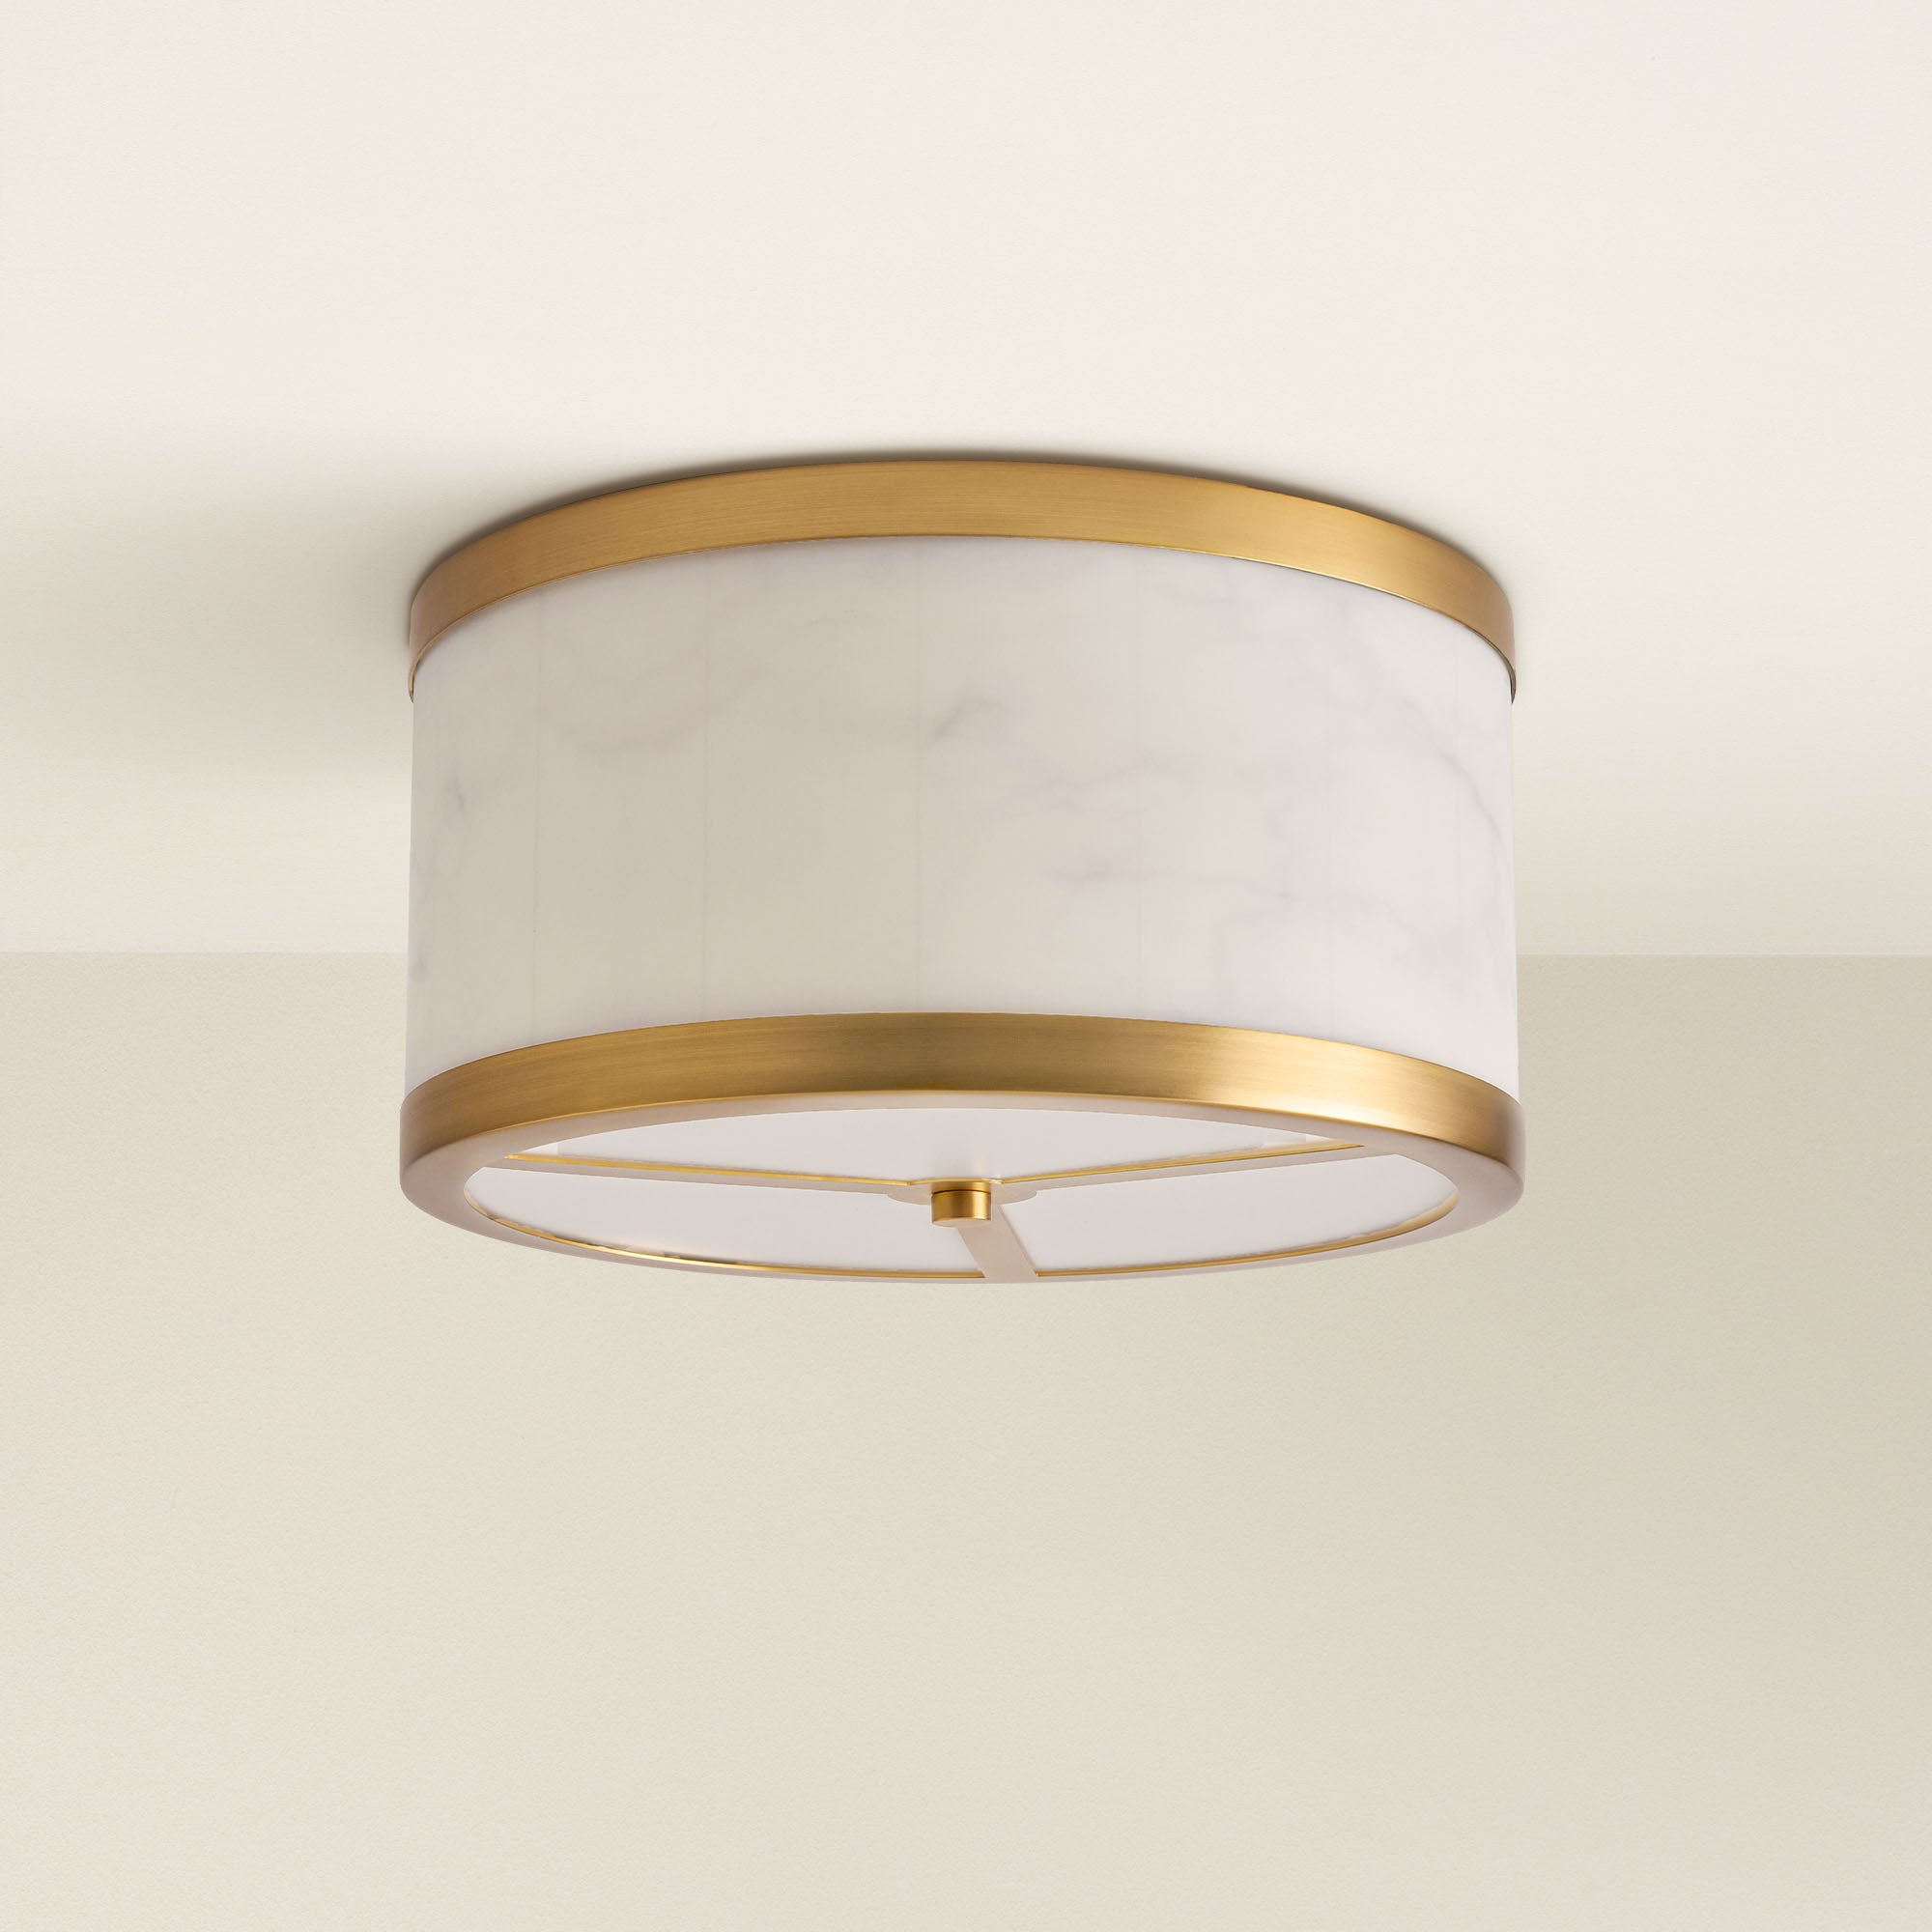
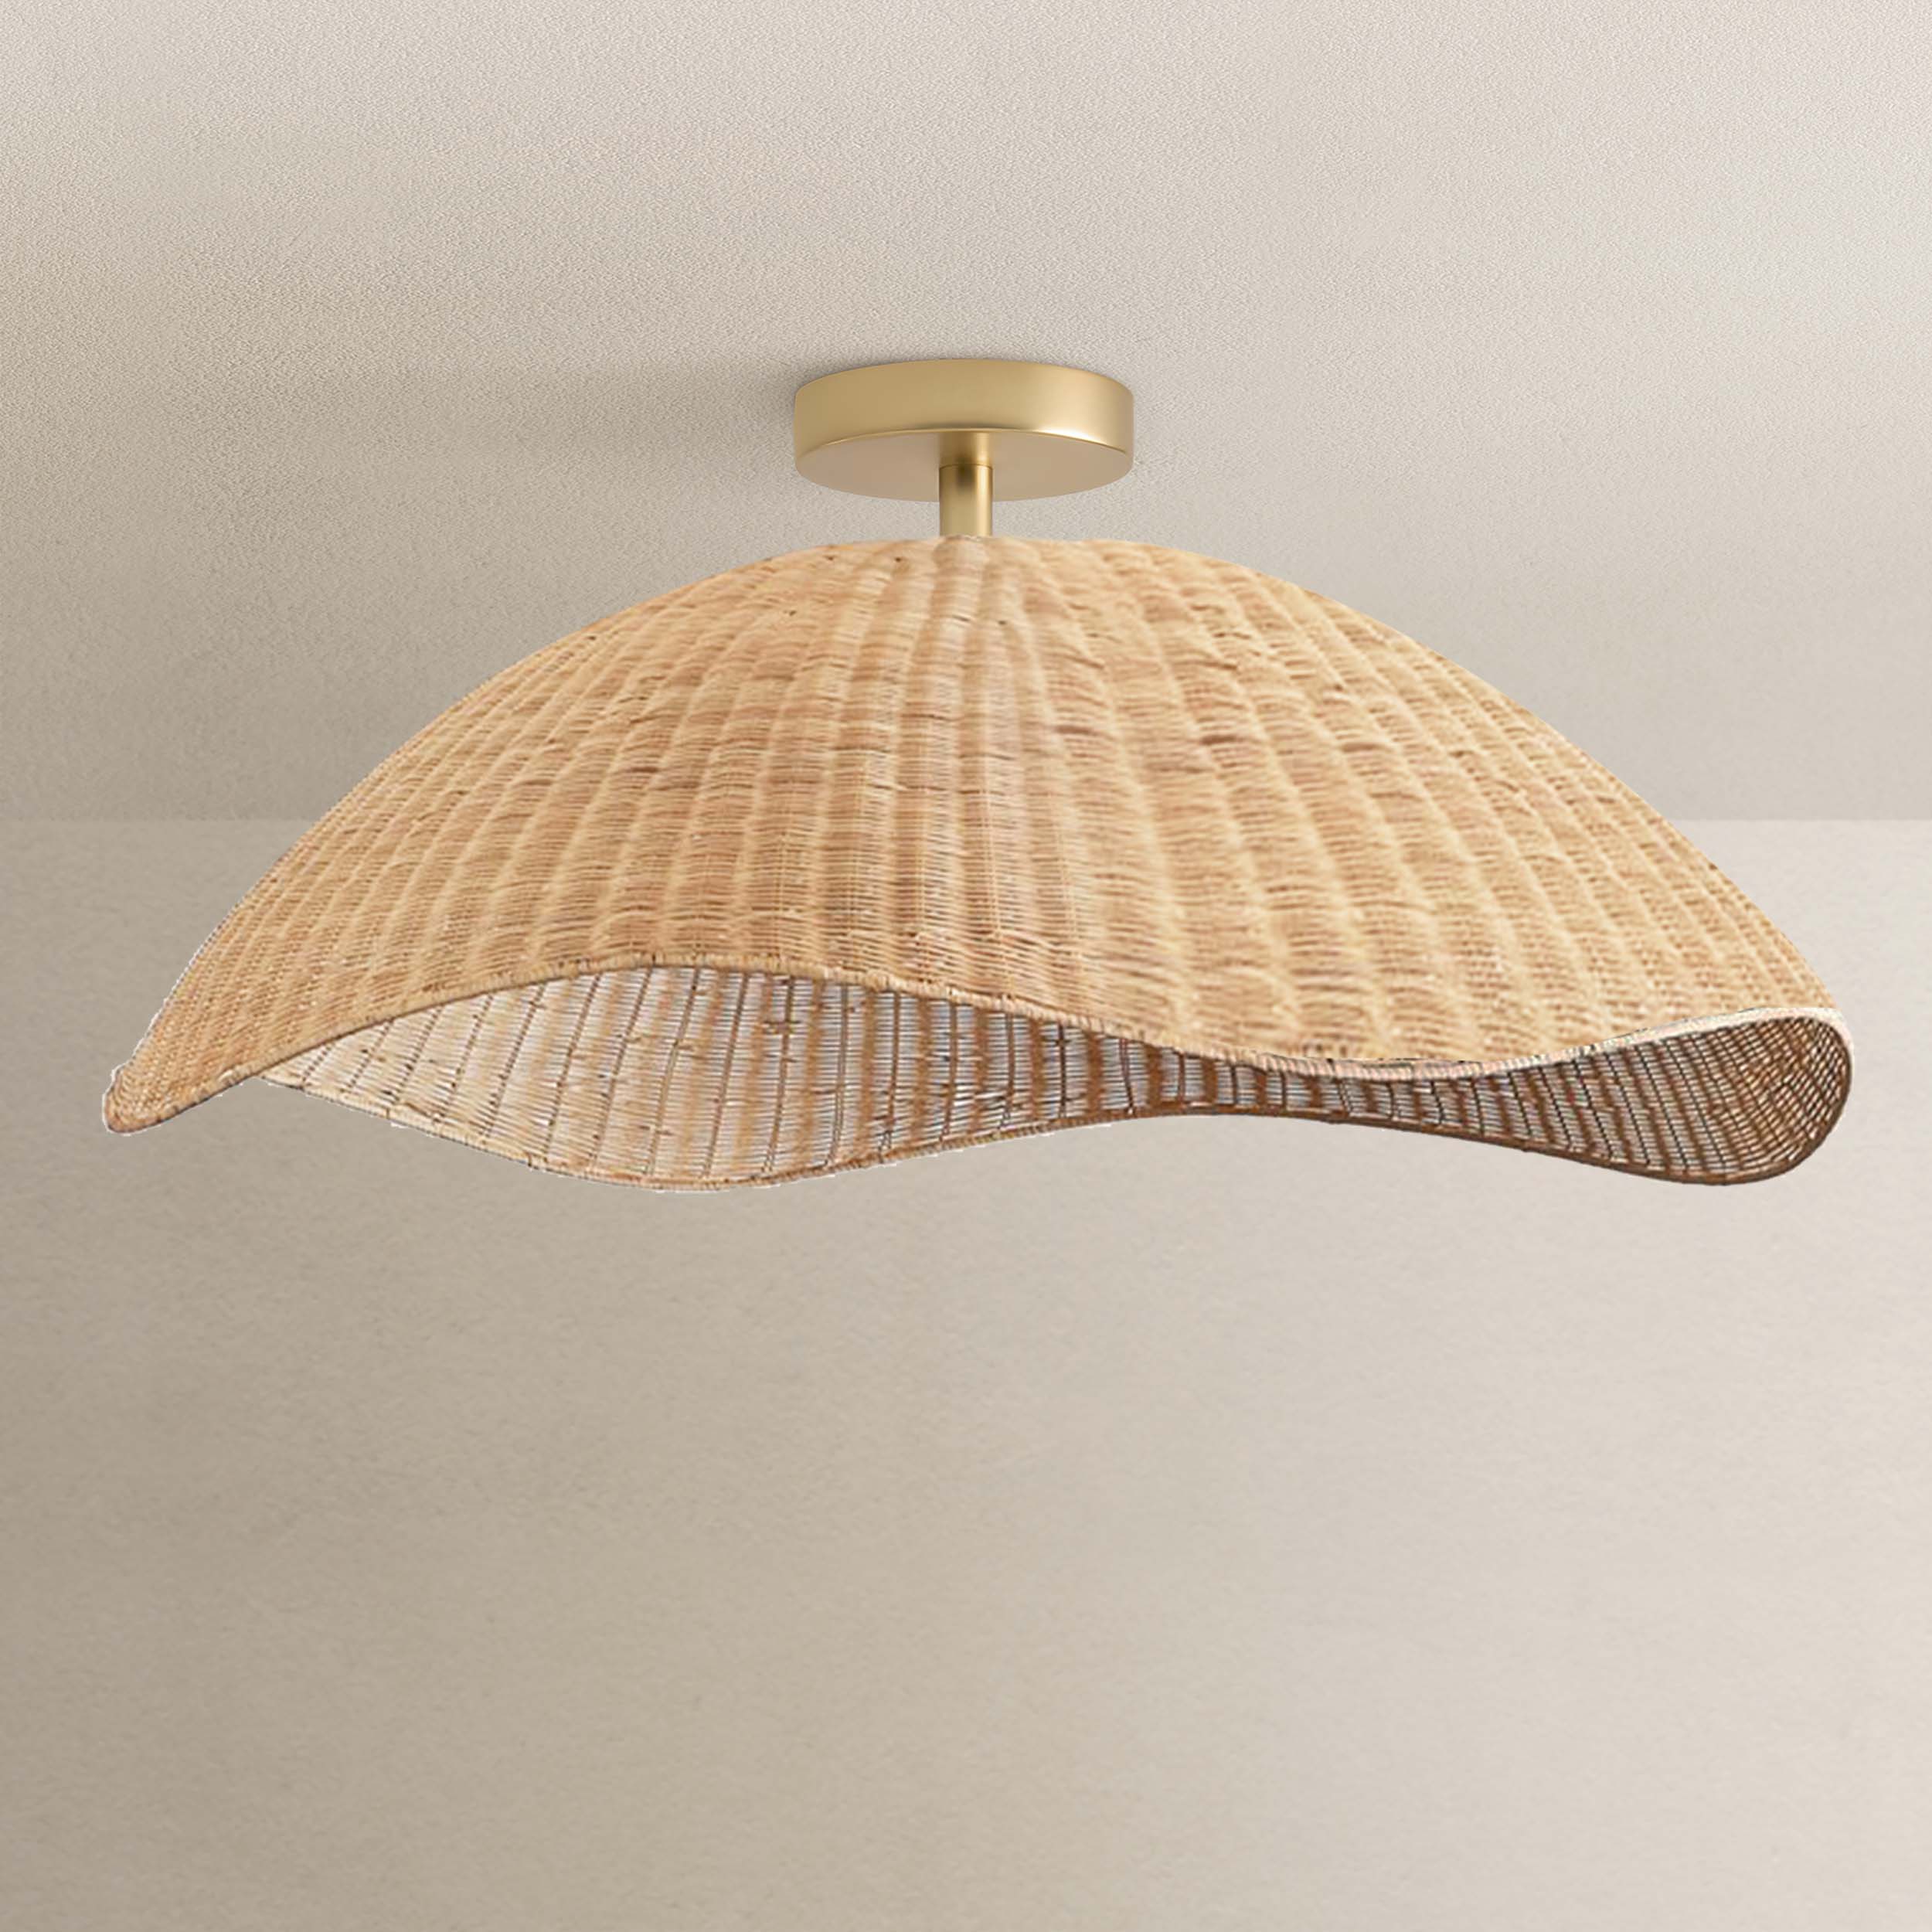
Source: Rowabi.

Source: Rowabi.
Can I replace recessed lighting with flush mount lighting on my own?
What are the benefits of replacing recessed lighting with flush mount lighting?
Are there any specific tools or materials I need to replace recessed lighting with flush mount lighting?
Can I use the existing wiring from the recessed lighting for the new flush mount lighting?
How can I ensure the new flush mount lighting is installed securely and safely?
Replacing recessed lighting with flush-mount lighting can be a fun and easy way to transform a room while improving lighting efficiency and saving space. Whether you want a more modern look or easier access to your light fixtures, flush mounts have it all.
With Rowabi’s high-quality lighting options, you can rest assured that your new light will add style and function to your space.

A Guide to Calculating the Amount of Light Needed in a Room
Choosing the perfect light fixture involves more than just aesthetics; it requires a precise calculation to ensure your room is neither blindingly bright nor too dim. The industry standard for dete...
Read more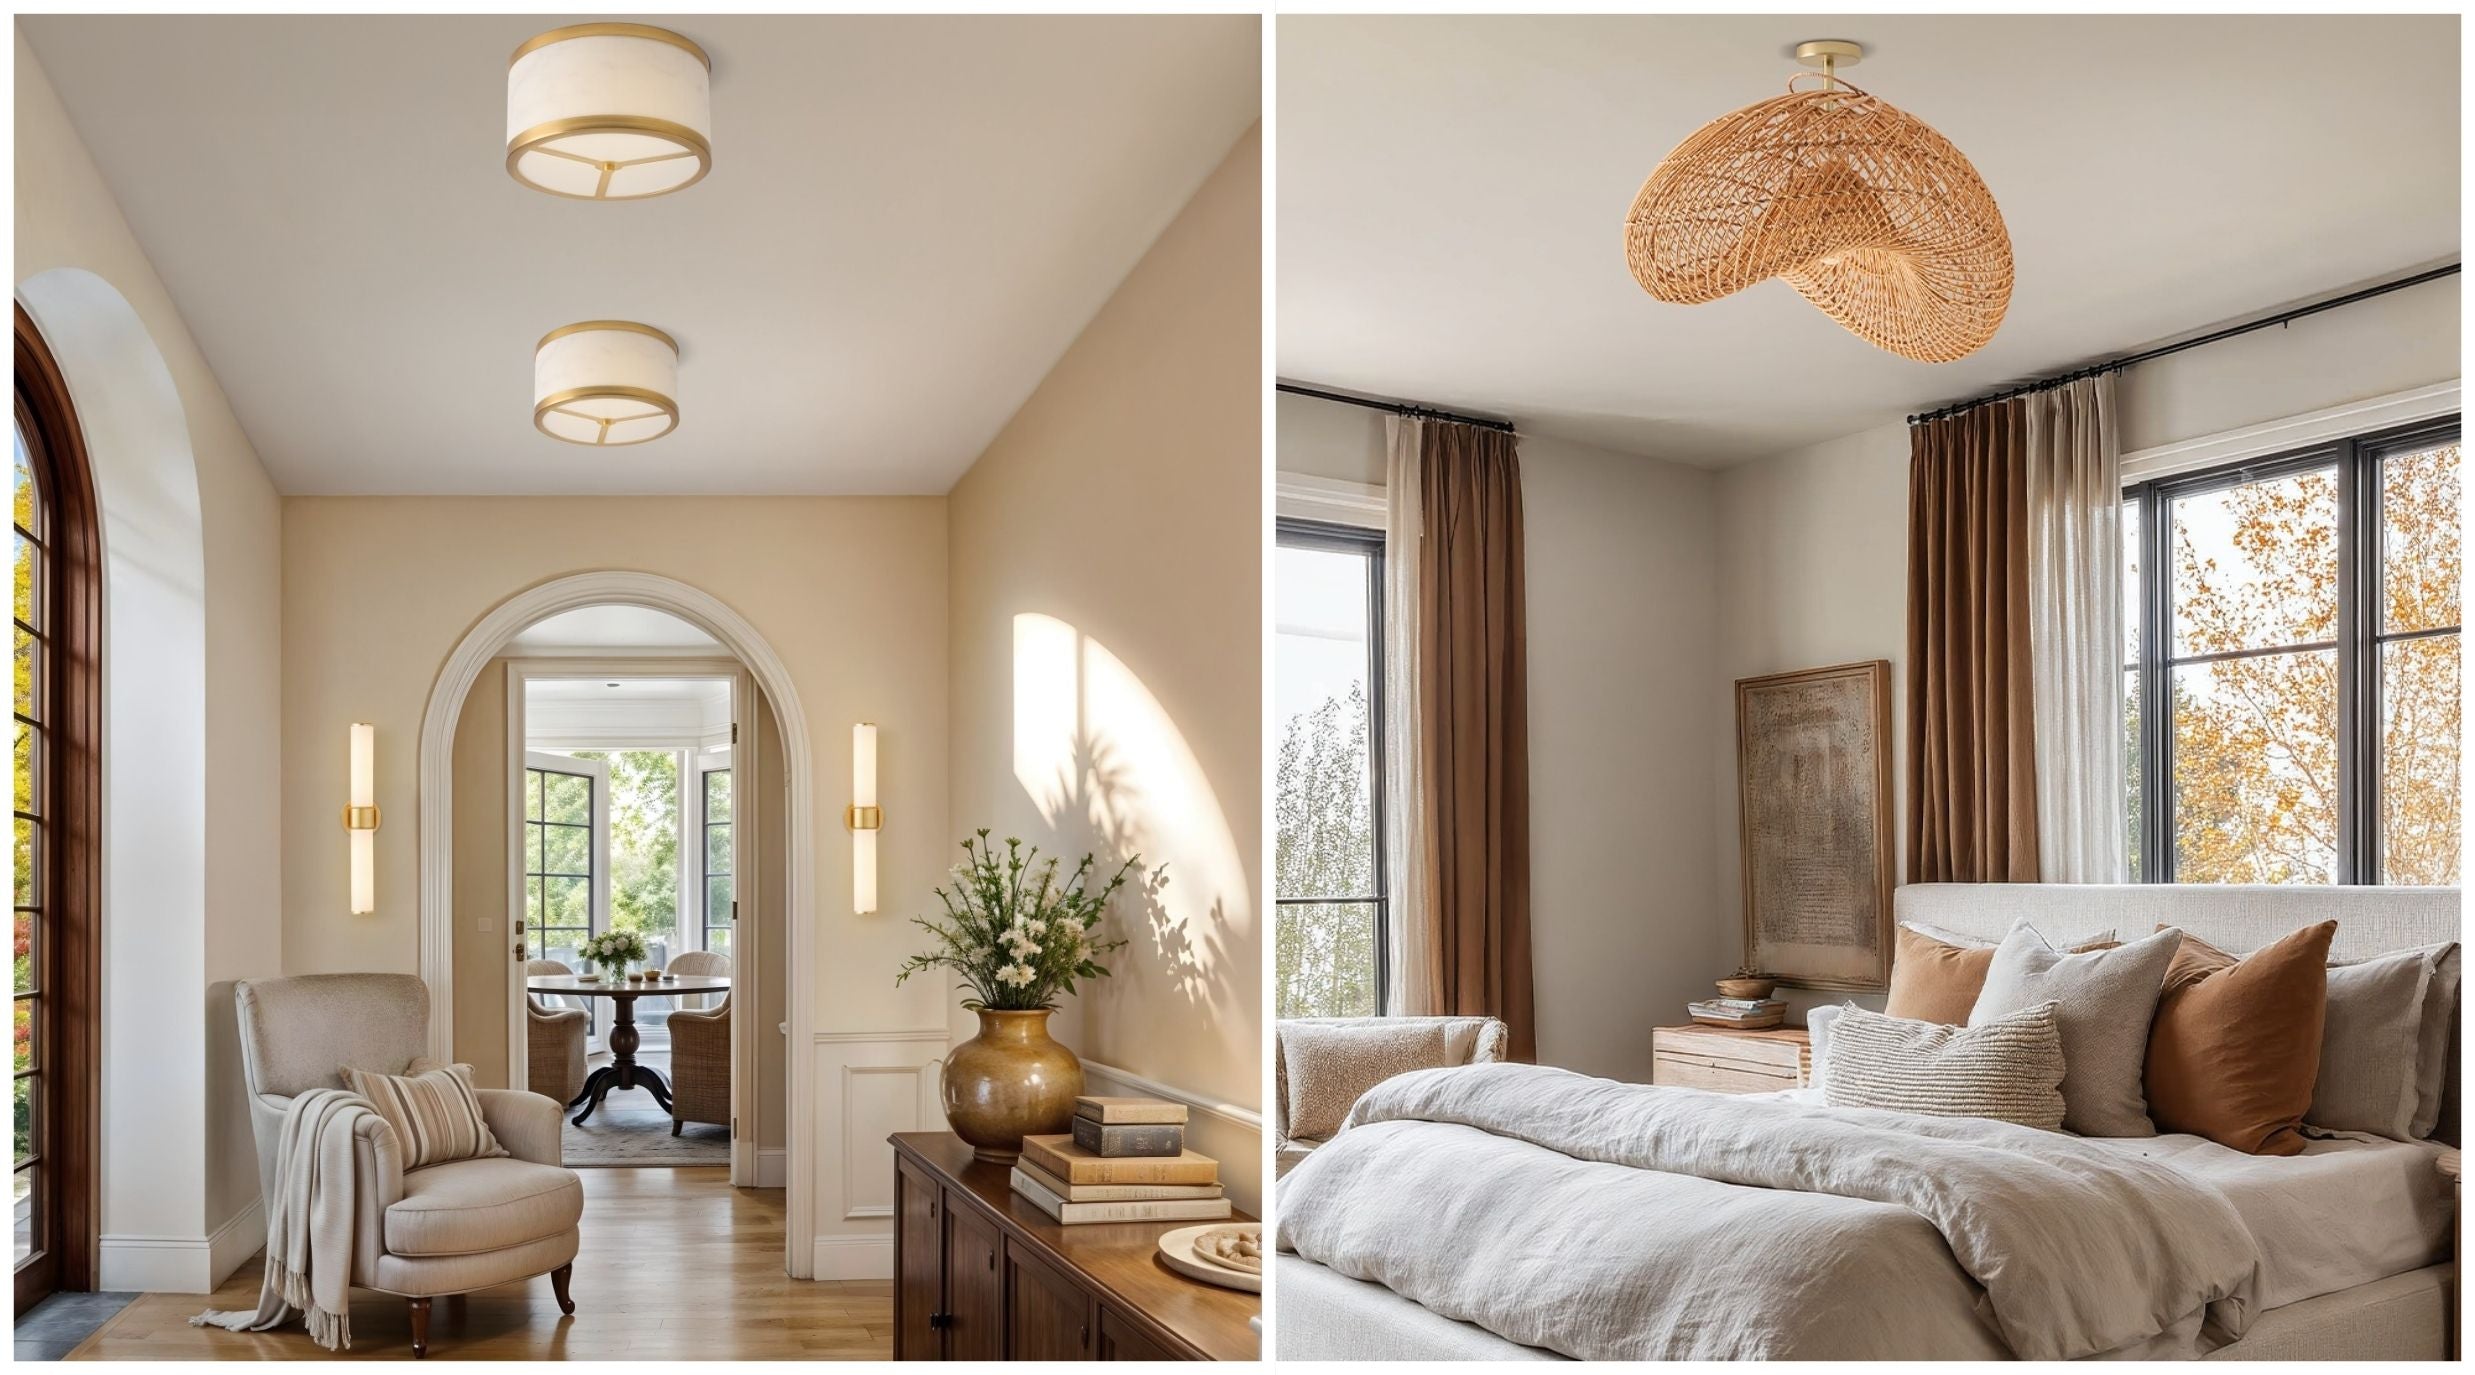
How To Install Flush Mount Ceiling Light
Installing a flush-mount ceiling light might seem like a task only for experts, but fear not! With the right tools and a little bit of patience, you can tackle this DIY project without calling in a...
Read more
Leave a comment
This site is protected by hCaptcha and the hCaptcha Privacy Policy and Terms of Service apply.