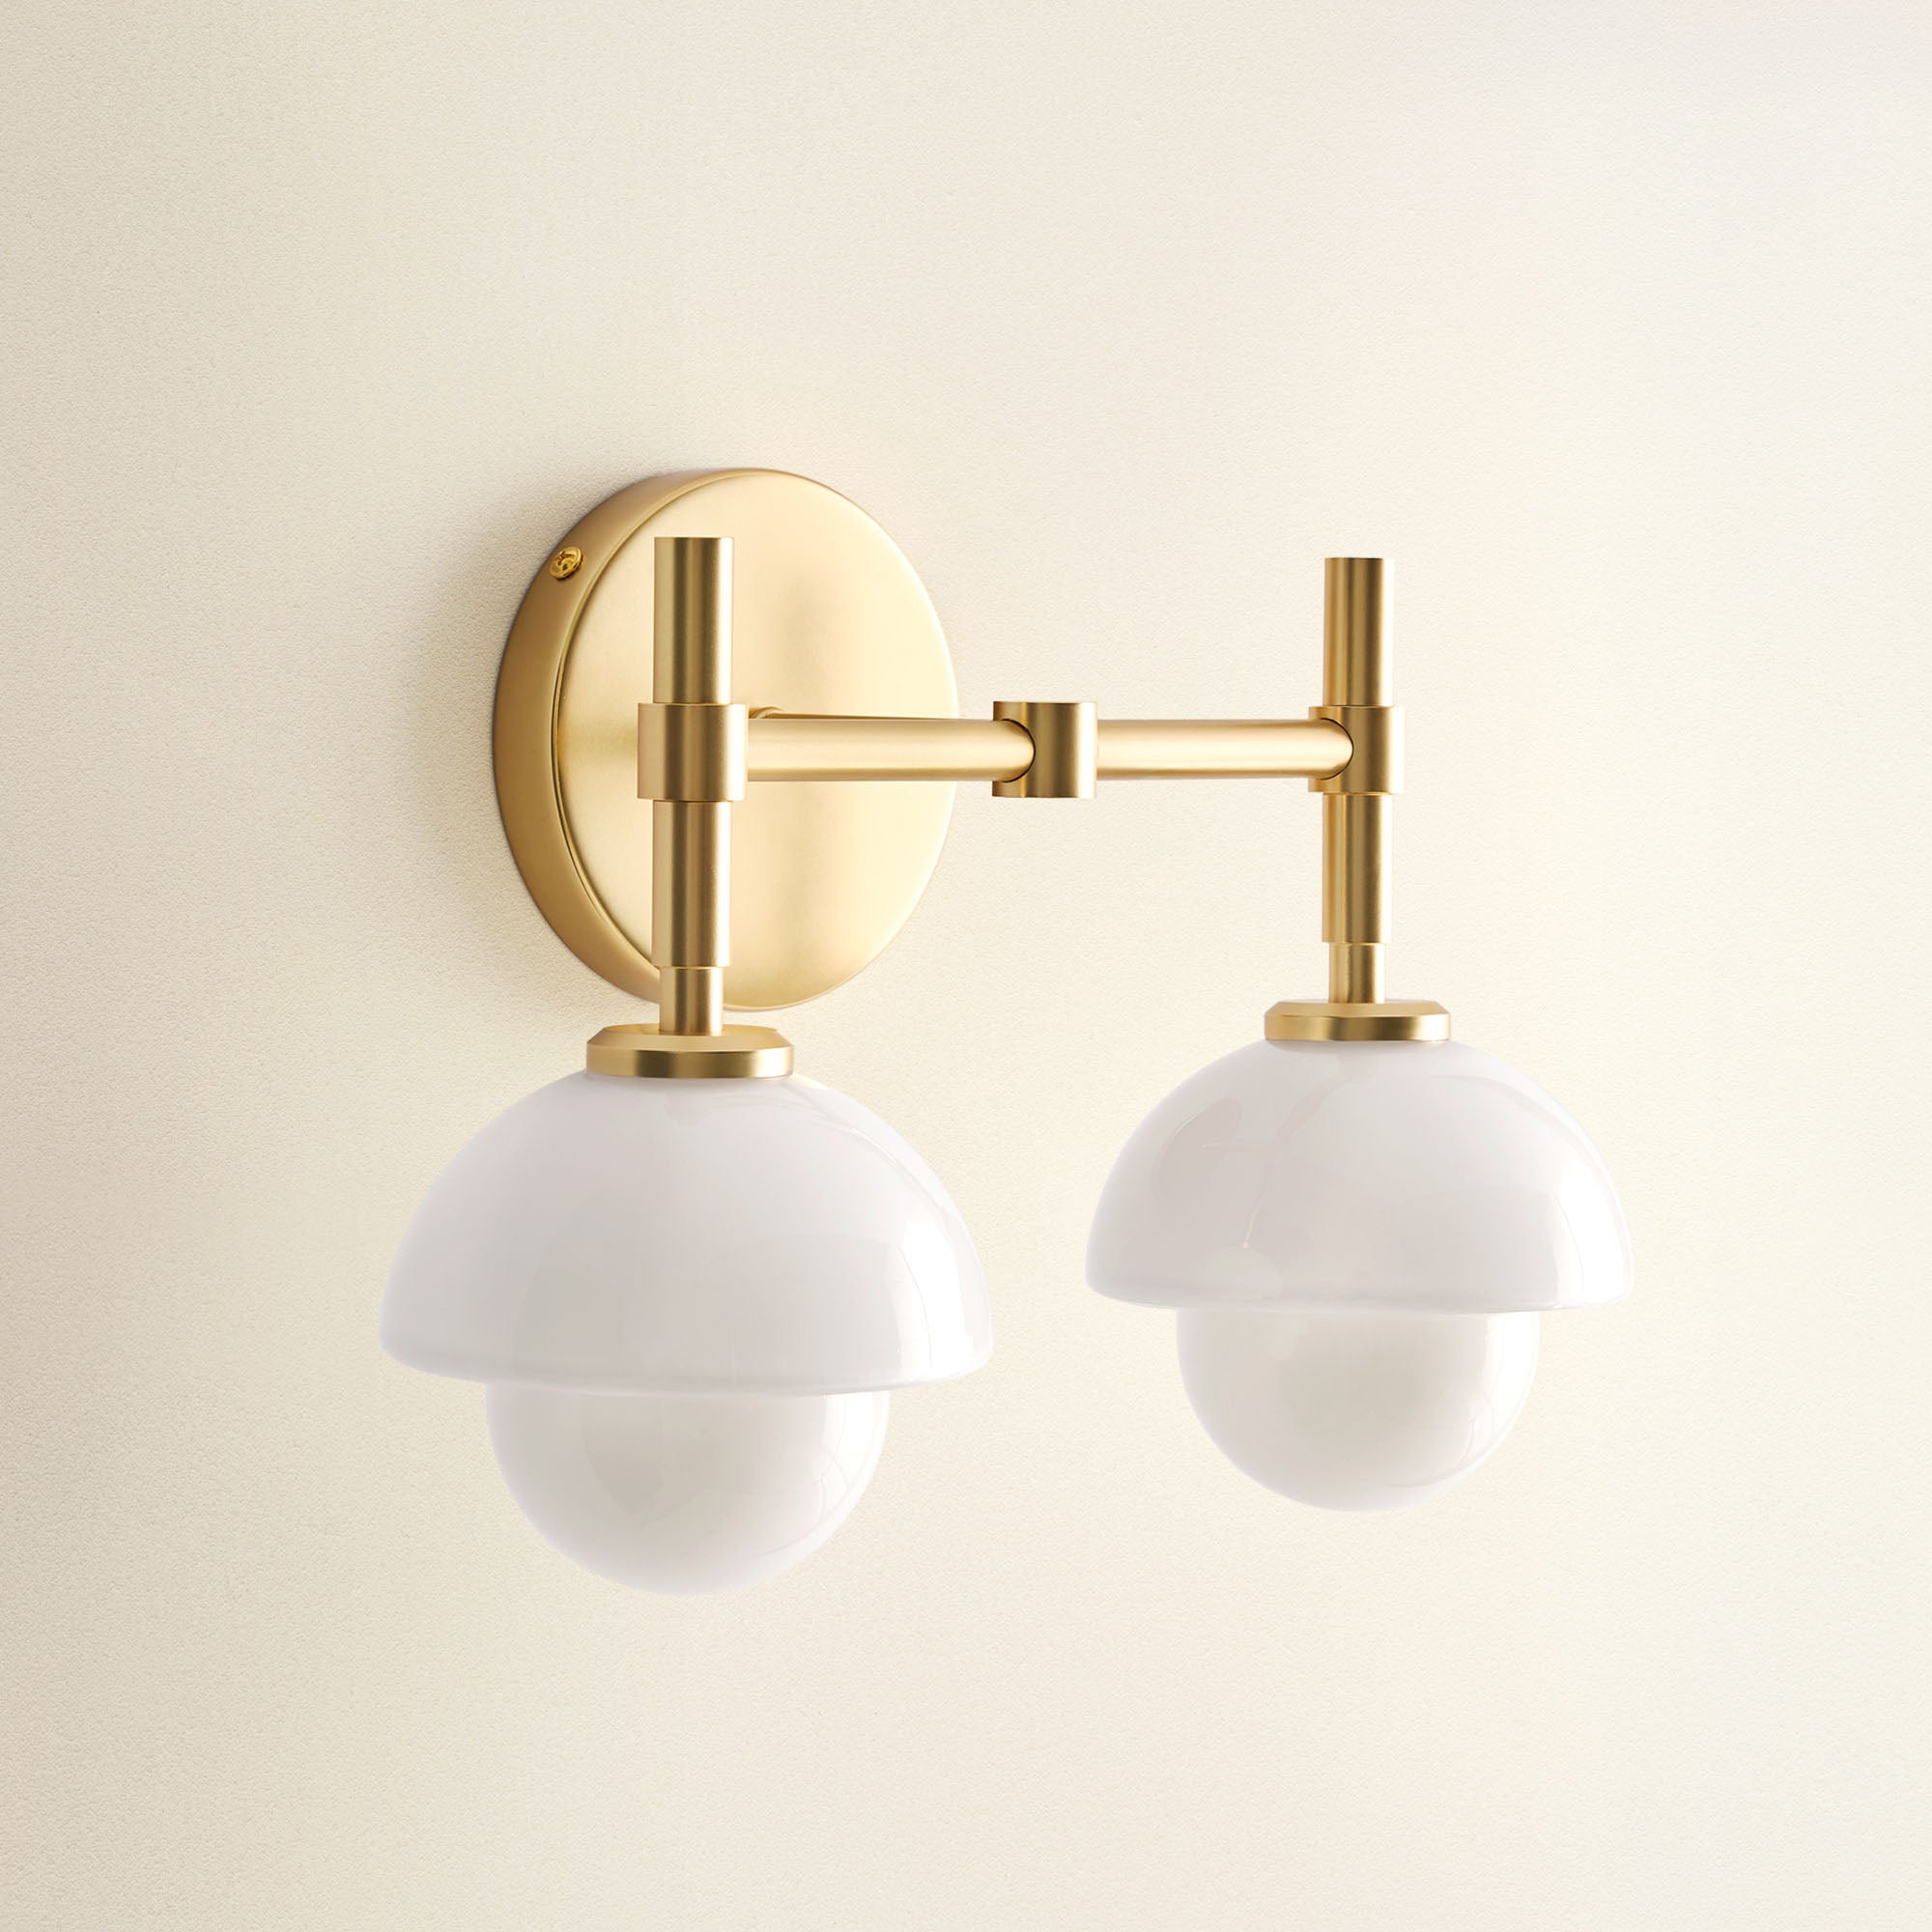
Gifting has never been easier
Perfect if you're short on time or are unable to deliver your gift yourself. Enter your message and select when to send it.
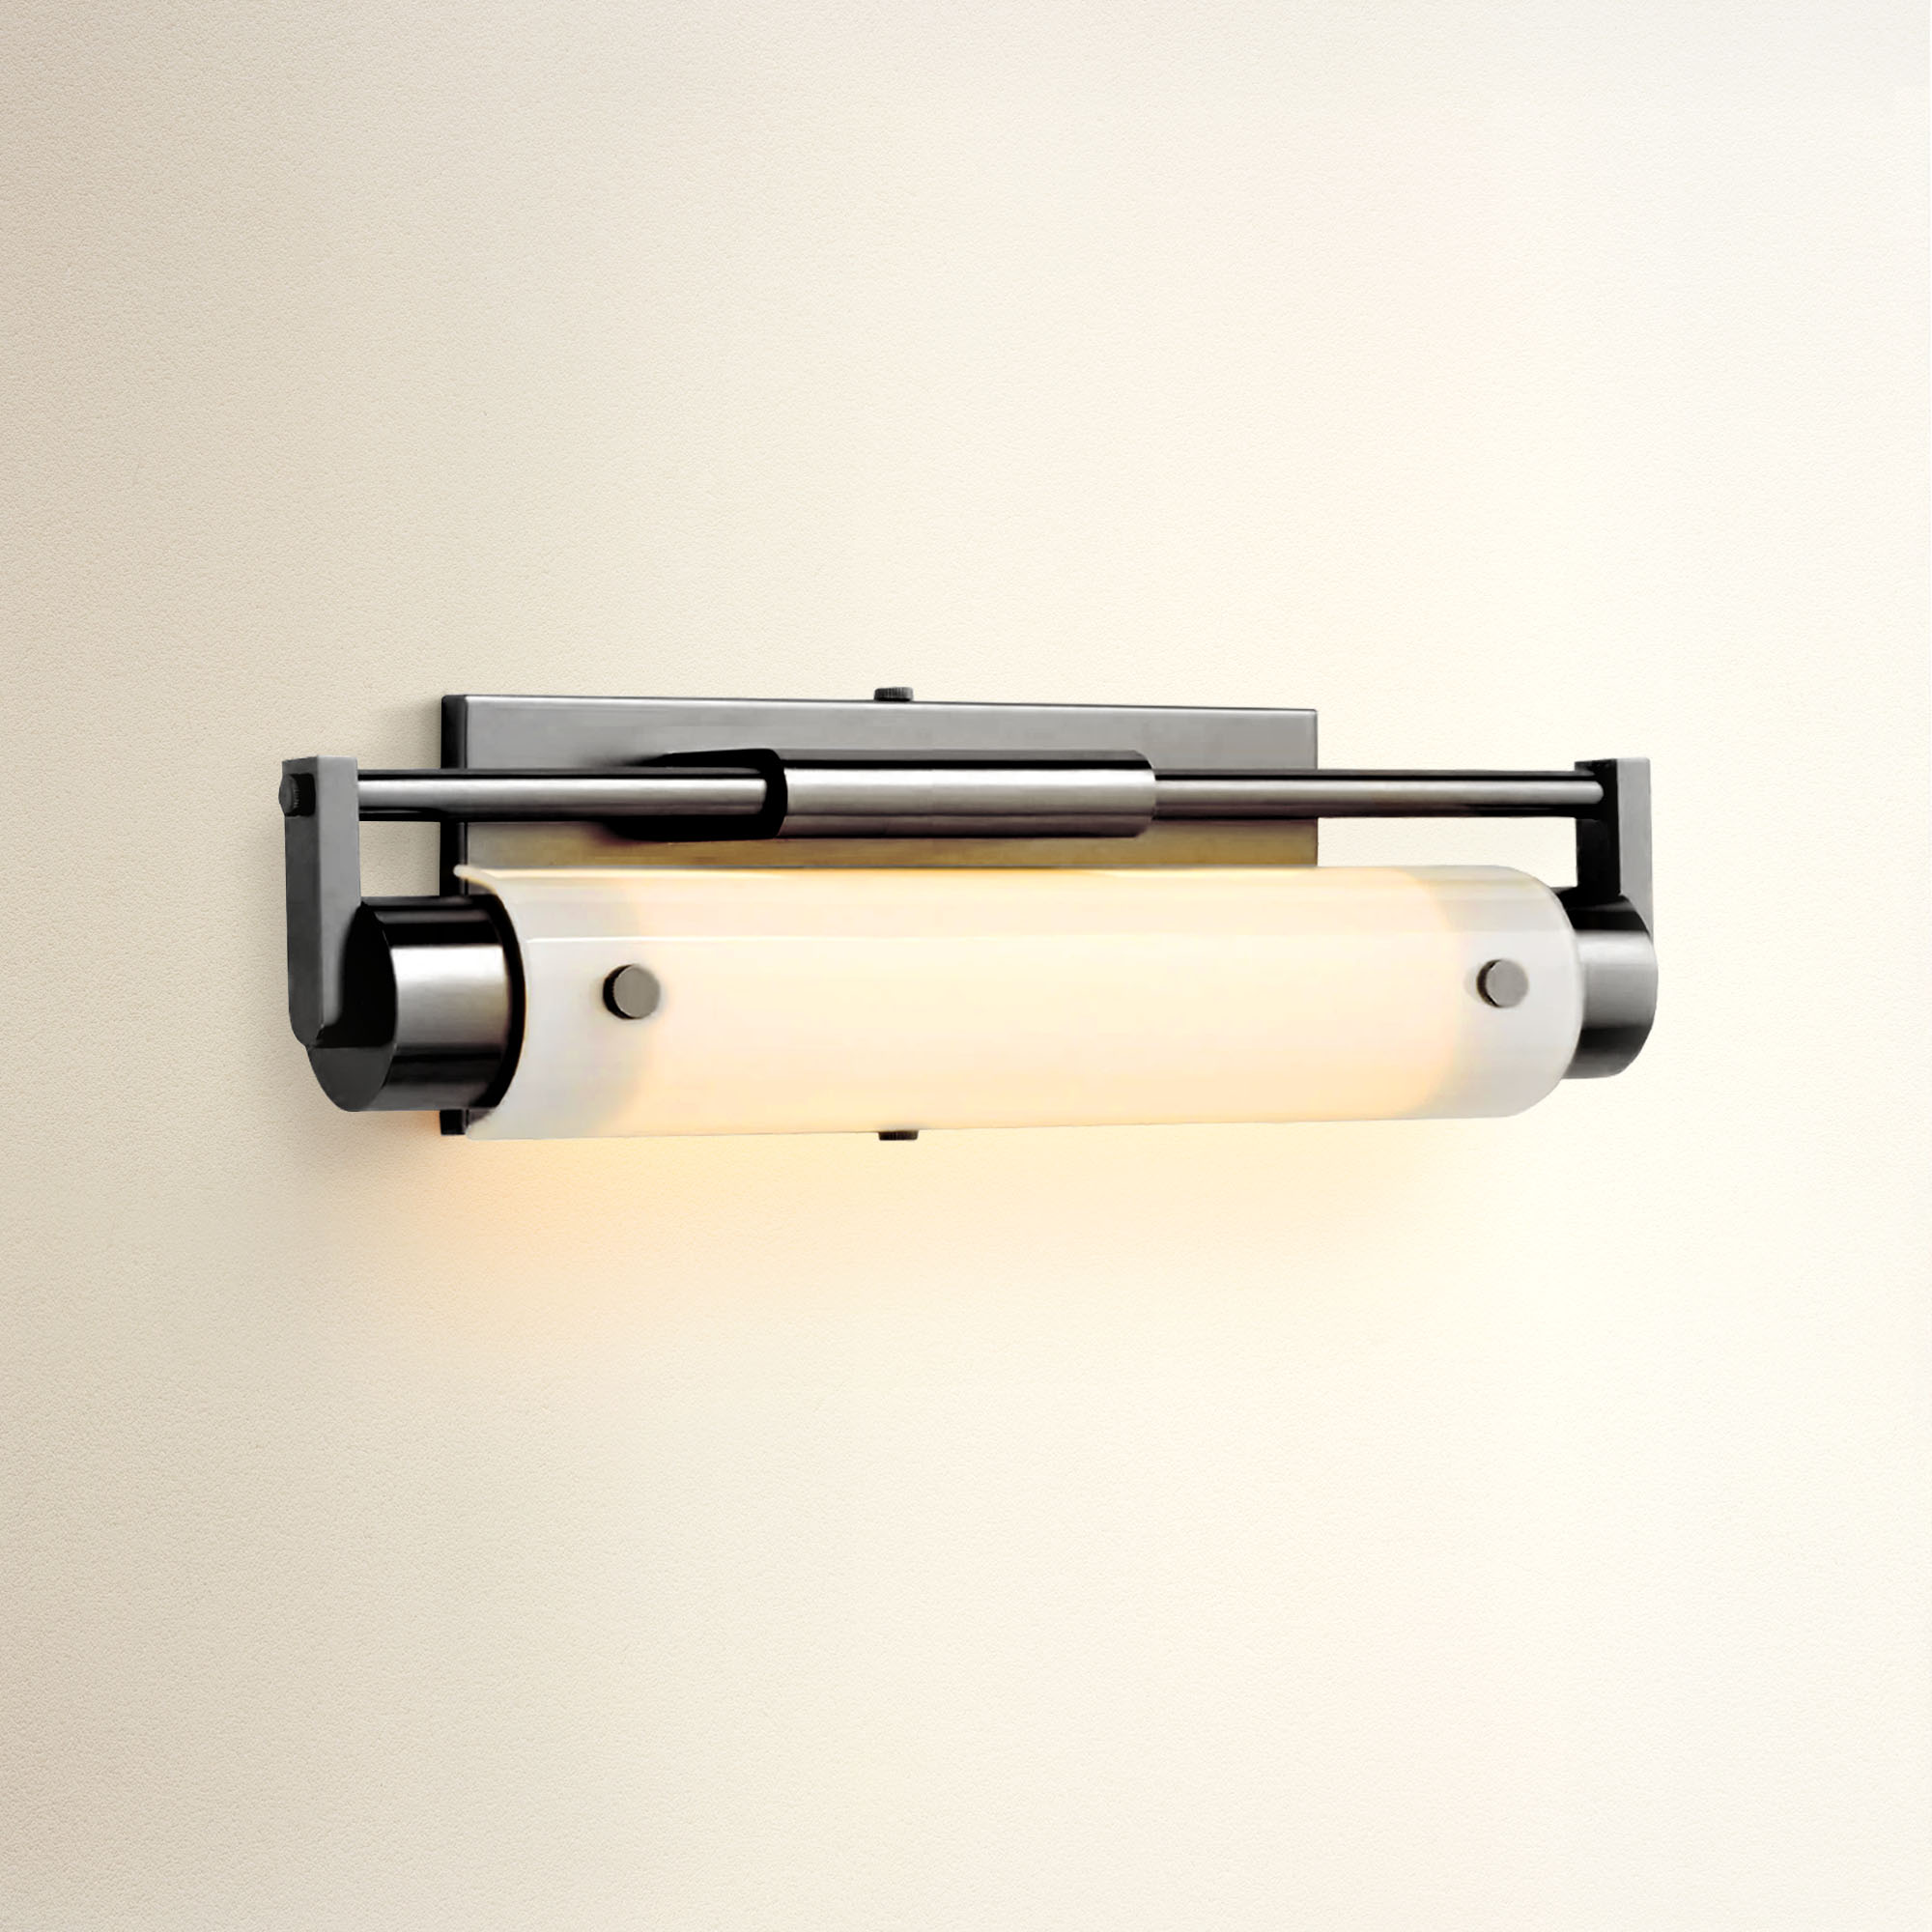
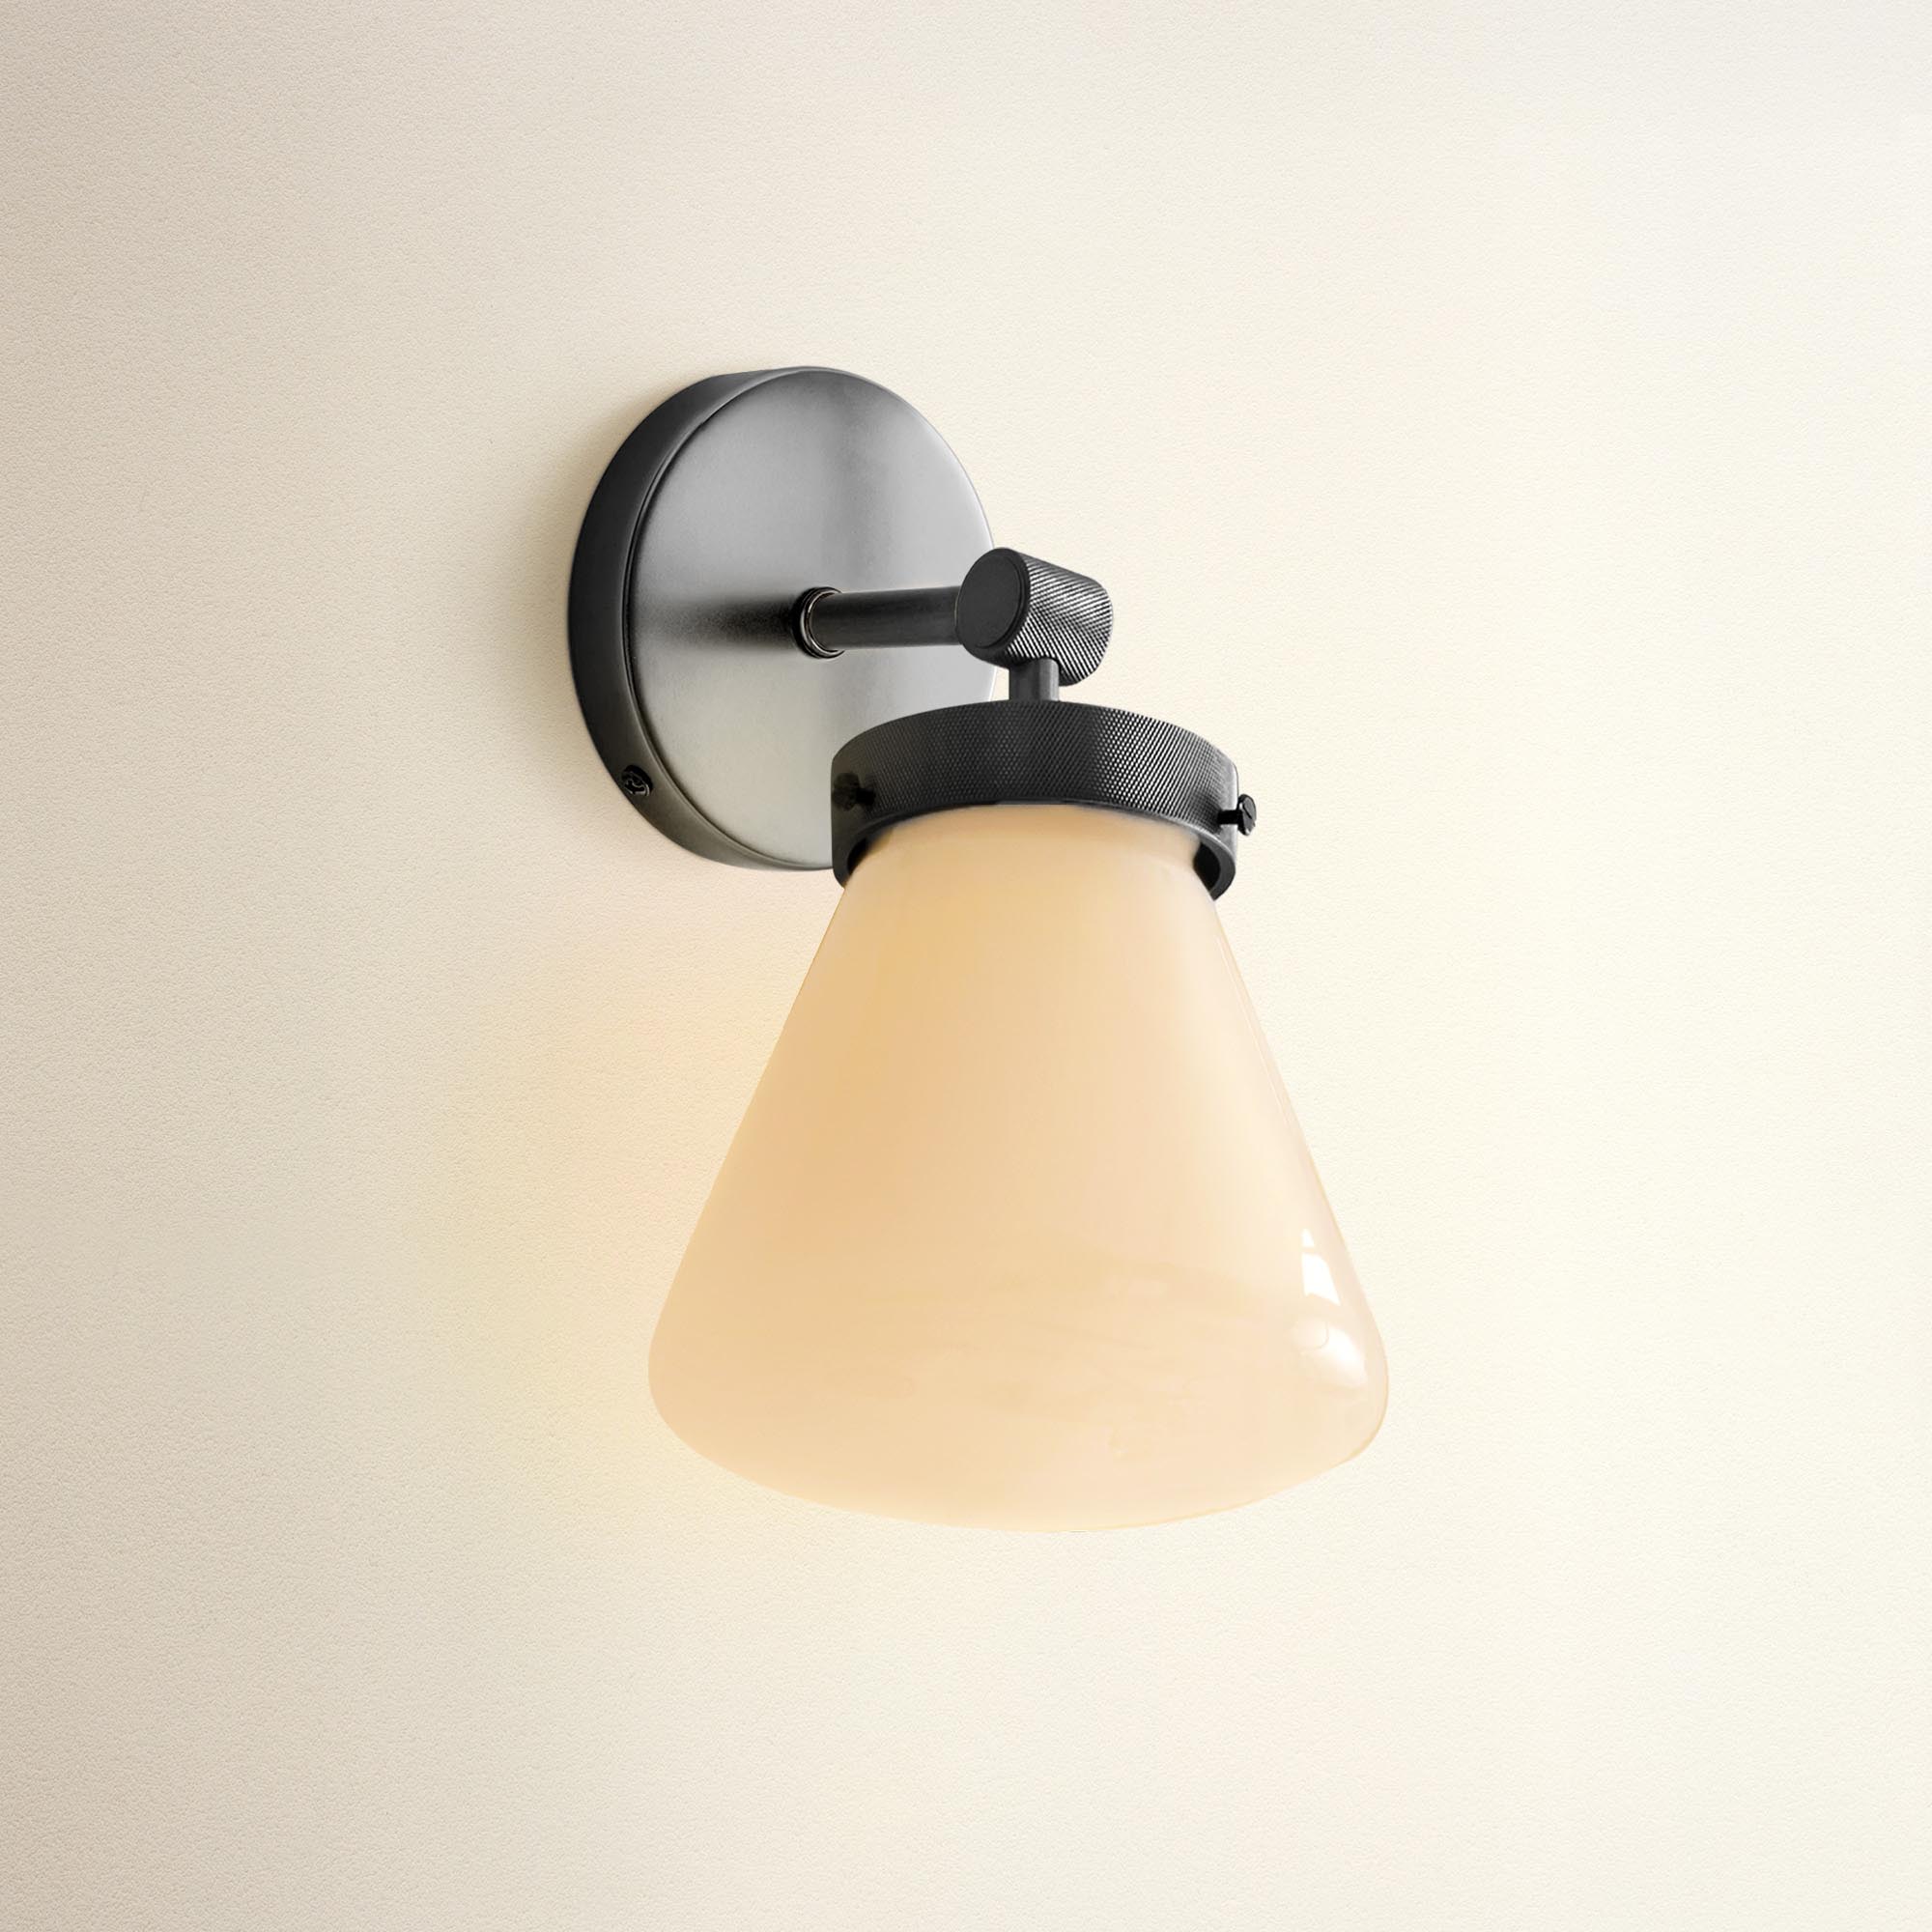
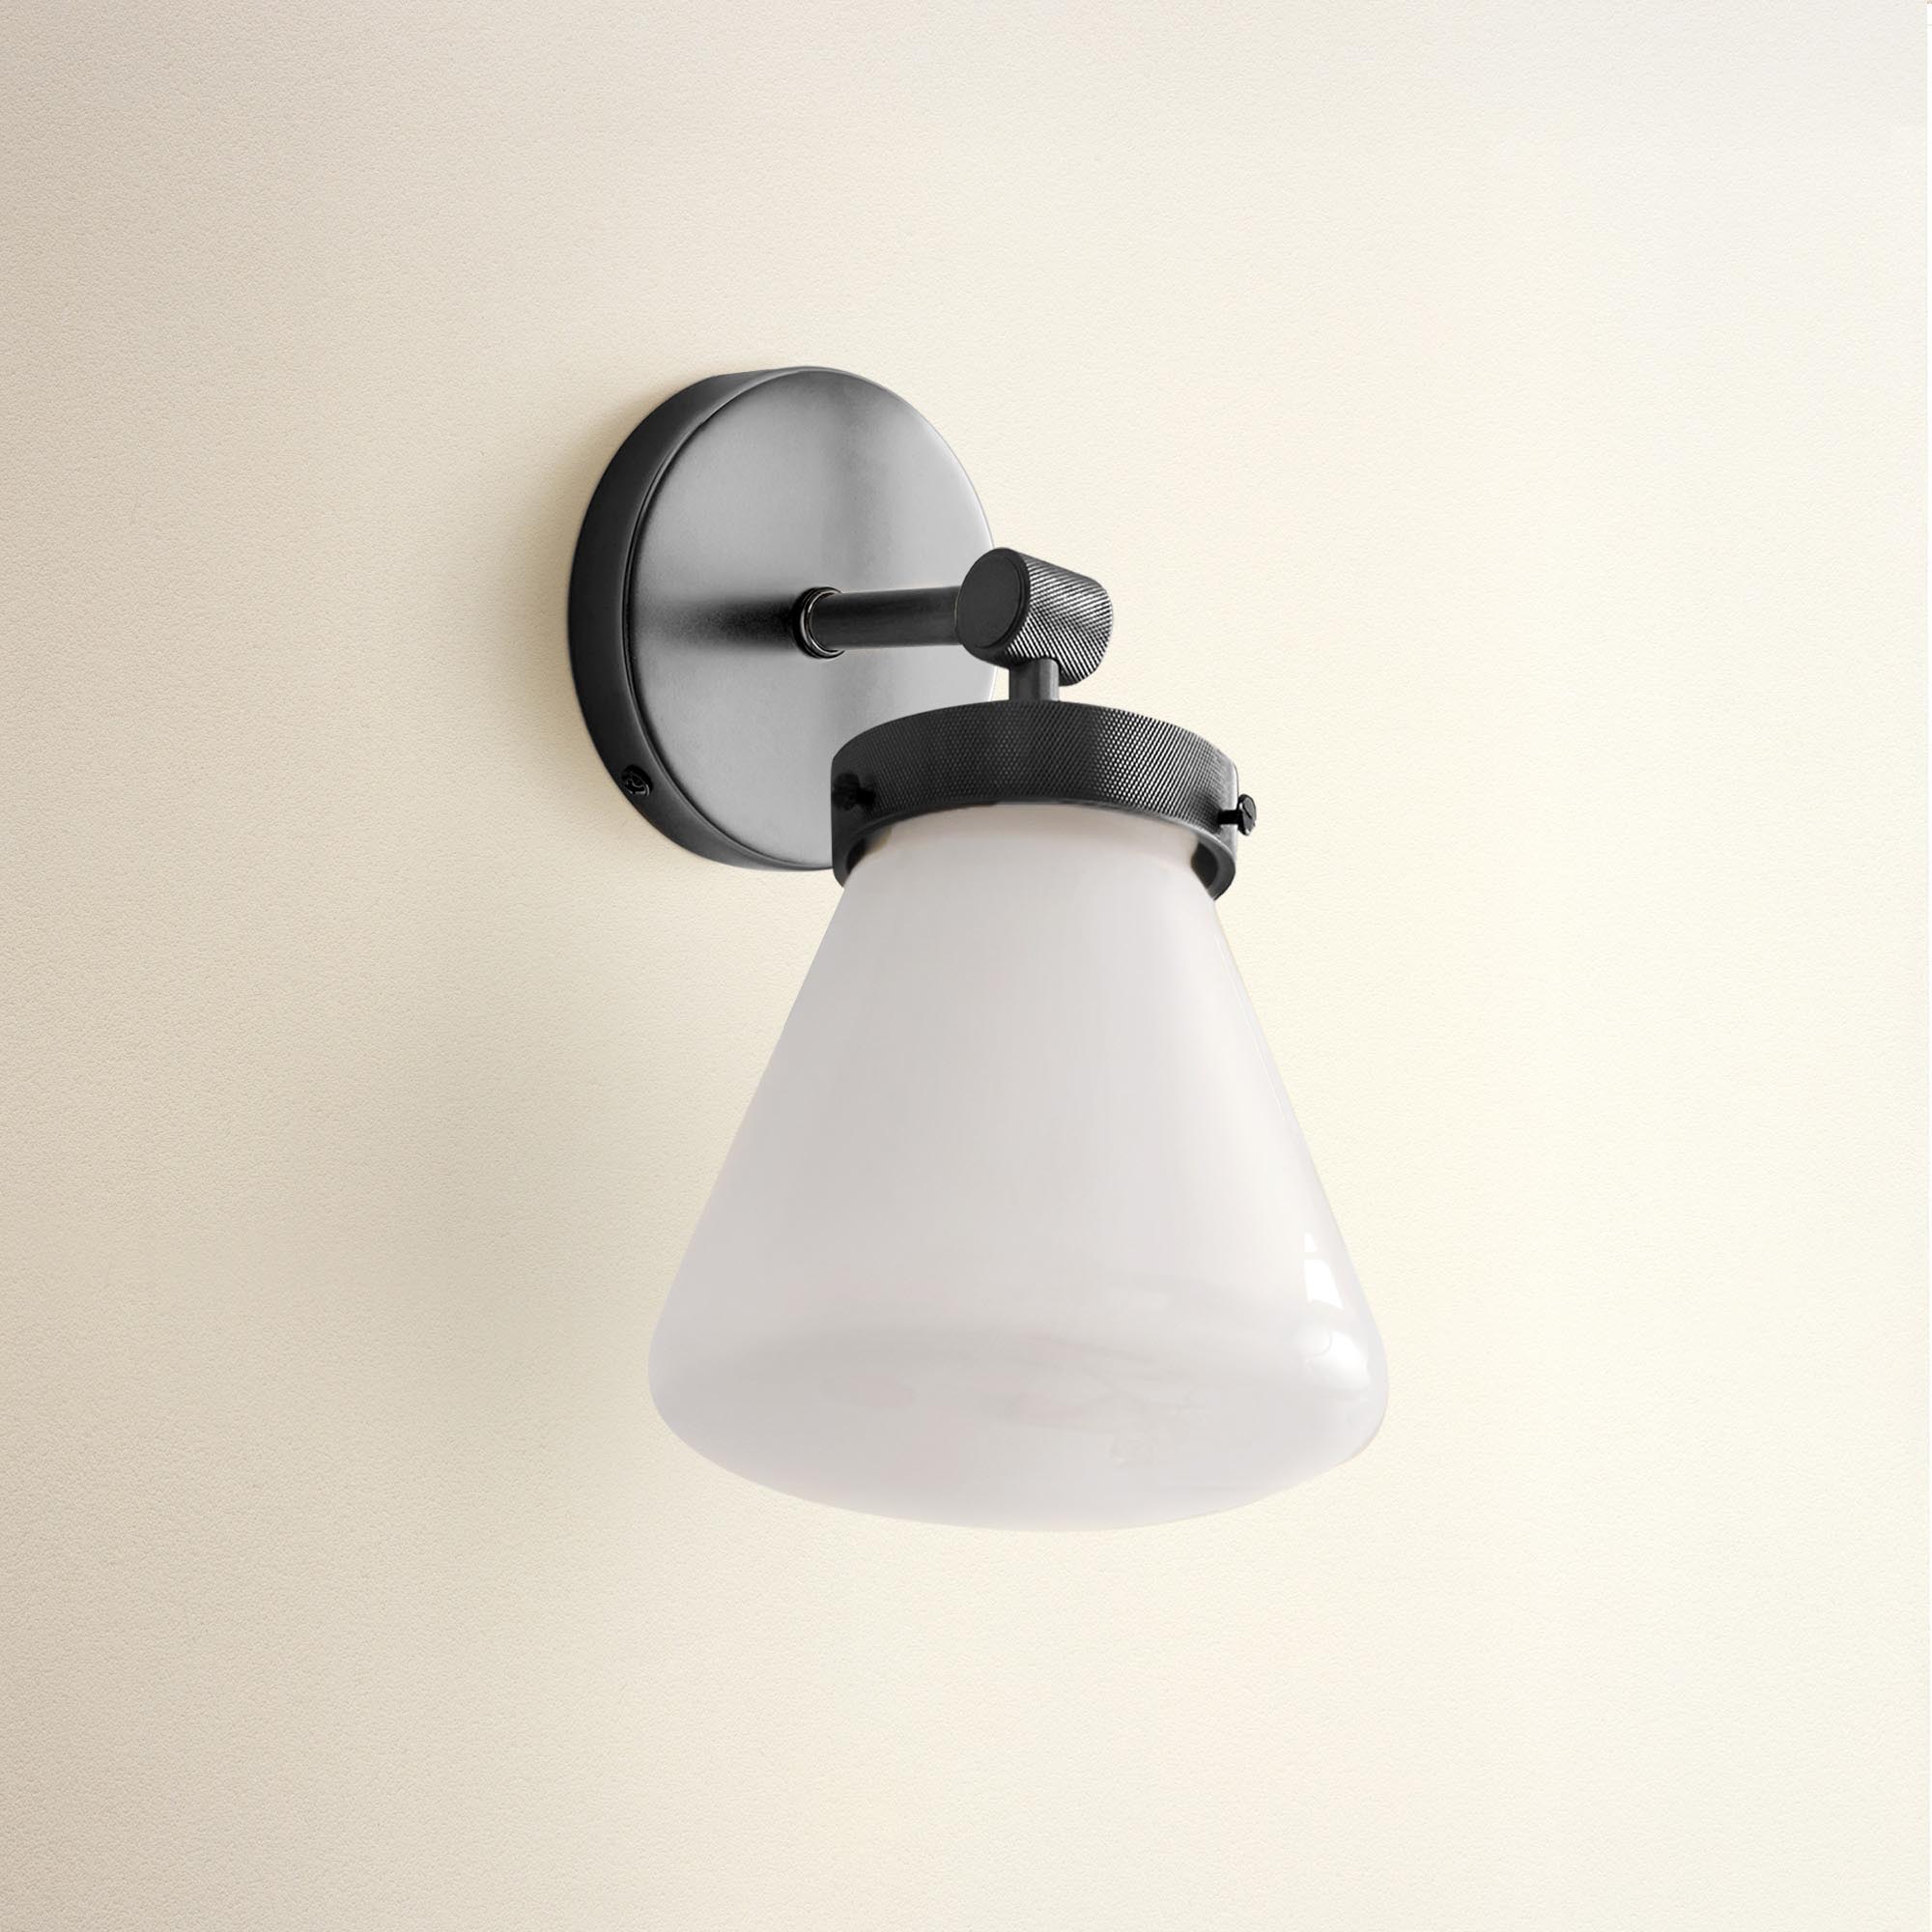
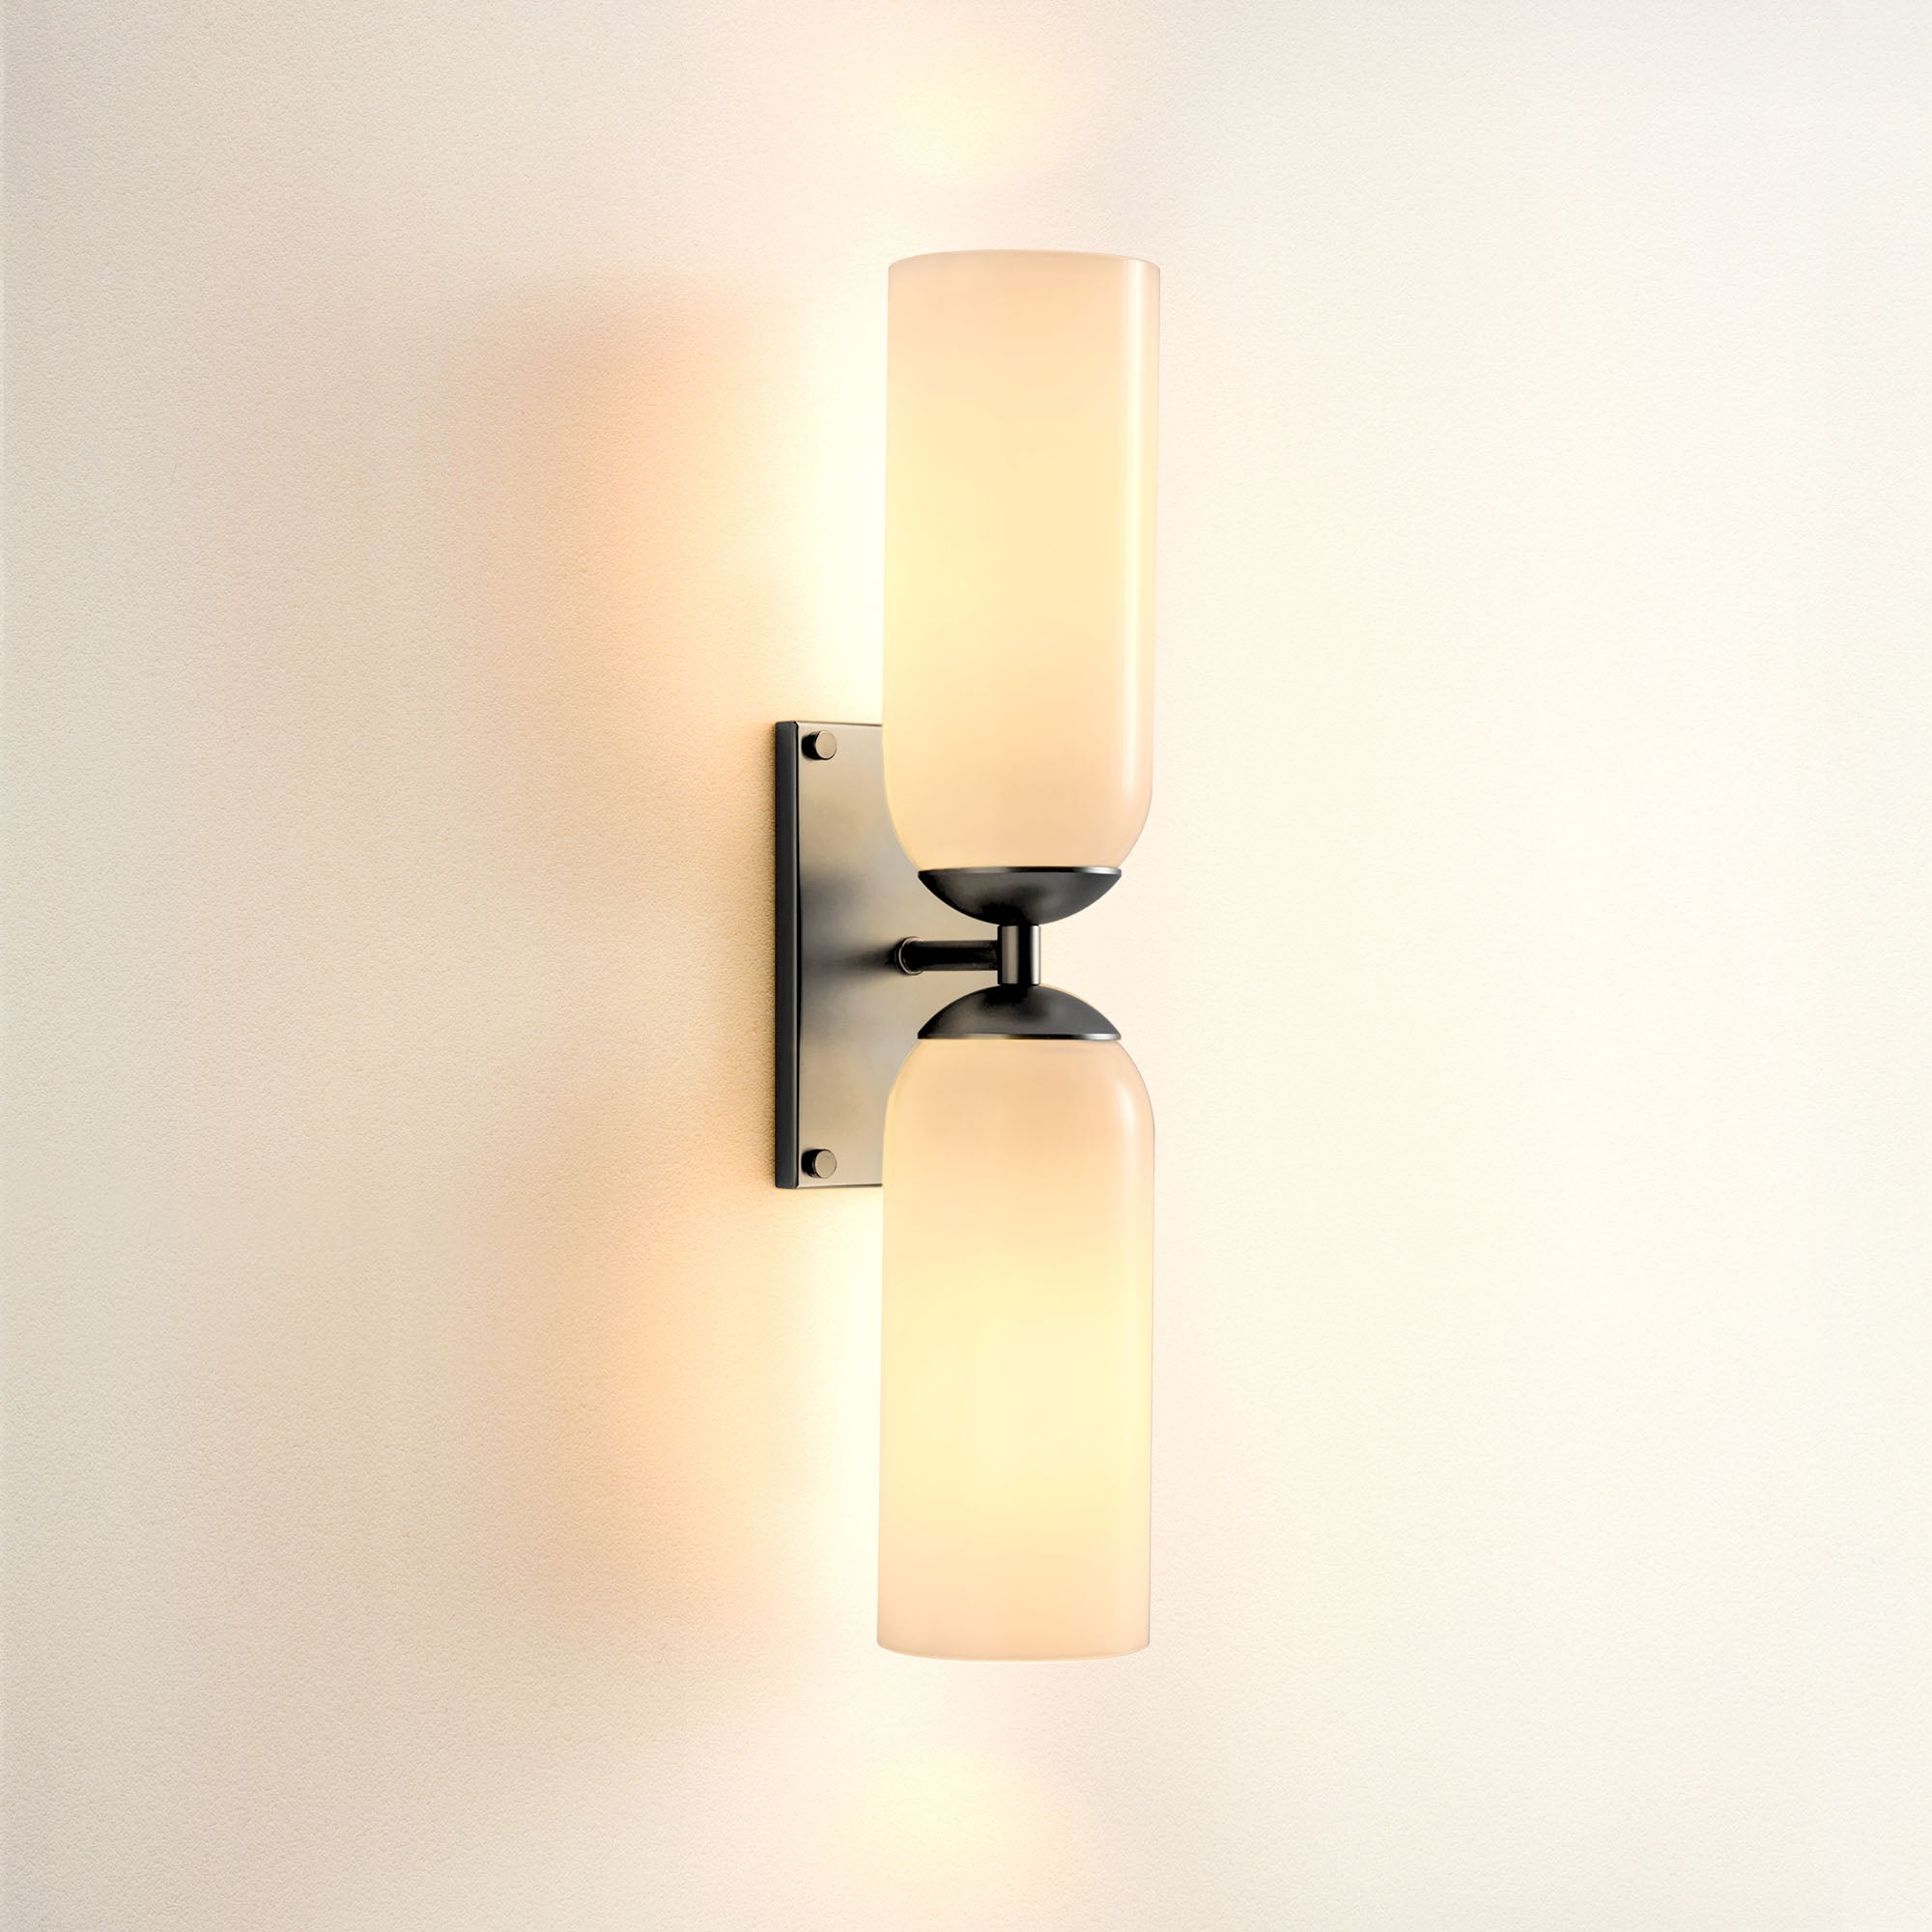
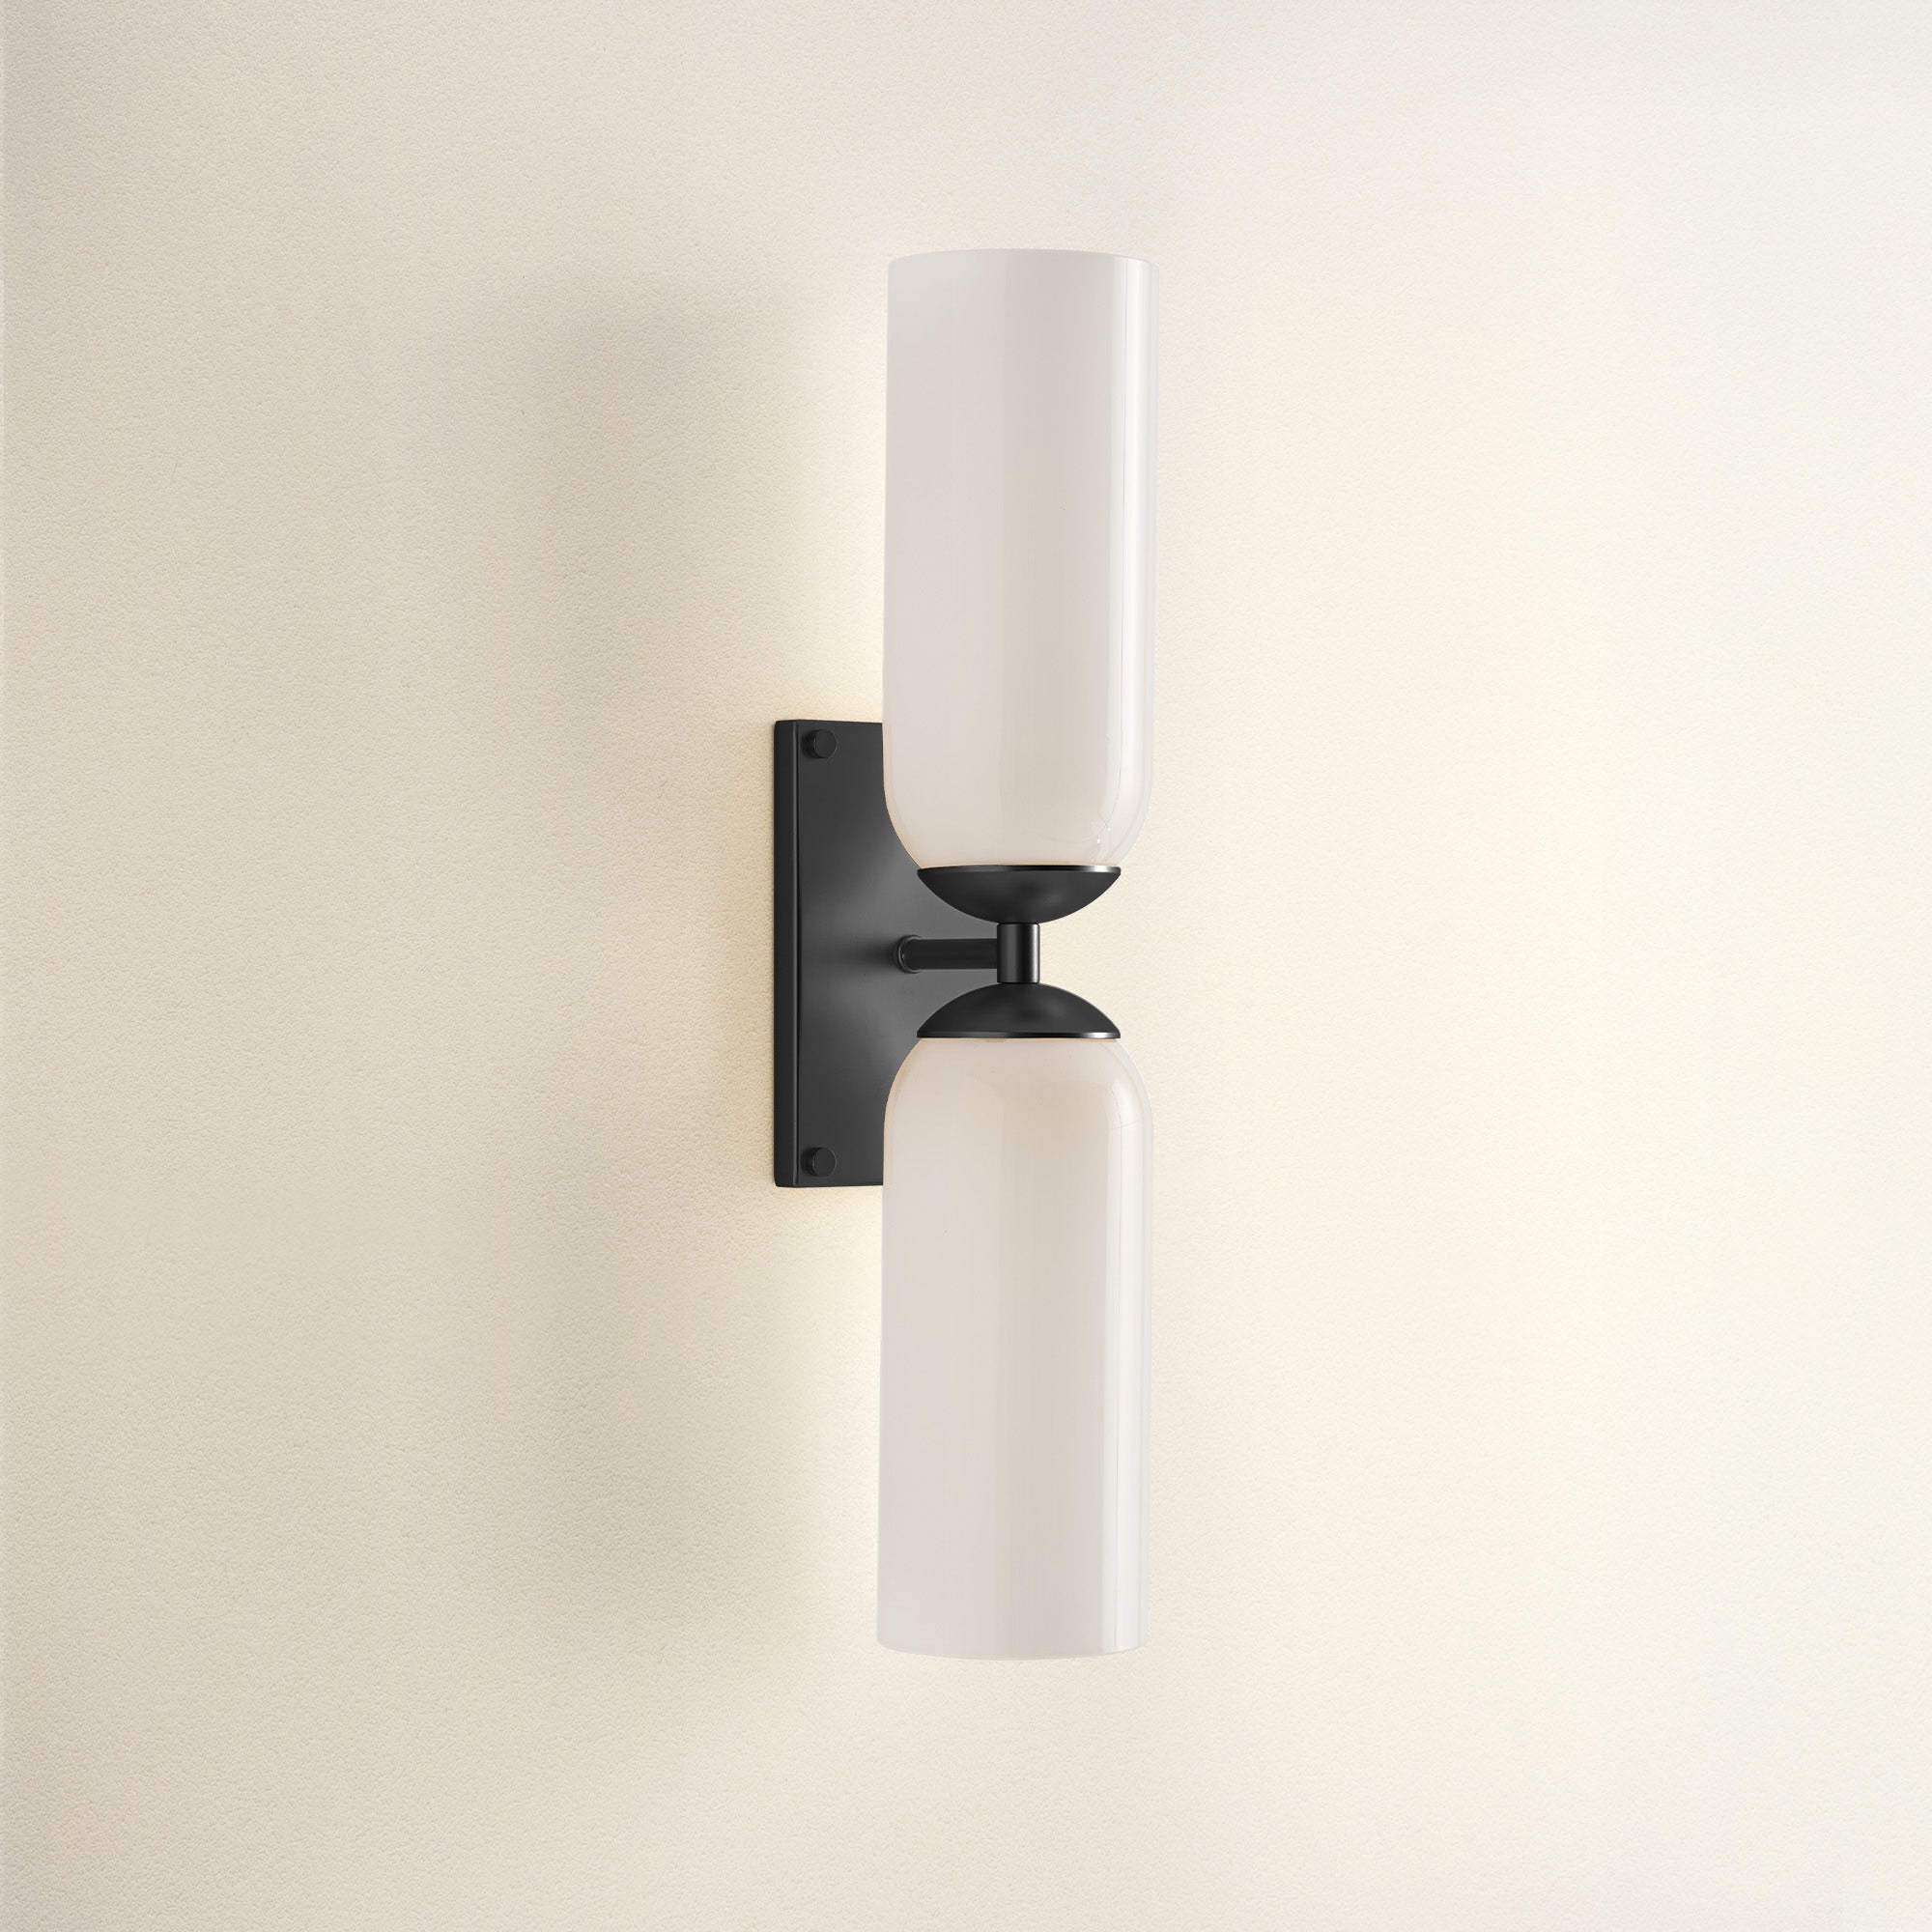
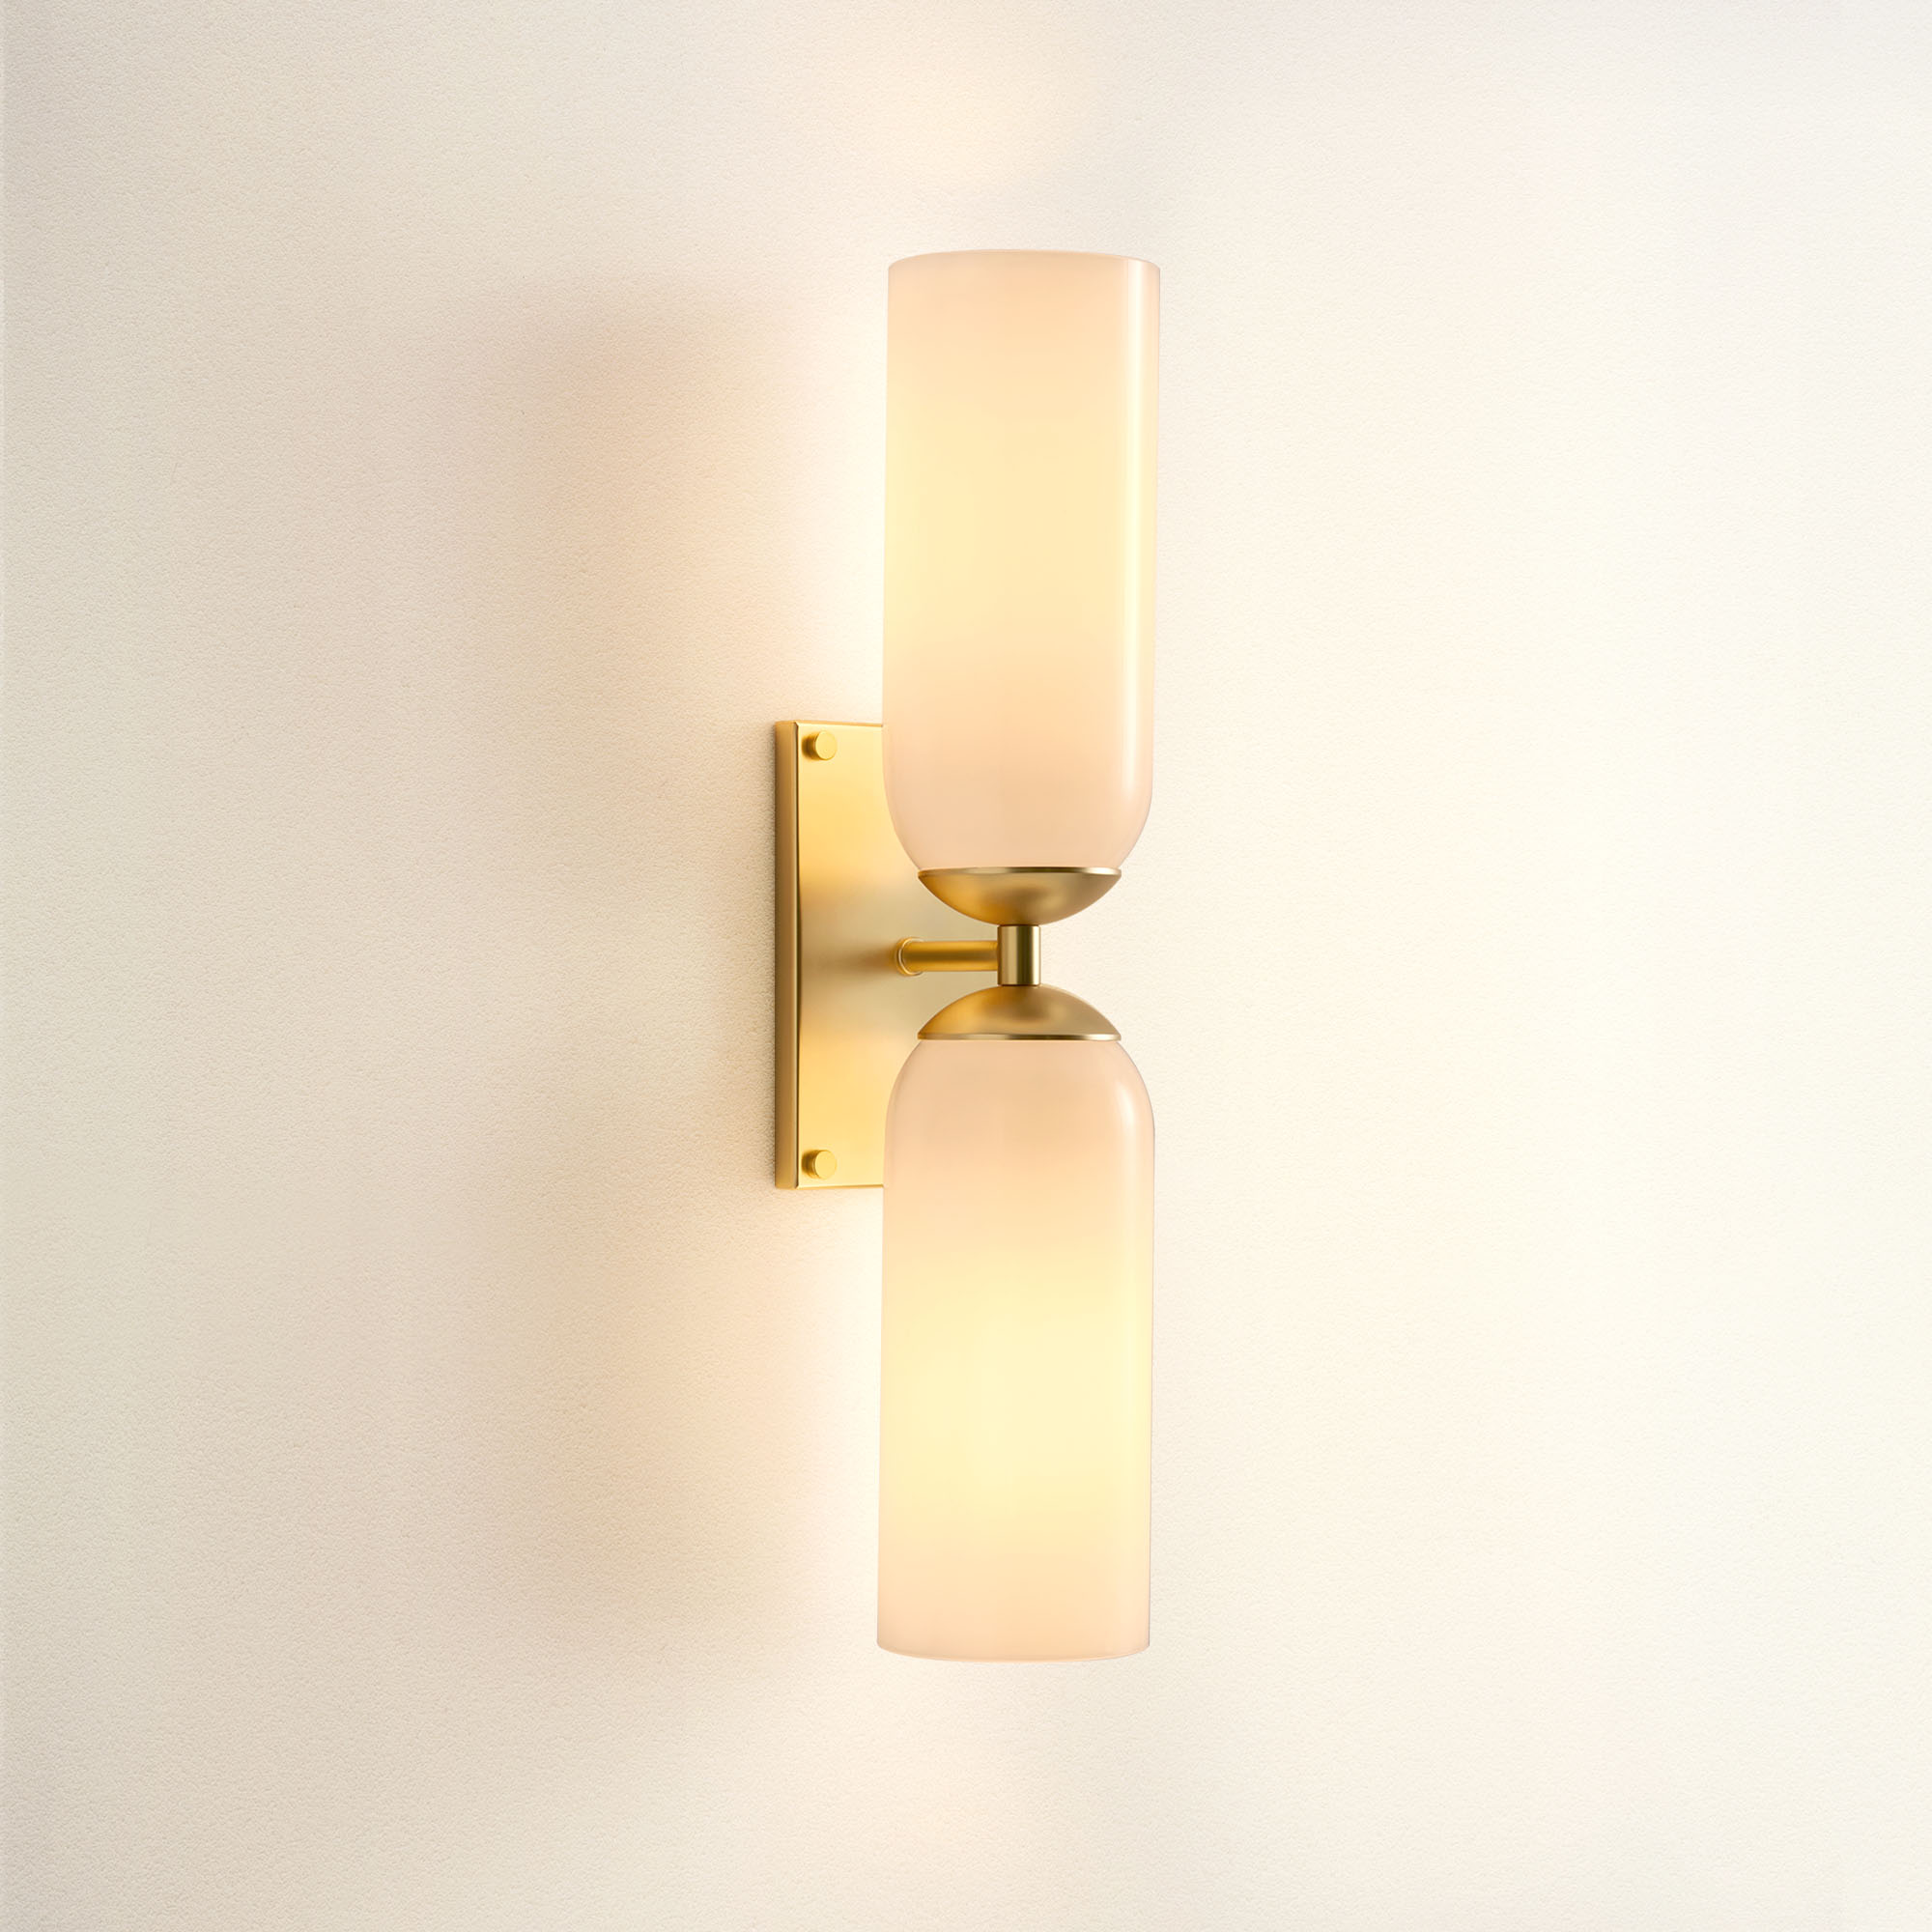
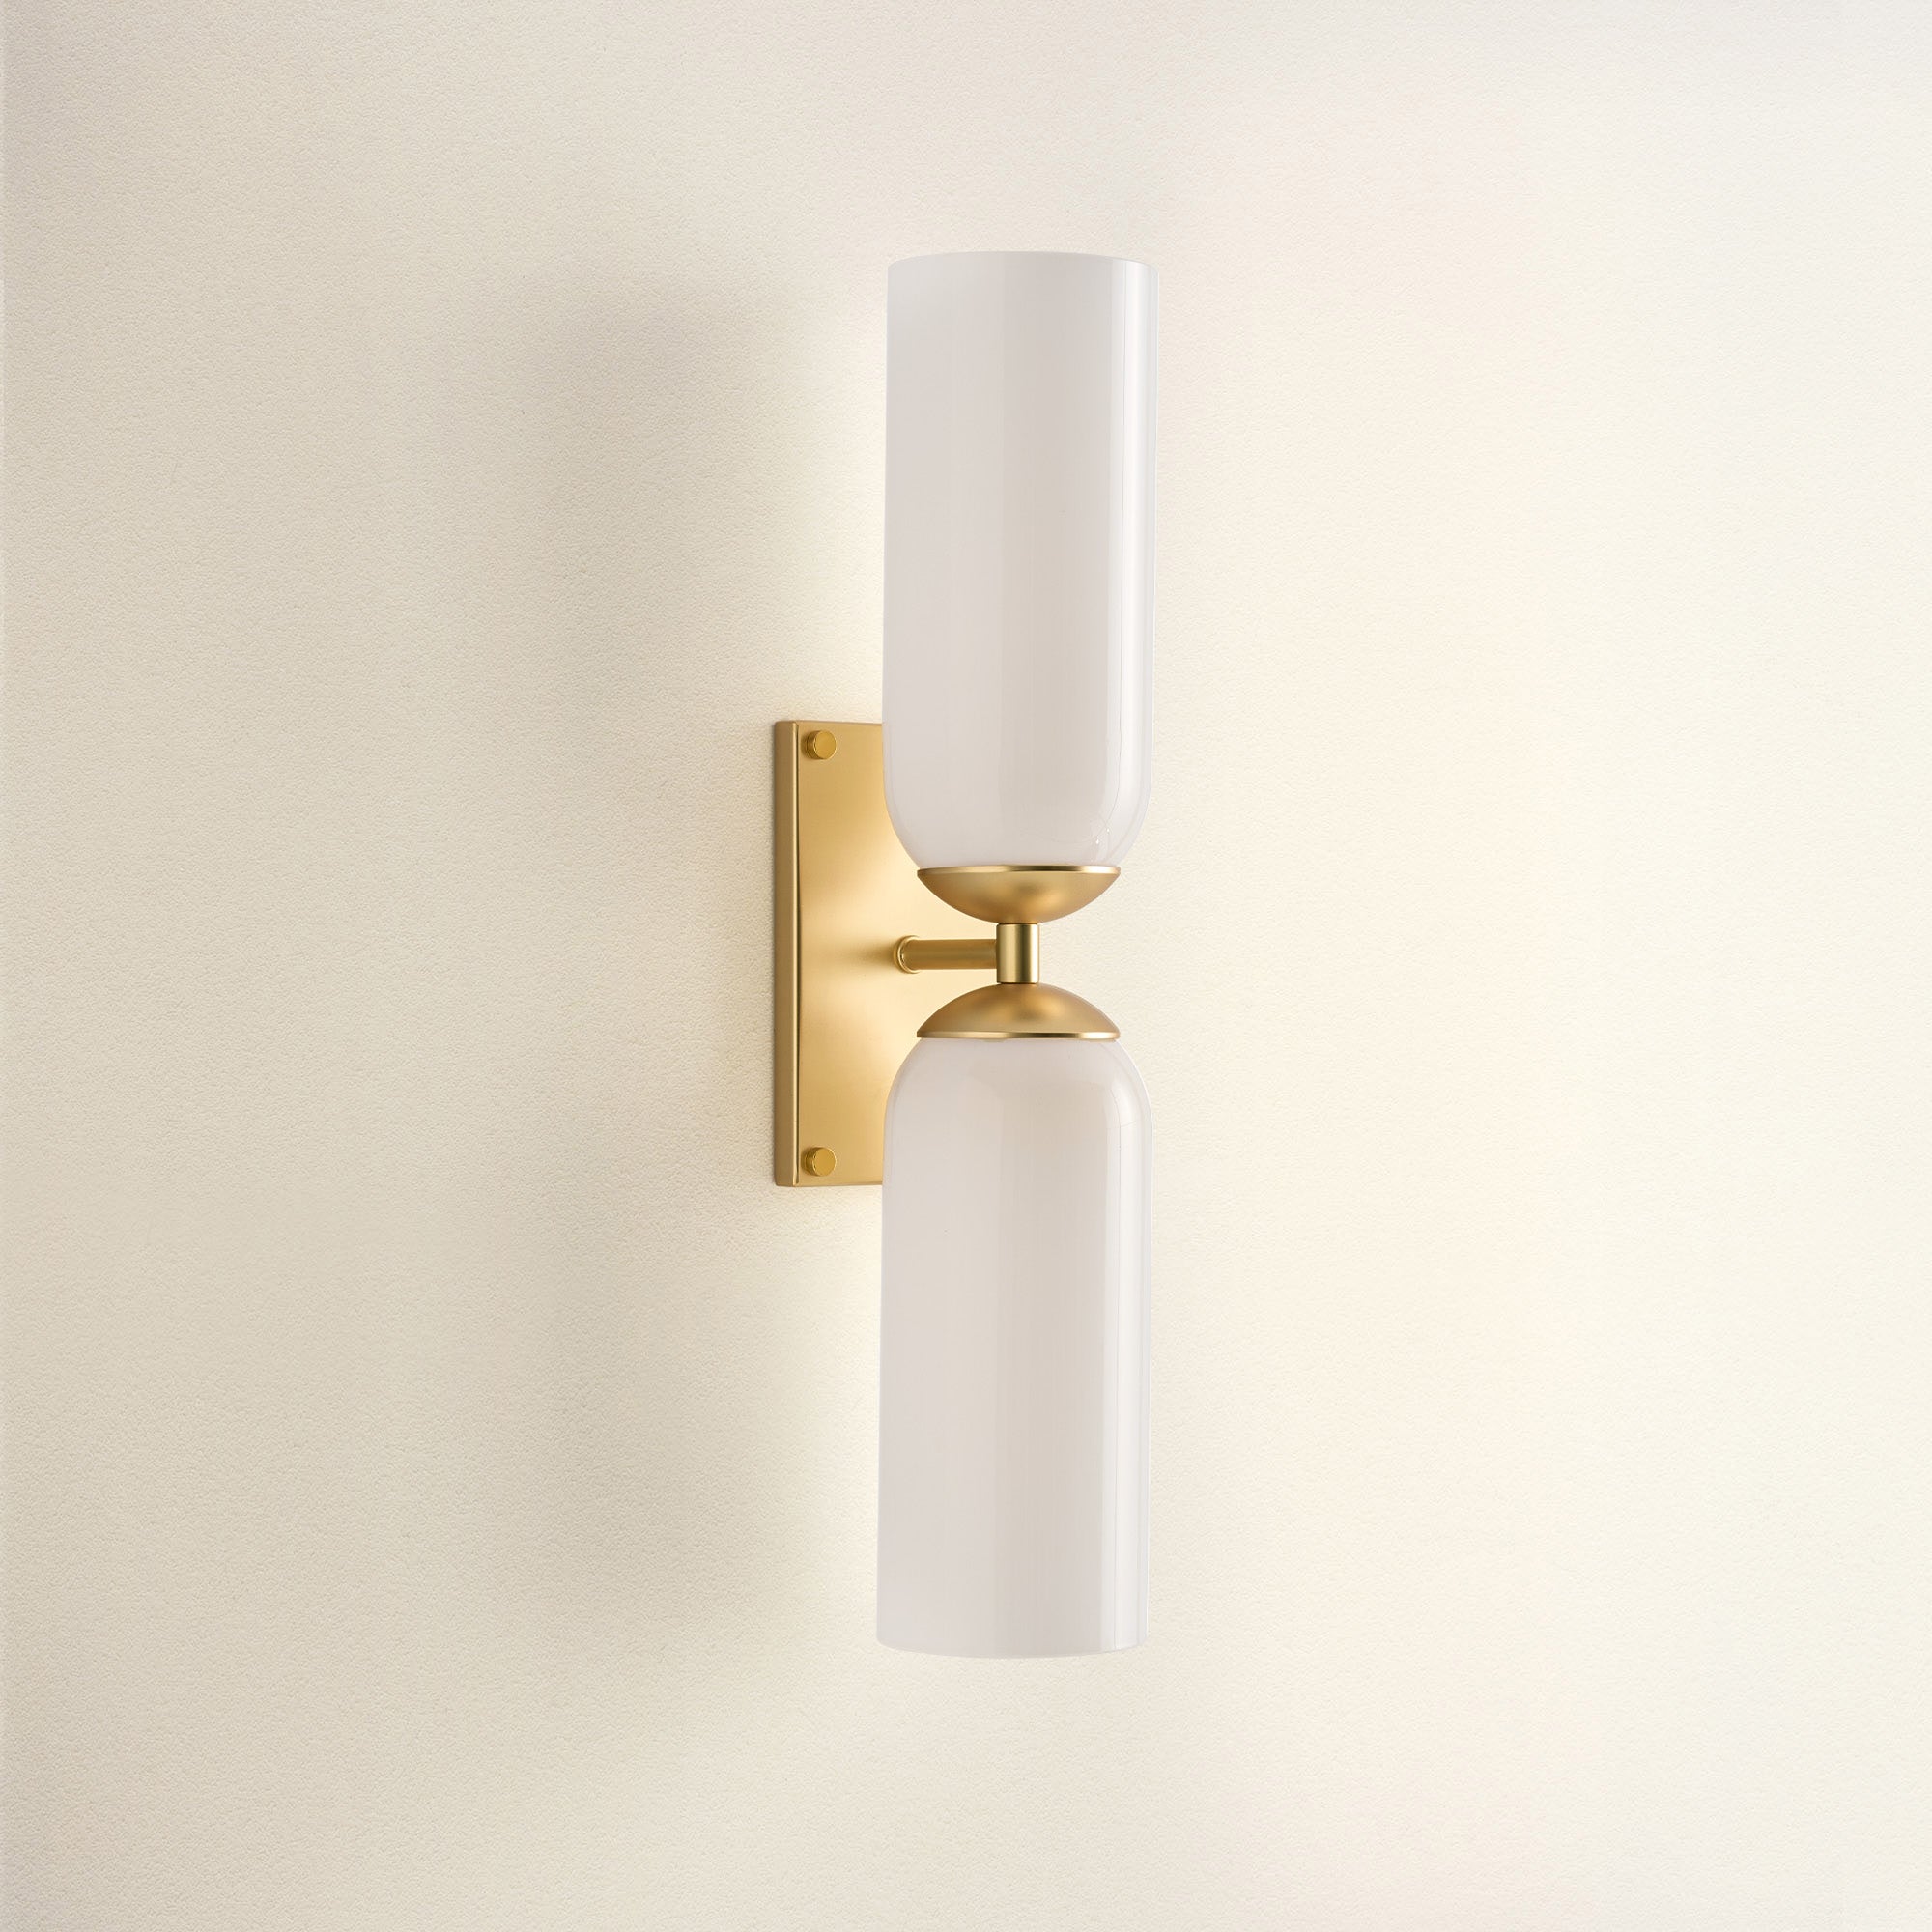
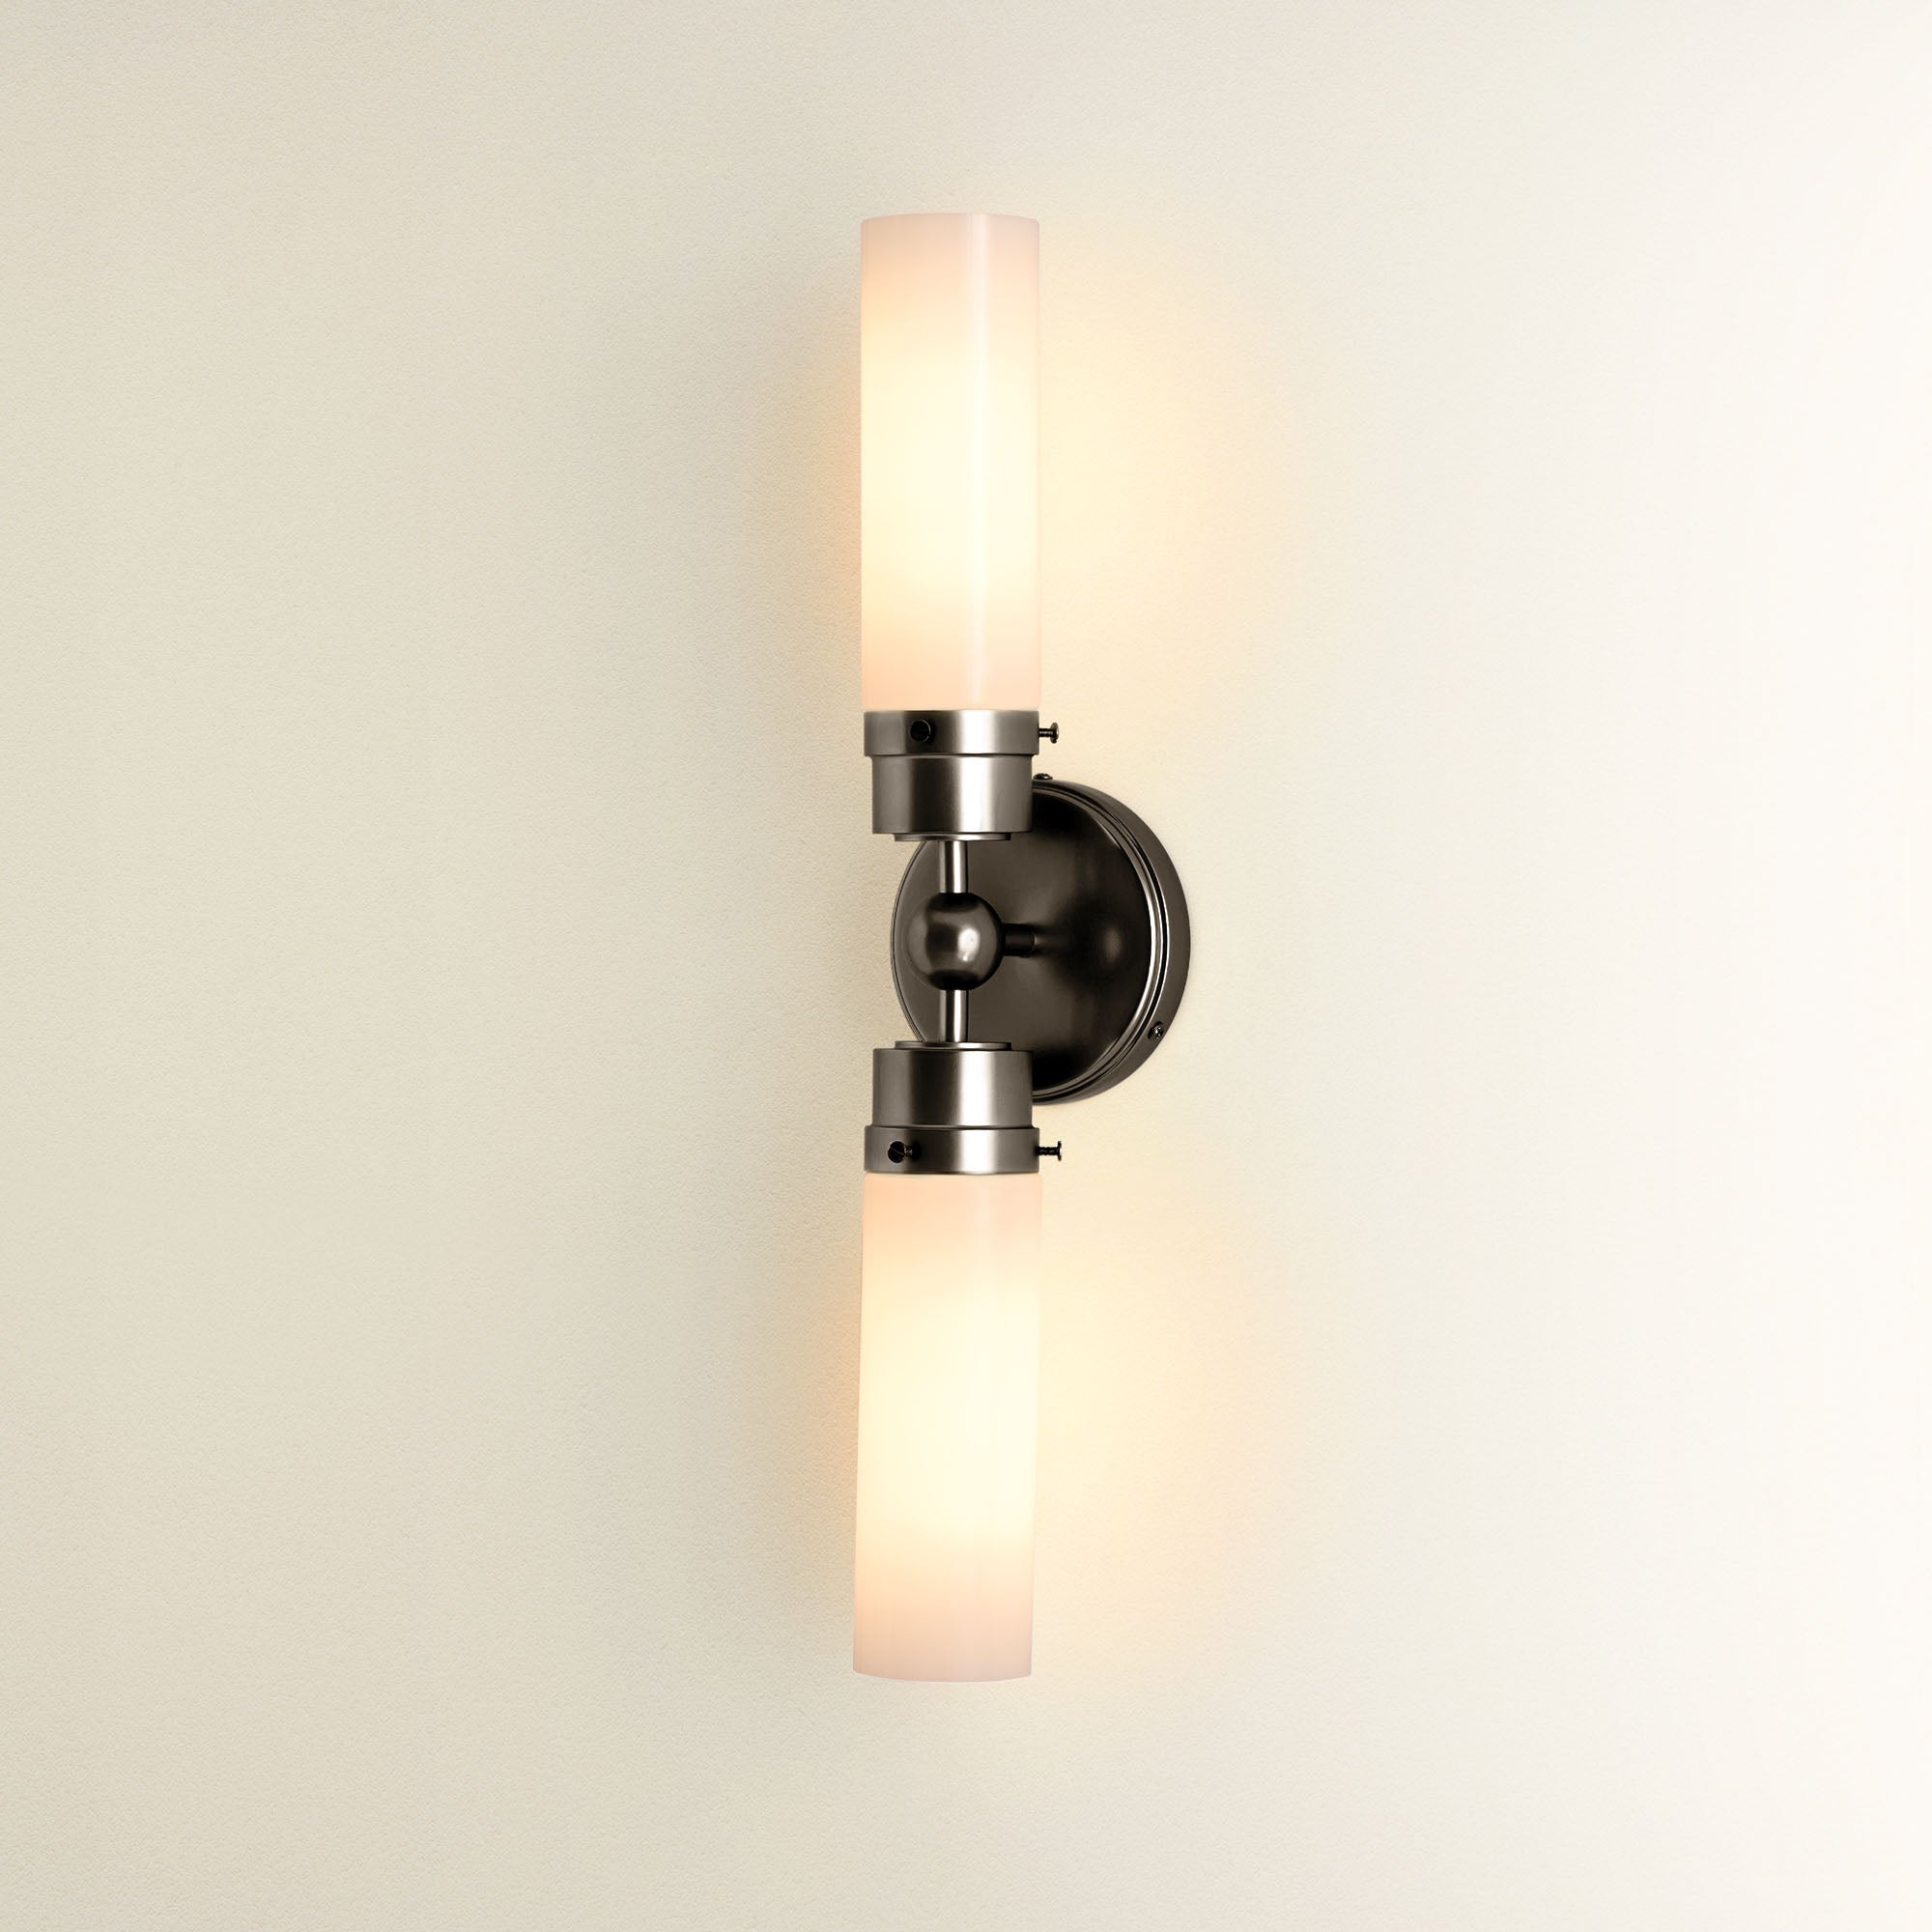
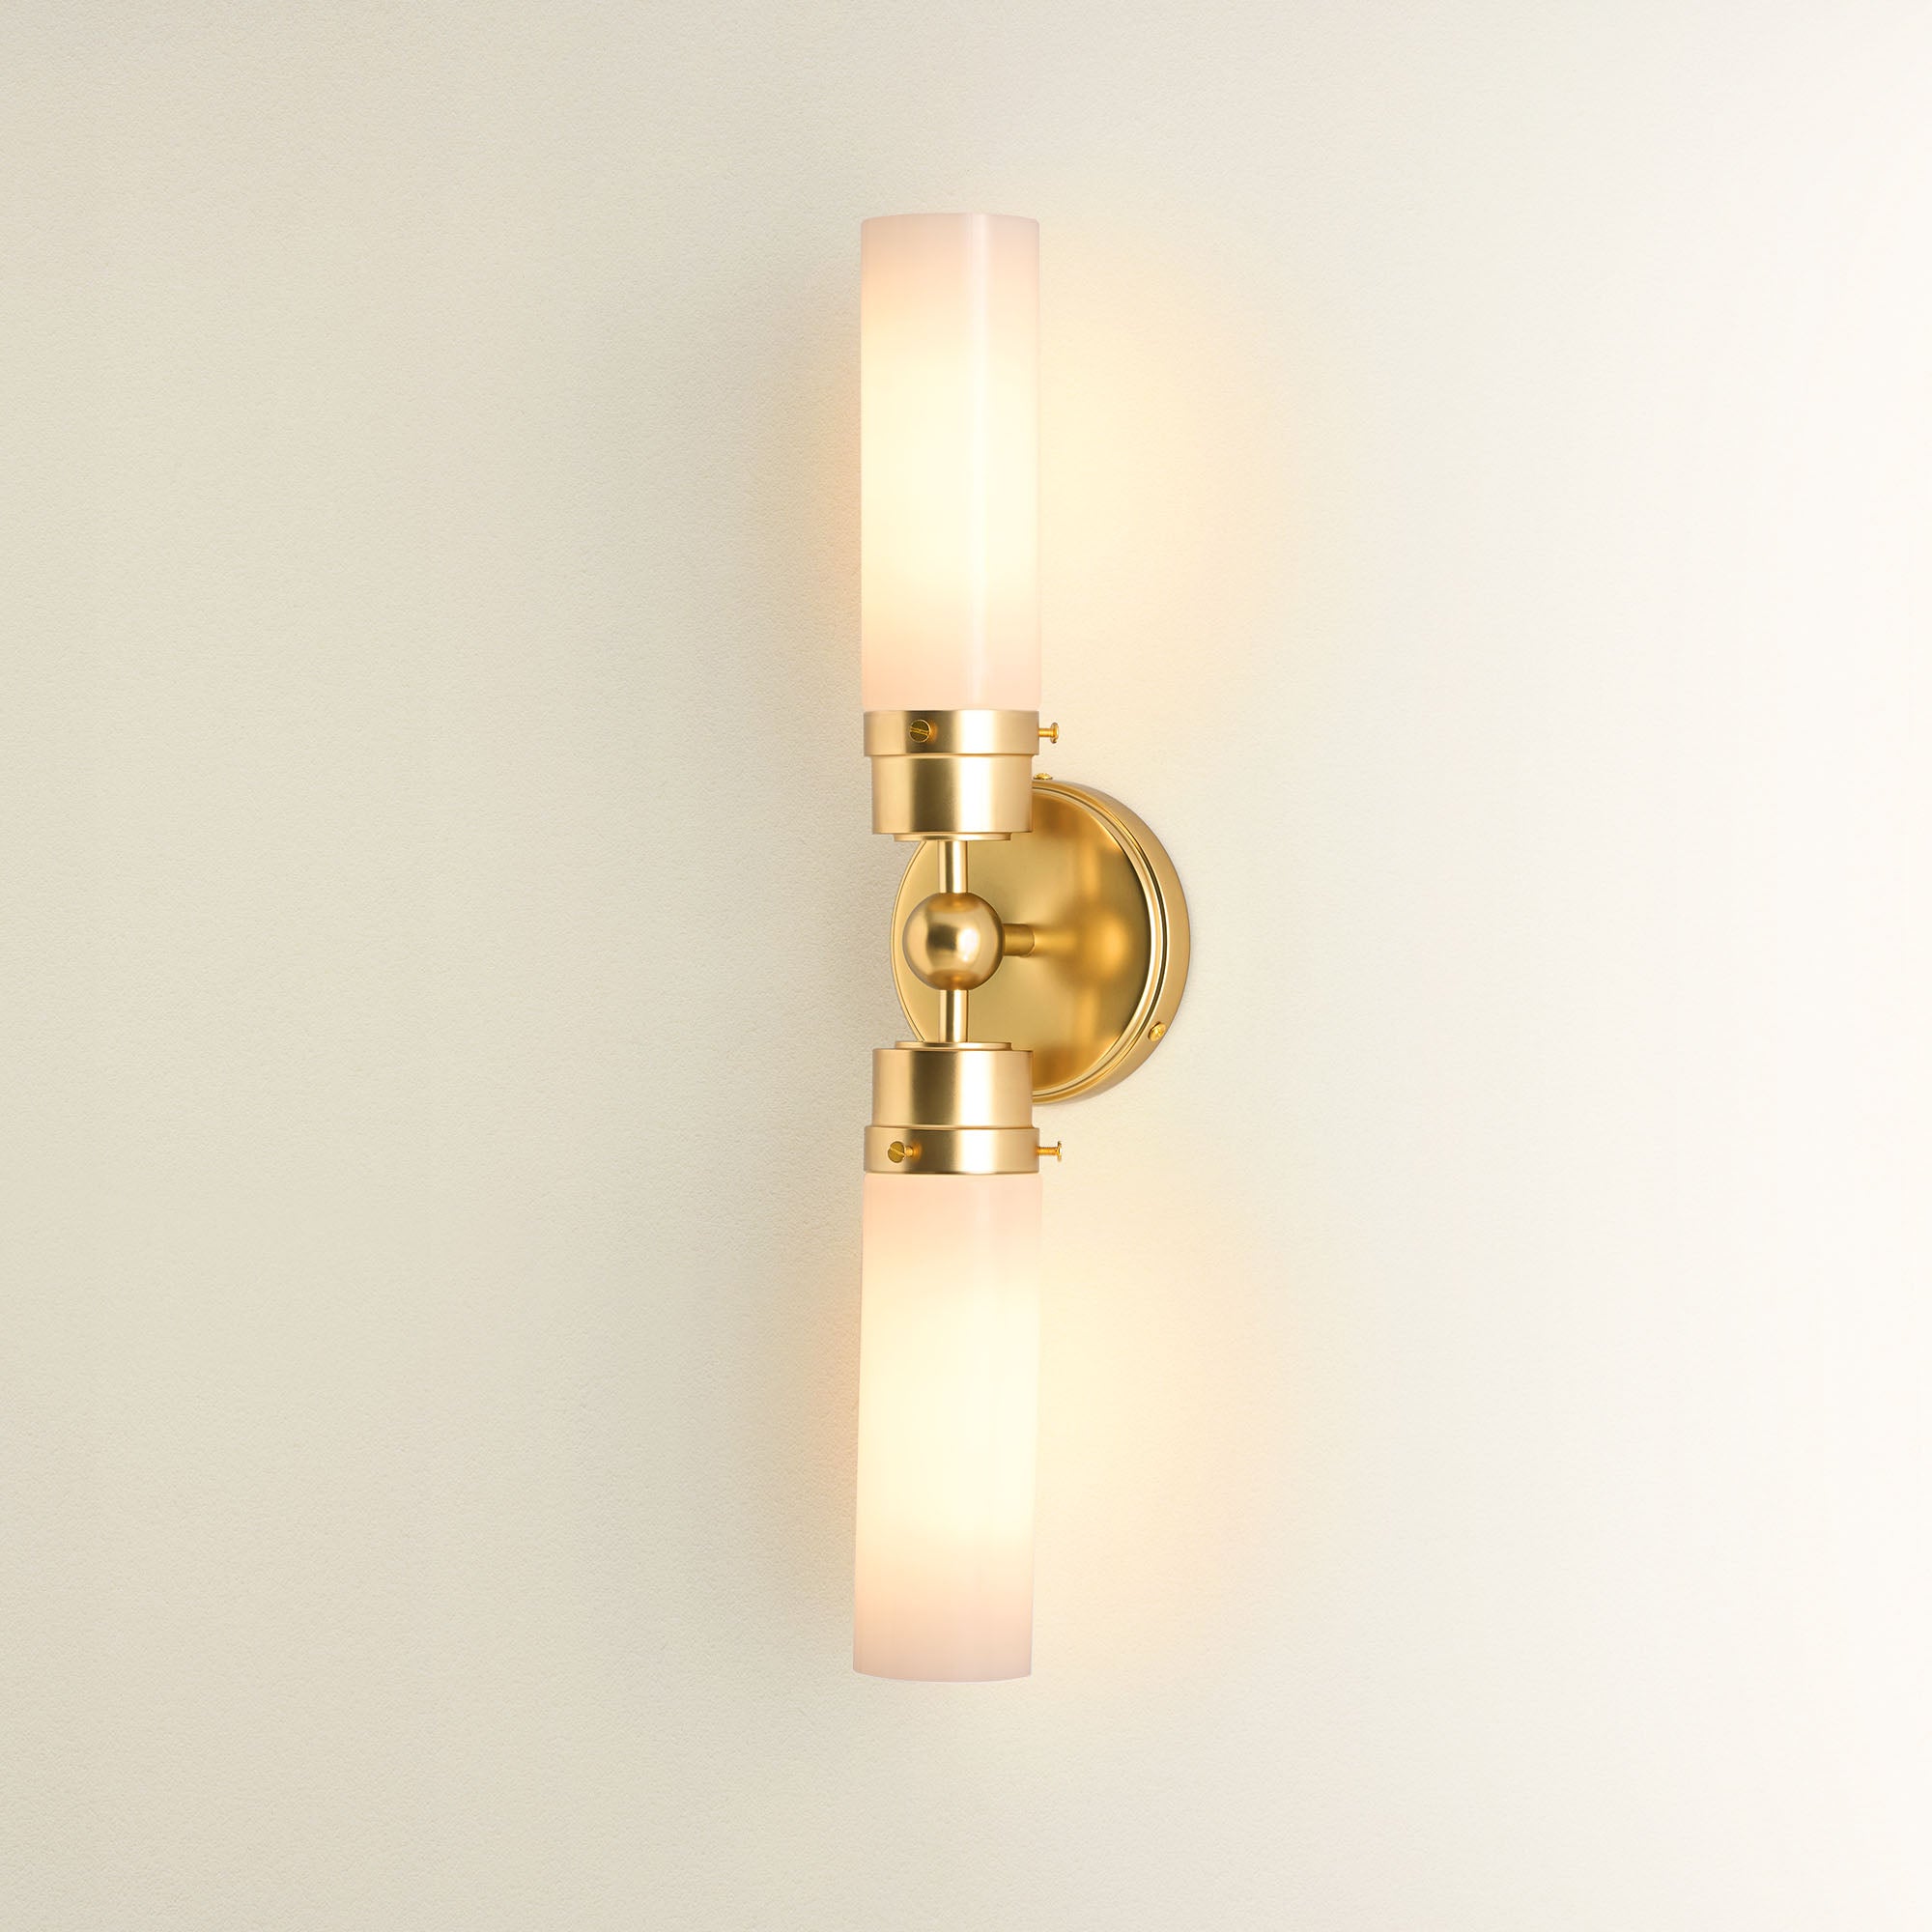
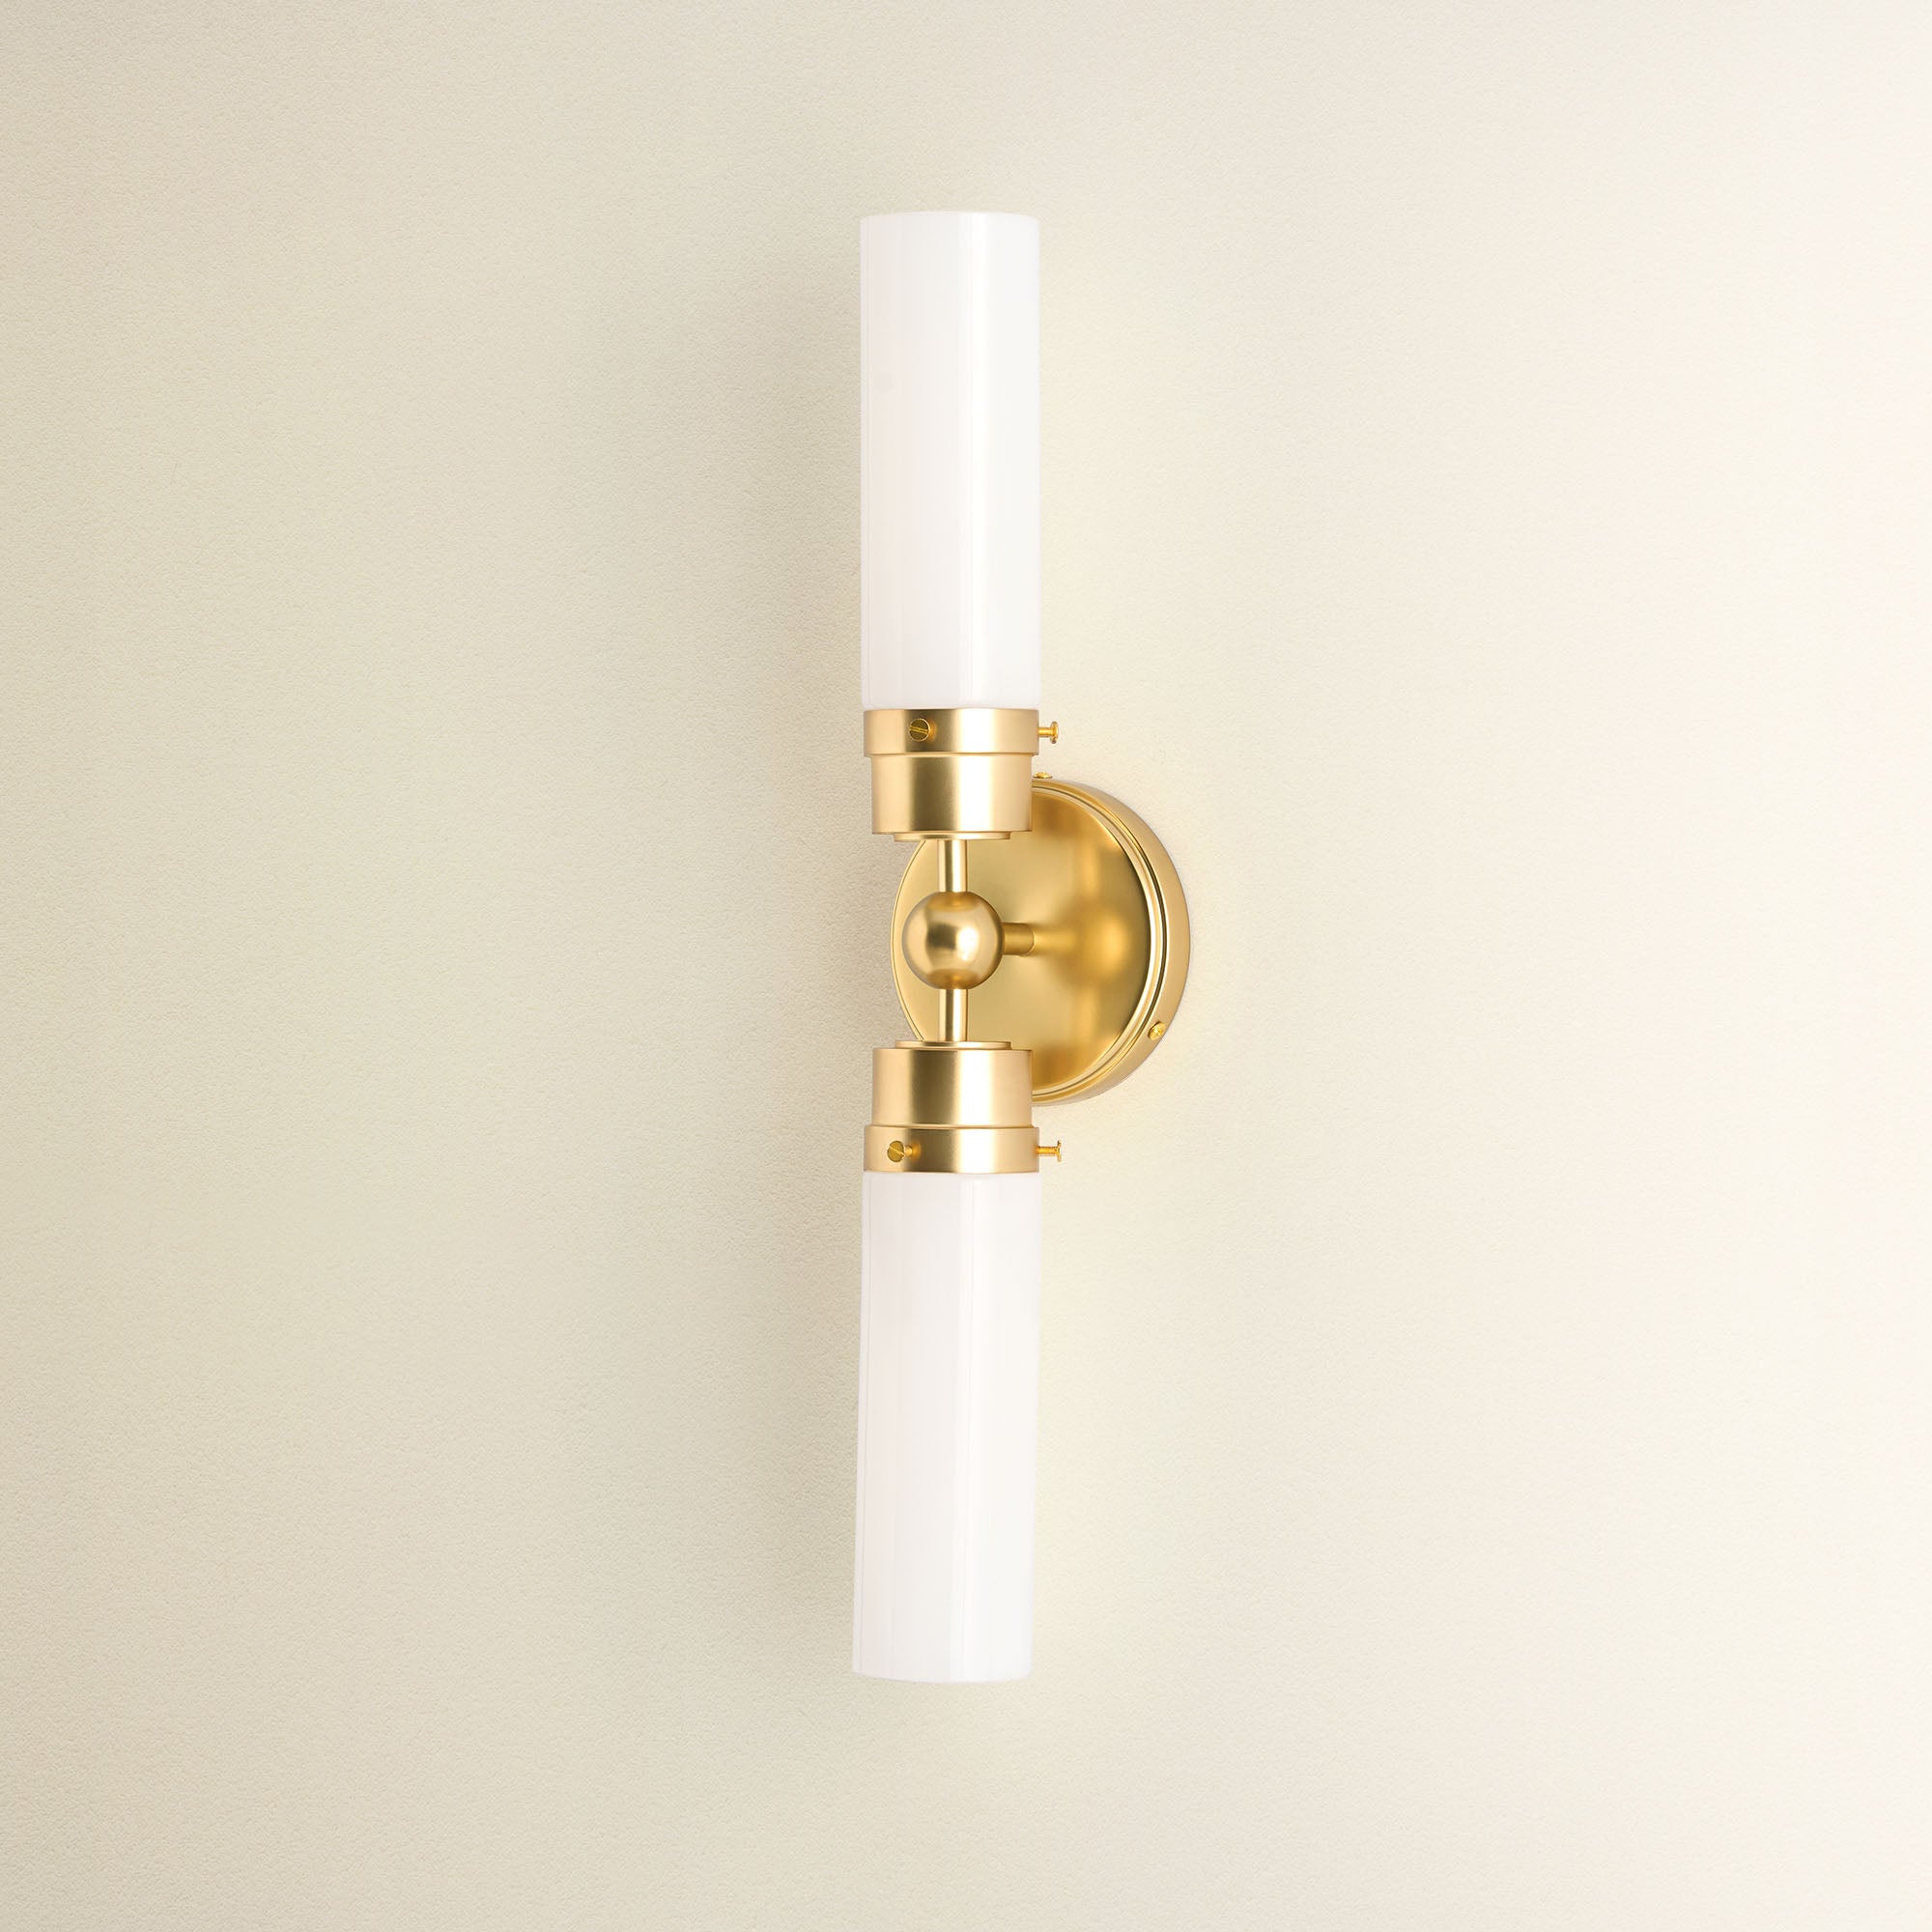
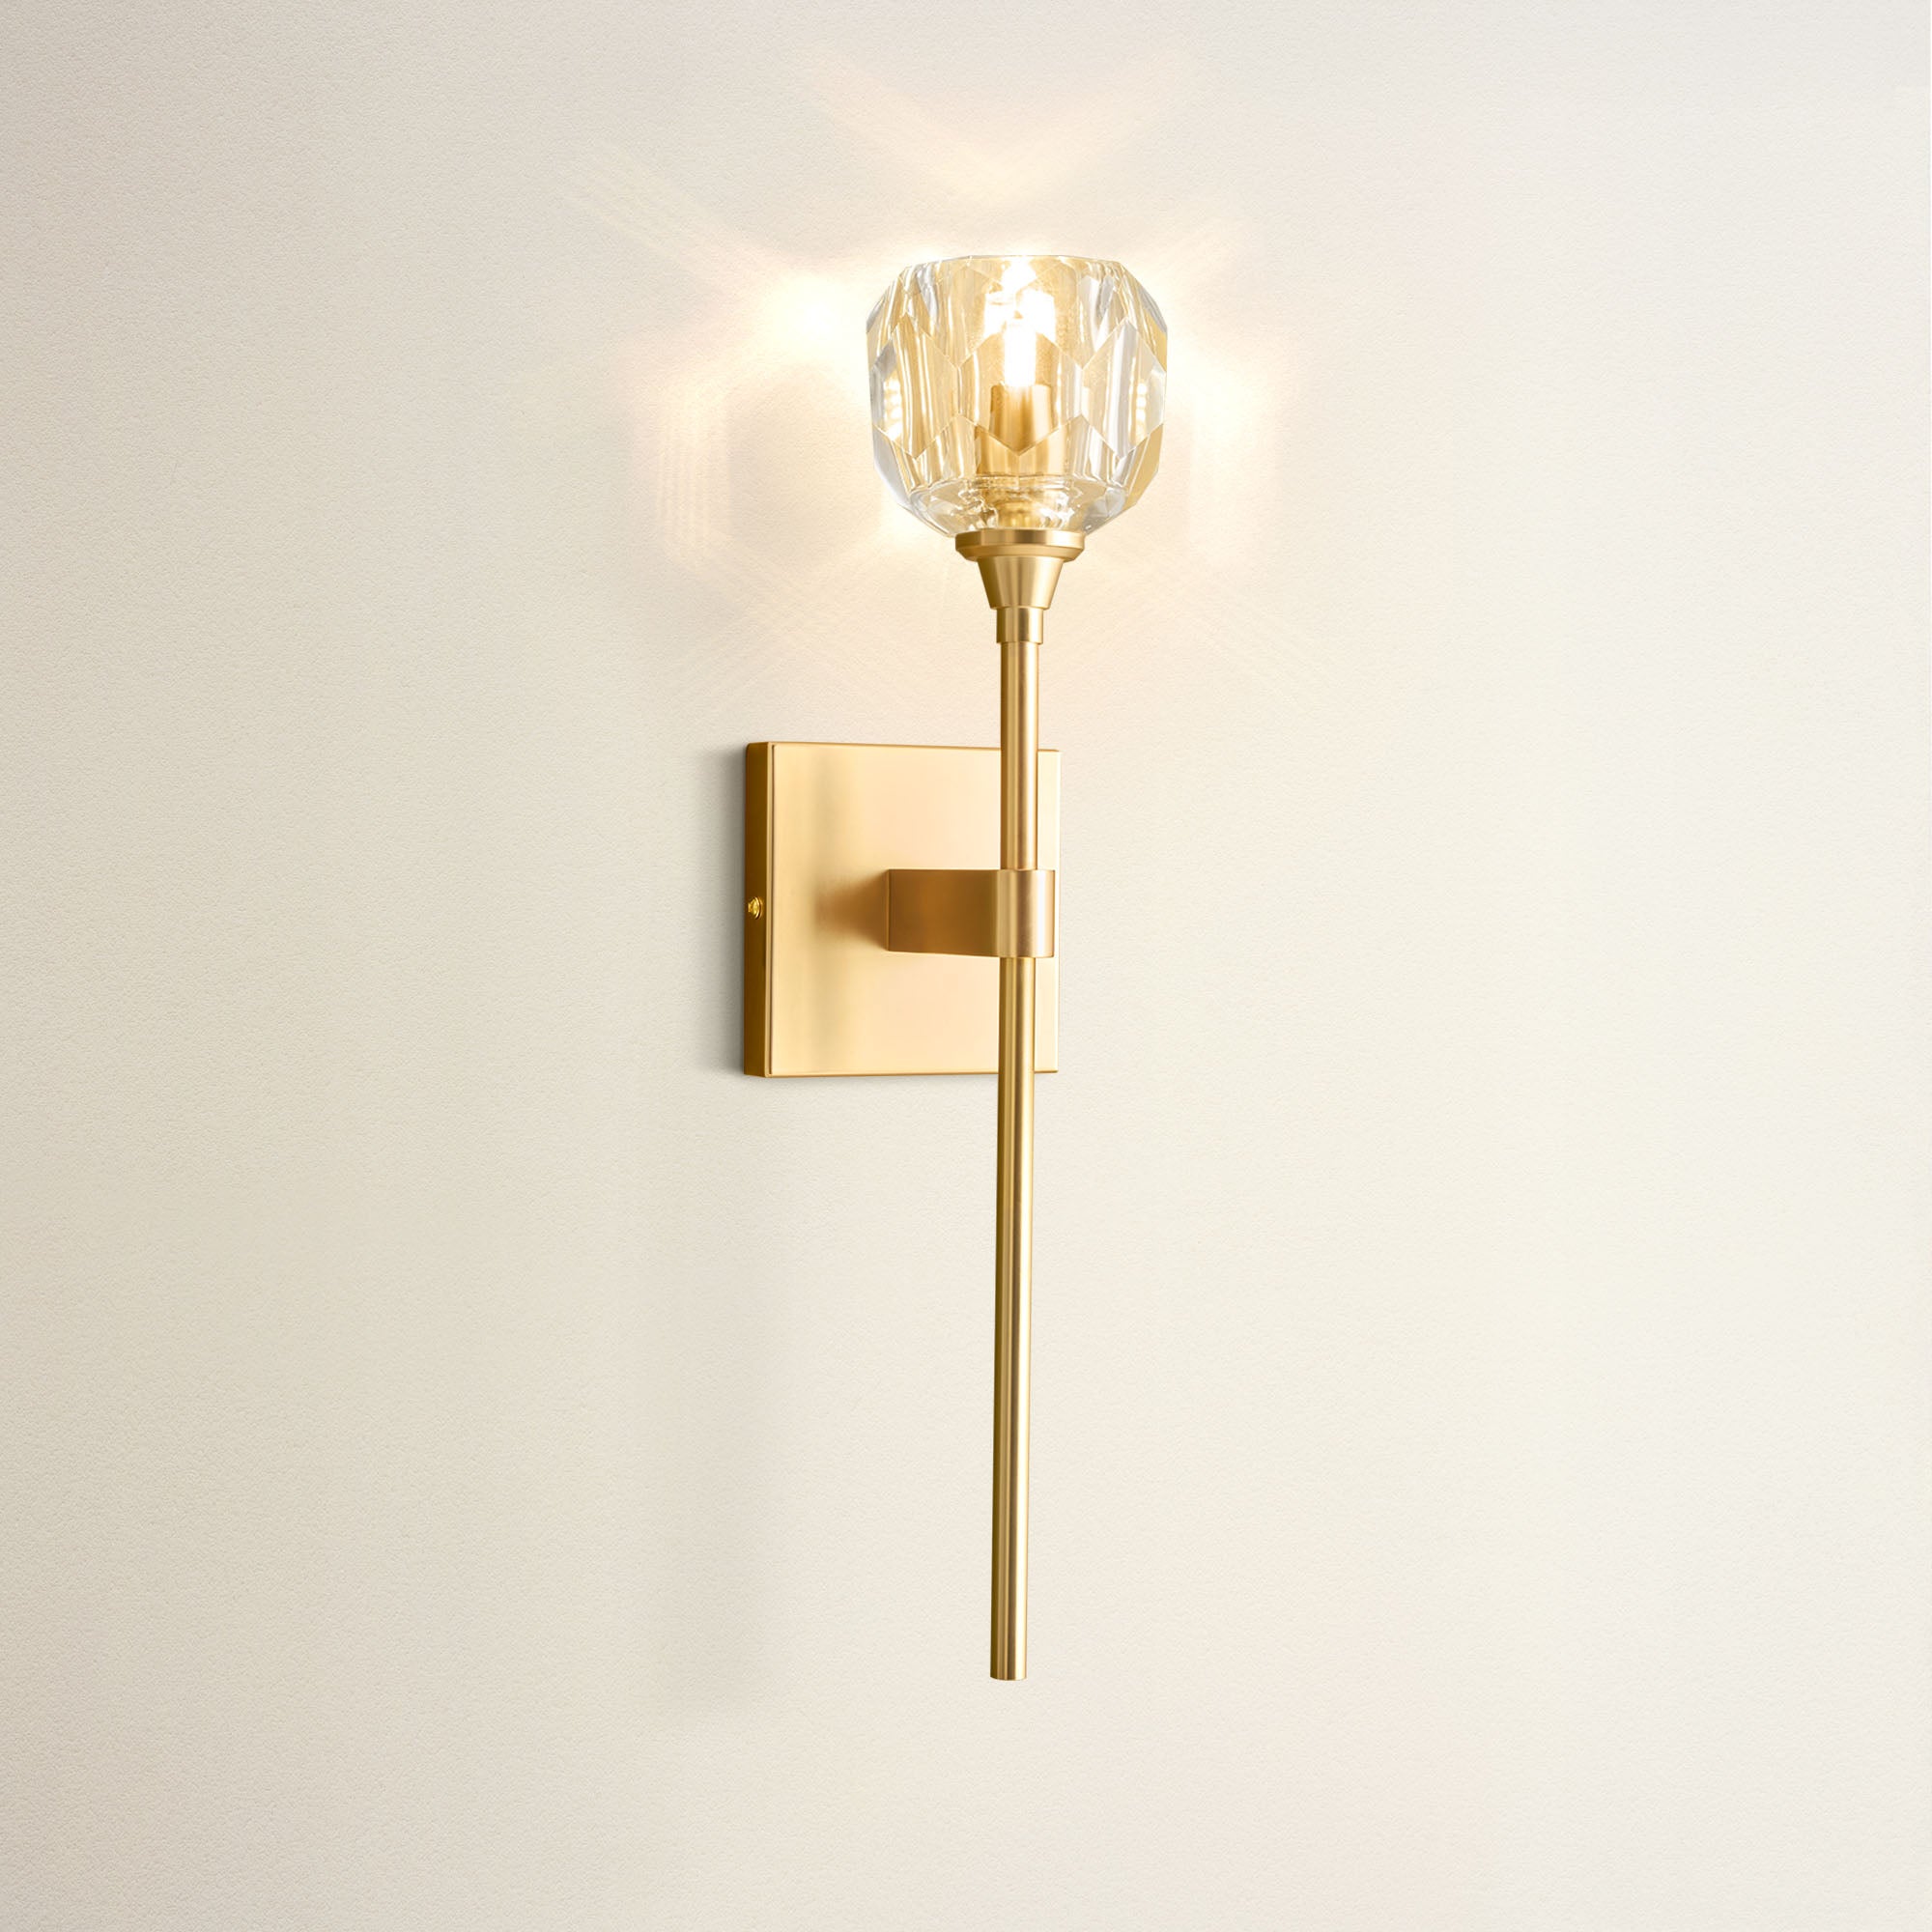
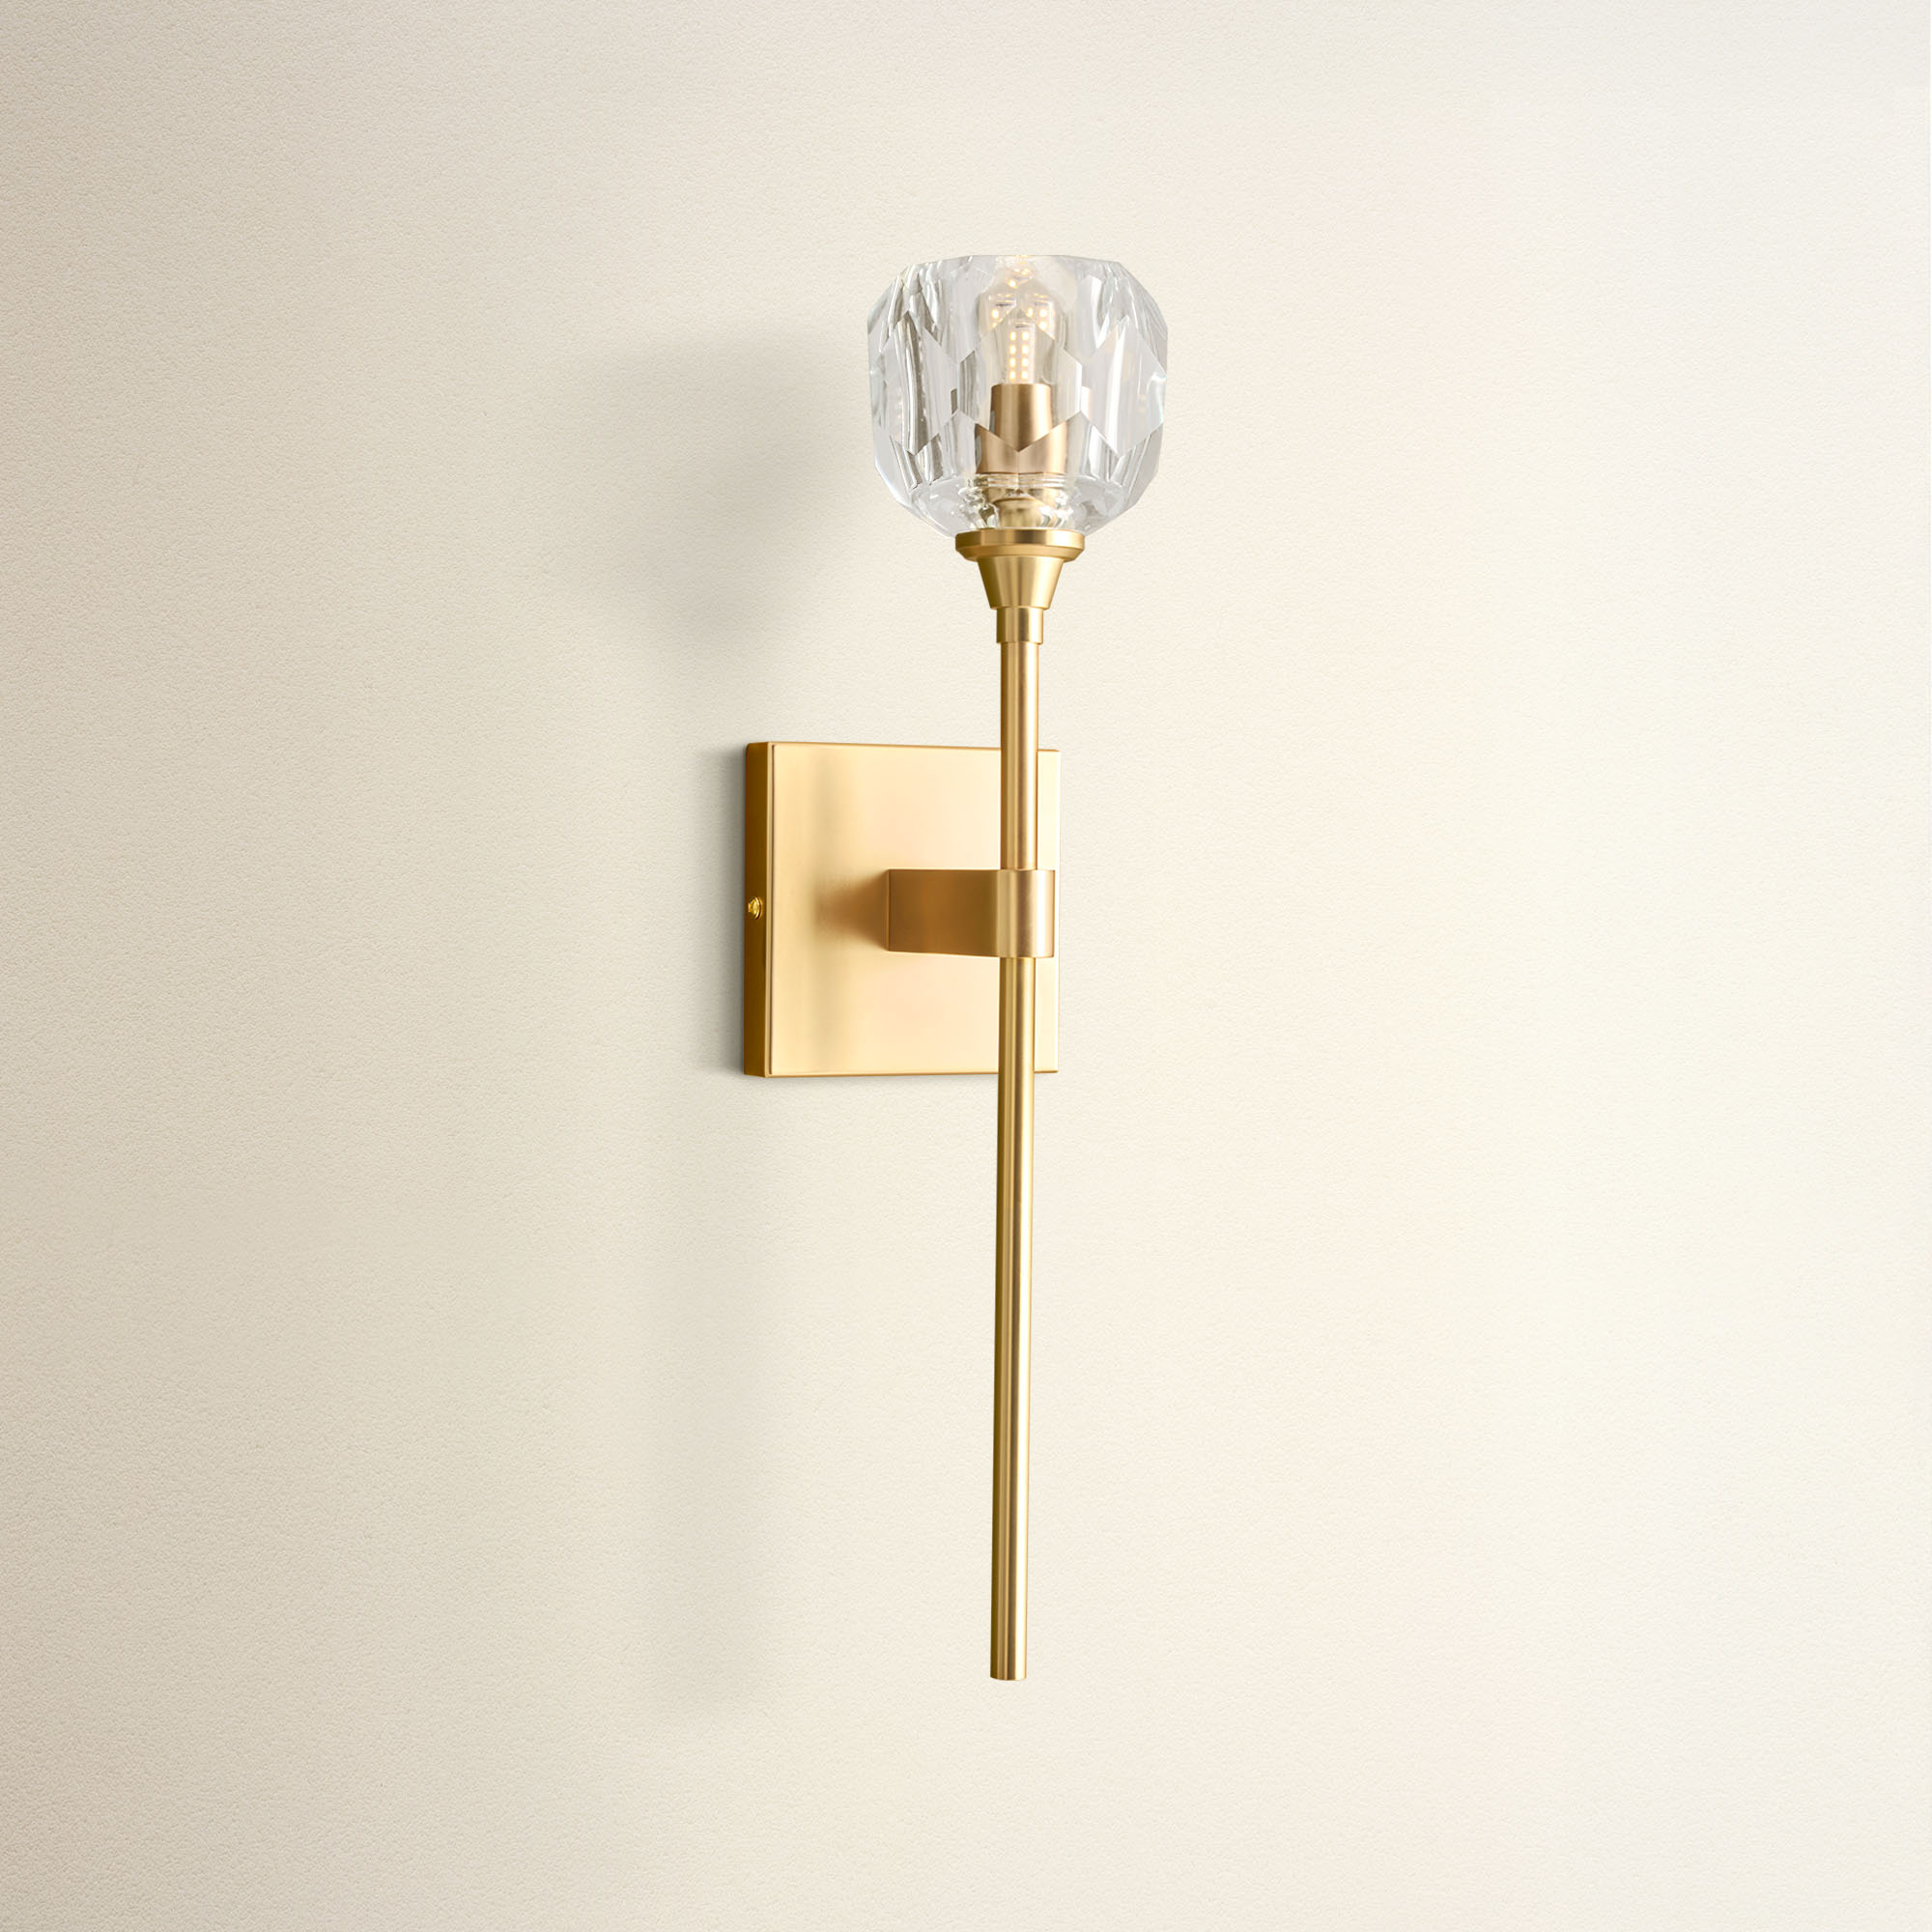
A stylish wall sconce can dramatically enhance a room's ambiance, and the installation process is adaptable to any living situation. For a permanent fixture, always ensure your safety first by cutting power at the circuit breaker and confirming with a voltage tester before mounting the bracket and completing the hardwired connections, black to black, white to white, and ground to ground/green screw.
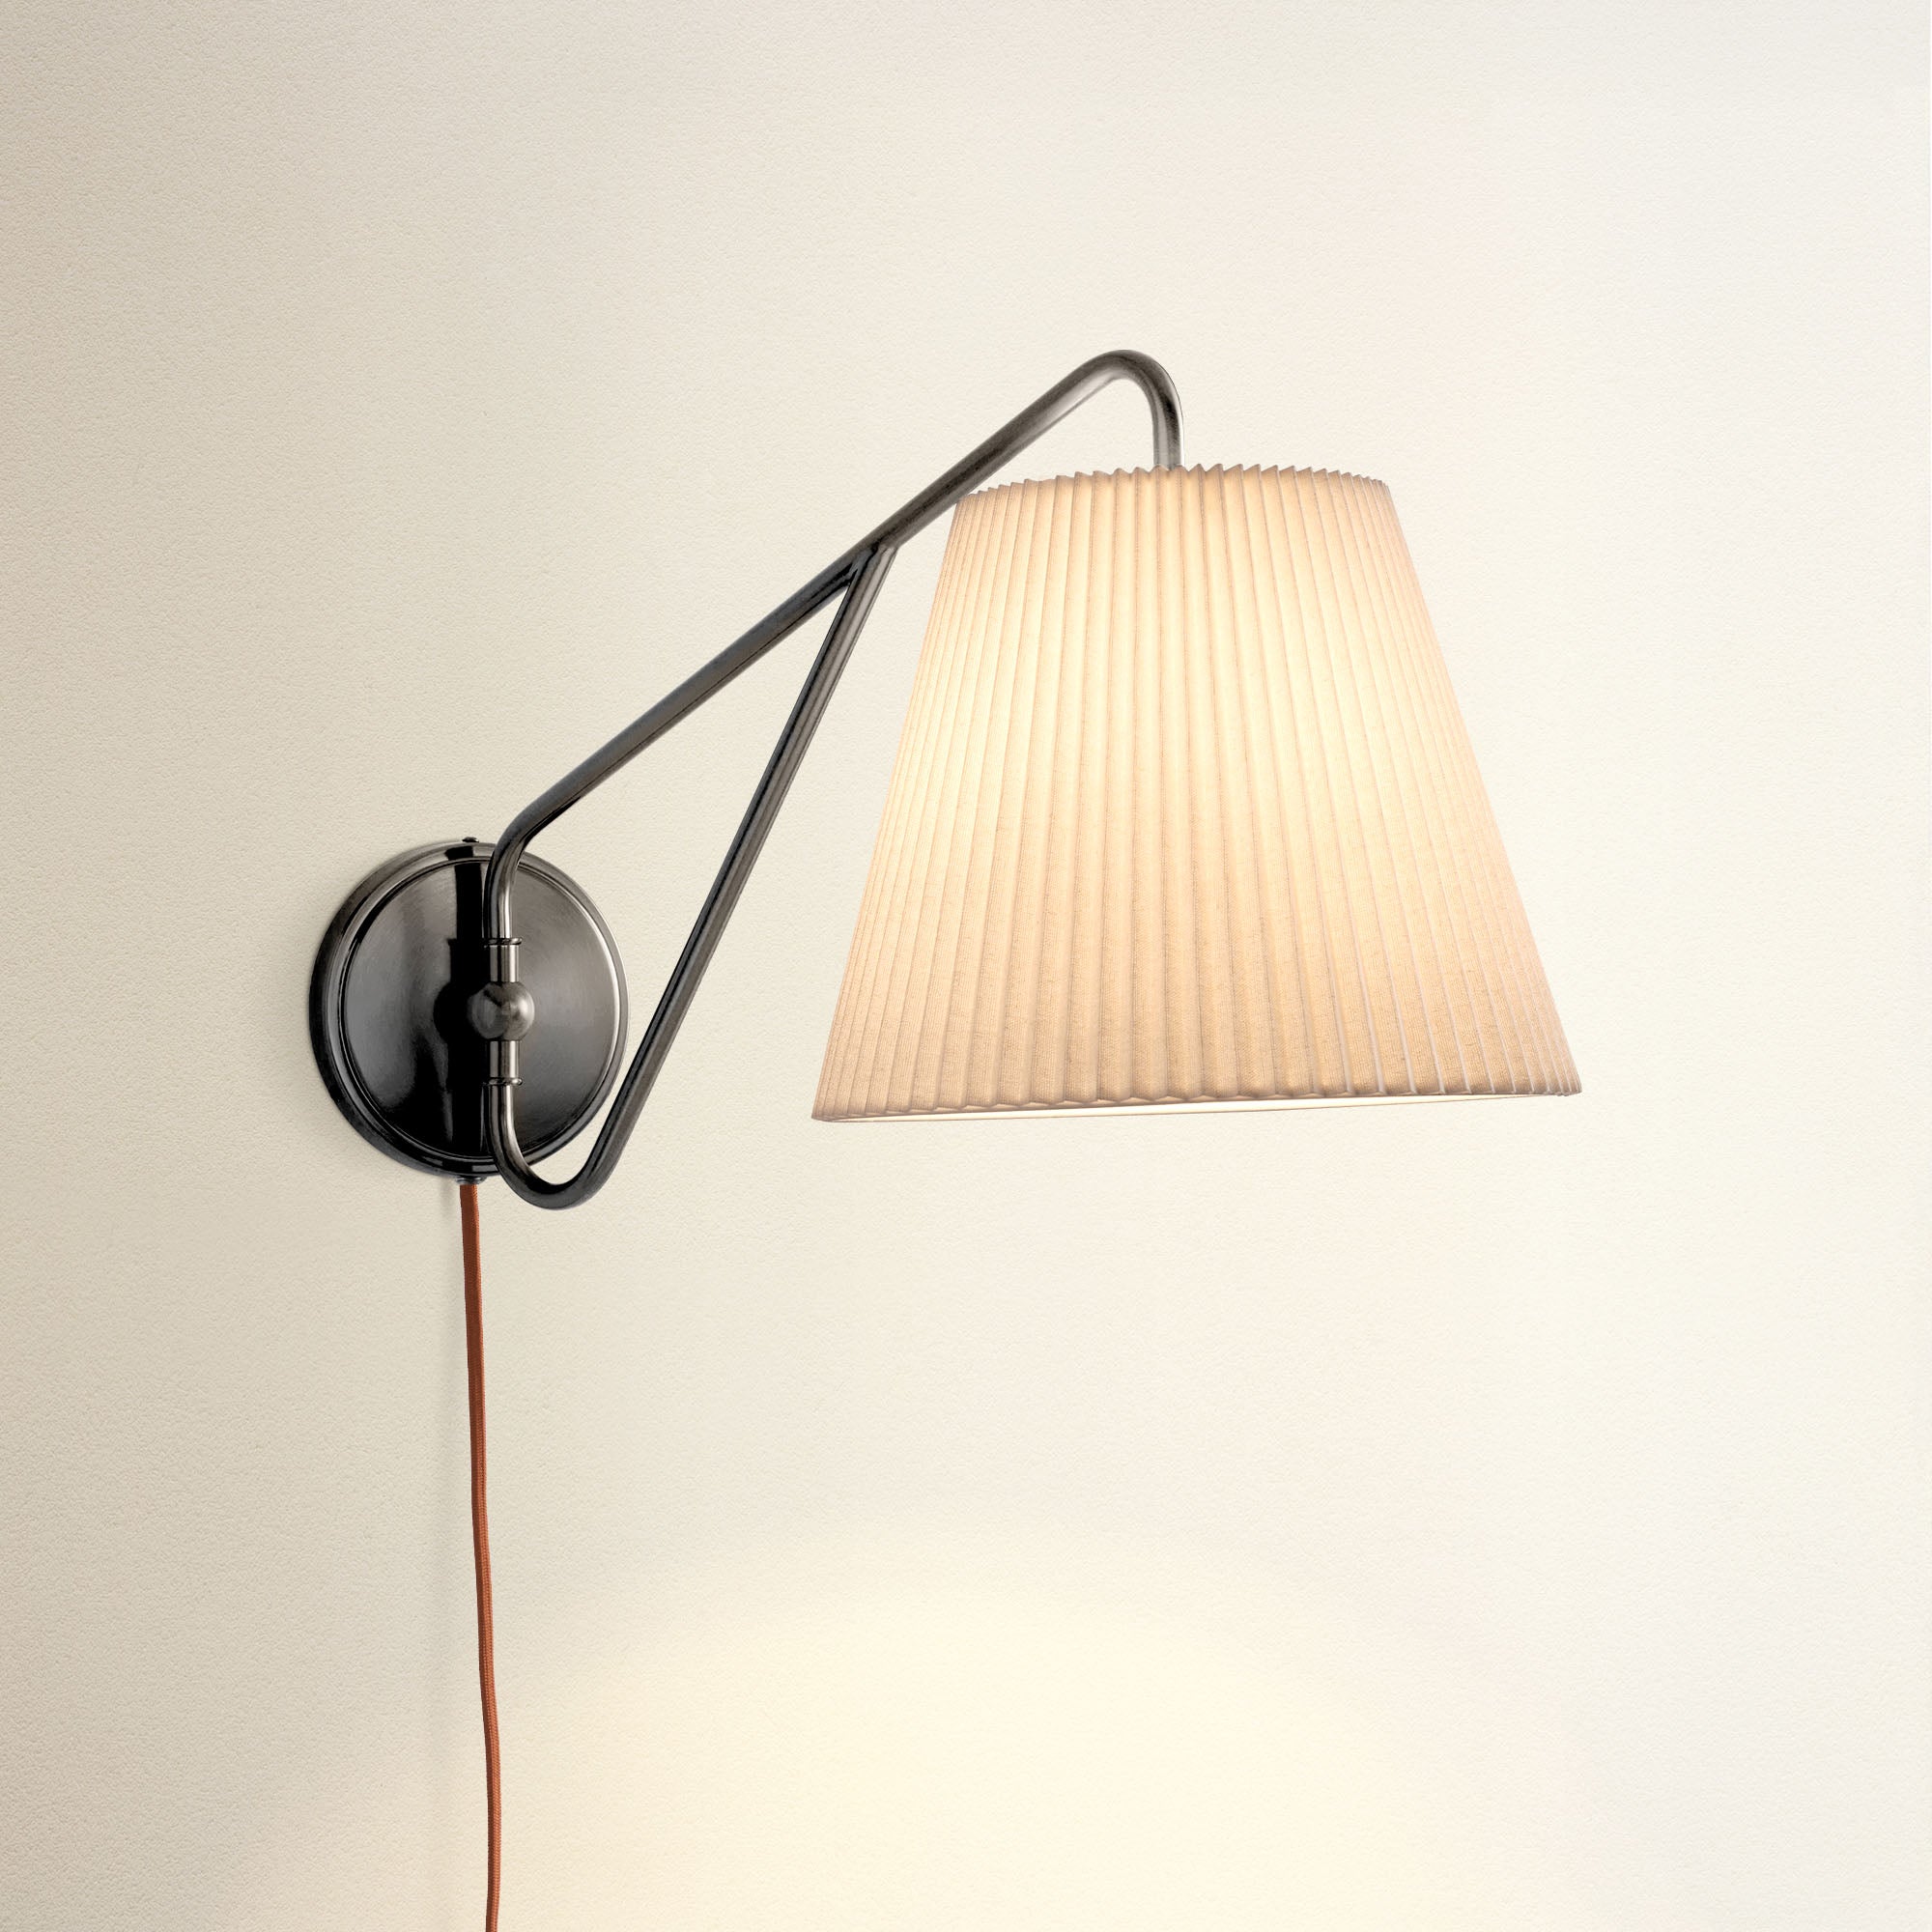
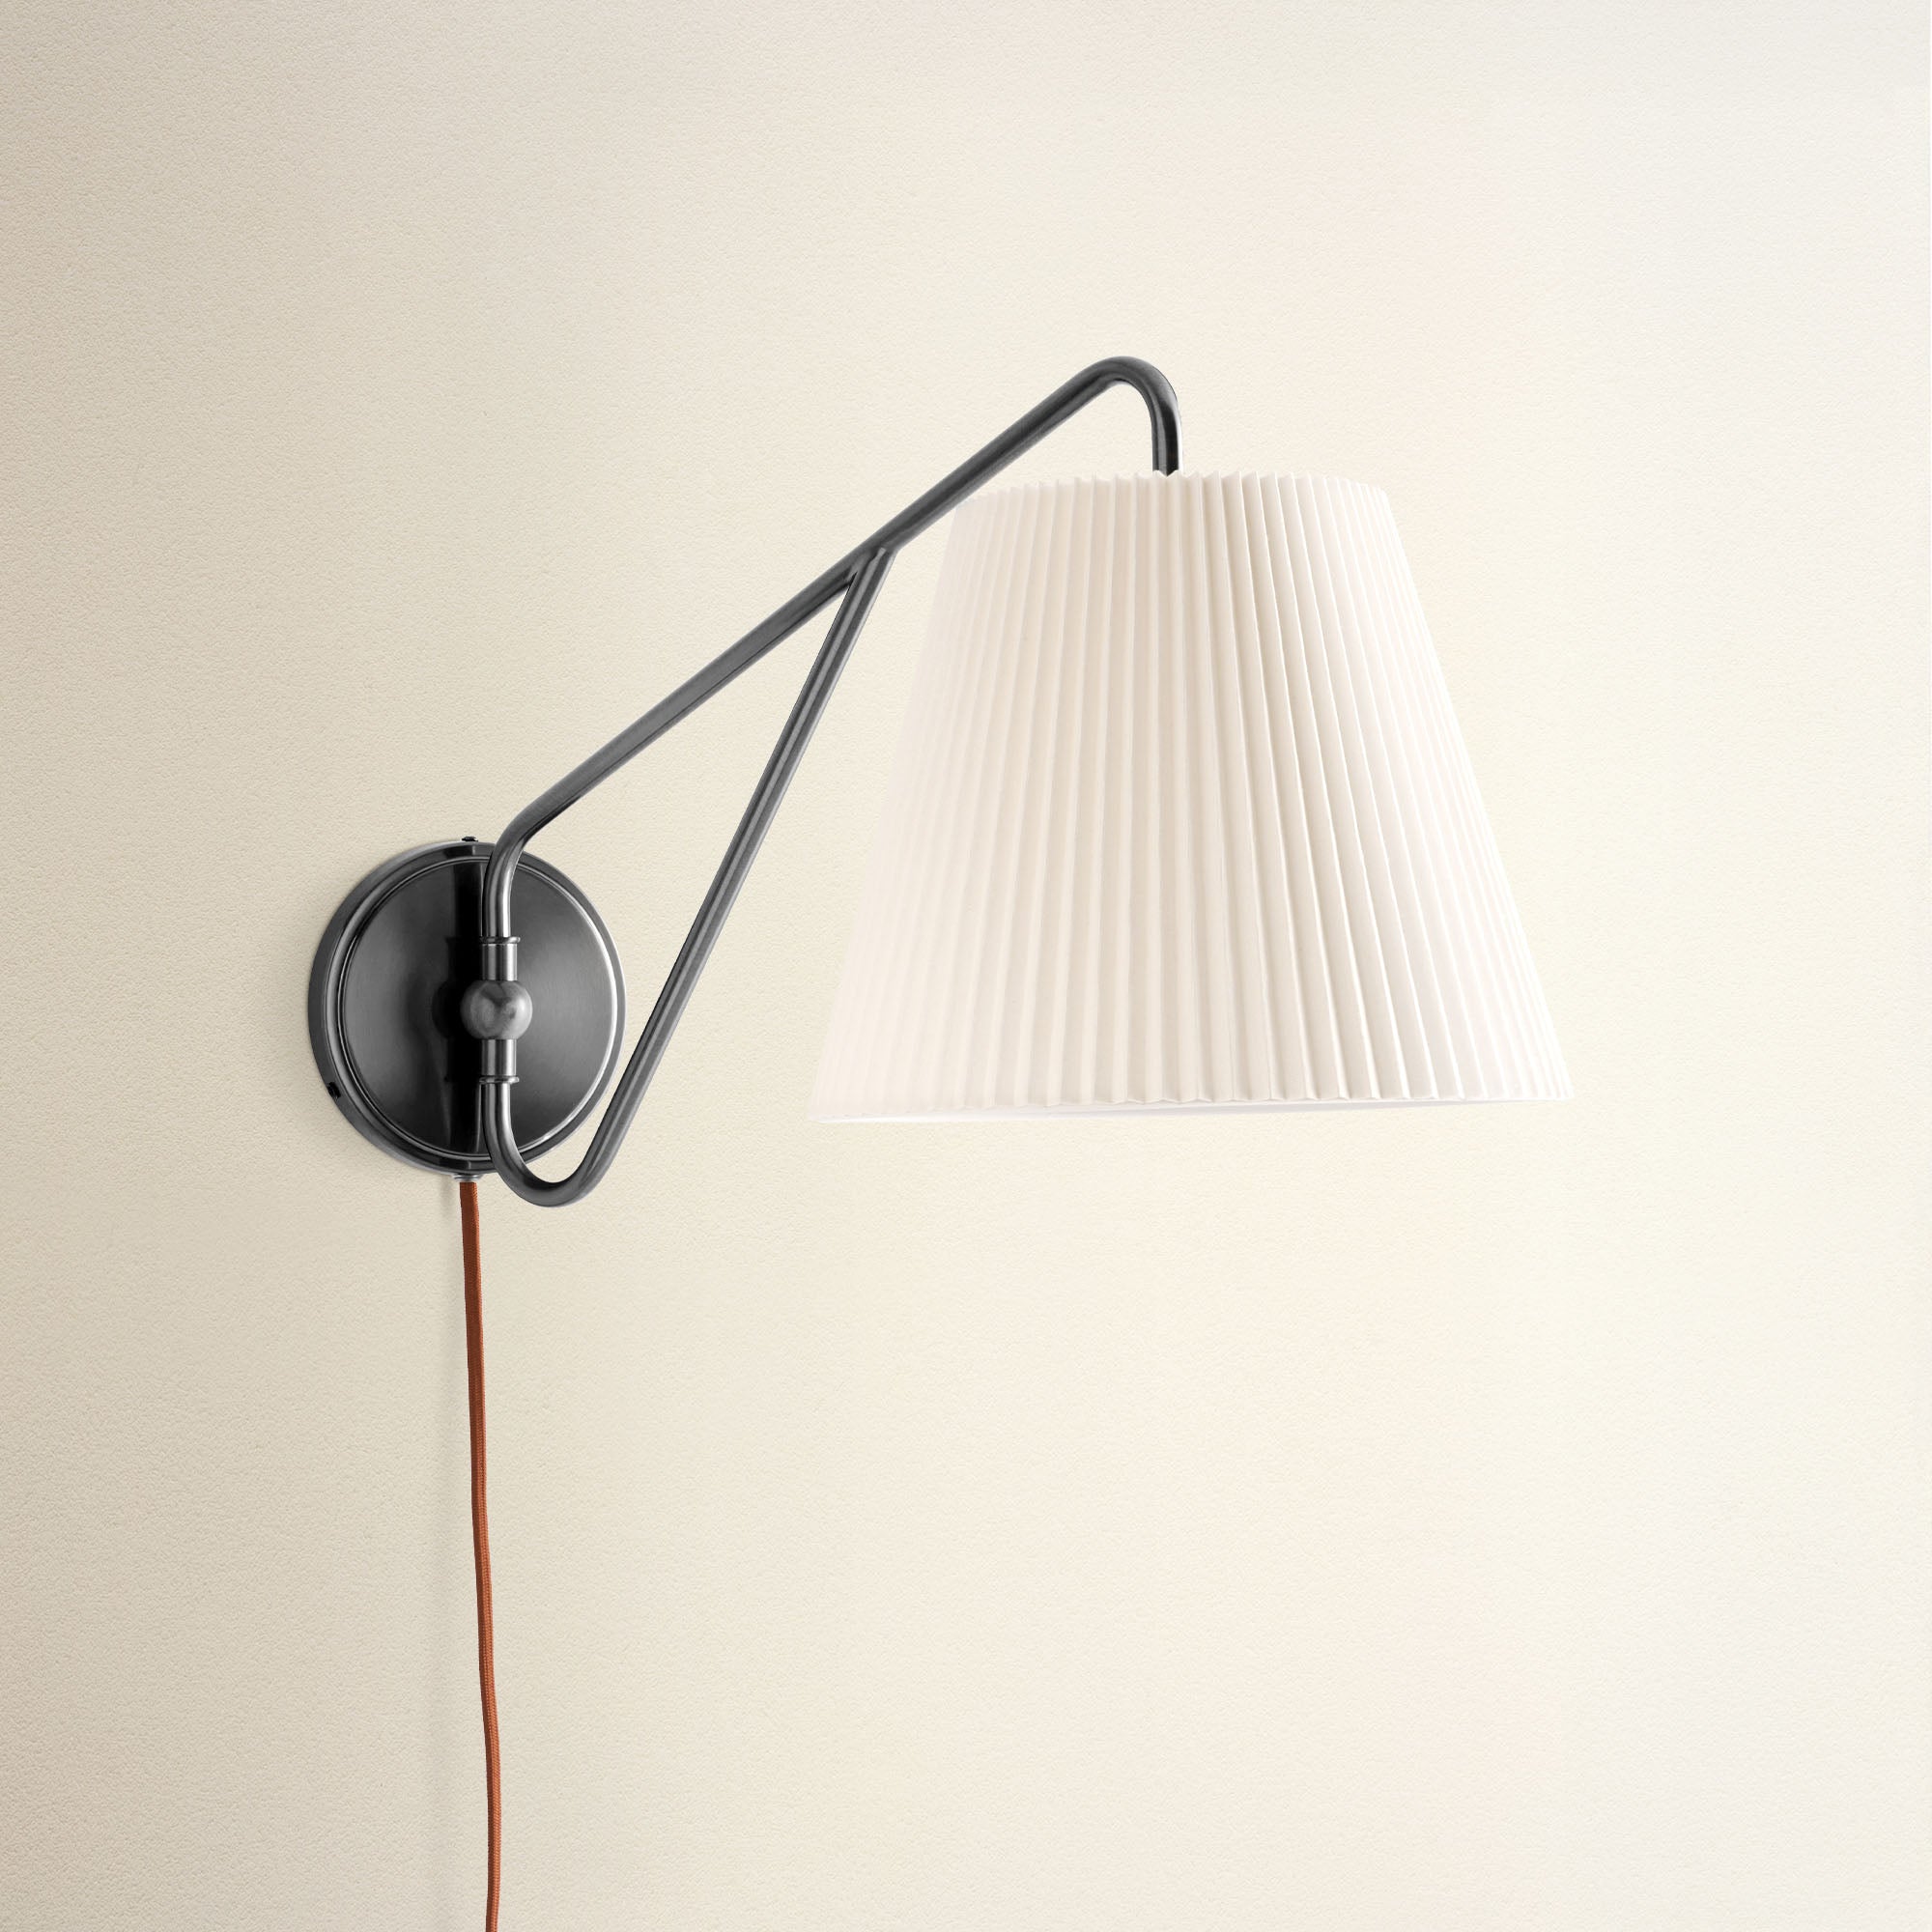
Alternatively, Rowabi highlights simple, no-wiring solutions: choose a plug-in sconce for easy power access or a battery-operated unit with adhesive strips for a renter-friendly, damage-free lighting upgrade. Read below to get detailed step-by-step guidance!
Hardwired Installation (Permanent):
Corded (Plug-In) Installation (No Hardwiring):
Cordless (Battery) Installation (Renter-Friendly):
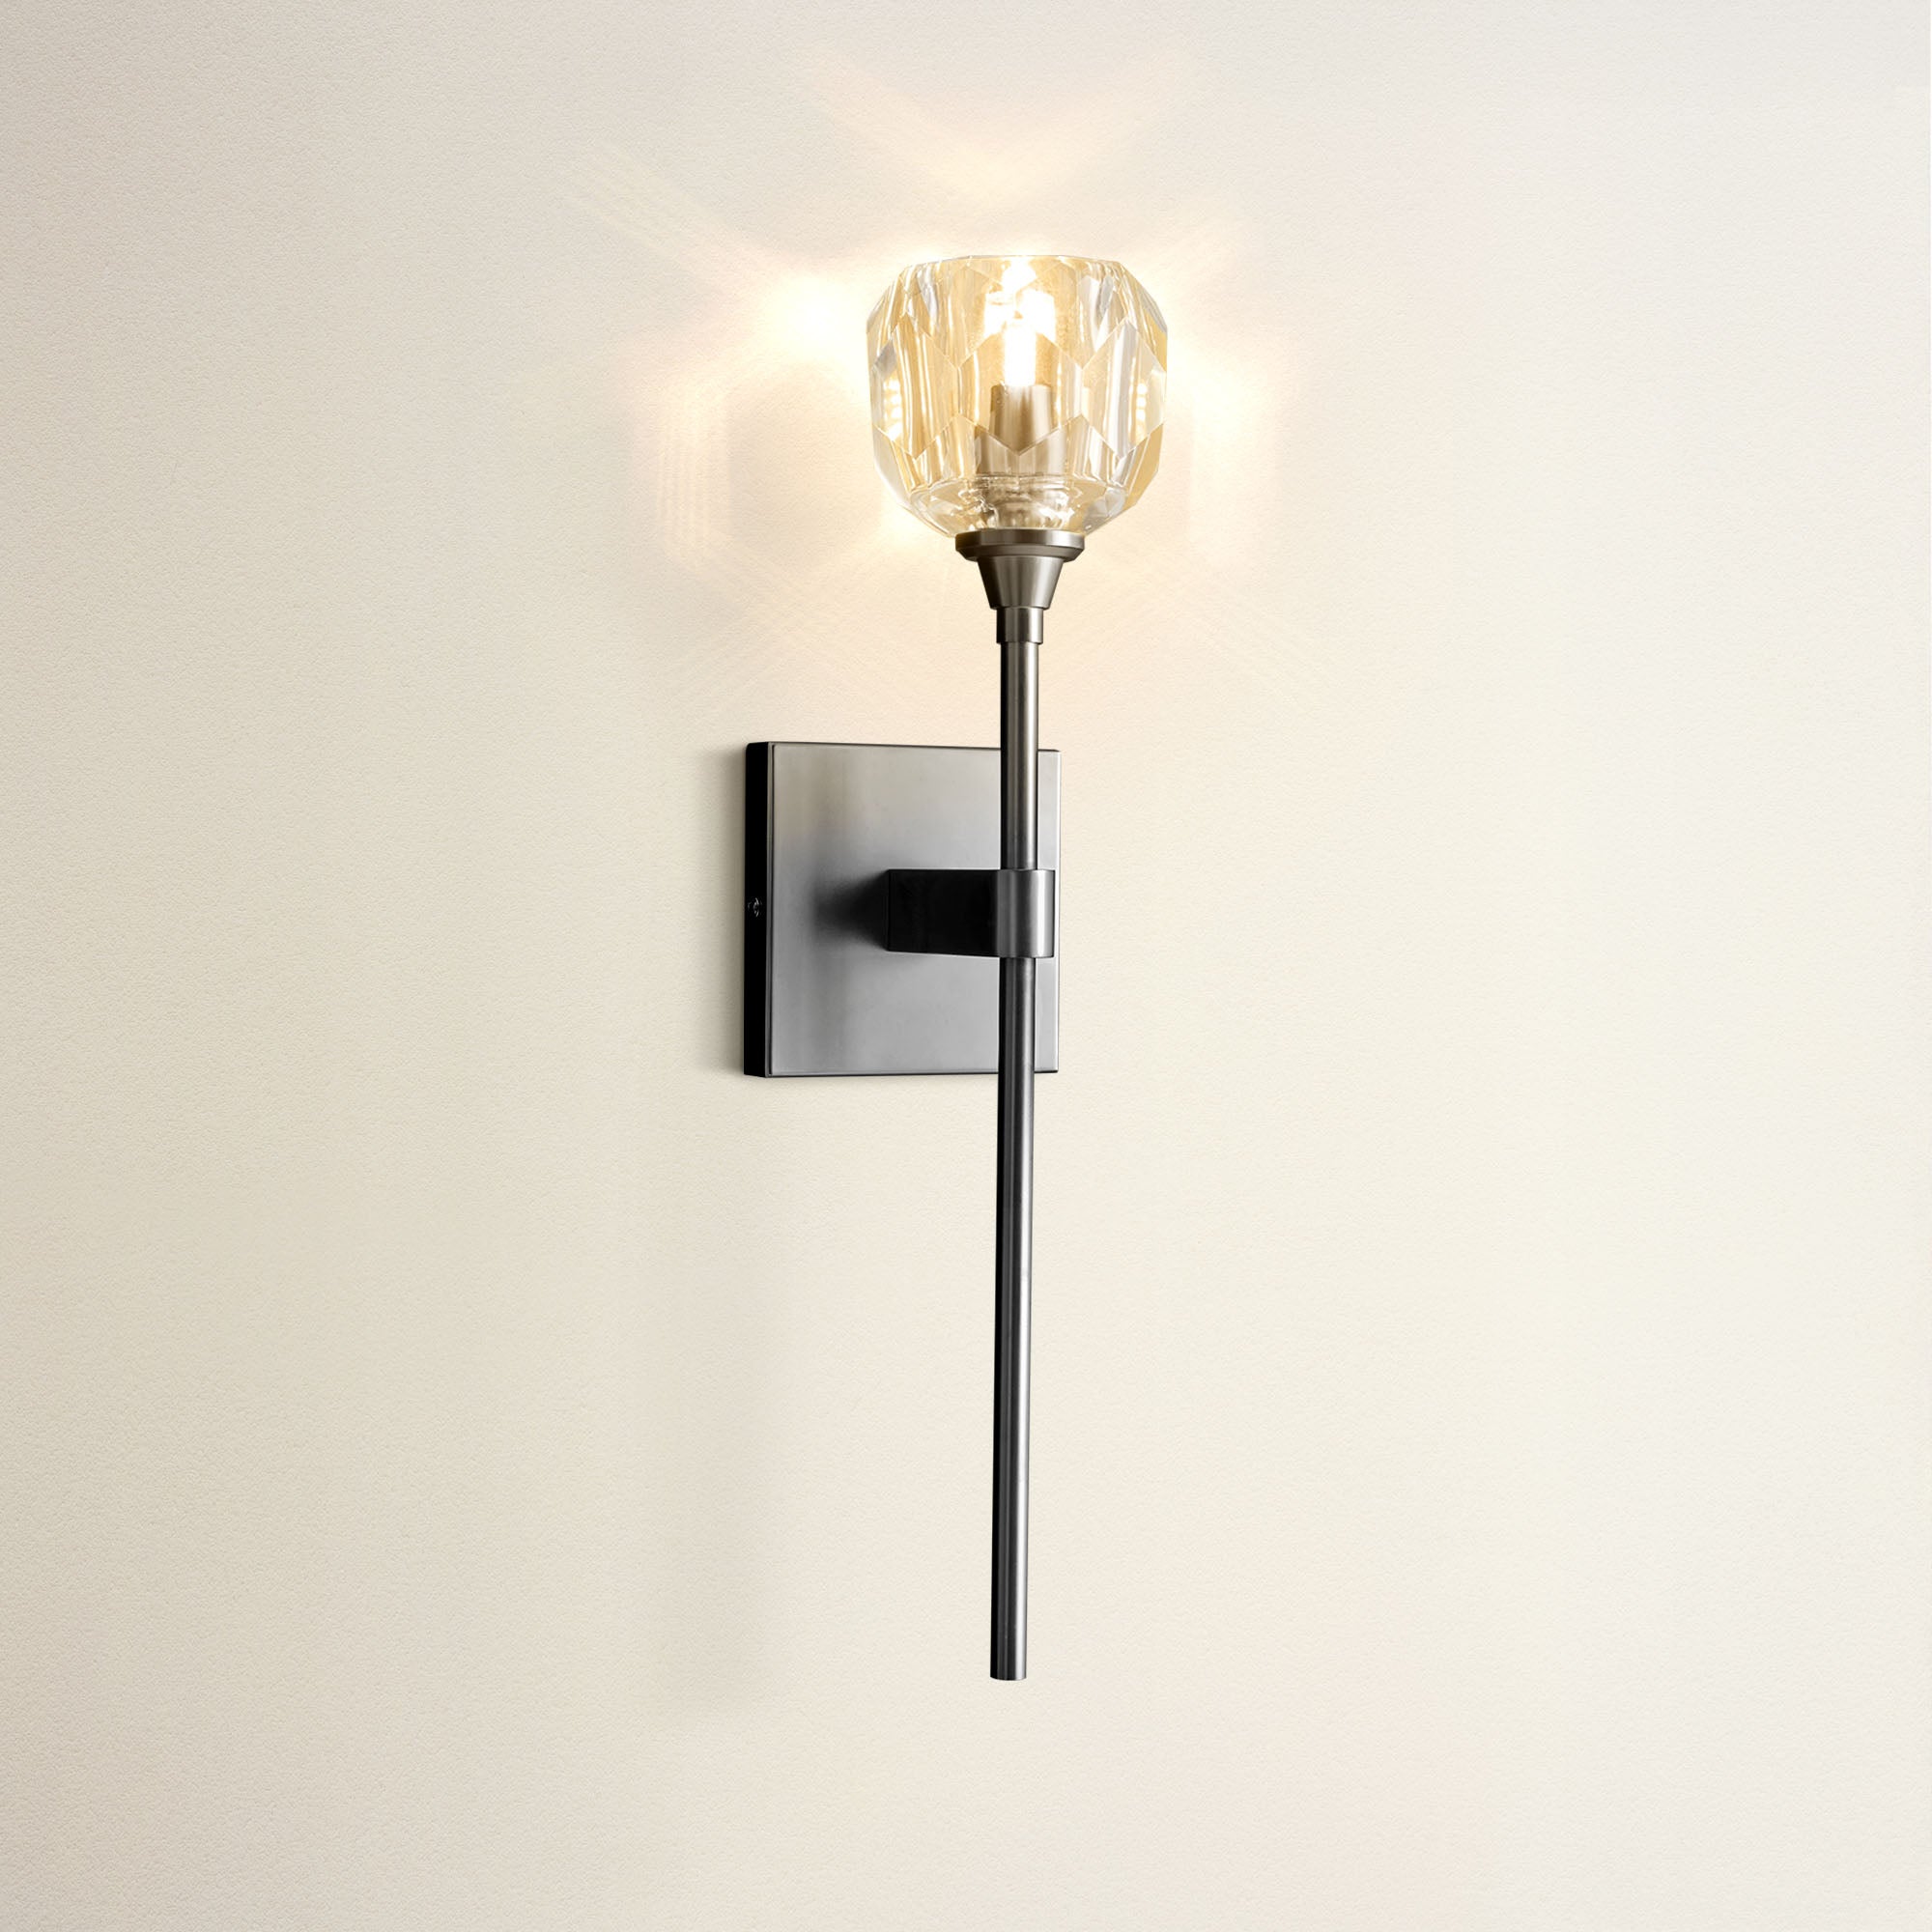
Choosing the correct height for wall sconces is crucial to maximizing their functionality and aesthetic appeal. So, what is the right height to confidently install your lights without any worries? Let's explore with Rowabi.
General living areas:

The height for wall sconces for the living room.
Bathroom vanity:
 Source: Rowabi.
Bedroom:
 Source: Rowabi.
Stairways and Corridors:
Dining Room:
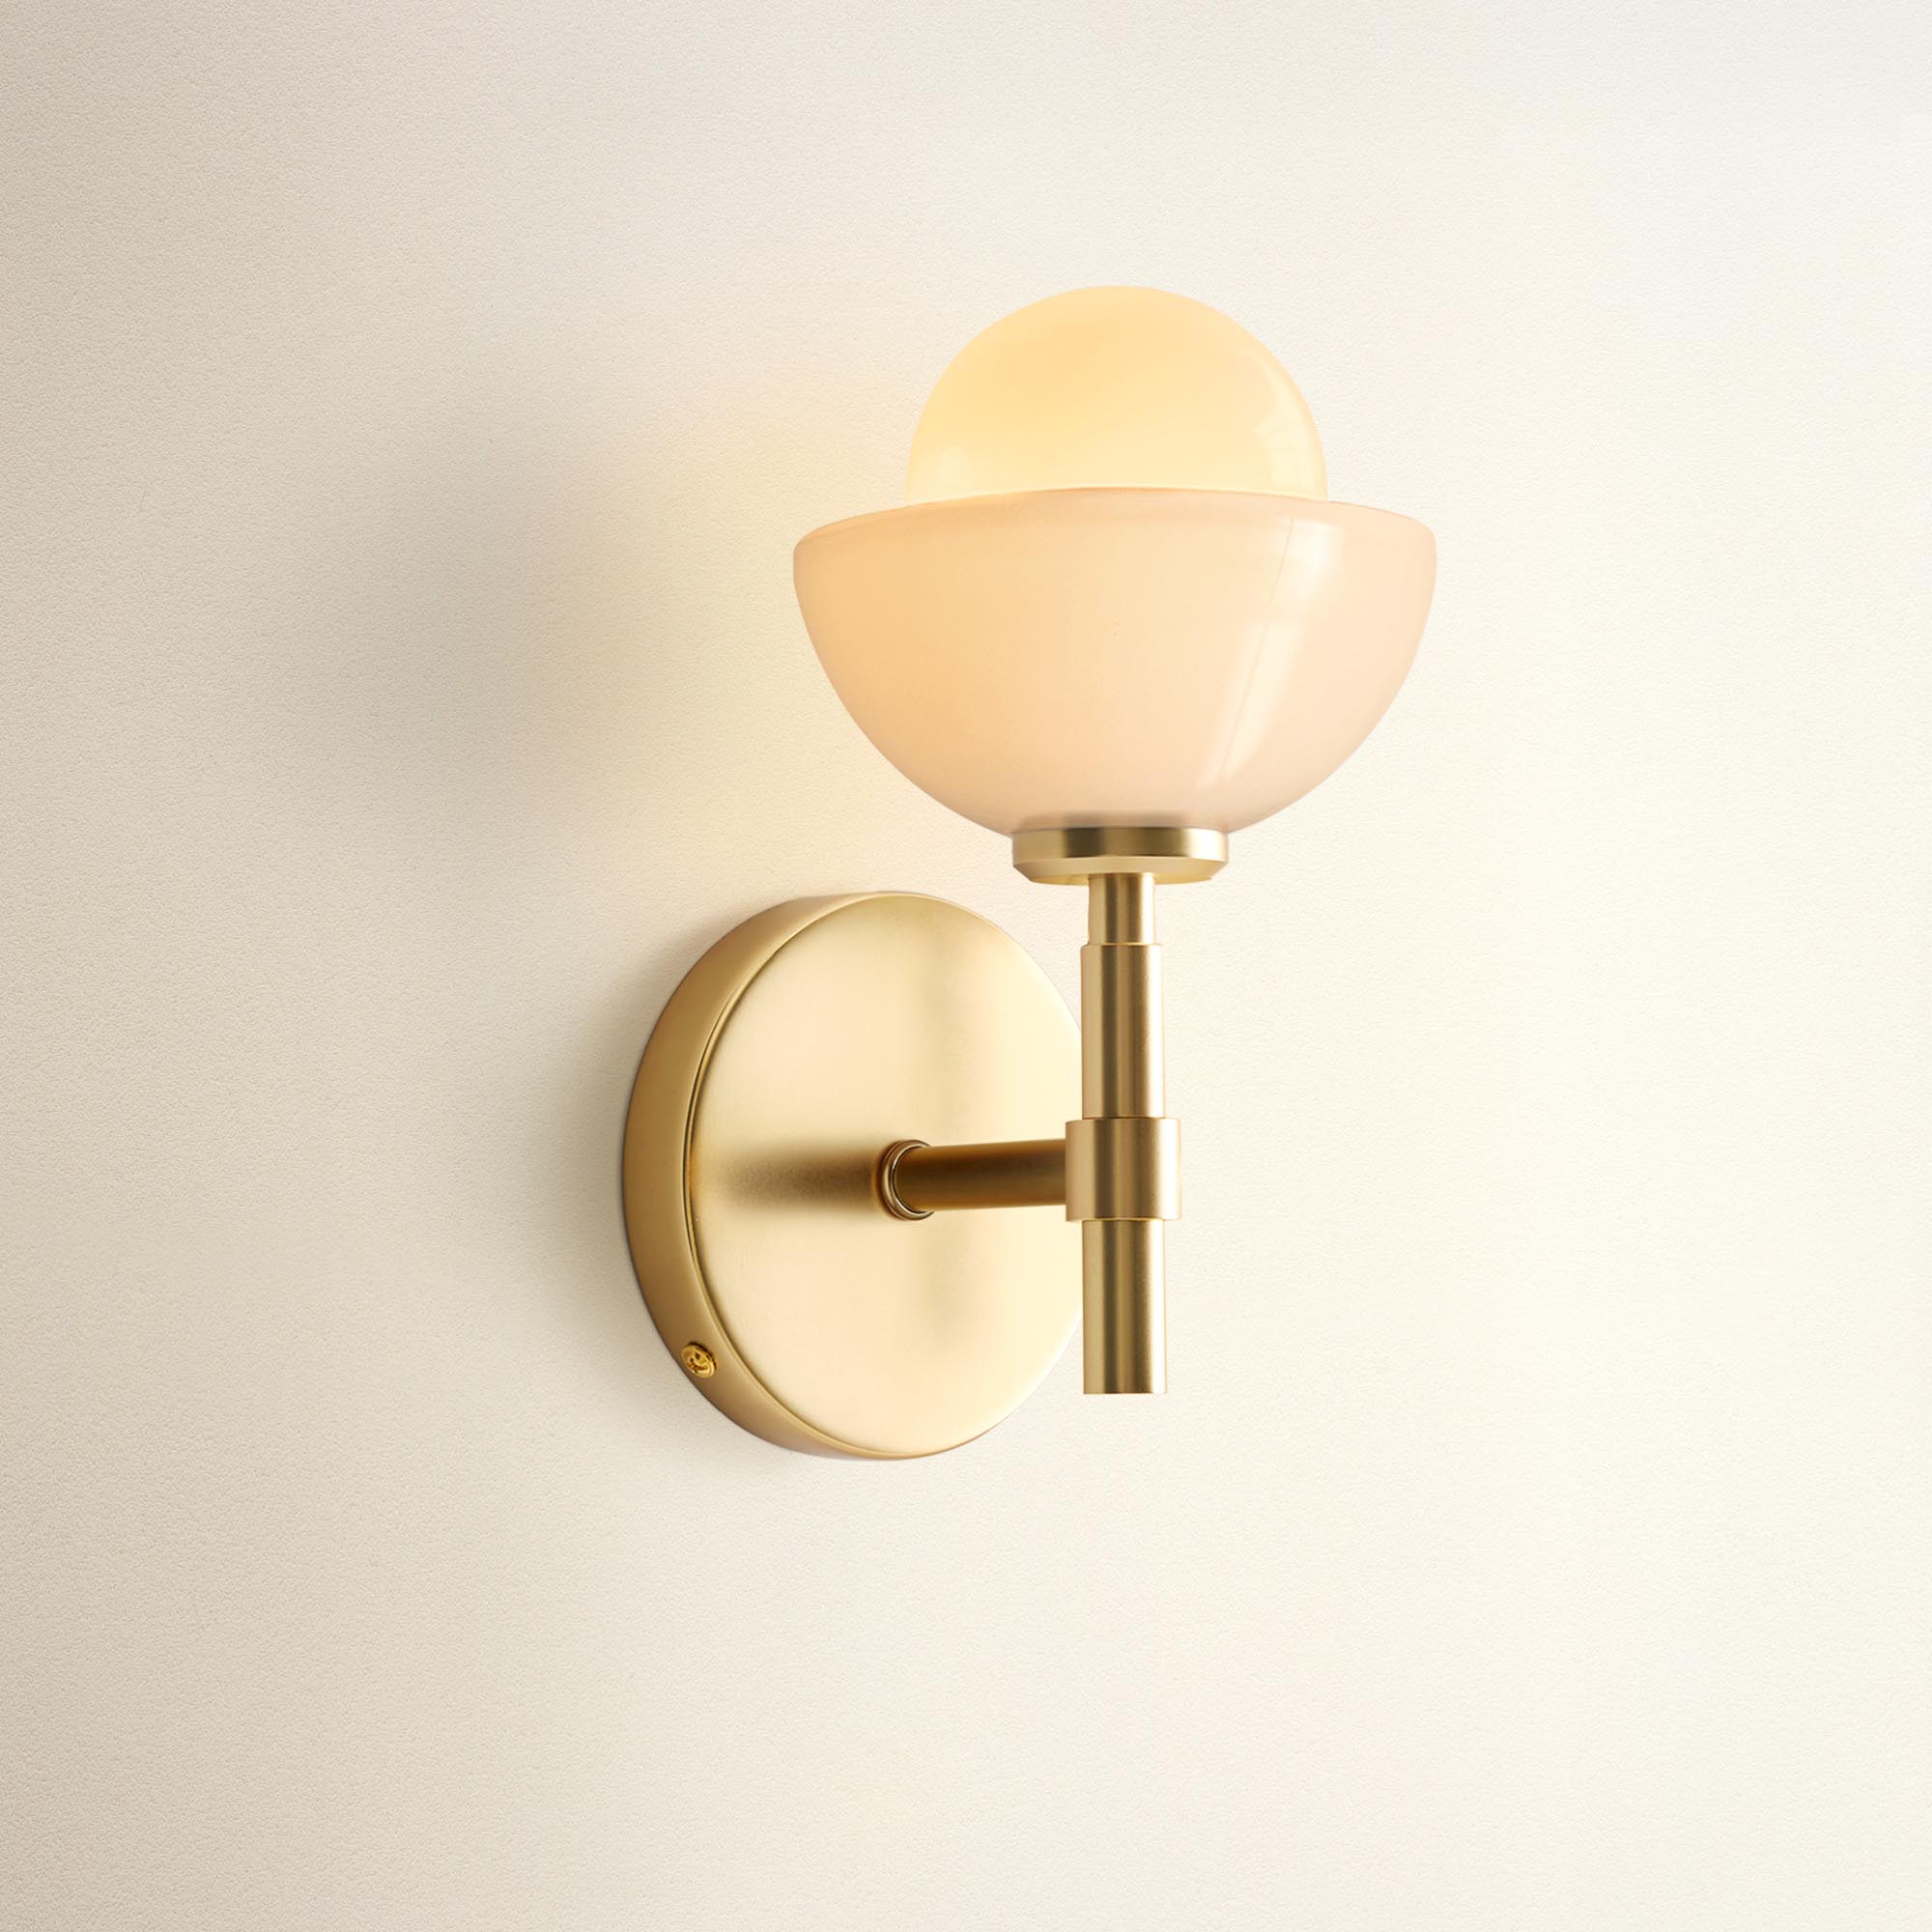
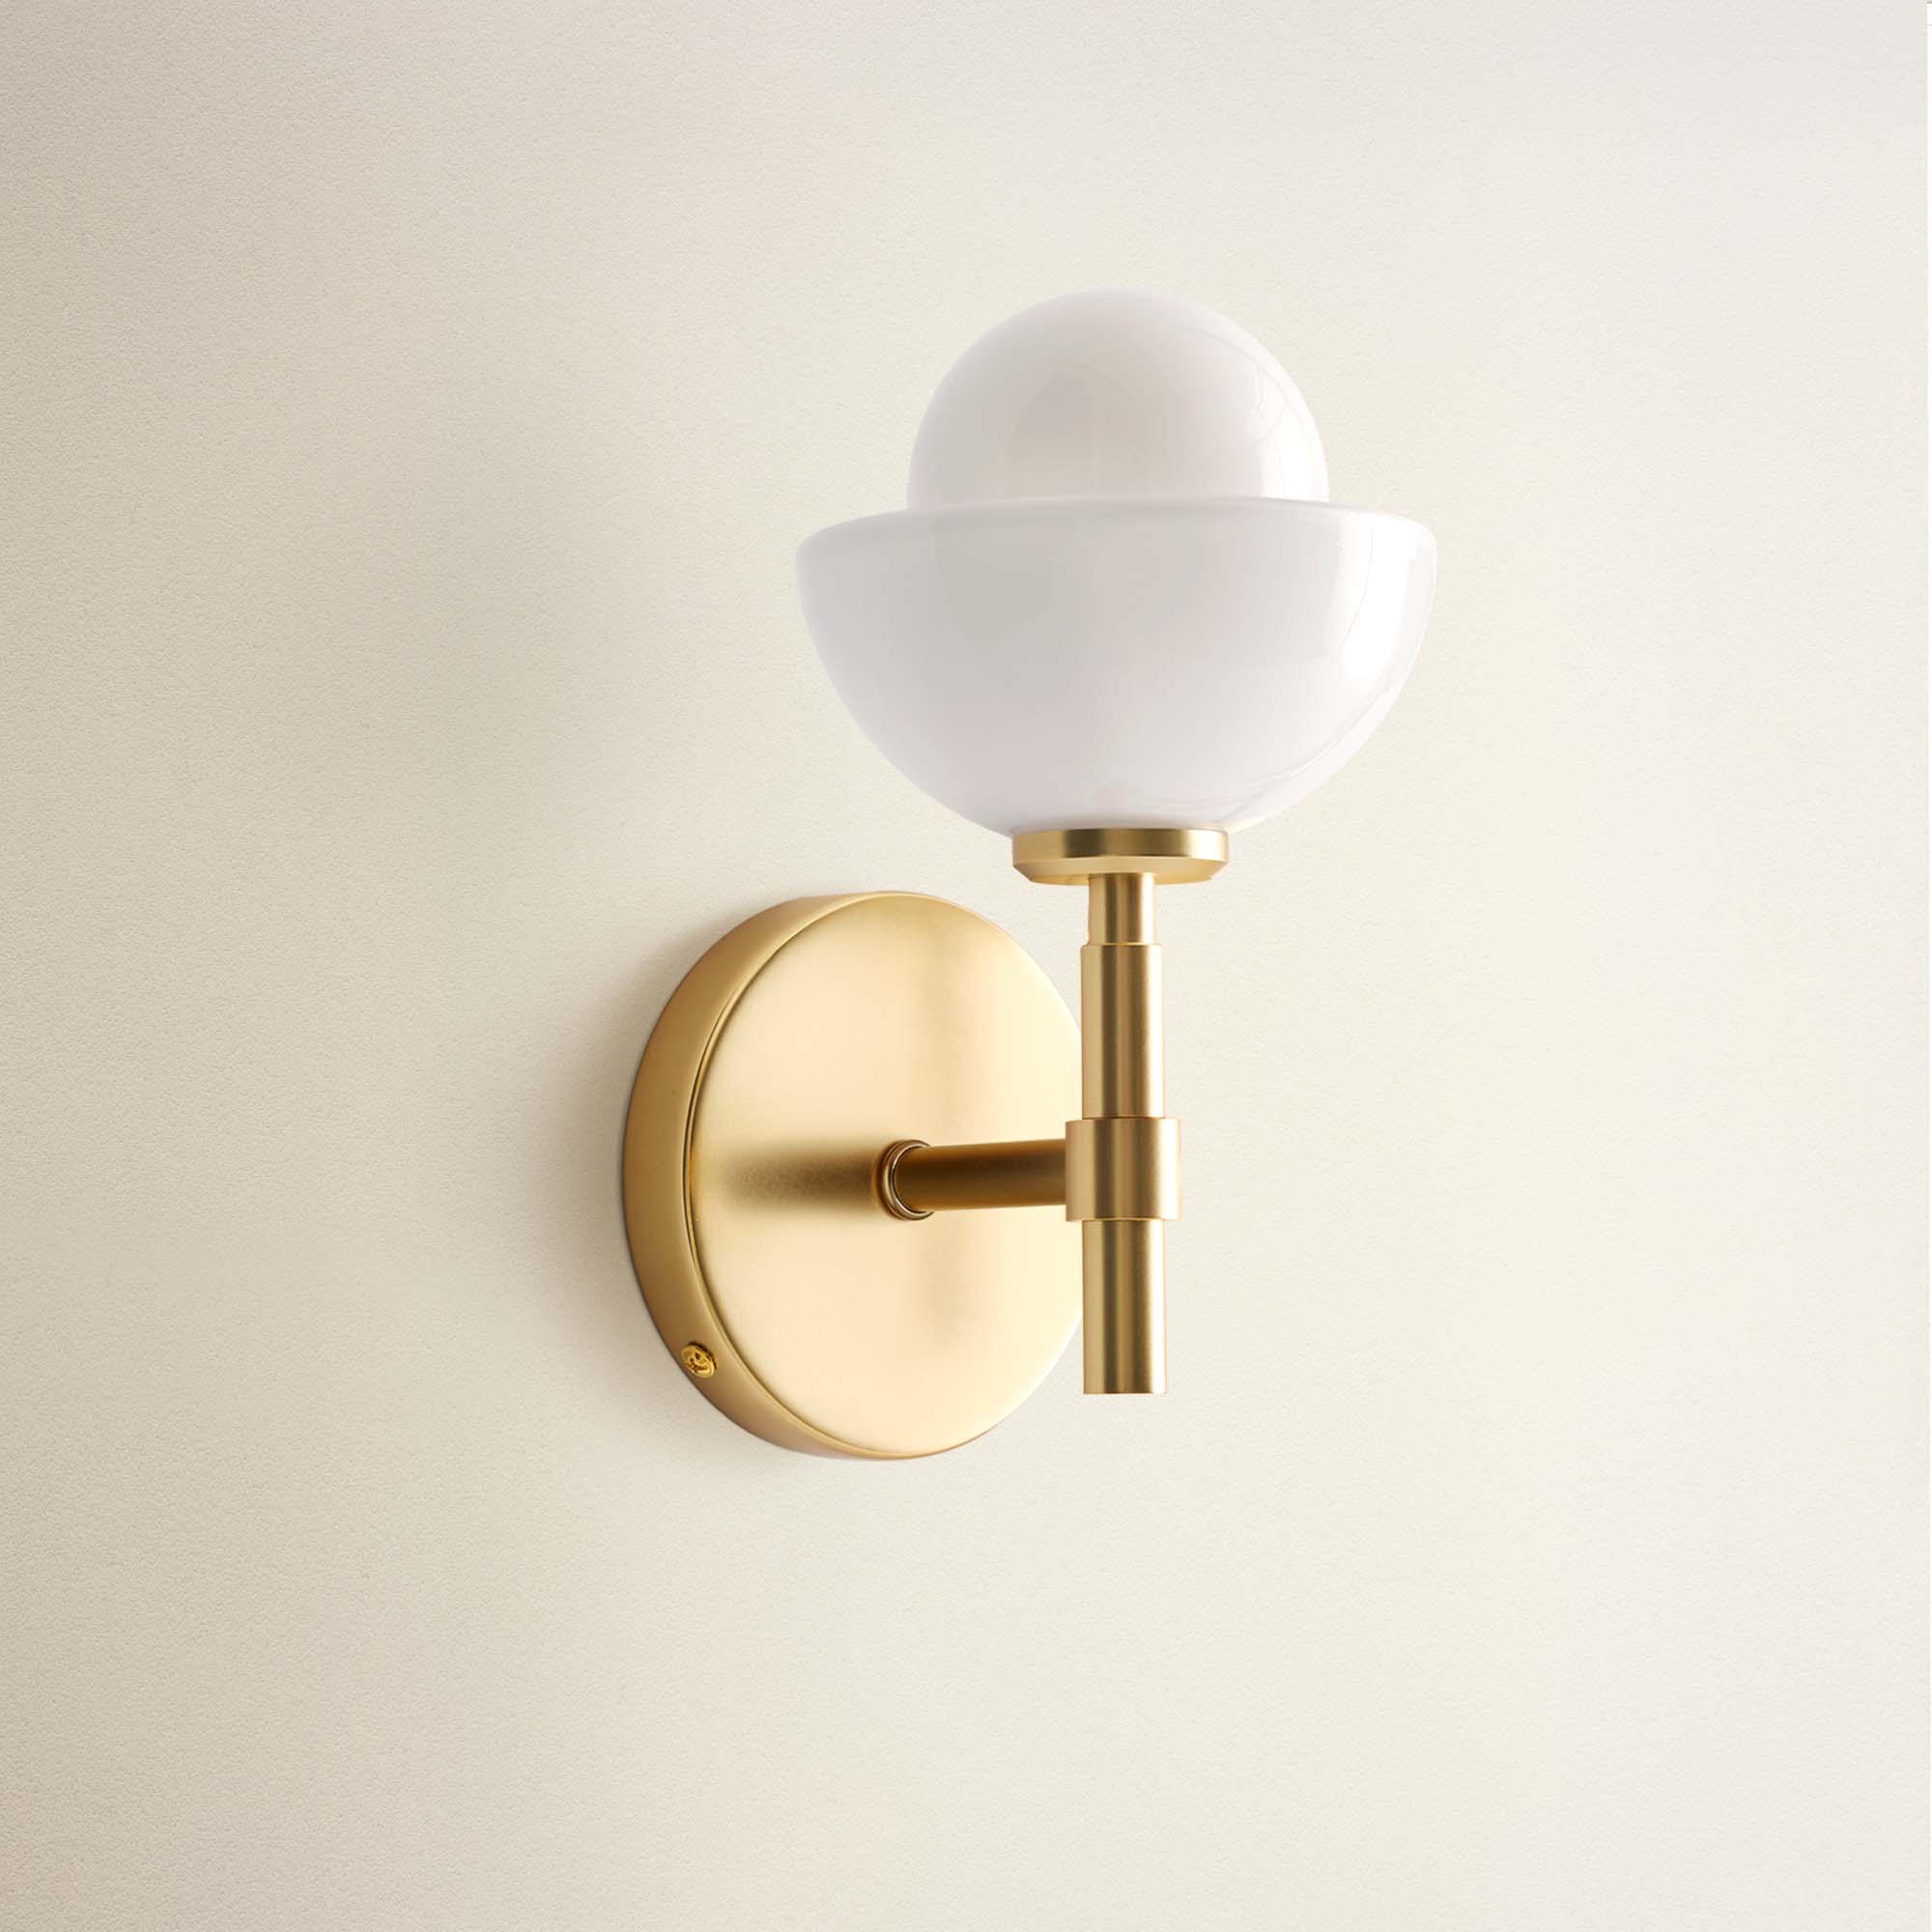
Add a touch of elegance. Browse our curated selection now
Free delivery between Dec 22 - 23 on orders $200+
45-Day Return
Free delivery between Dec 22 - 23 on orders $200+
45-Day Return

Free delivery between Dec 22 - 23 on orders $200+
45-Day Return
Free delivery between Dec 22 - 23 on orders $200+
45-Day Return

Free delivery between Dec 22 - 23 on orders $200+
45-Day Return
Free delivery between Dec 22 - 23 on orders $200+
45-Day Return
Free delivery between Dec 22 - 23 on orders $200+
45-Day Return
Free delivery between Dec 22 - 23 on orders $200+
45-Day Return
Free delivery between Dec 22 - 23 on orders $200+
45-Day Return
Free delivery between Dec 22 - 23 on orders $200+
45-Day Return
Free delivery between Dec 22 - 23 on orders $200+
45-Day Return
Free delivery between Dec 22 - 23 on orders $200+
45-Day Return
When installing a wall sconce, always turn off the power at the circuit breaker to prevent electrical shock. Use a voltage tester to confirm the power is off before starting. Avoid drilling into hidden wires by using a stud finder to locate any electrical lines behind the wall.
Ensure you have the right tools and follow the manufacturer’s instructions for a secure installation. Once installed, restore the power and test the sconce to ensure it works properly.
Before you get started, here’s a checklist of the tools and materials you’ll need to prepare:

Gather your tools and materials, and let's get started on installing the light fixture! Source: @pixel-shot.com via Freepik: https://www.freepik.com/author/pixel-shot-com
| Time | Level | Cost |
| 1-2 hours | Intermediate | $50 to $200 excluding the cost of sconces |
Are your tools and materials ready? Here are the super-detailed, step-by-step instructions to ensure you nail your sconce light installation:
Before beginning the installation, ensure the power to the work area is turned off by shutting off the appropriate circuits at the electric service panel. This crucial step prevents any risk of electrical shock.
Use a stud finder to locate the vertical wall studs between which you plan to install the sconce. Mark their positions with painter’s tape, noting that studs are typically 14.5 to 16 inches apart. This will help you securely mount the light and switch boxes.
Decide and mark the exact spots for the sconce light and switch on the wall. Ensure these marks are positioned between the wall studs. While electrical codes don’t specify exact switch heights, a standard height is about 48 inches from the floor.
If your round electrical box includes a paper template, use it to outline the hole on the drywall. Cut the hole using a drywall jab saw or a hole saw to match the size of the light box, typically 4 inches in diameter. Remove the drywall cutout.

Source: Rowabi.
Similarly, use a template for the switch box or the box itself as a guide to cut the hole in the wall. Ensure the hole is appropriately sized to accommodate the switch box.
Remove the faceplate from the existing outlet and check for power using a non-contact voltage tester.
Determine if the outlet box is an old-work box (with screws for removal) or a nail-in/ screw-in box (which cannot be removed without removing drywall).
For old-work boxes, unscrew and remove the box while keeping it attached to its wires. If replacing an existing box, pull it out gently without disconnecting the wires.
Fish a length of 14/2 wire from the light box hole to the switch box hole, leaving about 8 to 10 inches of wire extending from each hole. For shorter runs, fish tape may not be necessary, but use it if needed for easier wire management.

Be careful when connecting the wires, ensuring accuracy and attention to detail. Source: Rowabi.
Insert the 14/2 wire into the light box and position the box in the wall opening. Secure it by tightening the screws on the box to hold it firmly in place.
Use a wire ripper to strip the outer casing of the 14/2 wire, then strip the ends of the wires. Attach the metal ring or mounting hardware to the light box, threading the wires through as you do so.
Connect the sconce’s wires to the 14/2 wires using wire nuts. Match the colors—black to black, white to white, and bare copper to bare copper. Secure the sconce onto the mounting hardware with provided fasteners.
Fish a length of 14/2 wire from the switch box to the outlet. Use fish tape for nail-in or screw-in boxes if necessary. Ensure about 8 to 10 inches of wire extend from both the switch and outlet holes:
Insert the wires into the back of the switch box and position it in the wall opening. Secure it by tightening the screws with a manual screwdriver.

Verify that the box is level and aligned correctly. Source: Rowabi.
Black wires: Connect the line black wire (power source) to one terminal on the light switch. Connect the load black wire (to the sconce) to the other terminal. This allows the switch to control the sconce.
White wires: Twist the white wire from the power source with the white wire to the sconce. This bypasses the switch, completing the circuit.
Bare copper ground wire: Twist together the two bare copper wires and a third short copper wire. Cap with a wire nut and attach the loose end to the green screw on the switch for grounding.
Final assembly: Secure the switch to the box with screws and attach the faceplate to finish the installation.
Complete the wiring by connecting the 14/2 wire to the outlet. Ensure proper connections—black wire to gold terminals, white wire to silver terminals, and ground wires twisted together with a wire nut.
Secure any extra wires with wire nuts or crimp connectors:
Tip: Use pigtail connections for a secure fit, and keep wires organized by color for safety.
Push the wires back into the outlet box and attach the outlet with screws. Place the outlet faceplate on and secure it in place.
Ready to elevate your home? Explore our curated designs here.
Free delivery between Dec 22 - 23 on orders $200+
45-Day Return
Restore power at the electric service panel and test the sconce light by flipping the switch. Verify that the light functions correctly and is properly installed.
Sometimes things don’t go as planned. If you encounter issues, here are some common problems and important tips to keep in mind when installing a sconce light:
In summary, installing a wall sconce can be a straightforward and rewarding DIY project when you follow the right steps.
By ensuring you have all the necessary tools and materials, carefully preparing the installation area, and connecting the wiring correctly, you can achieve a professional-looking result with minimal hassle.

20+ Best Organic Minimalist Interiors Design Ideas
Are you feeling overwhelmed by the chaos of modern life? In a world filled with constant noise and clutter, there's a growing desire for serenity and simplicity in our living spaces. That's why org...
Read more![[Update 2025] How Much Does It Cost To Install Wall Sconces?](http://www.rowabi.com/cdn/shop/articles/banner_1_2693c36e-2a1b-4baa-8982-2385881497ca.jpg?v=1765267361&width=1800)
[Update 2025] How Much Does It Cost To Install Wall Sconces?
Determining the true cost of installing a wall sconce involves more than just the price tag of the fixture; it depends heavily on the type of wiring required. Homeowners can expect a broad range, g...
Read more
Leave a comment
This site is protected by hCaptcha and the hCaptcha Privacy Policy and Terms of Service apply.