Gifting has never been easier
Perfect if you're short on time or are unable to deliver your gift yourself. Enter your message and select when to send it.
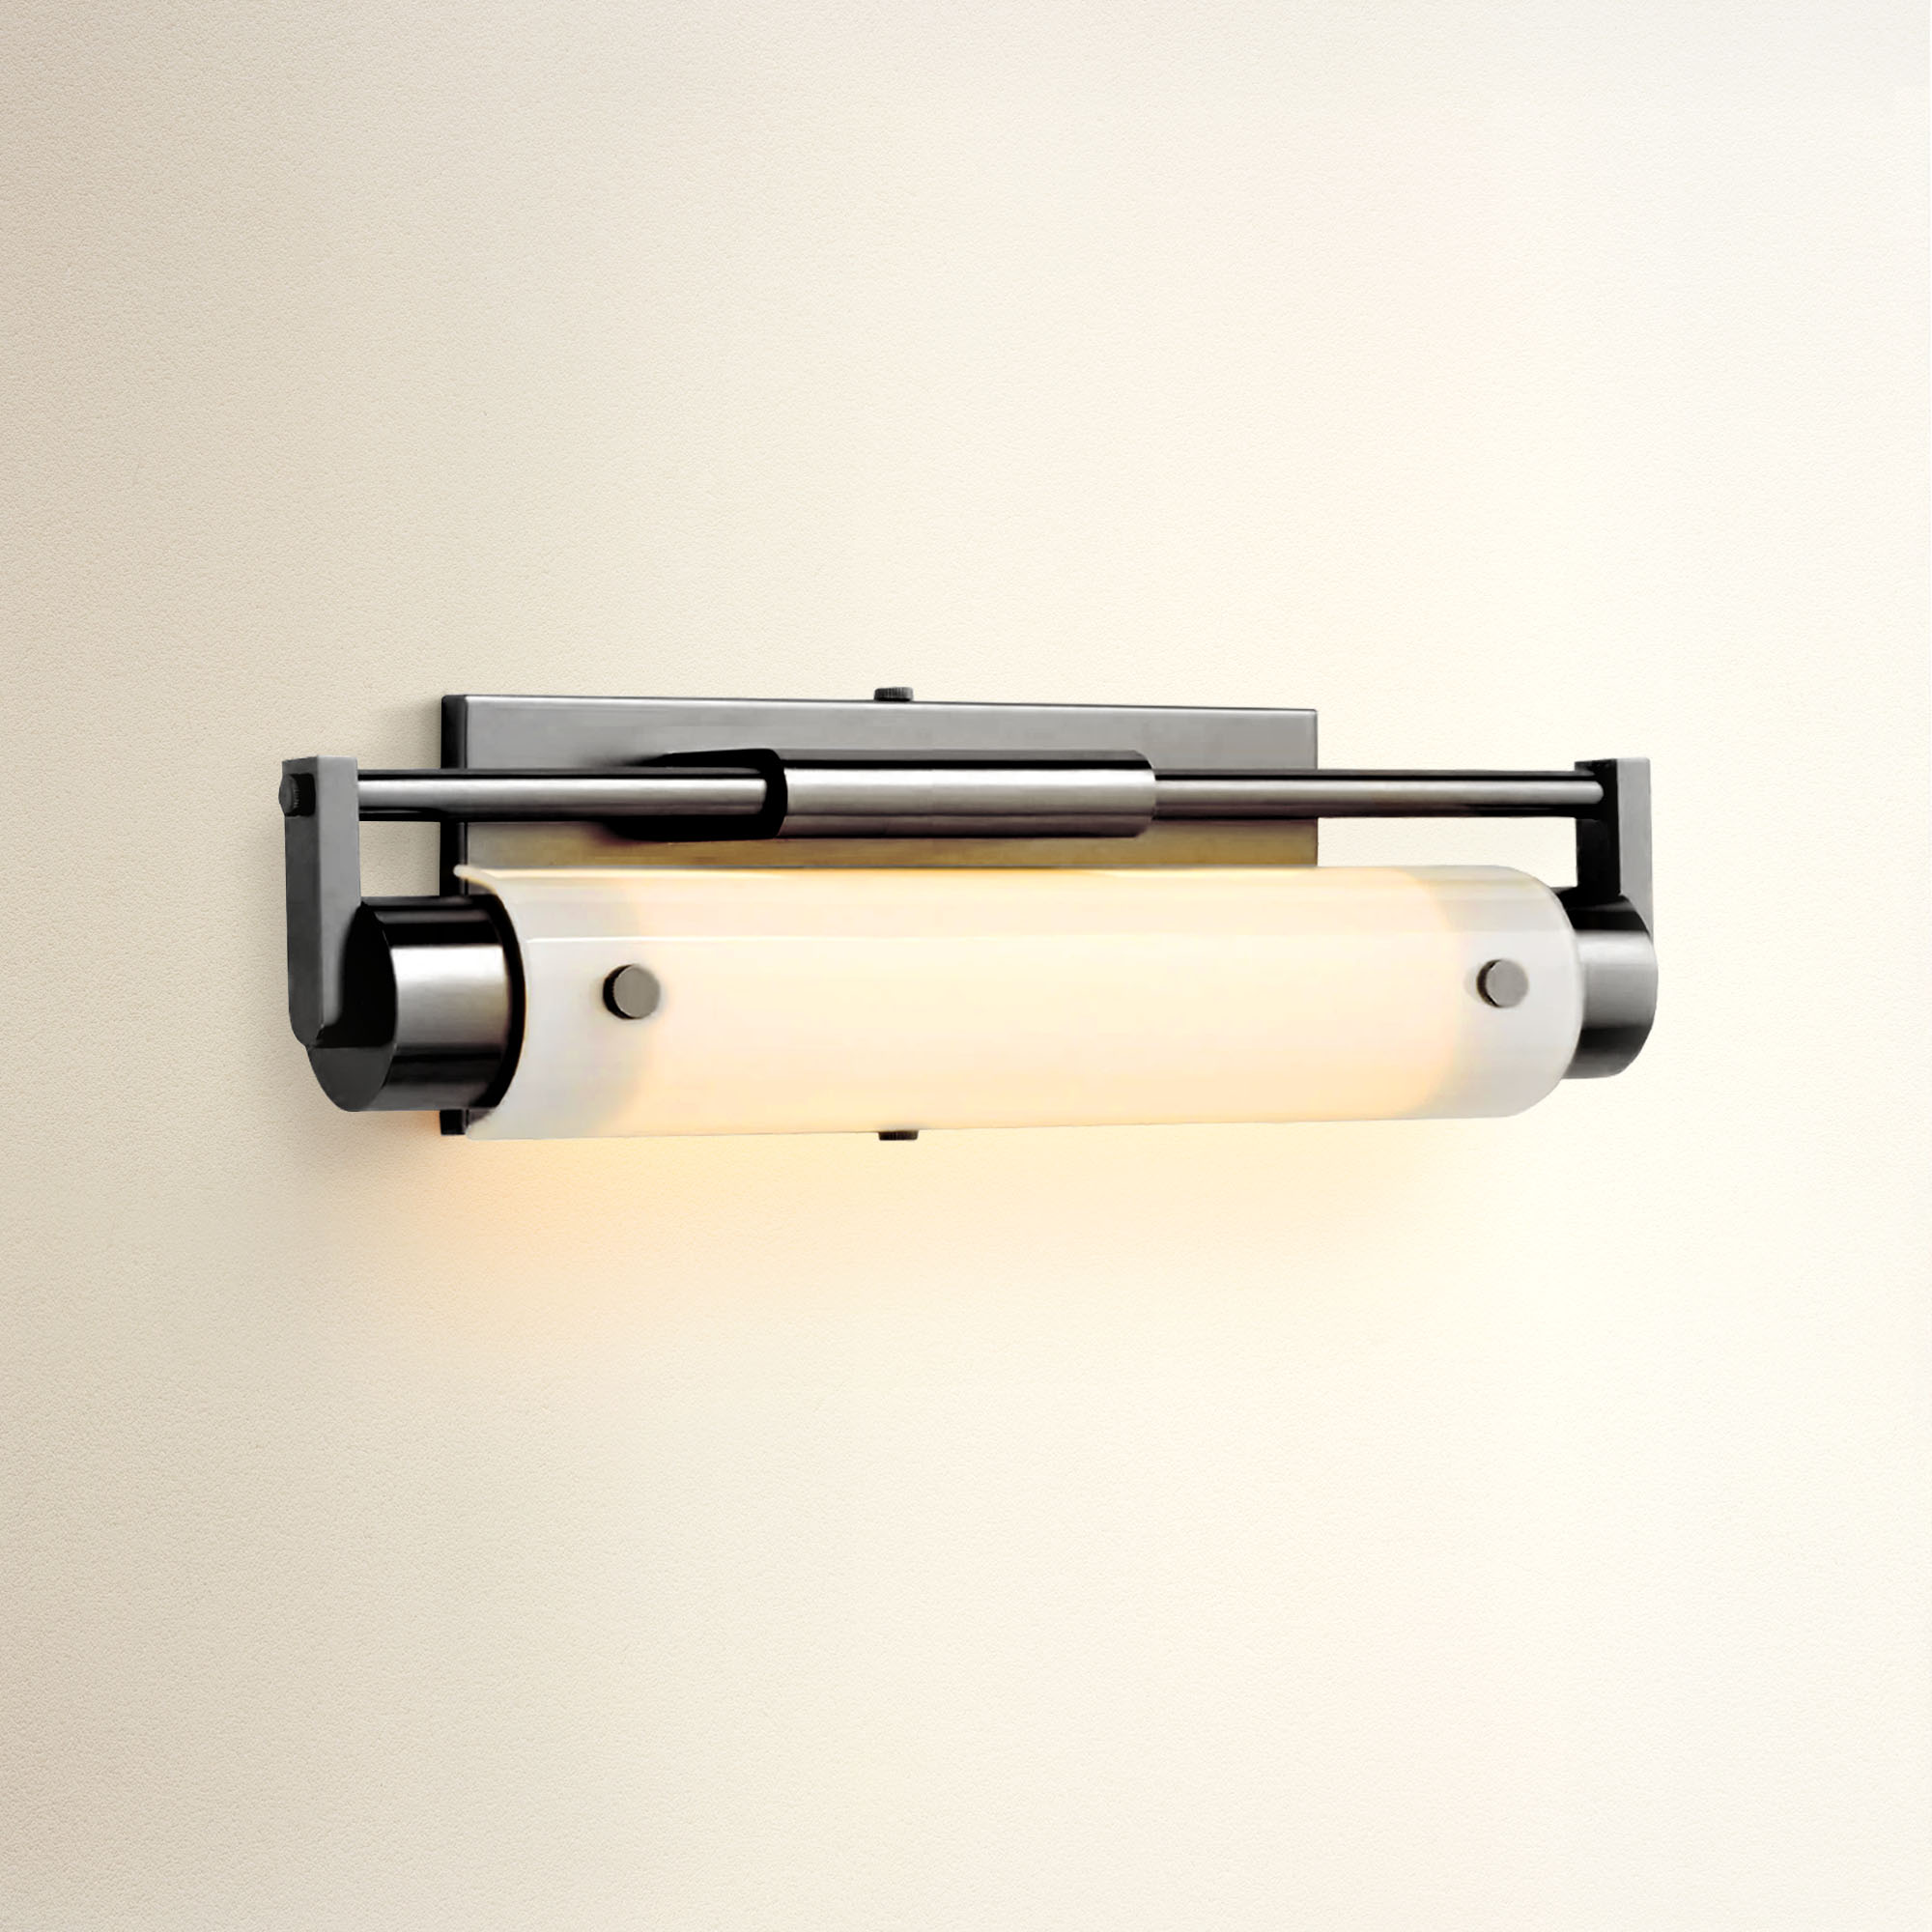
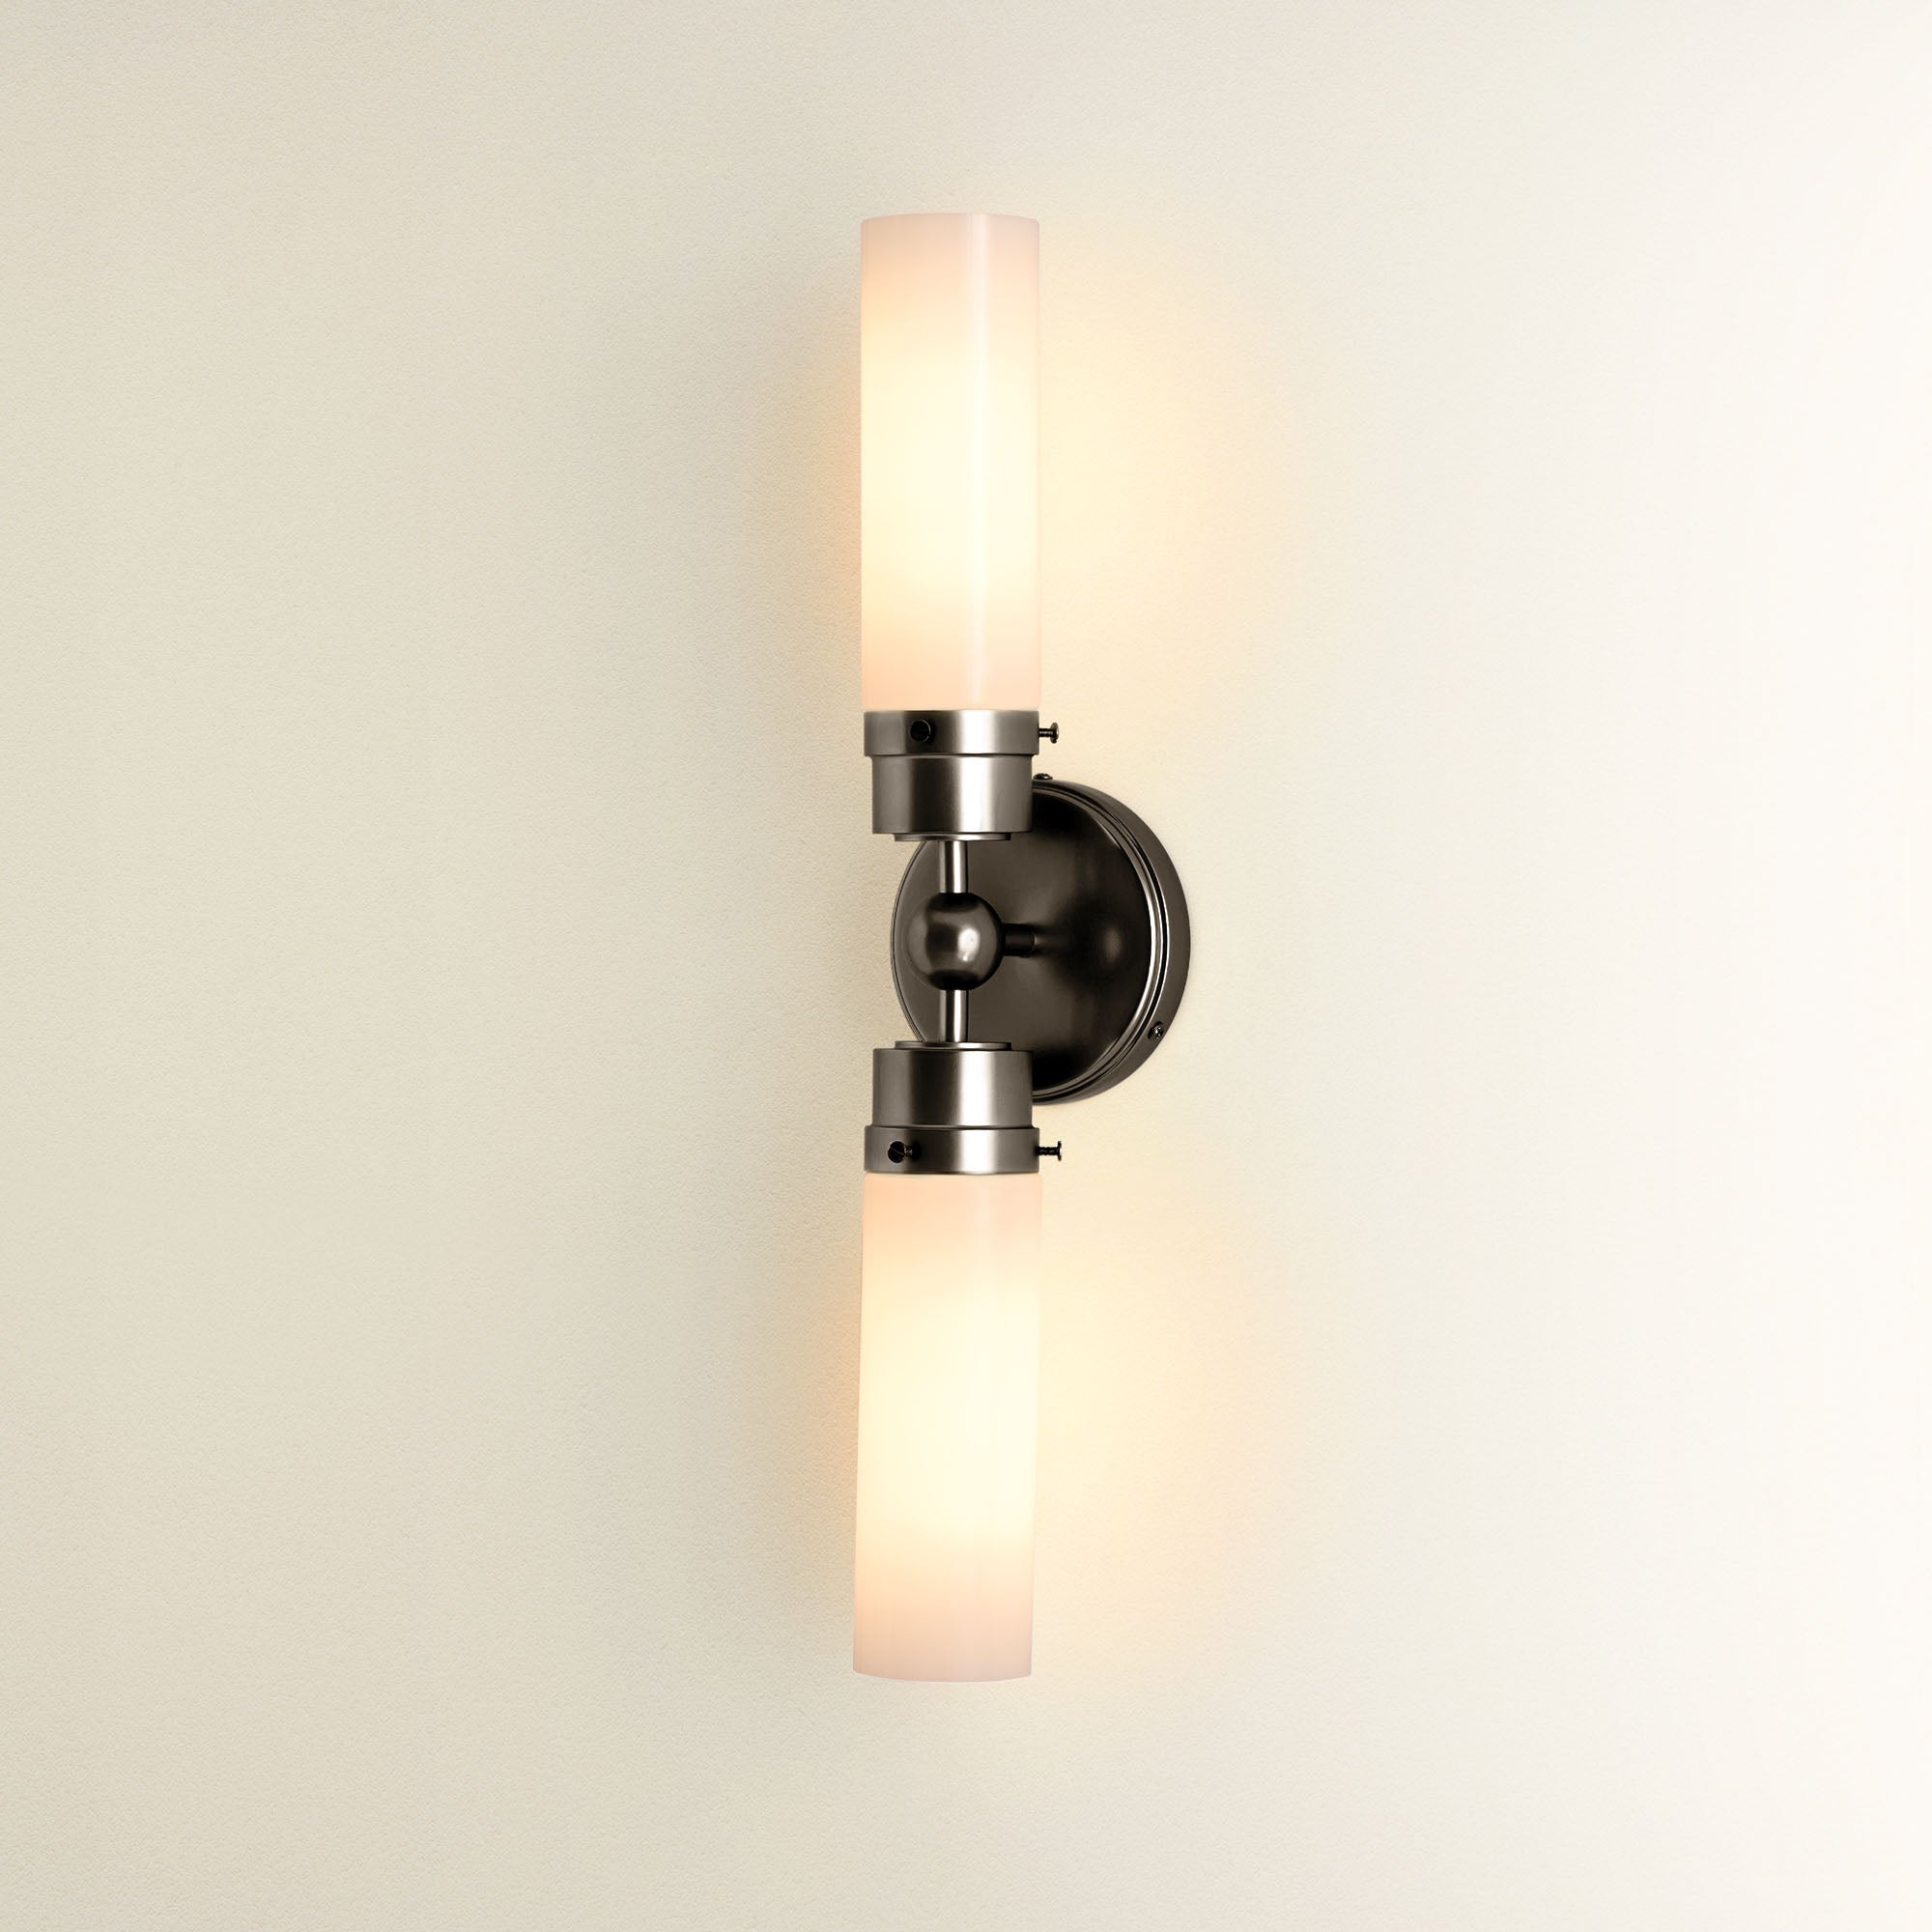
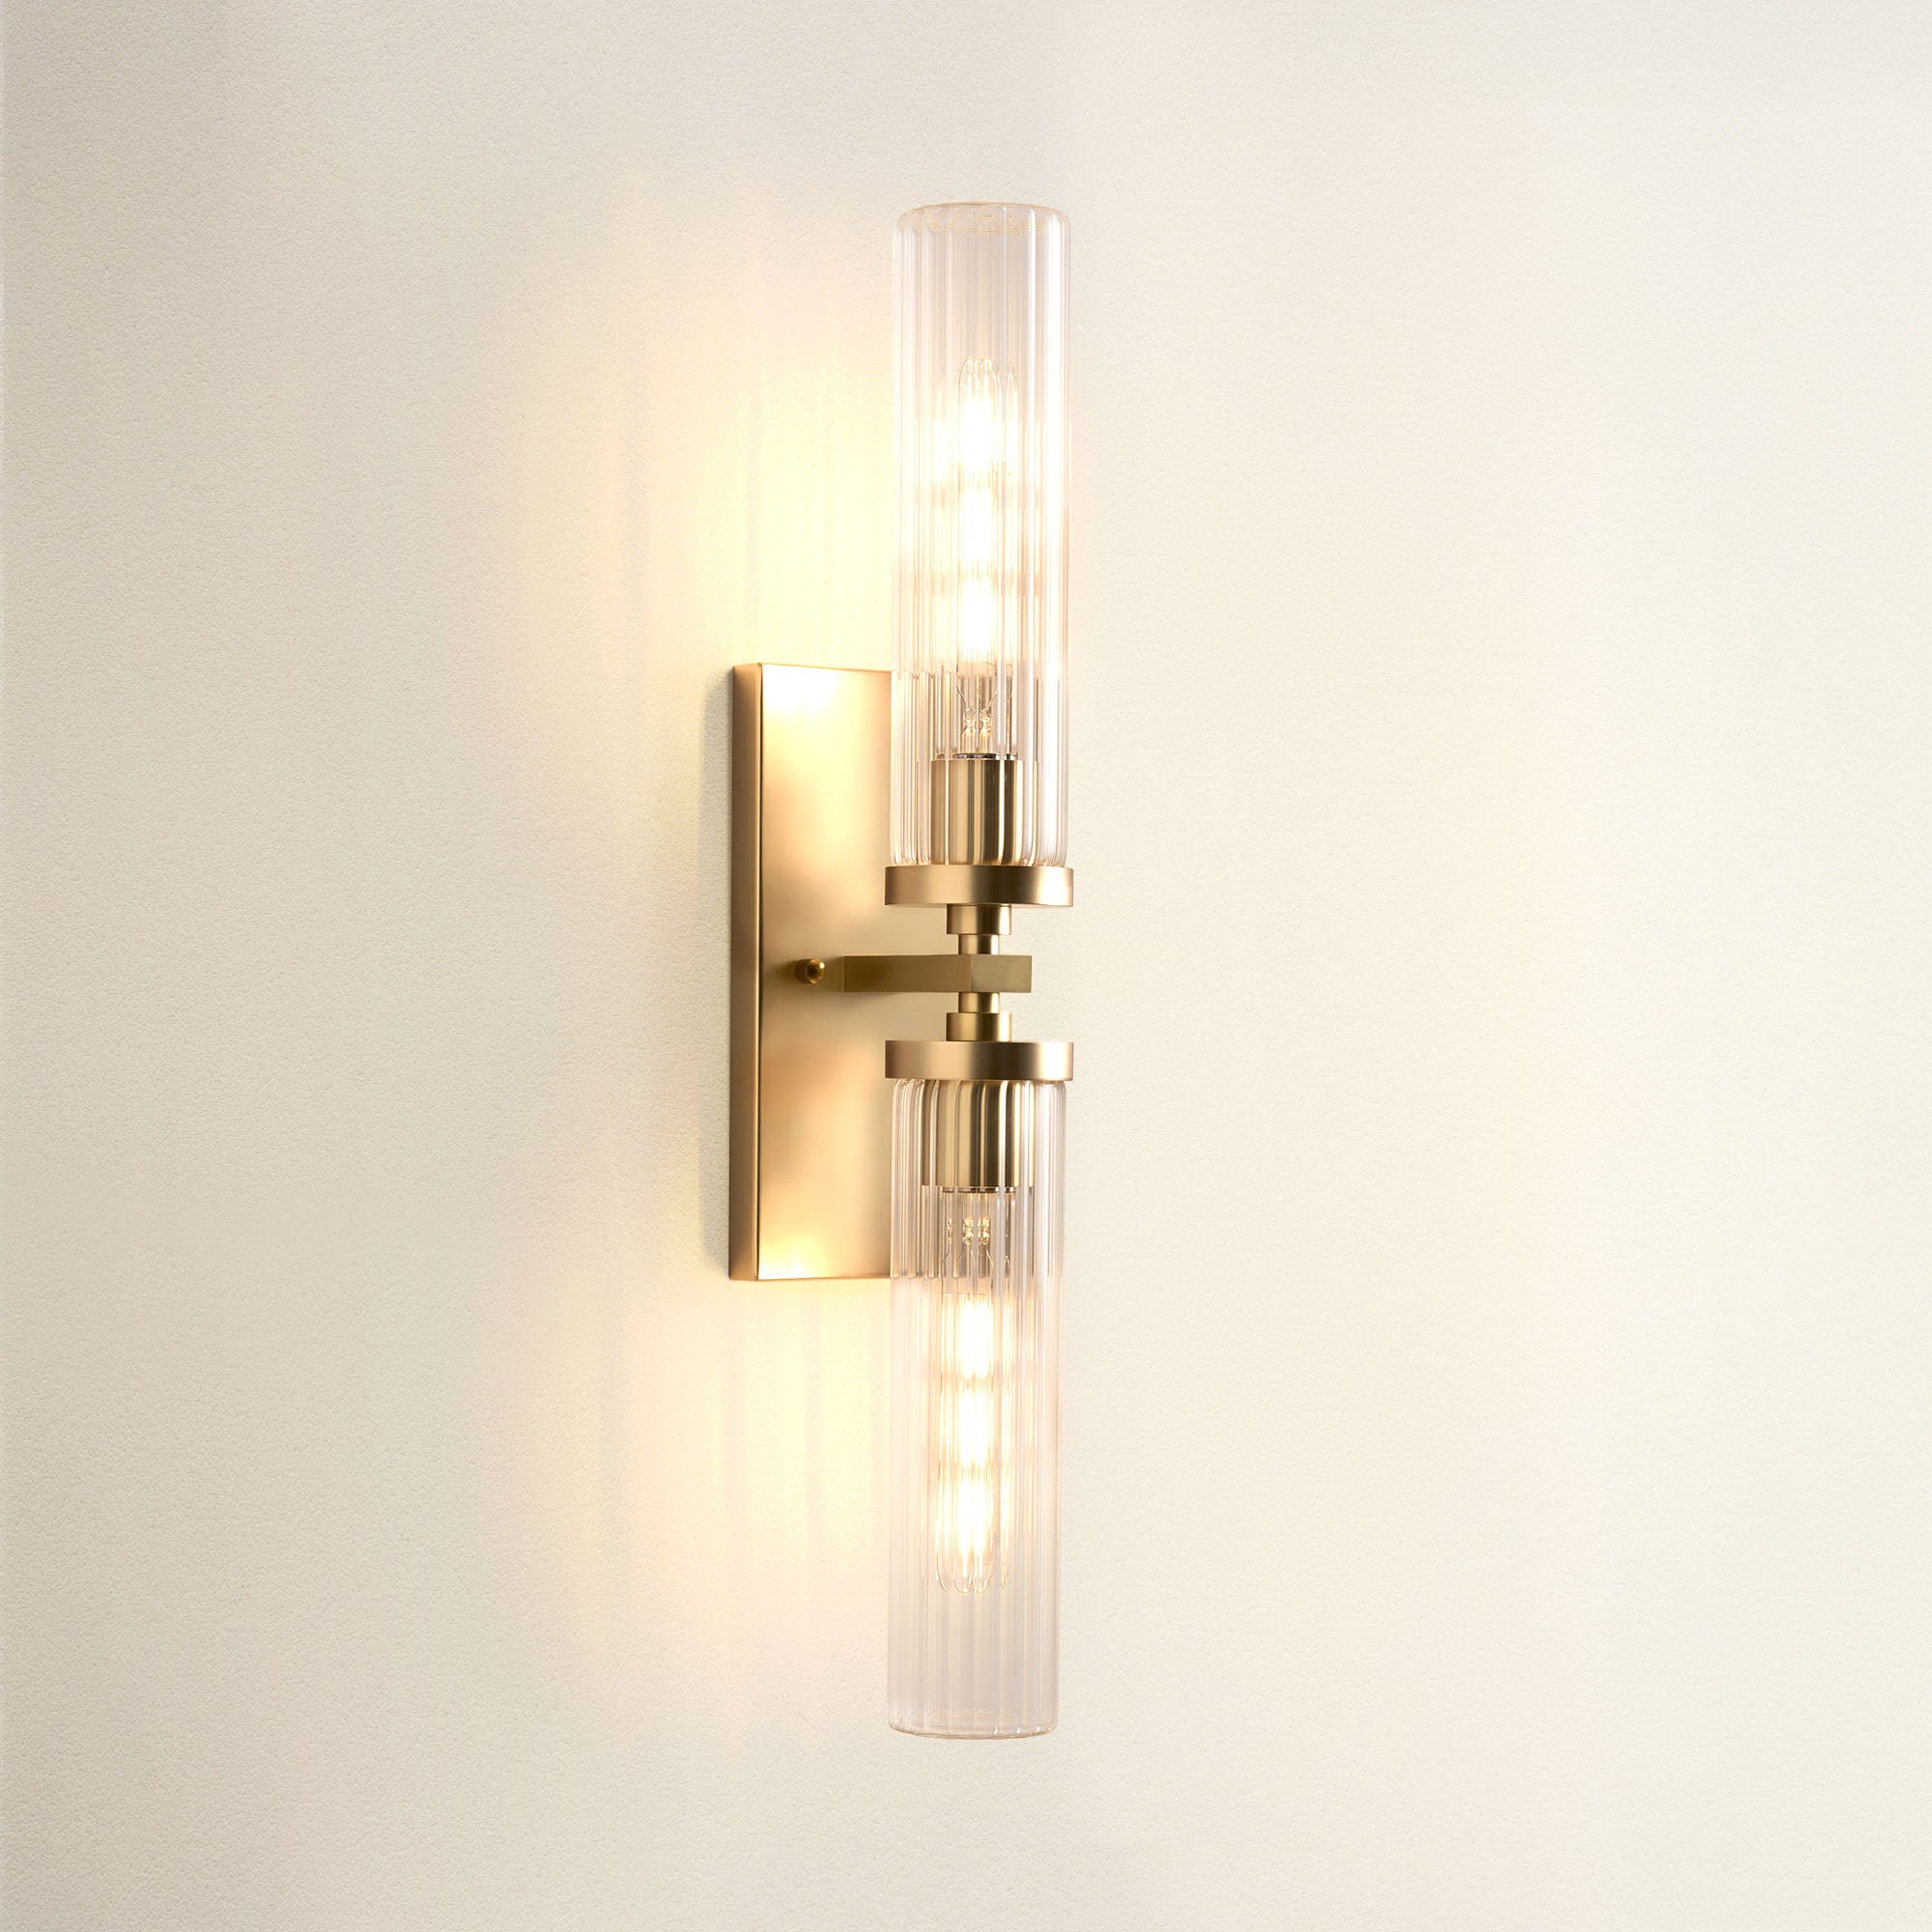
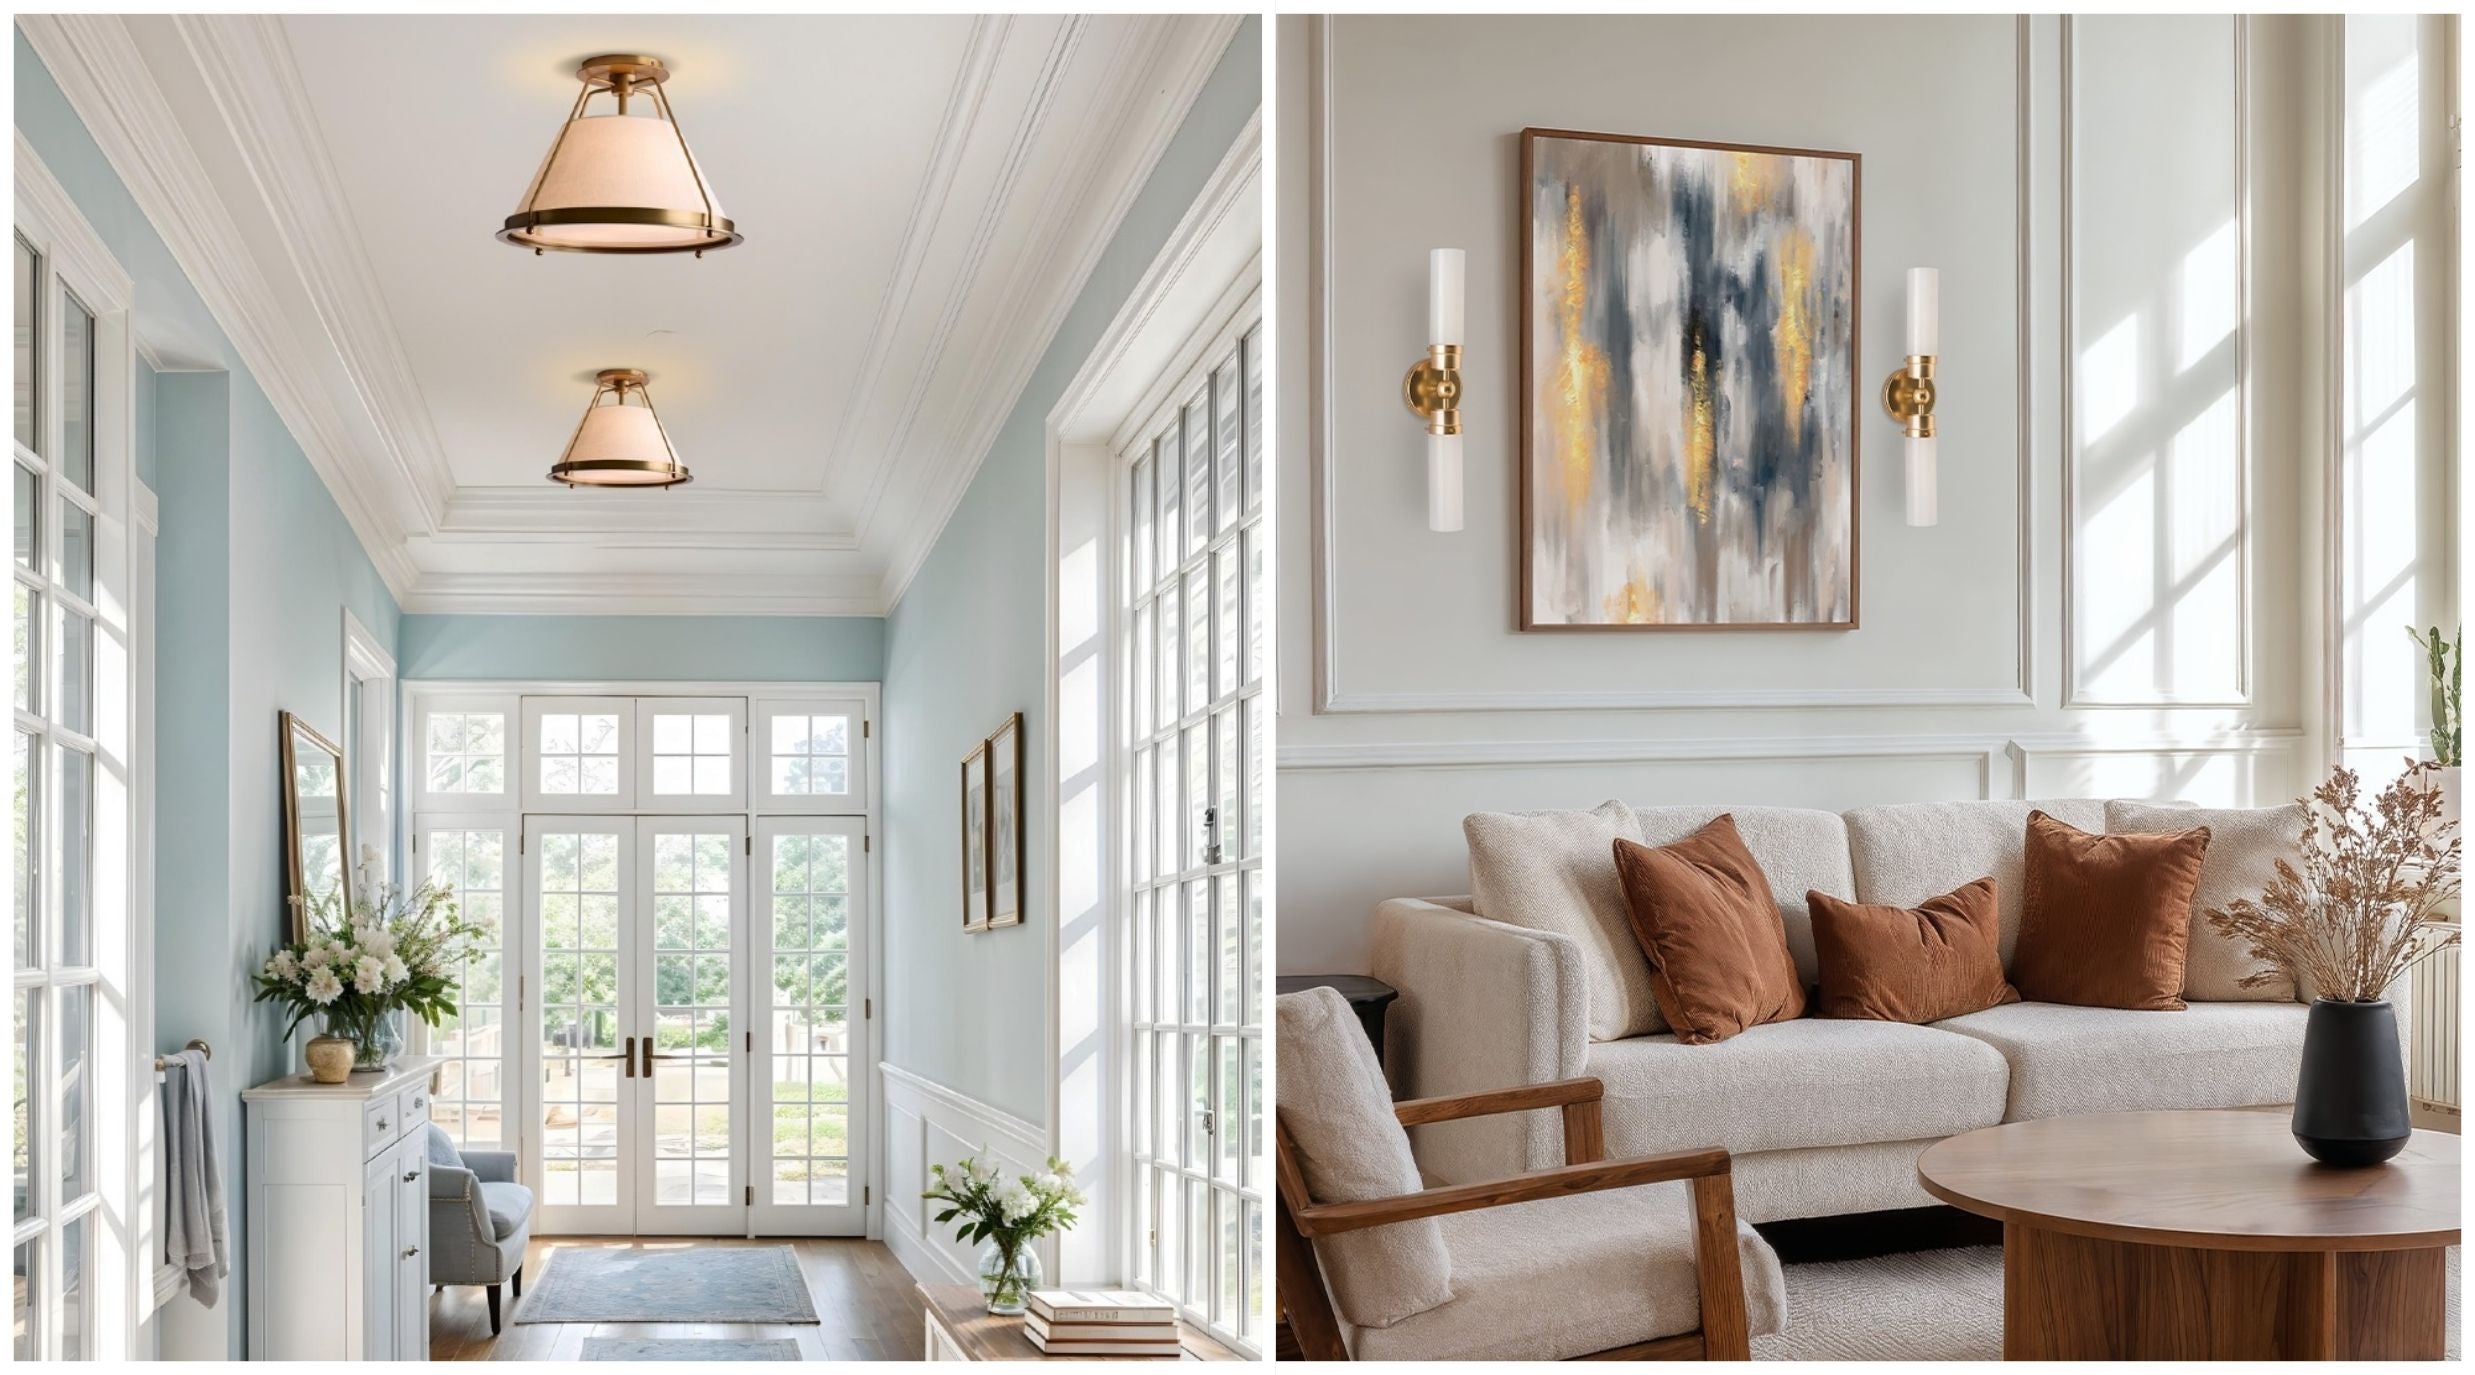
Wall sconces are a perfect way to introduce accent lighting, whether you aim for a quick, reversible style update or a seamless, permanent installation. The method you choose, plug-in or hardwired, depends entirely on your space and goals. Plug-in sconces offer flexibility and ease, making them ideal for temporary setups or renters, while hardwiring provides a clean, professional finish integrated directly into your home's electrical system.
From proper placement (around 30 inches above a nightstand is common) to safely managing wiring, understanding the core process is essential. Let Rowabi illuminate both installation paths so you can confidently elevate your home lighting.
1. Installation Options: Sconces can be installed via plug-in (easy, temporary, portable, best for renters) or hardwired (permanent, requires cutting drywall and connecting to a switch).
2. Placement Standard: Sconces are commonly placed 60-66 inches from the floor, or approximately 30 inches above nightstands for bedside reading light.
3. Core Installation Steps: Both methods require:
4. Hardwiring Requirements: This method involves installing an "old work" electrical box, running new wire from a switch/outlet to the box, and using wire nuts to connect the house and fixture wires.
5. Safety First: Always use a voltage tester to confirm power is off. When connecting wires, match colors: Black (Hot) to Black, White (Neutral) to White, and Bare/Green (Ground) to Ground. If you are unsure about electrical work, hire a licensed electrician.
 Source: Rowabi's customer.
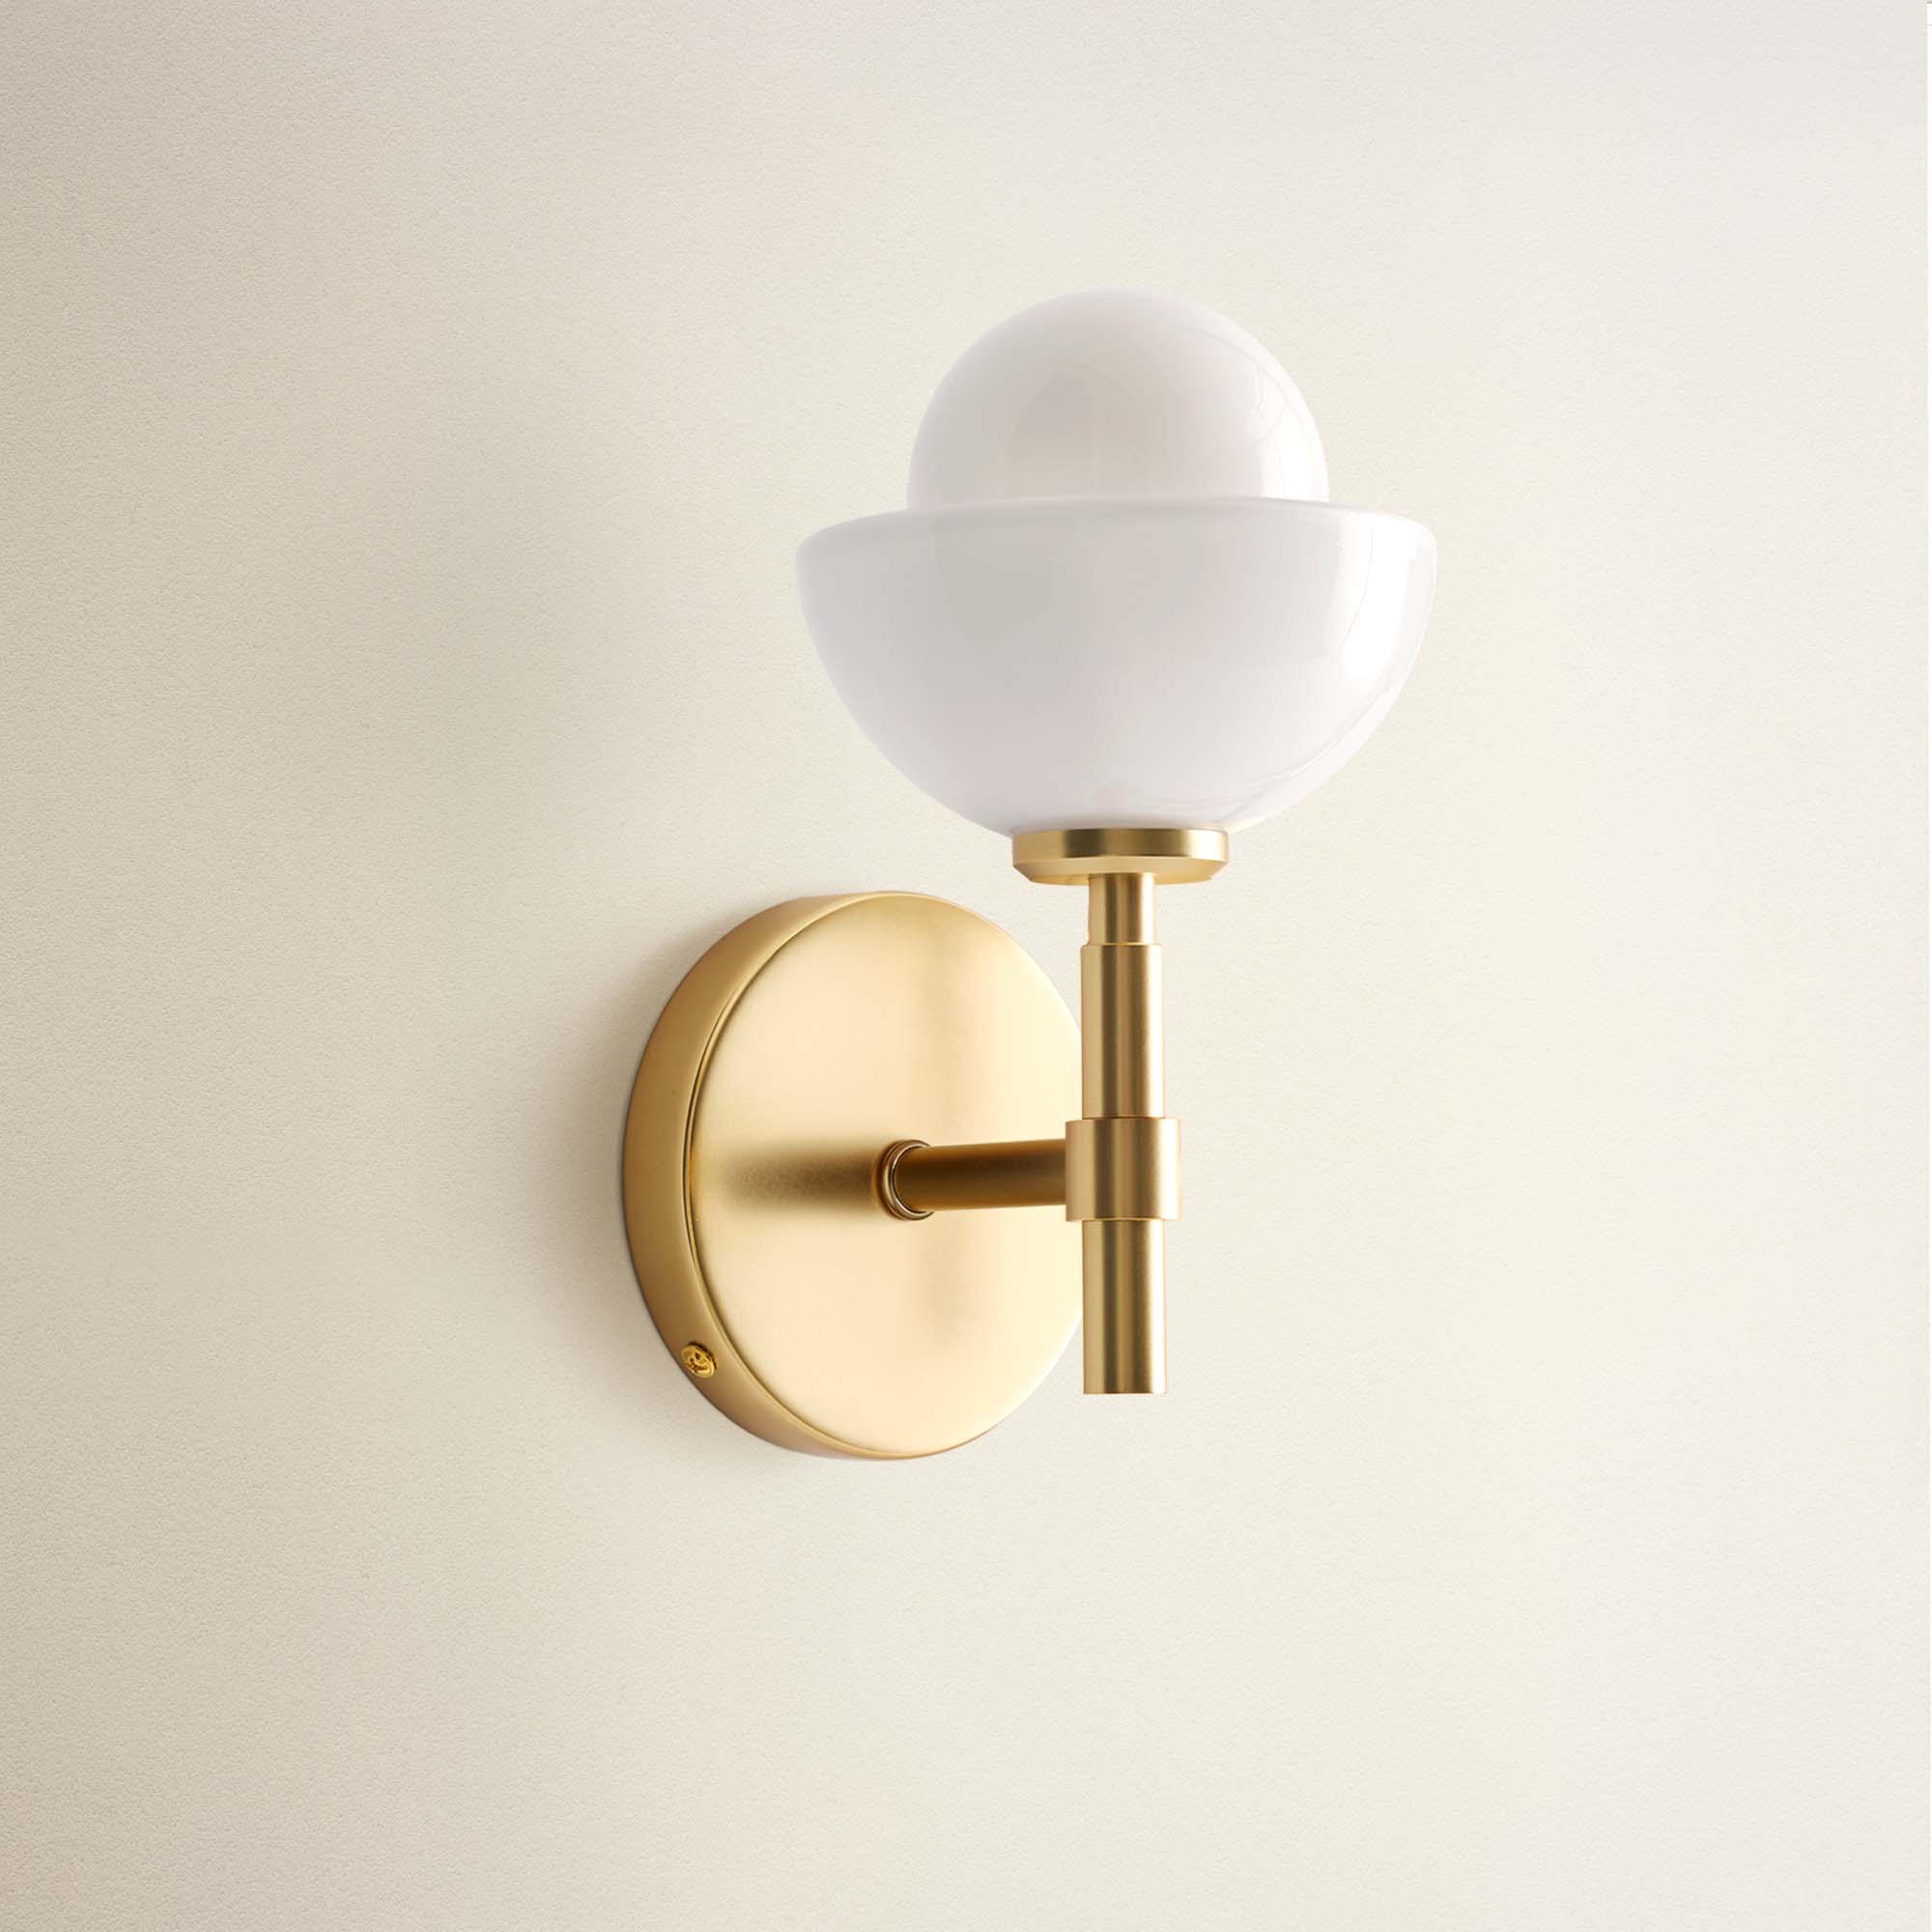
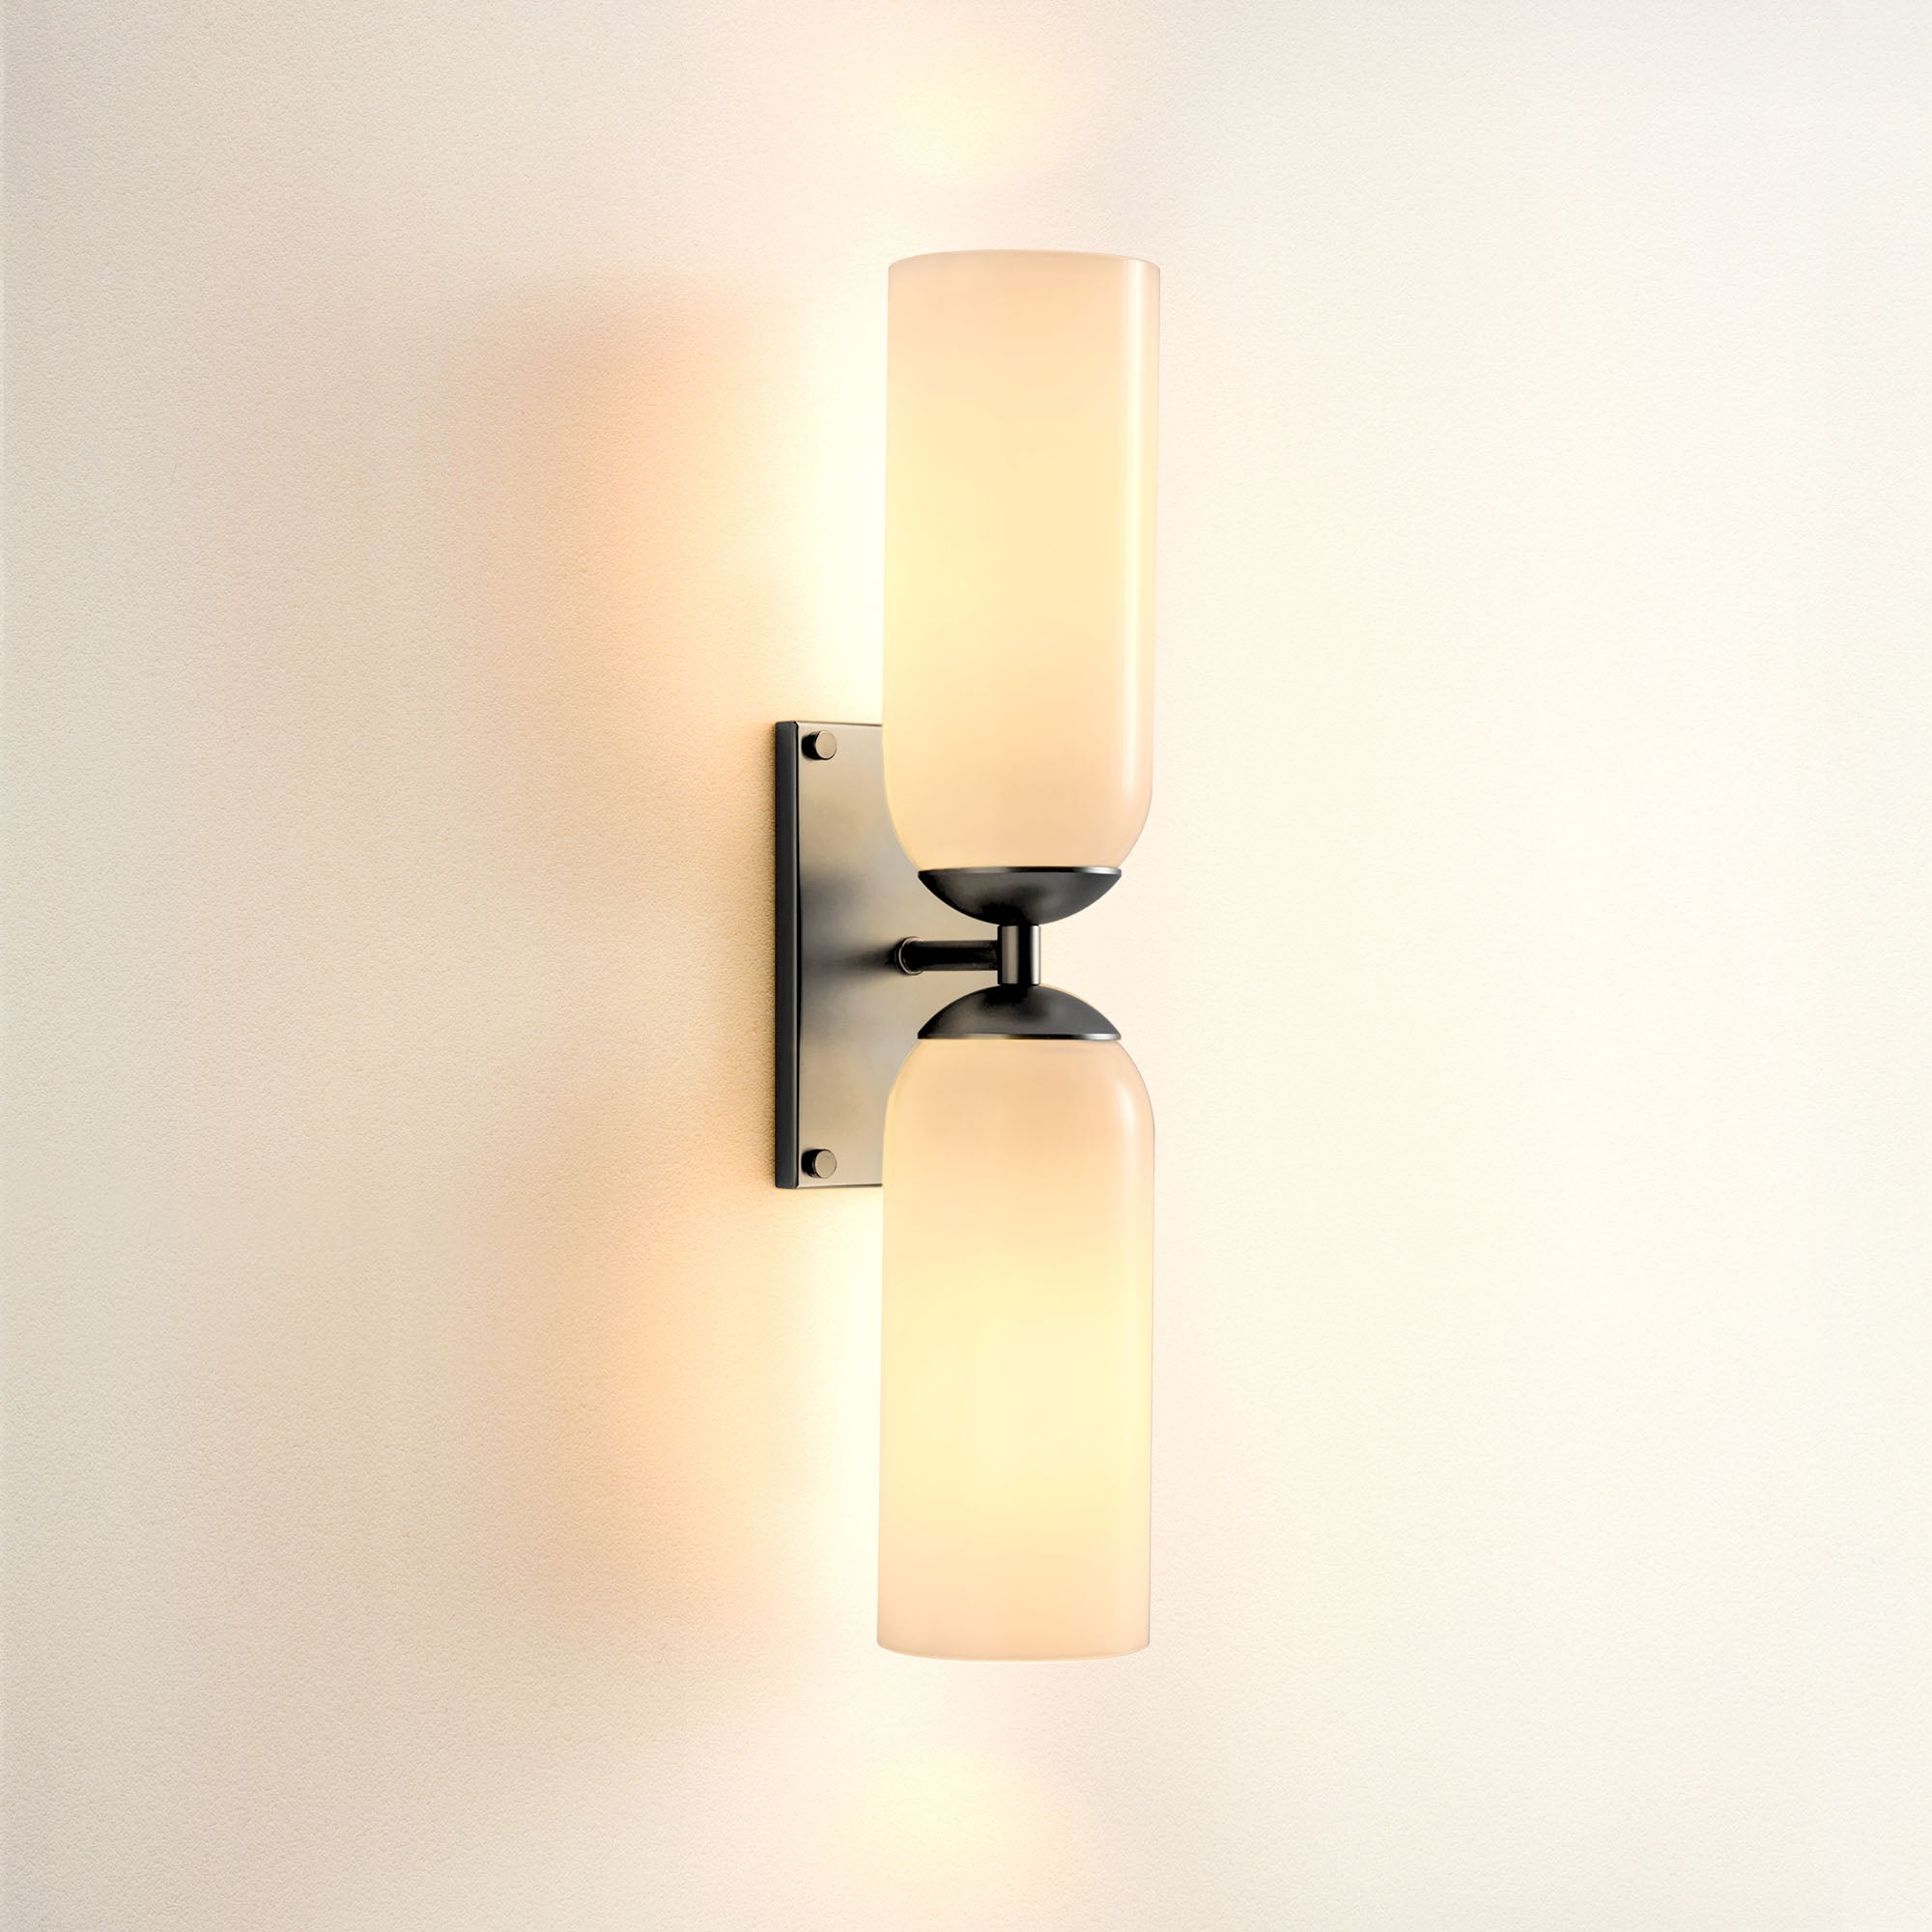
A wall sconce is typically a wall lighting fixture that is attached to a wall and is generally used to provide mood lighting in bathrooms, dining rooms, hallways, and staircases.
Among various styles of wall sconces, you may consider the one to accompany the style of chandeliers and the architectural style of your home.
Removing an old wall sconce can be necessary for several reasons. It can be an update for your room décor, an enhancement of the lighting, or a consideration of safety concerns, uninstalling an outdated fixture can make a difference in the ambiance and lighting setup of your space.
Design a life you love. Discover your next piece
Free delivery between Dec 22 - 23 on orders $200+
45-Day Return
Free delivery between Dec 22 - 23 on orders $200+
45-Day Return
Free delivery between Dec 22 - 23 on orders $200+
45-Day Return
Free delivery between Dec 22 - 23 on orders $200+
45-Day Return
Free delivery between Dec 22 - 23 on orders $200+
45-Day Return
Free delivery between Dec 22 - 23 on orders $200+
45-Day Return
Free delivery between Dec 22 - 23 on orders $200+
45-Day Return
Free delivery between Dec 22 - 23 on orders $200+
45-Day Return
Free delivery between Dec 22 - 23 on orders $200+
45-Day Return


These are steps that may help you safely uninstall the old sconce:
Before beginning any work, ensure safety by turning off the power to the light fixture at your home's circuit breaker. This step is crucial to prevent electrical shocks.
After switching off the power, use a voltage tester to confirm that no electricity is flowing to the sconce. This precaution will help avoid potential hazards while handling the fixture.
Start by carefully removing the light bulbs from the sconce. This step will prevent any breakage and make the fixture lighter and easier to handle.
Locate the screws that secure the fixture to the wall; these are typically found at the base or on the sides of the sconce. Using a screwdriver, gently unscrew these fasteners to detach the fixture from the wall.
With the sconce now loose from the wall, gently pull it away to expose the wiring connections. Unscrew the wire nuts or connectors that join the sconce's wires to the wall's electrical wires.
Be careful during this process to avoid damaging the wires. If there are multiple connections, keep track of which wires are connected to ensure proper reinstallation later.
After disconnecting the wiring, cap the exposed wires with wire nuts or electrical tape to prevent accidental contact with each other or any metal surfaces.
If the sconce is attached to a mounting bracket, unscrew and remove the bracket from the wall. Ensure that all components are safely removed before completing the process.
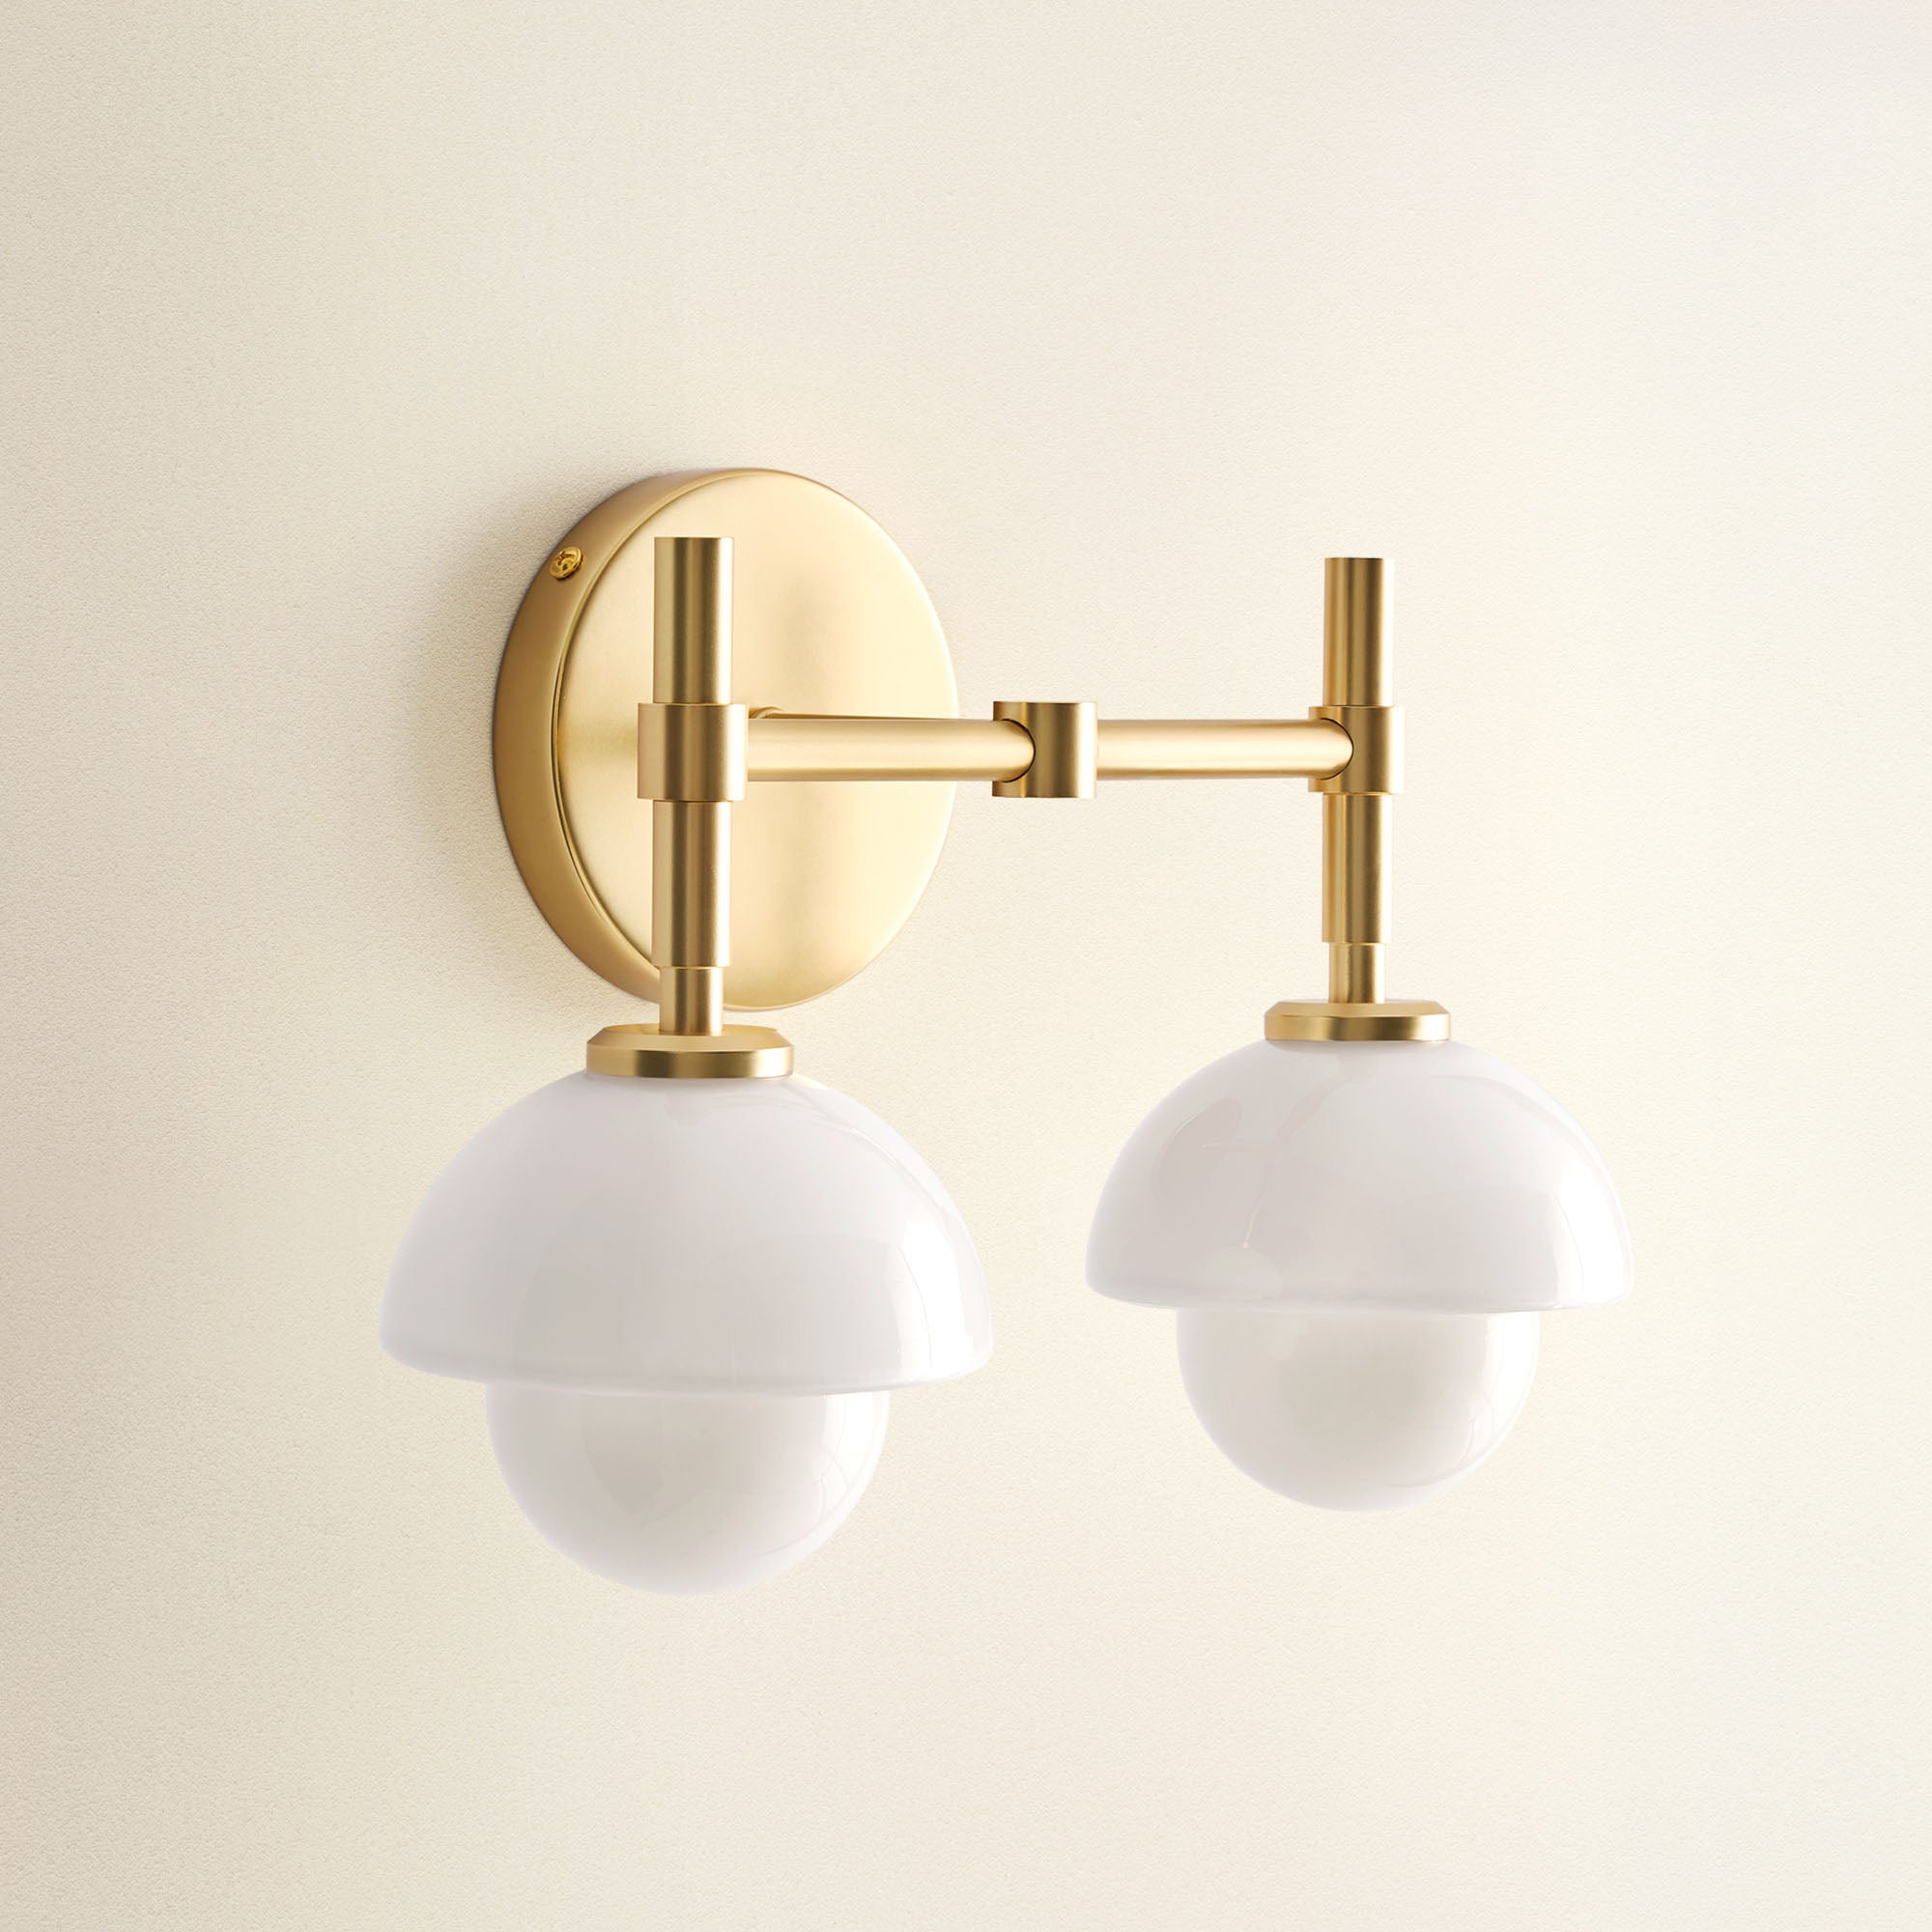
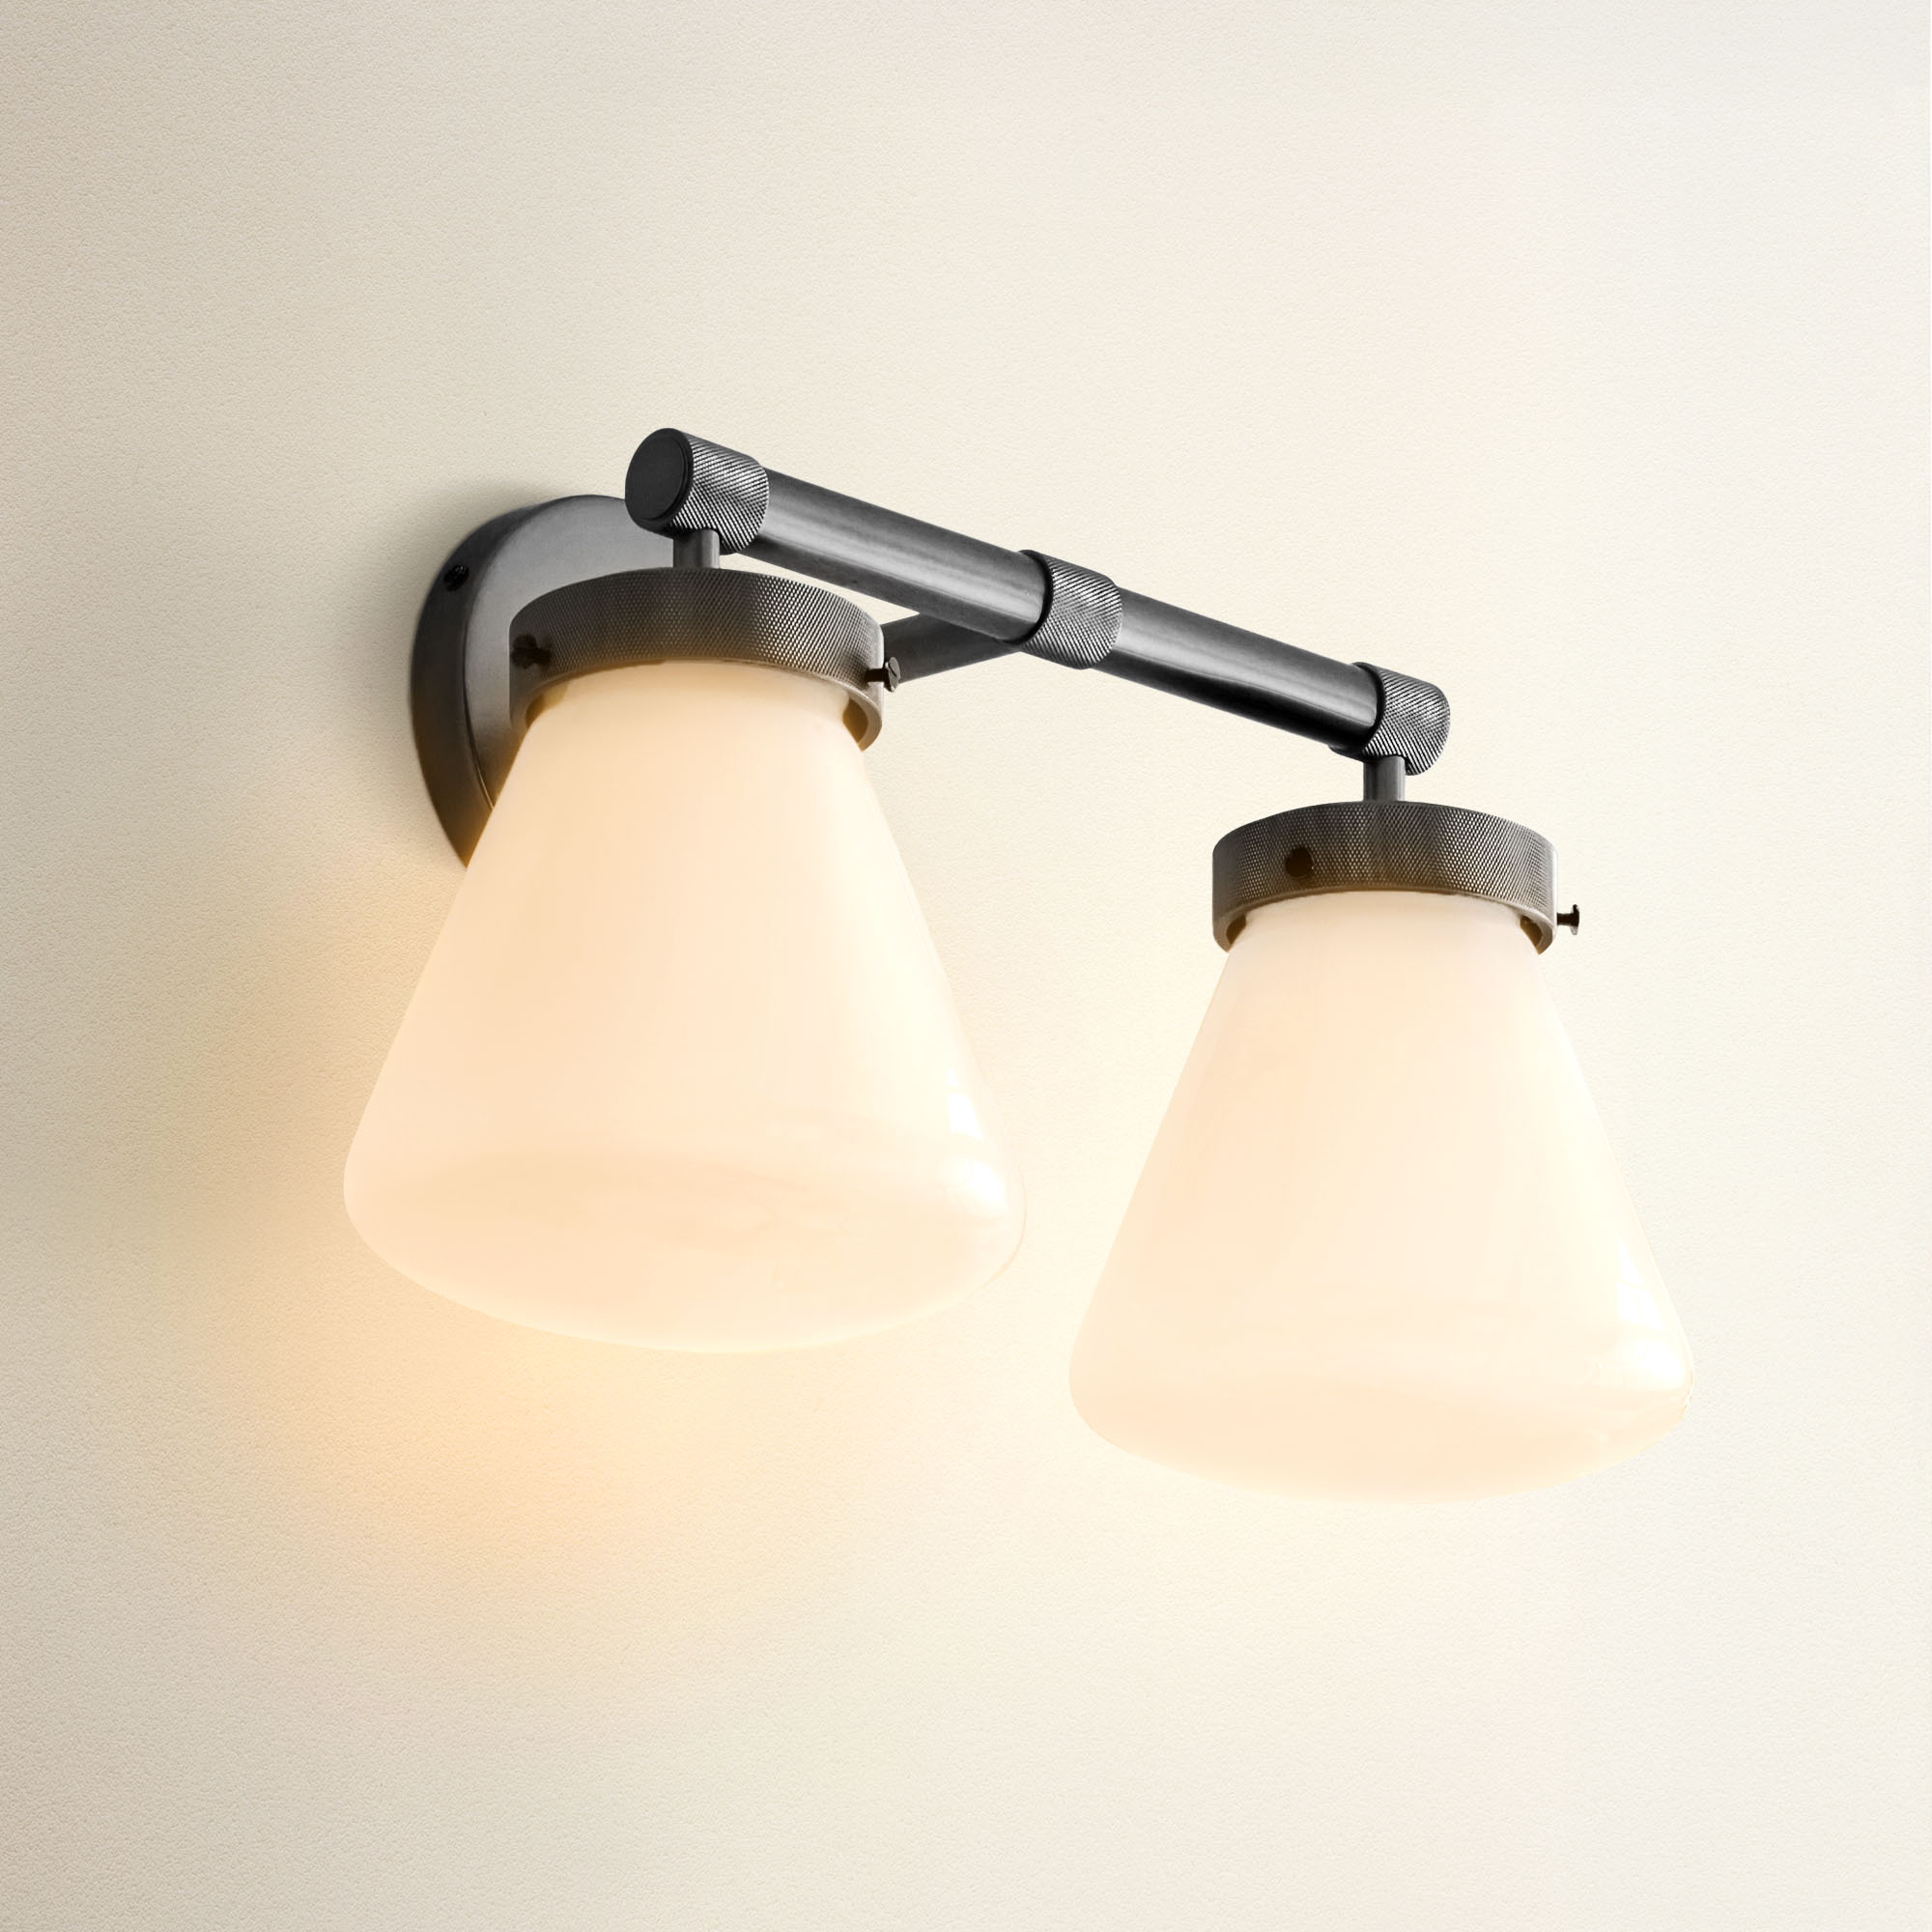
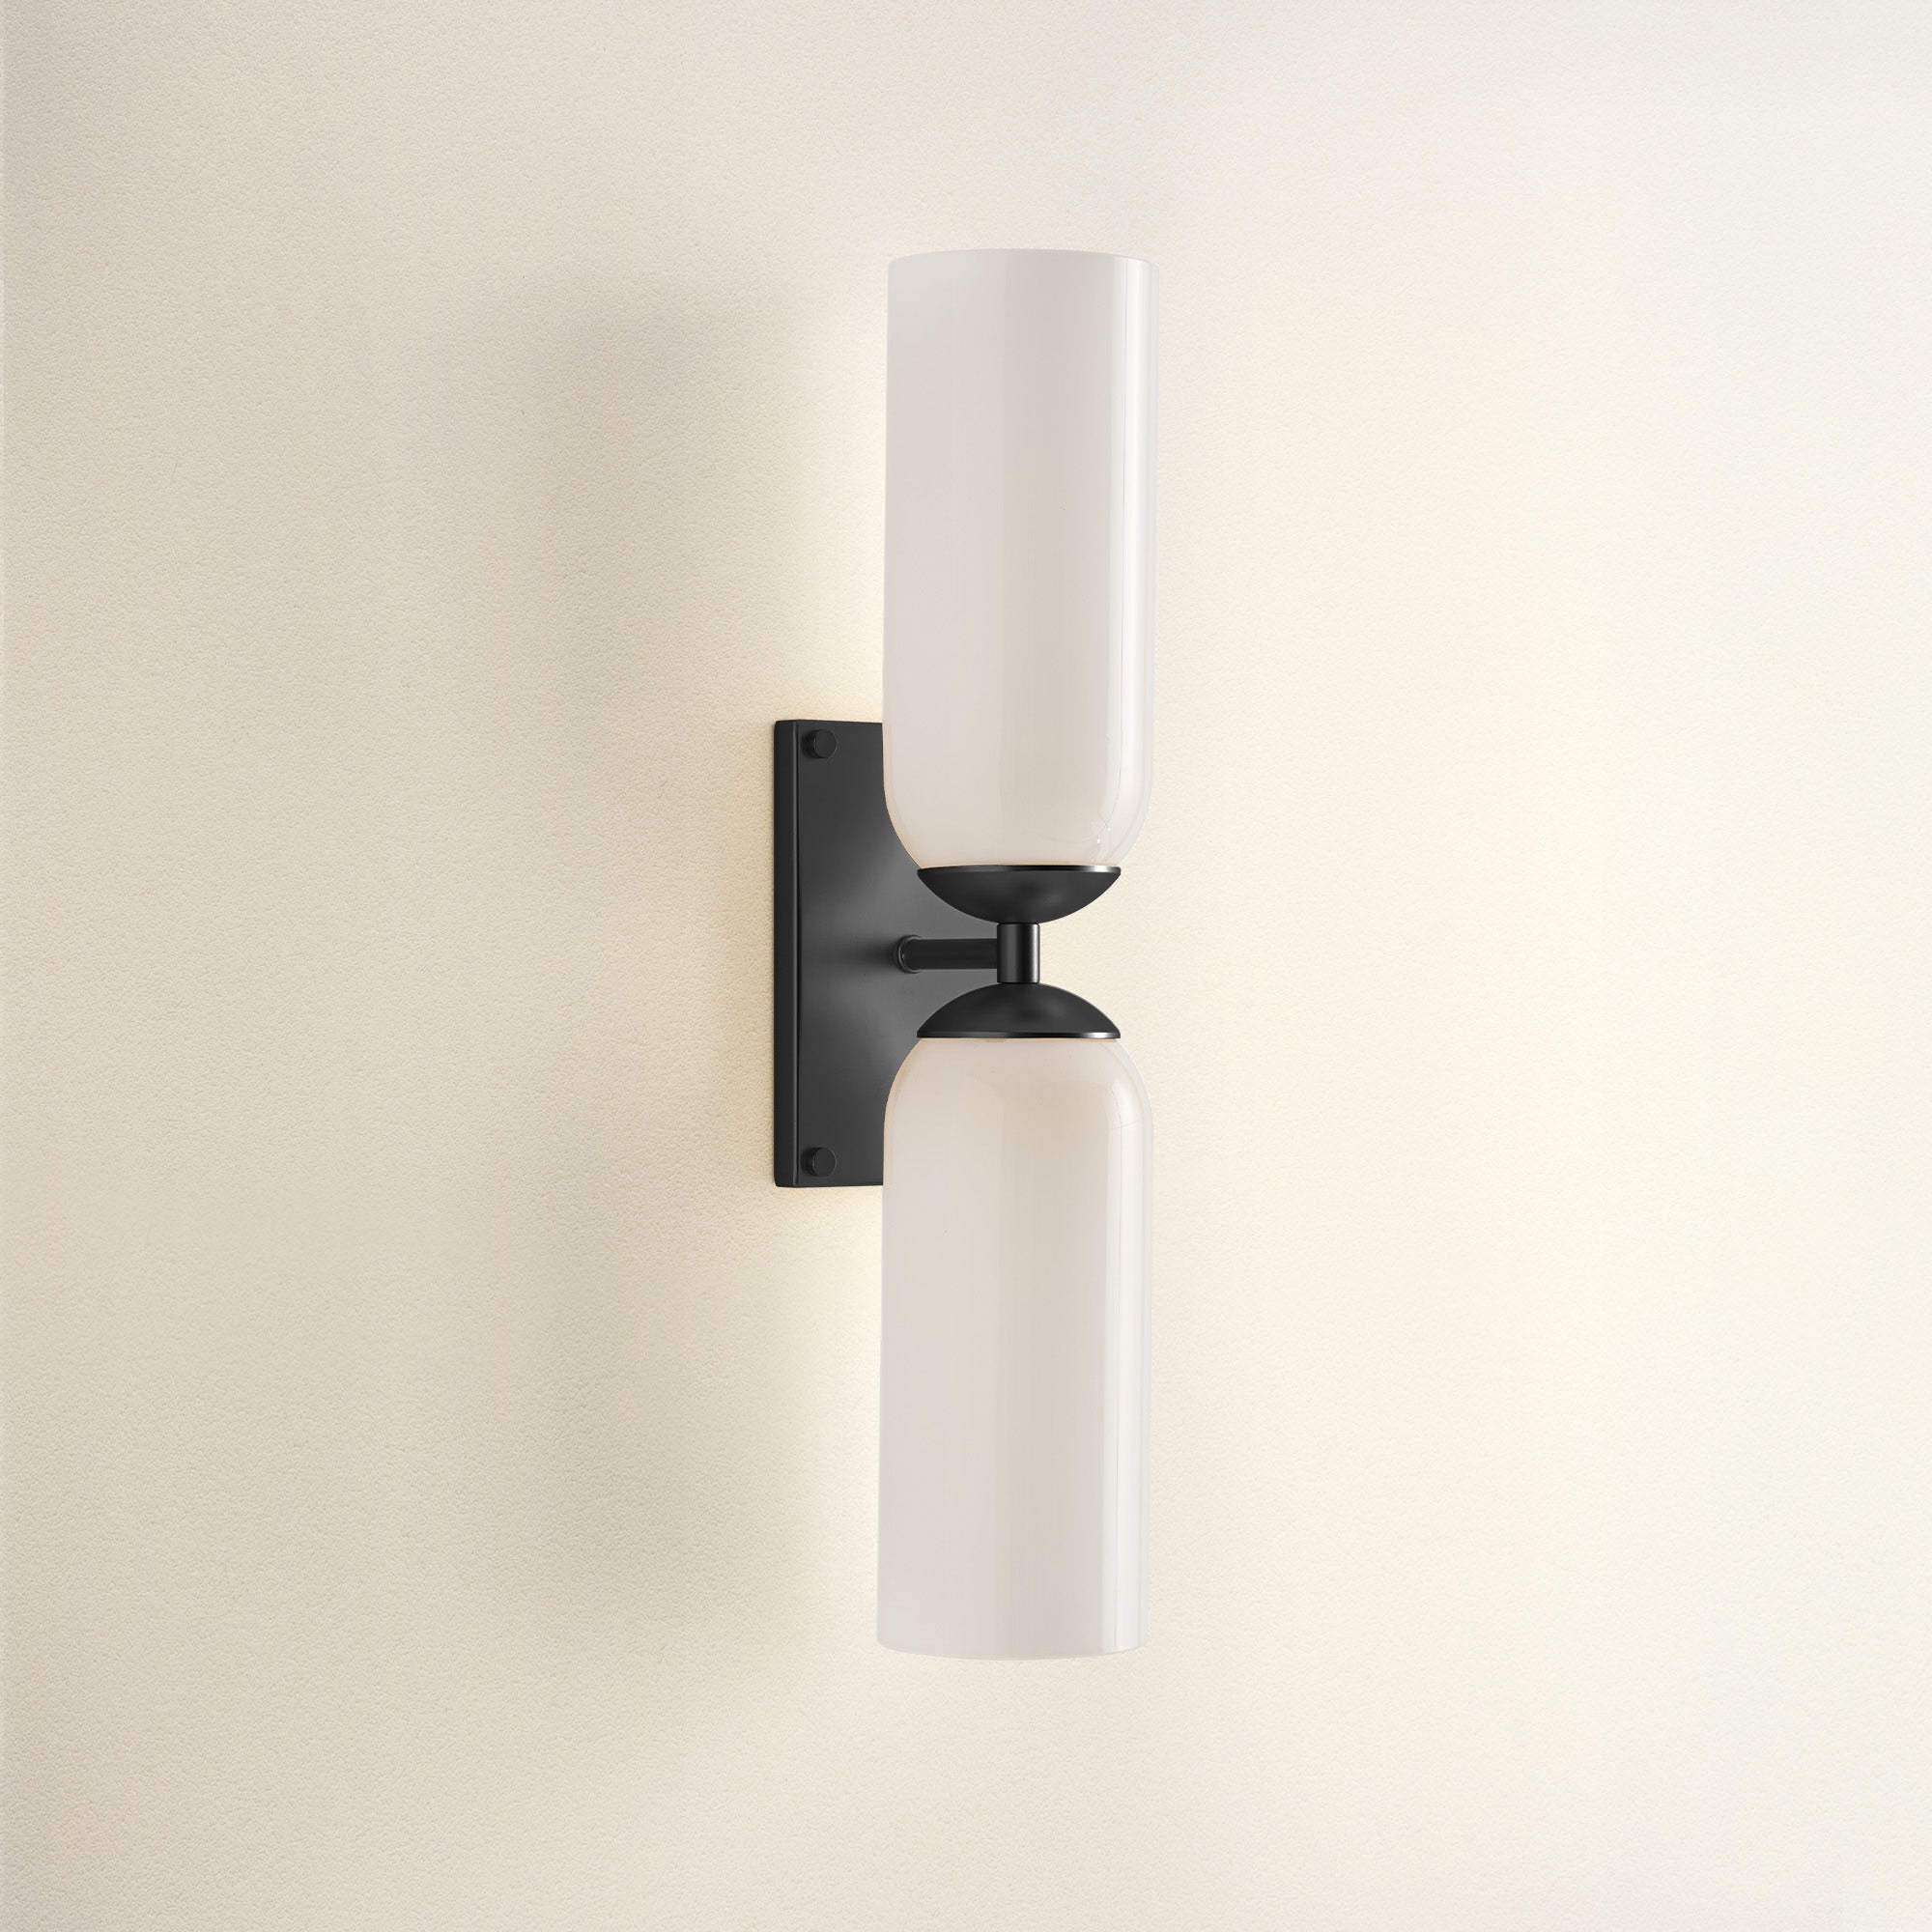
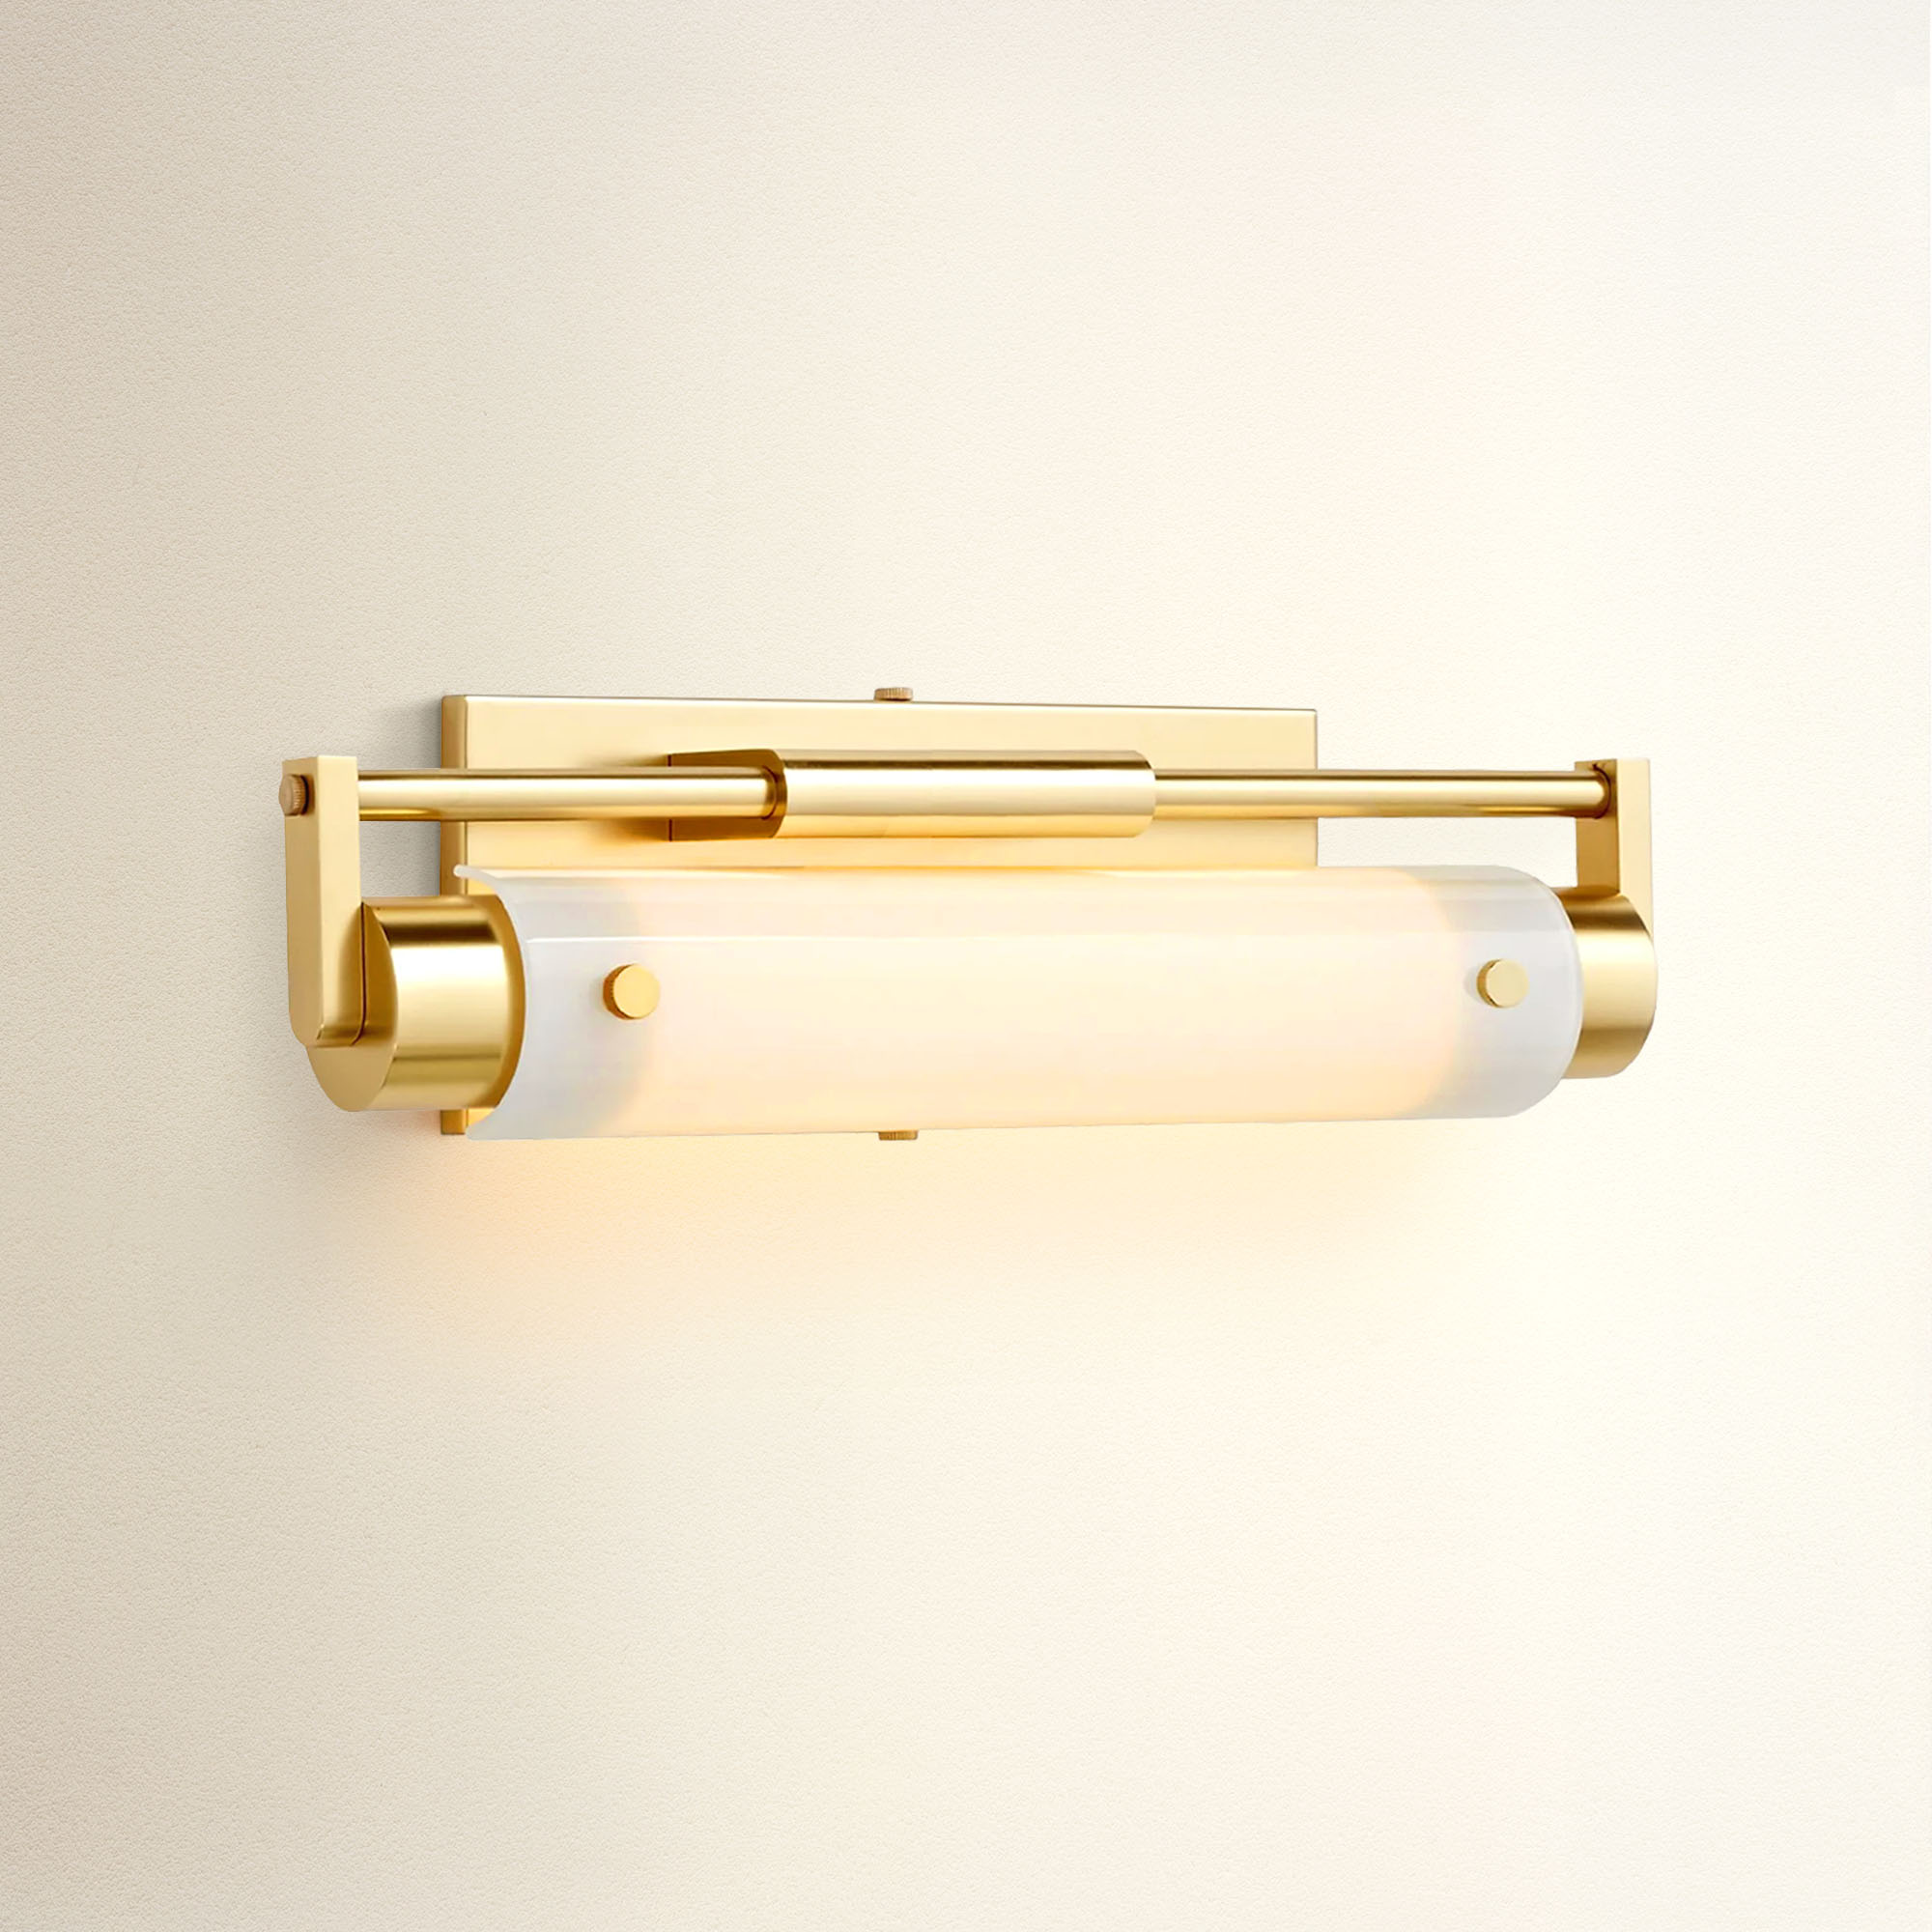
If you want a simple way to refresh your room, a plug–in wall sconce is a wise choice with its timeless style and flexible lighting. Whether you are placing it next to your bed or in the hallways, this portable and easy–to–install lighting can go well with traditional or modern styles of architecture and interior.

A plug–in wall sconce is a wise choice with its timeless style and flexible lighting. Source: Rowabi
In case you have decided, Rowabi's collection offers you our plug–in wall sconce and an easy guide to install it at home.
| Total Time | Level | Estimated Cost |
| 1-2 Hours | Intermediate | $50 to $150 |
Installing a plug–in wall sconce is a straightforward process that can be for professionals and enthusiastic DIYers, with easy–to–find tools and materials required.
Installing a plug-in wall sconce is a straightforward process that can enhance the ambiance and functionality of your space. Follow these steps to ensure a successful installation:
When choosing a sconce placement, make sure you consider the reach of the cord to the nearest outlet. Level the wall sconce on the wall where you want and use a pencil or masking tape to mark the screw placement.
It depends on your preference of your headboard and nightstand habit, and eye level for comfortable reach and illumination.
View the Rowabi bestsellers.
Free delivery between Dec 22 - 23 on orders $200+
45-Day Return
Once you have chosen a suitable placement and done with the measurement, hold the sconce against the wall at your desired location and mark the screw spots with a pencil. A level will help ensure the sconce to be straight.
In case you are mounting the sconce into drywall and not directly into a stud, use anchors to ensure a secure hold. Drill holes at the marked points and insert the anchors into the drywall.
The holes should be smaller and shallower than the anchors to have a firmer attachment to the drywall.
Most plug-in scones are included with a mounting plate, so make sure after the drilling step that, align the plate with the marks on the wall. Then, use the provided screws to secure the plate to the wall.
Once the mounting plate is secure, line up the holes and attach the light fixture to the plate and tighten a set screw or clip the sconce into place.
Now, add the bulb and plug the scone’s cord into the nearest electrical outlet! In case you want to hide the cord, adhesive wall hooks or a cord cover are recommended to guide the cord along the wall.
Enjoy your new plug–in sconce!

Source: Rowabi.
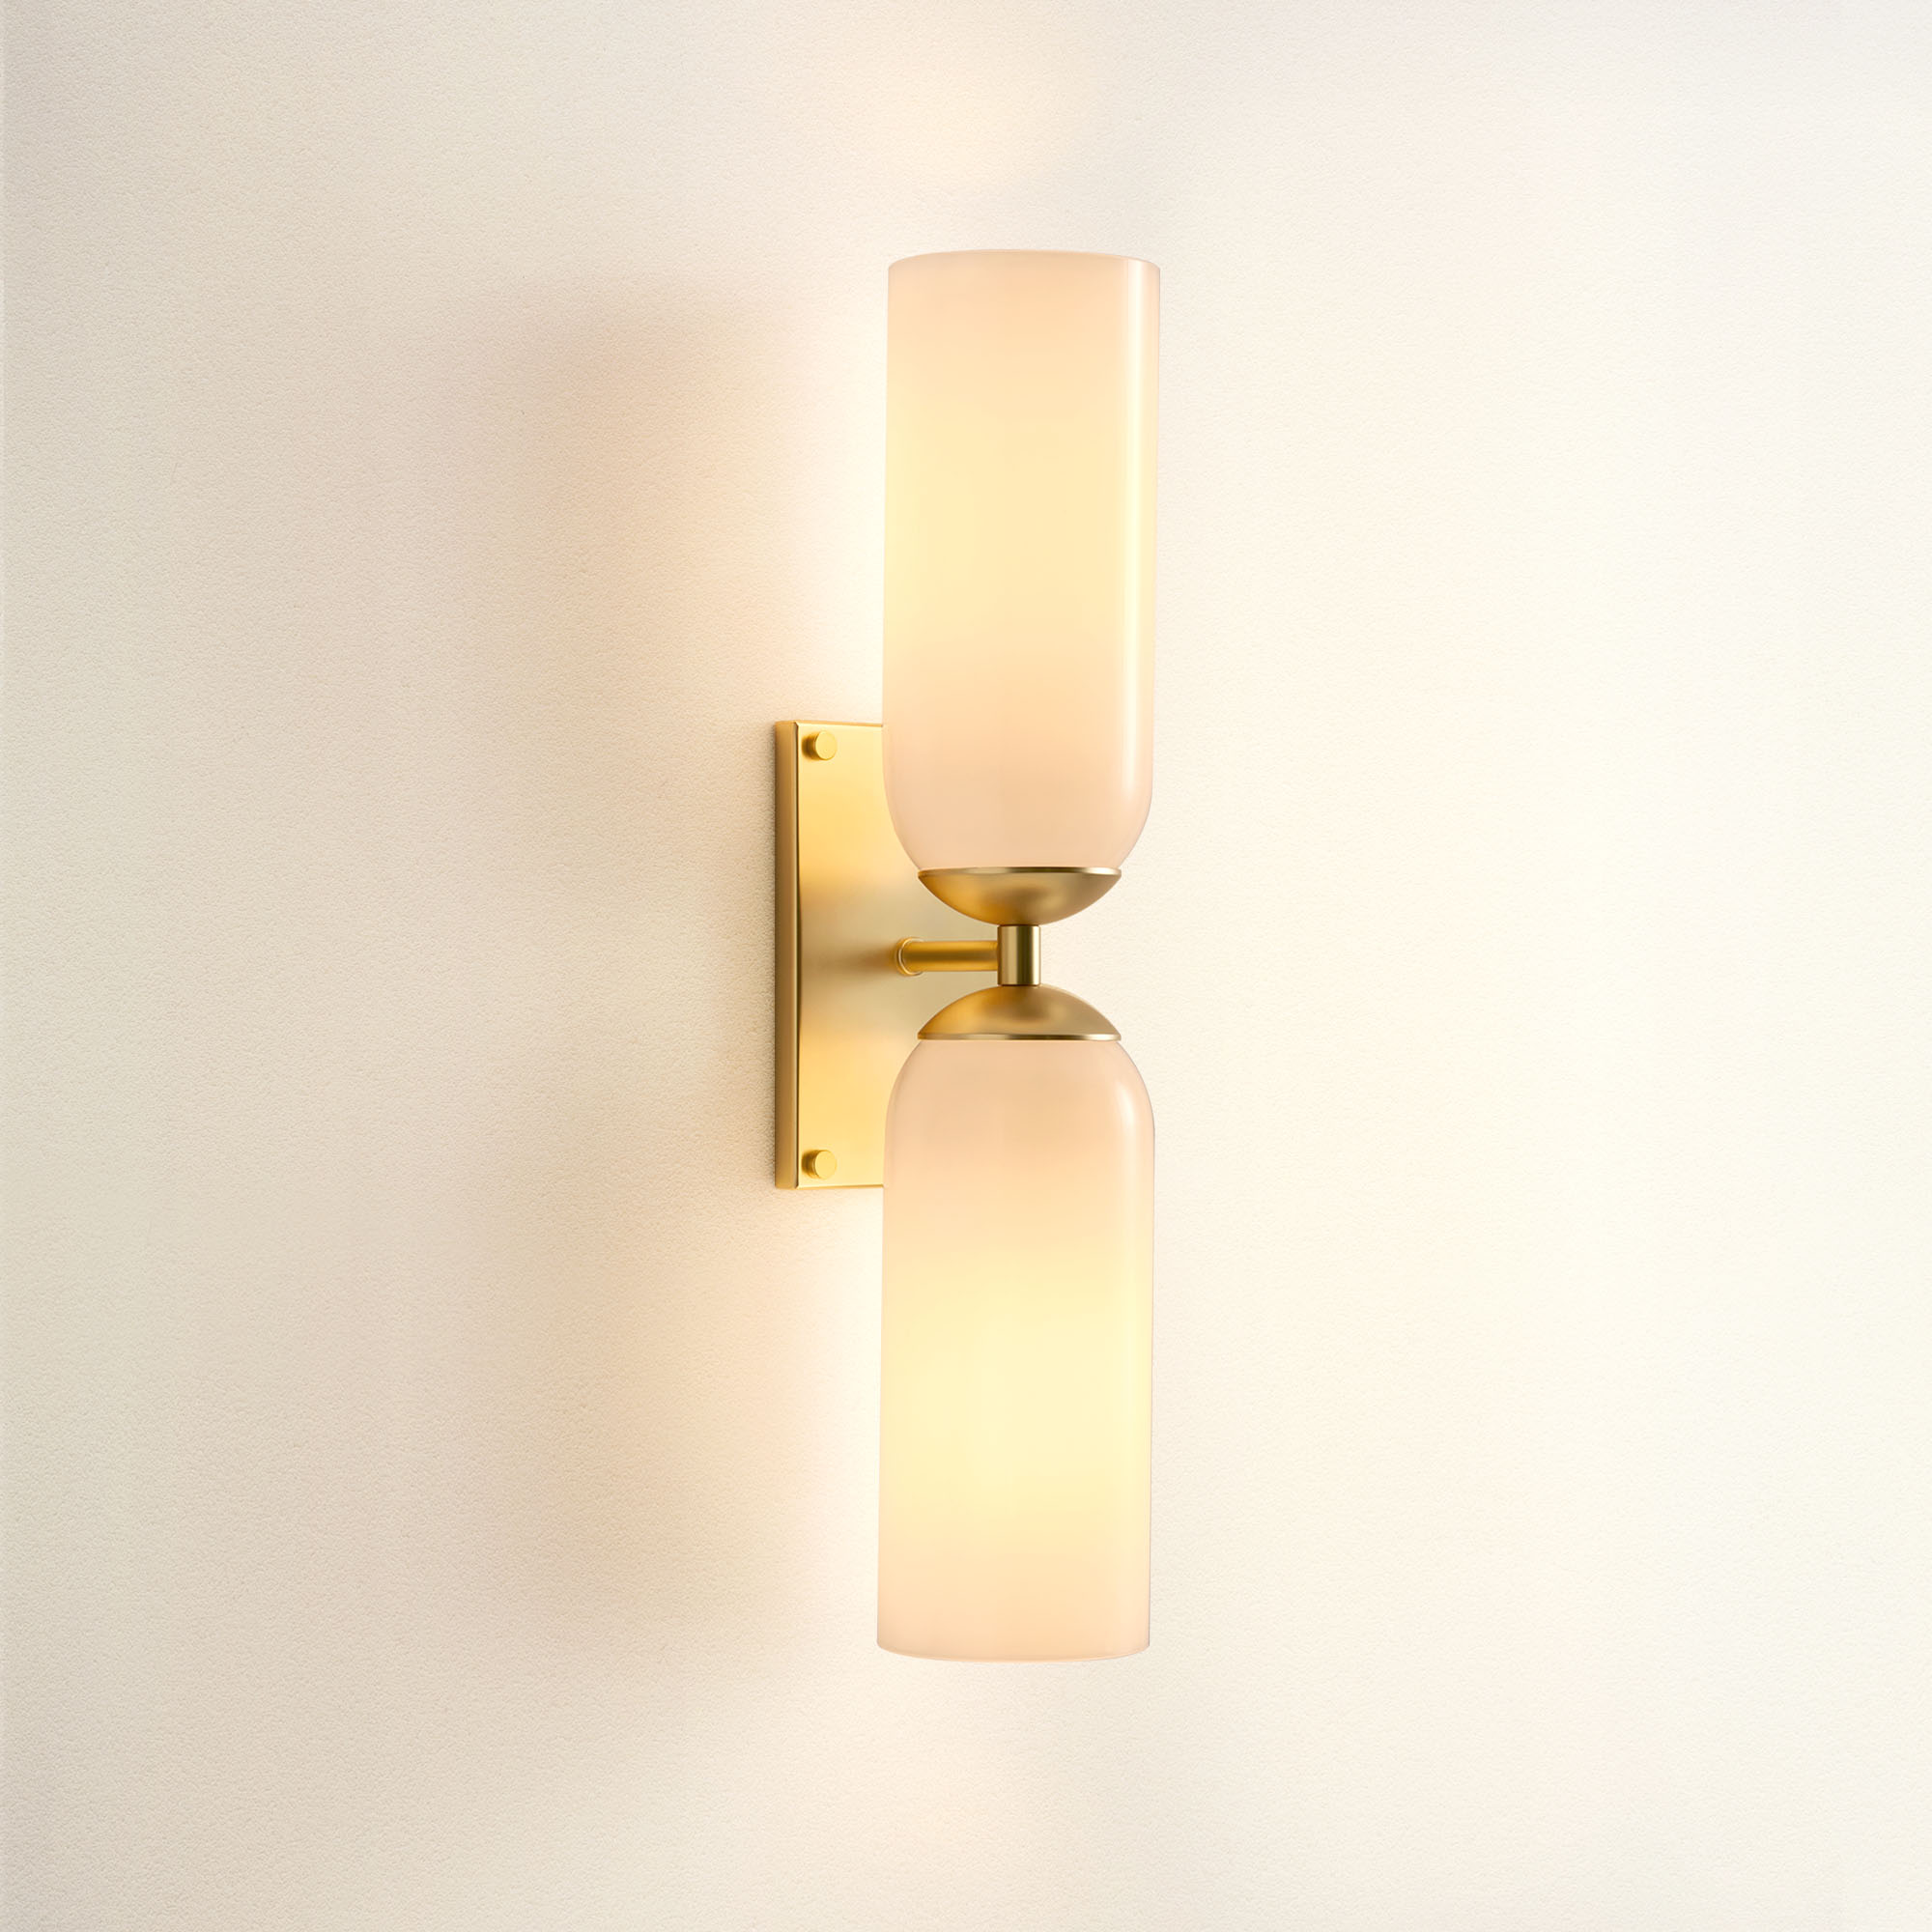
Decorating your home with scones is a mesmerizing way to refresh your living space and add a touch of style to any room. Whether it is a hardwired or a plug–in sconce, the installation process still requires preparation and knowledge about each step and helps elevate your home style.
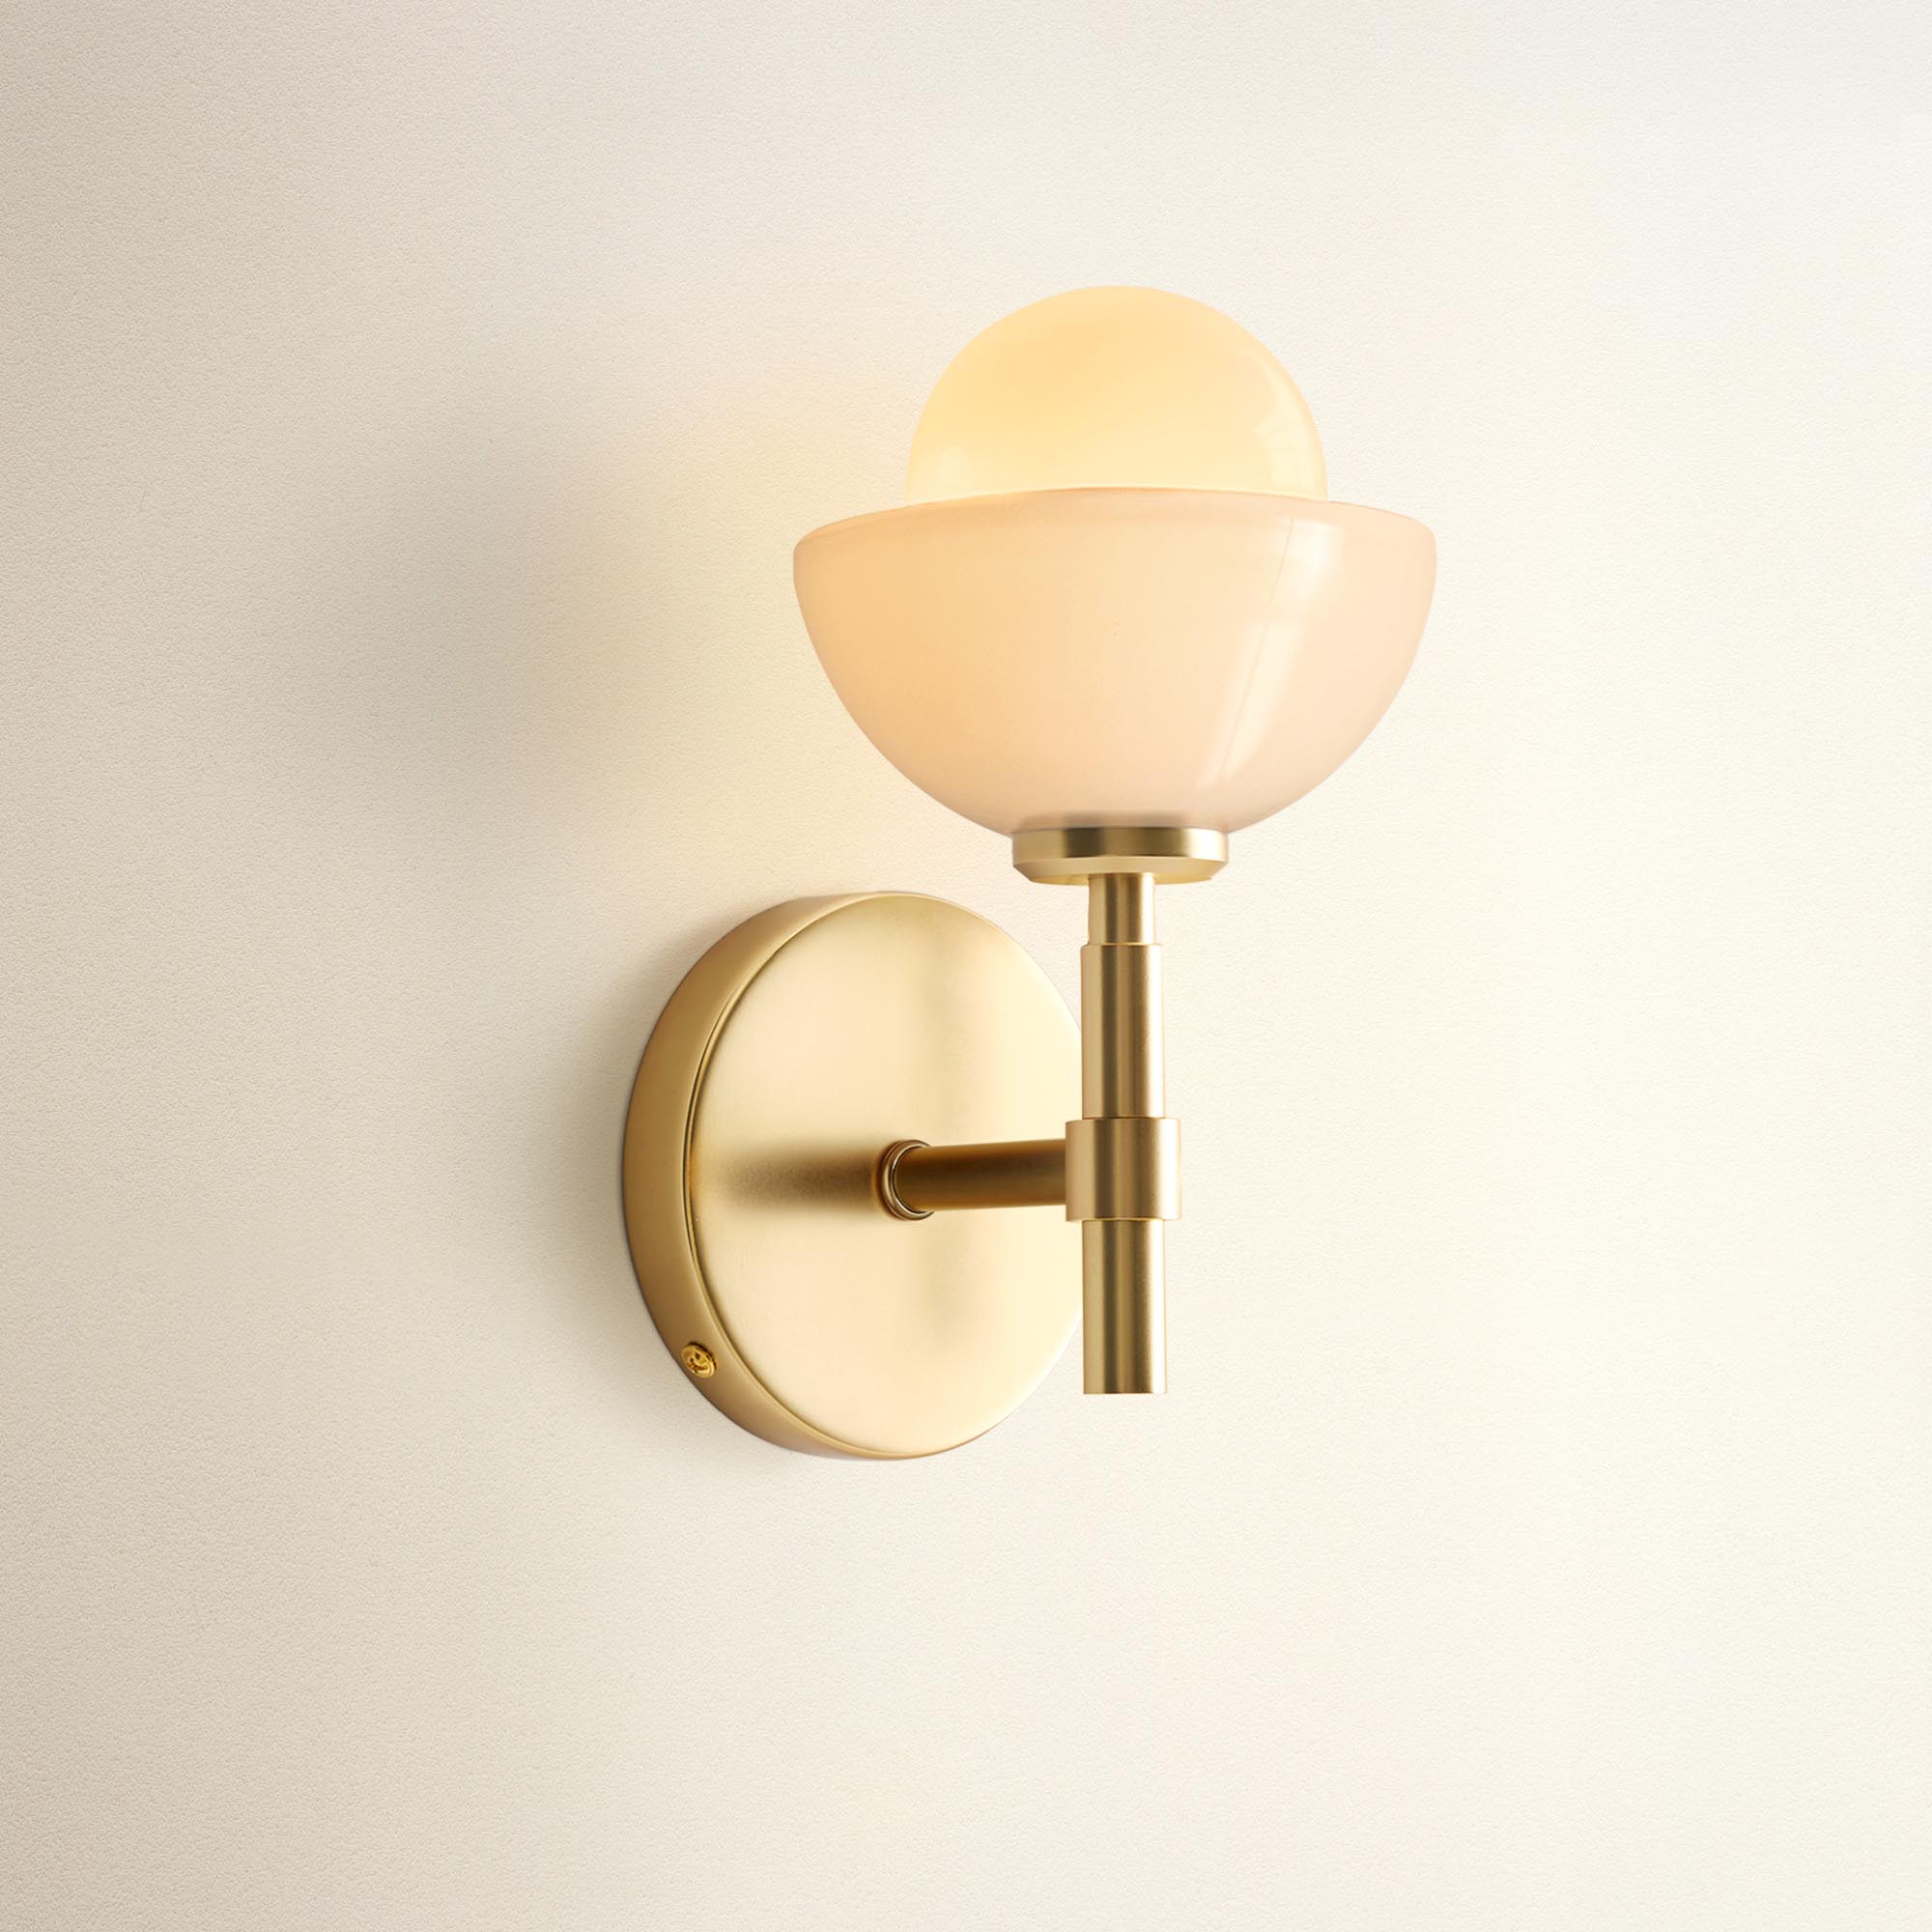
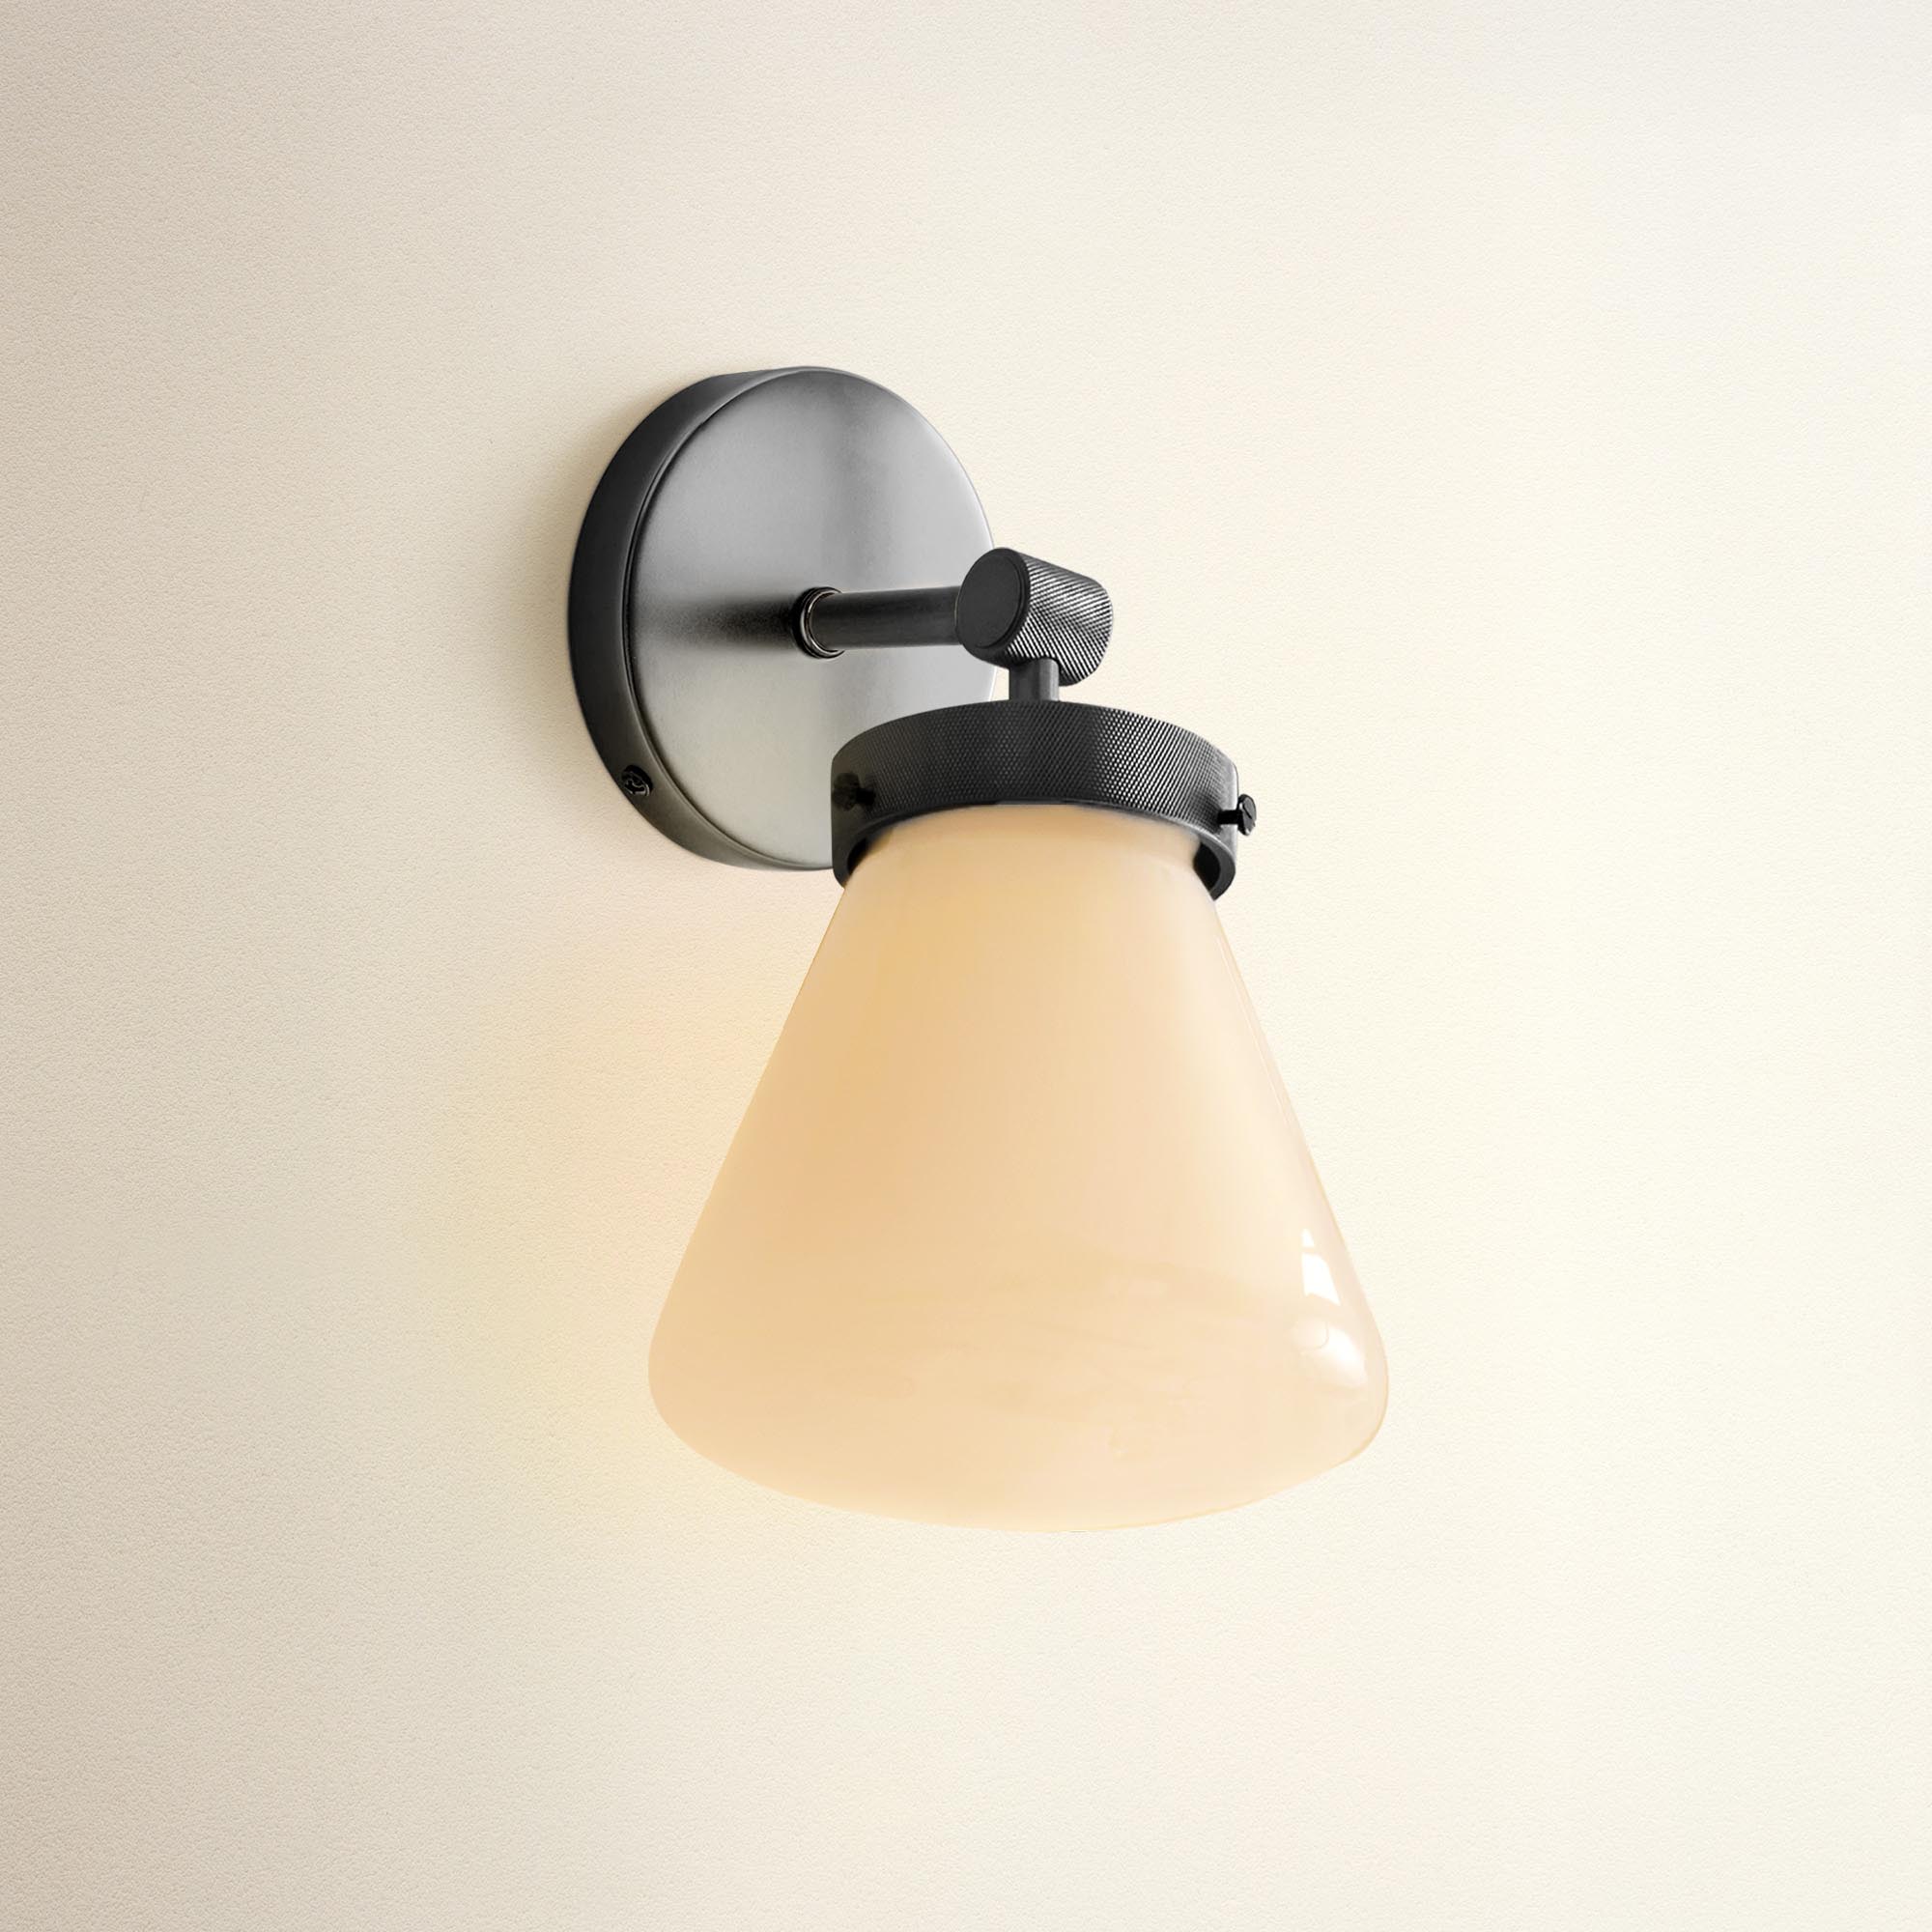
Unlike the plug–in wall sconce, the hardwired one is directly connected to your home’s electrical wiring inside the wall and is prone to a more permanent installation. The installation therefore involves connecting wires and mounting the fixture.
Unlike the plug–in wall sconce, the hardwired one is directly connected to your home’s electrical wiring inside the wall and is prone to a more permanent installation. The installation therefore involves connecting wires and mounting the fixture.
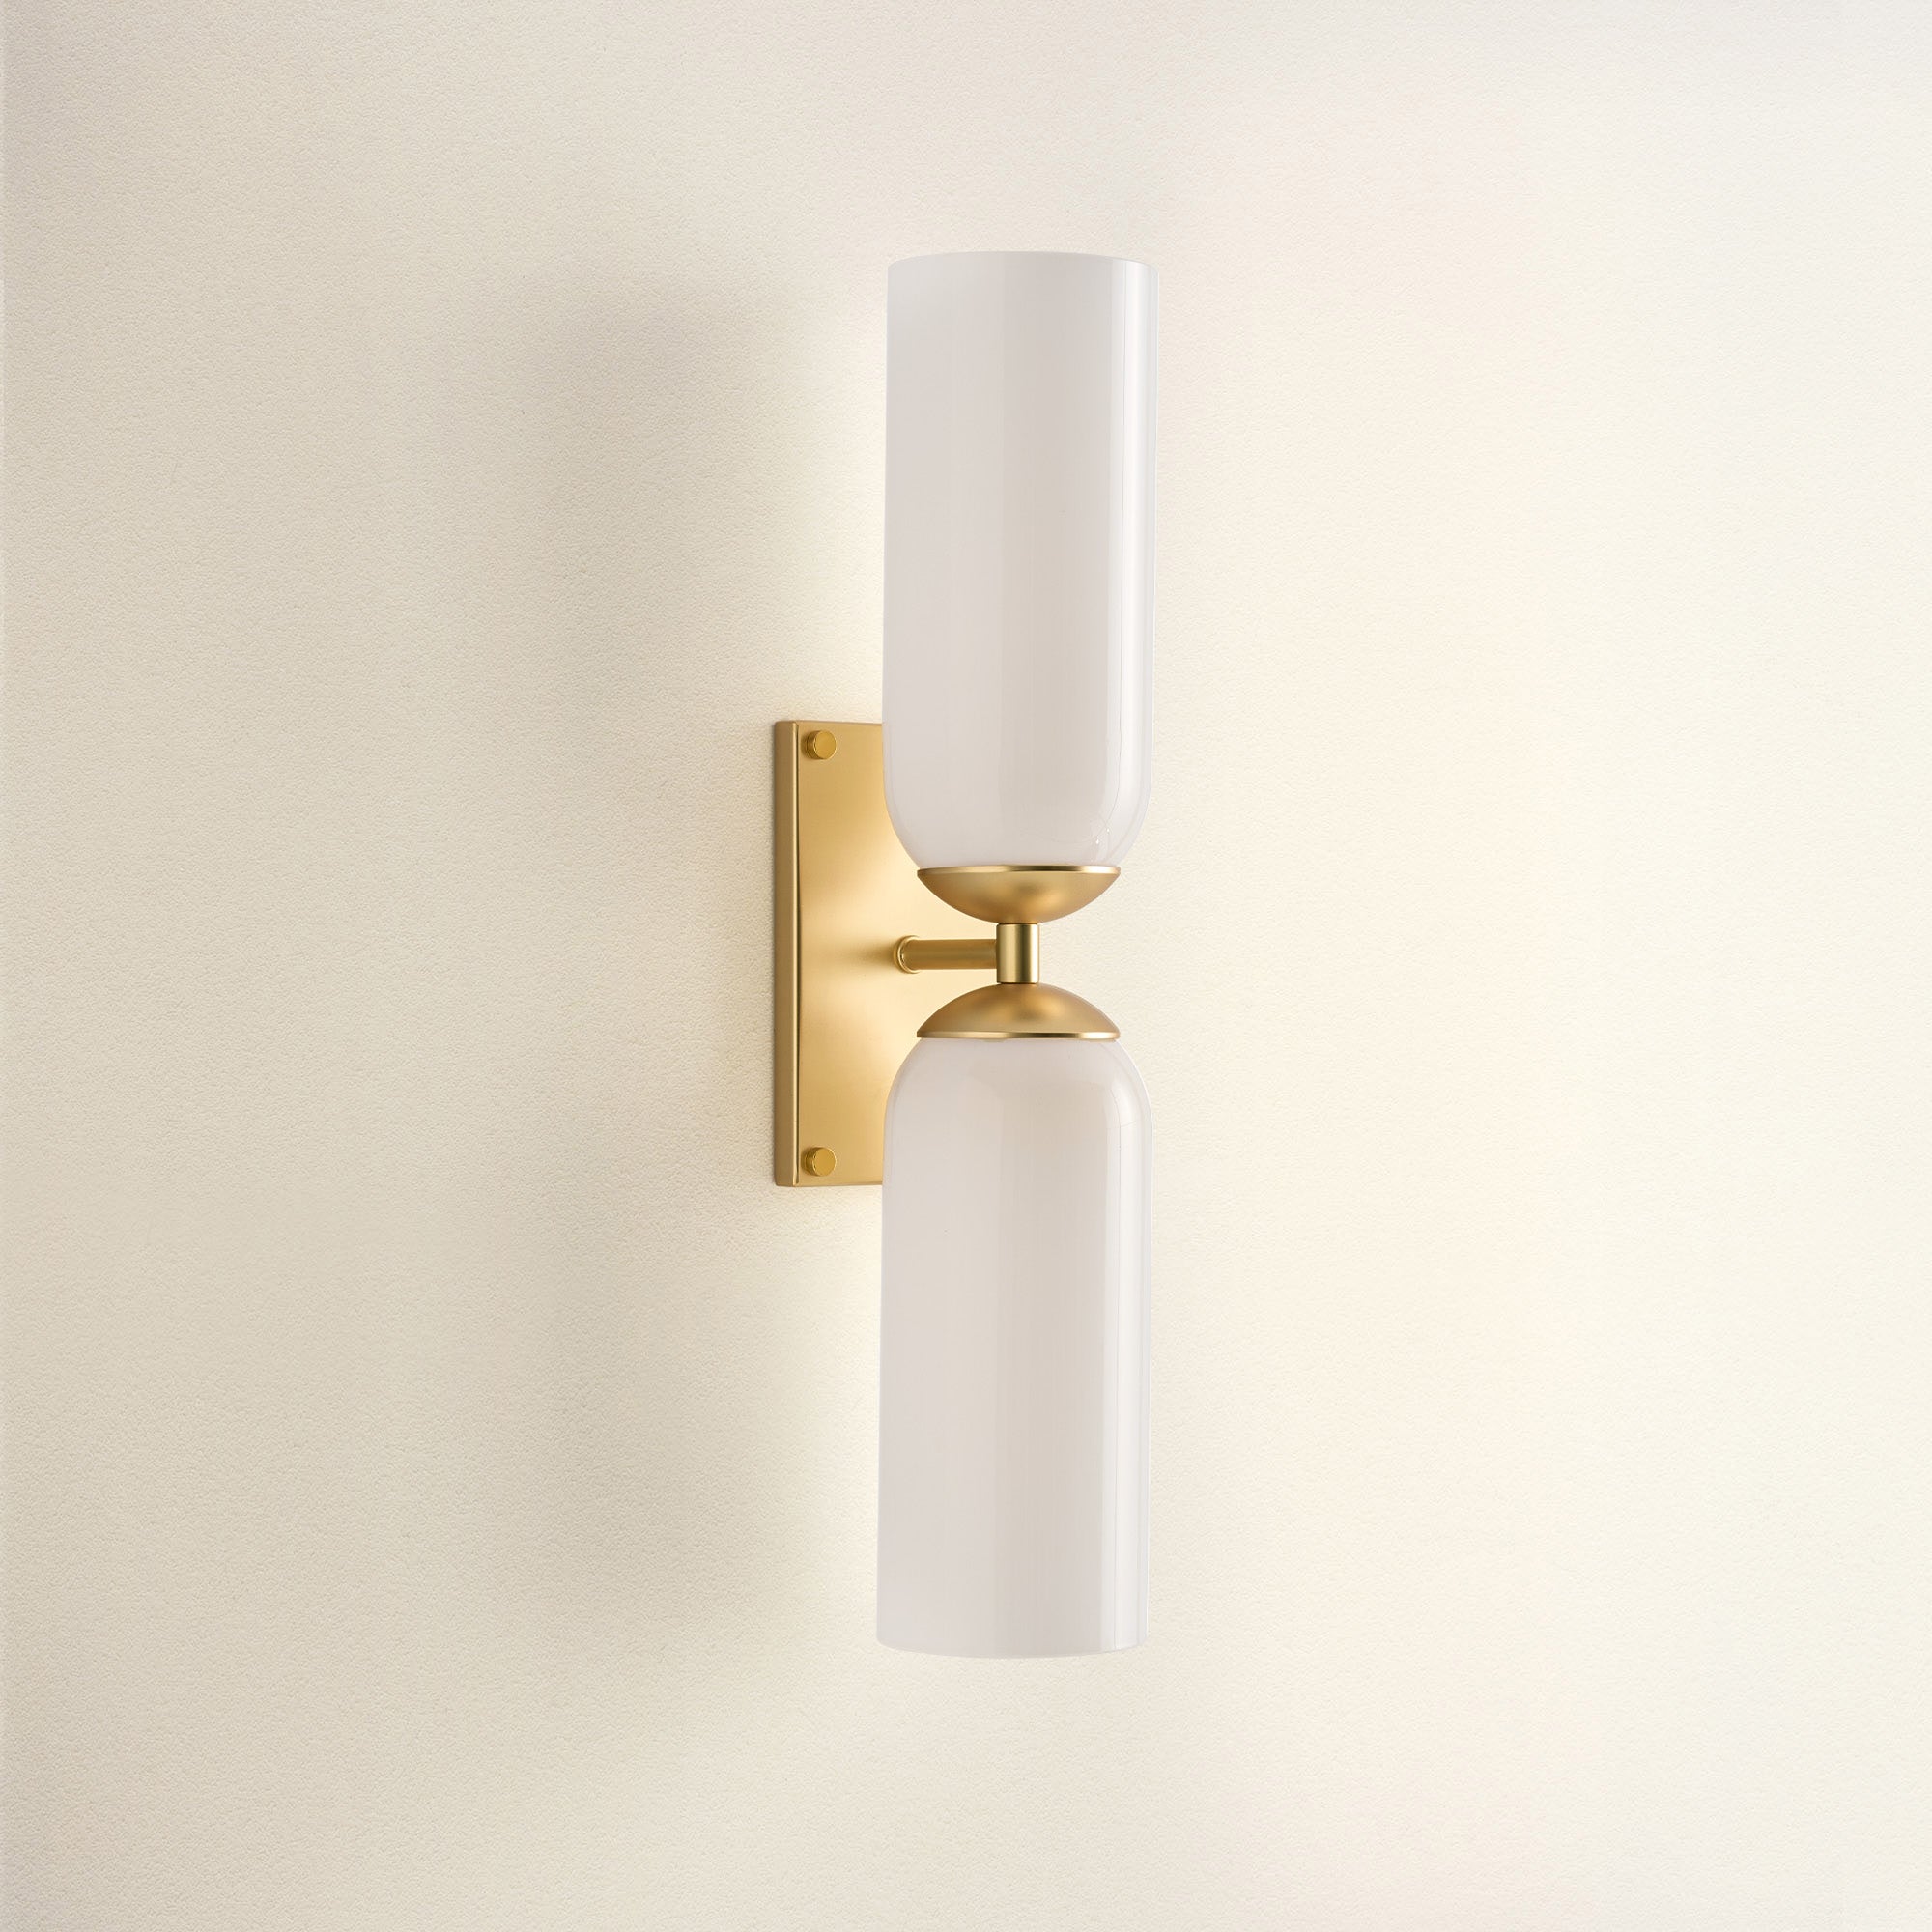
Imagine this light in your living room. Shop the look.
Free delivery between Dec 22 - 23 on orders $200+
45-Day Return
Installing a hardwired wall sconce requires a bit more preparation compared to plug-in models, but it offers a permanent solution for your space. Follow these steps to turn your work into a piece of cake:
Remember: Safety first! Turn off the power of your working area and use a voltage tester to ensure that the power is off. Then, make sure to remove the old fixture in case you replace an existing sconce, and ensure the wiring is in good condition.
Before installing, the sconce screws should already be attached. Use a pencil to mark where to locate the screws, before drilling into a stud or using wall anchors to secure the screws to attach the mounting bracket.
Usually, the wires include three types, which are represented in three different colors: black (hot), white (neutral), and green or bare (ground).

Source: Rowabi.
Wrap the ground wire from the wall around the green ground screw on the mounting plate, leaving a few extra inches at the end. Tighten the green screw with a screwdriver. Then, connect the ground wire to the ground wire from the new sconce and secure the connection with a wire nut.
Connect the white wire from the sconce to the white wire from the junction box using a wire nut. Do the same with the black wires. Once connected, carefully tuck all the wires back into the junction box, ensuring that all wire nuts are secure.
Once the wires are connected, gently push them back into the electrical box. Then, align and secure the sconce to the wall by securing them with the screws provided and tightening the nuts onto the screws.
If your sconce includes a glass shade, attach it, then insert the recommended light bulbs for your sconce.
After testing the light and doing the adjusting, there you have your own hardwired wall sconce!
How do I install a plug-in wall sconce?
How do I install a plug-in wall sconce without existing wiring?
Can a plug-in sconce be hardwired?
Can you add a plug to a wall light?
How do you attach a plug socket to the wall?
Do you need an electrician to install a wall sconce?
Can you hang sconces without wiring?
Can I install a sconce myself?
What is a plug-in sconce?
Can I use a plug instead of hardwiring?
Can I run a plug from a light fixture?
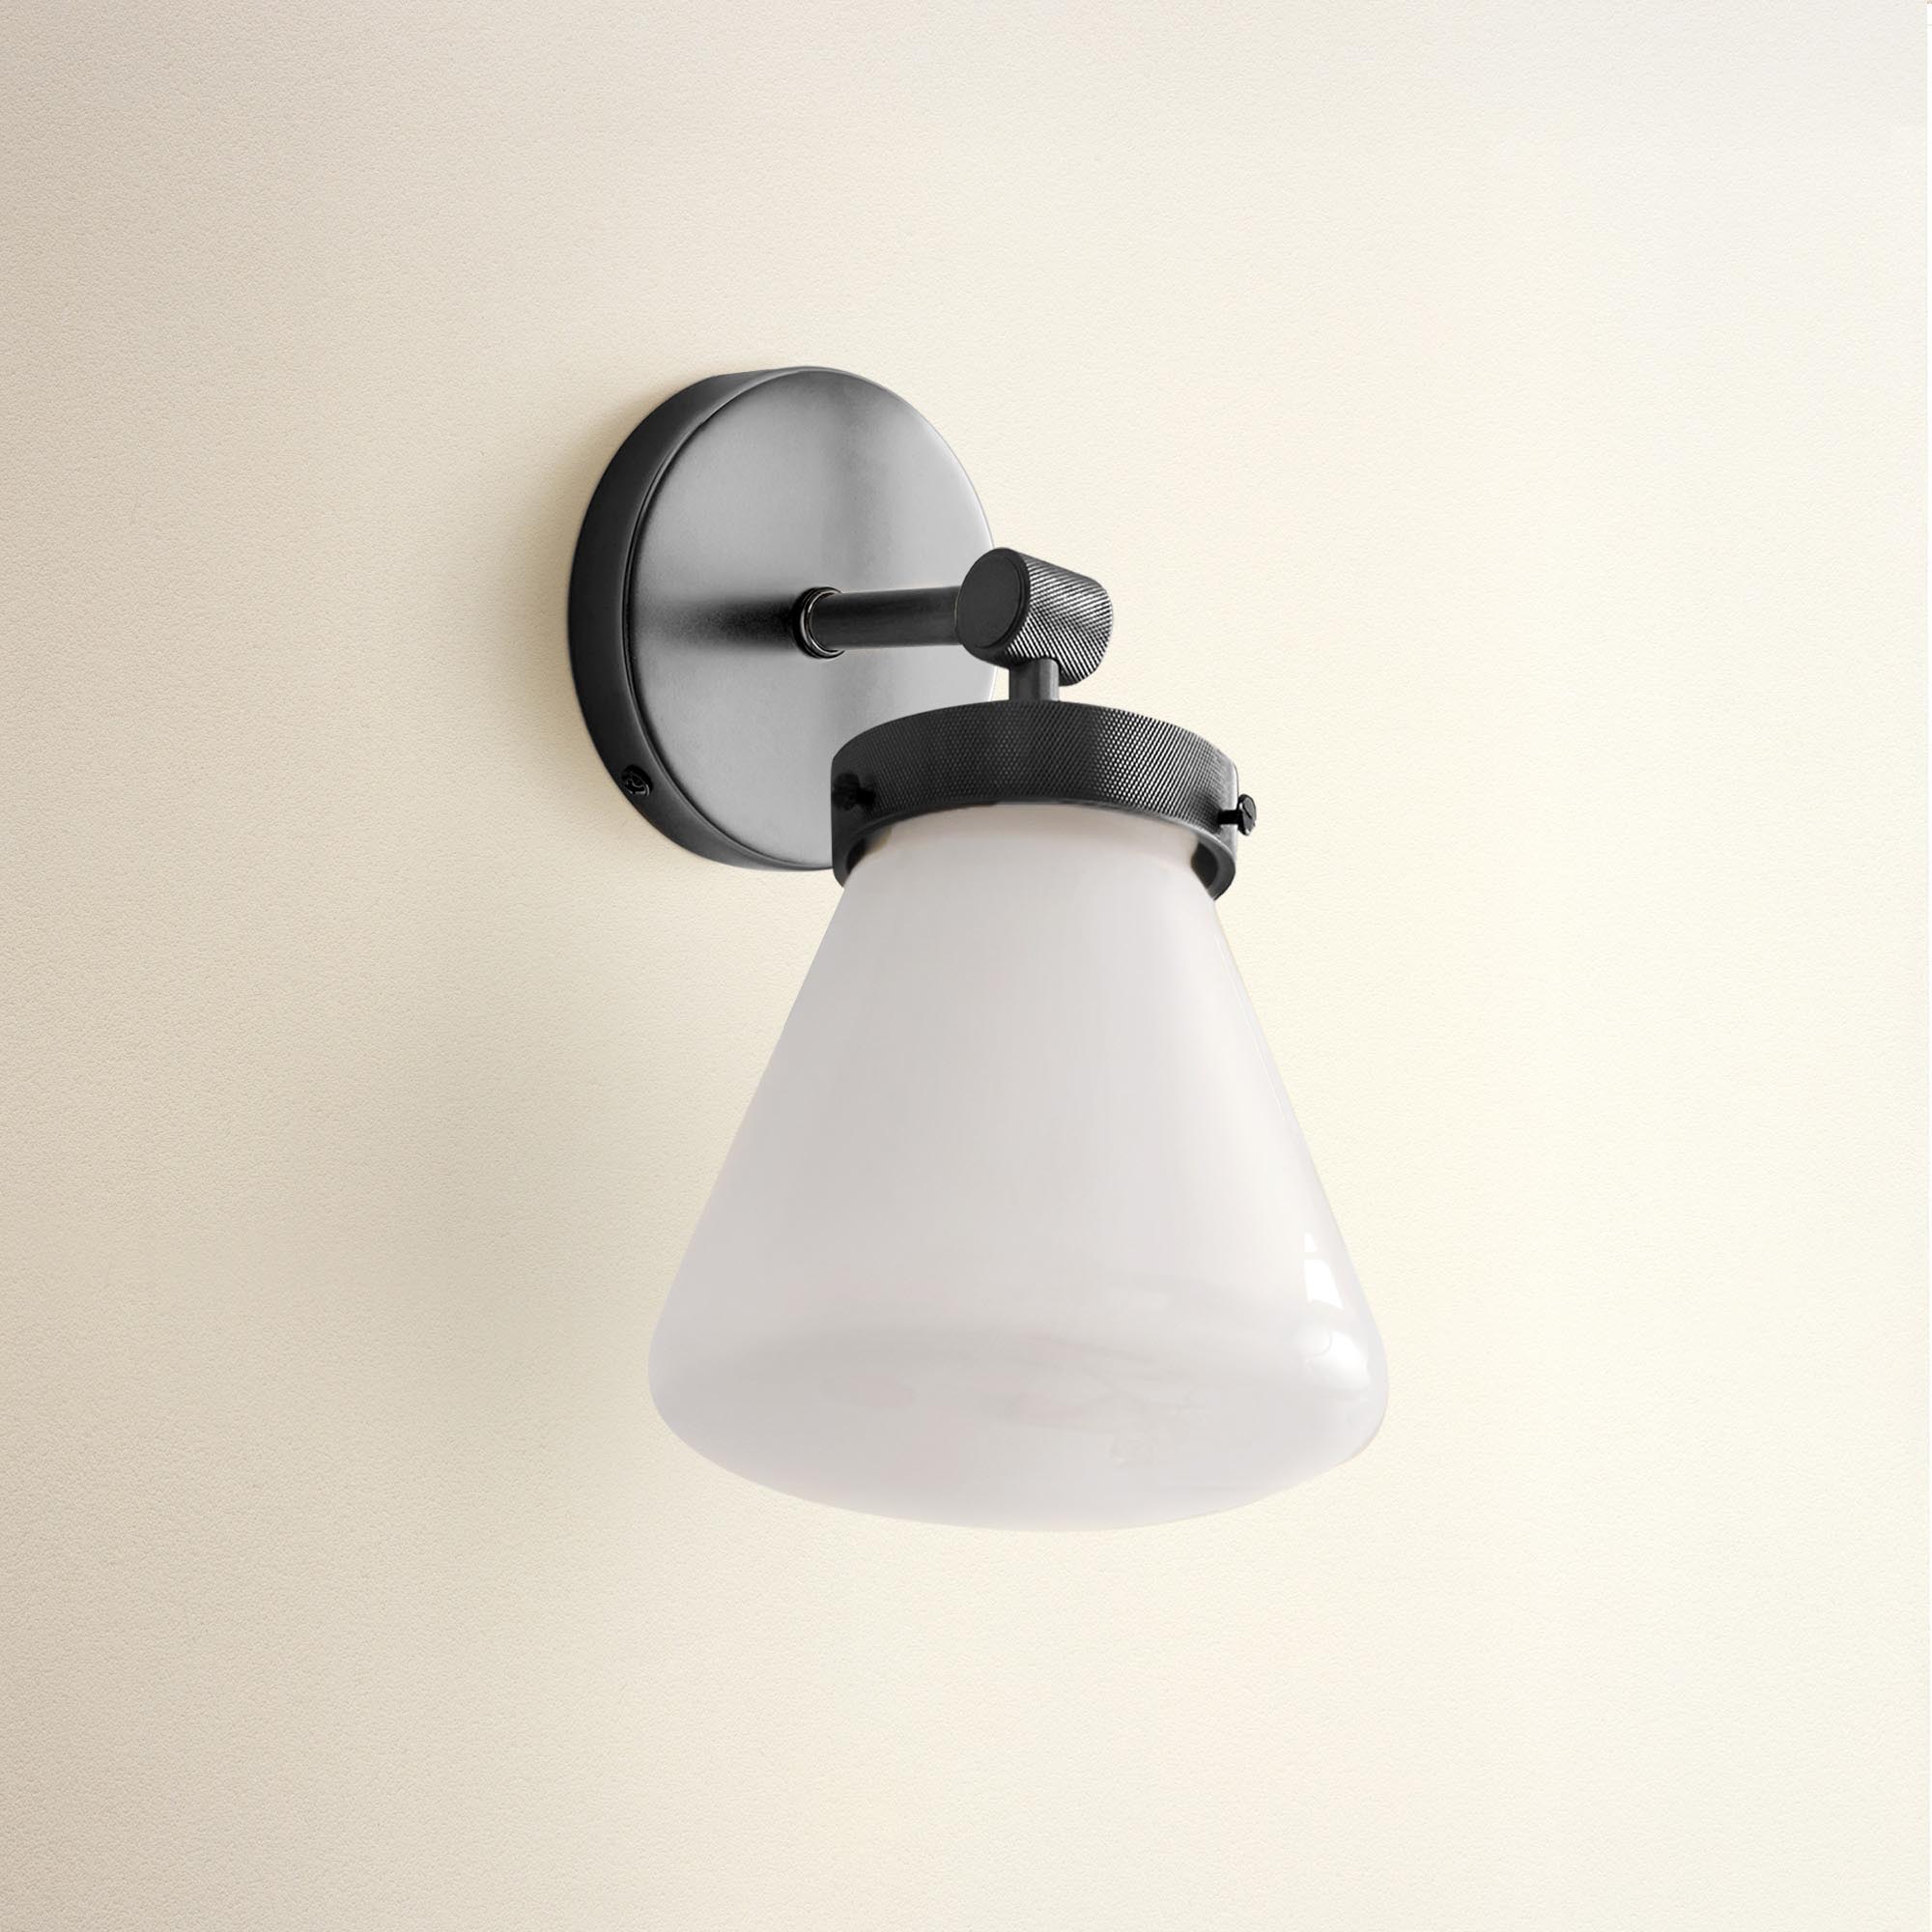
Whether you choose to install a plug-in or hardwired wall sconce, both options can enhance the look and feel of your living space.
With the instructions suggested by Rowabi, we hope you find this process easier and are ready to update your home with more activities. You made it! Turn on the light and enjoy!
How To light a Living Room With NO Overhead Lighting
A room without hardwired ceiling fixtures can easily feel dark, flat, and unwelcoming. However, this absence is actually an opportunity to design a more dynamic, layered lighting scheme that adds d...
Read more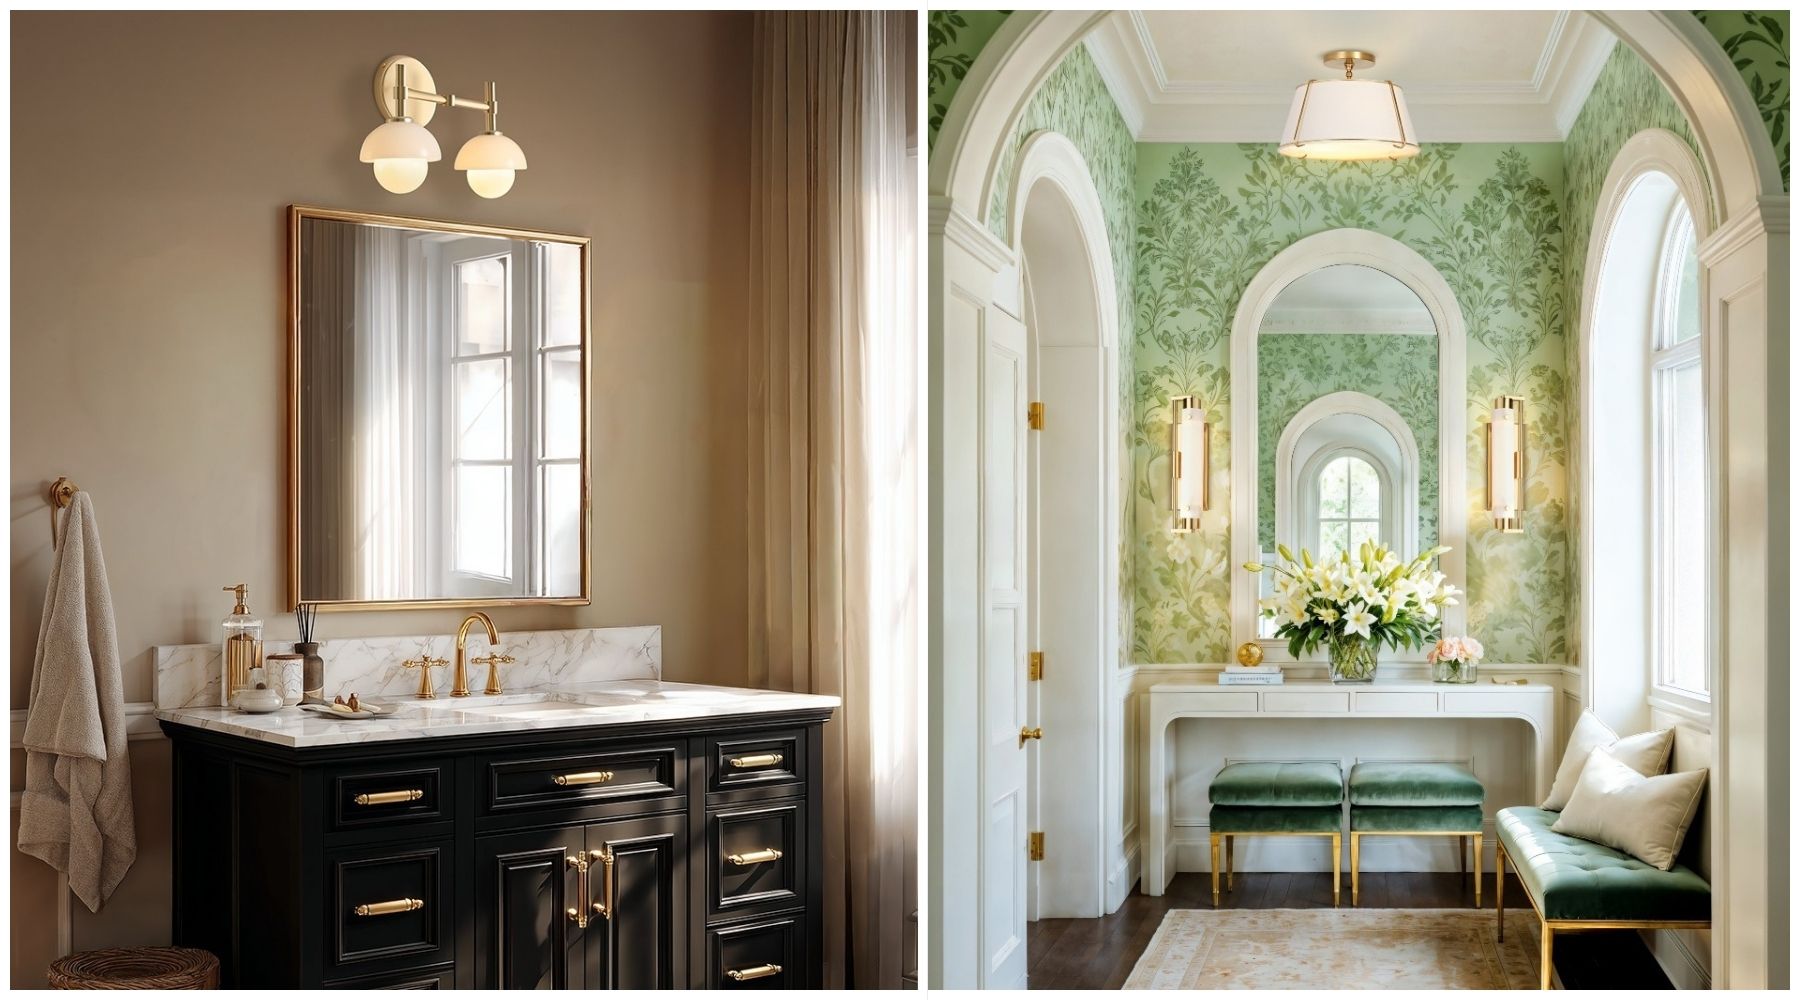
Expert Guide: Wet-Rated vs. Damp-Rated Light Fixtures
What is the difference between wet-rated and damp-rated light fixtures? According to Rowabi's expert, Noah Miller, the distinction lies in their level of waterproofing and appropriate placement. We...
Read more
Leave a comment
This site is protected by hCaptcha and the hCaptcha Privacy Policy and Terms of Service apply.